week 12 Mechanical Design, Machine Design
Group assignment:
design a machine that includes mechanism+actuation+automation+application
build the mechanical parts and operate it manually
document the group project and your individual contribution
actuate and automate your machine
document the group project and your individual contribution
Summary:
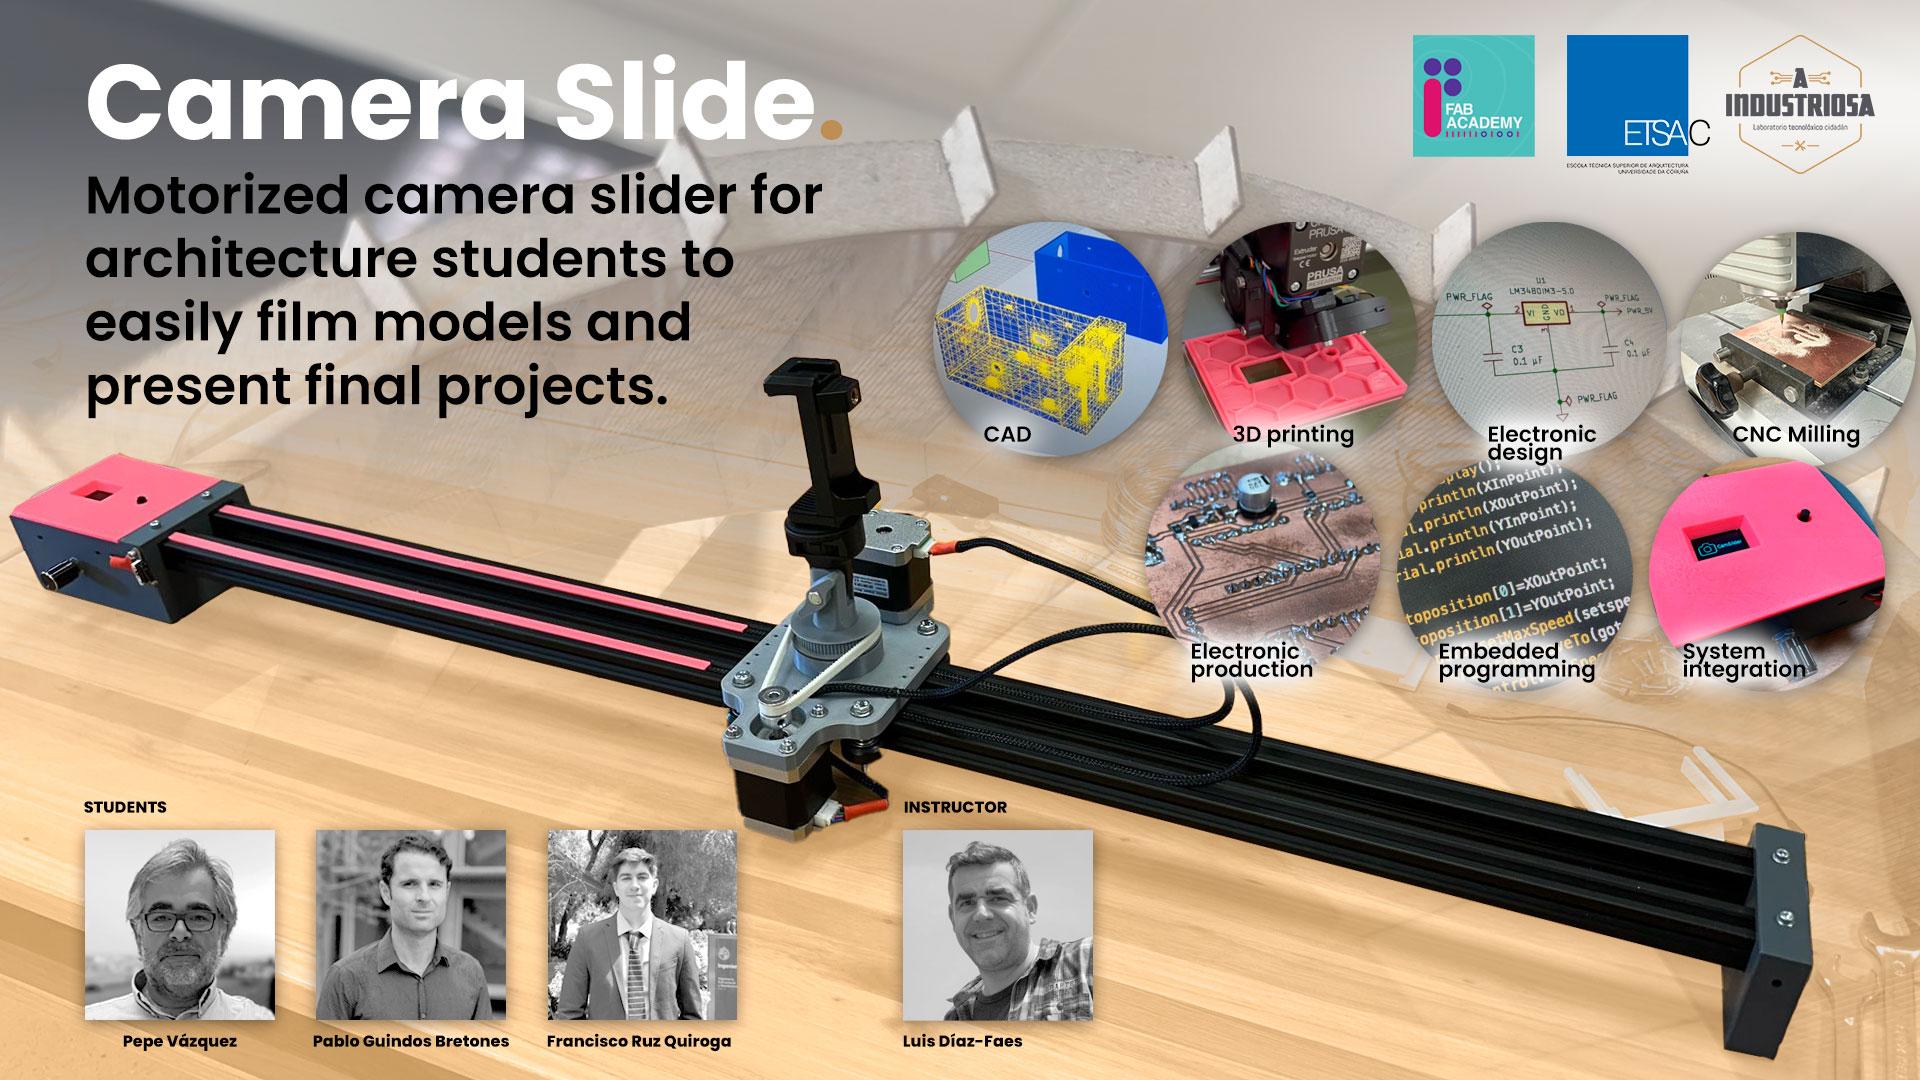
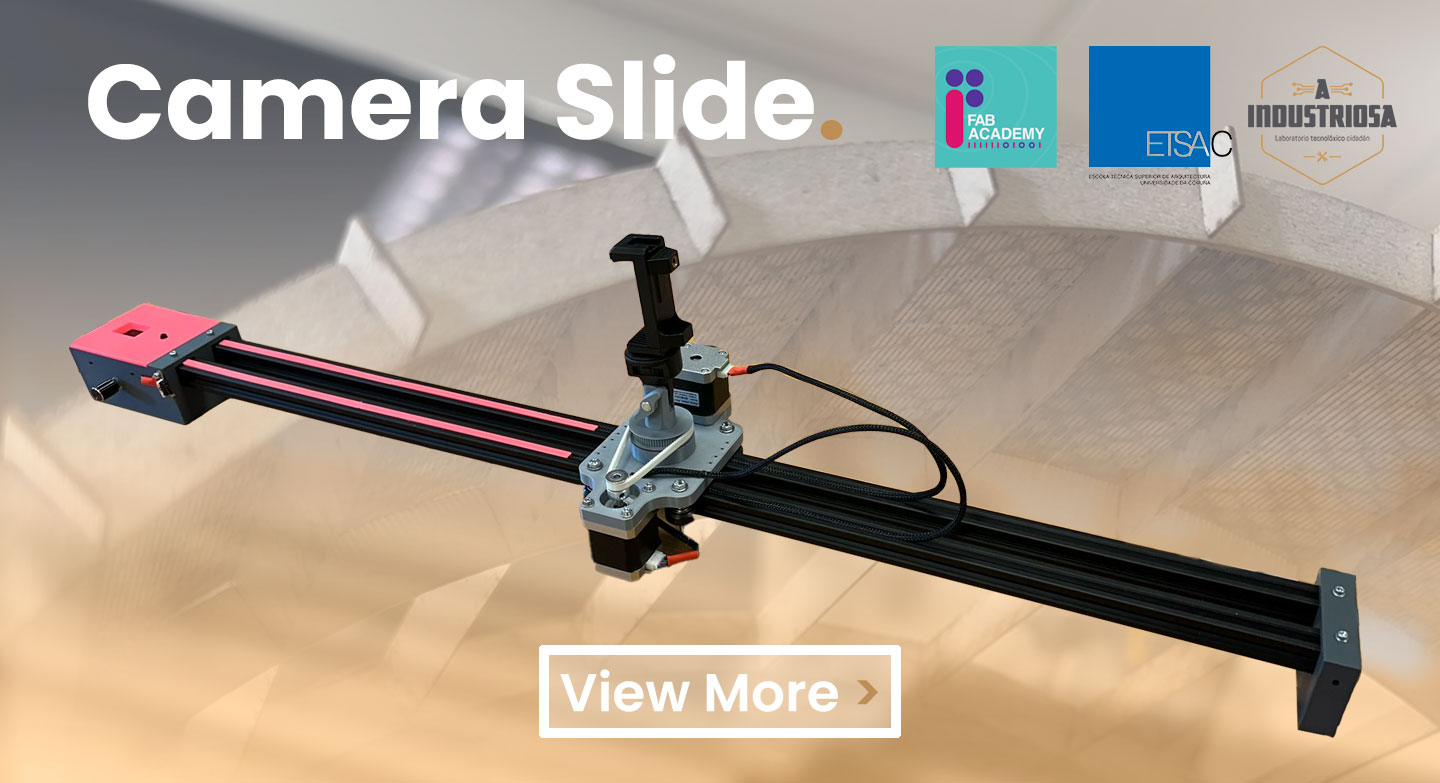
This week and previous ones, from 3 to 23 of april, we worked at ETSAC with Pablo and Pepe to complete our group practice, and manufacture a Camera Sliding machine.
The machine we decided to make is inspired by other works but with several modifications. In particular we were inspired by two repositories Rztronics’ Homemade Motorized Camera Slider and ProKnow’s Building a Motorized Camera Slide. The goal for this week was to build a system capable of mounting a mobile phone or camera and recording along two axes: one linear axis, where the user can define the start and end points of the travel path, and a rotational axis, which allows for adjusting the angle of camera rotation. The system also permits setting the speed and total duration of the defined path.
Group Assignment
We have grouped all the development of the machine as well as information on the components necessary to manufacture the etsac sliding machine on the following website
You can acces the website with all the project documentation here
Individual assignment
At ETSAC we assembled the machine on monday 21, throught the process we organize to make sure everyone have participation more less equal participation. Due to the limited time we had to build the machine, each of us participated in the tasks that best matched our skills.
Starting from the original design, we realized that we analyzed the list of components and verified local availability for equivalent or compatible parts.
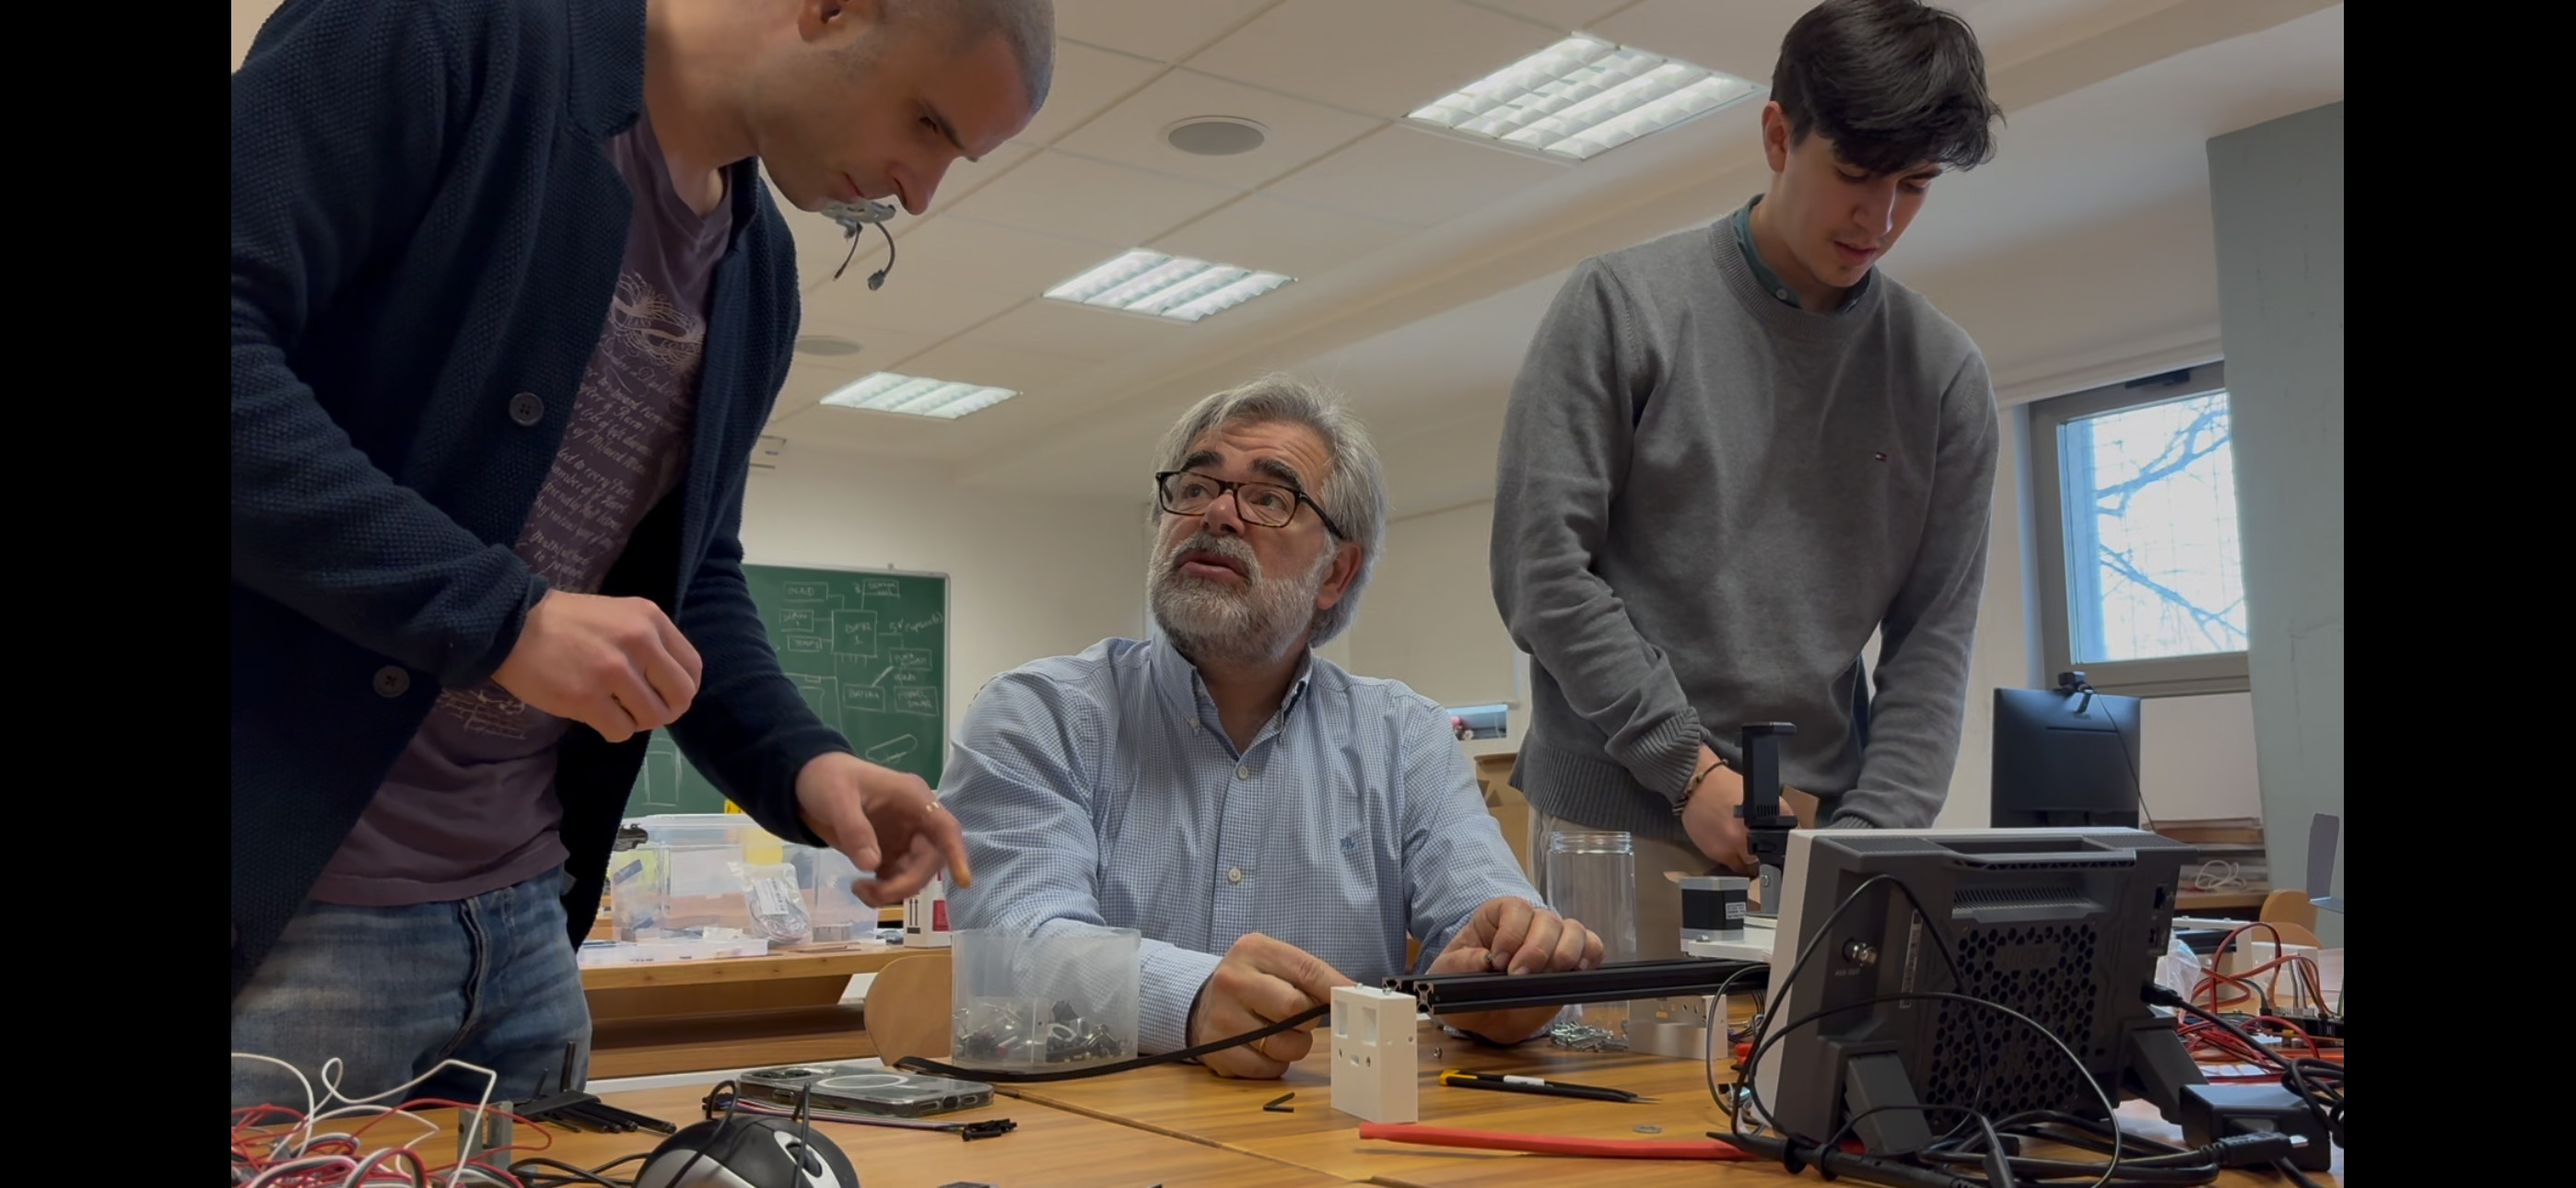
After assembling the machin and verifying that it worked correctly, we did the entire documentation process, in this process we all contribute in the selection of the images and videos, then pablo and I were in charge of developing the video and Pepe the final slide.
The detail of what did each member of the group is on the following table:
| Task | Description | Responsible |
|---|---|---|
| Material review | We identified all necessary components for the project and organized their acquisition and distribution. | Pepe, Pablo and Francisco |
| PCB design | Pablo developed the PCB using KiCAD, ensuring careful trace and component layout. | Pablo |
| Milling the PCB | Pablo and I collaborated, and I generated the toolpaths from SVGs in VCarve. | Pablo and Pepe |
| Component assembly on PCB | We soldered all components and performed full circuit testing. | pepe and Francisco |
| PCB coding | Together with Pepe, we adjusted pin configuration and verified the shared code from ProKnow’s. | Pepe and Francisco |
| Pre-assembly of components | Pepe and I checked mechanical setups prior to the final assembly. | Pepe and Francisco |
| Parametric design in Grasshopper | Pepe designed and printed the part combining the toothed crown and camera mount. | Pepe |
| GT2 timing belt in OpenSCAD | I calculated the tooth count, modeled it in OpenSCAD, and printed it with Pepe. | Pepe and Francisco |
| Control box and mount design | I created parametric models, optimized them for printing, and made precision adjustments for component integration. | Francisco |
| Spacer design and printing | Pablo designed a spacer to increase lateral structural rigidity. | Pablo |
| Wiring preparation | All of us prepared motor wiring and installed the protective sleeving. | Pepe, Pablo and Francisco |
| Testing and motion trials | I conducted tests with the team that led to redesigning and reprinting components. | Pepe, Pablo and Francisco |
| Website media selection | We all selected and edited videos, images, and web content. | Pepe, Pablo and Francisco |
| Slide preparation | I designed and assembled the slide with input from Luis. | Pepe |
| Video preparation | Pablo and I, with help from Luis, produced the summary video. | Pablo and Francisco |
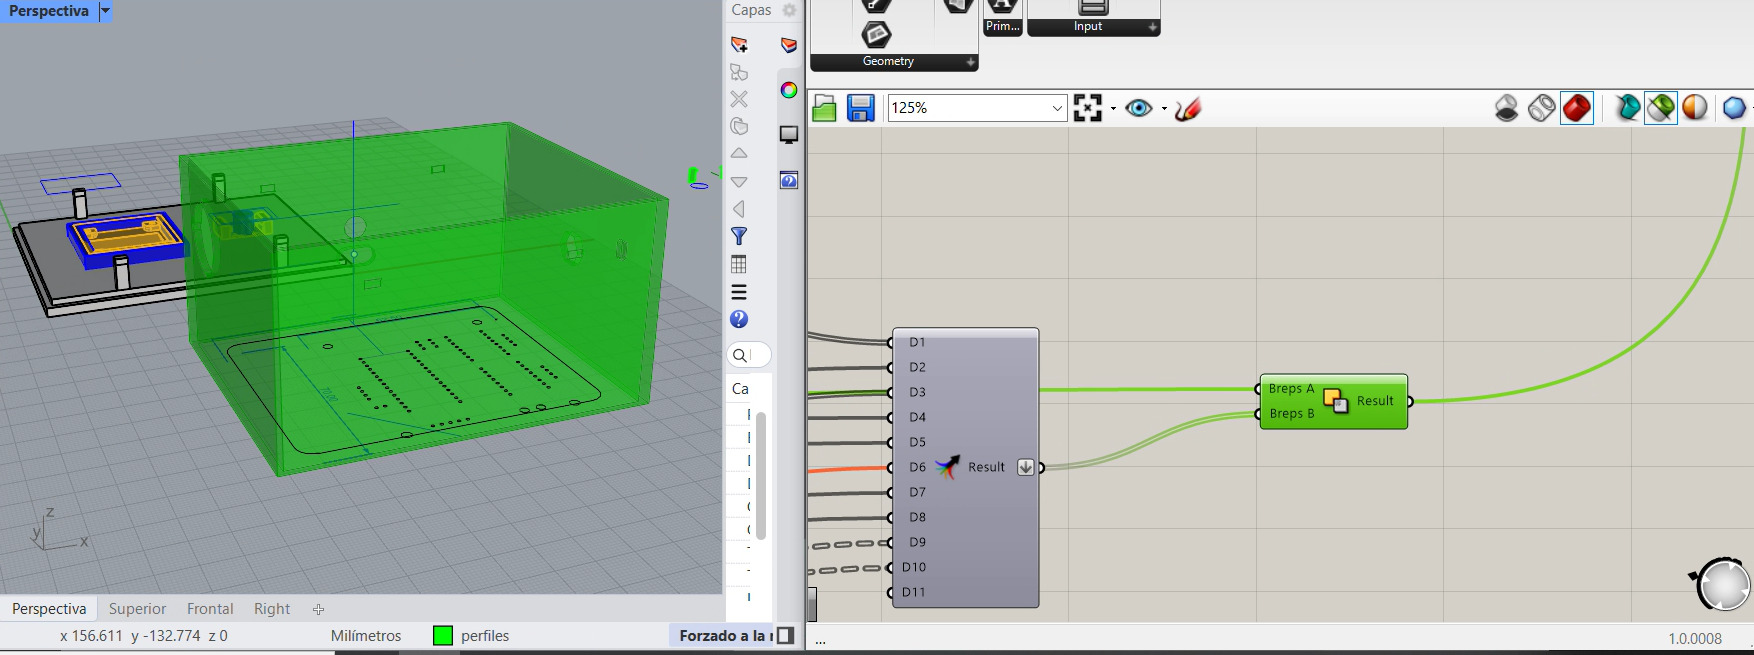
In the task of control box and mounting Pepe helped me with the process of doing a box to control de machine: here it is the deatils what was done
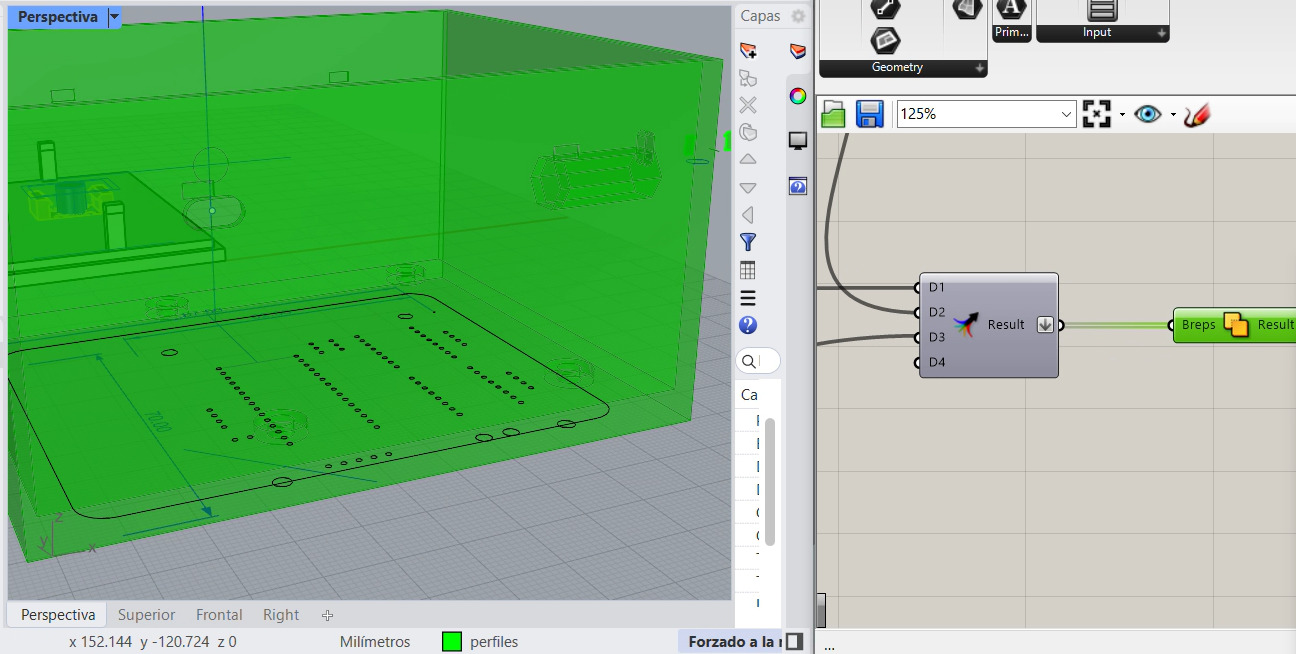
First different geometries were done and then subtracted the volumnes like usb c
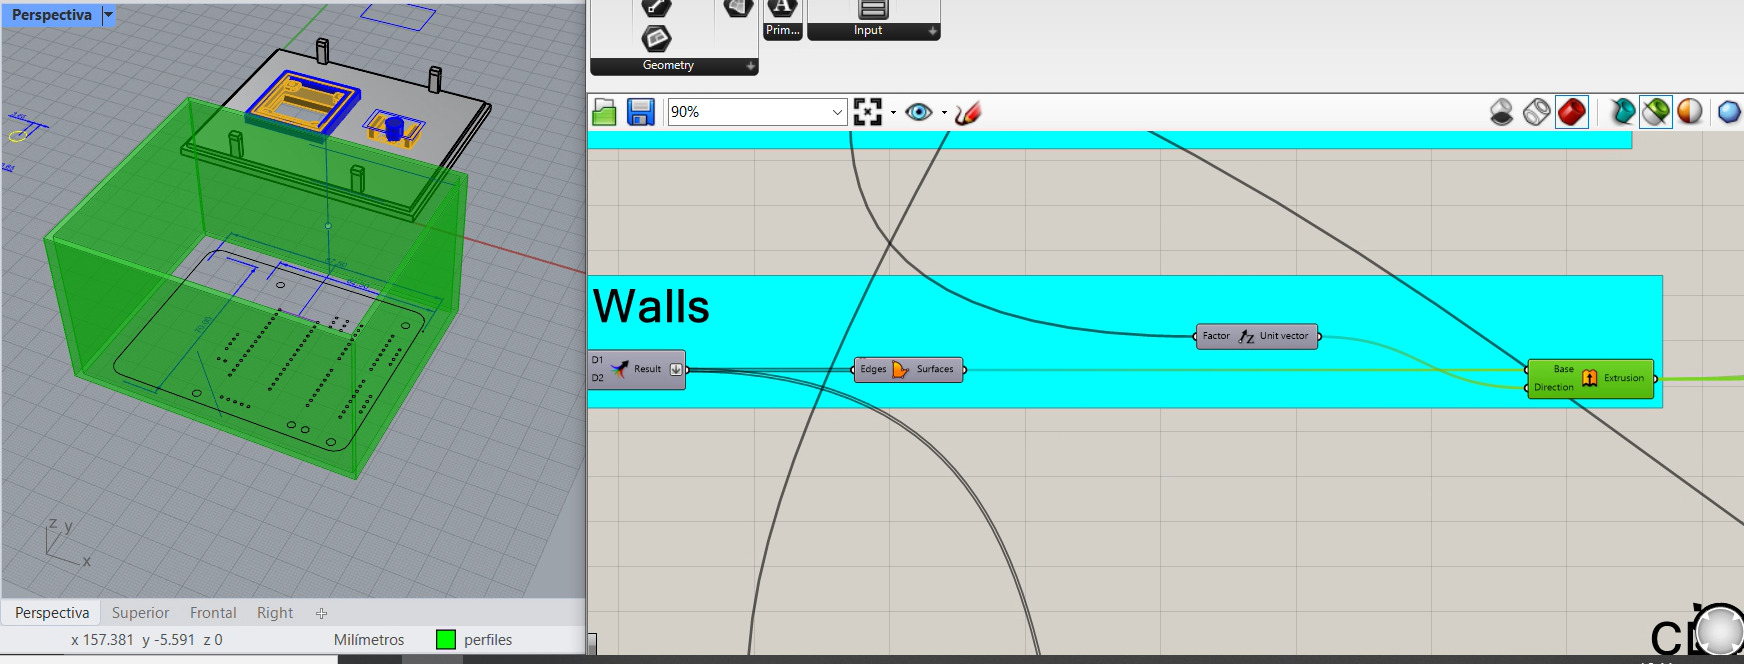
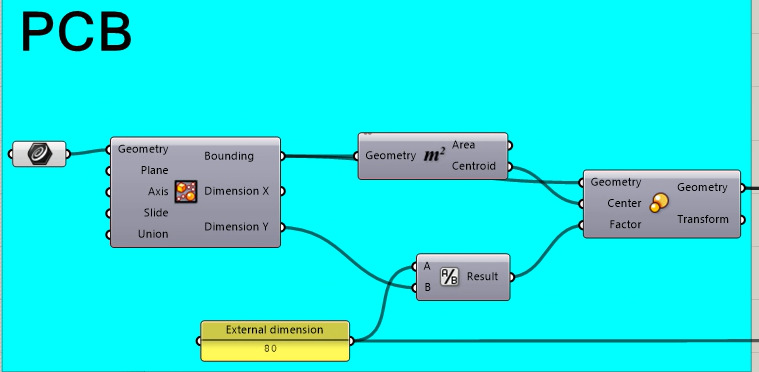
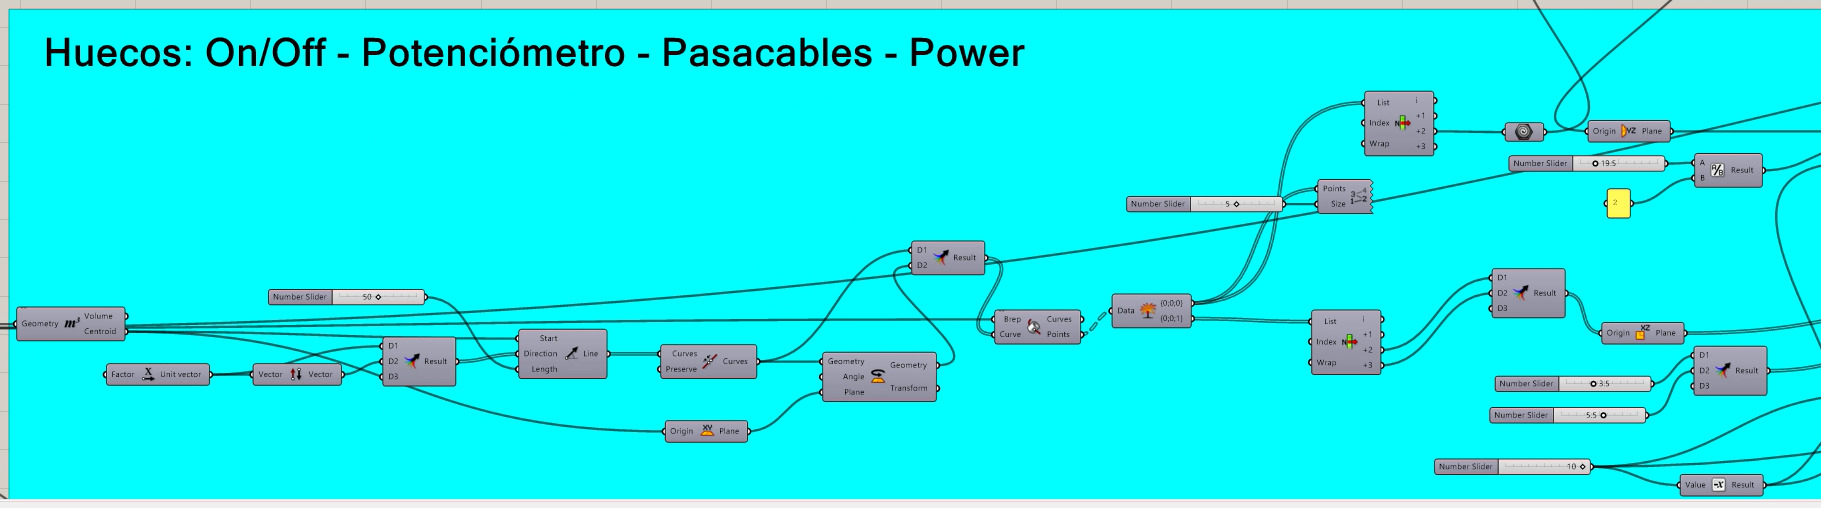

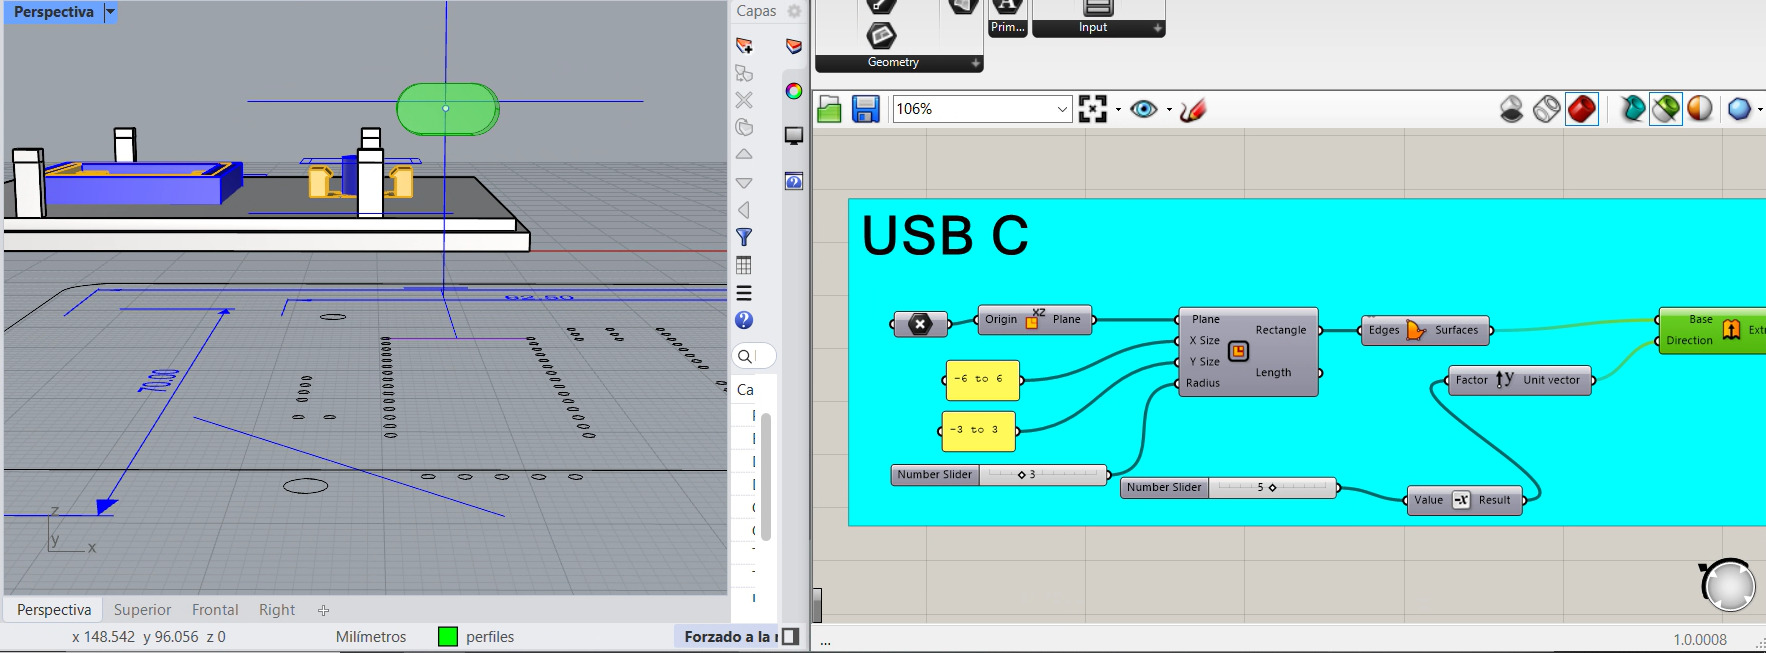
I merge all the information to finally do a difference boolean
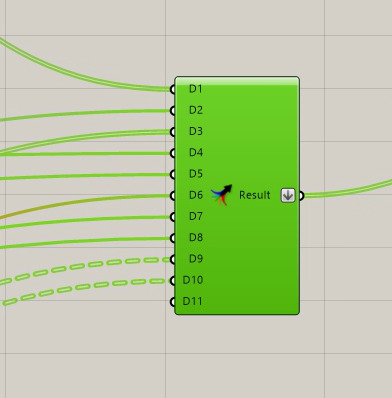
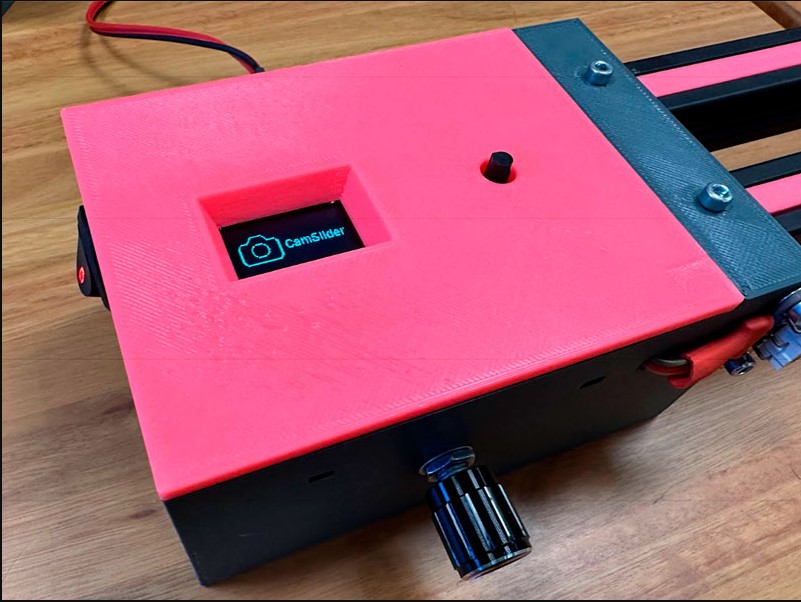
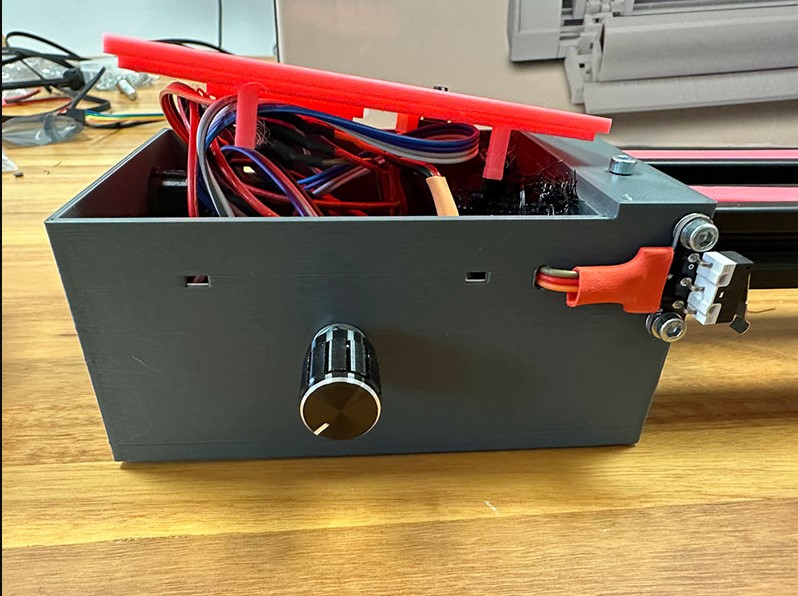
This was the final product:
Learning Outcomes:
During this assignment, we collaboratively designed and built a motorized camera slider that integrates mechanical design, actuation, and automation, gaining hands-on experience in parametric modeling, circuit design, and motion control. As a team, we explored tools like Grasshopper and OpenSCAD, designed and milled PCBs, assembled and tested the mechanical and electronic systems, and documented the entire process through a website, slide, and video. Personally, I contributed to the fabrication and testing of the machine by generating PCB toolpaths, soldering and testing circuits, modeling GT2 timing belts in OpenSCAD, and designing the control box and mounts for 3D printing. I also collaborated in the mechanical pre-assembly, wiring, and debugging, and co-led the development of the final project video and website content. This project strengthened both my technical and collaborative skills across design, fabrication, and documentation.
Documentation
- rhino file for box: .zip click here
- grasshopper file for box: .zip click here