week 11 Networking and Communicationss
Group assignment:
- send a message between two projects
Individual assignment:
- design, build, and connect wired or wireless node(s)
- with network or bus addresses and local input &/or
- output device(s)
Summary:
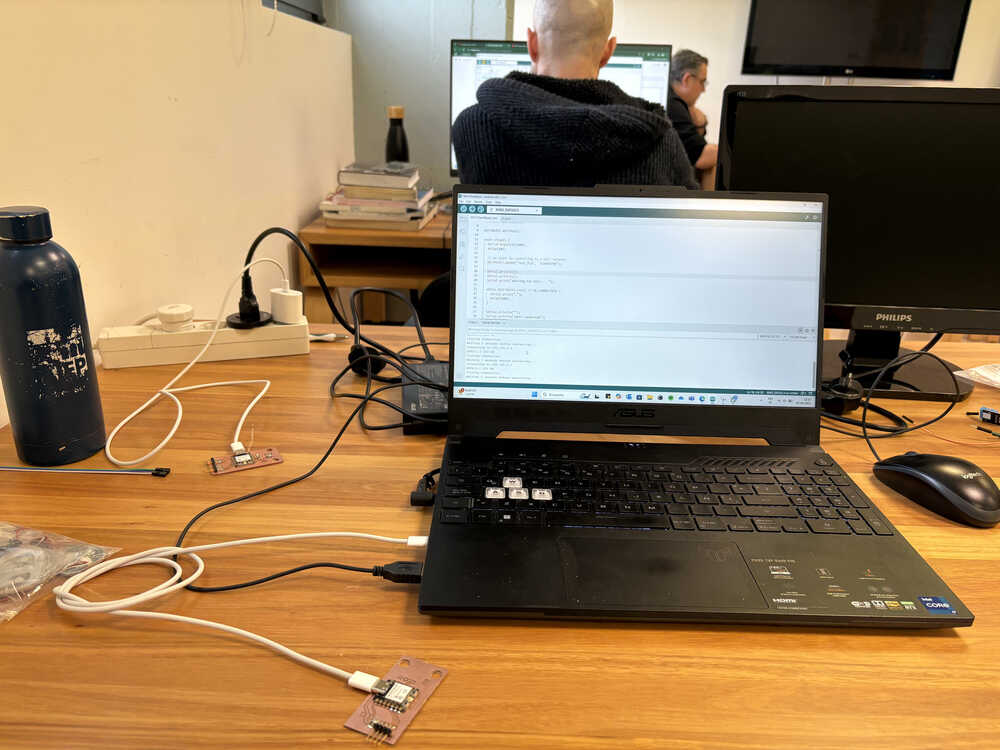
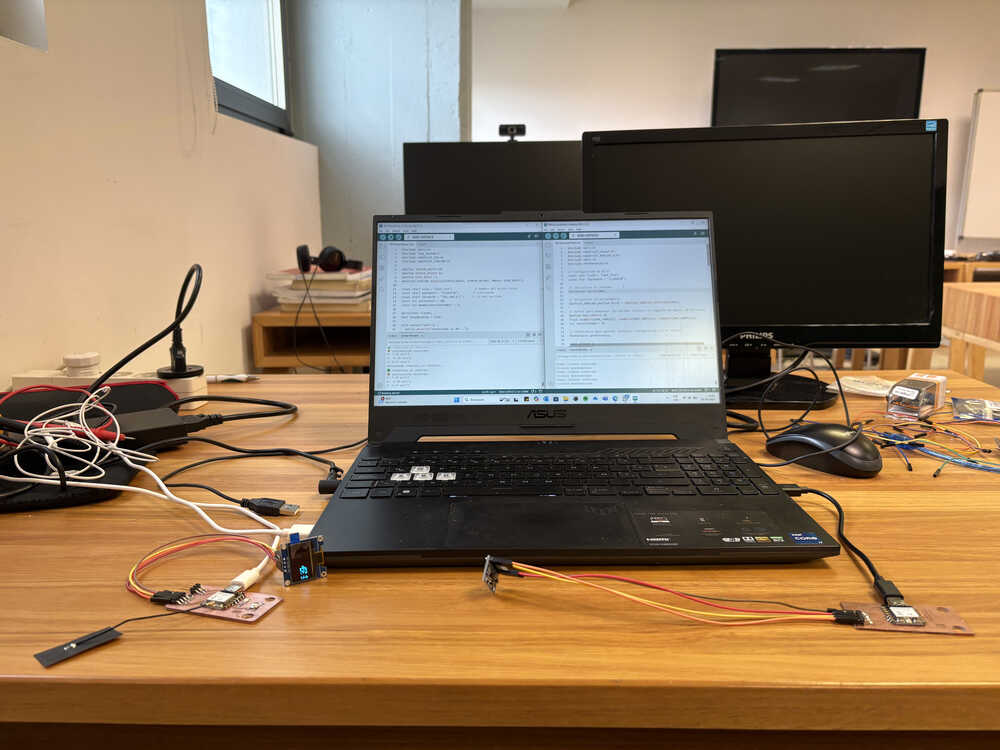
During Week 11, our group project involved creating a wireless communication system between ESP32-C3 microcontrollers, integrating sensors, an OLED display, and servo motor control via a web interface. I collaborated with Pablo and Pepe to build a functional network where the weight from a load cell triggered the servo to move to discrete angles (0°, 90°, 180°), with values shown on an OLED screen. On the individual side, I designed and programmed a system where an ESP32 client read real-time acceleration data (X, Y, Z) from a web server and displayed it graphically on an OLED (SSD1316). I ensured robust data parsing, handled Wi-Fi reconnections, and used a spiral development approach, verifying that everything—from antenna connection to HTML response extraction—functioned smoothly. This week emphasized both collaborative system integration and individual networked device development.
Group Assignment
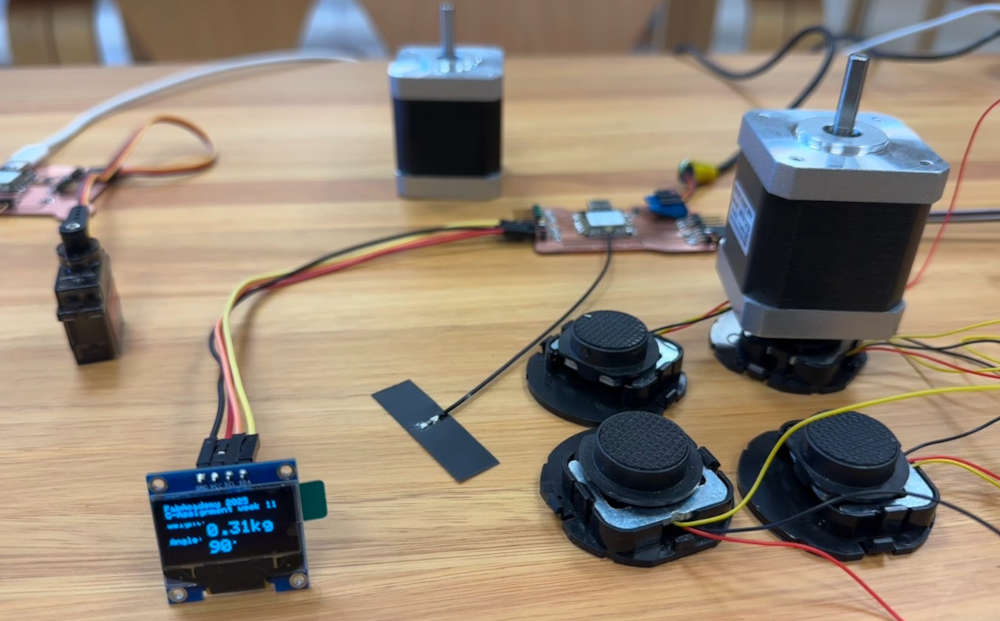
During Week 11, together with my teammates Pablo and Pepe, we developed a collaborative system that integrates sensors, real-time display, Wi-Fi communication, and actuator control using ESP32-C3 microcontrollers. Our goal was to control a servo motor based on the weight measured by a load cell, using a web interface.
Pepe was in charge of the client-side configuration. He connected an ESP32-C3 to the server I set up (which functioned as a Wi-Fi access point with the SSID “servo_wifi”) to send commands to the servo depending on the measured weight. At first, we made a mistake by sending HTTP requests with URL parameters like ?angle=90, but we later realized my server was expecting fixed routes like /0, /90, and /180. Once we adjusted the client, everything worked smoothly.
For weight measurement, we used a load cell with an HX711 interface. We implemented both automatic and manual taring, as well as a scaling function that stores the scale factor in non-volatile memory. We also resolved a bug that skipped user input when calibrating the scale.
Pablo, with his experience in servo motors, contributed to defining the servo logic. We agreed on three discrete positions: 0°, 90°, and 180°, and configured the servo to only change position if the weight variation exceeded 0.1 kg.
Together, we also refined the OLED display layout. We added a 128x64 OLED screen to show system status, the current weight in large text, and the servo angle on a separate line. We even fixed an issue with the degree symbol rendering incorrectly by using a specific character code.
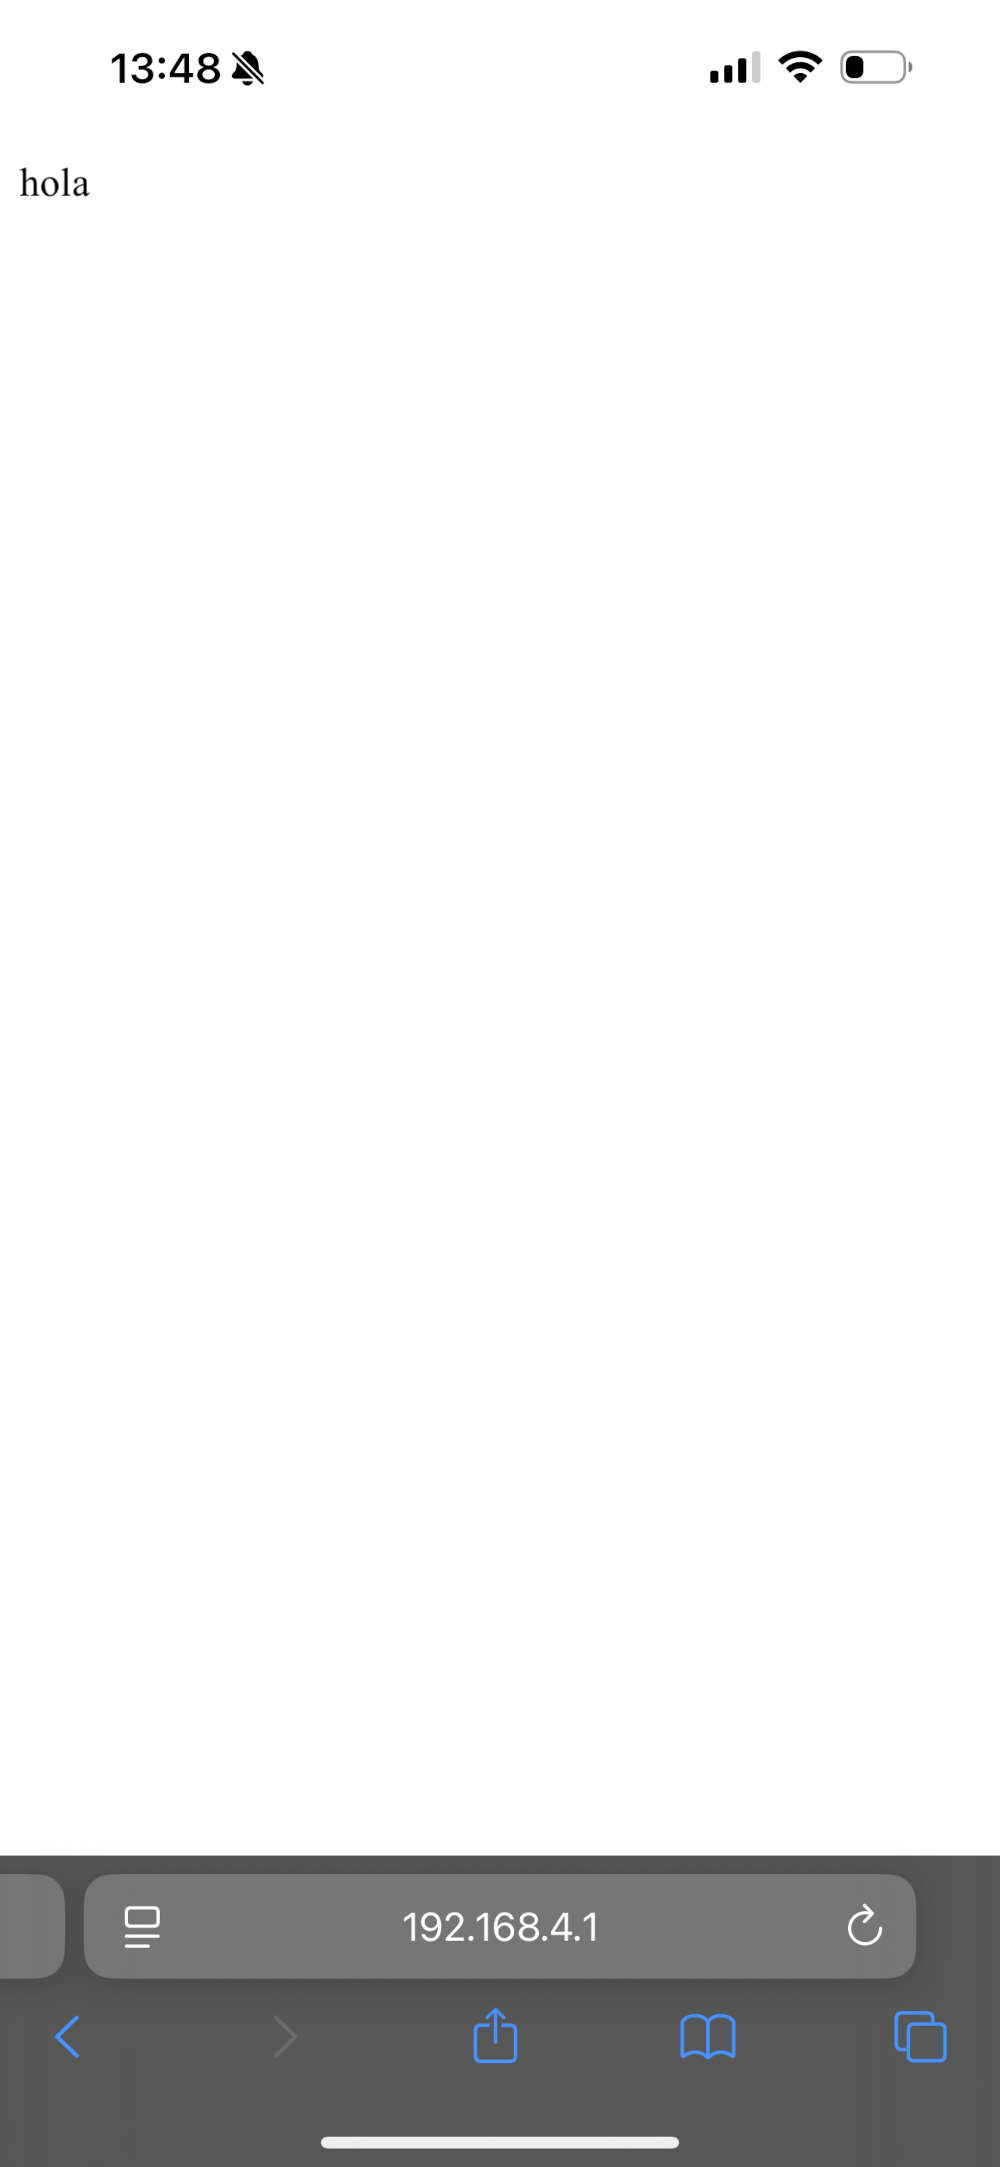
On the server side, Pablo and I created an HTTP server on the ESP32. It served a simple HTML page with three buttons to control the servo. When a user connected to the “servo_wifi” network and accessed the server through a browser, they could move the servo to 0°, 90°, or 180° by clicking the corresponding buttons.
Overall, this project allowed us to successfully integrate sensor readings, servo control, Wi-Fi communication, real-time feedback, and memory storage into a single functional system. It was a great collaborative experience where each of us brought key contributions to make it all work.
Details and how everything was done is in the groups link page:
Individual assignment
This week I work to obtain and display acceleration values (X, Y, and Z) from a web server on an ESP32 and show them on an OLED screen (SSD1316). Additionally, I added a graph to visualize the acceleration readings.
To obtain the values on the oled screen throught wifi I followed the filosophy learned from the firsts weeks Spiral Development.
First step was doing an example because is recommended no to start from skratch
I followd the example from Arduino
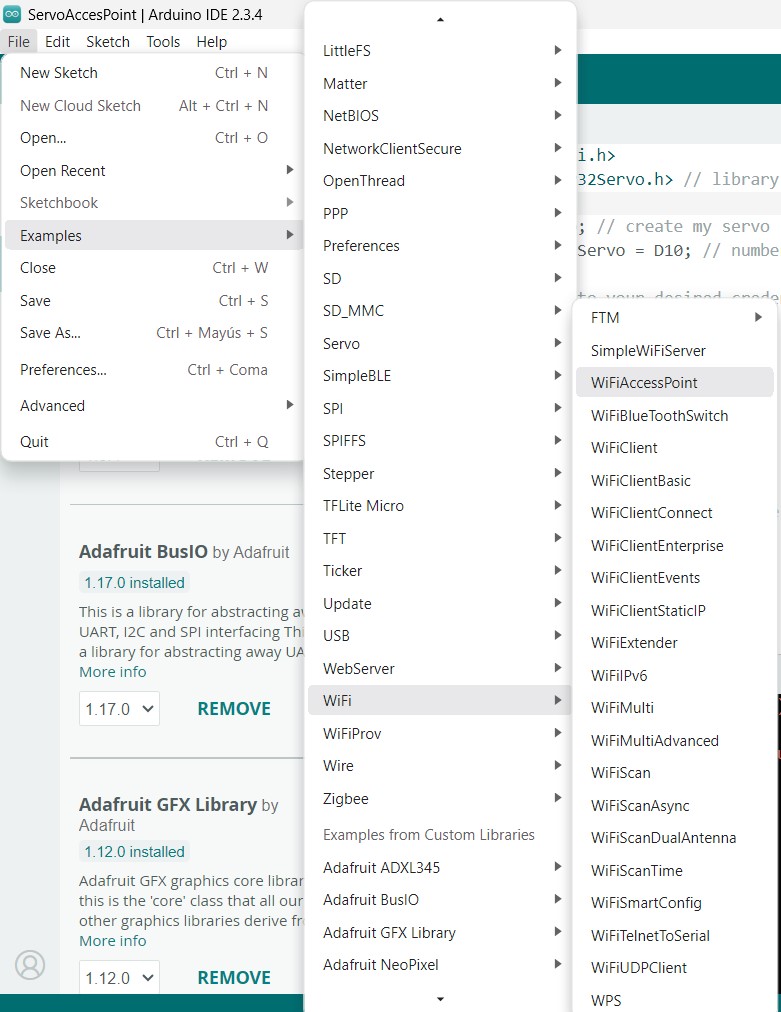
Note! Is important to select a microcontroller on the program to see all the examples
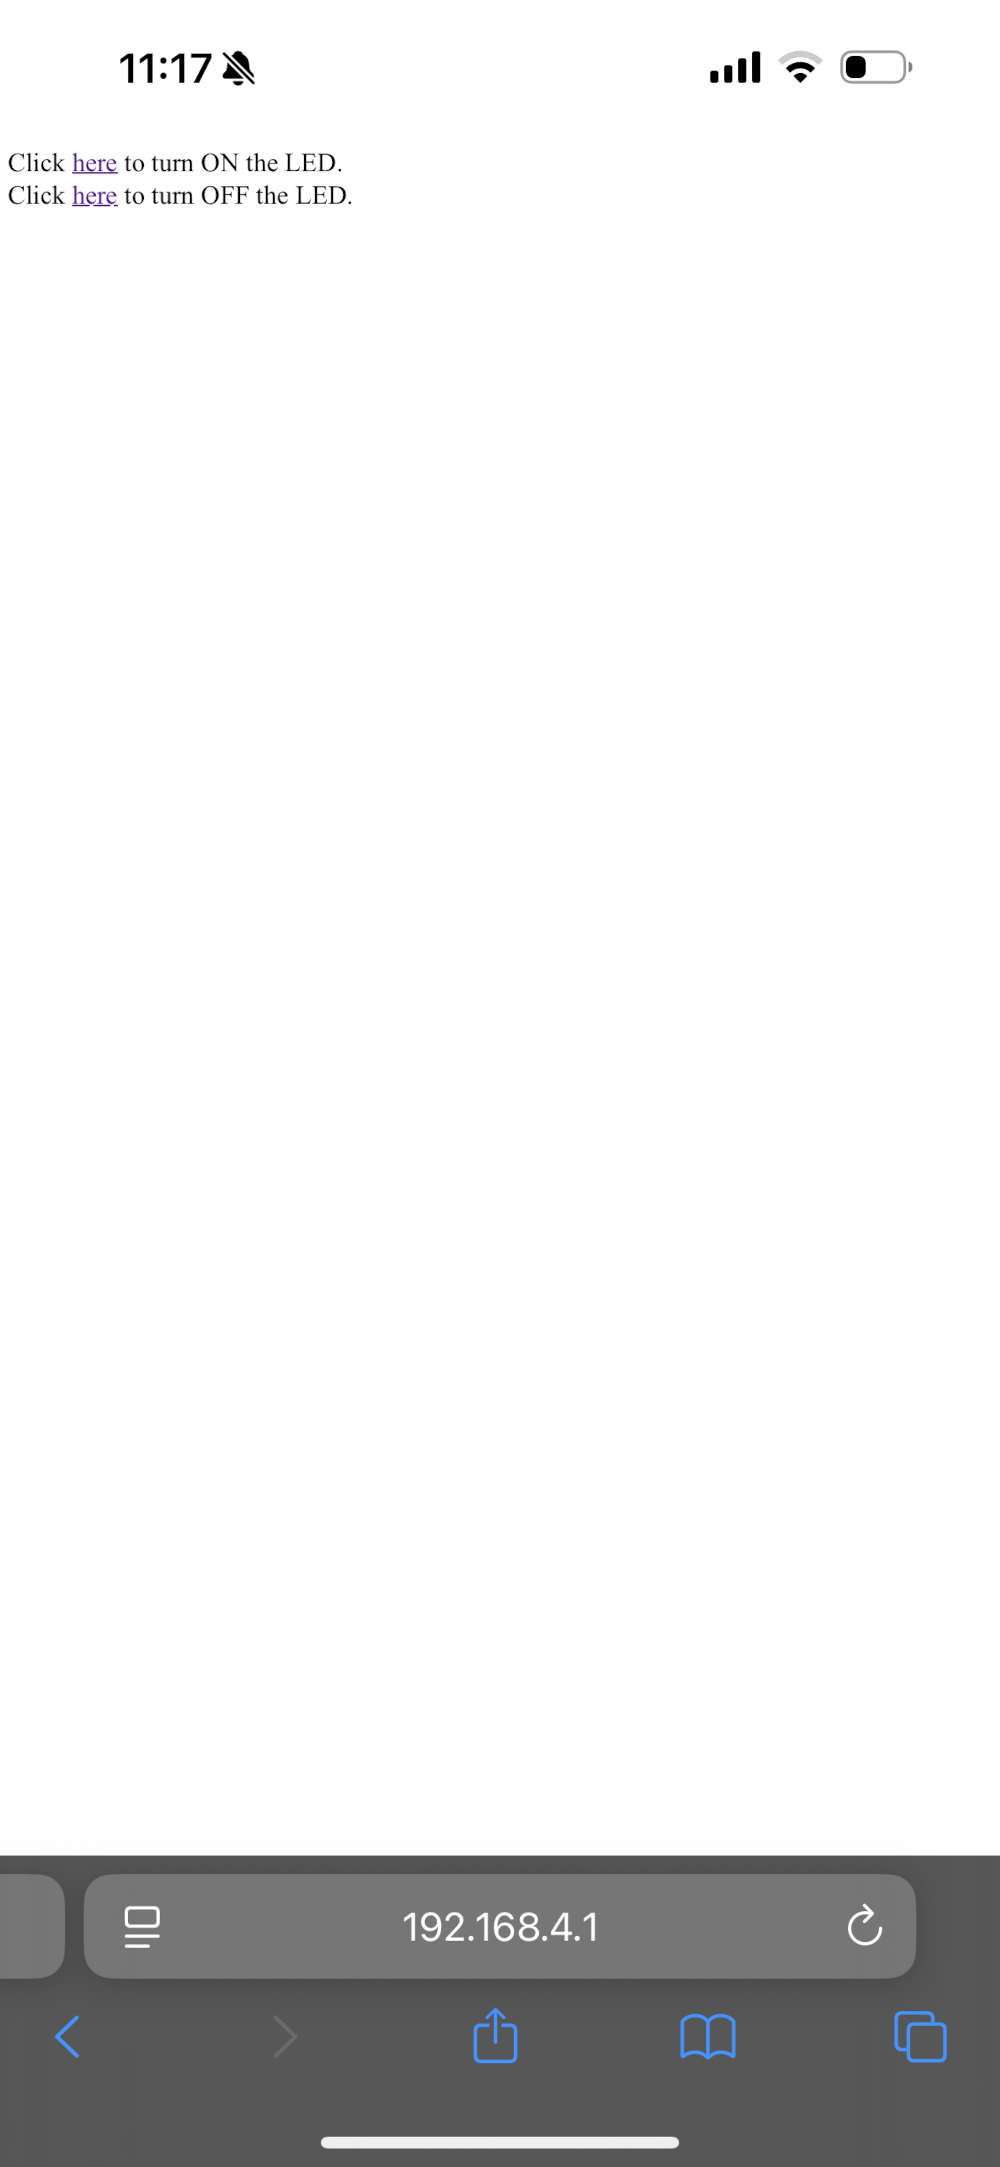
This is the server:
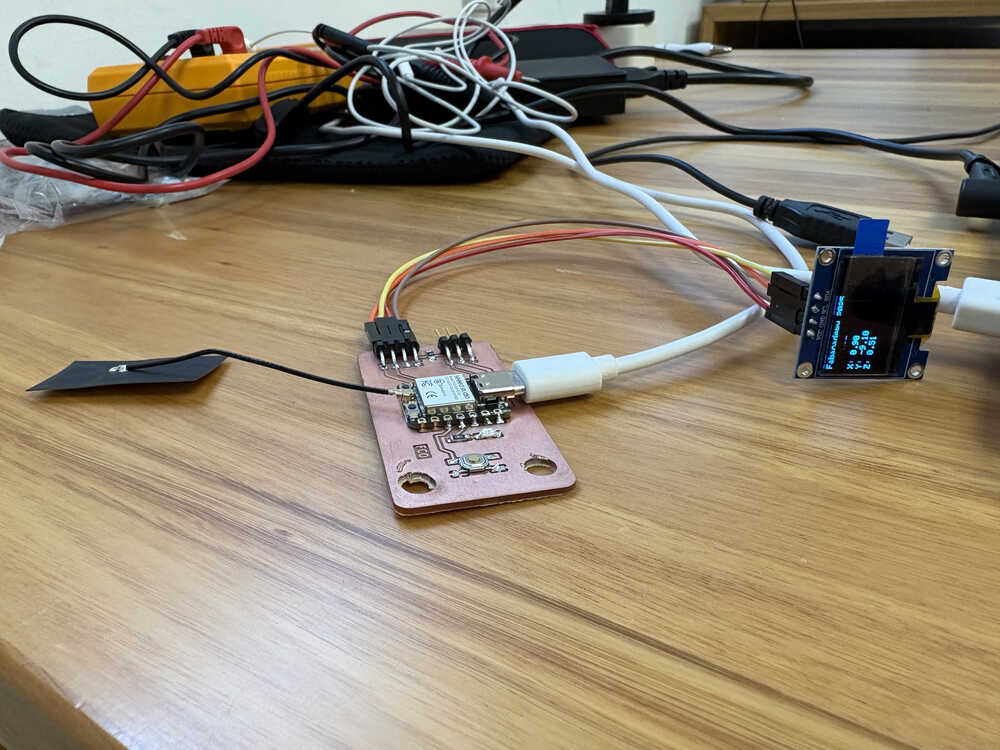
This is how my PCB looks
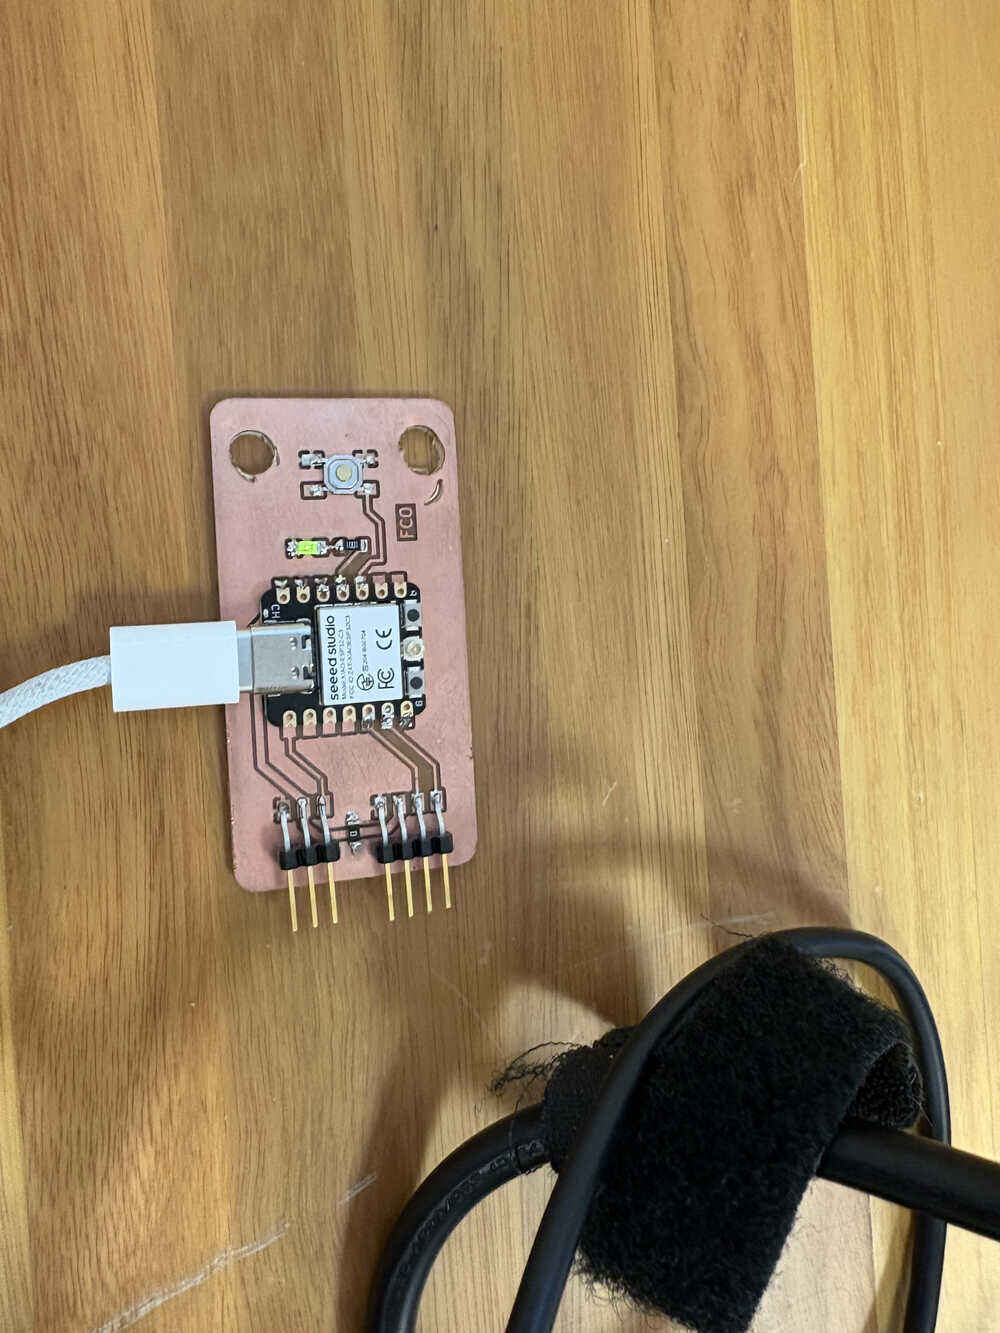
Connecting the PCB to program it and for alimentation
Then I did a little program to change the data the server had.
Then I followed the following steps to connect to Wi-Fi and Server:
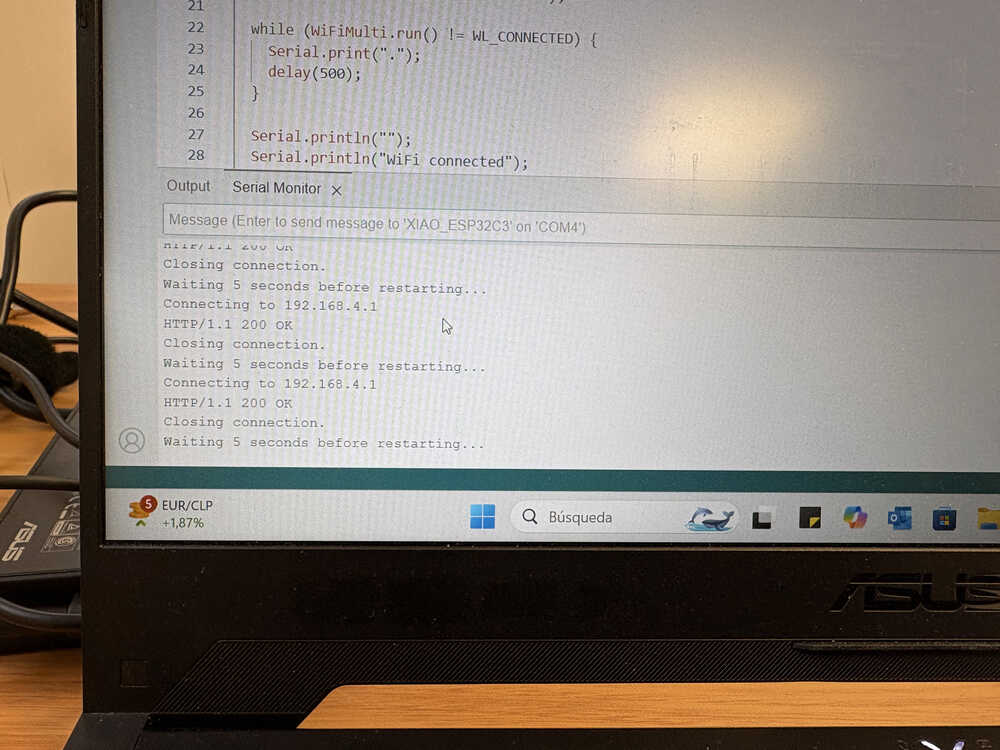
Connected the ESP32 to a specific Wi-Fi network (SSID and password).
Then, I connected to an HTTP server at IP address 192.168.4.1 and port 80, where the acceleration values (X, Y, Z) were fetched.
The server provides acceleration data in HTML format, such as:
X: 0.16 m/s², Y: -9.18 m/s², Z: -0.78 m/s²
I implemented a function to extract these values from the HTML response using the extractValue() function.
Displayed on the OLED screen:
The OLED screen displays the acceleration readings in text format:
X: 0.16 m/s² Y: -9.18 m/s² Z: -0.78 m/s²
I used the Adafruit_SSD1306 and Adafruit_GFX libraries to handle the screen and display the data.
The code also have some important features:
If the Wi-Fi or server connection is lost, multiple reconnection attempts are made before giving up.
The received values are checked to ensure they are numeric before processing.
Continuously updates with new acceleration values
At first the code didn’t work and I discrovered that it was important to connect the antena the XIAO ESP32C3 had.
The Oled was working with the antena.
I send a message to it.
I divided the screen into two, so in one side there was the client sending messages(accelerometer) right hand. And in the other side there was the Wifi acces point with the oled to show values.
This is accelerometer

This is how the server looks
And It wroked very well
It changed between 3 seconds
This was how the microcontoller were communicating each other
Learning Outcomes:
This week, I learned how to design and implement both wired and wireless communication between microcontroller nodes using ESP32-C3 boards. I gained hands-on experience setting up HTTP servers and clients, handling web-based data exchange, and integrating sensors and actuators into a networked system. I also learned how to parse data from HTML responses, display sensor values on an OLED screen, and manage connection stability through reconnection logic. Collaborating with my peers taught me the importance of coordinating different parts of a system, such as sensor calibration, server logic, and user interfaces. Overall, I strengthened my skills in embedded programming, real-time feedback systems, and Wi-Fi communication protocols.
Documentation
- acceleration: .zip click here
- WifiaccesPoint: .zip click here
- Wificlient: .zip click here