In this assignment:-
1.Create your own design and explain how I did it.
2.Import it in digital machining software and do a project on Sewing Machine.
Digital Embriodery Machine:
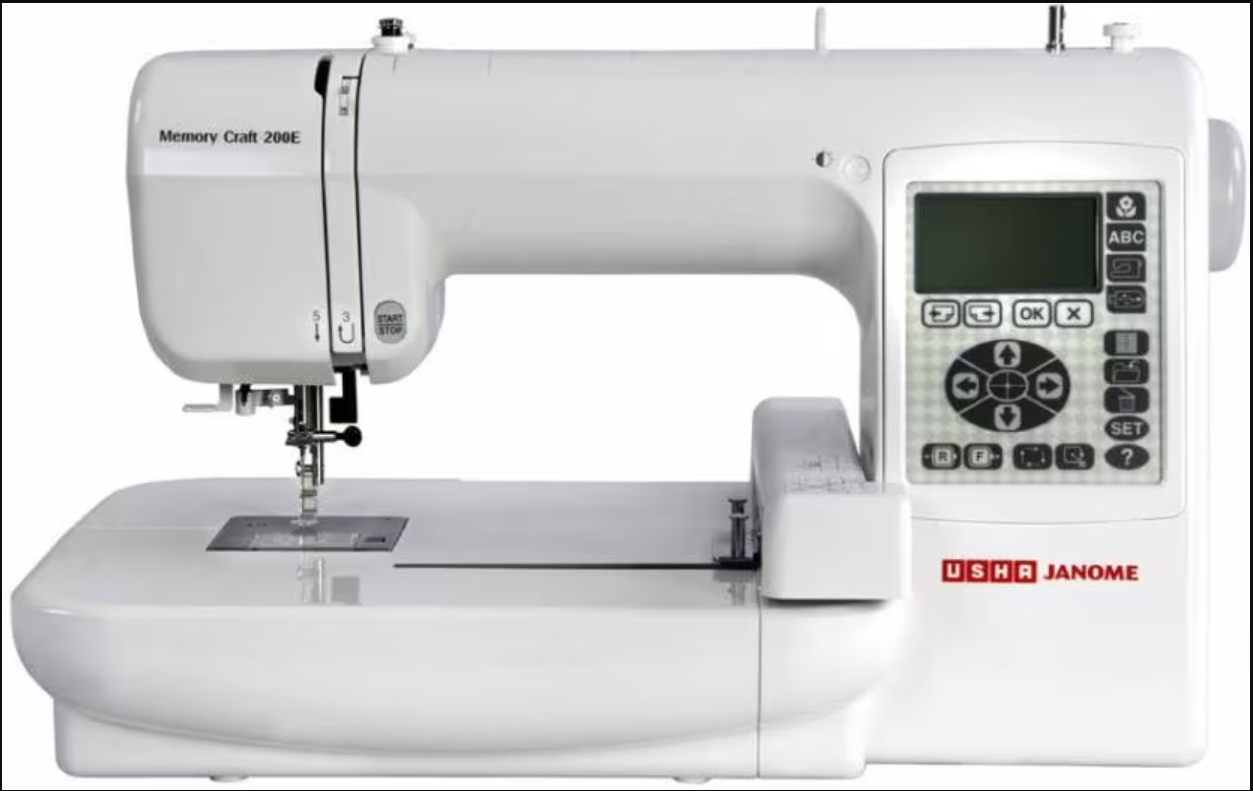
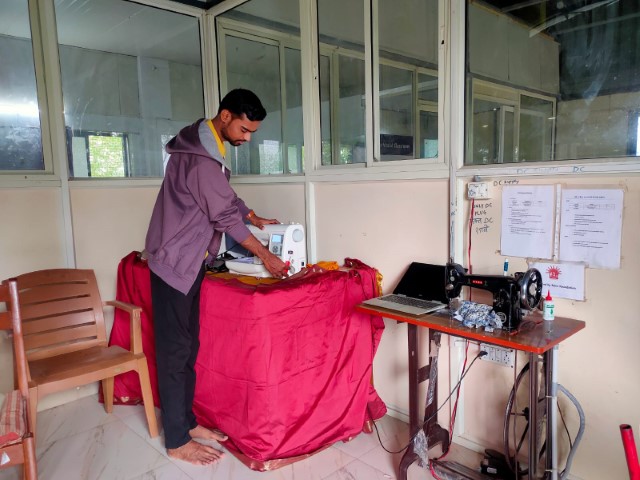
About USHA MemoryCraft 200 CE Digital Embriodery Machine:-
The Usha MC 200E is a versatile electric sewing machine designed for both beginners and experienced sewers.
It features multiple stitch functions, an automatic needle threader, adjustable stitch length and width, and a free arm for
circular stitching. With a built-in light and accessory storage, it enhances convenience and efficiency.
Compact and lightweight, it's ideal for home use, allowing users to tackle various sewing projects,
from mending clothes to creating home décor items. Its user-friendly design and reliable performance make it a popular choice for home sewers.
Key Features:
- Stitch Functions: Offers multiple stitch functions to cater to various sewing needs.
- Automatic Needle Threader: Simplifies the threading process, saving time and reducing strain on the eyes.
- Adjustable Stitch Length and Width: Allows customization for different types of sewing projects.
- Free Arm: Ideal for circular stitching on cuffs, collars, and hems.
- Built-in Light: Enhances visibility while sewing.
- Accessory Storage: Comes with a built-in storage compartment for keeping sewing accessories organized.
- Buttonhole Maker: Usually includes a one-step buttonhole feature.
Specifications:
- Type: Electric sewing machine
- Weight: Lightweight for easy portability
- Dimensions: Compact size, suitable for home use
- Power Consumption: Energy-efficient
Accessories:
- Typically includes various presser feet, bobbins, needles, seam ripper, and a user manual.
Designing a File for Embriodery work
So to create a logo file I use CorelDraw Software
Select two rectangle with curved vertices
Select Eye Droper and Fill in the colour
Insert the logo text in an creative way
Add some more elements to make it attractive
Insert the Company Name
Finishing touches
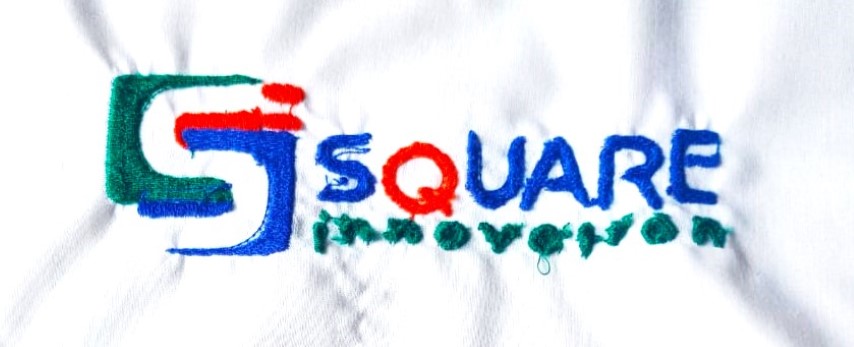
Final Logo Design ready for Embriodery
Importing the design into the Digitizer Software for creating a Digital Stiching file.
Digitizer embroidery software is a specialized tool that converts digital images and vector graphics into stitch patterns
for embroidery machines, facilitating the creation and editing of intricate designs. It supports various stitch types, lettering,
and monogramming, offering extensive customization options and compatibility with multiple machine formats. Key features include image conversion,
stitch preview, and advanced tools like auto-digitizing, making it ideal for hobbyists, professionals, and educators. Popular examples include Wilcom Embroidery Studio,
Brother PE-Design, and Hatch Embroidery, enhancing efficiency, precision, and creativity in embroidery design.
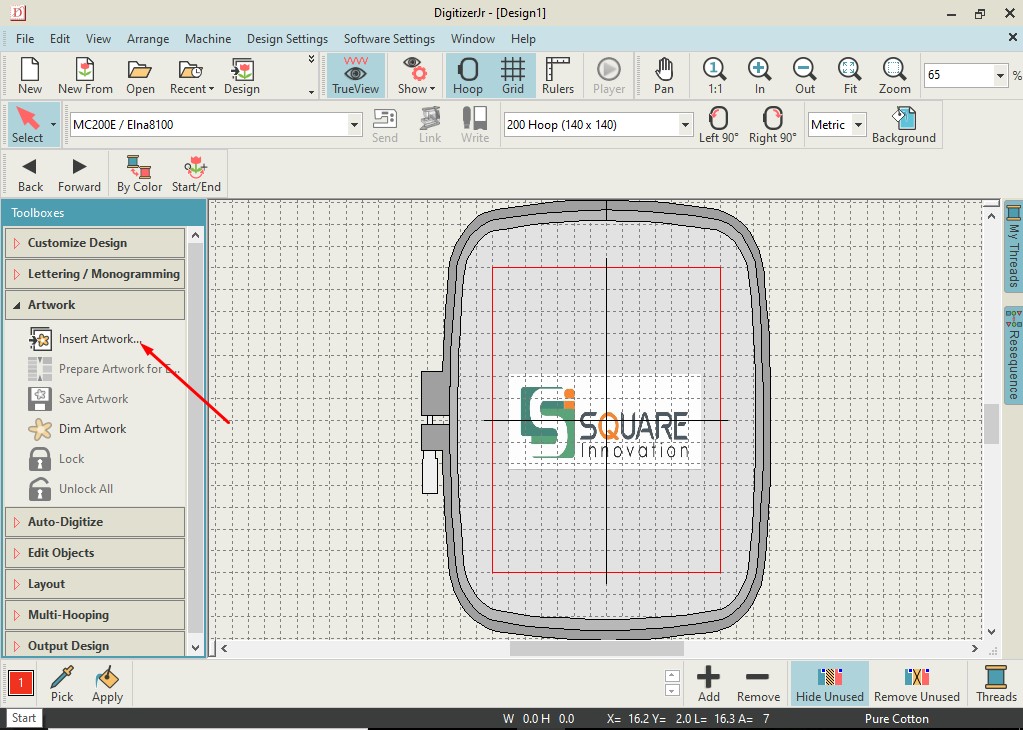
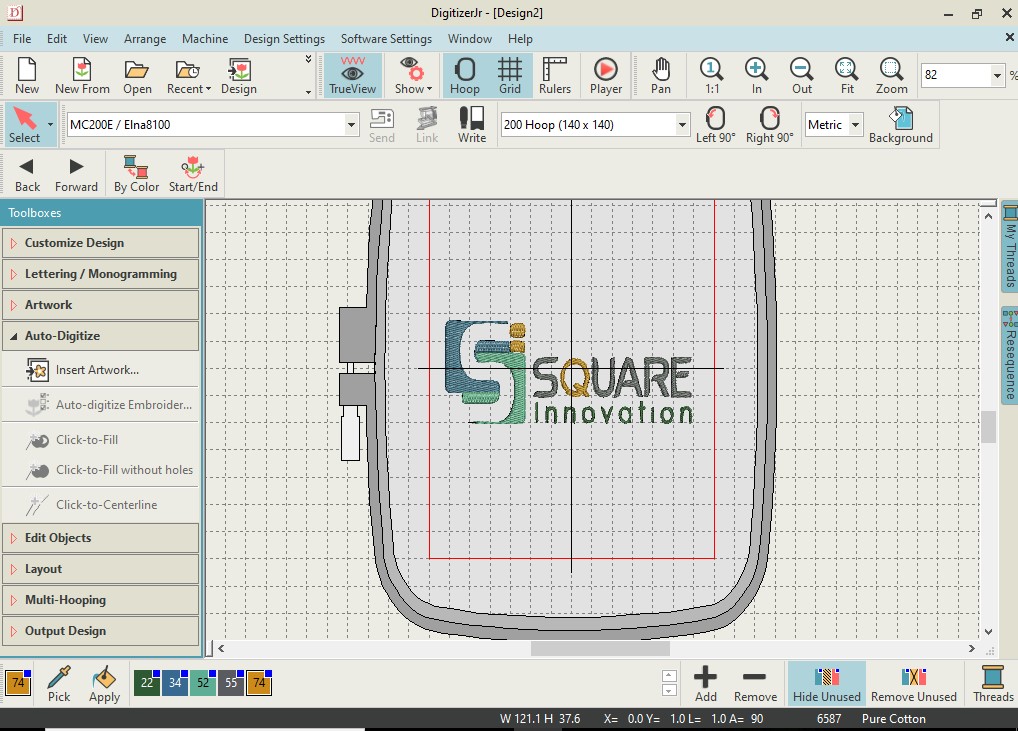
Launch the Digitizer Software
Open File to load a fresh file
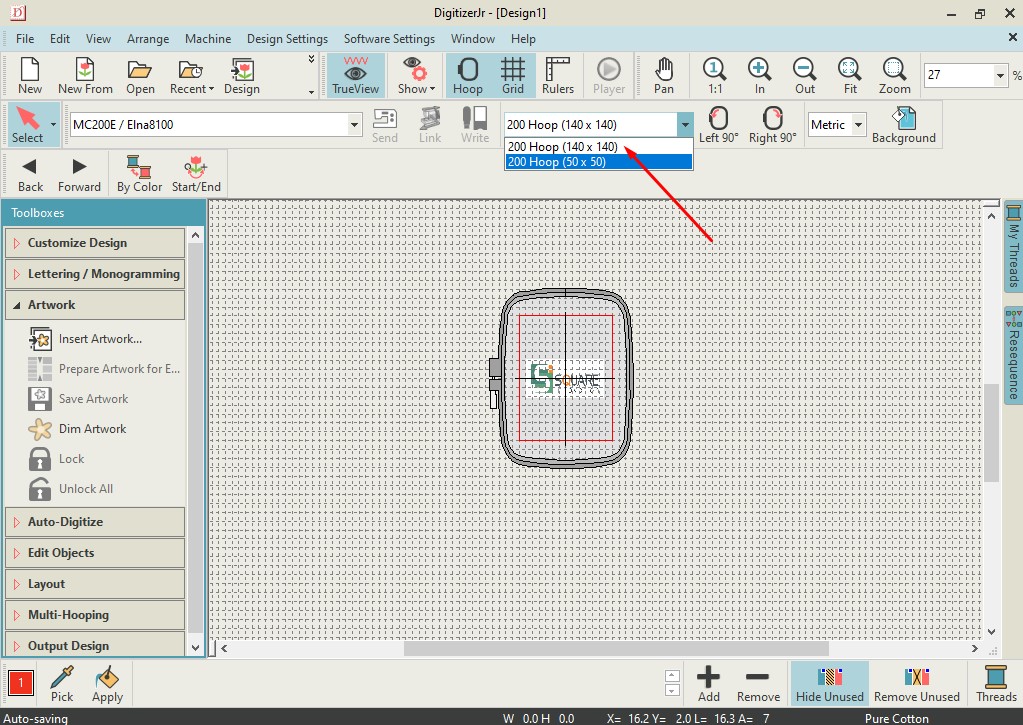
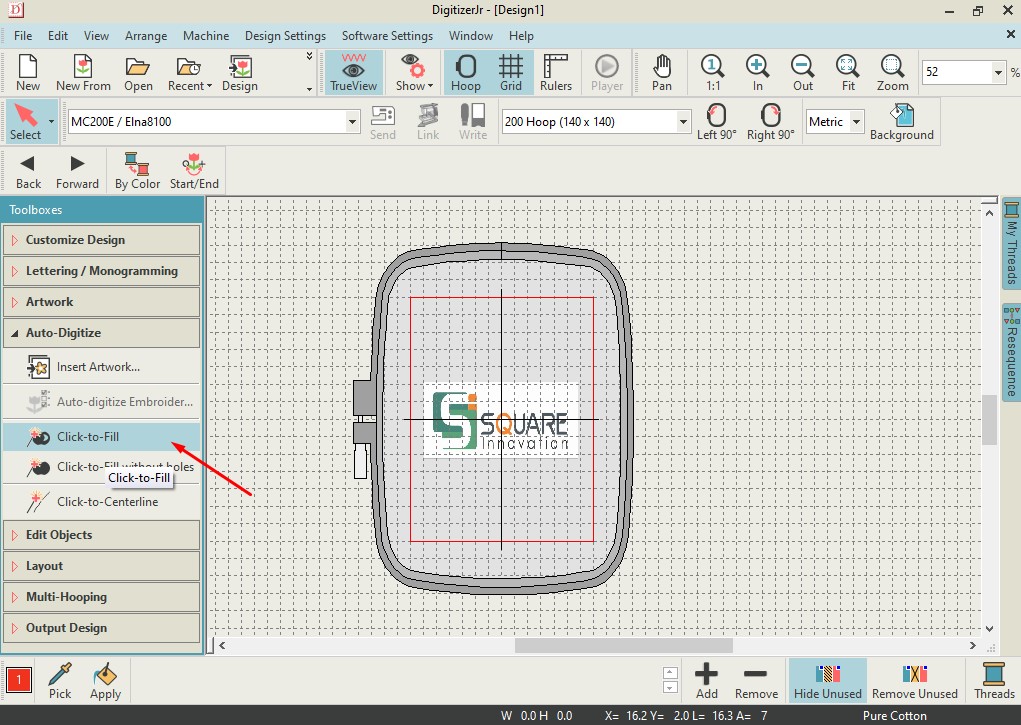
Select the Hoop as per your design size, in my case I have used 140*140 mm
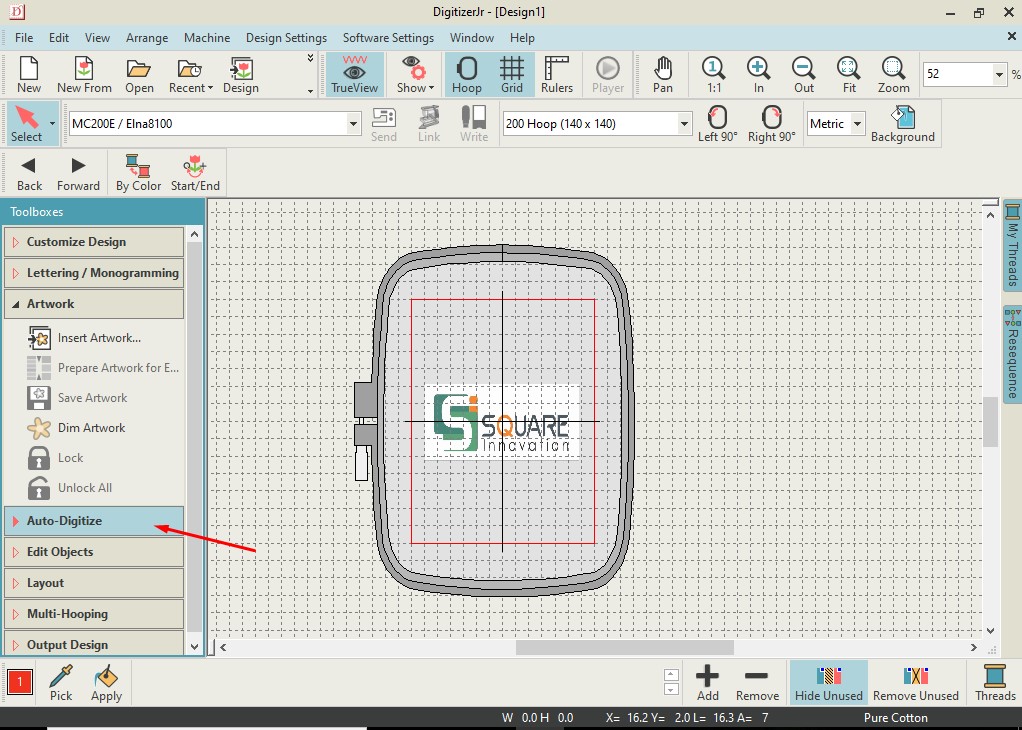
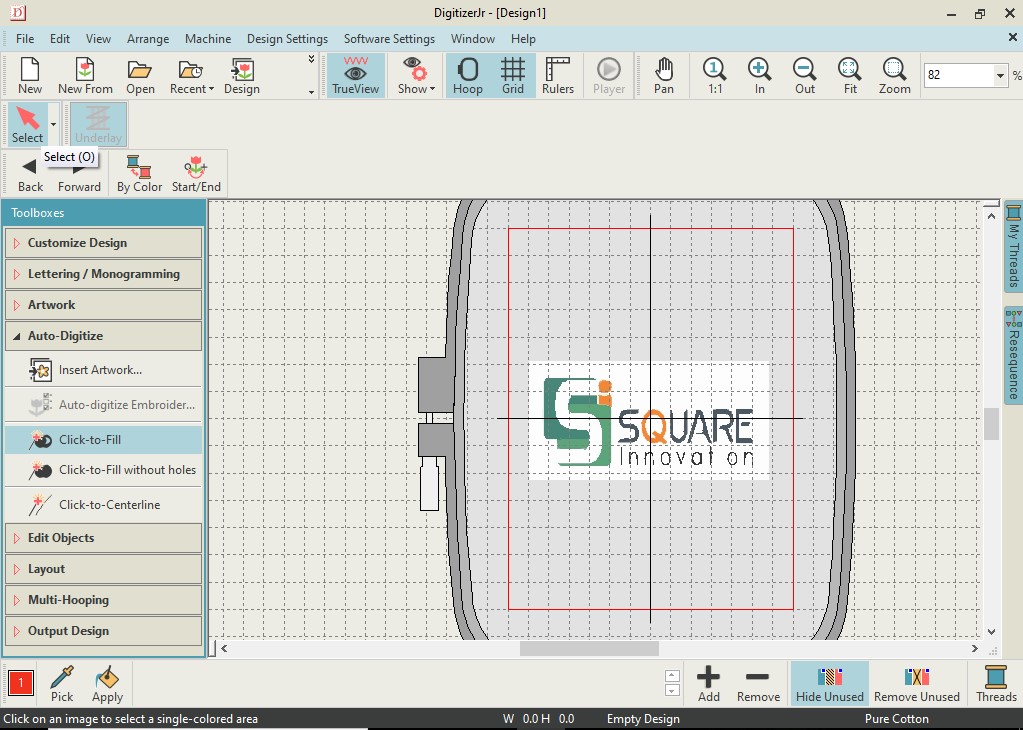
Select Auto-Digitise from Artwork
Click the Select tool option on the Top left Corner
Select the image and click the Click to Fill option from the side tab
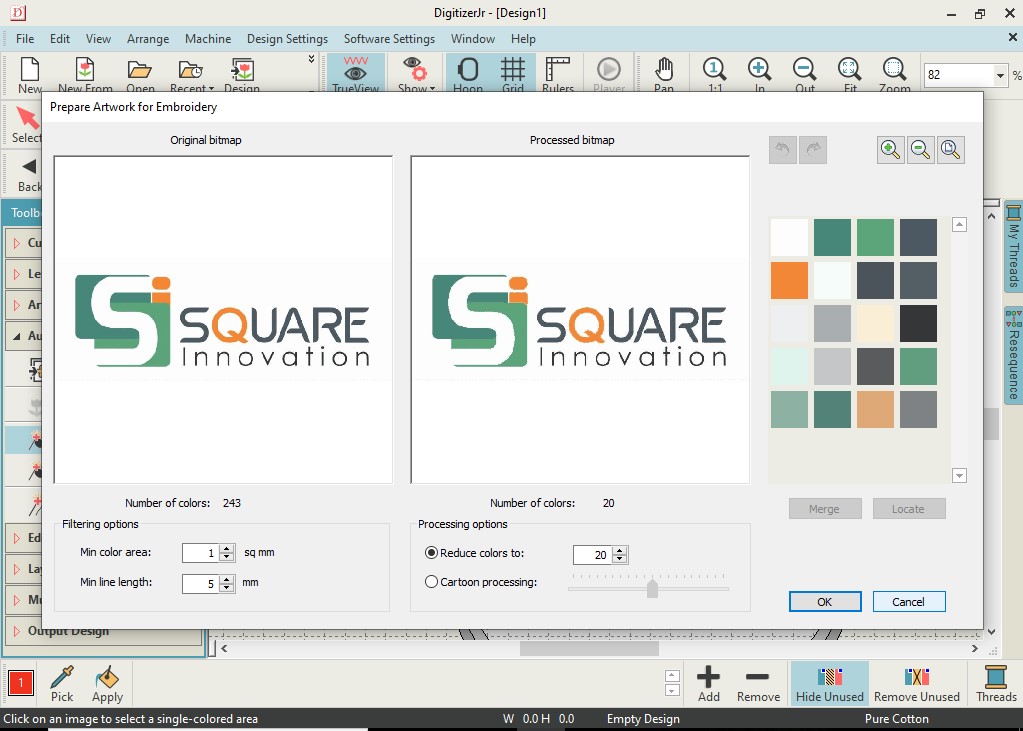
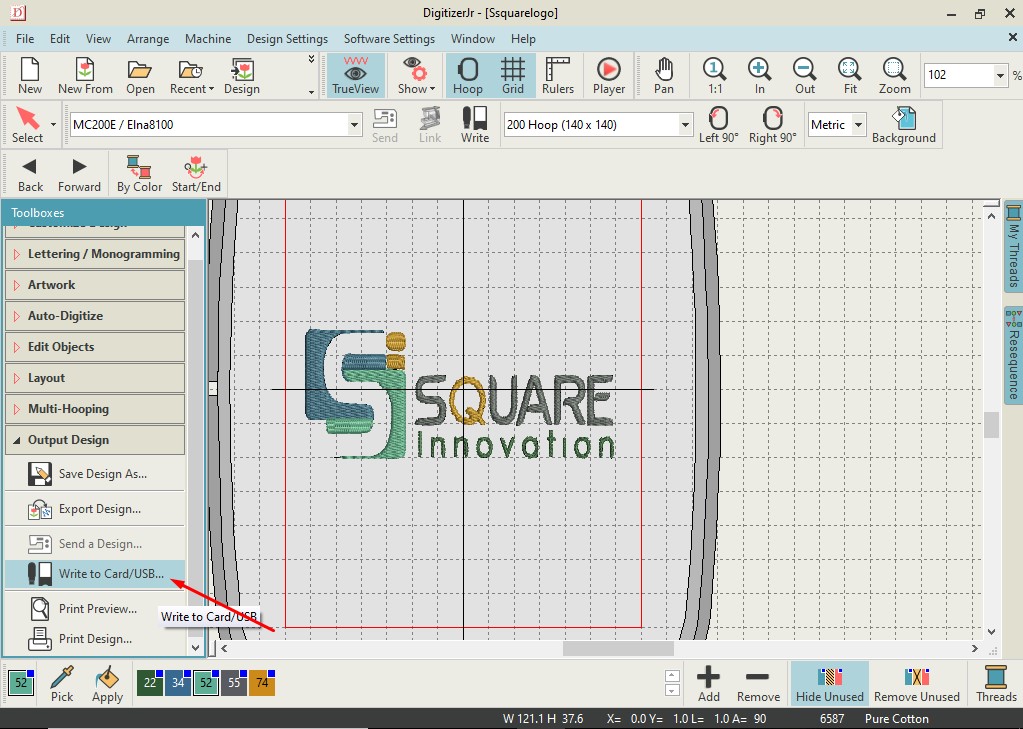
Now if all the colour in the logo are not visible clearly, then click the image and adjust the settings
Now you can adjust the colour setting till all the colours are visible
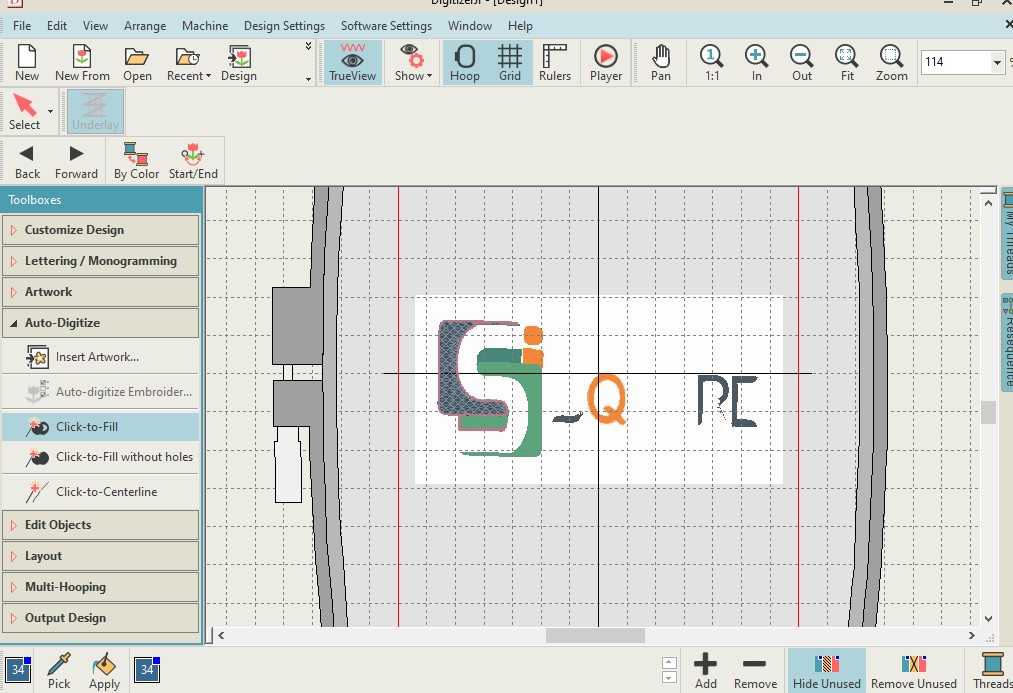
Now you can select each element to be stiched so it will be visible like this
Image Preview
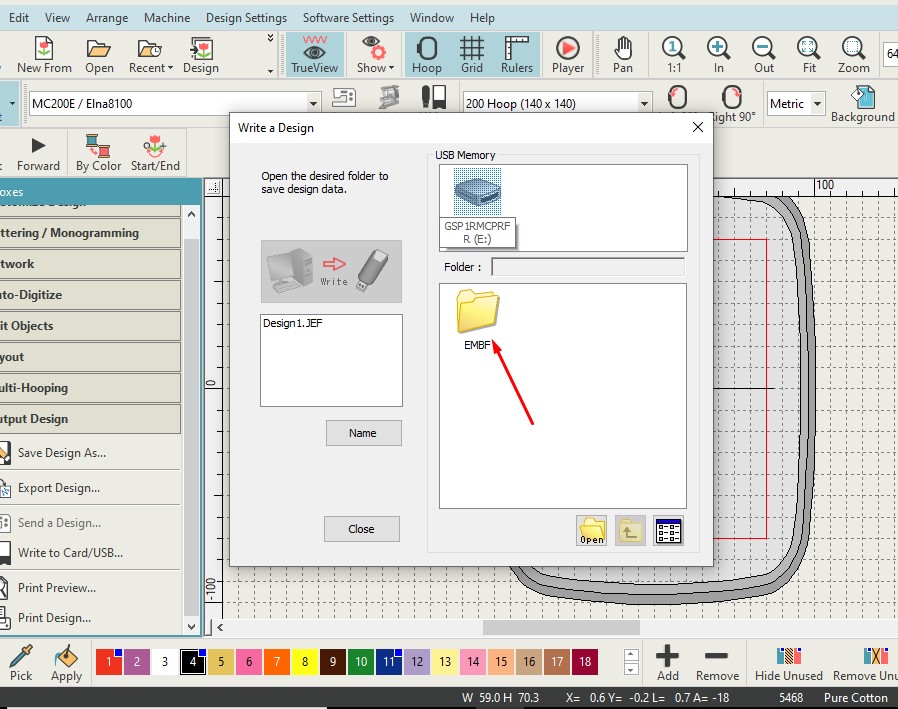
Lets Save the design and export to drive for sending to machine
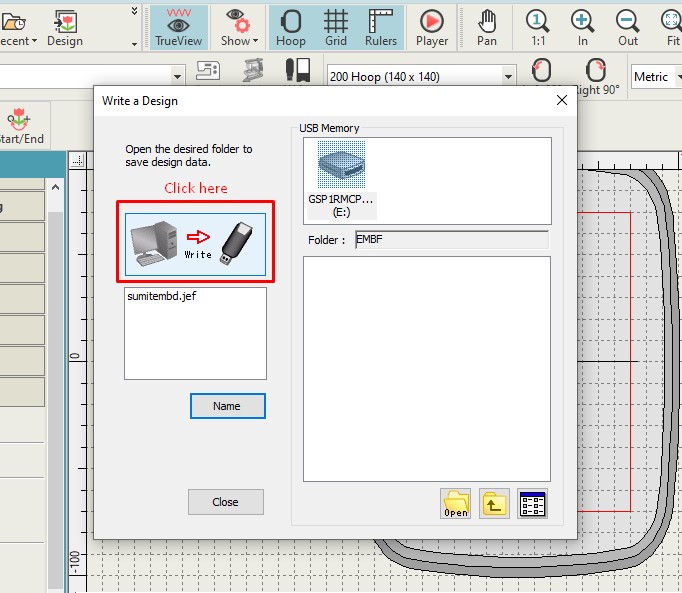
Click write to file
Write to the specific file and destination
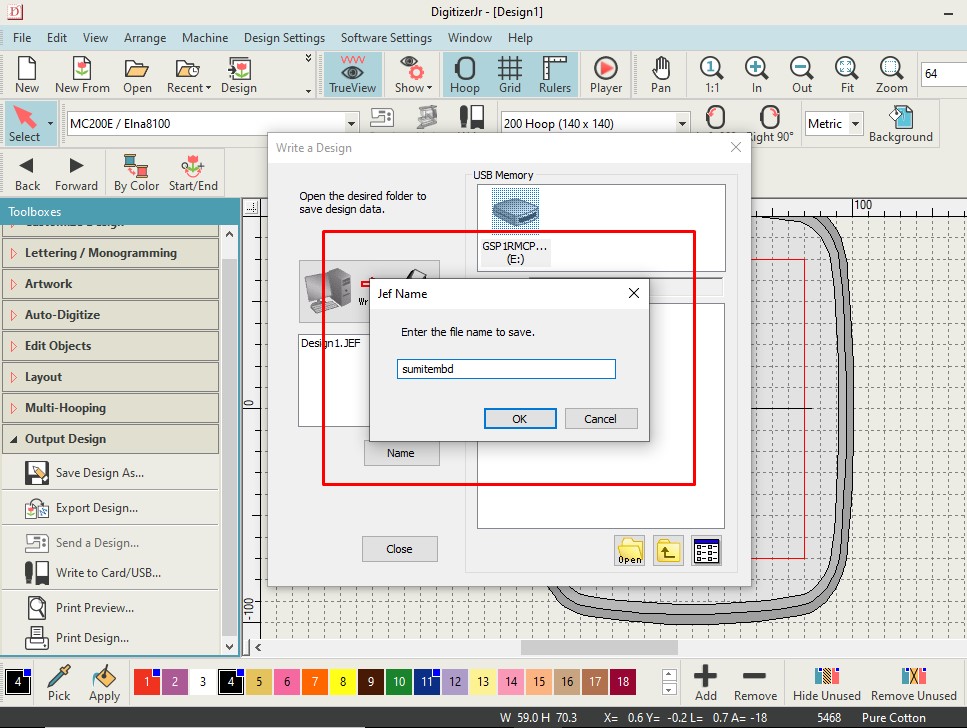
If you wish you could rename the file
Finallt save the design in EMBD folder
Giving the command to Embriodery Machine to Stich the design
Pre-Stiching Setup
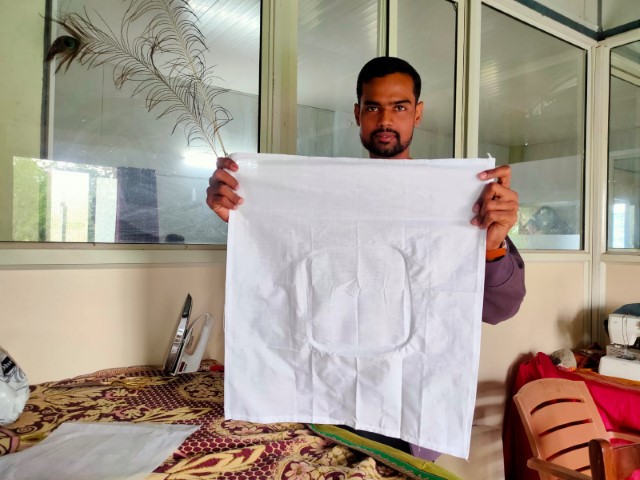
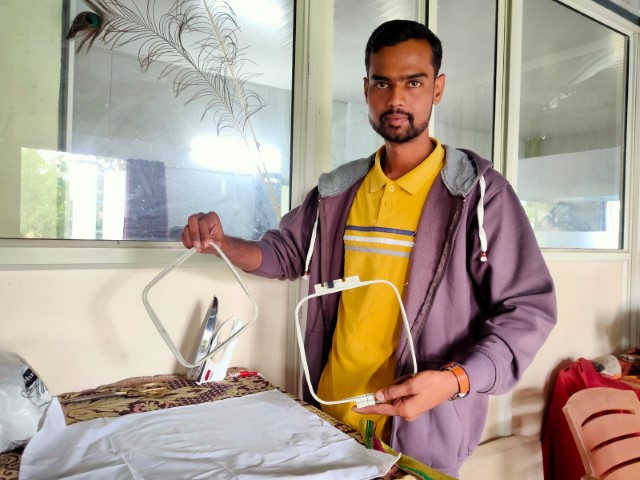
Making the Hoop ready with Canvas and Cloth attached to it.
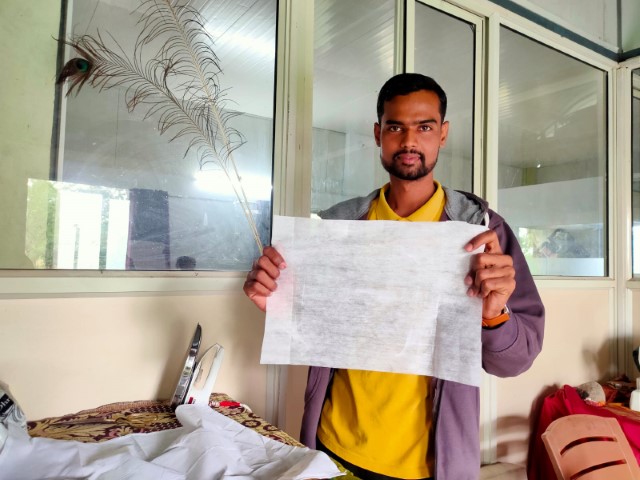
Take the cloth on which you need the designed to be Embrioderised
Take a canvas fabric for strenght and support to our cloth.
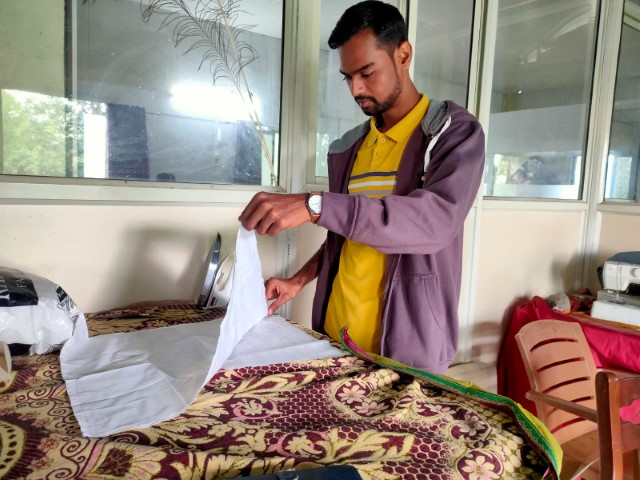
Now put the Canvas under the cloth as such the Cloth will be on the top facing to the machine needle
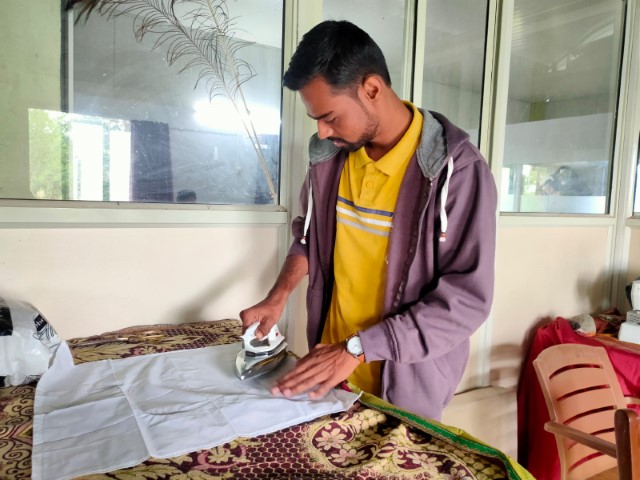
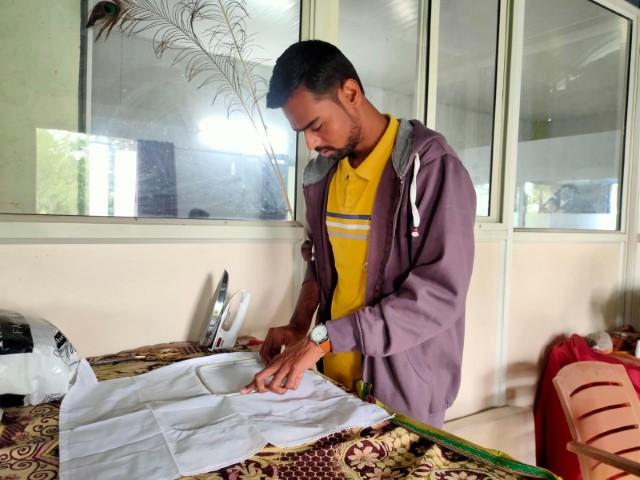
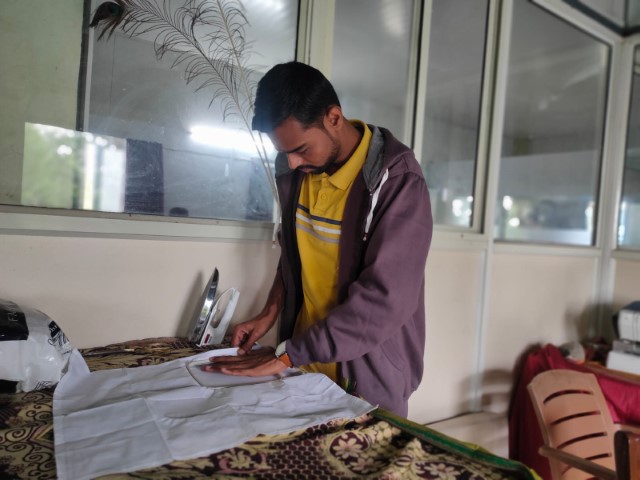
You can Iron the cloth and canvas toghether to remove the wrinkles
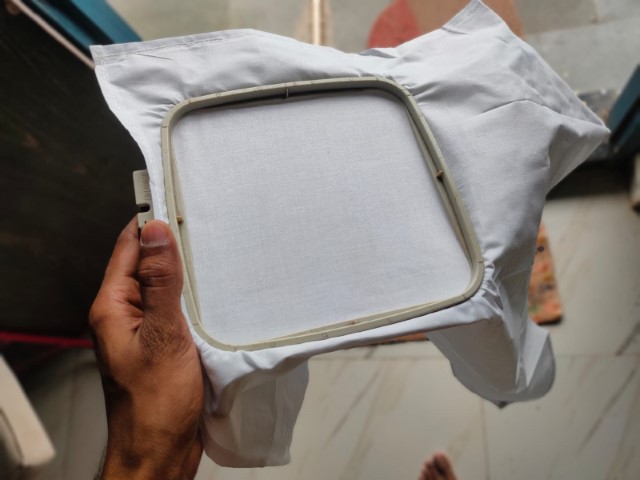
Now lets mount the Cloth and canvas in the hoop
You should strech the cloth from all the sides to make it set properly without wrinkles
Finally the hoop is ready to mount on the machine
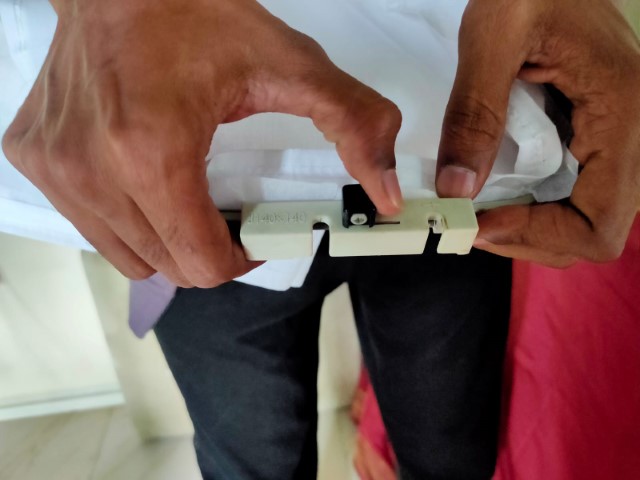
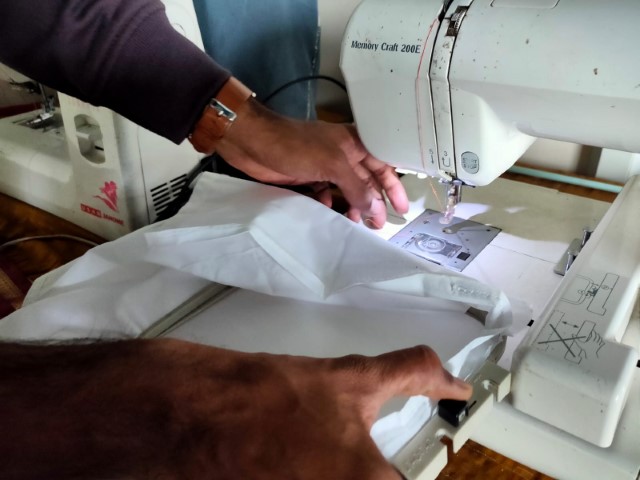
Push the black lever at side of the hoop to unlock
Mount the hoop on the machine bed and release the hoop lever to lock.
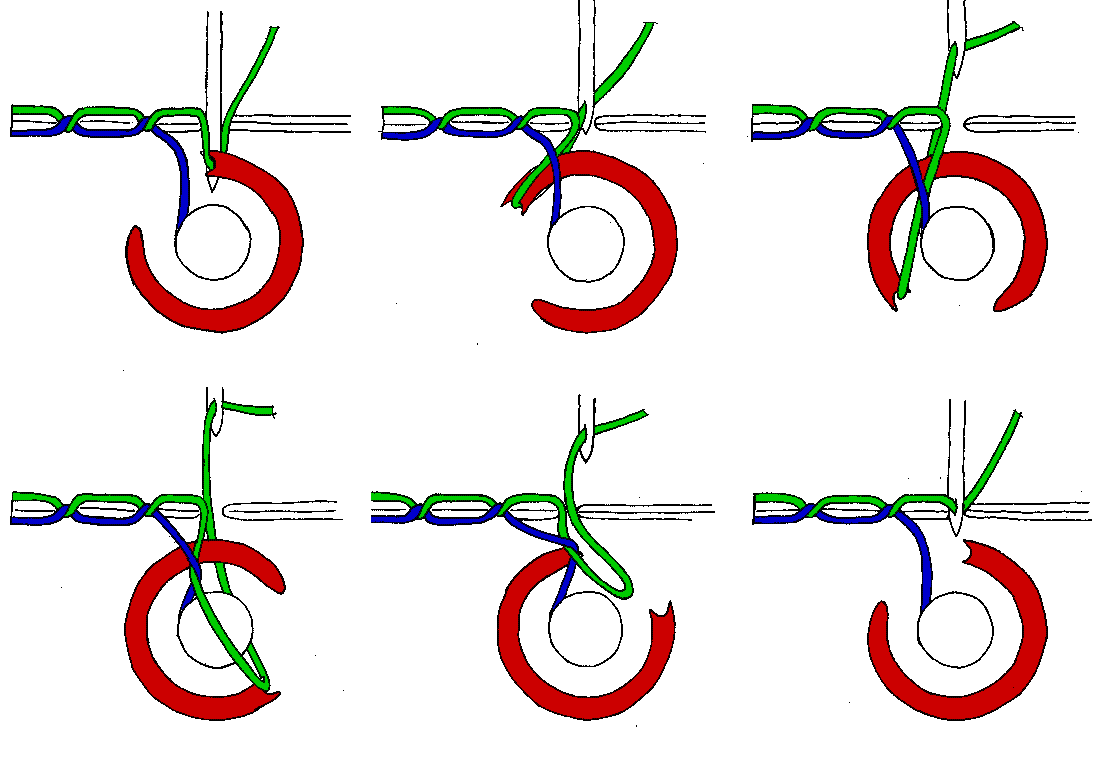
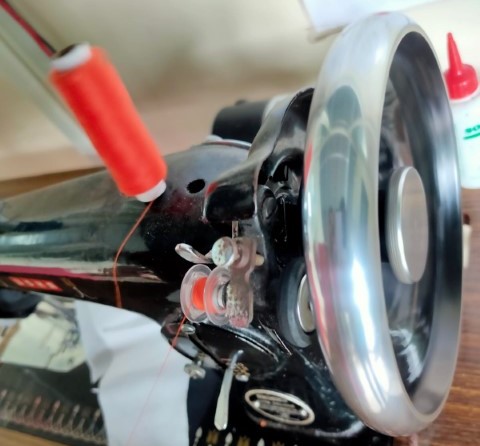
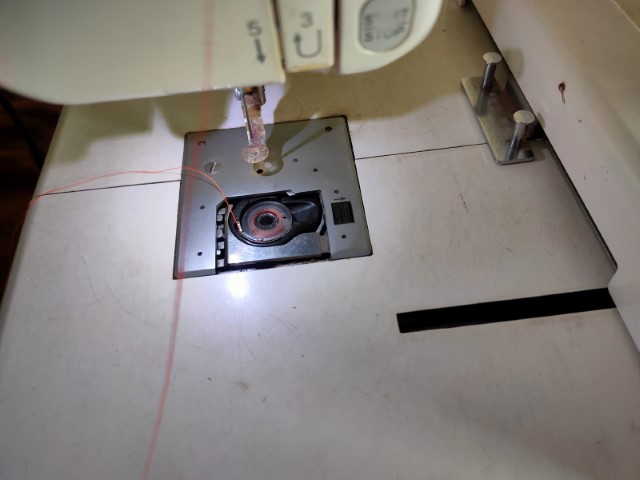
For sewing machine to operate its mechanism you need a thread on the top and a bobin thread at the bottom
To refill the bobin roll
Remember the Bobin refill colour must be as same the on mounted on the top thread roll.
Loading the file on the machine
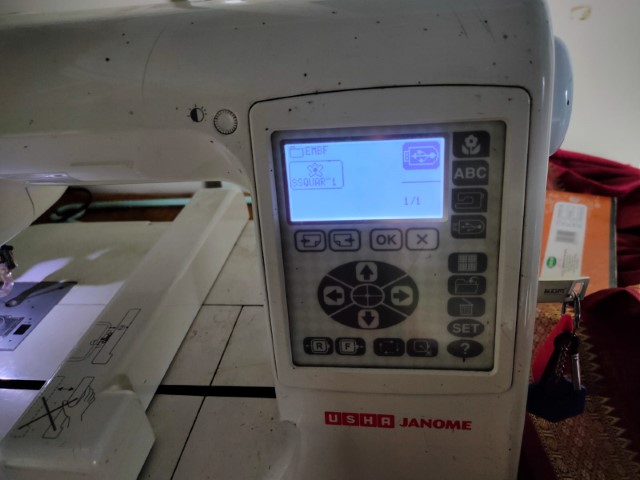
Plug the the Drive which has the exported file of stiching.
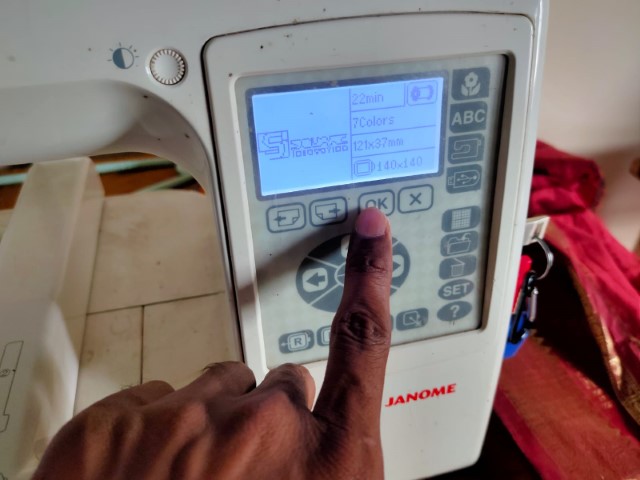
Select the file from the USB Drive, visible on the screen
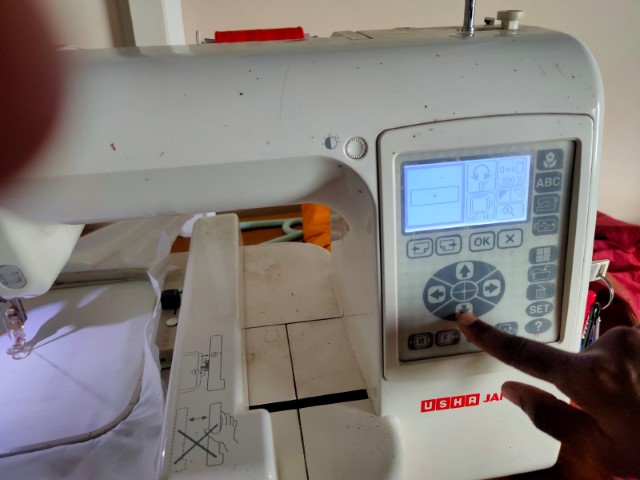
Select and set the origin frame position
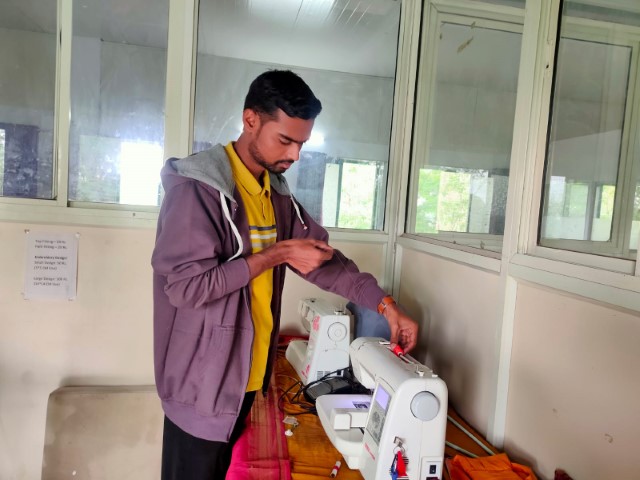
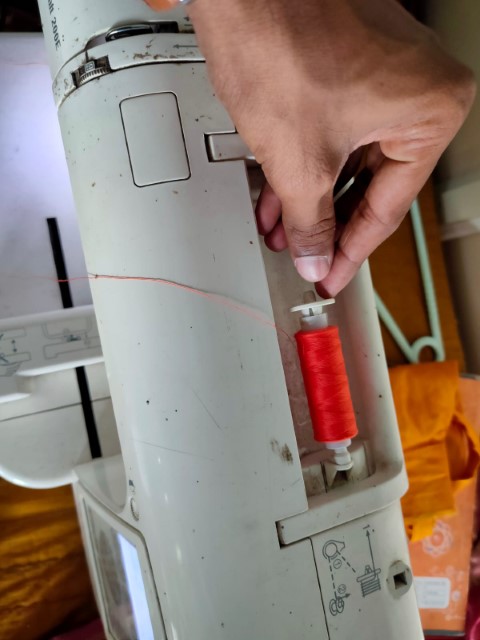
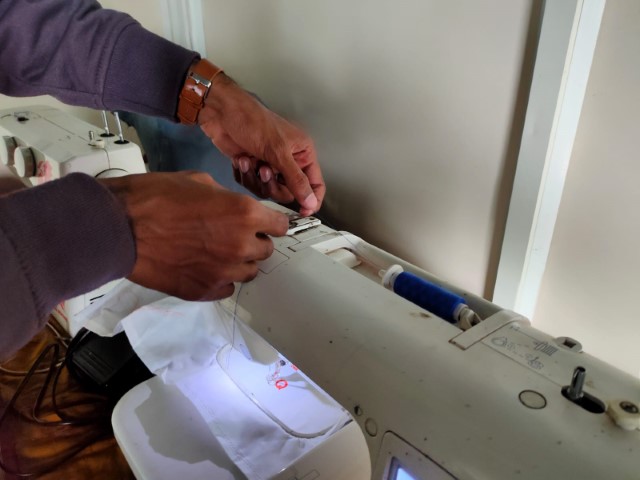
Put on the Thread into the carriage on the top of the machine
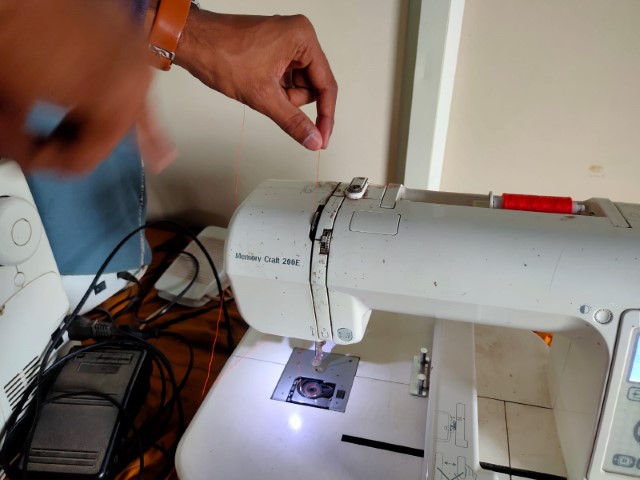
Now lets put the thread on the machine mechanism.
Follow the 5 steps as marked on the machine and follow the path
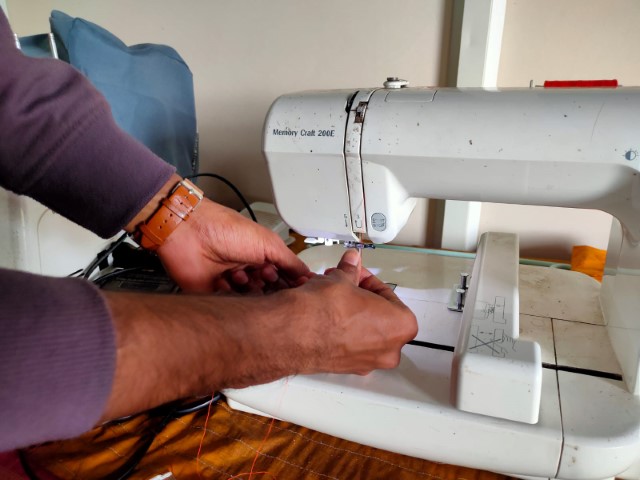
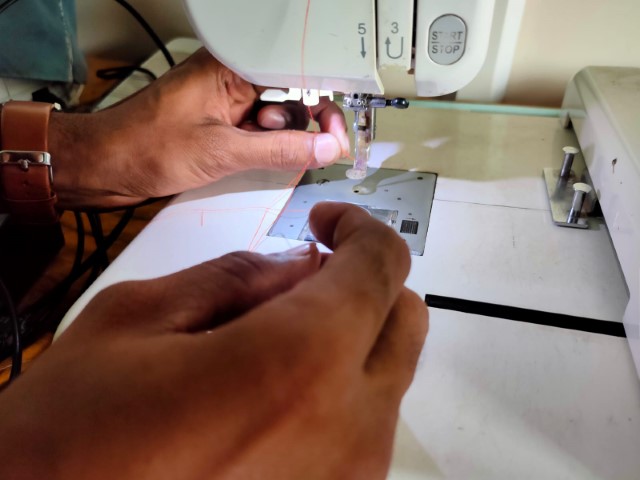
At last insert the thread into the needle head
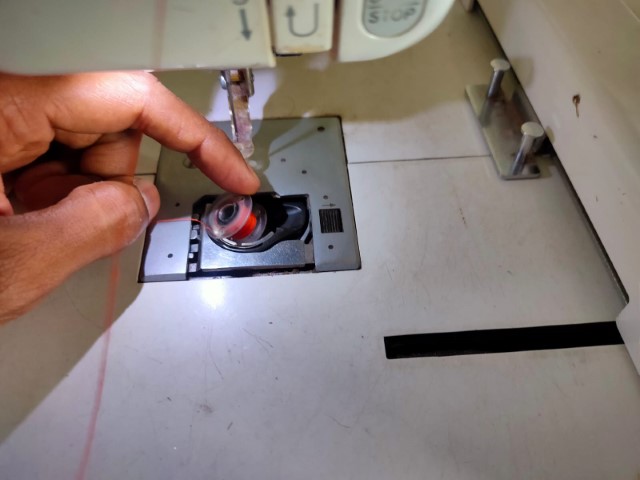
Place the bobin roll at its place
Now select the design that we adjusted and press OK
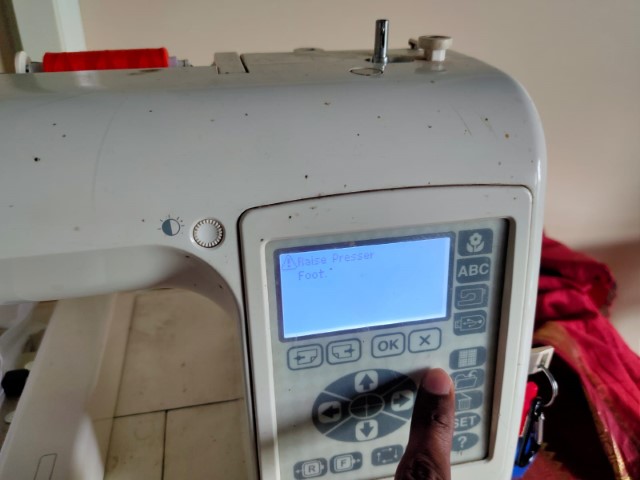
A new message will appear on the screen, to "Raise the presser foot"
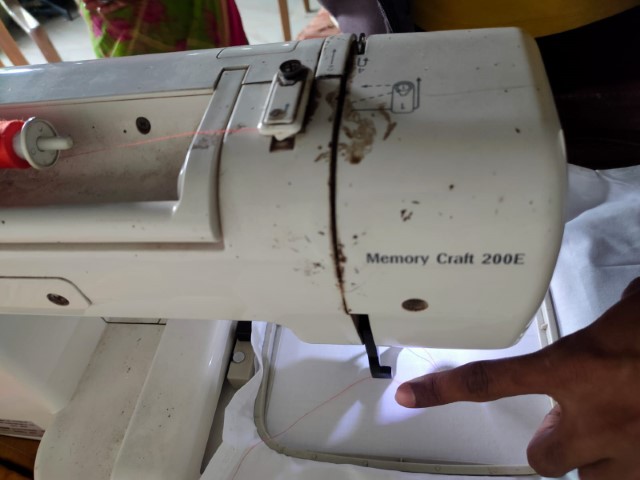
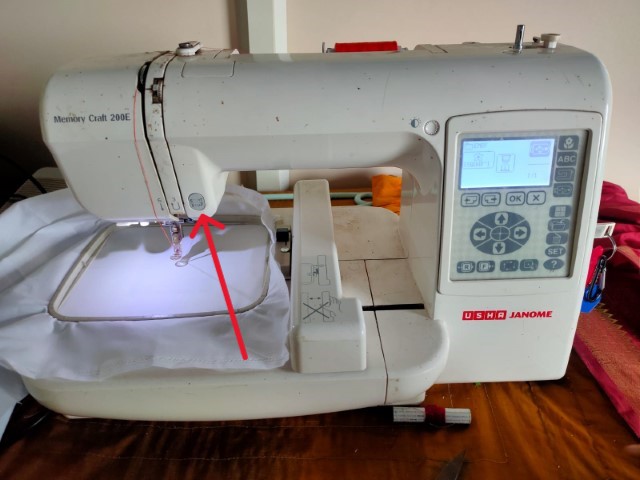
So you have to raise the lever at the back of the machine
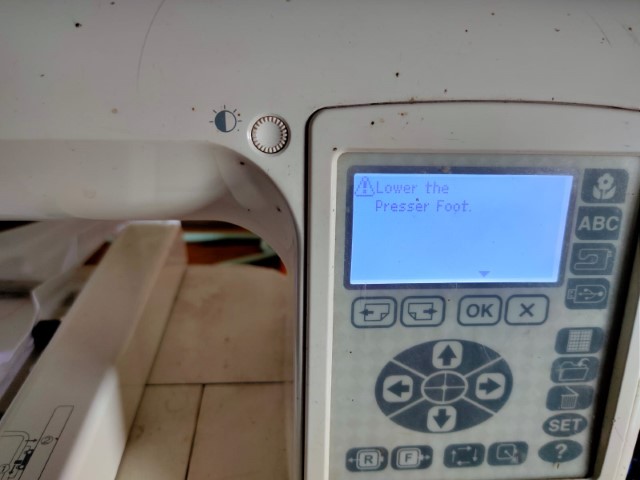
Now again a message will appear to lower the presser foot, so then press that same presser down
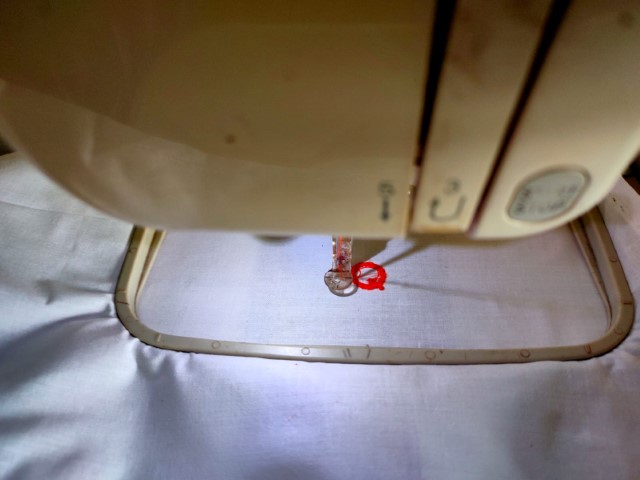
Once the setup file and machine is ready for job work, press the start button the machine
Design process started
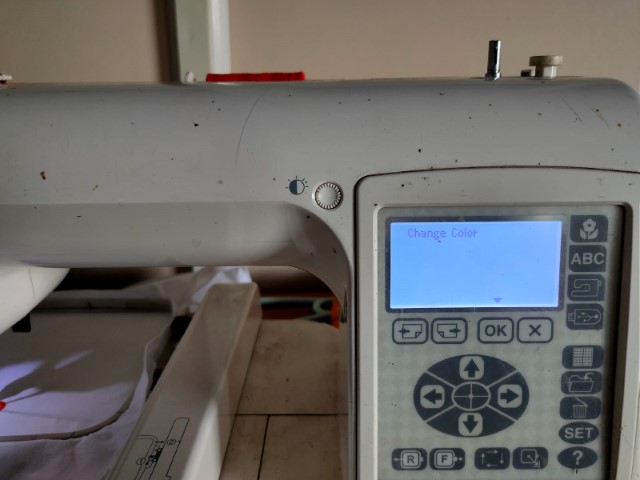
Once the first colour pattern is done the machine will stop stiching display a meassage to change colour
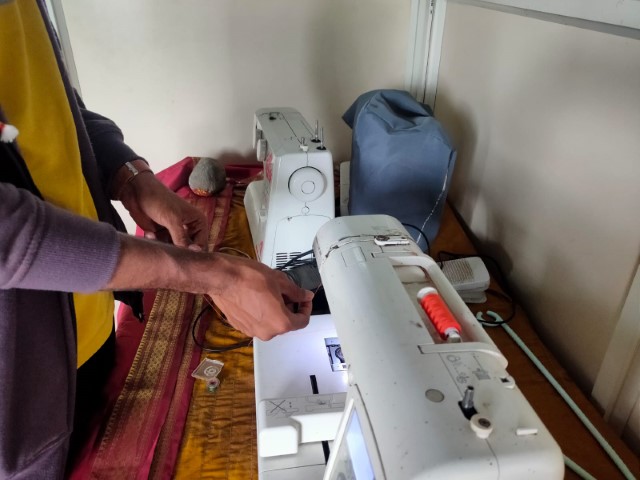
Insert new thread colour into the thread carriage, and repeat the same steps for inserting thread into the needle.
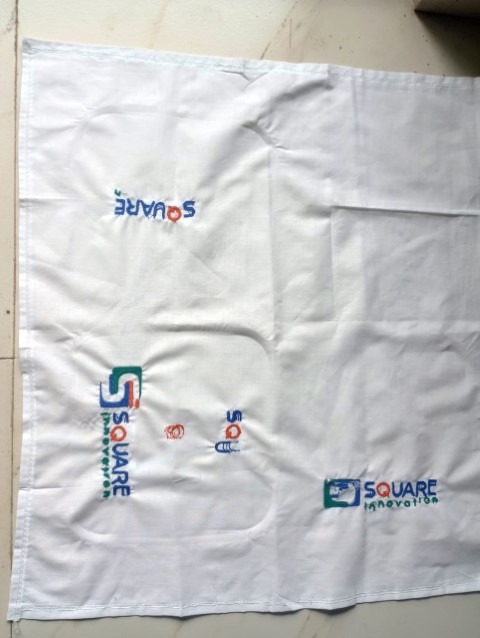
So finally after changing the thread 5-6 times I have acheived the final logo Embrioderised design
Problem and Solution
- Sometime the thread break in between the stiching process so we have to again insert the thread into the needle.
- The cloth if not fixed well then the design will be misalligned and the stiching will not be done good.
Reference Files:-
- Embriodery Design File.
