Week 14
Interface and Application Programming
Brief Overview
In this assignment, we're diving into the world of molding and casting materials. Each of us will review safety data sheets for materials like Instamold, Machine wax, EcoFlex, Moldsil, Hydrostone, and Epoxy Resin. Then, we'll compare test casts made with each material and explore the pros and cons of printing versus milling molds. Finally, we'll design and produce molds with smooth surface finishes for casting parts, applying what we've learned to optimize our process.
Heroshots
 |
Group Assignment:-
In this assignment:-
1.Compare as many tool options as possible.
2.Document your work on the group work page and reflect on your individual page what you learned.
During this week's group assignment, we delved into Interface and Application Programming, exploring a variety of tools for application development and interface programming. Our focus encompassed understanding the functionalities, features, and purposes of these tools. Moreover, we gained practical experience by creating applications using tools such as MIT App Inventor, Processing, among others.
Visit our Group assignment page here
Individual Assignment:-
In this assignment:-
1.Write an application that interfaces a user with an input and/or output device(s) on a board that you made.
MIT App Inventor

About MIT App Inventor:-
MIT App Inventor (App Inventor or MIT AI2) is a high-level block-based visual programming language, originally built by Google and now maintained by the Massachusetts Institute of Technology. The web interface consists of a graphical user interface (GUI) very similar to Scratch and StarLogo, allowing users to drag-and-drop visual objects to create an application that can be tested on Android and iOS devices and compiled to run as an Android app. It uses a companion mobile app named MIT AI2 Companion providing live testing and debugging.
MIT App Inventor Communication with Embedded Board
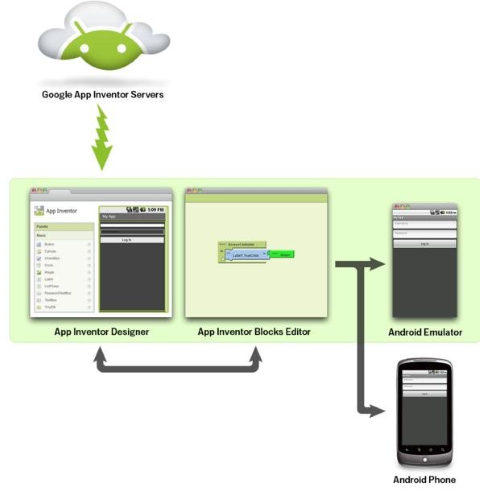
MIT App Inventor is a tool for building Android apps without writing code. To communicate with an embedded board, you need to follow these steps:
Open Web Browser, to search MIT App Inventor
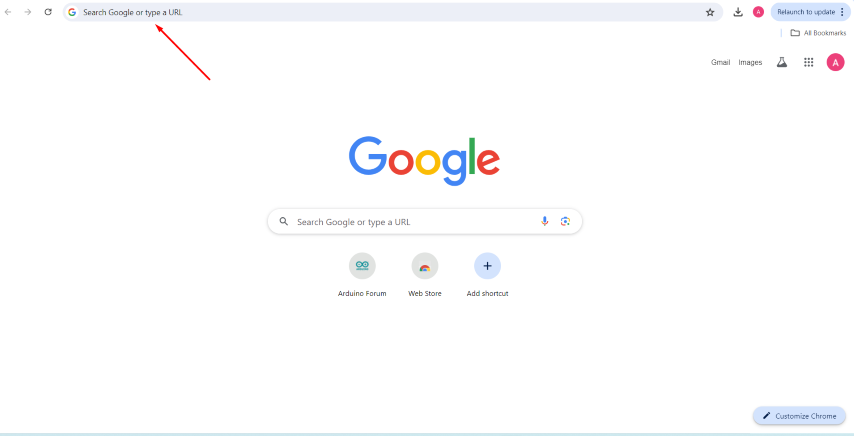
Search MIT App Inventor
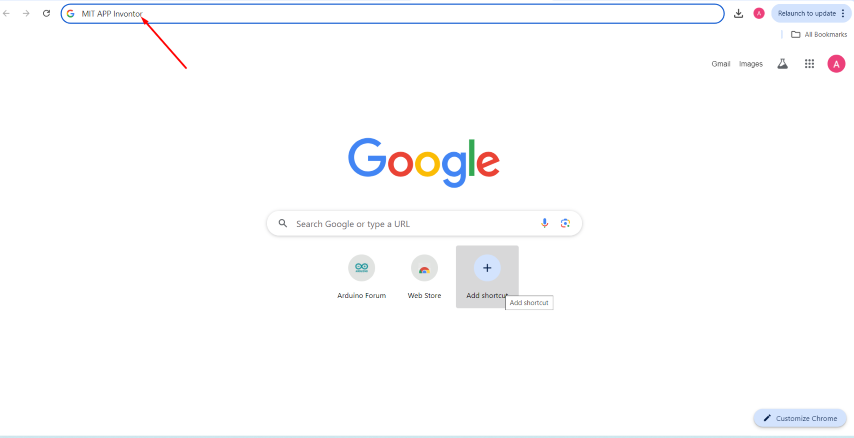
Open MIT APP web page
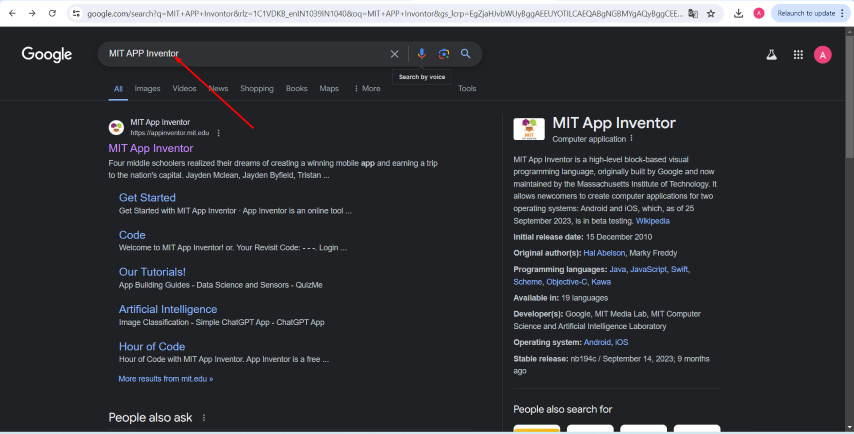
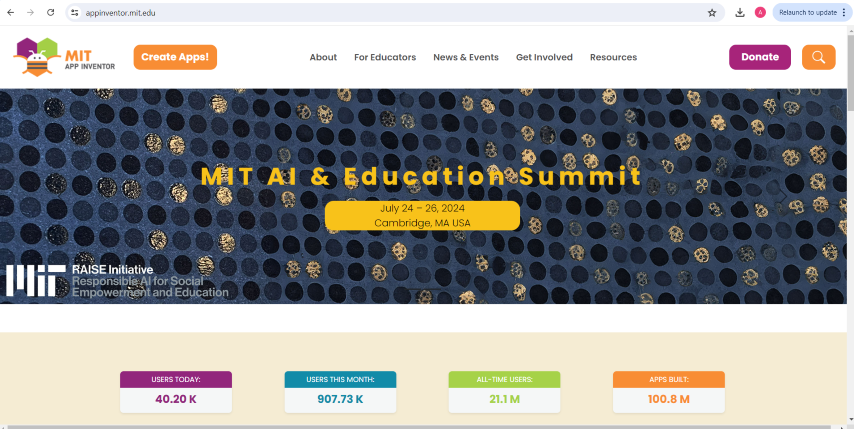
A home page window will open
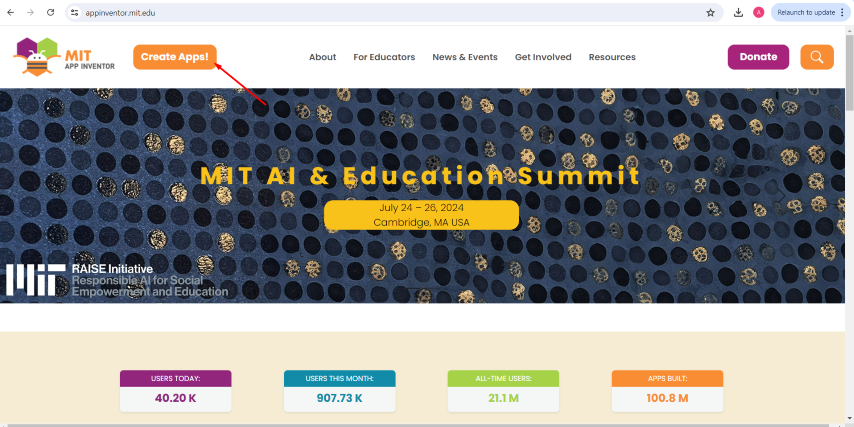
And then click create apps
Then click the continue:
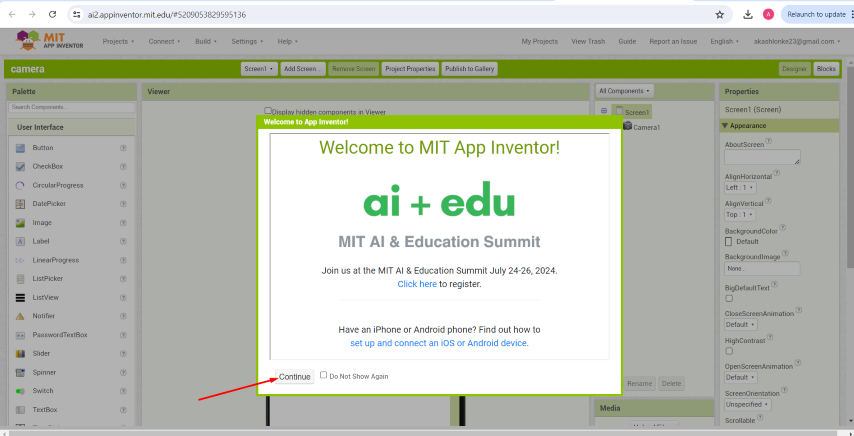
MIT APP Inventor User Interface will open:
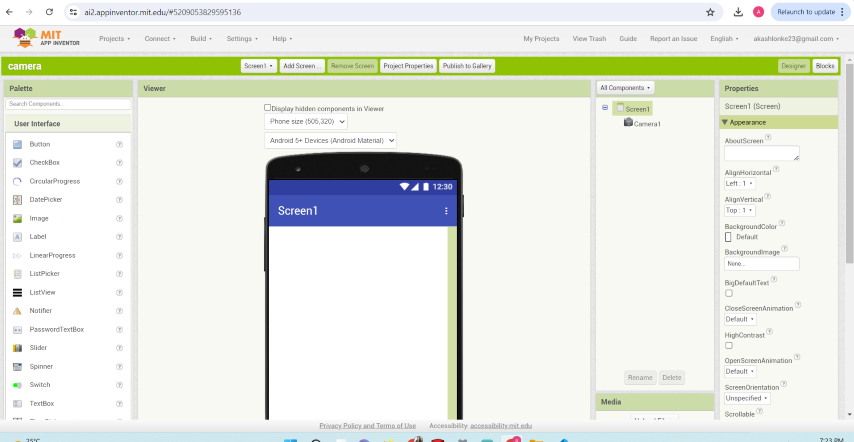
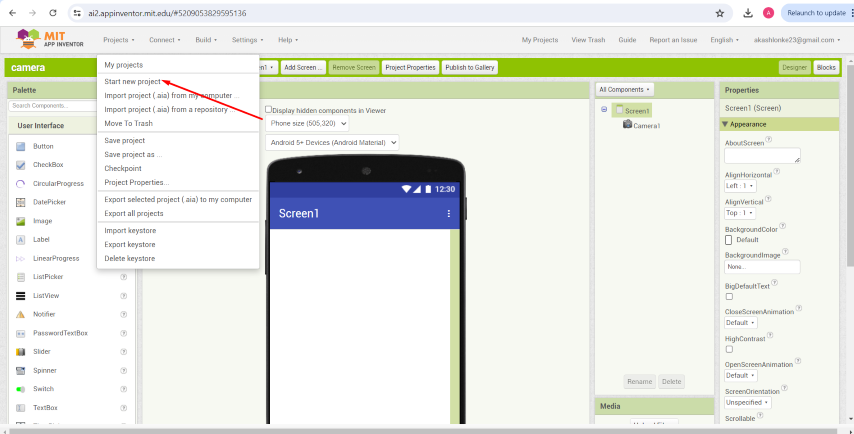
Start a new project:
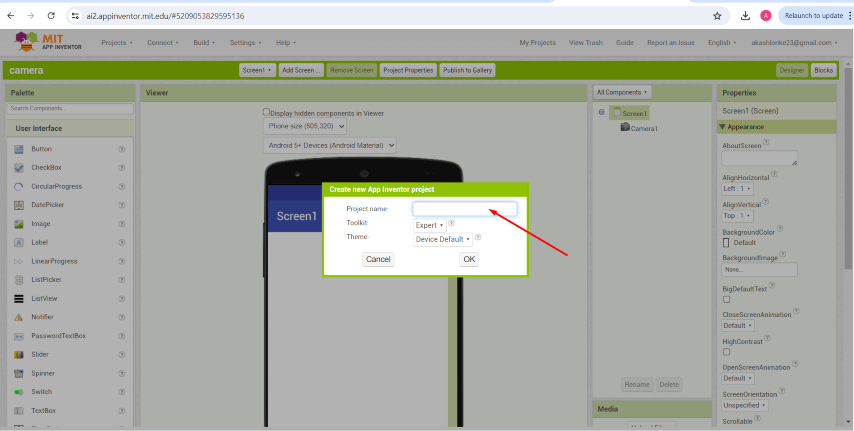
Give a new project name
Click to layout :
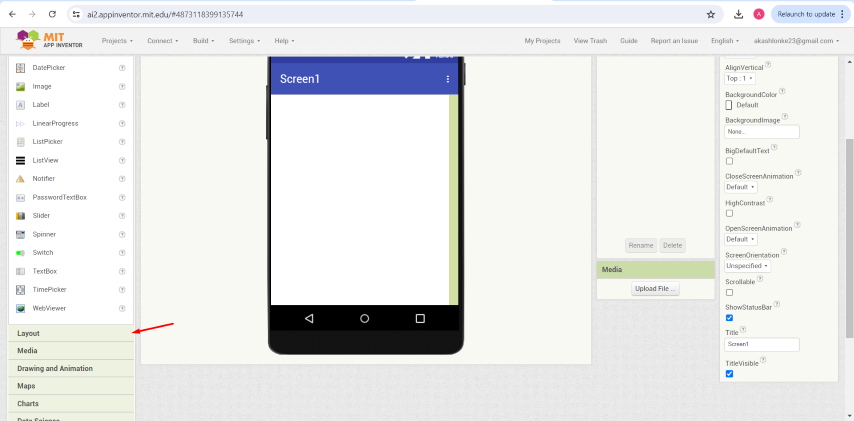
Insert the vertical arrangement:
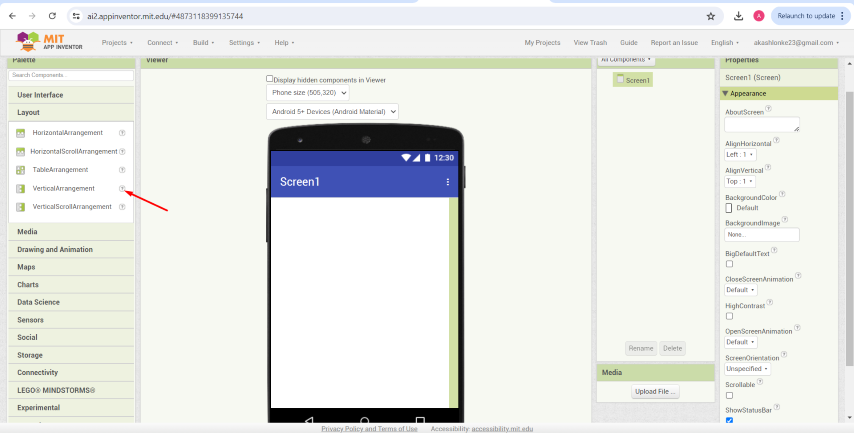
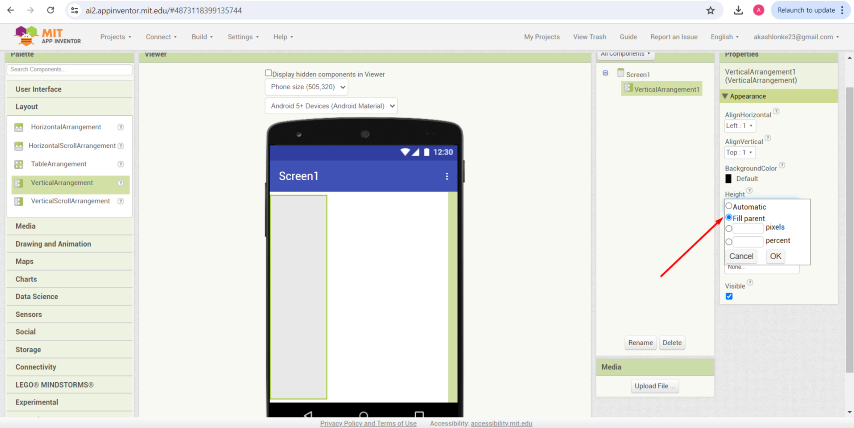
Set Height to fill parent:
After that insert the image:
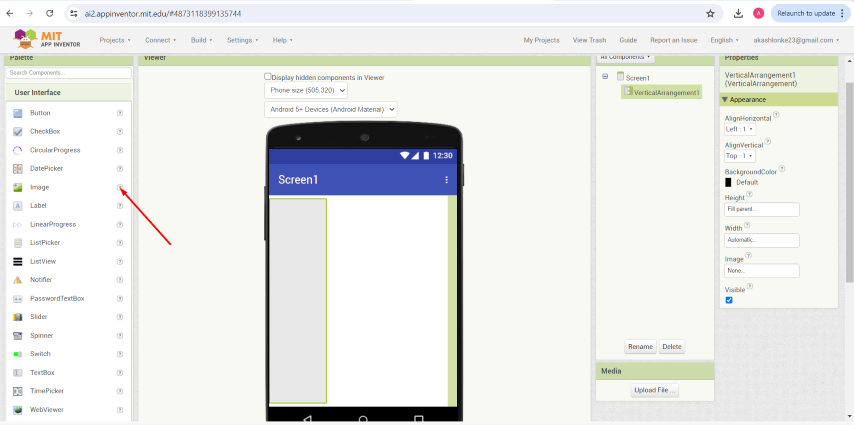
Upload the image:
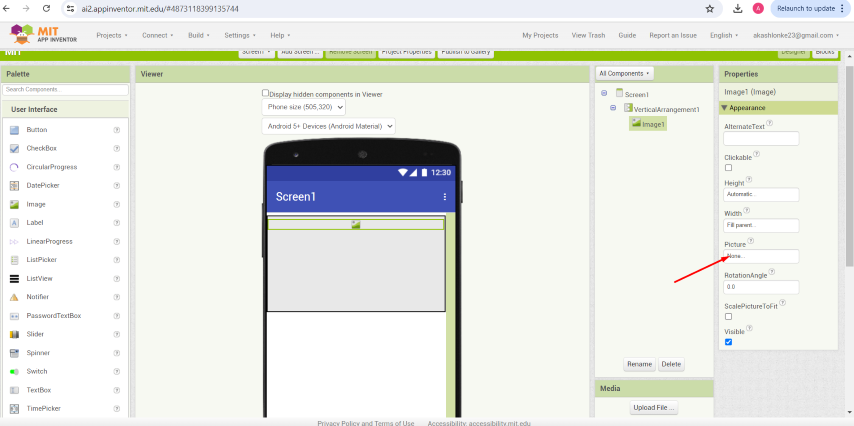
Add the ListPicker:
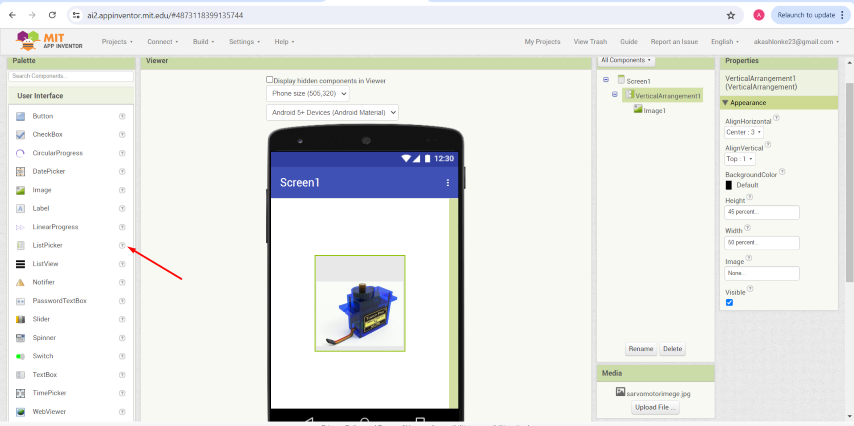
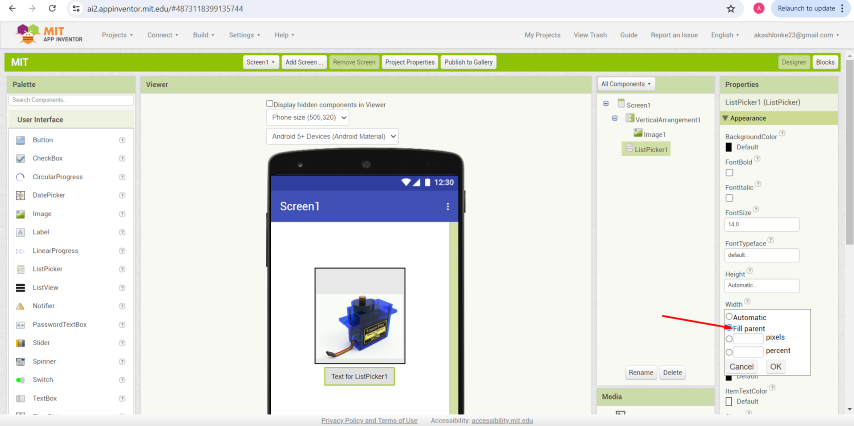
Set ListPicker width as fill parent :
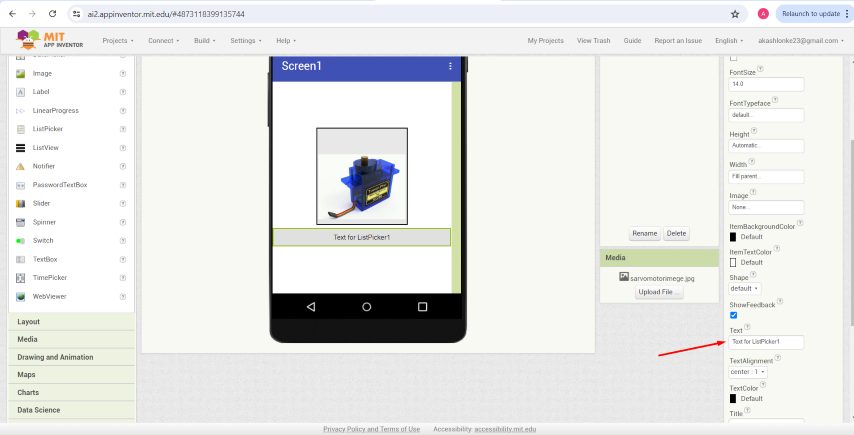
You can rename the list picker tab
:
Add horizontal arrangement:
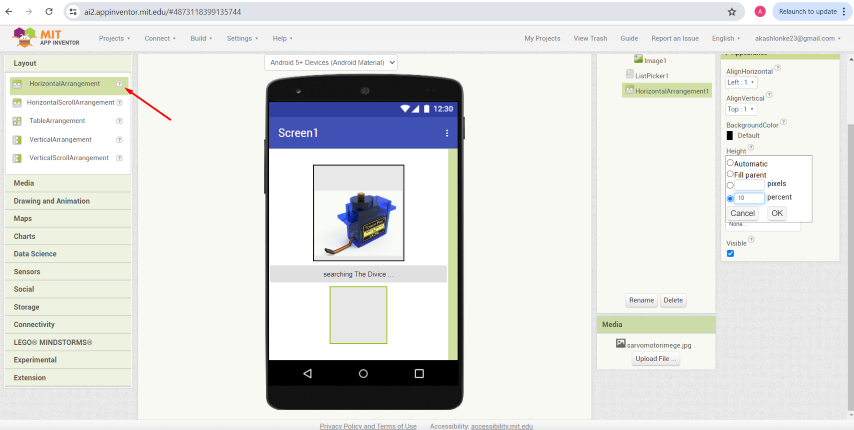
Then add the slider:
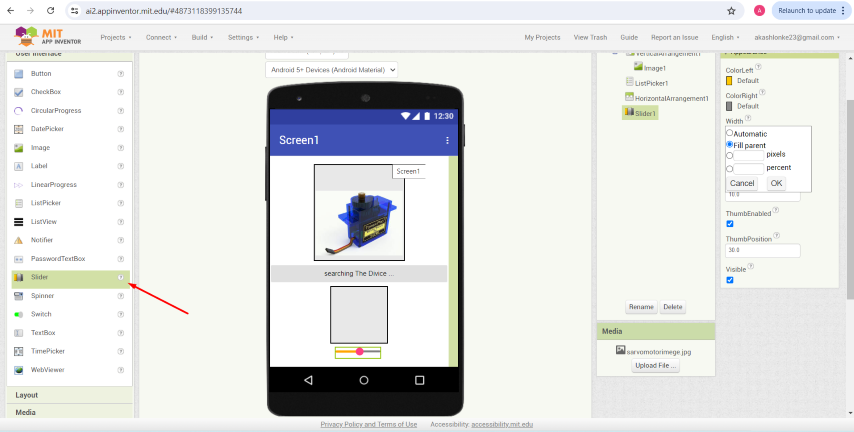
Insert the bluetooth block:
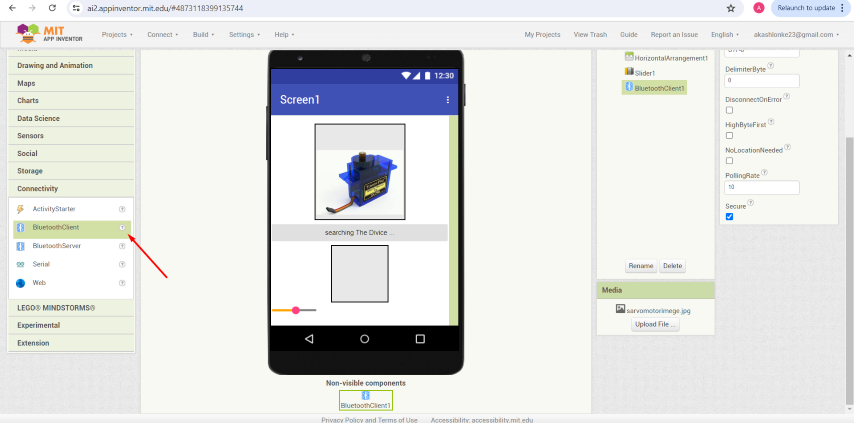
Add the lable:
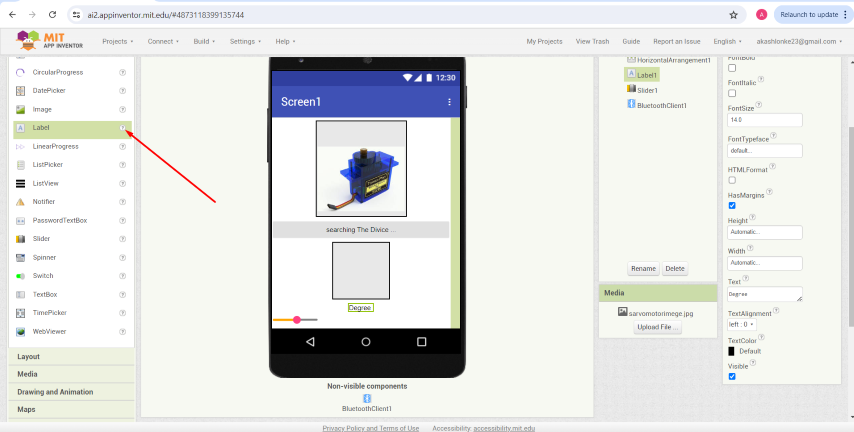
Add one more to horizontal arrangement:
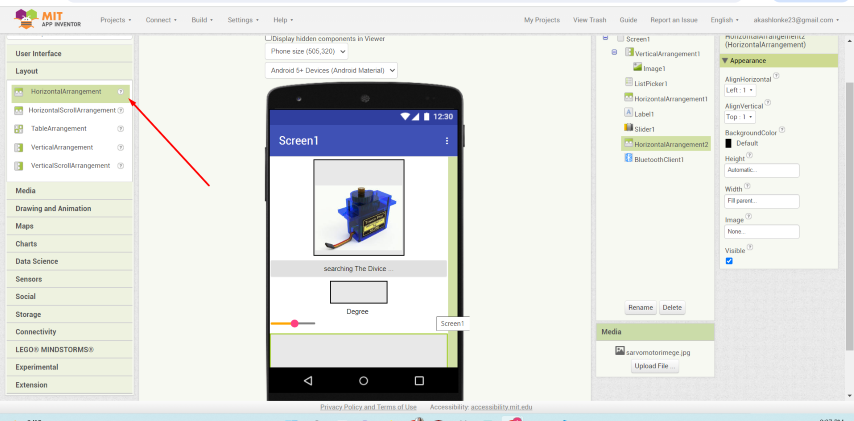
Insert 3 buttons:
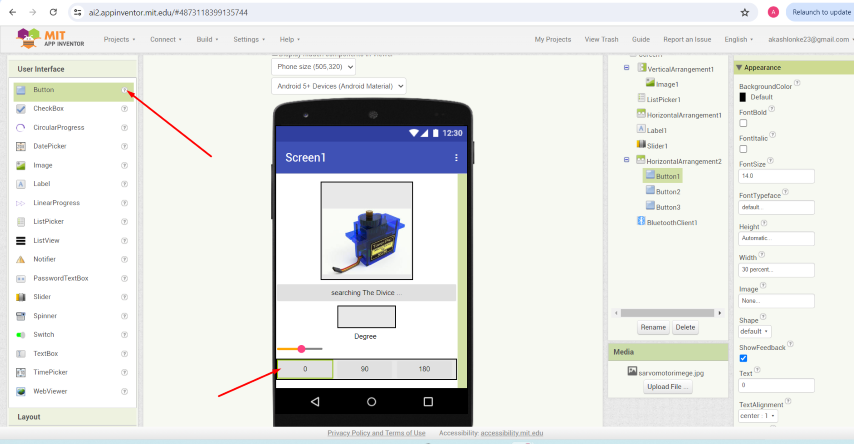
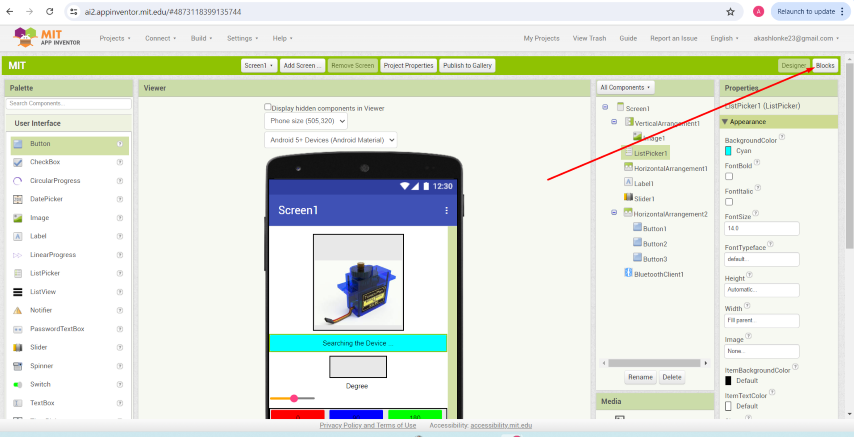
Then start create block on top-right :
Insert listpicker block:
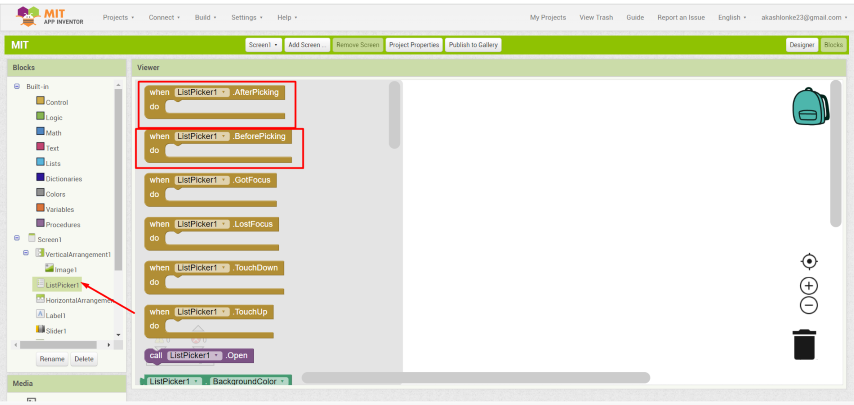
You can give any command select the block:
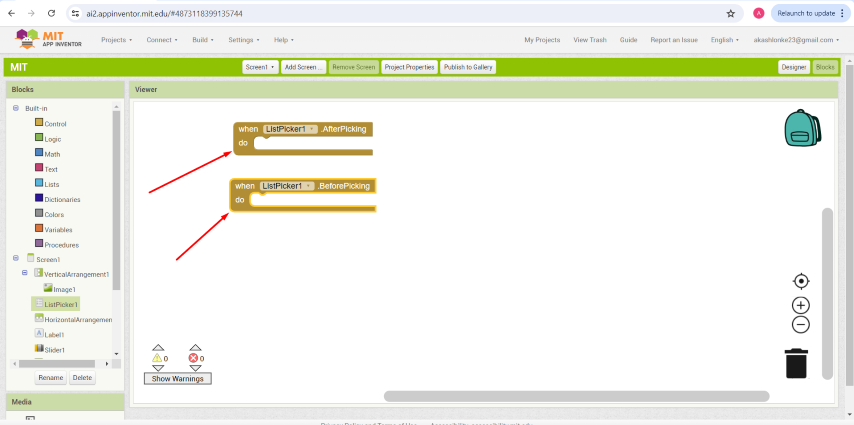
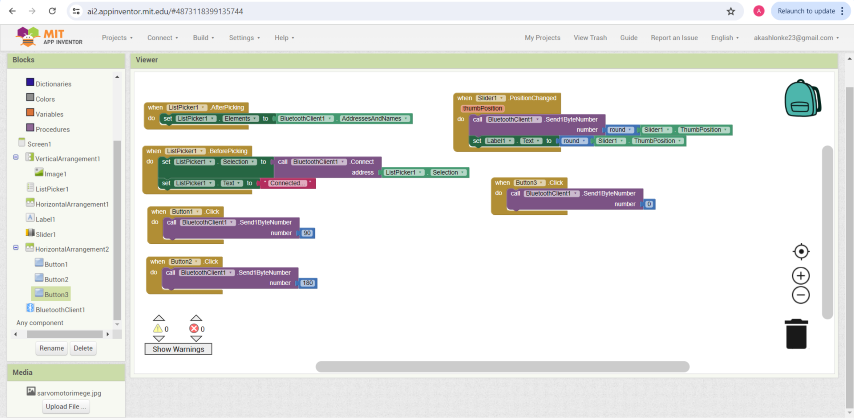
You can select the all blocks and type the app code :
And then click to build show apk app :
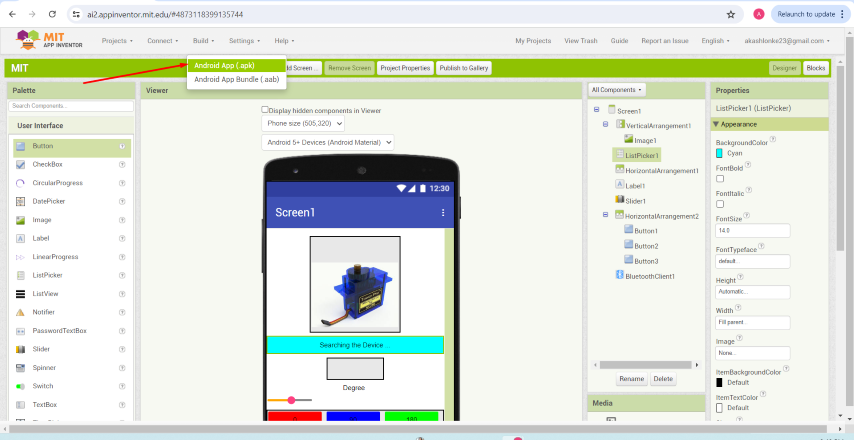
Scan the AI companion and download app:

A apk file will be downloaded, then Install the App
How MIT App Inventor and Bluetooth Communication work
How MIT App Inventor Works
MIT App Inventor is a visual programming environment that allows users to create Android apps using a block-based interface. Here’s a brief explanation of how it works and how it can communicate with a microcontroller board via Bluetooth:
- Design Interface: Users drag and drop components (buttons, text boxes, labels, etc.) onto a virtual phone screen to design the app's user interface.
- Block Programming: Users use a block-based coding system to define the app's behavior. Blocks represent different programming constructs and functionalities.
- Testing and Deployment: Apps can be tested on an emulator or a physical Android device. Once finalized, the app can be packaged and installed on any Android device.
Communicating with a Board via Bluetooth:
- Bluetooth Component: Add the Bluetooth Client component to your app in the Designer view.
- Pairing: Ensure the Android device is paired with the Bluetooth module of the microcontroller board (e.g., HC-05, HC-06).
- Connection: Use blocks to initiate a connection to the Bluetooth module. Typically, this involves scanning for available devices and connecting to the correct one.
- Data Transmission:
- Sending Data: Use blocks to send commands or data from the app to the microcontroller. This can be done using the
SendTextorSendBytesblocks. - Receiving Data: Use blocks to receive data from the microcontroller. This can be done using the
ReceiveTextorReceiveBytesblocks.
- Sending Data: Use blocks to send commands or data from the app to the microcontroller. This can be done using the
- Processing Data: The microcontroller board processes the received data and performs the appropriate actions (e.g., moving a servo motor).
Example:
- Design: Place a button on the app to control the servo motor.
- Blocks: Create blocks to connect to the Bluetooth module when the app starts. Add blocks to send a command to move the servo when the button is pressed.
- Microcontroller Code: Write code for the microcontroller to interpret the Bluetooth commands and control the servo motor accordingly.
Using this setup, the app created in MIT App Inventor can wirelessly control the microcontroller via Bluetooth, enabling interactive projects.