Week 12
Moulding and Casting
Brief Overview
In this assignment, we're diving into the world of molding and casting materials. Each of us will review safety data sheets for materials like Instamold, Machine wax, EcoFlex, Moldsil, Hydrostone, and Epoxy Resin. Then, we'll compare test casts made with each material and explore the pros and cons of printing versus milling molds. Finally, we'll design and produce molds with smooth surface finishes for casting parts, applying what we've learned to optimize our process.
Heroshots
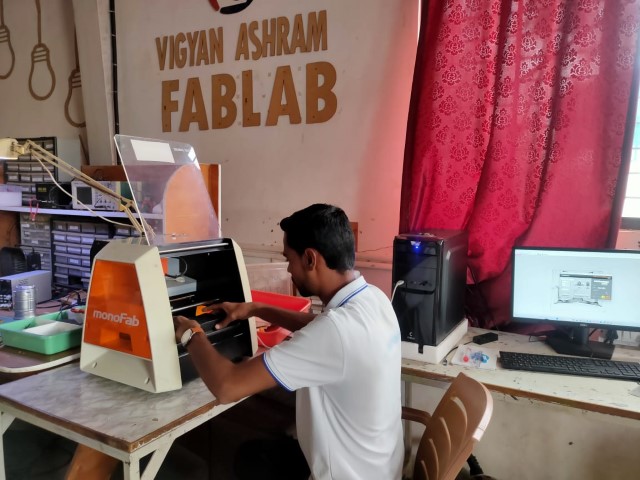 |
 |

Group Assignment:- (Moulding and Casting)
In this assignment:-
1.Review the safety data sheets for each of your molding and casting materials
2.Make and compare test casts with each of them
3.Compare printing vs milling molds
In our group project at Vigyan Ashram, we're looking at safety data sheets for different materials, we've got quite the variety of materials here— Instamold, Machine wax, EcoFlex, Moldsil, Hydrostone, Epoxy Resin. Each of us will thoroughly studying its safety data sheet, and then sharing our findings with each other.
Molding and Casting materials
Visit our Group assignment page here
Group Assignment:- (Moulding and Casting)
In this assignment:-
1.Design a mold around the process you'll be using, produce it with a smooth surface finish, and use it to cast parts
Design:

-
Sketch: I have design a drawing using line, shape and trim commands.
-
3D Design: I then finish sketch and jump on revolve command where I selected the sketch and axis to revolove the sketch, which forms the Chess Pawn
-
Making the edges smooth, which results in good quality part finish. Pointed edges usually has chances of getting stuck into the edge of mould.
-
Split body and make a Mold hollow casing, arround the designed split part for mold formation
-
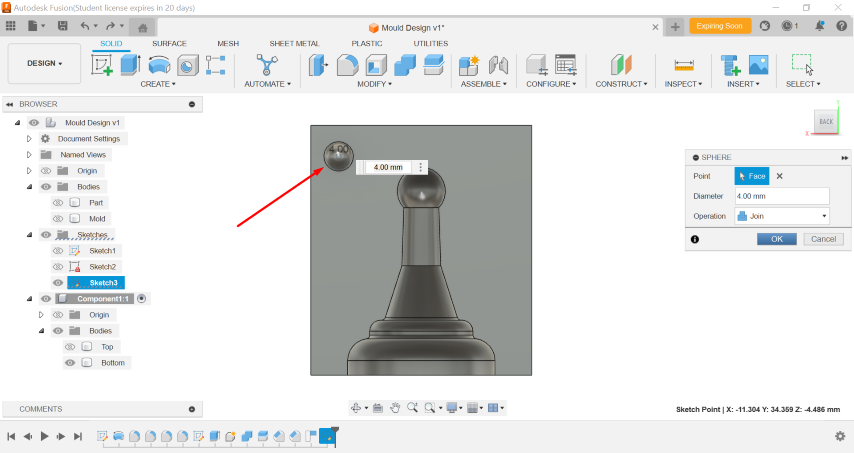
Create a Hemi-sphere structure on the mould for interlocking with other part of mould.
-
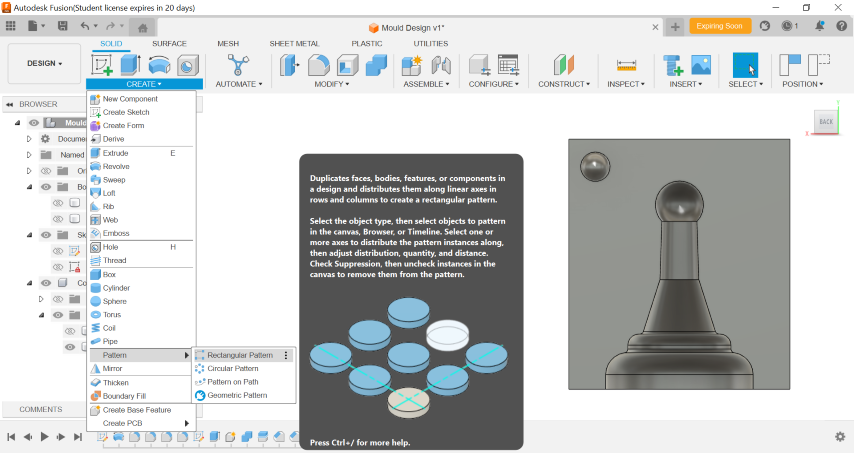
Make a Rectanglure pattern to placed the interlocking structure on all corner, which hols the two part at proper position.


Mold Preparation:
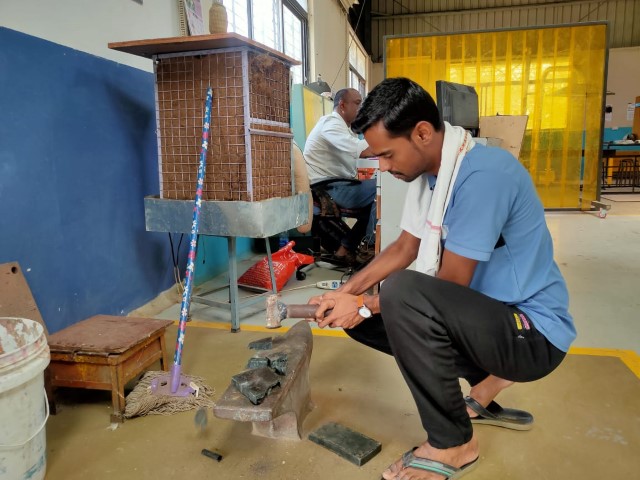
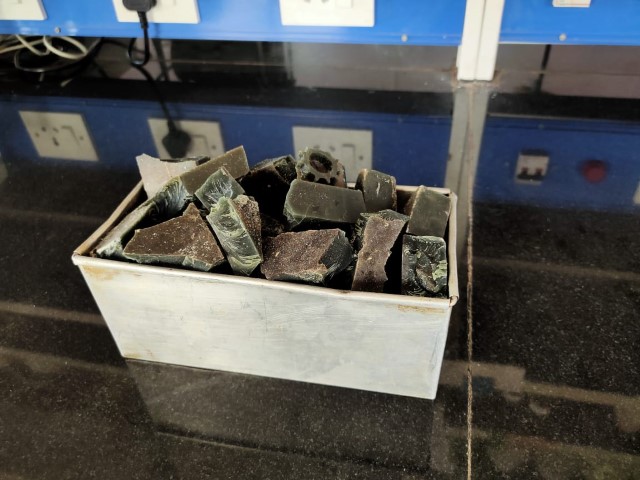
Step 1-Machineable Wax:
Breaking the used mold into small pieces, to crush and melt in the melting pot.
Collect all the pieces into a pot of rectangular shape so that you can mill the mold cavity on it.
Now the set the preheat the oven at 200-250 deg celcius and put the pot into the oven for 15-20 mins.
Take out the pot periodically and tap on ground to make a wayout for air bubbles

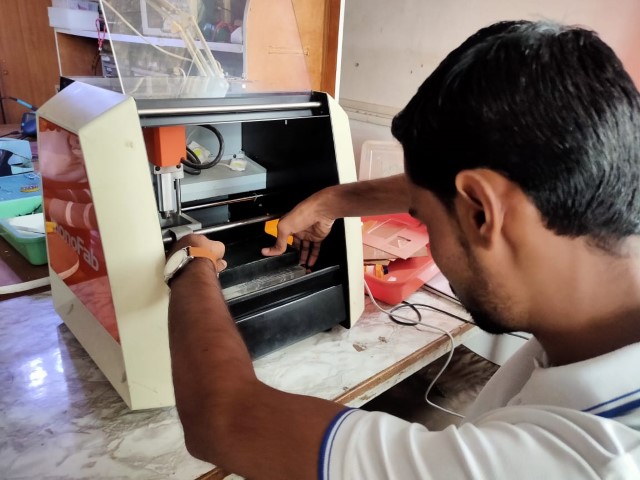
Placing the Block on the Machine
We have SRM-20 at our lab so we are going to mill on this machine
Sticked double side tape on one plain side of the machineable wax.
Remove the flim of the tape on the other side and mount the block on the machine bed.
Also apply some hotglue on the edge incontact with bed for extra grip.


Generating Tool Path:
To generate the tool path, I utilize Modela Player 4, an integrated software designed for milling operations on the SRM-20. Here are the sequential steps I follow to create tool paths for milling machinable wax, shaping it into the negative mold.
- Step 1: Open Modela Player 4.
- Step 2: Import the mold design, which is provided as an STL file format.
- Step 3: Select the machine type by navigating to Toolbar > Files > Select Machine. I choose SRM-20 and adjust its parameters according to my machine specifications.
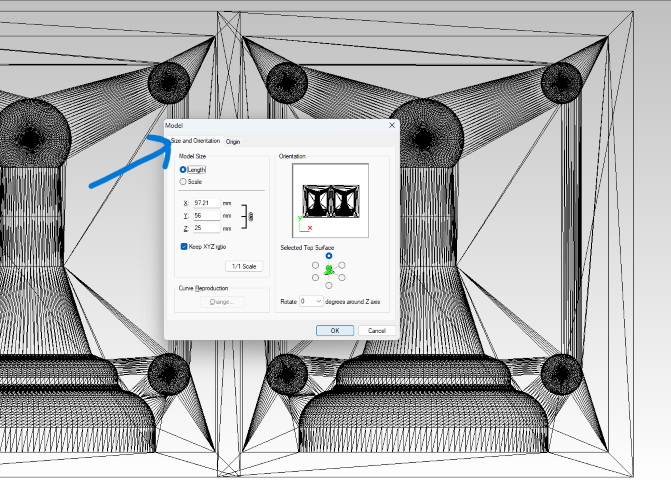
- Step 4: Set the size, orientation, and origin of the molding for machining by going to Toolbar > Set > Model > Size and Orientation. I select the top surface view and set the origin at the corner of the machining wax block.
- Step 5: Choose the machining material type, which in this case is machinable wax.
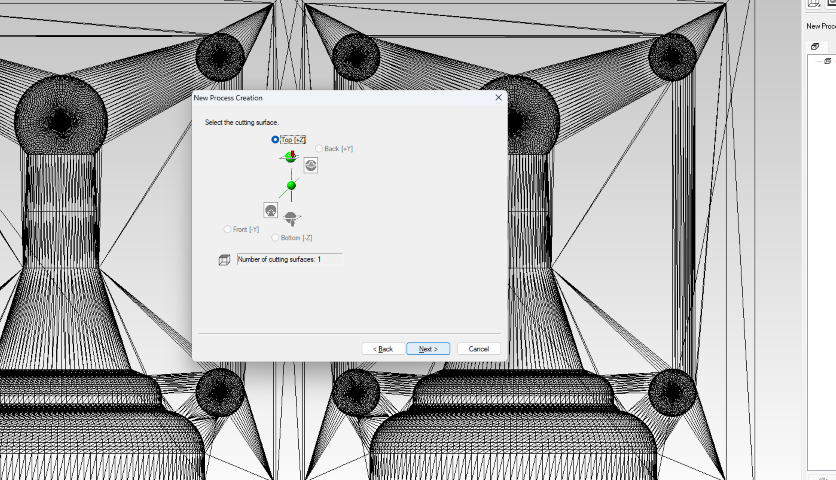
- Step 6: Initiate the first machining operation, which is surfacing. This step is crucial to ensure uniformity on the wax block's surface, particularly if there are slopes or irregularities.
- Step 7: Select the appropriate surface for surfacing, typically the top surface along the Z-axis.
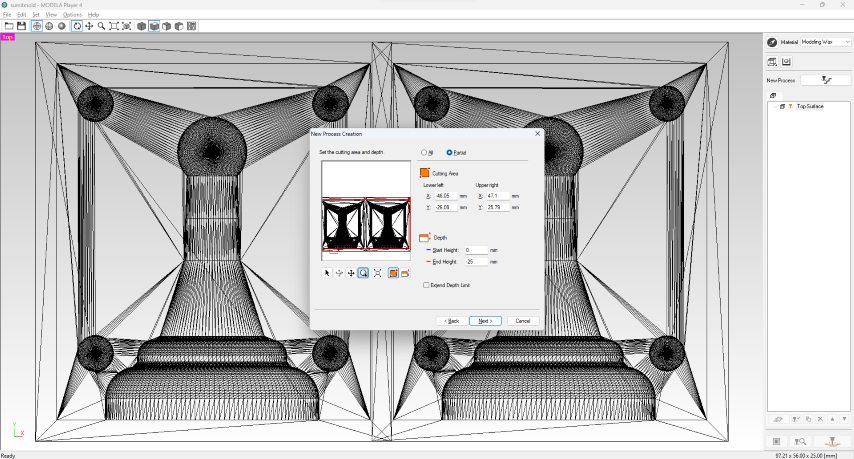
- Step 8: Set the depth and area of surfacing, customizing it according to the specific requirements of my wax block.
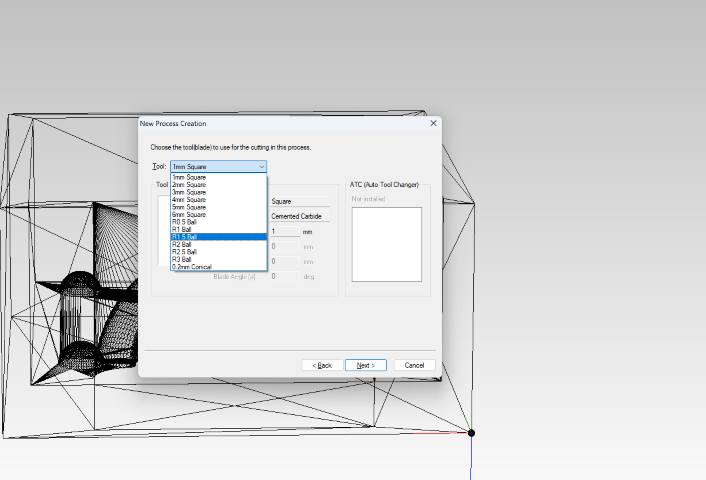
- Step 9: Select the cutting tool, which is a ⅛ inch flat Endmill in this scenario.
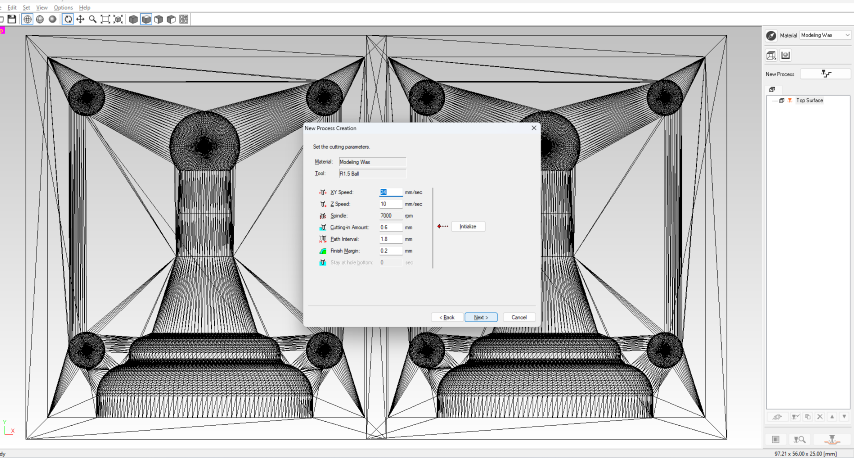
- Step 10: Adjust the cutting parameters if necessary.
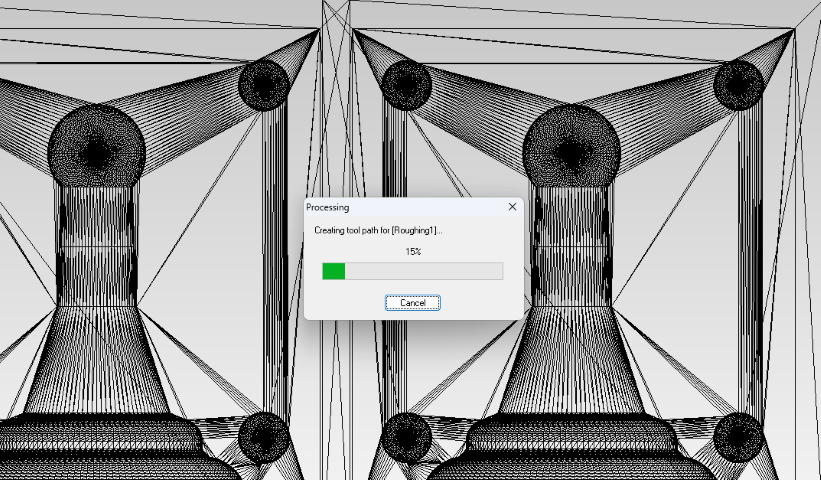
- Step 11: Name the process and generate the tool path.
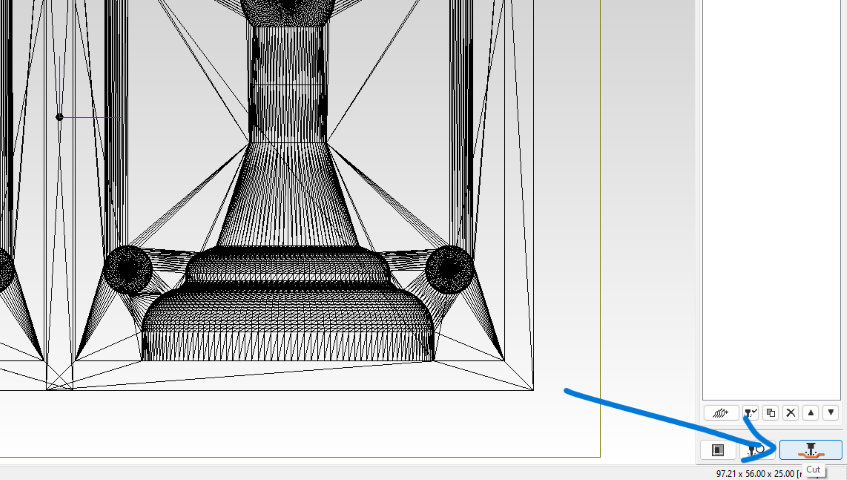
- Step 12: View the generated tool path graphically and proceed to run the process.
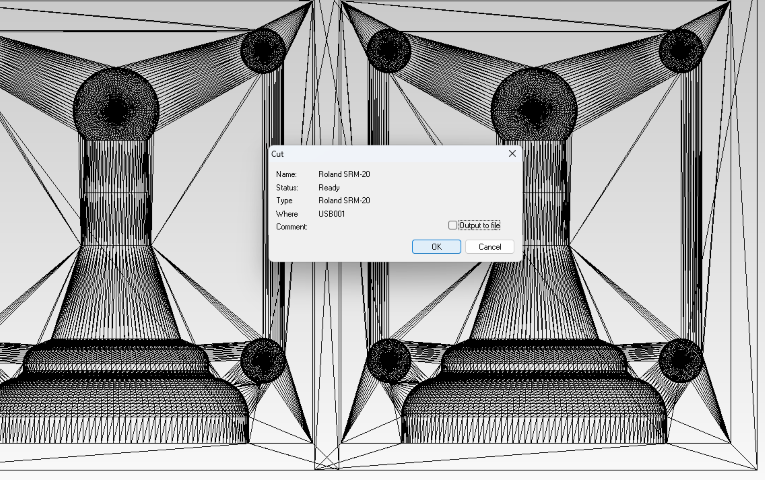
- Step 13: Confirm the cutting process setup.
- Step 14: Allow communication with the device when prompted.
- Step 15: Prepare for cutting operations by positioning the tool at the set origin using the V-panel.
- Step 16: Start the surfacing operation.
- Step 17: Repeat the process for the rough cut, which removes excess material quickly to approximate the final shape.
- Step 18: Lastly, perform the finish cut to enhance surface finish, dimensional accuracy, and tolerance.


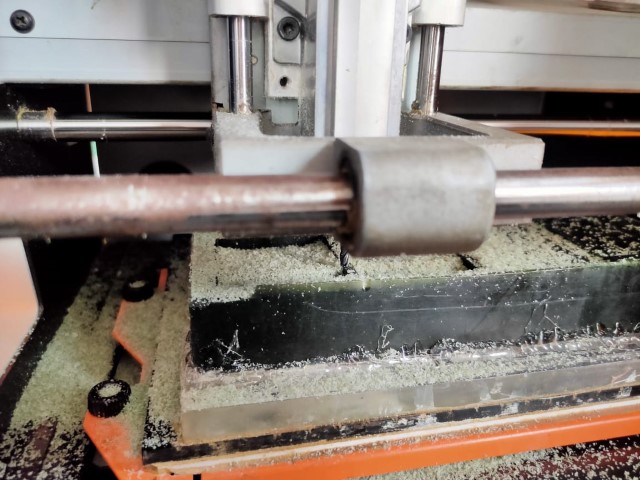
Once the machining is complete, the positive mold is ready for use. Any remaining debris or dust on the mold can be removed using a brush and cleaned with water, leaving the mold prepared for casting a Negative mold.
Negative Mold:
-
Step 1-Volume Measurement:
Water Test
Pour some water into the mould till it occupy the whole space of mold upto the top layer.
Now transfer this water into the measuring cup and calculate the volume.
-
Step 2-Calculations:
Density of Silicone = 1.07 gm/ml
Calculated Volume = 77ml
Weight of Silicone required = Volume * Density = 77 * 1.07 = 82.39 gm -
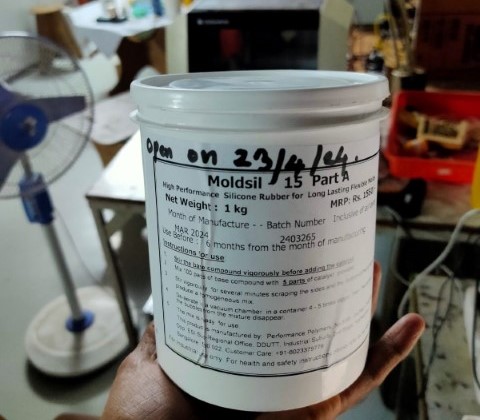
Step 3-Weight Measurement:
I used MOLDSIL-15 PLUS Silicone which has Part A and B to be mixed in 100 parts:5 parts proportion or simply in the Ratio of 20:1
-
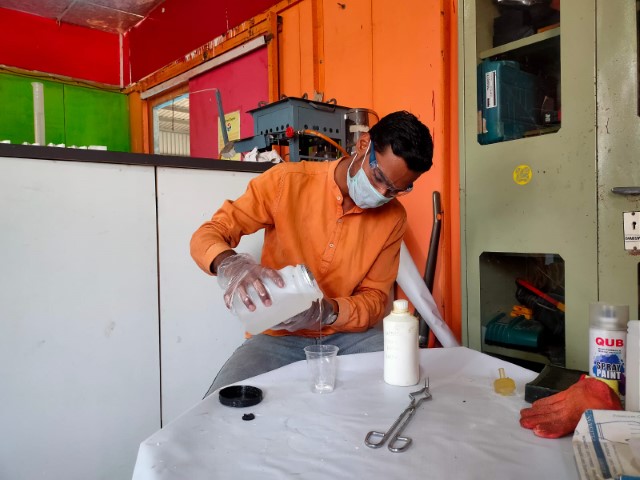
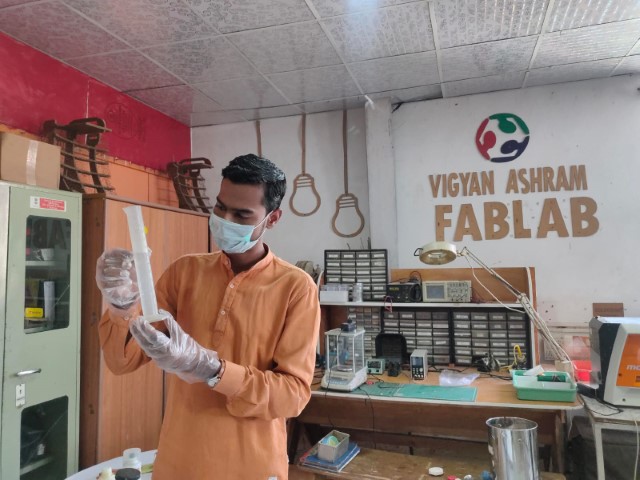
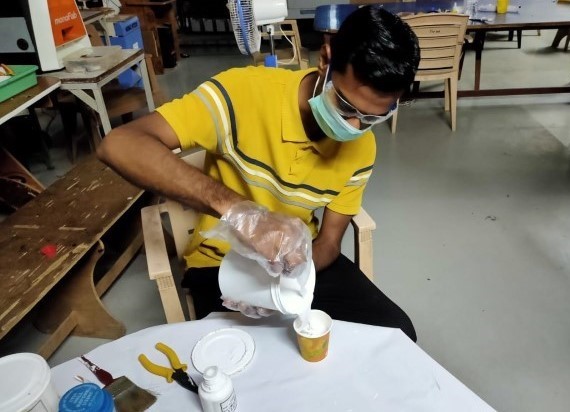
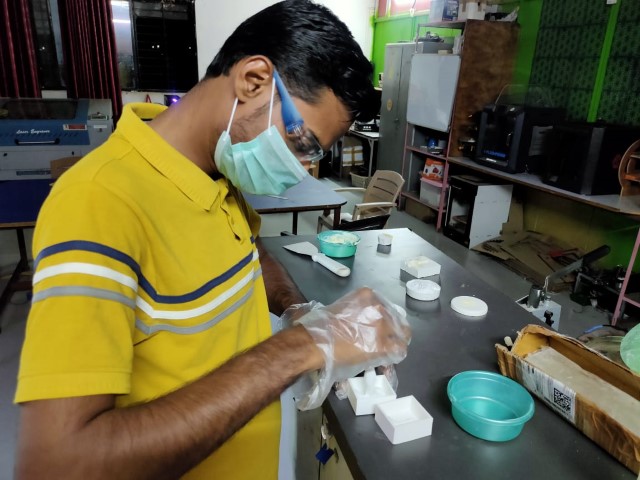
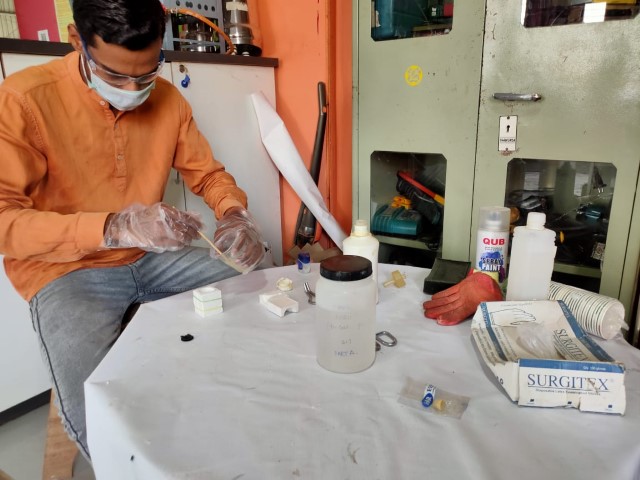
Step 4-Pouring and Drying:
Stirred Silicon well and poured it into the positive mold. After you pour silicon in the mold tap it on the surface to let the silicon enter in every corner of the mold.
 |
 |
While mixing the silicion take appropriate measure to avoid bubble formation in the mix. Stir the compund in unidirection and rub the mixing stick on the border of the mixing bowl, so that the air bubble will reduce.
Casting:
-
Step 1-Volume measurement:
Added water in the void and measured it. Similarly repeat the process as we did for the silicon base.
-
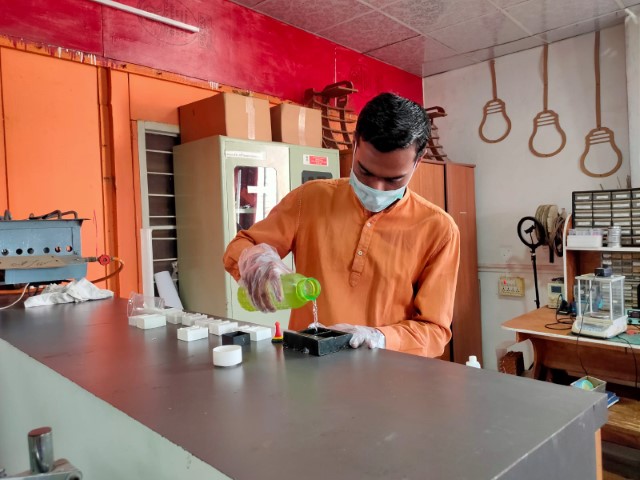
Step 2-Weight Measurement and Mixing:
Used Epoxy: Hardener in ratio 2:1 by weight i.e. for 2 part of Epoxy we use 2 parts hardener. Stirred it well.
-
Step 3-Drying:
Poured Epoxy in the negative mold and kept it for drying overnight.

 |
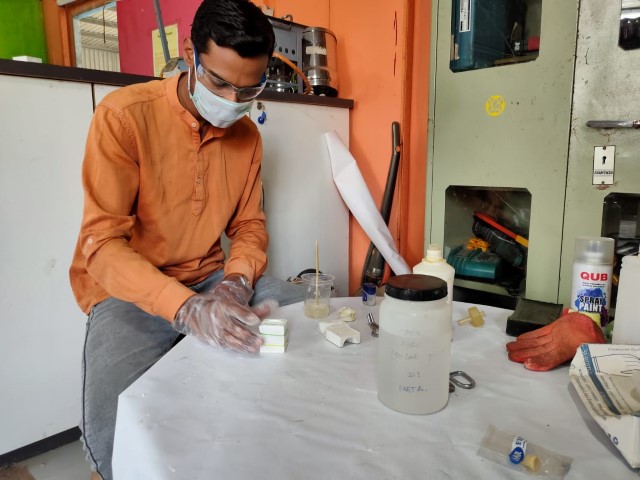 |
Tap the mould on the surface to let the resin enter in each and every corner of the mold.
Final Output
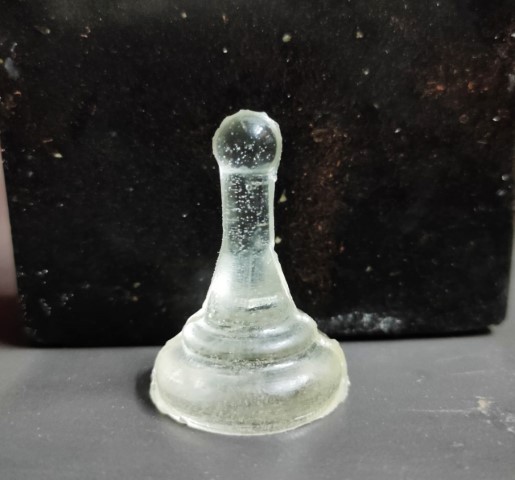 Milling Mold Output |
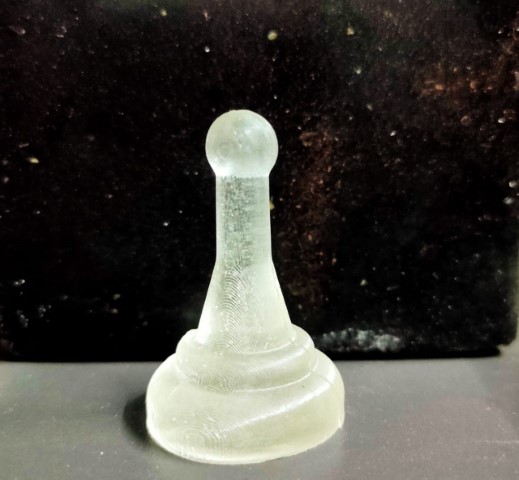 3D printing Mold Output |