
Assignment 1
1.1 Principle and Practises
1.2 Project Management
Brief Overview
Greetings! Welcome to the first week of FabAcademy. As we embark on this exciting journey of digital fabrication and learning, it's essential to establish a strong foundation in both principles and practices.
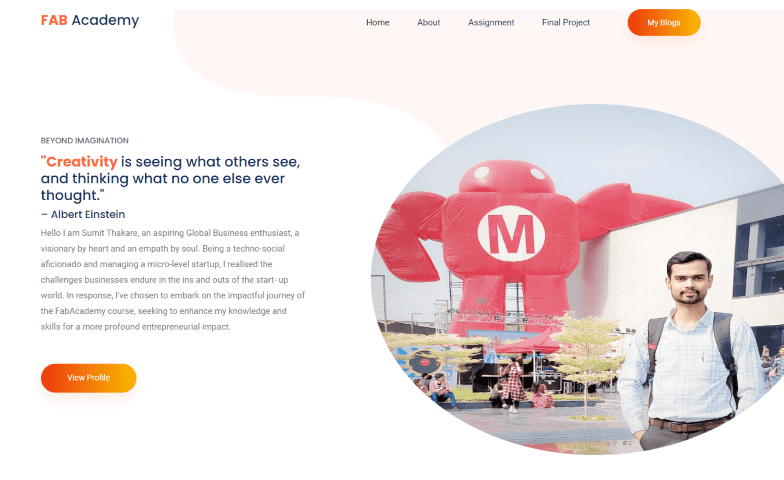
In the very first and important assignement of Fabacademy we have a task to create our own website using a template. Developing a web page to document my Fab Academy journey has been an integral aspect of my learning process. This platform serves as a crucial medium for communication between myself and the instructors, allowing me to articulate my progress, insights, and project development methodologies.
Final Project Planning
One of the key tasks for Week 1 was to initiate the planning process for our final project. This involved creating a comprehensive plan document that included sketches, work plans, and a roadmap for the upcoming weeks. This not only helped in setting clear goals but also provided a roadmap for the execution of the final project.
About Final Project
Project Description
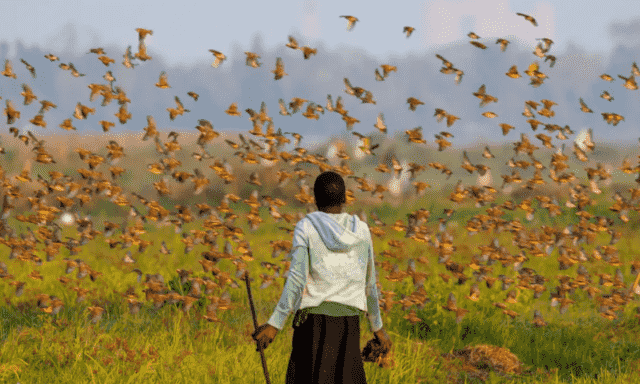
Agriculture today is about so much more than a farmer simply planting a seed. It takes a whole ecosystem and a host of actors to work together to produce the food we need for a population of more than seven billion people. This complex agricultural production system has evolved over time through scientific discoveries and other innovations. Advances in technology and farming practices have helped farmers become much more productive, growing crops efficiently in areas most suitable for agricultural production. So I have designed a product to nurture the common needs of farmers. My Project is Smart Scare Crow for protection of crops from Birds and Wild Animals.
Problem Statement
Traditional scarecrow being a low cost model is widely is used by farmer, but it has less effect because birds after some time get used to it and they don’t have fear any more, and even in the nights when wild animals enter the field they don’t matters a standing mannequin till its make some scaring sound. Also when discussing with farmers about their problem related with farming we know that most of the open farm fields farmers are having threat of Wild Animals being destroying their crop, and its very difficult and costly to keep a labor in farms for this work.
 |
 |
 |
Project Sketch

Objective
The main focus is on the Smart Scarecrow, a prototype designed to protect crops from birds and wild animals, as an example of a use of technology for Human Wildlife Conflict.
Assignment 1.2
Project Management
Introduction to Project Management Tool - Gantt Project
 |
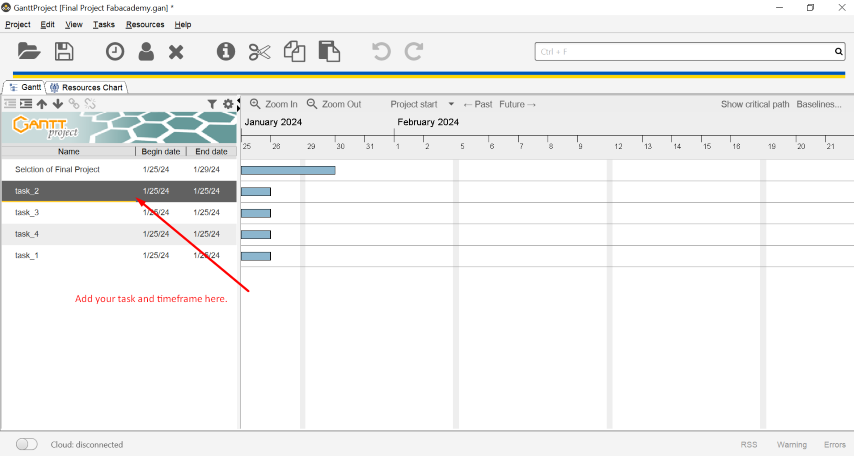 |
For effective project management, I employed the use of Gantt Project, a powerful and user-friendly project management tool.
Key Features of Gantt Project:
- Gantt Charts: Visualize project timelines, dependencies, and progress using interactive Gantt charts.
- Task Management: Efficiently organize and manage tasks with detailed information and dependencies.
- Resource Management: Allocate resources effectively and track their utilization throughout the project.
- Collaboration: Facilitate collaboration with team members through shared project files and updates.
- Export Functionality: Generate reports and export project data in various formats for communication and analysis.
By utilizing Gantt Project, I was able to:
- Plan and schedule project tasks with precision.
- Visualize the project timeline and identify critical milestones.
- Effectively allocate resources and manage dependencies.
- Collaborate with team members to ensure smooth project execution.
Gantt Project significantly contributed to the success of the project by providing a structured and organized approach to project management.
1. Website Development
Establishing an online identity is crucial for effective communication and documentation throughout the FabAcademy journey. I have created my personal website, which will serve as a hub for sharing my progress, experiences, and insights. This website will be a valuable tool for communication with both instructors and peers.
Website Development Process
Starting with learning about website Development
As I have my optional subject as computer science during my high grades, I was keen interest in coding and website development,
I was having a understanding of this subject and have tried some little projects with this. But its been a long as I have pursued my
Bachelors in Mechanical Engineering, I was not very much involed in coding and HTML part.
So to brush my concepts I have taken a reference from w3 online Web development tutorial W3shchool
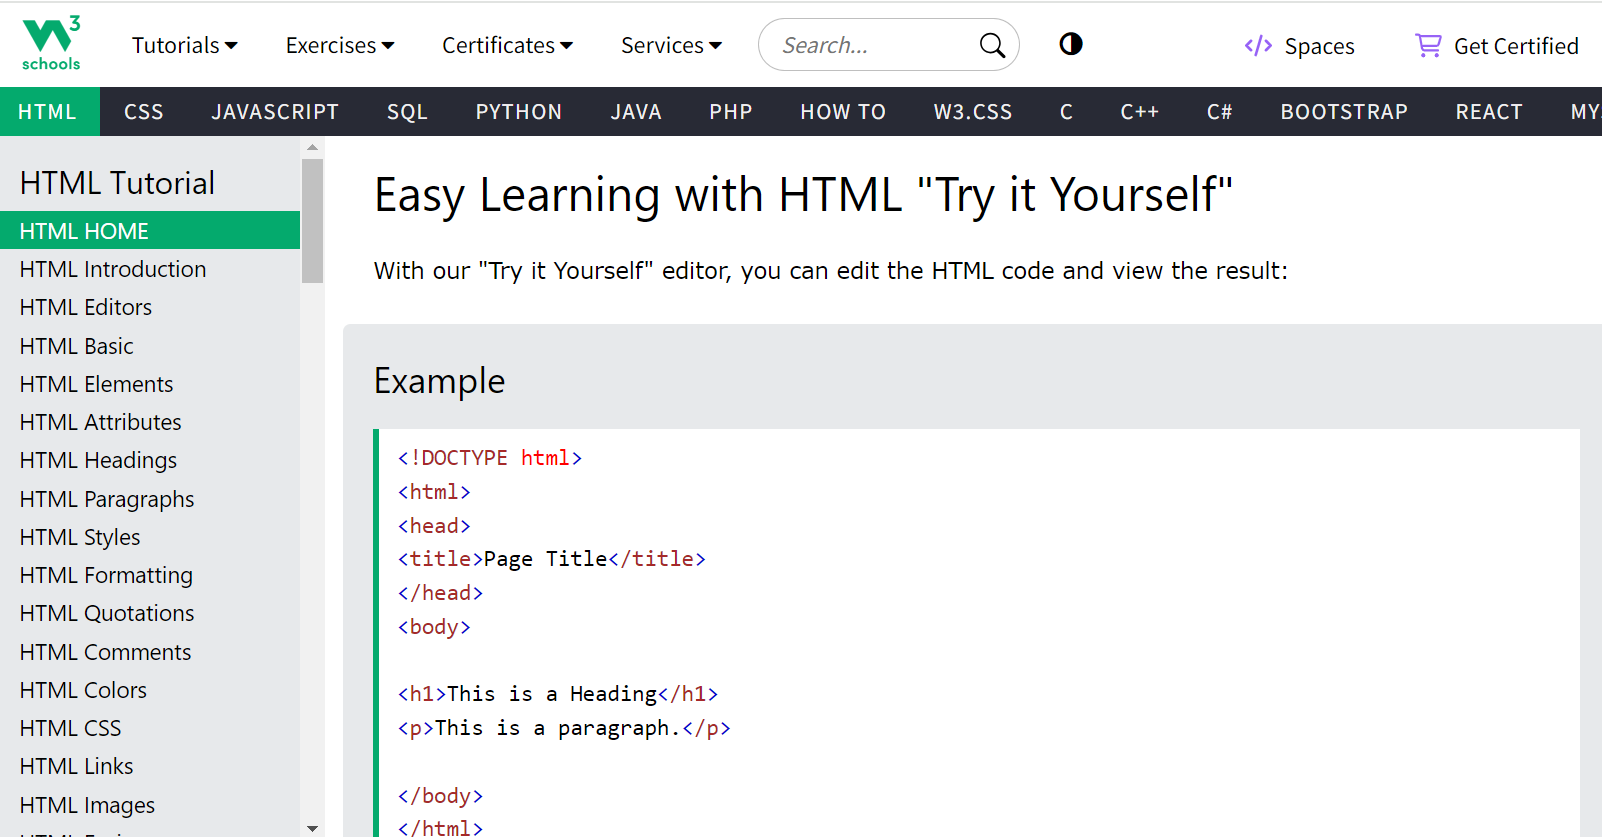
I have learned from here about the comands promts sentex, adding images, modifying the template as per our need.
Introduction to Code Editor - Visual Studio Code
Code editors play a crucial role in the development process, aiding developers in writing efficient and error-free code. One highly recommended code editor is Visual Studio Code (VSCode).

VSCode is a streamlined code editor that offers support for various development operations, including:
- Debugging: Easily identify and fix issues in your code with built-in debugging tools.
- Task Running: Streamline development tasks by executing them directly from the editor.
- Version Control: Manage your code versions seamlessly with integrated version control features.
Key features of Visual Studio Code include:
- Syntax Highlighting: Color-coded highlighting for different programming languages.
- Automatic Indentation: Enhances code readability with automatic indentation.
- Error-Checking: Detect and highlight errors in real-time.
- Autocomplete: Speed up coding by suggesting and completing code snippets.
- Code Snippets: Easily insert predefined code segments for common tasks.
Using Visual Studio Code can significantly enhance the coding experience, making it a popular choice among developers.
Downlolading and Modifying a Template of Website
When its come to a personal website which is a biodata of my FabAcademy journey and learning experience, my website should be attractive and good as per the asthetics.
So while keep this in mind I serach out a lot of different templates from various free sources. Some of them I found better are Colorlib, WIX, Bootstrap Made
After fishing over a hundred of template I found this template useful, which simple and sober and as per my requirements.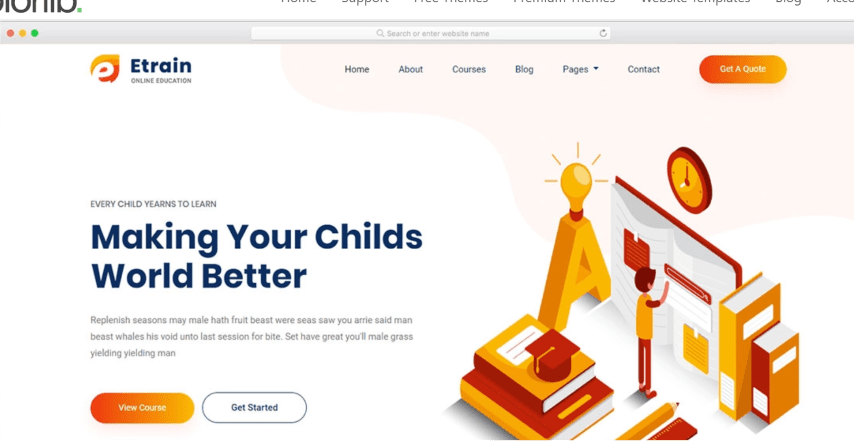
After fishing over a hundred of template I found this template useful, which simple and sober and as per my requirements.
Modification and Changes
|
 |
I have rebuild the html code and modified the raw website template as per my requirements
 |
 |
I have modified and made a assignment page for my website
 |
 |
Modification in the Footer and added personal contact details
Version Control with Git - Step-by-Step Procedure
Understanding version control is crucial for collaborative work and effective project management. I utilized Git and Git Bash to manage my project files, ensuring seamless collaboration and tracking changes throughout the development process. This included pushing and pulling content from the local computer to the global repository.
Step 1: Install Git and Clone Repository
1. Download Git Bash for Windows from Git official website.
2. Use Git commands to clone your repository from Fabcloud to your local computer:- git@gitlab.fabcloud.org:academany/fabacademy/2024/labs/vigyanashram/students/sumit-thakare.git

Step 2: Generate and Add SSH Key
Generate SSH key with the following command:- ssh-keygen -t rsa -C "connect.sumitthakare@gmail.com" -b 4096
.png) |
.png) |
Copy the SSH key to the clipboard:
.png) |
.png) |
Step 3: Add SSH Key to GitLab
Log in to your GitLab account on Fabcloud.
Navigate to Profile Settings -> SSH key and add the copied SSH key.
.png) |
.png) |
Step 4: Verify SSH Key
Confirm that the SSH key is linked to your GitLab account:- ssh -T git@gitlab.fabcloud.org
|
.png) |
During verifying, my SSH is liked to Git I faced some error displayed in above image, this was because I was pressing a double entre key.
Step 5: Clone Repository with SSH
Copy the SSH link to clone your repository from GitLab. Navigate to your desired folder and use the following command to clone the repository: git clone git@gitlab.fabcloud.org:academany/fabacademy/2024/labs/vigyanashram/students/sumit-thakare.git
.png) |
.png) |
Step 6: Verify Cloned Files
Navigate to the cloned repository folder using the command:
cd documents
Verify that all files have been cloned correctly.
.png) |
.png) |
Now its time to Pull & Push your Data
Go to your cloned folder, right click and select Git bash here
.png)
Step 7: Pull Updates
Use the following command to pull updates from the remote repository to your local machine:-
git pull
Step 8: Add and Commit Changes
Add all changes to the staging area:
add --all
Commit changes with a custom message:
git commit -m "WRITE CUSTOM MESSAGE HERE"
Step 9: Push Changes
Push the committed changes to the remote repository: git push
Students Agreement Acceptance
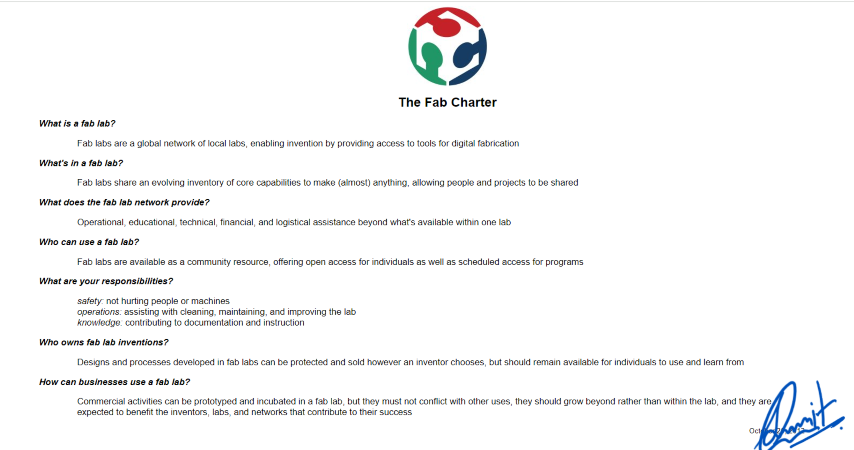
I, Sumit Thakare, have thoroughly read and understood all the terms and conditions outlined in the Fab Academy student agreement. I hereby formally accept the terms and conditions and commit to abide by them throughout my tenure as a Fab Academy student.
This acceptance signifies my agreement to comply with all rules, regulations, and ethical standards set forth by the Fab Academy.
Student Name: Sumit Thakare
Date: 24/1/24
Learning Experience and Reflection
The first week of FabAcademy has been a profound learning experience. By delving into the FabCharter, initiating the planning for my final project, creating a personal website, and mastering version control with Git, I've laid a solid foundation for the weeks ahead. This week's activities have not only equipped me with essential skills but have also shaped my understanding of the FabAcademy ethos.
Stay tuned for weekly updates, as I document my progress, challenges, and achievements in this incredible journey of digital fabrication and learning.