
Electronics production
assignment
group assignment:
characterize the design rules for your in-house PCB production processindividual assignment:
make and test a microcontroller development boardextra credit: personalize the board
extra credit: make it with another process
So for this week we are making circuit boards. I
began by downloading the Quentorres
pcb files and opened the traces file through Inkscape
and added my eye logo along with a little heart in the
corner♥♥
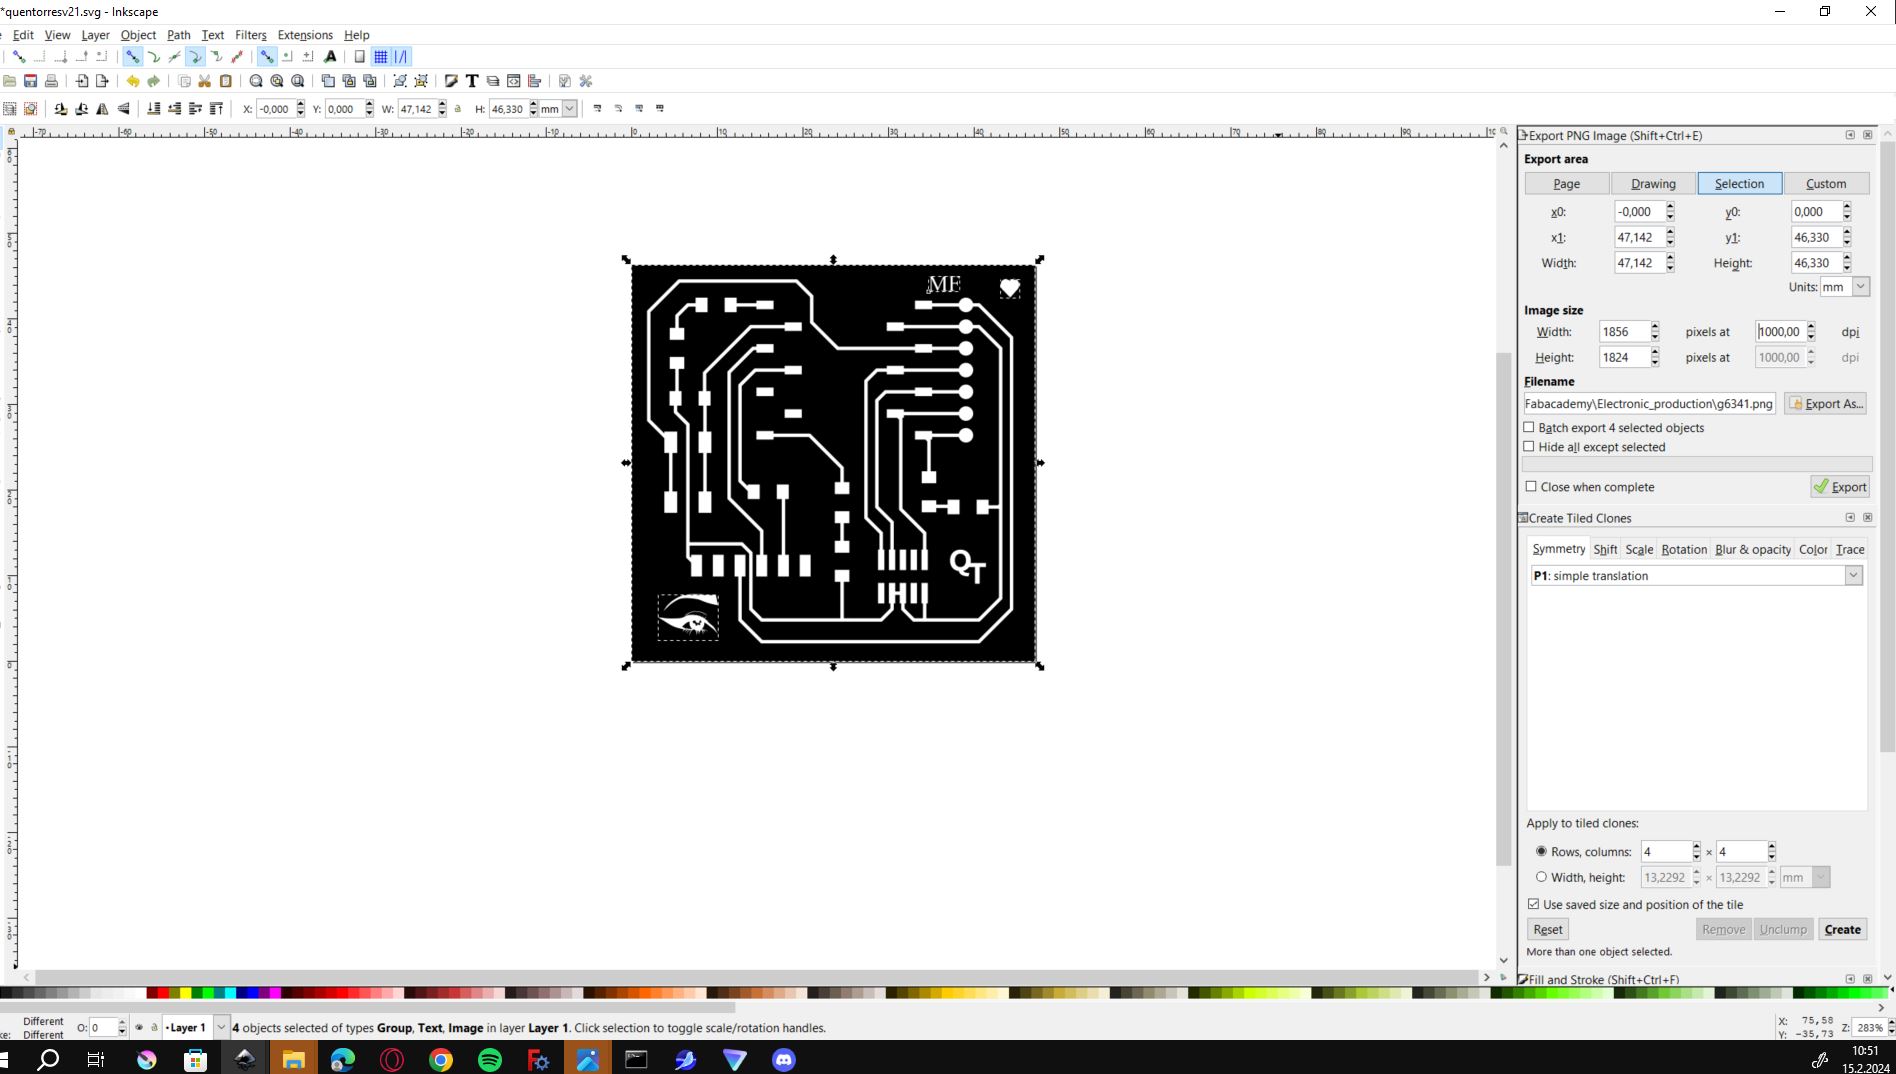
Next I saved the file as a png and used mods to prep it for
the machine. I went to modsproject.org
Files in correct row
- TRACES (uses thinner tooth)
- DRILLS (thicker tooth)
- INTERIOR (THIN)
Steps for prepping file:
- Go to modsproject.org
- right click
- go to programs
- select Roland MDX mill
- Select PNG file
- Set PCB defaults (mil traces or mill outline depending on what u wanna do)
- go to Roland MDX/ iModela
- set the origin of x and y to 0mm
- Then change the edit delete buttons and select them like
shown on the image below:
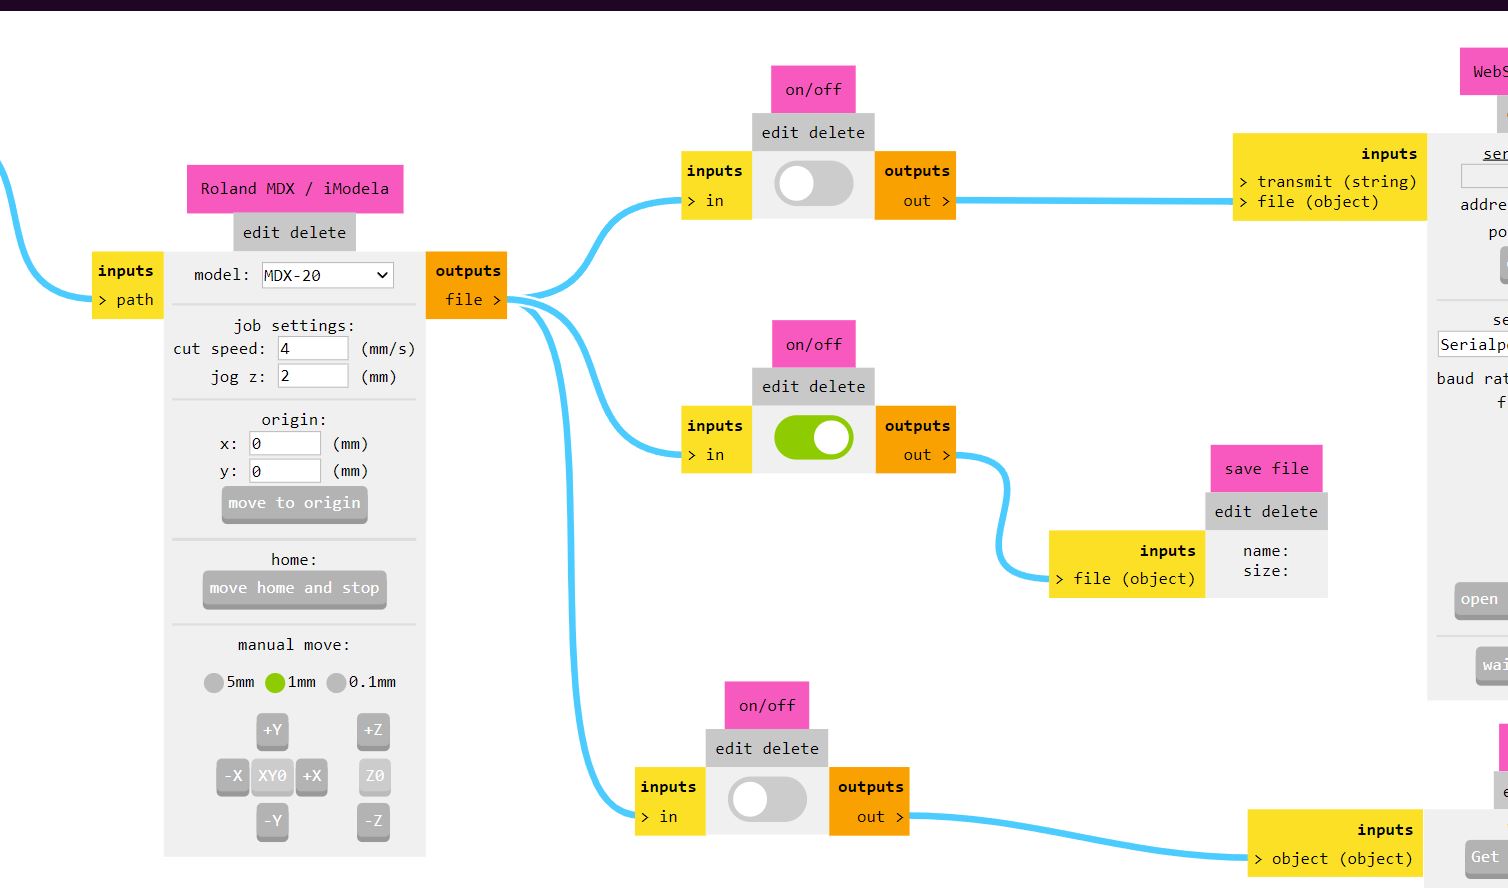
- After this its safe to press calculate and the file will be automatically downloaded into your computer
- Put into desired file location
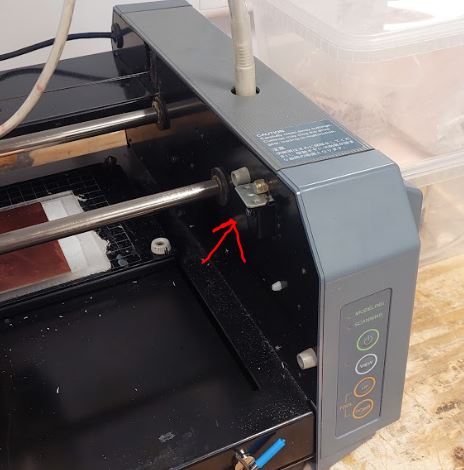
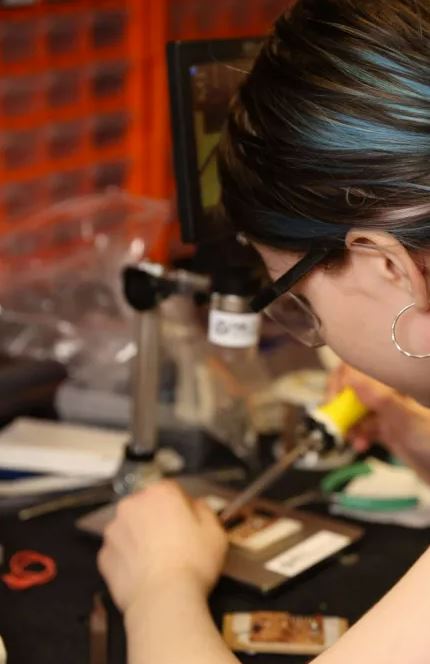
Next I milled the board. The machine refused to work at
first, we didn´t understand why. Eventually we realized the
magnet for the safety of the front cover had been moved
around so we fixed that and then it managed to work!ᕕ( ᐛ )ᕗ
Here are the steps for the machine
- Prep the board by using double sided tape at the bottom
and glue it onto the protection layer
- Turn on milling machine
- Press view
- Go to Z0
- set the XY
- Put the needle down until its 1,2cm from the board.
- Unscrew the needle and put it down gently until it
touches the copper.
- Fasten the screw
- open the software
- press Z up around 10 times.
- And then go to open file and find your file
- Switch the tooth to the 1/32 for cutting the outlines
VIDEO:
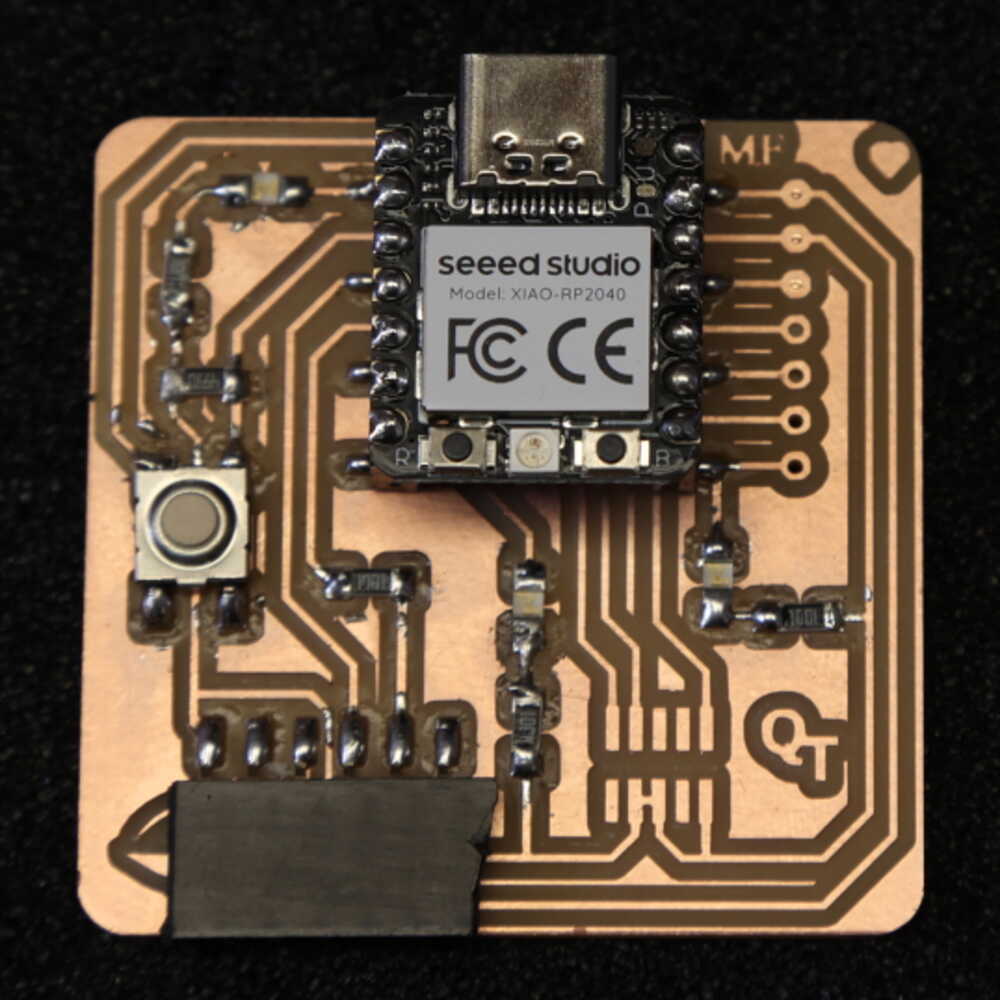
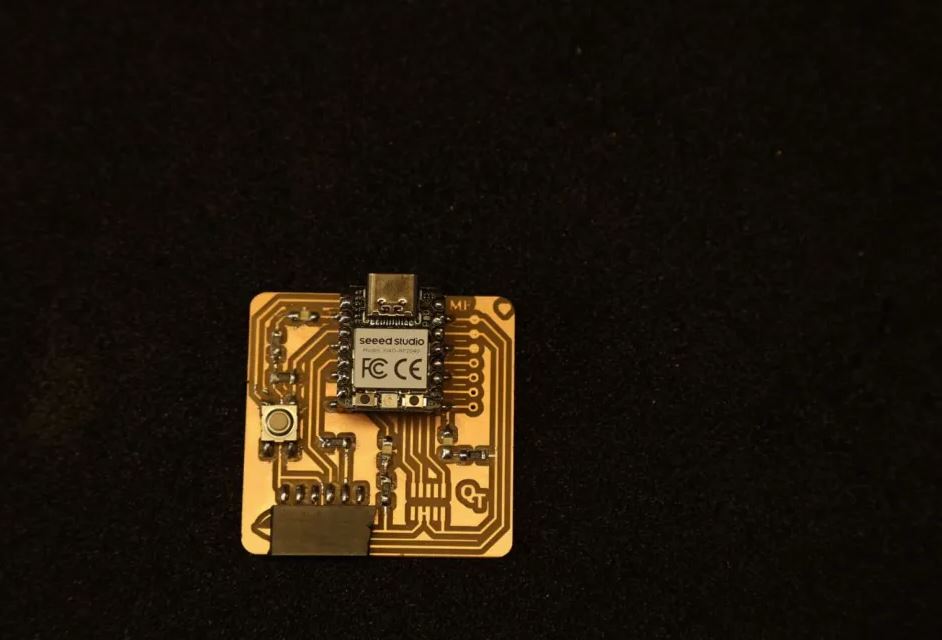
After washing the circuit board with water and soap it was
ready for soldering.
We used tin and the soldering process went all in all pretty smoothly. We are missing one part but other than that everything seems to work :D
We managed to upload a code to it so it is functional!
Code:
// Define pin numbers
const int buttonPin = 27;   // Pin for the button
const int ledPin = 26;      // Pin for the LED

// Variable to store the button state
int buttonState = 0;

void setup() {
  // Initialize the button pin as an input with internal pull-up resistor
  pinMode(buttonPin, INPUT_PULLUP);

  // Initialize the LED pin as an output
  pinMode(ledPin, OUTPUT);

  // Start with the LED and motor turned off
  digitalWrite(ledPin, LOW);

}

void loop() {
  // Read the state of the button
  buttonState = digitalRead(buttonPin);

  // Check if the button is pressed
  if (buttonState == HIGH) {
    // Turn on the LED
    digitalWrite(ledPin, HIGH);

  } else {
    // Turn off the LED
    digitalWrite(ledPin, LOW);

  }
}
Video proof:
(Failed version)
I wanted to try making the other version. First I put a
heart onto it through Inkscape and then I prepped it like
the previous file on mods

and doing random squiggles and lines.
I checked the previous file and realized i had not resized
the page to fit the selection and there was a random white
object i had previously made next to the lines for the
board. It is also unclear whether I selected the 1/64
operation or not. This corrupted the file leading to the
machine not working (whoops)
Luckily it did not damage the tooth of the machine
Lesson: Always double check if you
selected the right operation BEFORE you start it