
Group assignment
- Characterize your lasercutter's focus, power, speed, rate, kerf, joint clearance and types.
- Document your work to the group work page and reflect on your individual page what you learned.
Individual assignments
- Design, lasercut, and document a parametric construction kit, accounting for the lasercutter kerf, which can be assembled in multiple ways.
- Cut something on the vinyl cutter.
Learning outcomes
- Demonstrate and describe parametric 2D modelling processes.
- Identify and explain processes involved in using the laser cutter.
- Develop, evaluate and construct a parametric construction kit.
- Identify and explain processes involved in using the vinyl cutter.
Lazer cutting
The lazer cutting process did not goes as planned since
FreeCad is quite a handful at least to someone with as
little experience as me.
This week I realised that I had an old
version of Inkscape so I uninstalled it and upgraded!
This week I started by looking at this https://www.slideshare.net/openp2pdesign/fab-academy-2015-laser-cutting?ref=
- Open spreadsheet
- Put in values for box (width, height, lenght, wall thickness, base thickness)
- Set alias for numeric value (top right corner)
- Properties-> set it to mm
- Body - sketch - select XY plane
- Make box, make it even, change value
- turn it from 2d to 3d
- set value
- AND BOOM U GOT A BOX
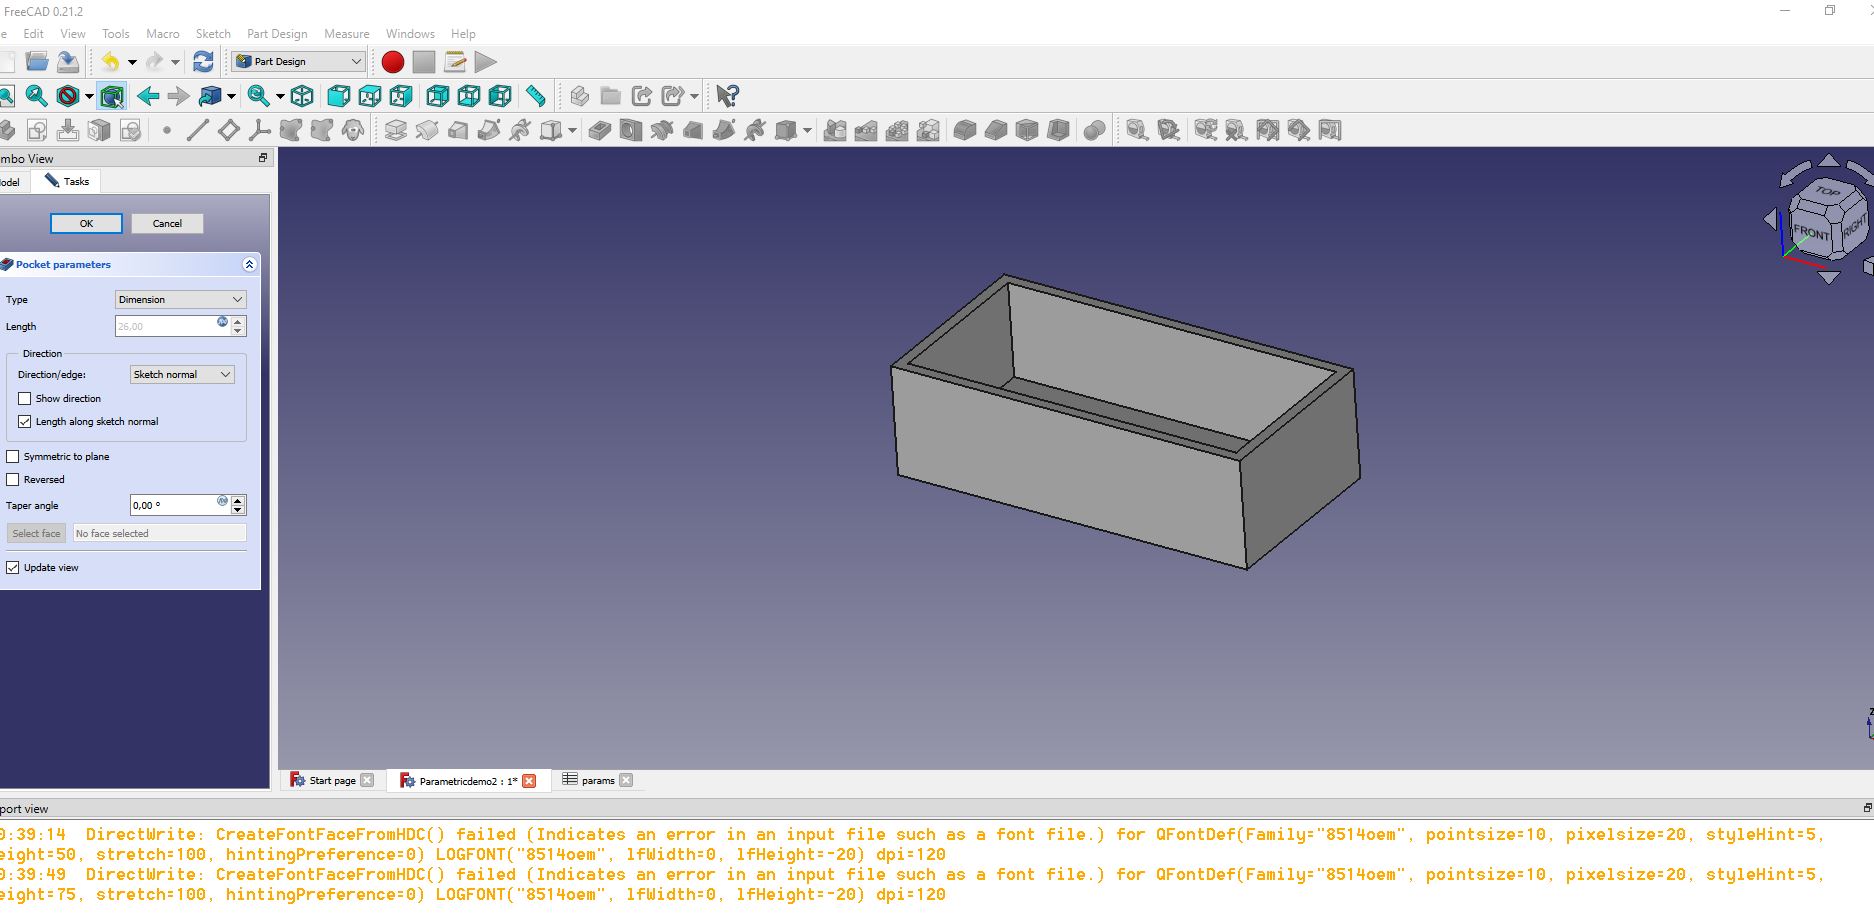
This is the box I made. It took hours but i
am very proud. The awesome thing about this box is if you
change the values through the spreadsheet, it still
keeps its shape and only changes what you ask to change!
Very epic
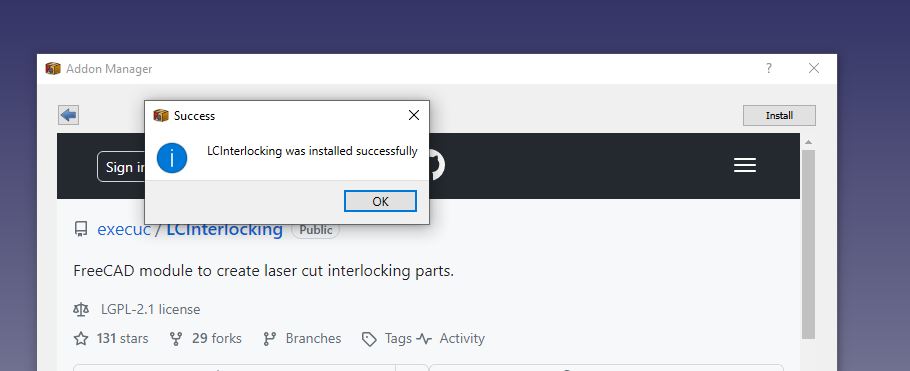
While watching youtube tutorials I realised
that FreeCad has a Laser Cutting workbench available for
download! Down below is a video introducing it!
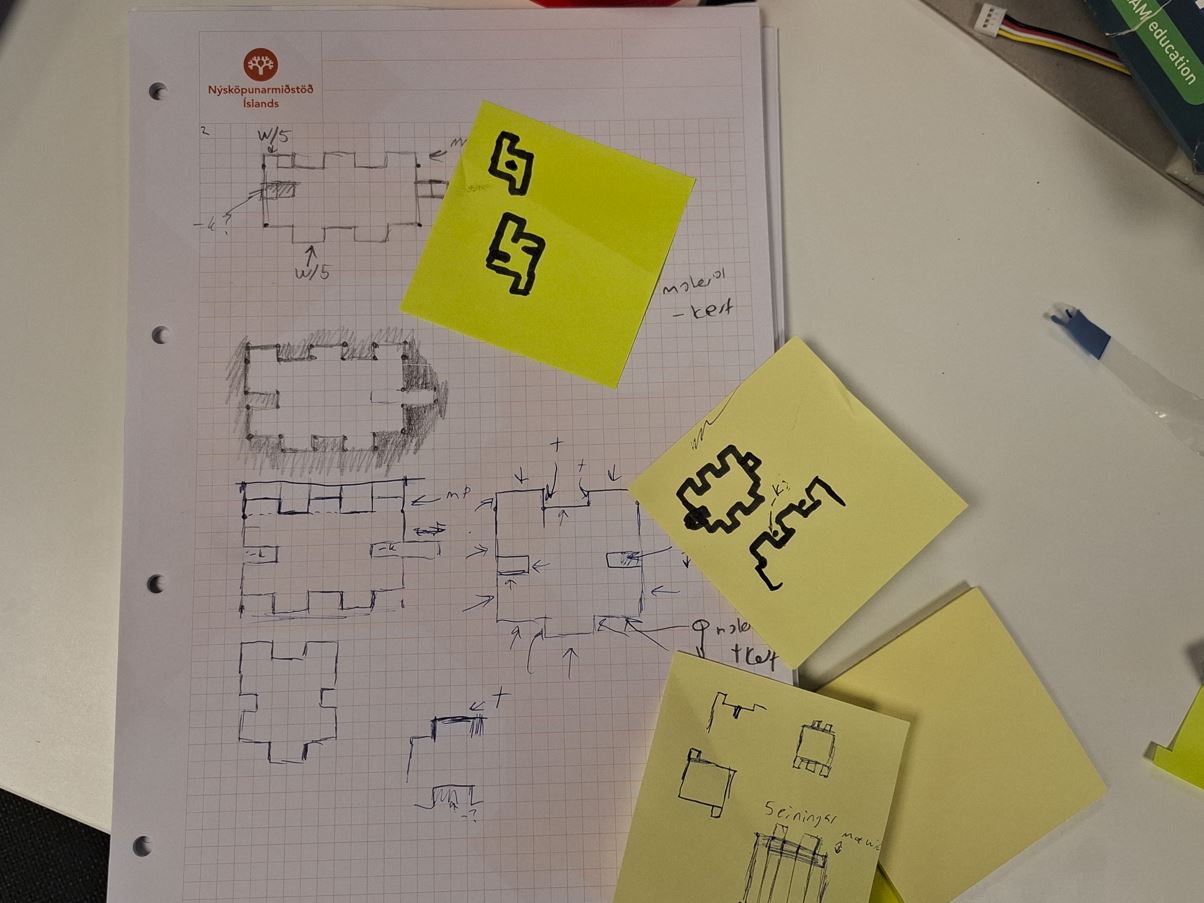
Designing my own construction pieces
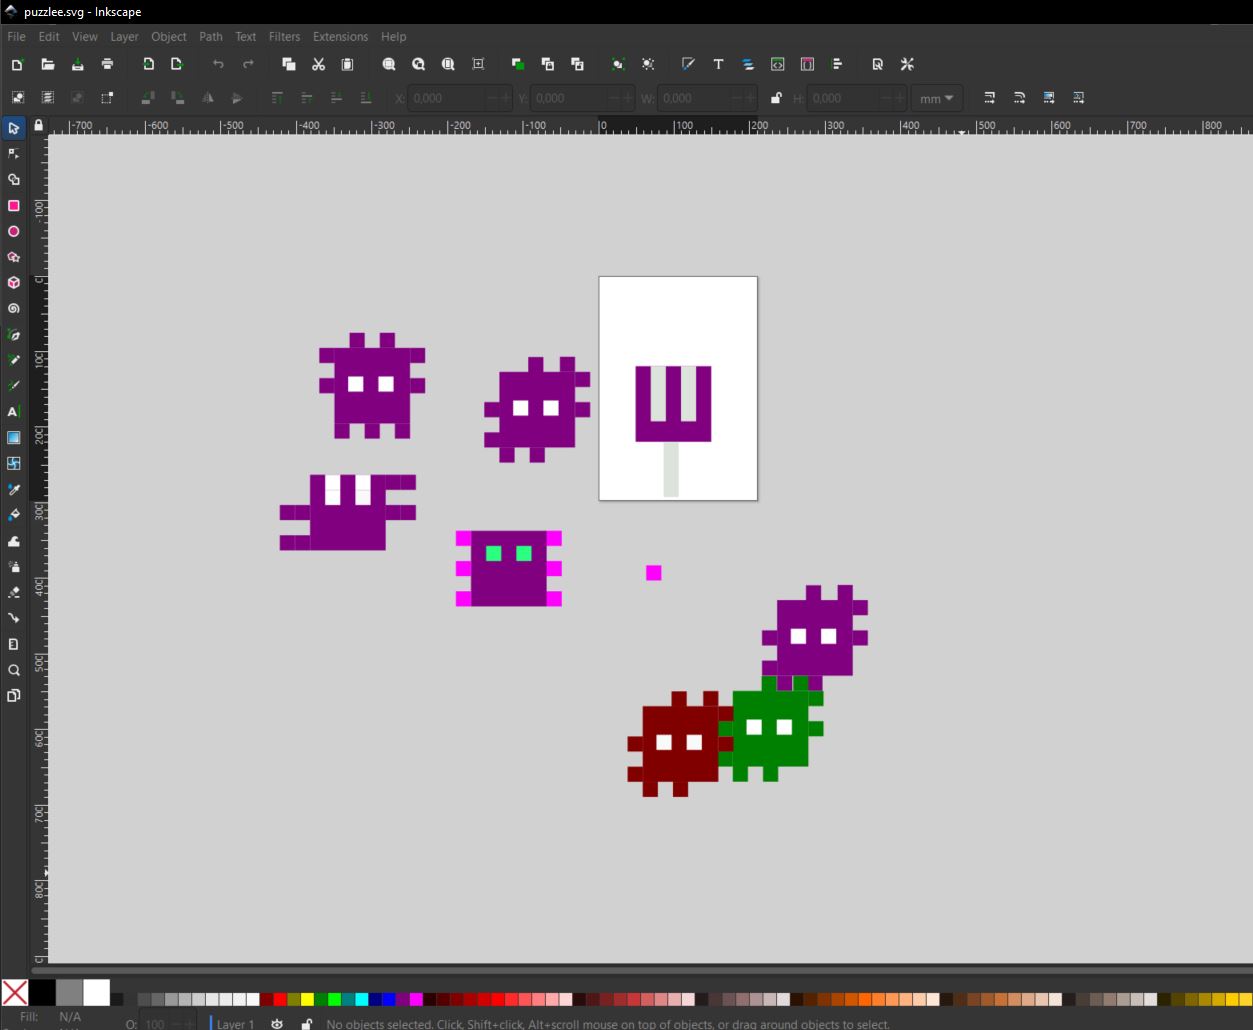
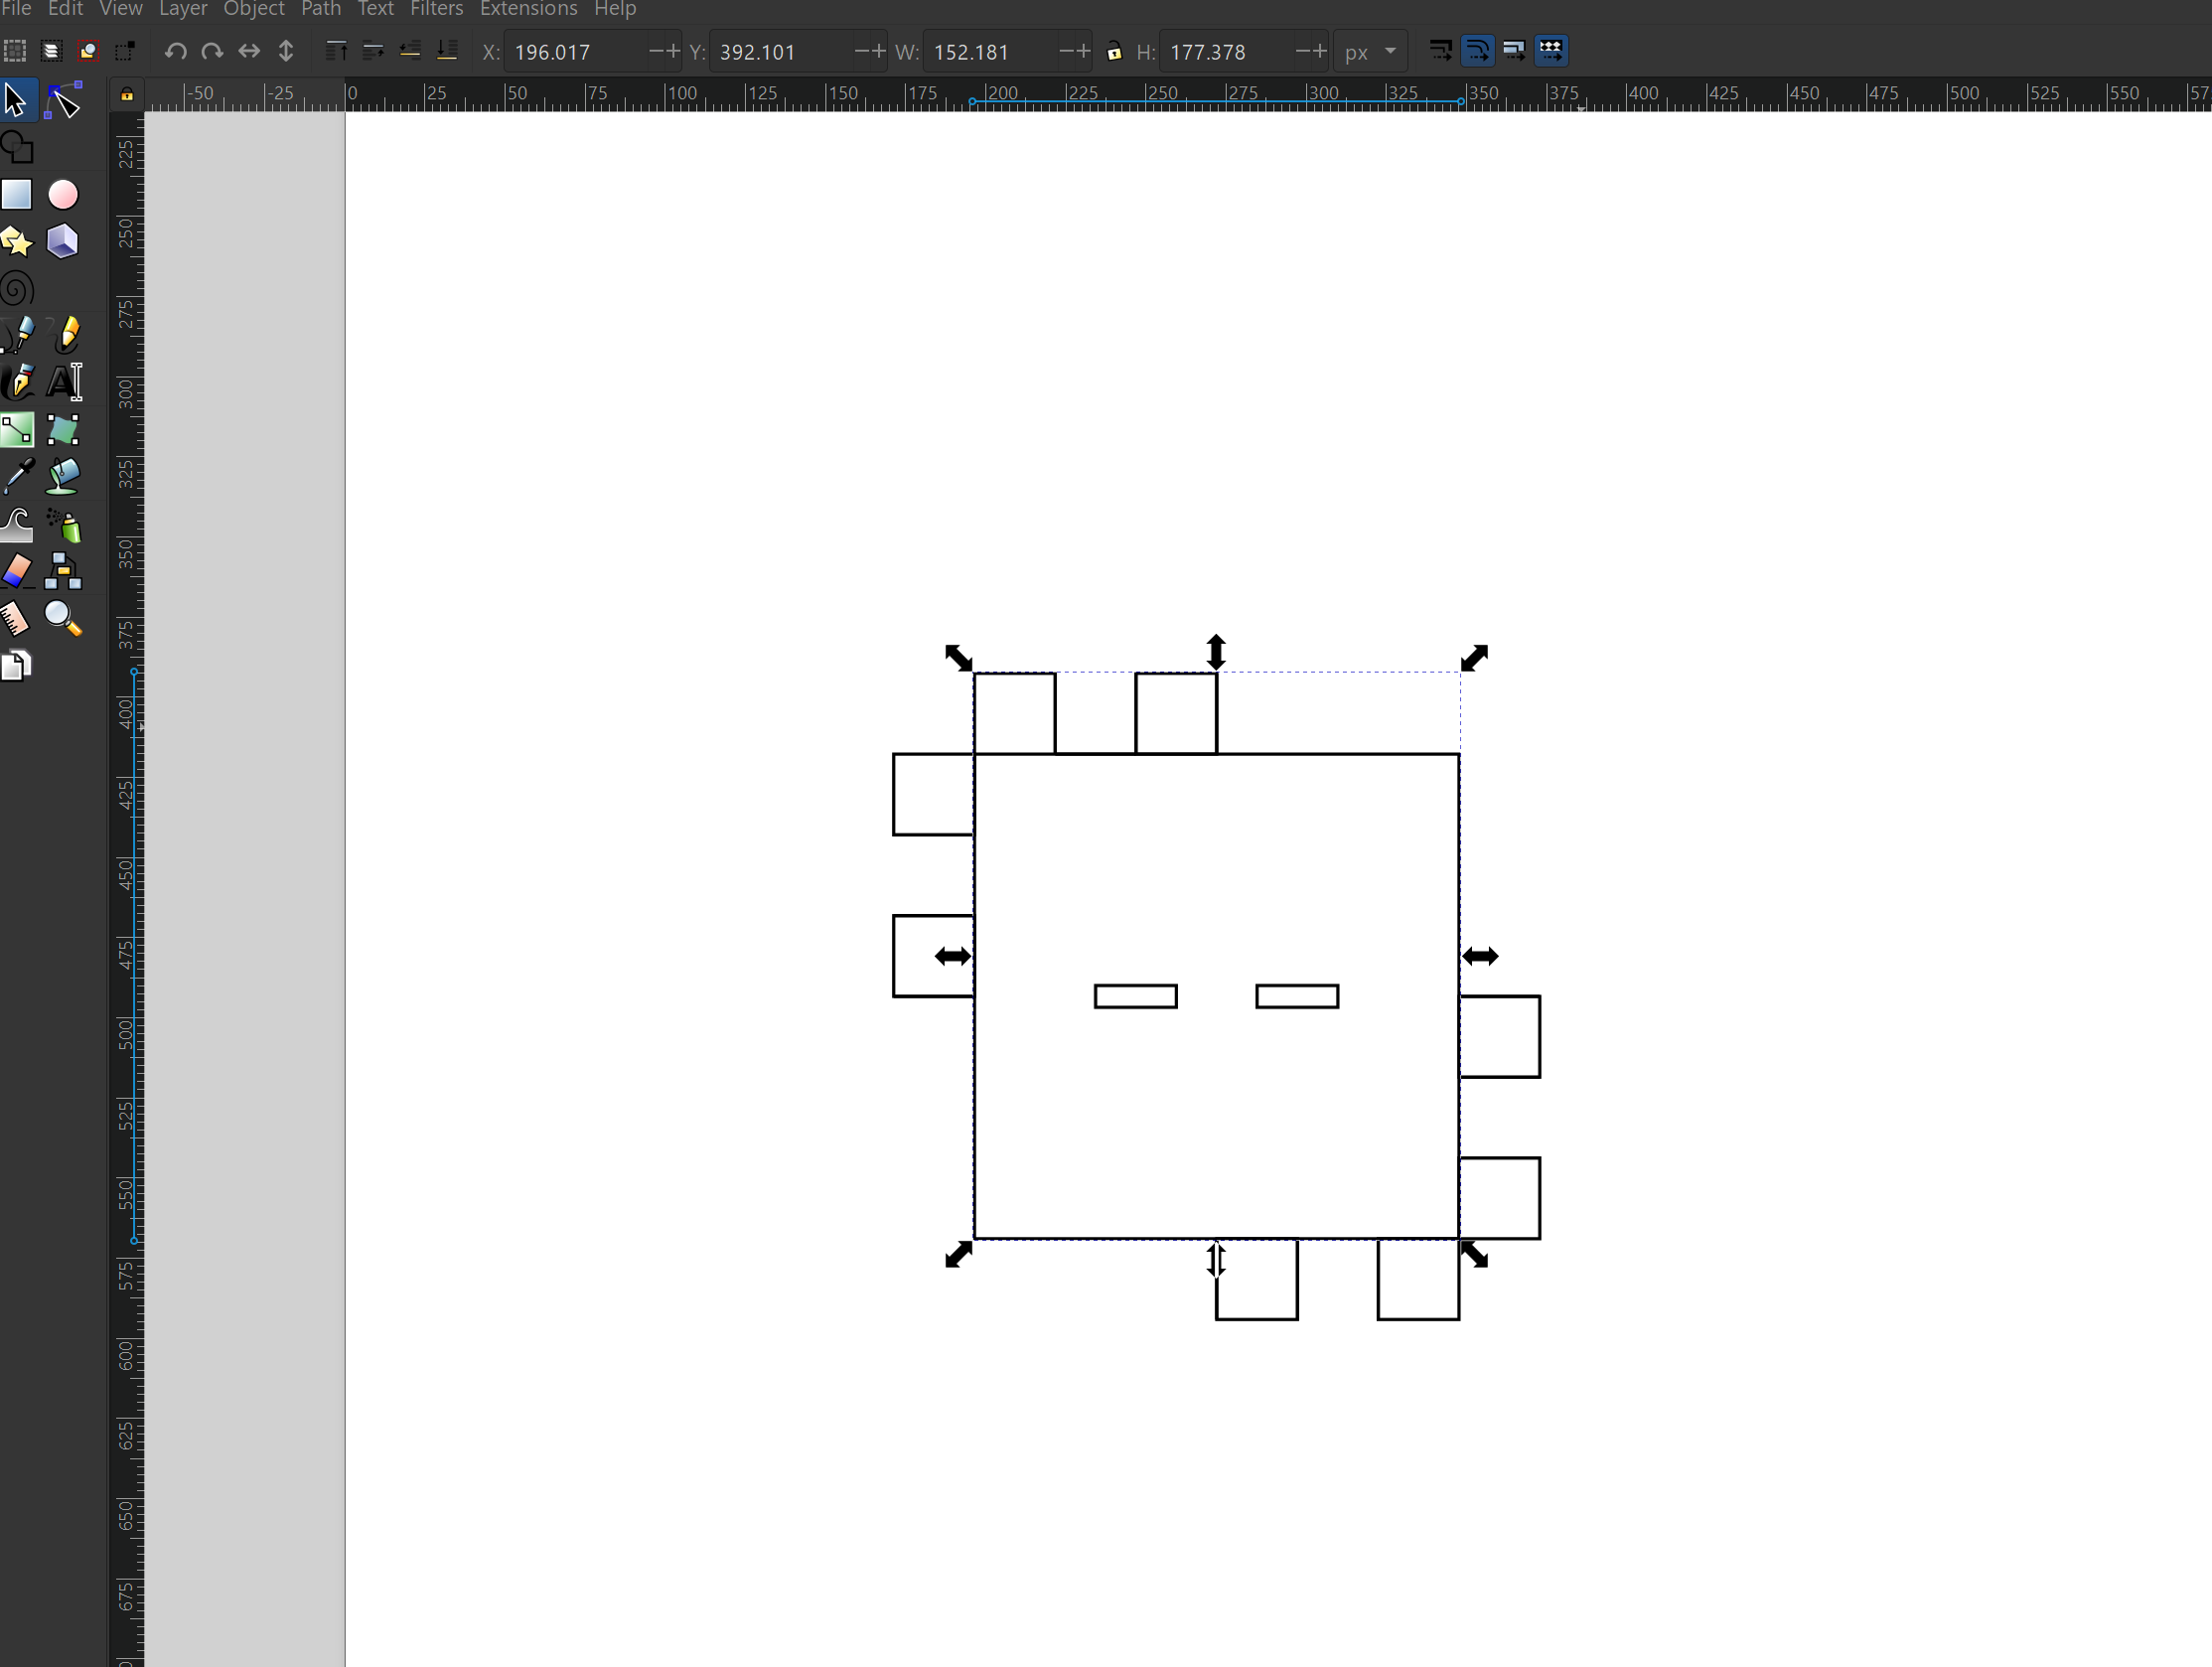
I wanted to make pieces inspired by the Phantoms from Animal Jam. I began by drawing up potential versions on Inkscape :)
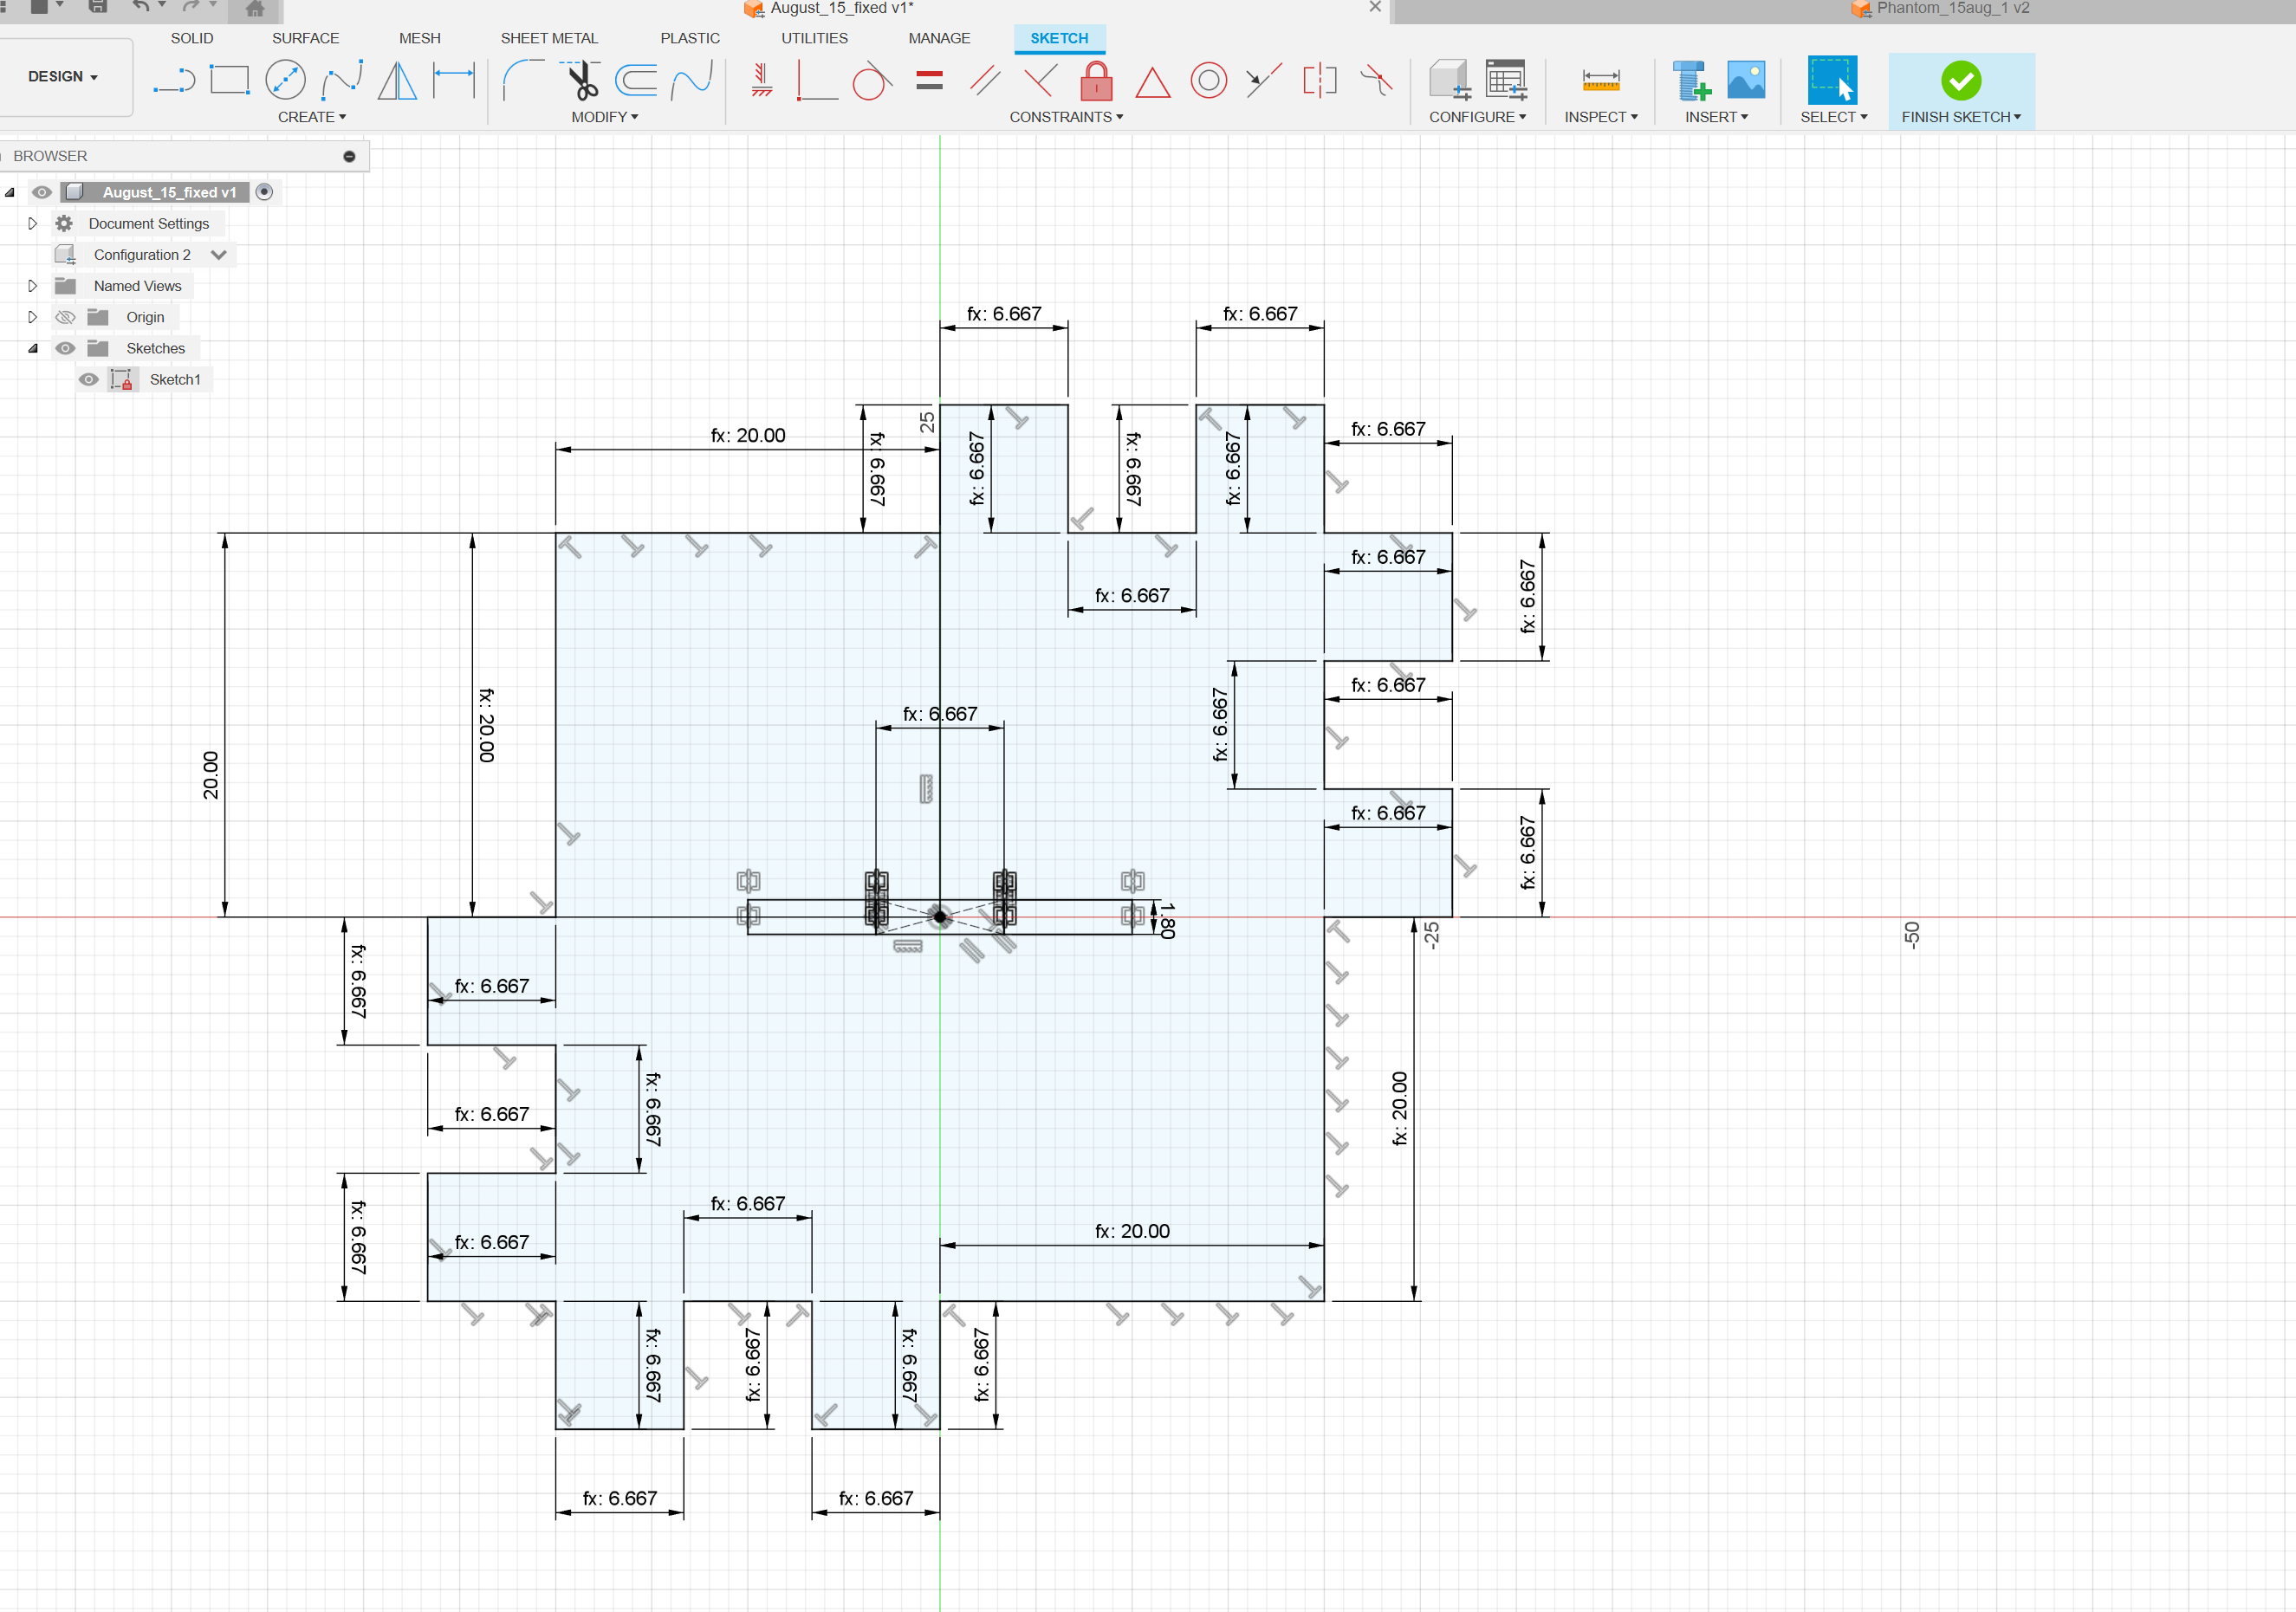
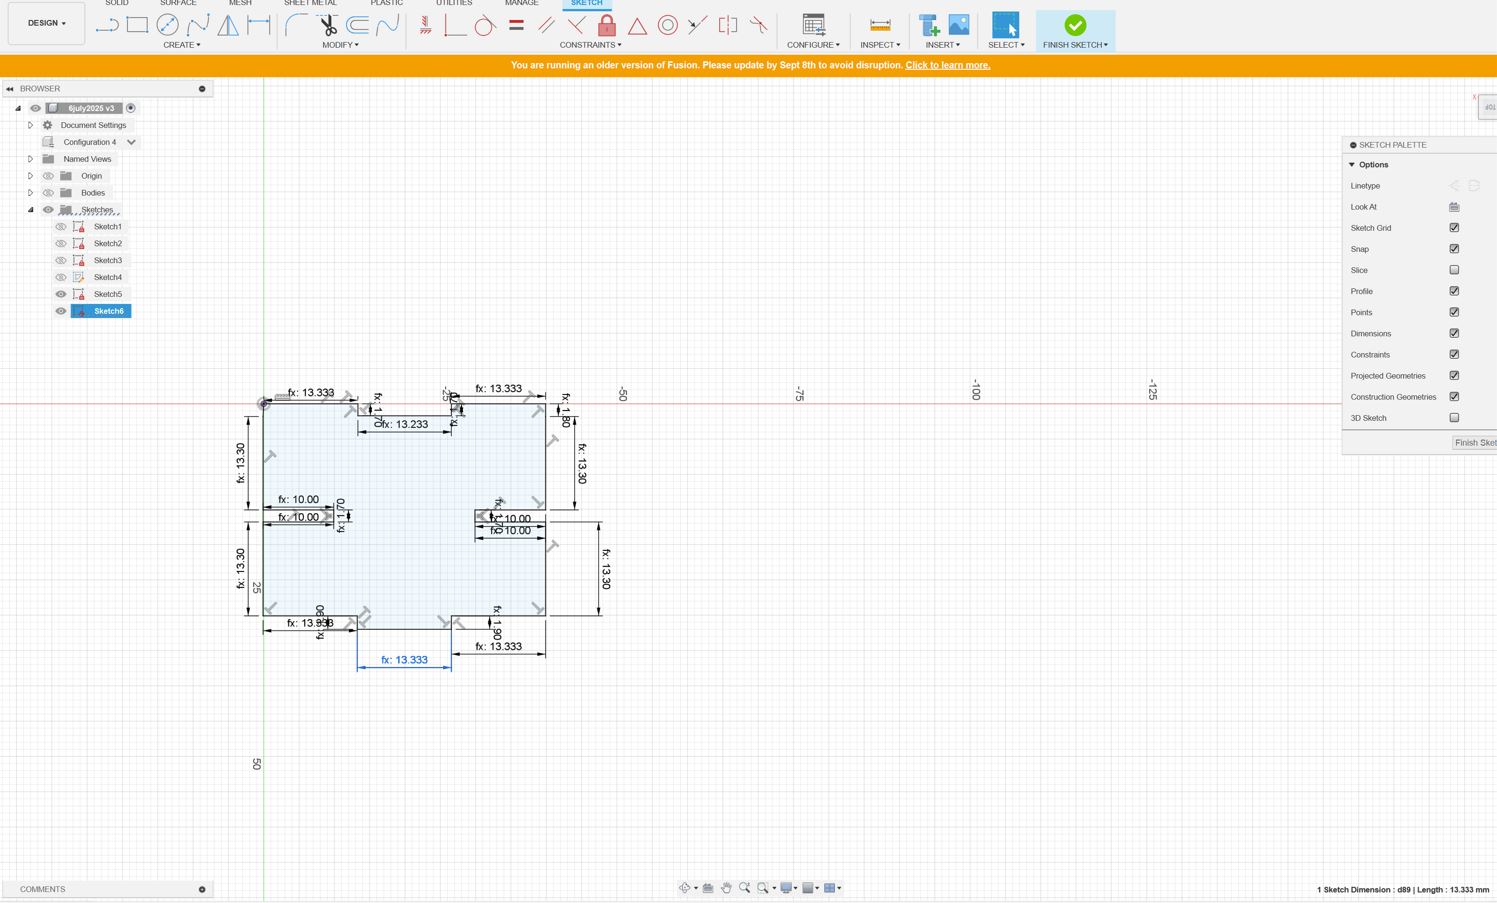
I then redrew one of the pieces up in Fusion 360
I struggled quite a bit to get the parametric part to work. I looked at a lot of tutorials about Parameters in Fusion 360 but here is the one I followed for the parametric part of my design: https://www.youtube.com/watch?v=ntMBZQUTLNA&t=1700s
After a while of struggling I finally managed to get the parametrics to work without breaking when I changed the numbers too much!
Here is one example of a broken sketch from changing the numbers:
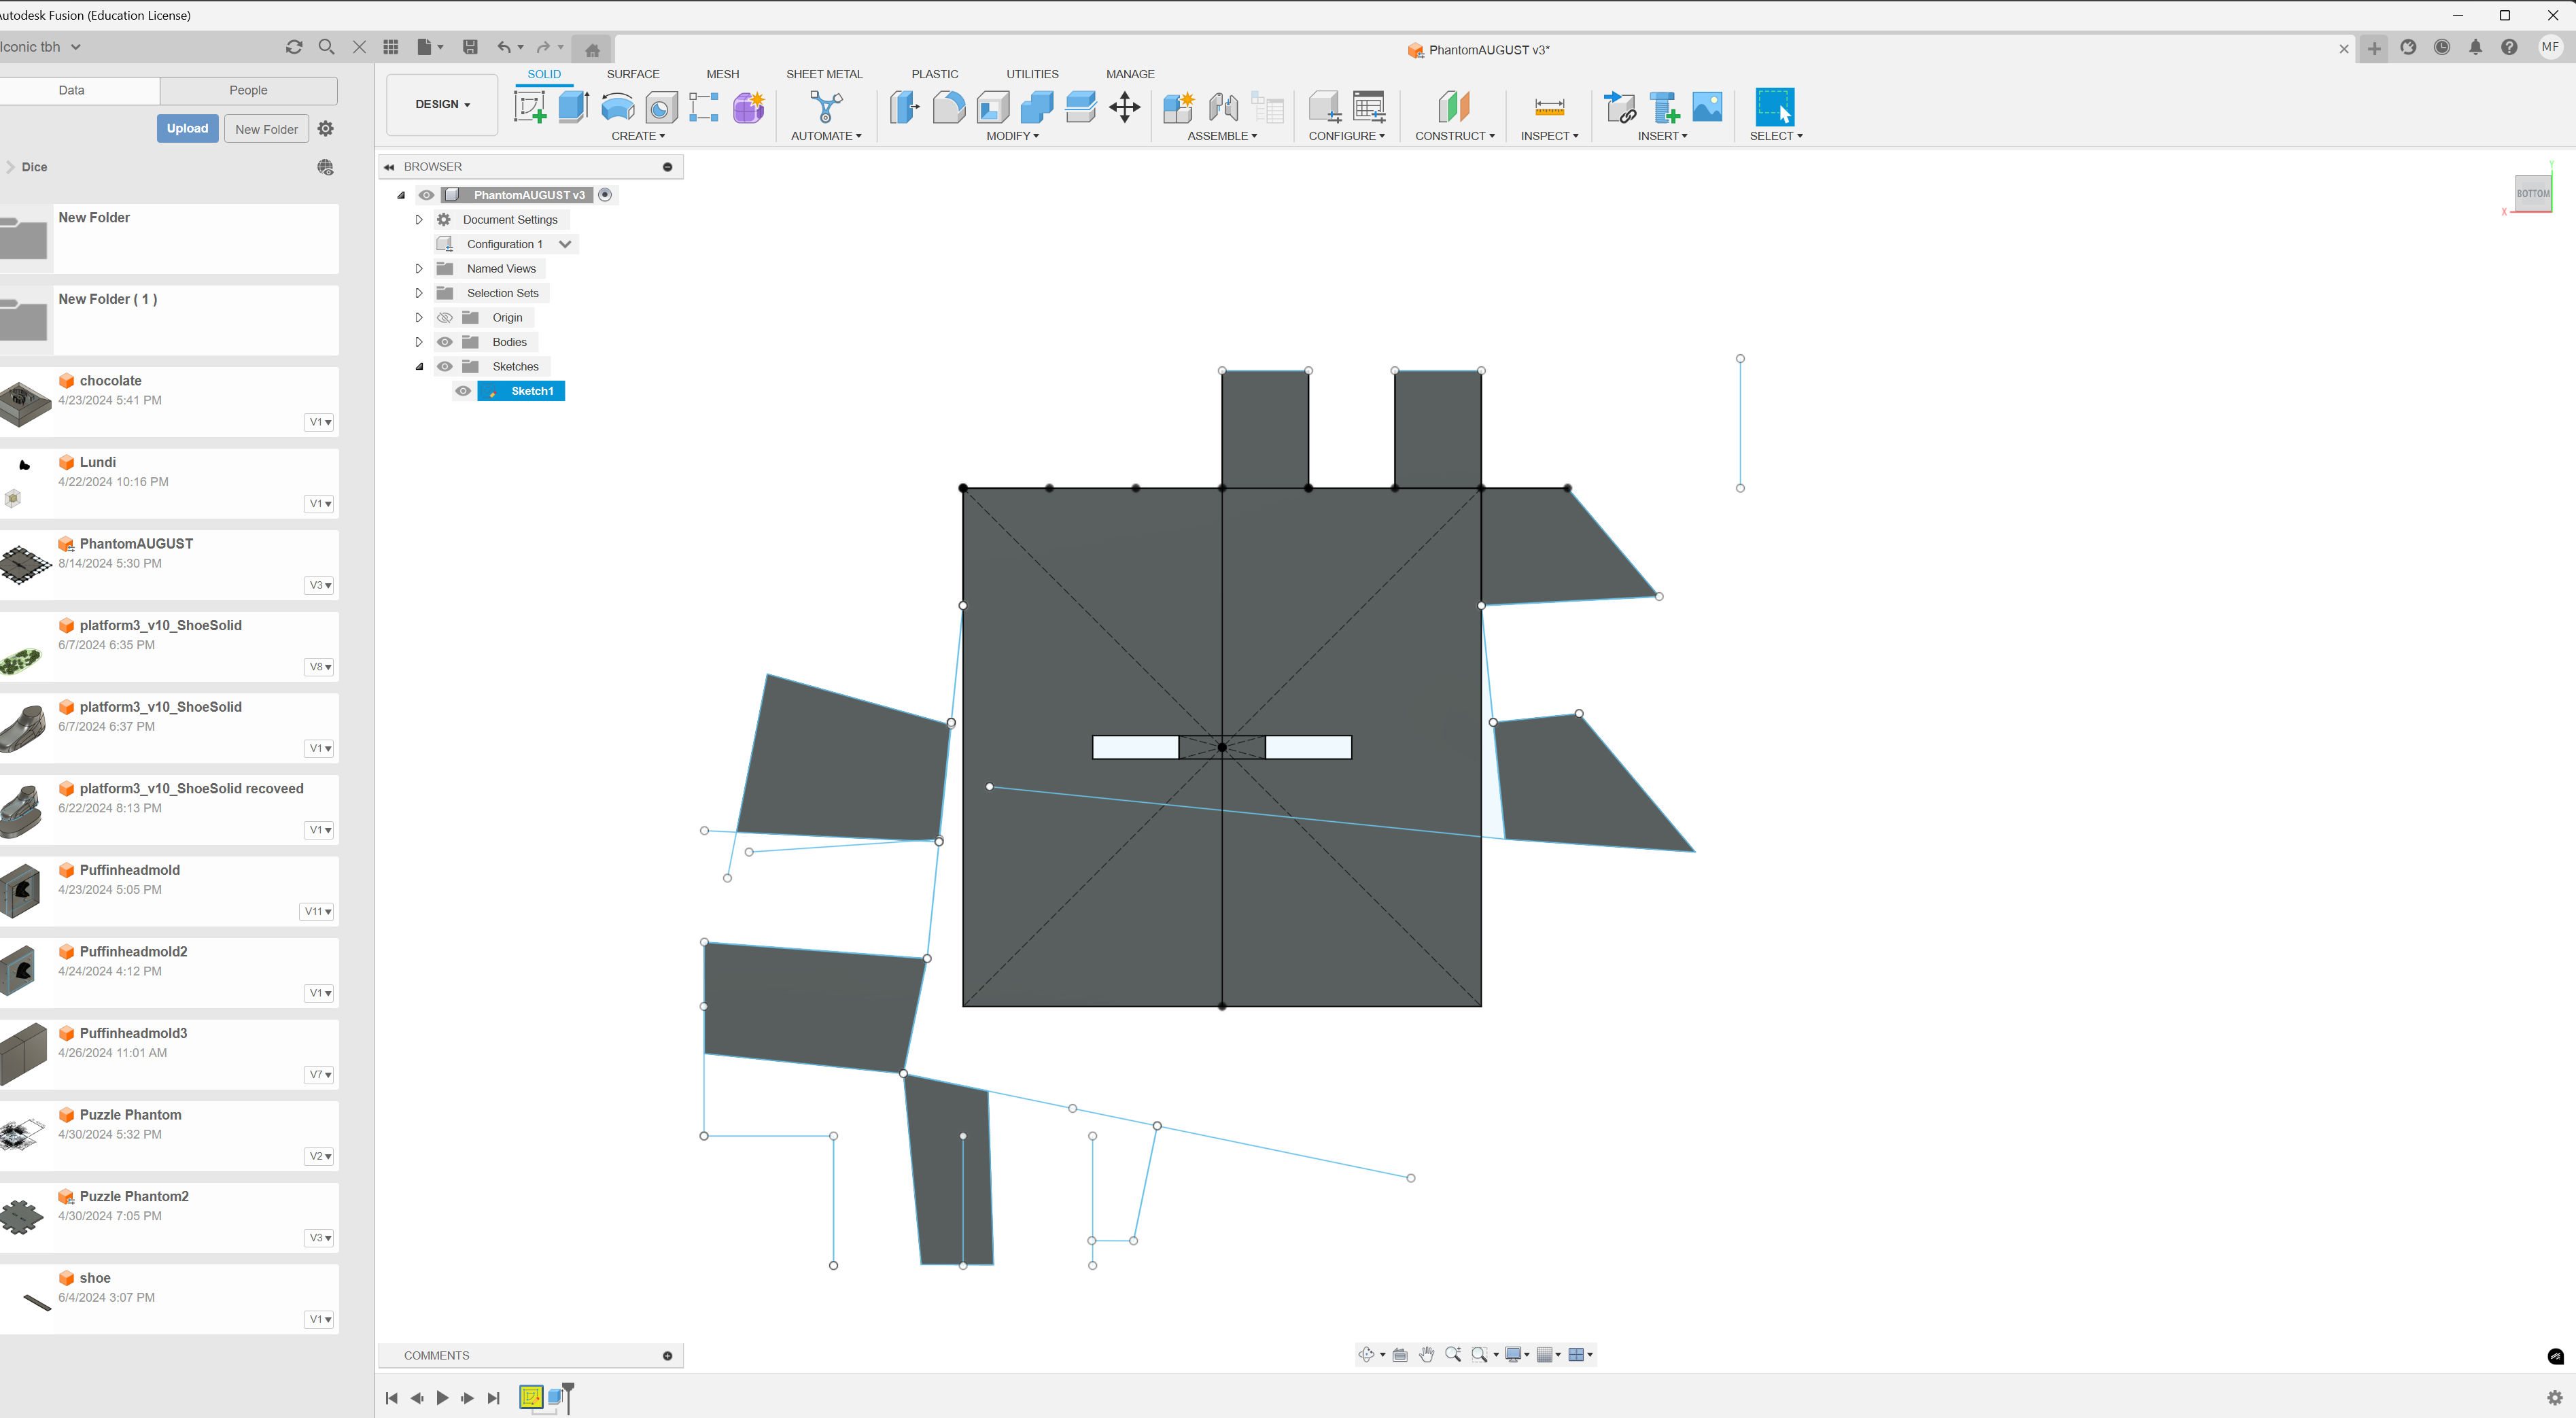
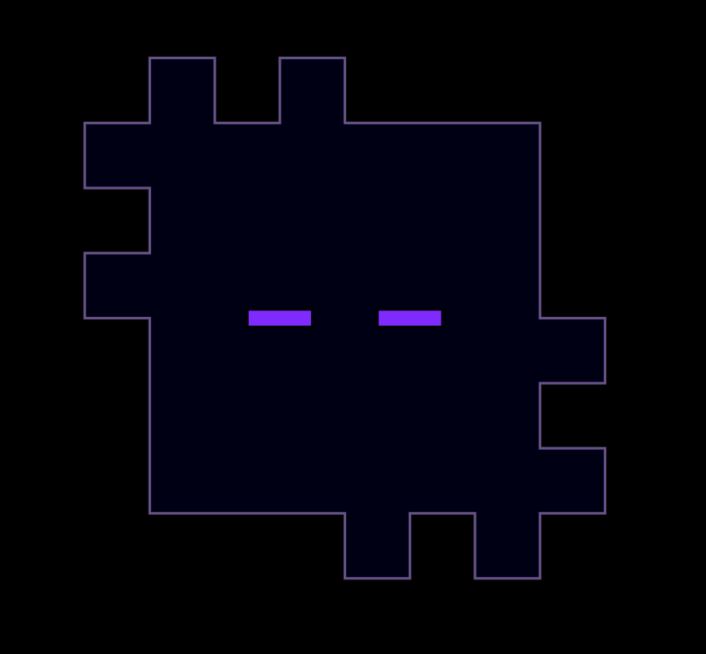
Here is the sketch:
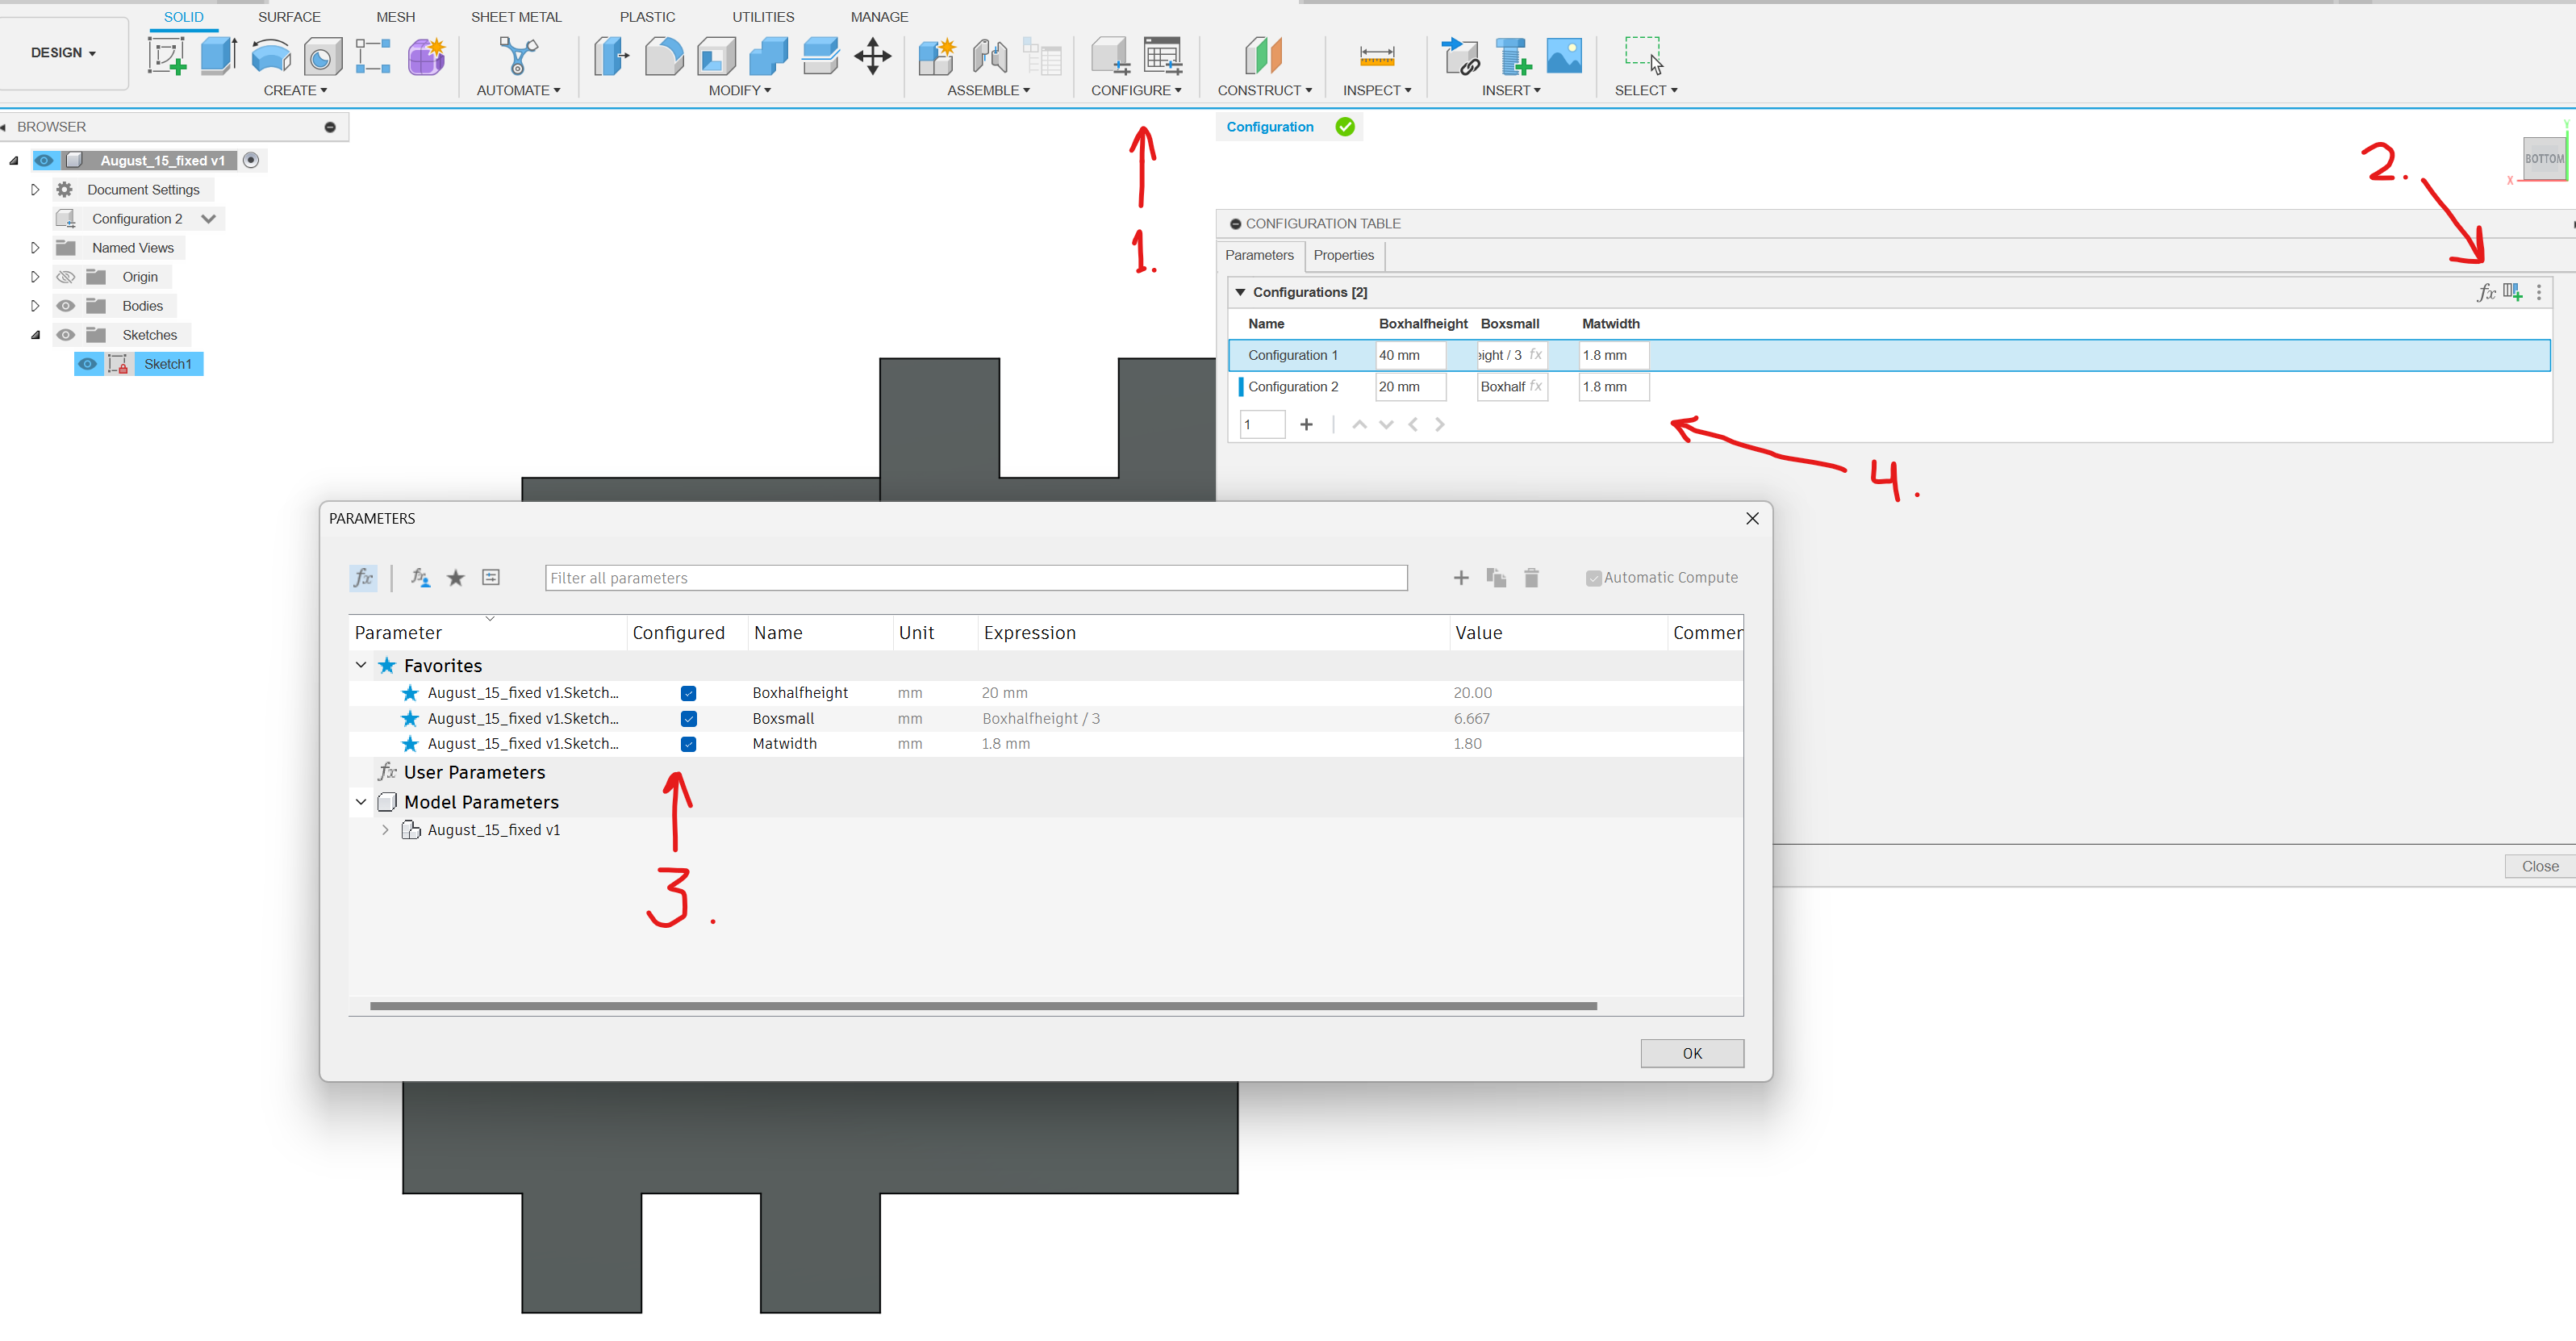
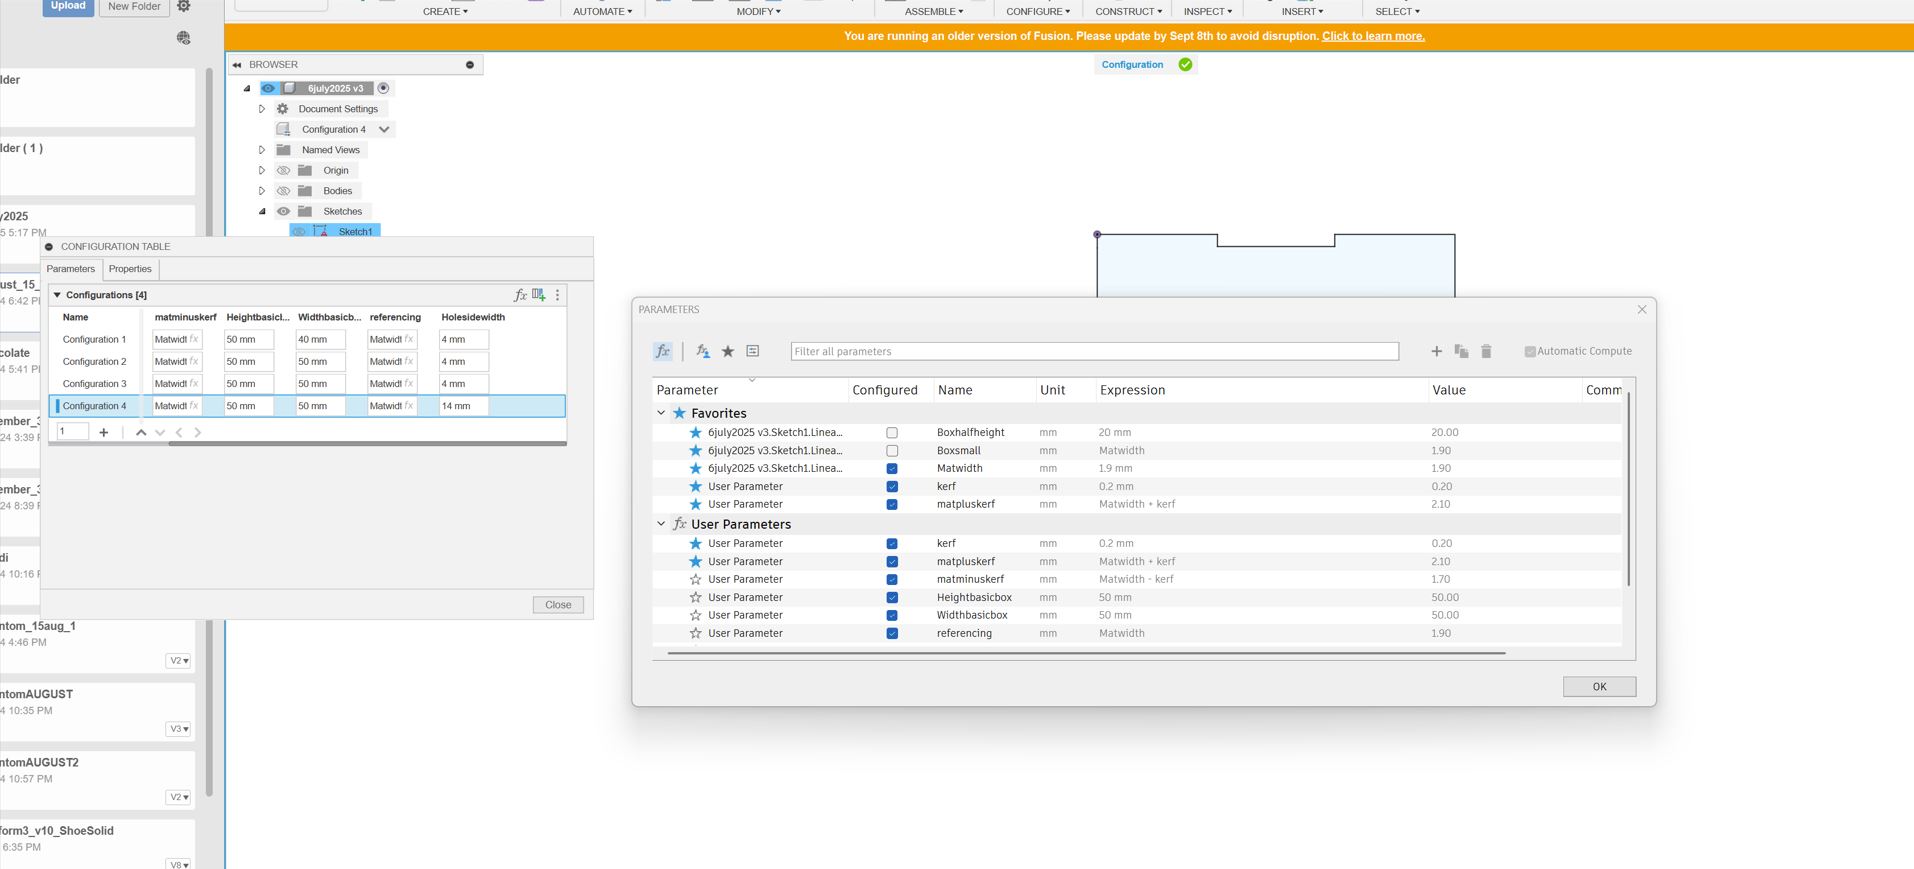
Here is a quick rundown on how to change the parameters
- First go to configure
- Then click that little button
- Select the parameters you want to configure
- And finally change the numbers and watch your design
change!
I saved the sketch as a DFX file and opened it in Inkscape.
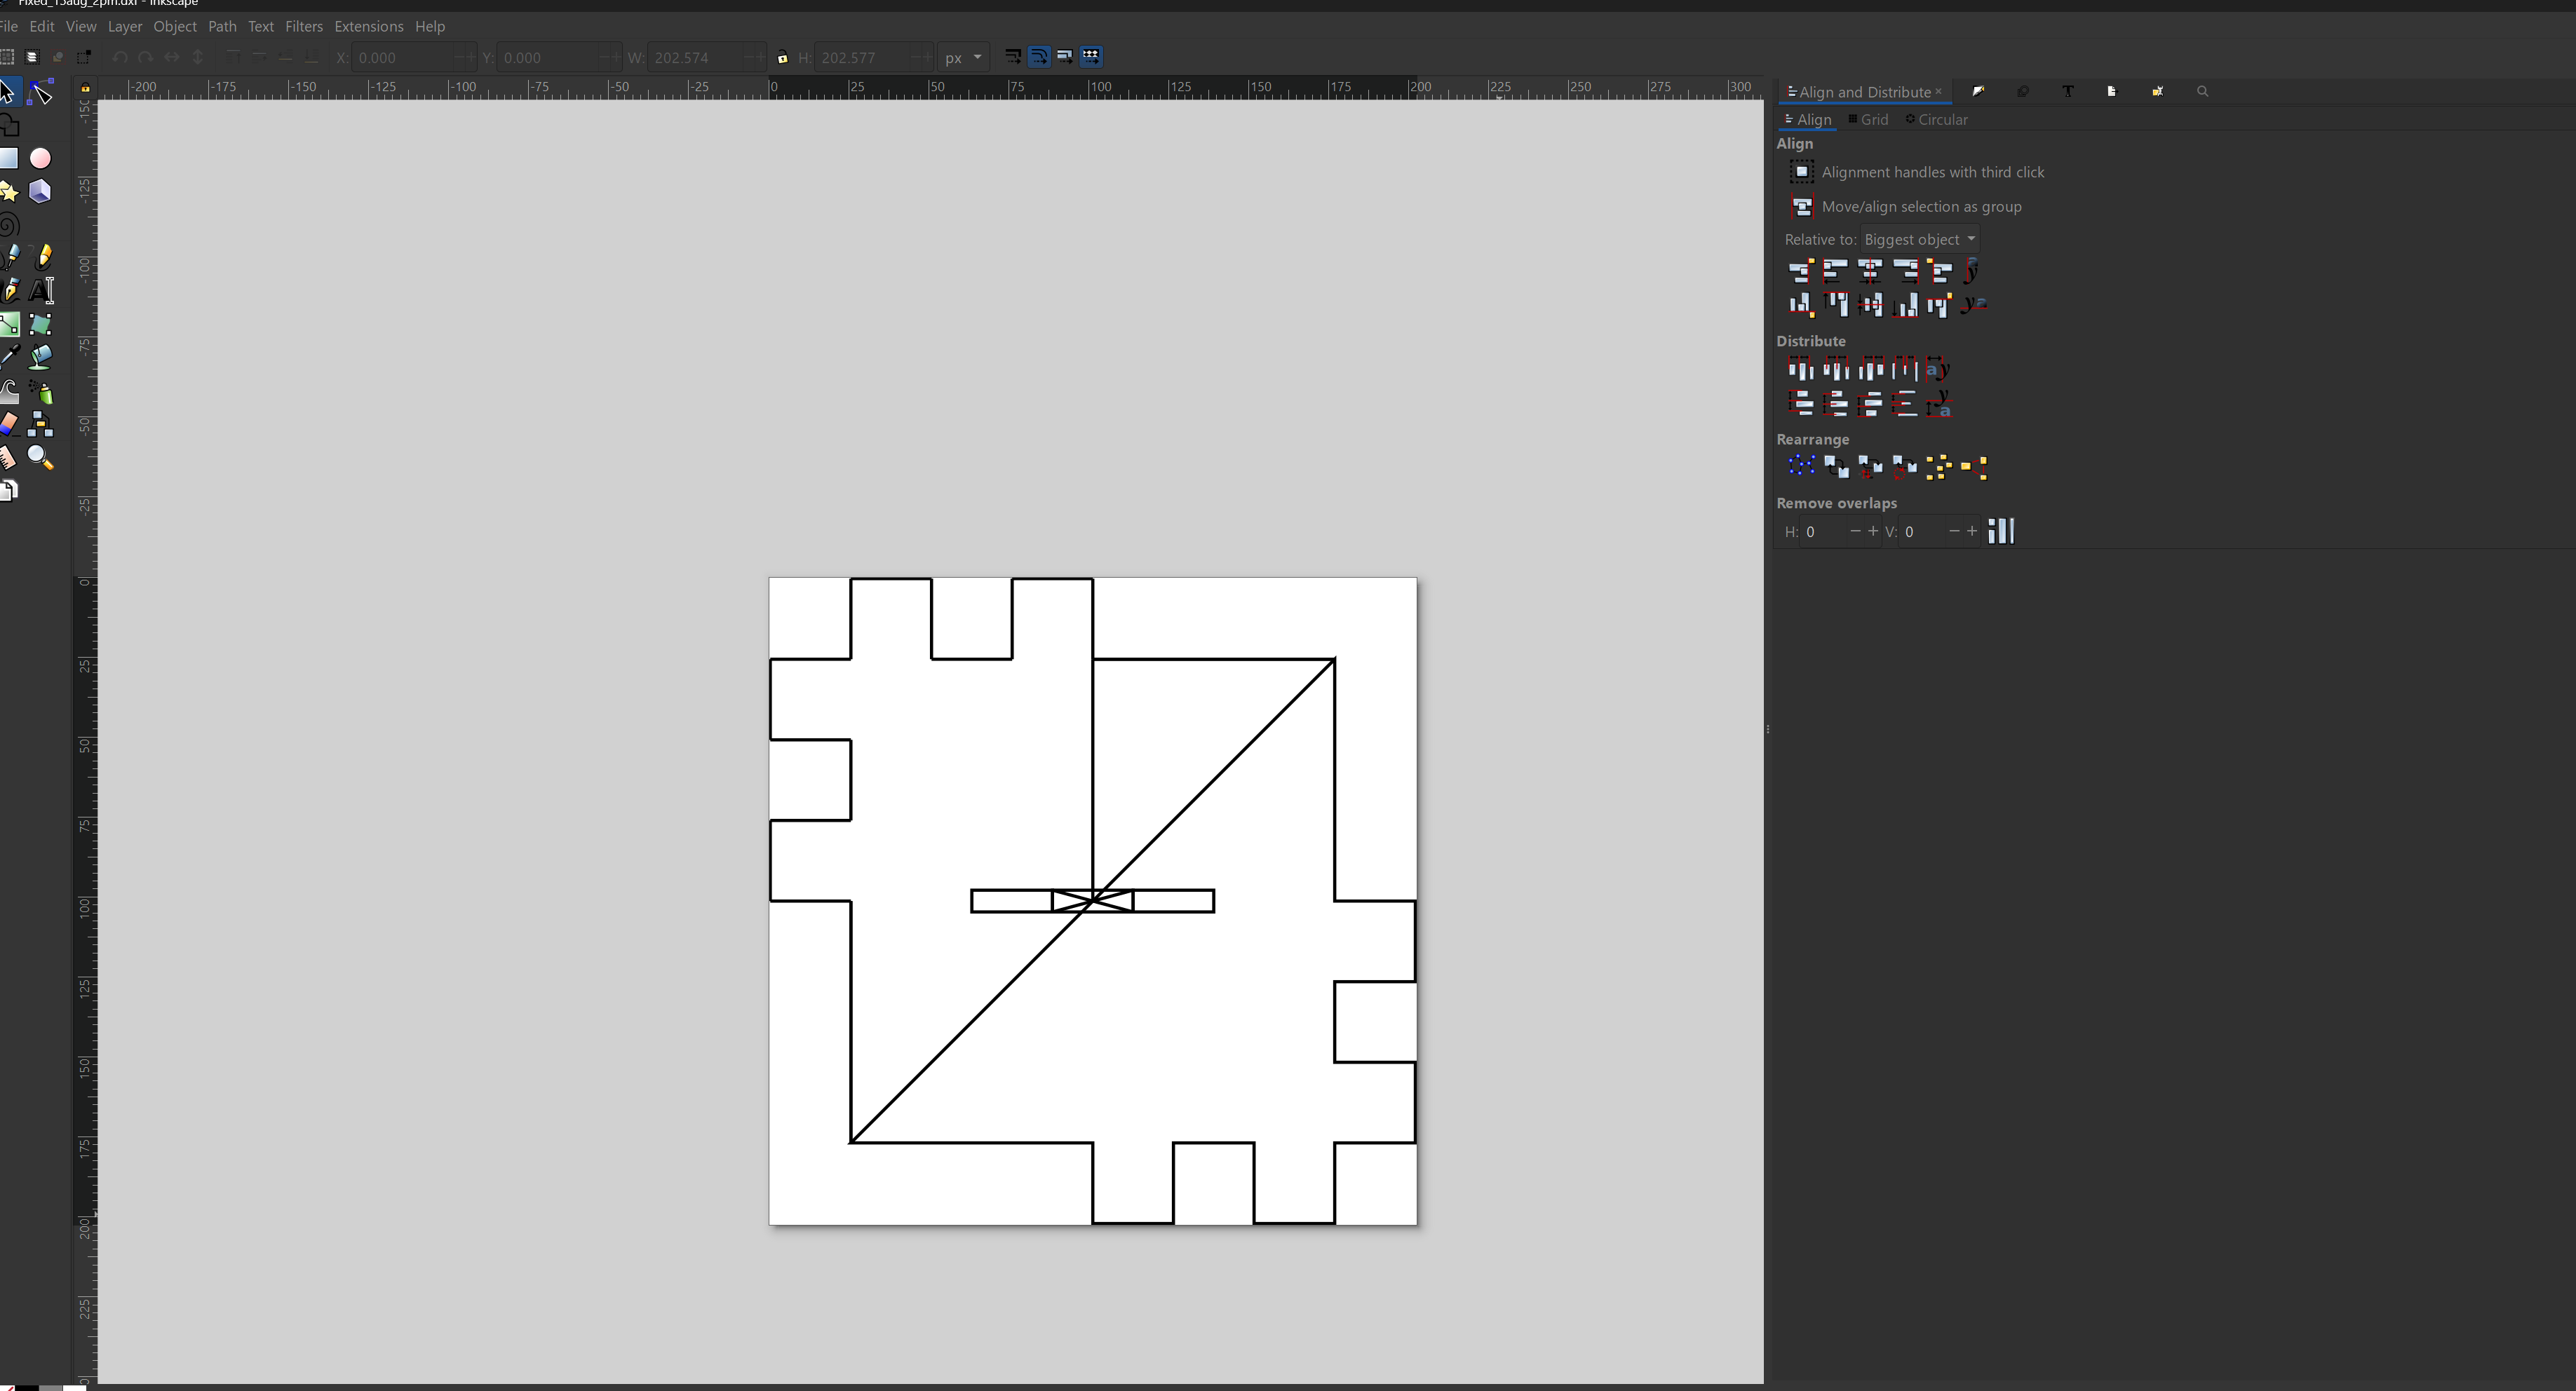
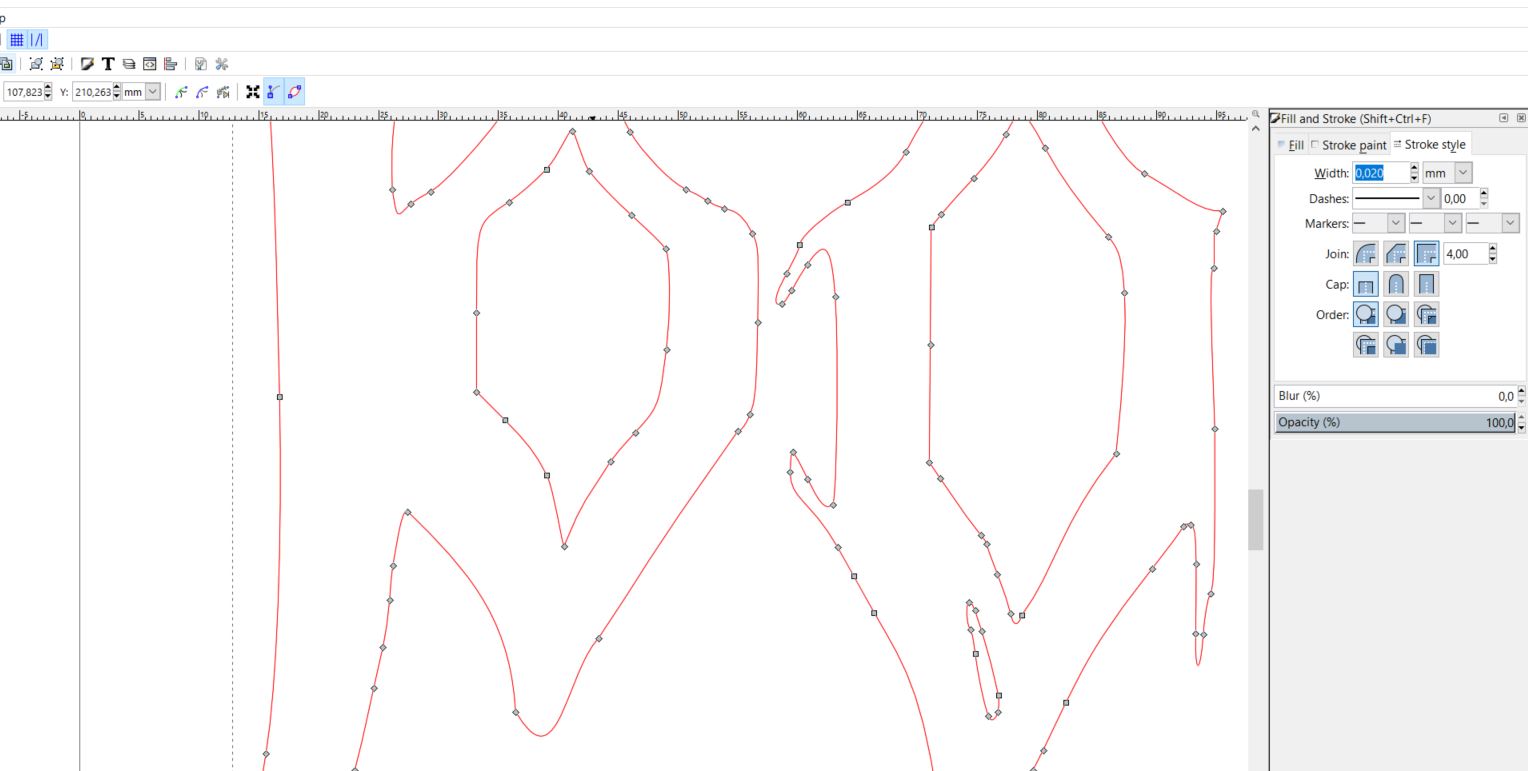
I then began deleting unessecary lines and later set the colour on the remaining ones to red. The line thickness was set to 0.02mm.
After that I used ctrl+shift+R to resize the page to the selection.
Last step before the laser was to save the file as a pdf
epilog Laser
I then followed our laser's instructions
- Turn on air conditioning + cooling system
- Turnh on laser
- Wait 20 seconds
- Pointer
- X/Y OFF
- Go
- Open lasercutter and put material in
- Use the manual focus unit ↑↓
- Move to starting point
- Set home
- Close
- File>Print>Properties
- Change settings (as seen below)
.JPG)
.JPG)
- Press print on the computer
- Go
- Wait 30 seconds
- X/Y off
- Go
- Remove material
- Turn laser off
- Turn off Cooling and air conditioning
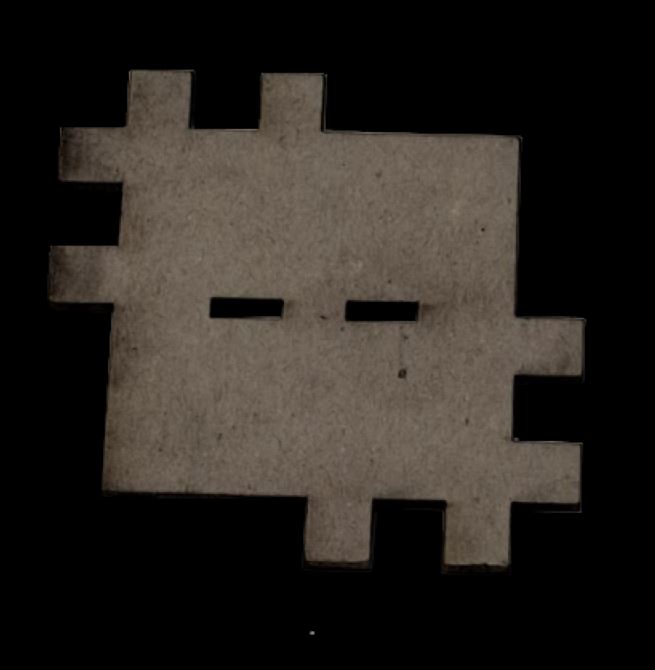
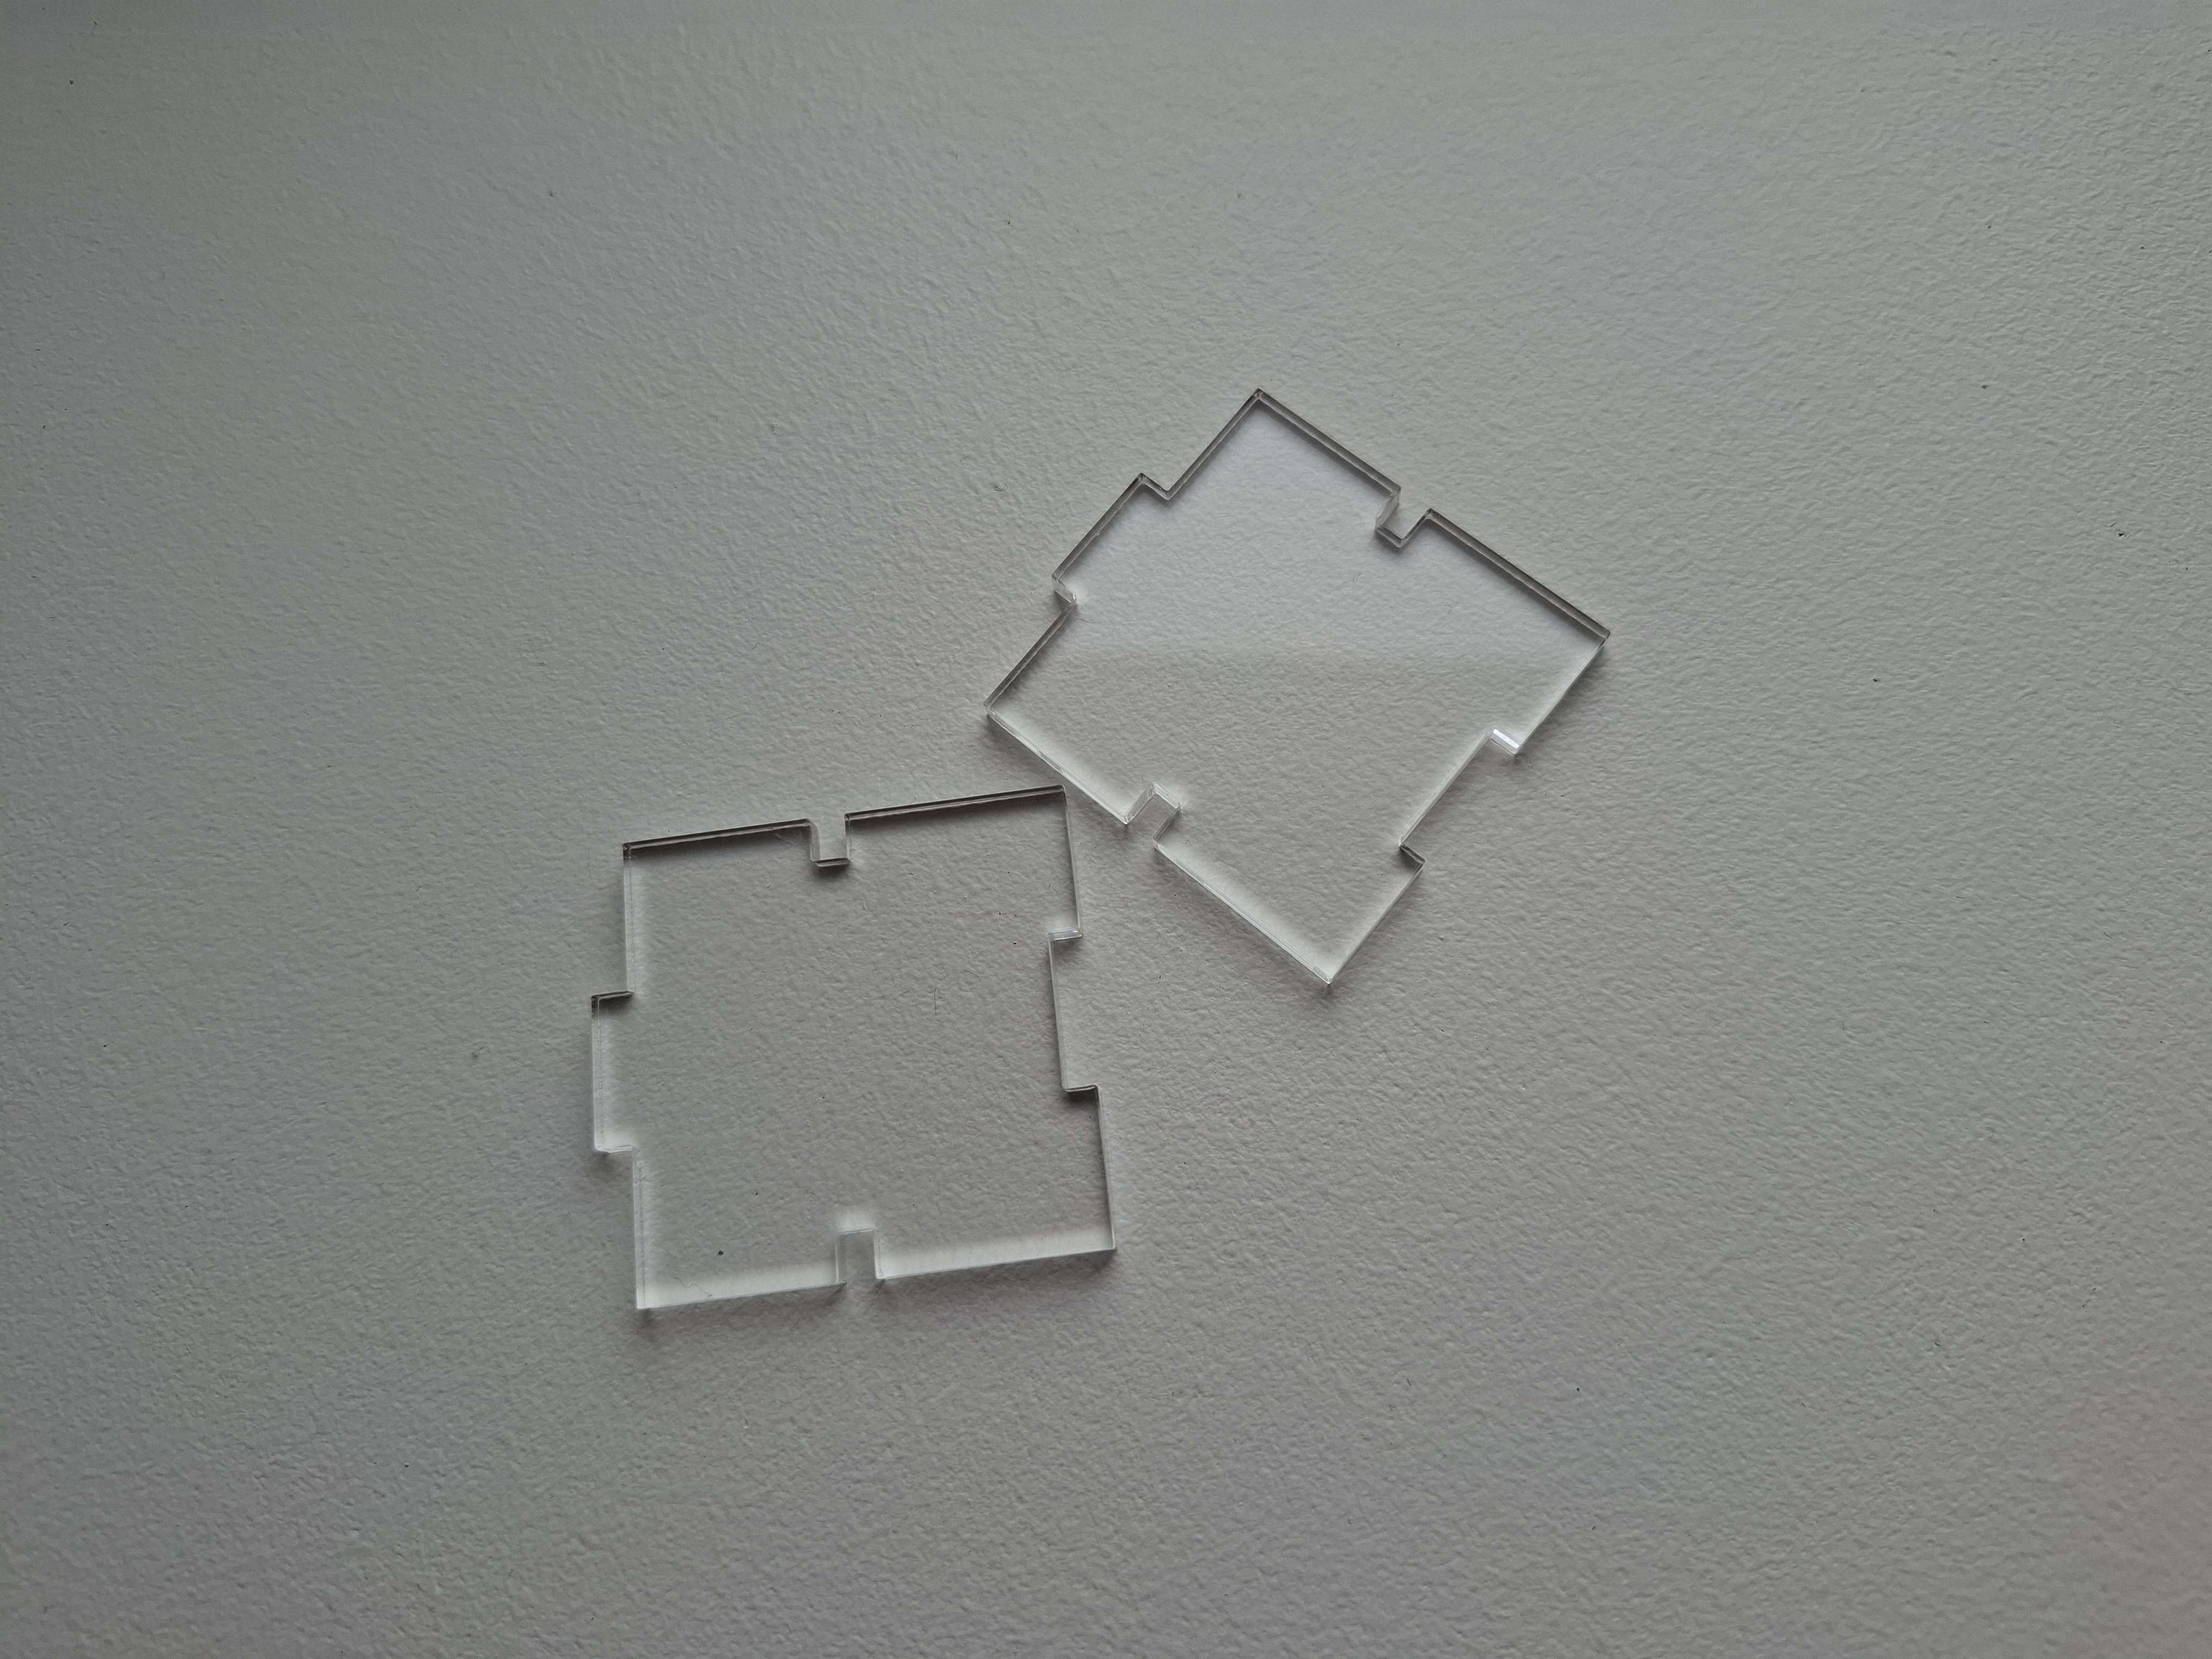
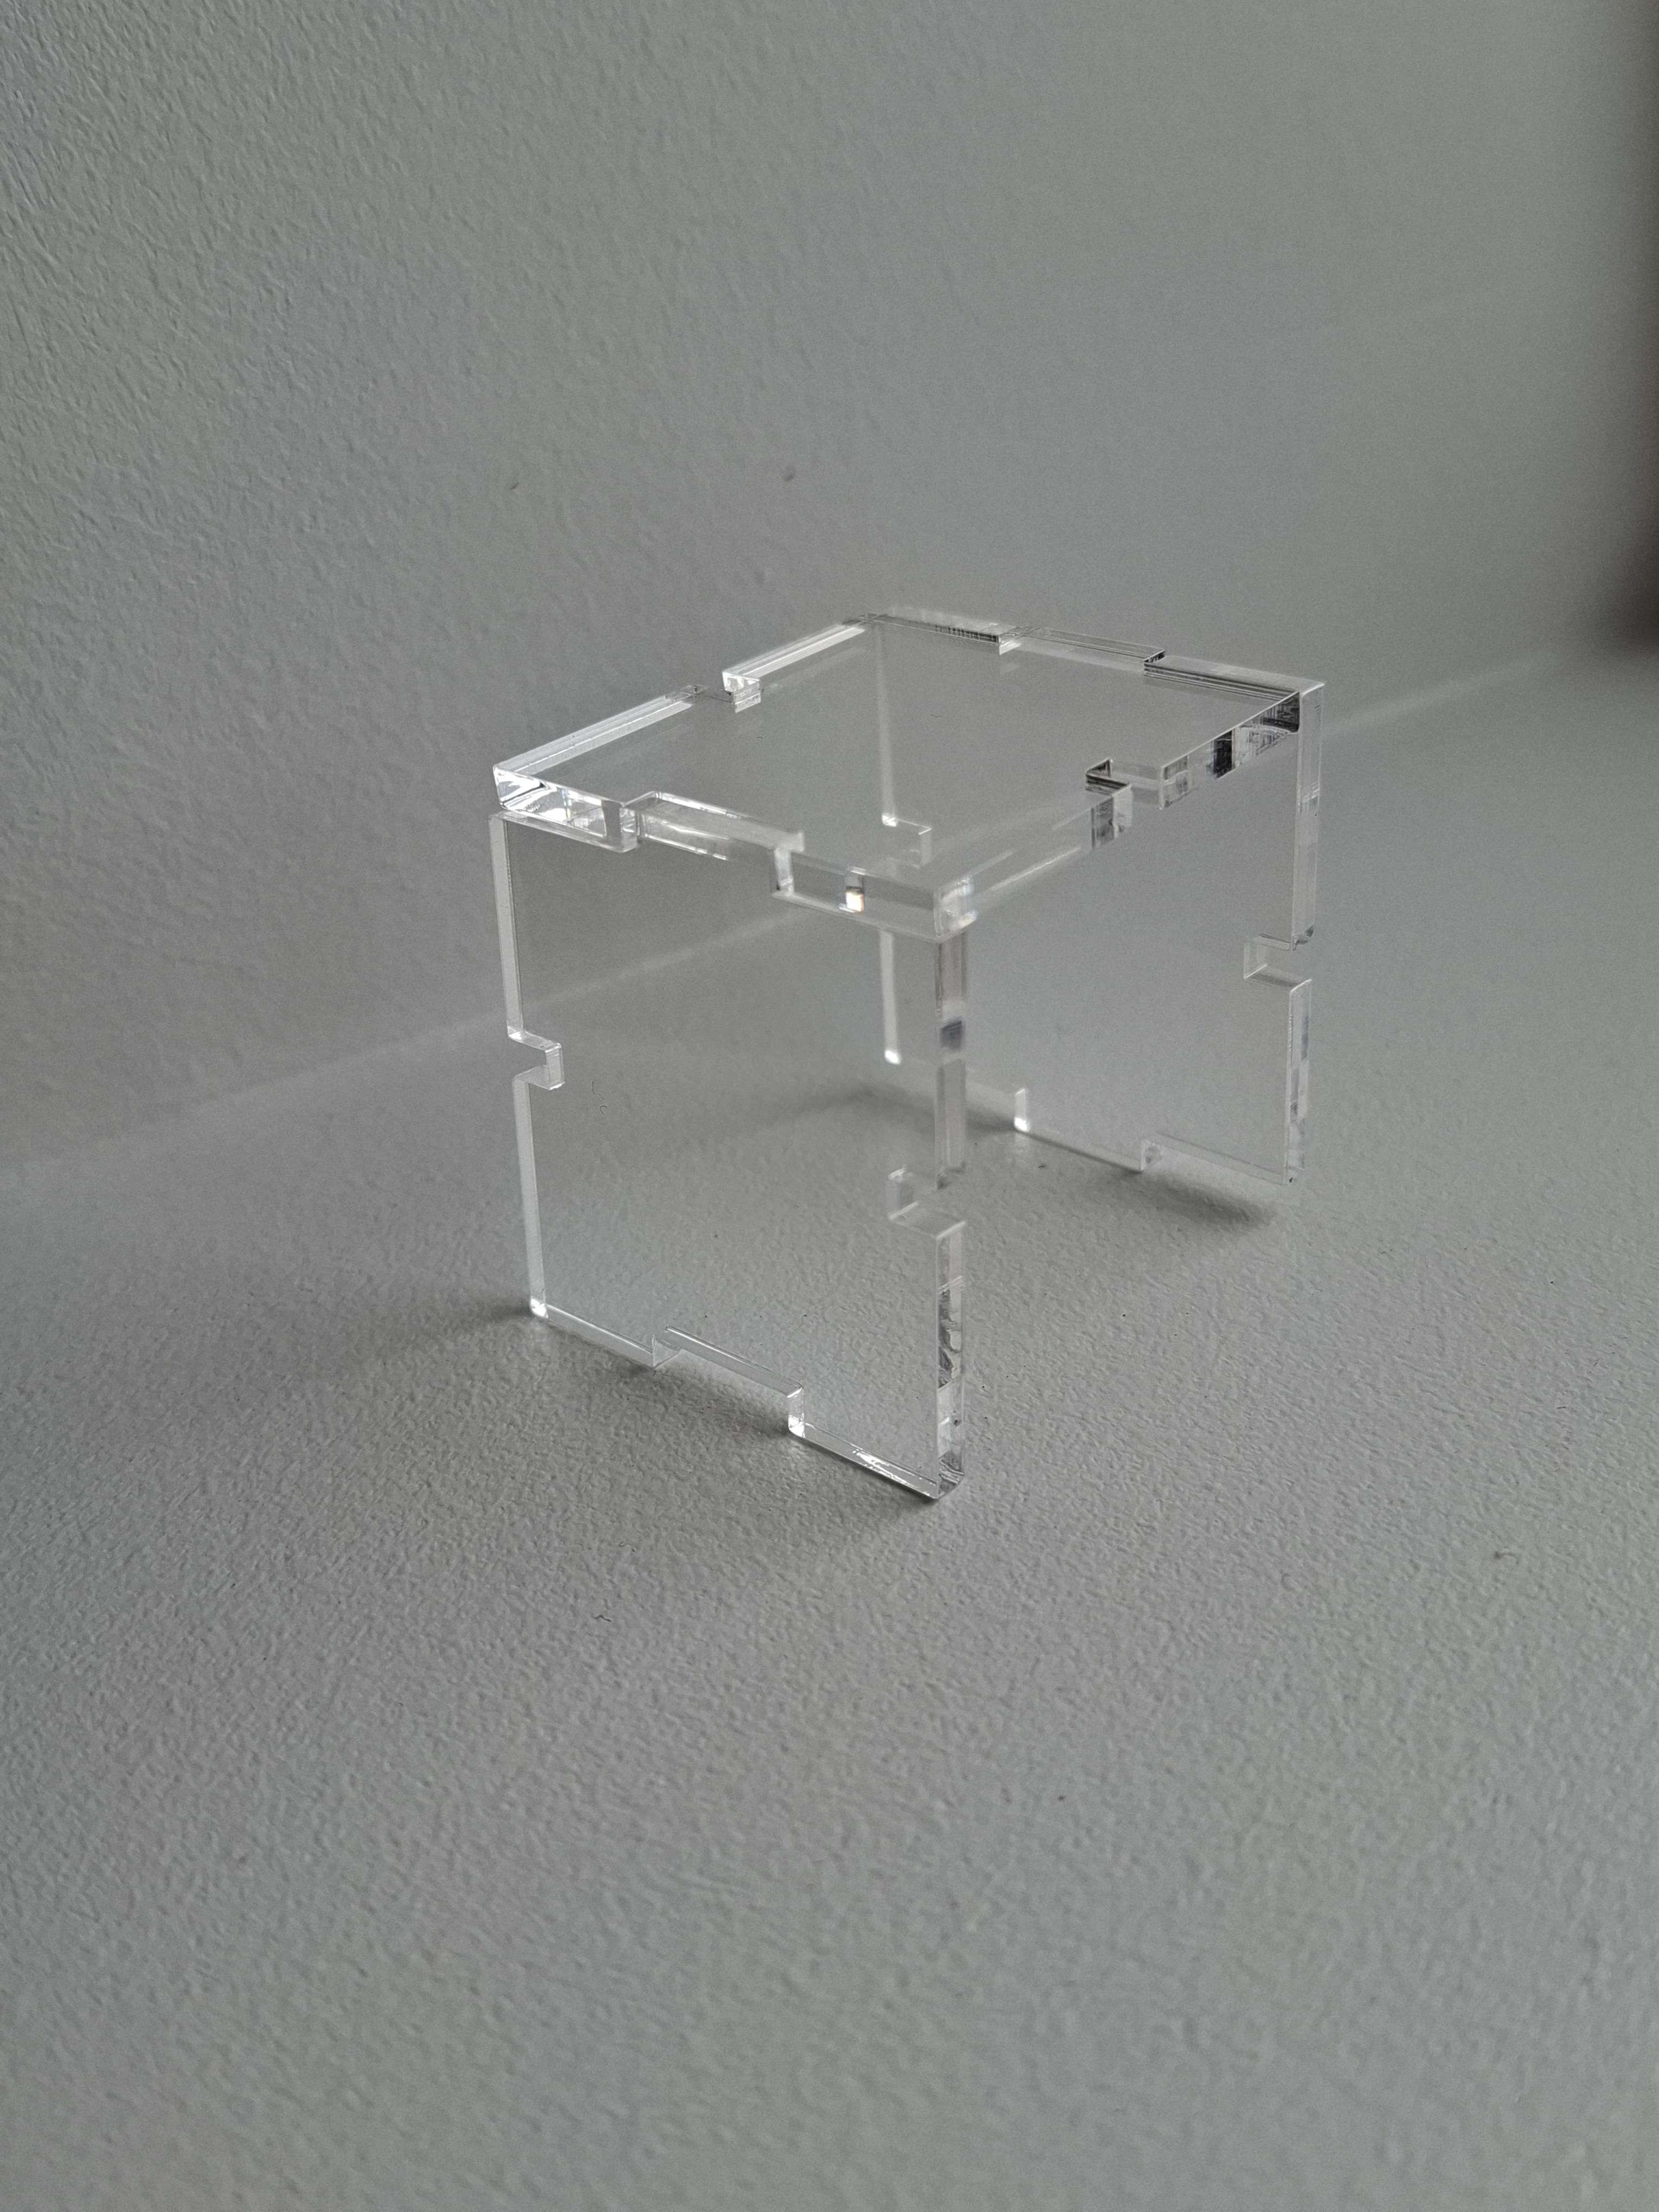
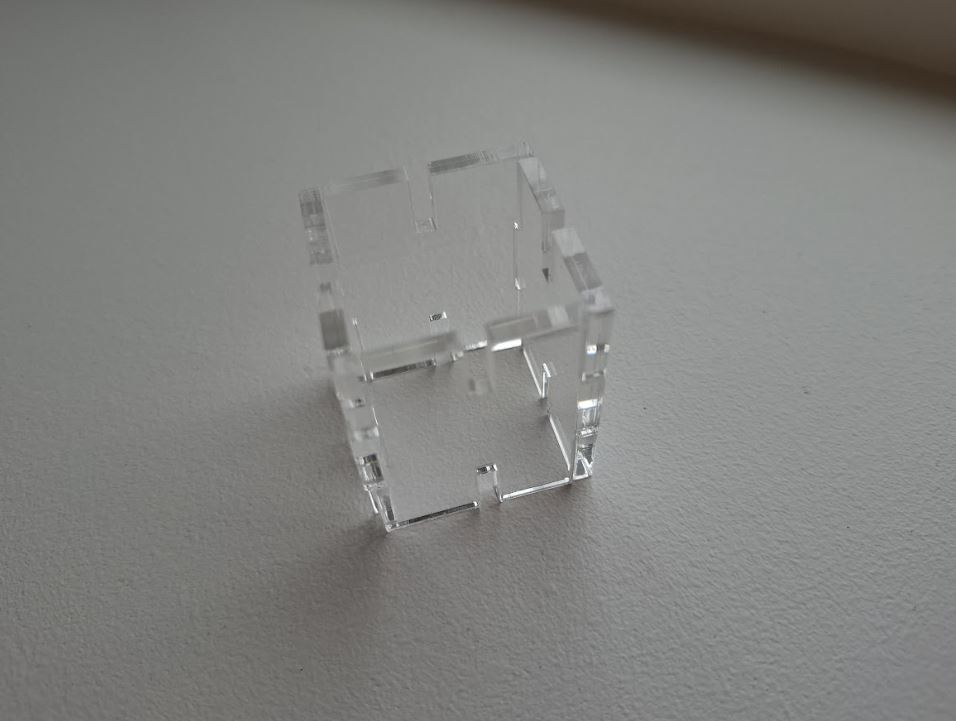
Here are the results:
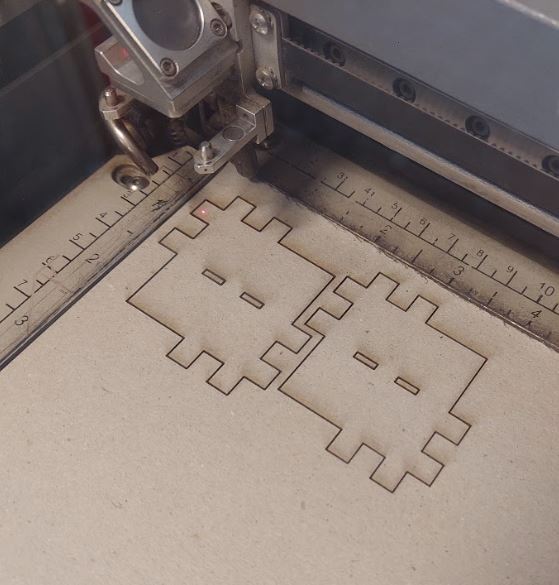
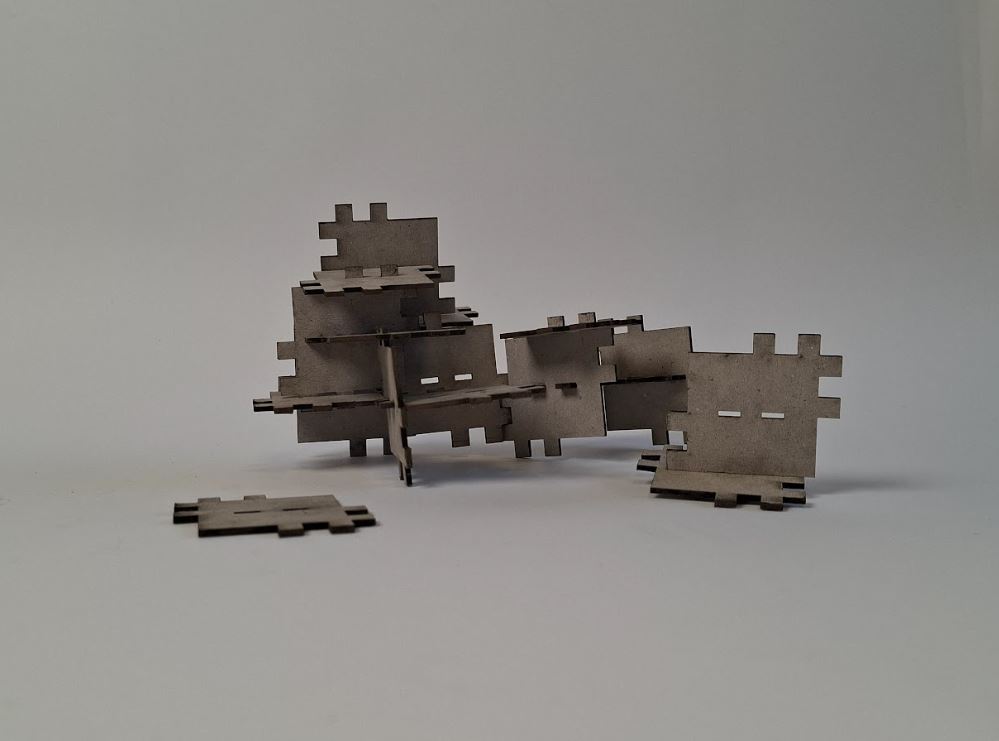
I then assembled the puzzle pieces. I didnt manage to make anything look quite normal per se so these creations are rather abstract. I guess you could call it a modernistic surreal approach to this assignment. Due to the minimalistic features of this set, it challenges the imagination of anyone who chooses to create something through the puzzle pieces I designed.
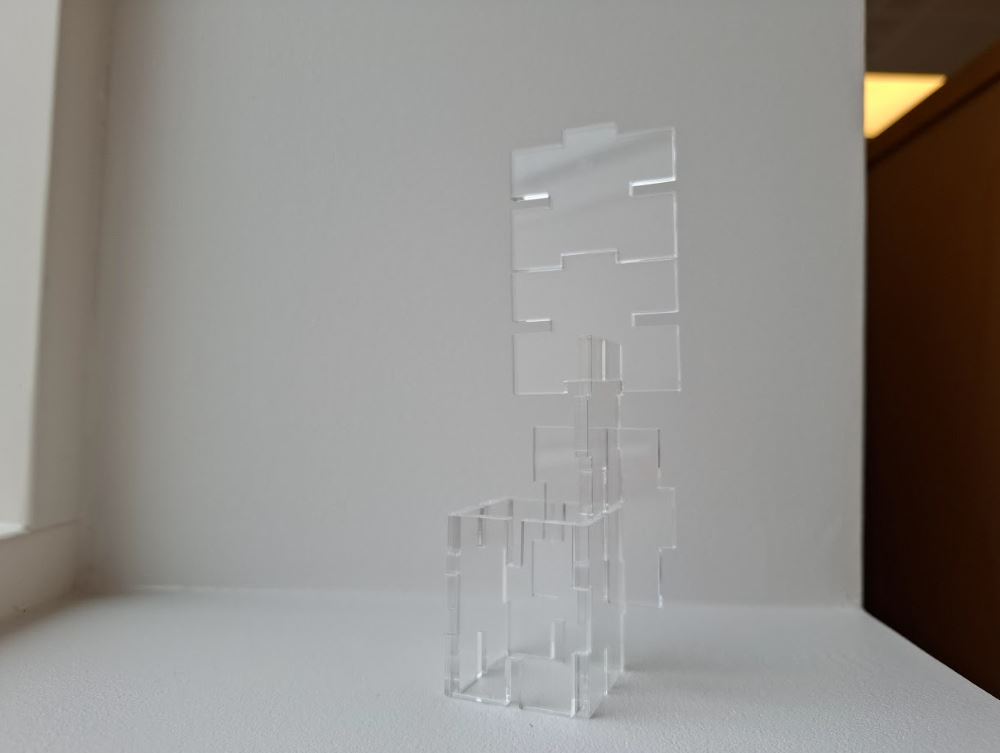
A day to remember - art piece
by María Fönn Frostadóttir
Streetfighter
by María Fönn Frostadóttir
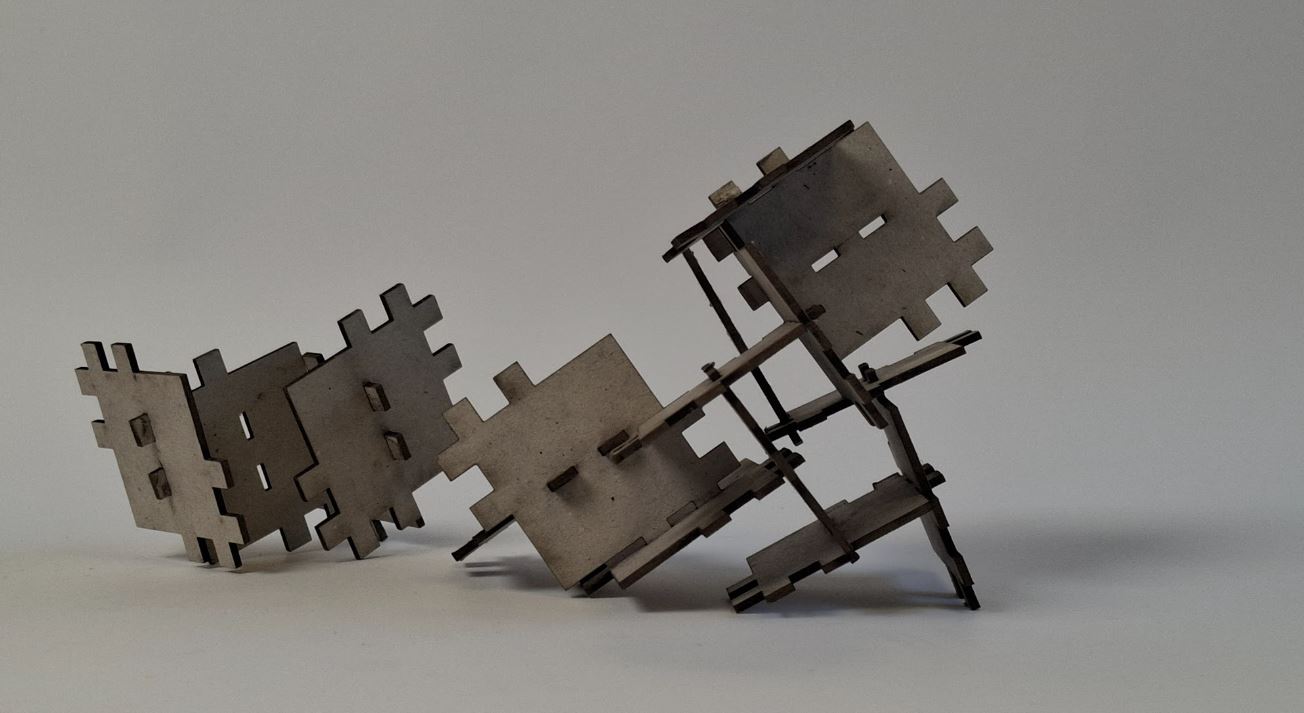
The castle by the river
by María Fönn Frostadóttir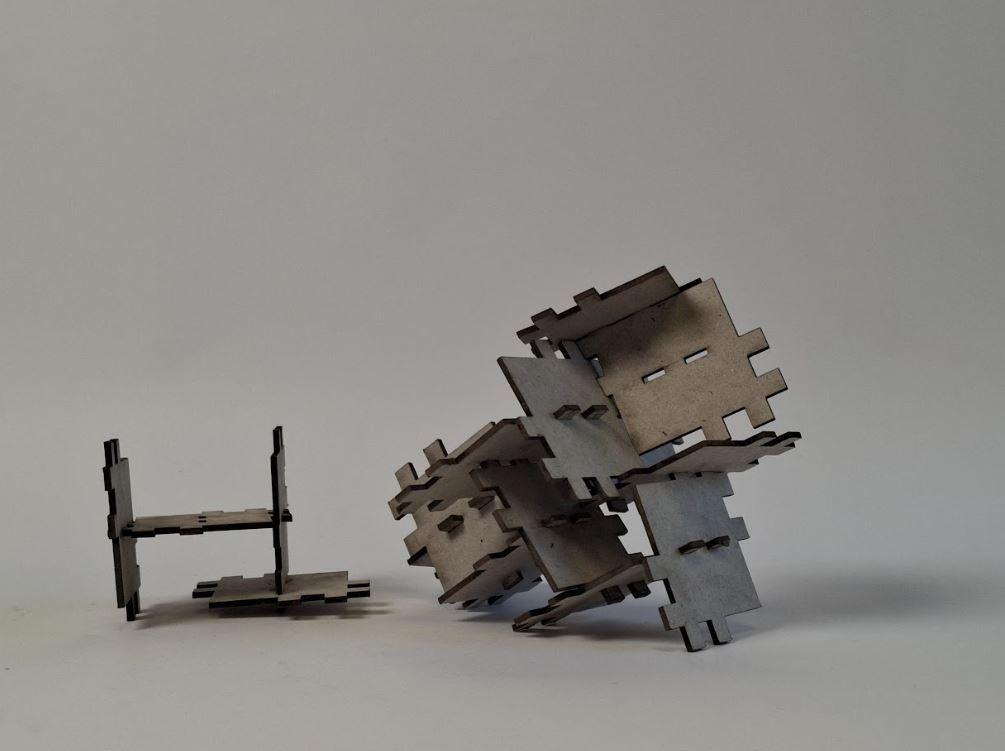
Trapped
by María Fönn Frostadóttir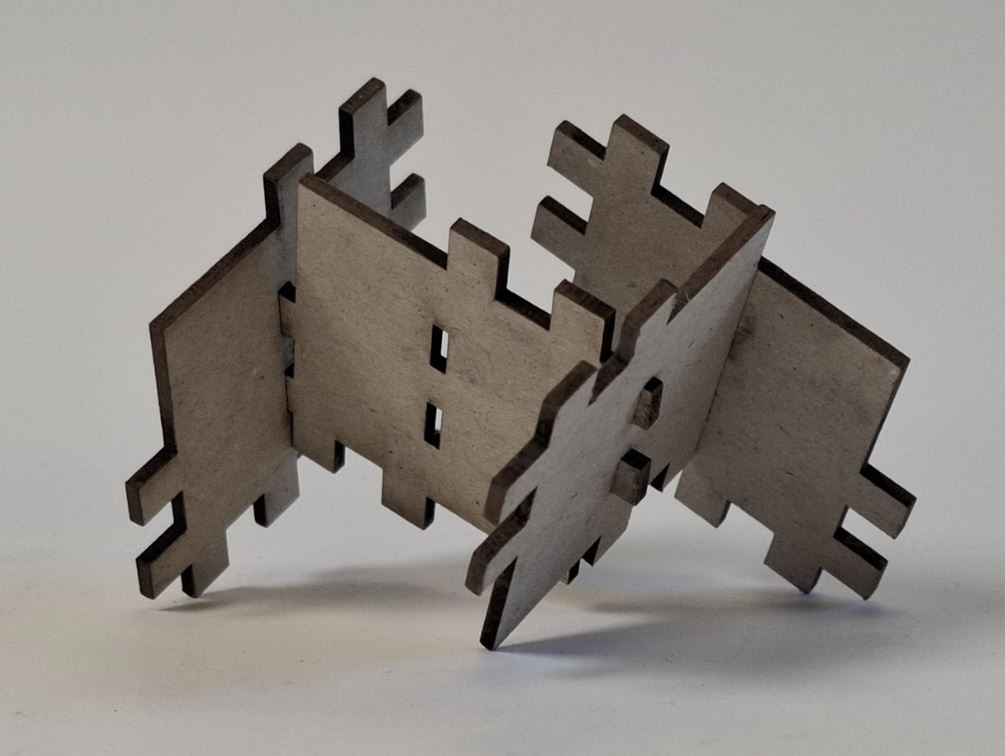
In the end it unfortunately was not perfect. But we strive for perfection so now we will try again. I failed to use the laser kerf so now I have to do this one last time. My global instructor pointed out that I didn’t use laser kerf in the presskit and urget me to use for tight fit and to also to reduce the finger depths.
Trial 2
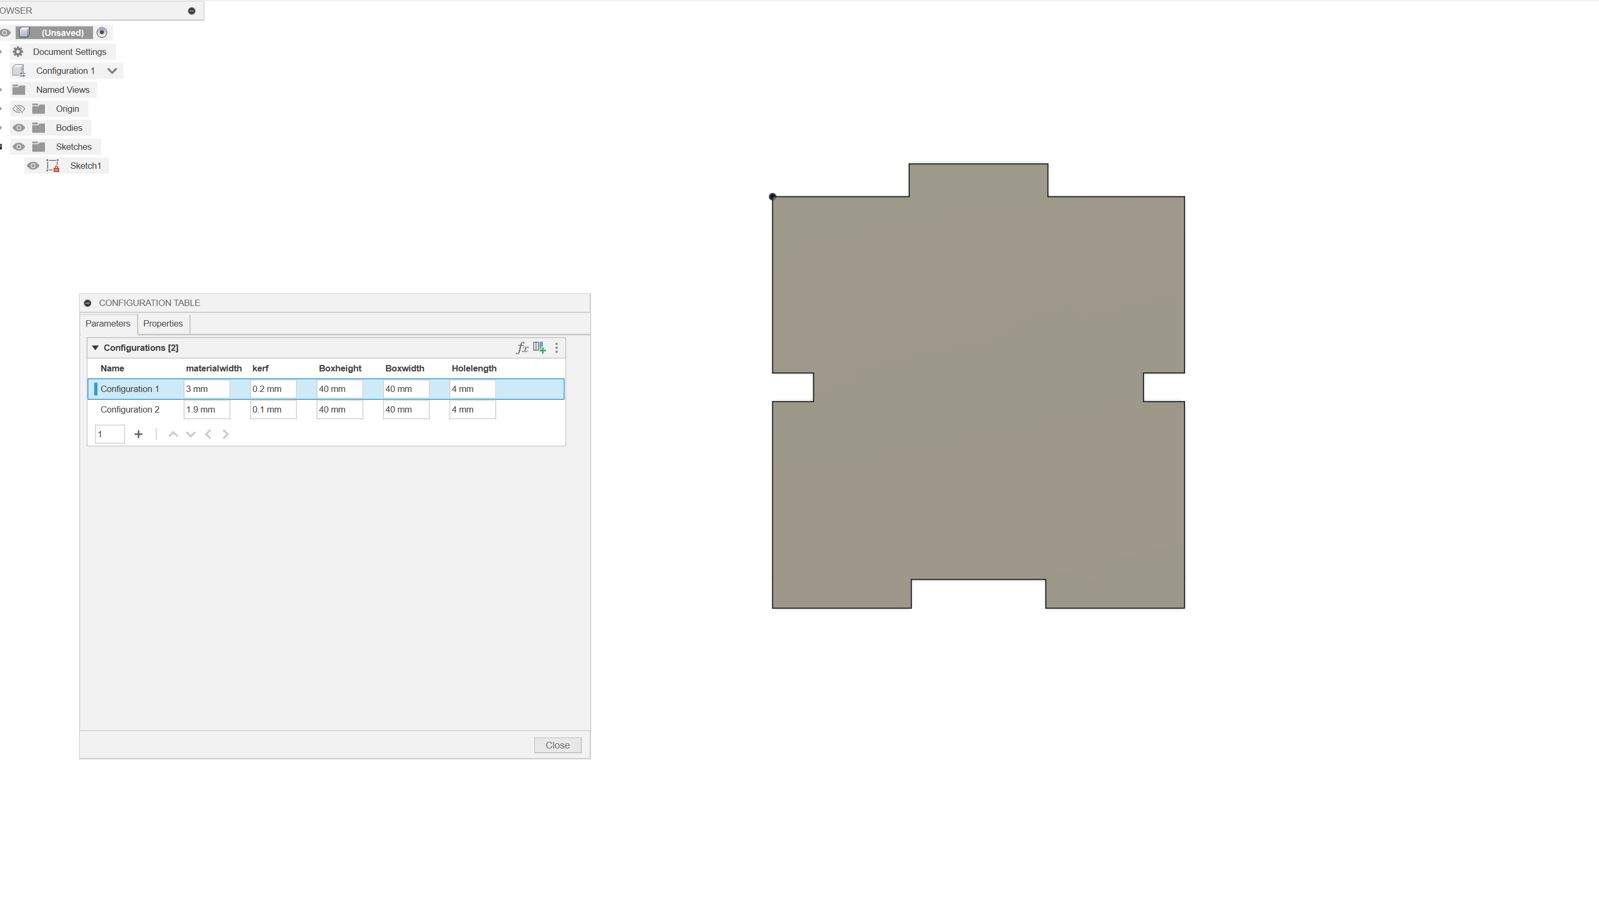
I decided to start with a new designHere are the sketches:
I decided to go with the simpler design, I then sketched it up in fusion using parametrics like with the previous version.
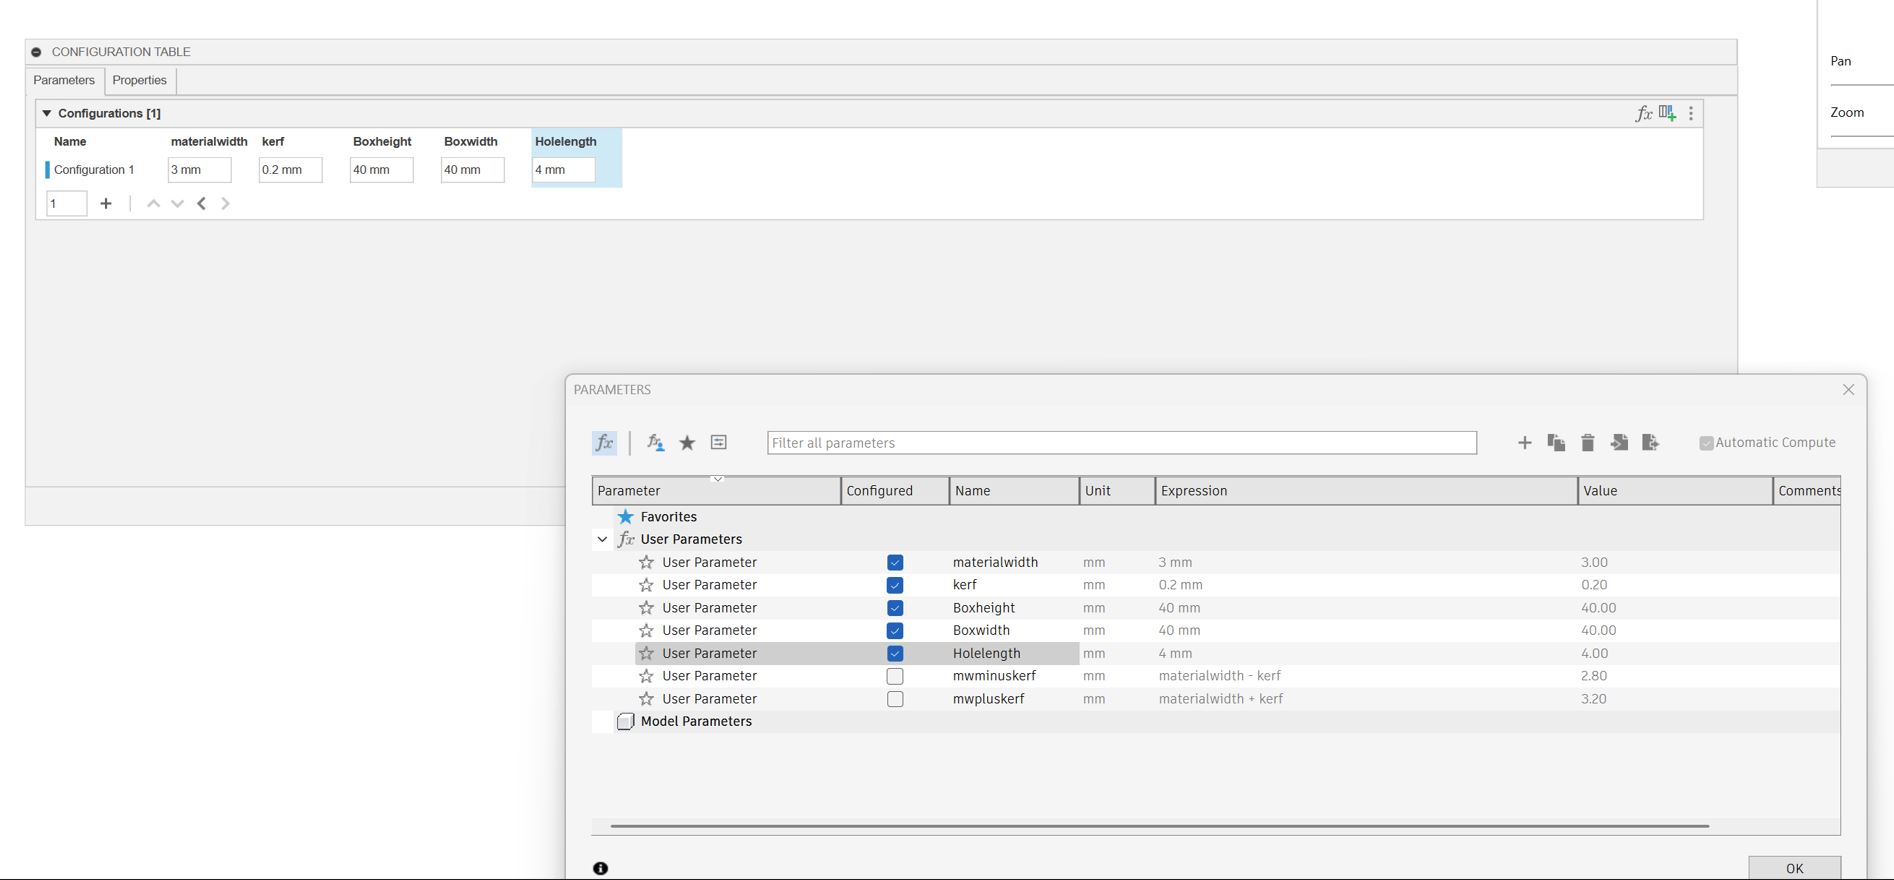
I began by setting the parametrics and sketched the design. This time I added a new parametric, which is the Kerf that I failed to account for previously.
I had to redo the file since I somehow managed to make it so I could no longer edit the material width

Here is a list of the parameters used in the piece along with the formulas:


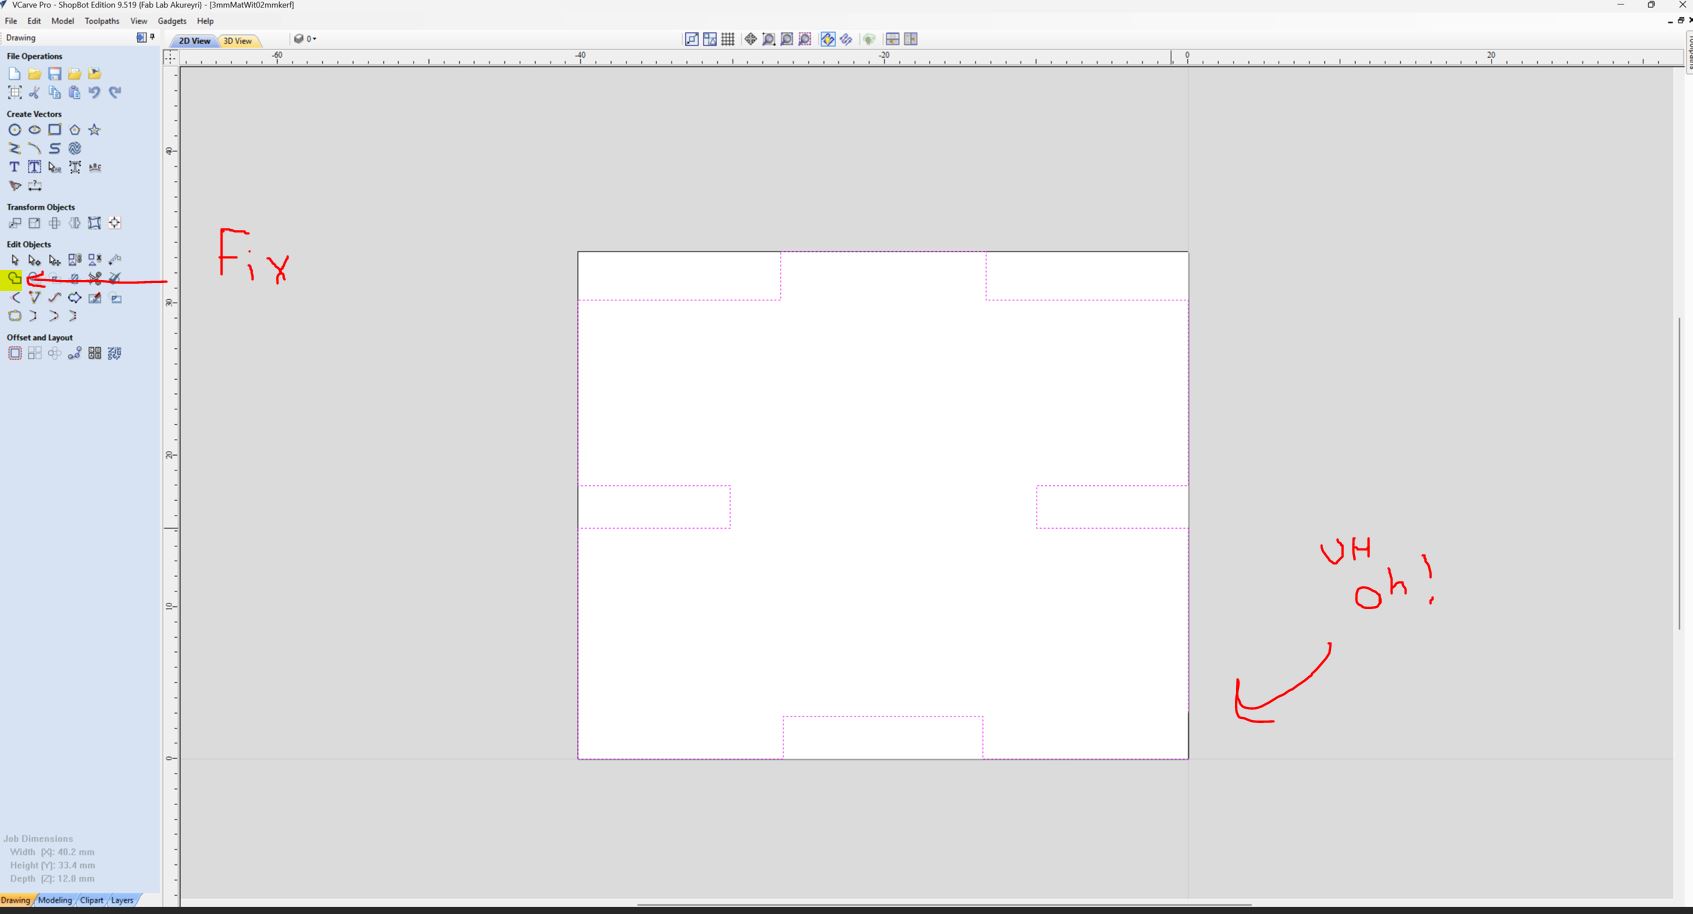
I then exported the sketch as a DFX file and opened the file through V-Carve! The sketch had turned to two vectors which was easily fixable through merging them in V-Carve.
I then exported it as an svg and then opened it on Inkscape and followed the same steps as I had for the previous kit.
I then used the laser cutter, this time I used plexiglass instead of cardboard/wood.
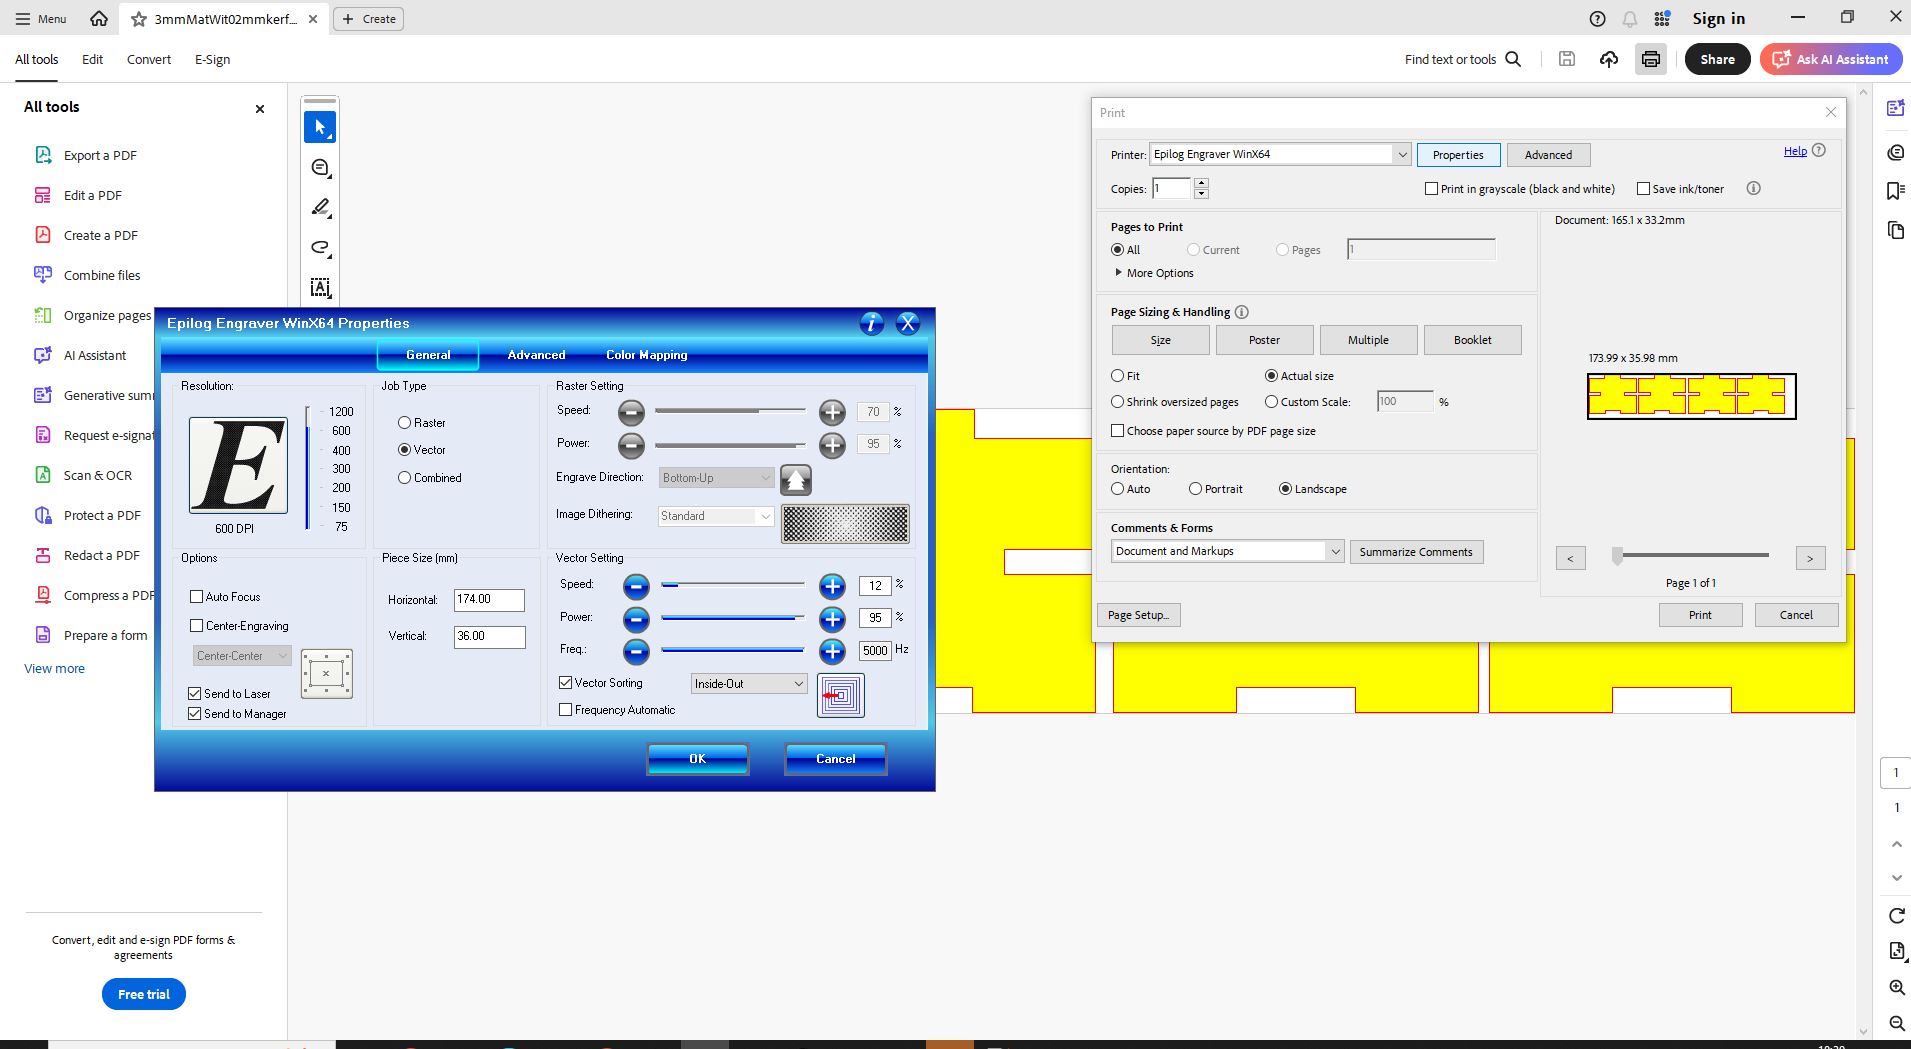
These were the setting used this time:
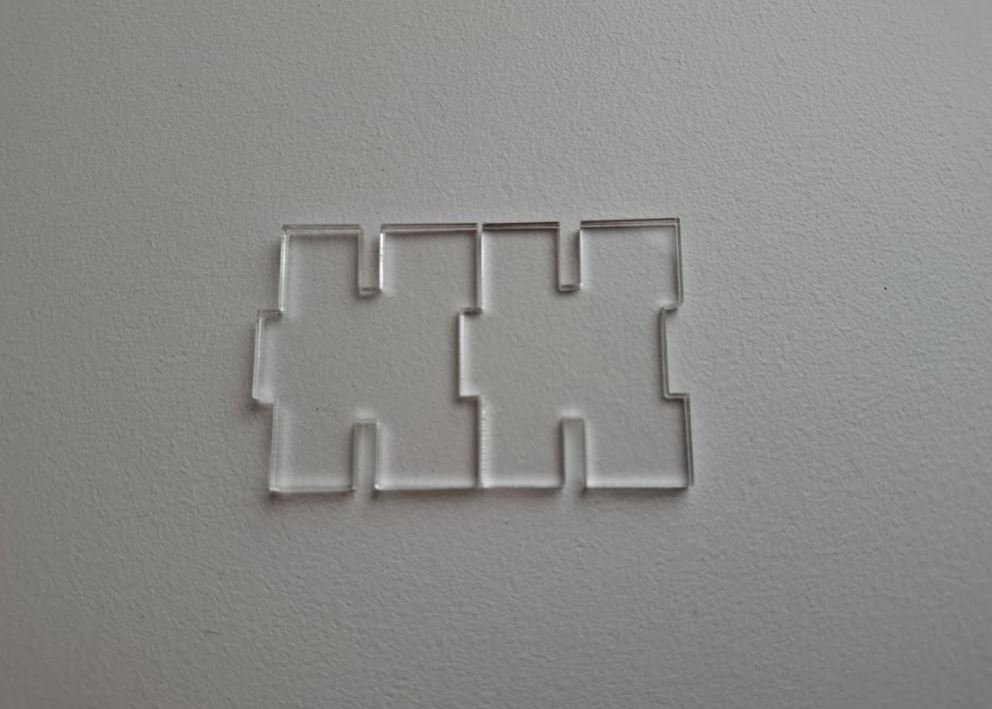
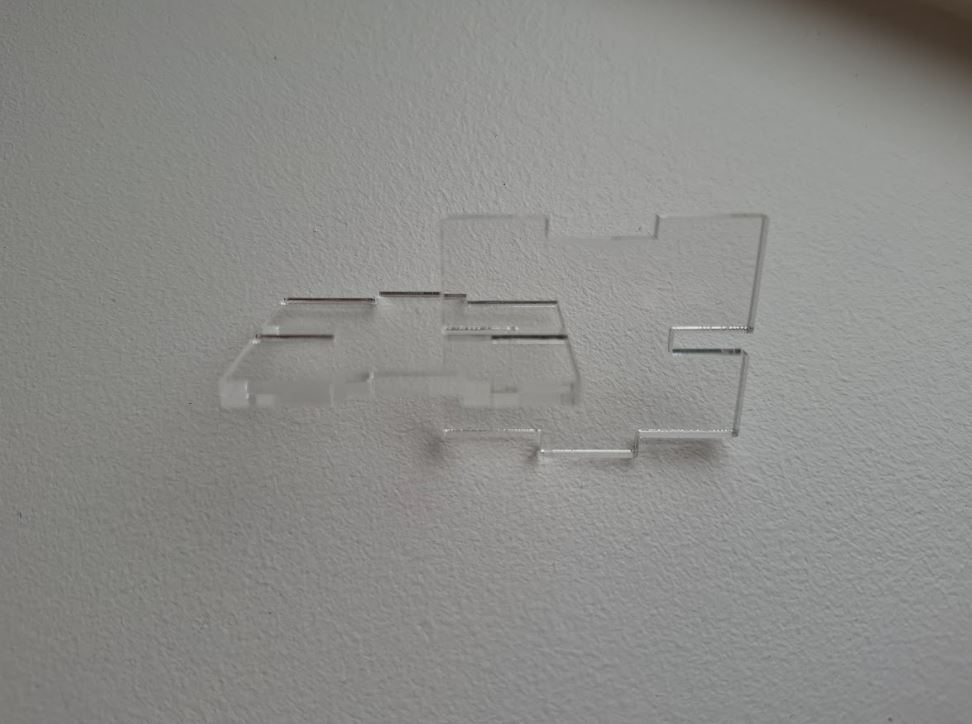
Results:

Note:
What I failed to account for in the original one is the kerf, which is basically the extra material the laser cuts.
To understand the kerf I searched through the web and found this website that explains it pretty well:
https://community.glowforge.com/t/kpublic/week3.htmlerf-explained-hopefully/2917
This image explains it pretty well:
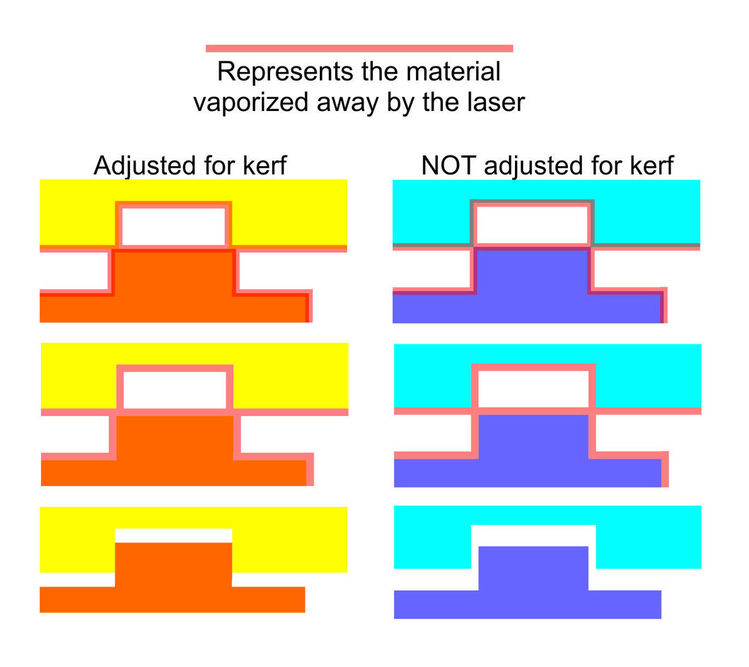
So yeah kerf is basically the extra material the laser cuts through that has to be calculated before sending the design through the printer.
The kerf I accounted for was 0.2 which is the kerf of the laser I used (the epilog laser).
You can find the formulas in the parameters table above!
Vinyl cutting
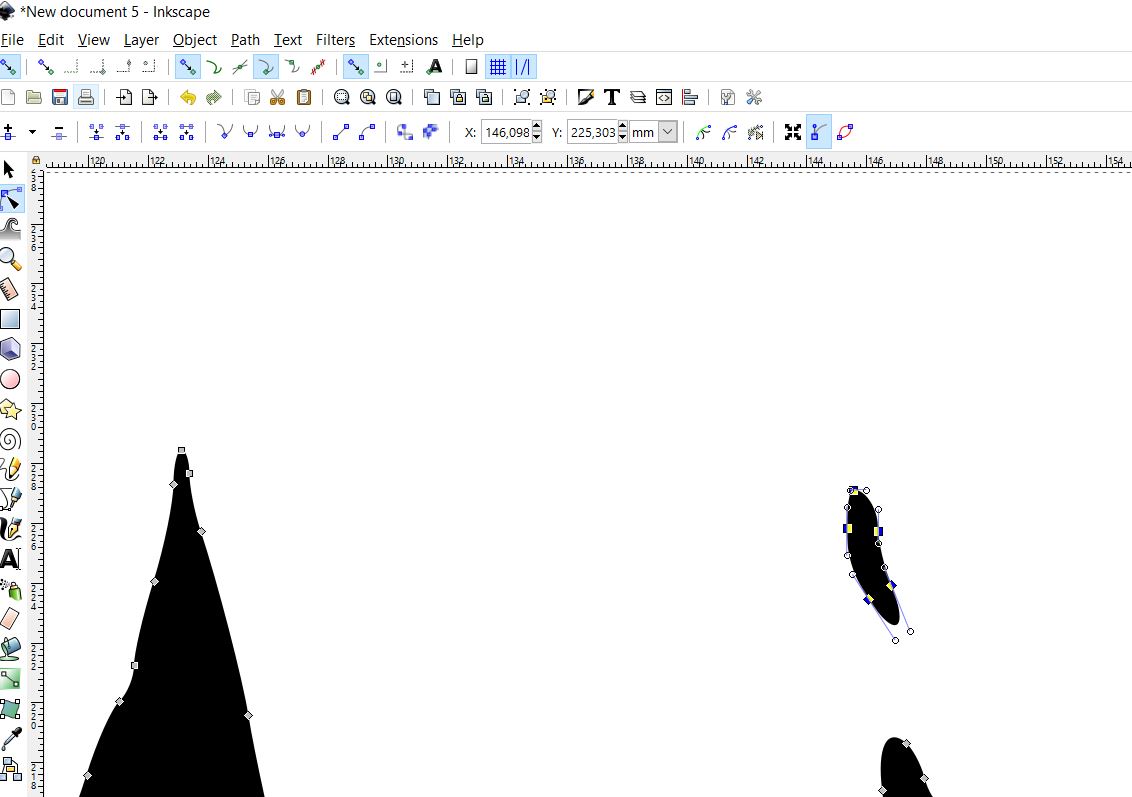
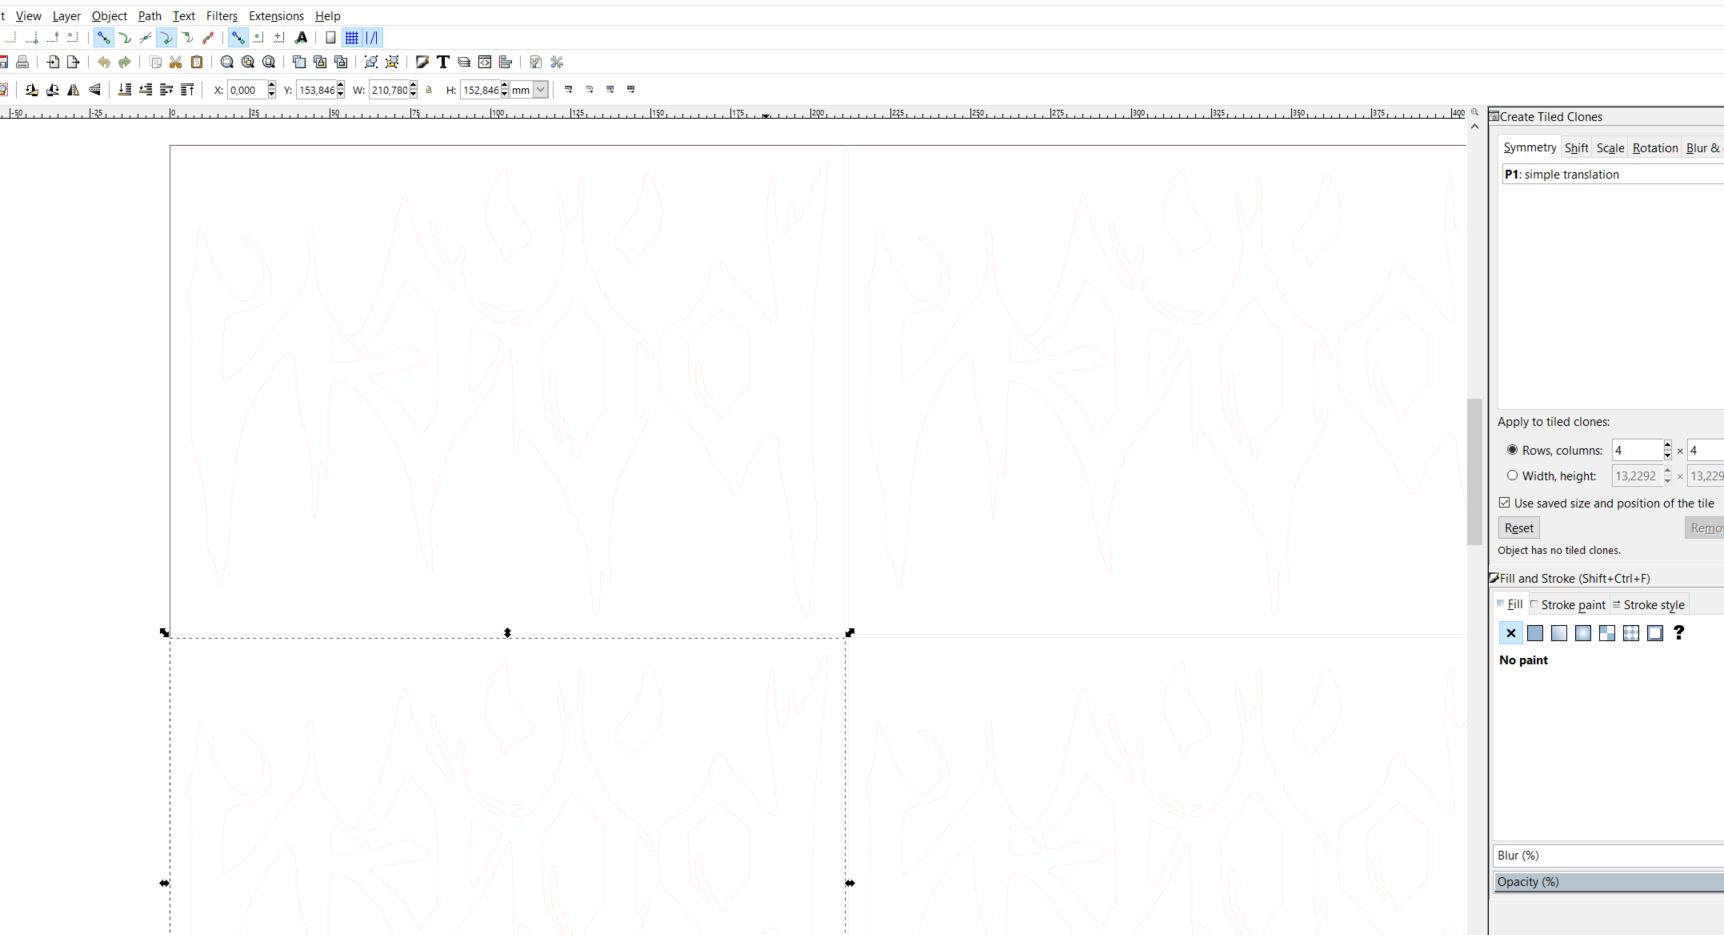
For the vinyl project I decided to use my band´s logo. Our logo was drawn through FlipaClip and I used the screenshot of it and put it into Inkscape. I then used trace bitmap to put it into a Vector format. After that I used the node tool to remove unessecary details.
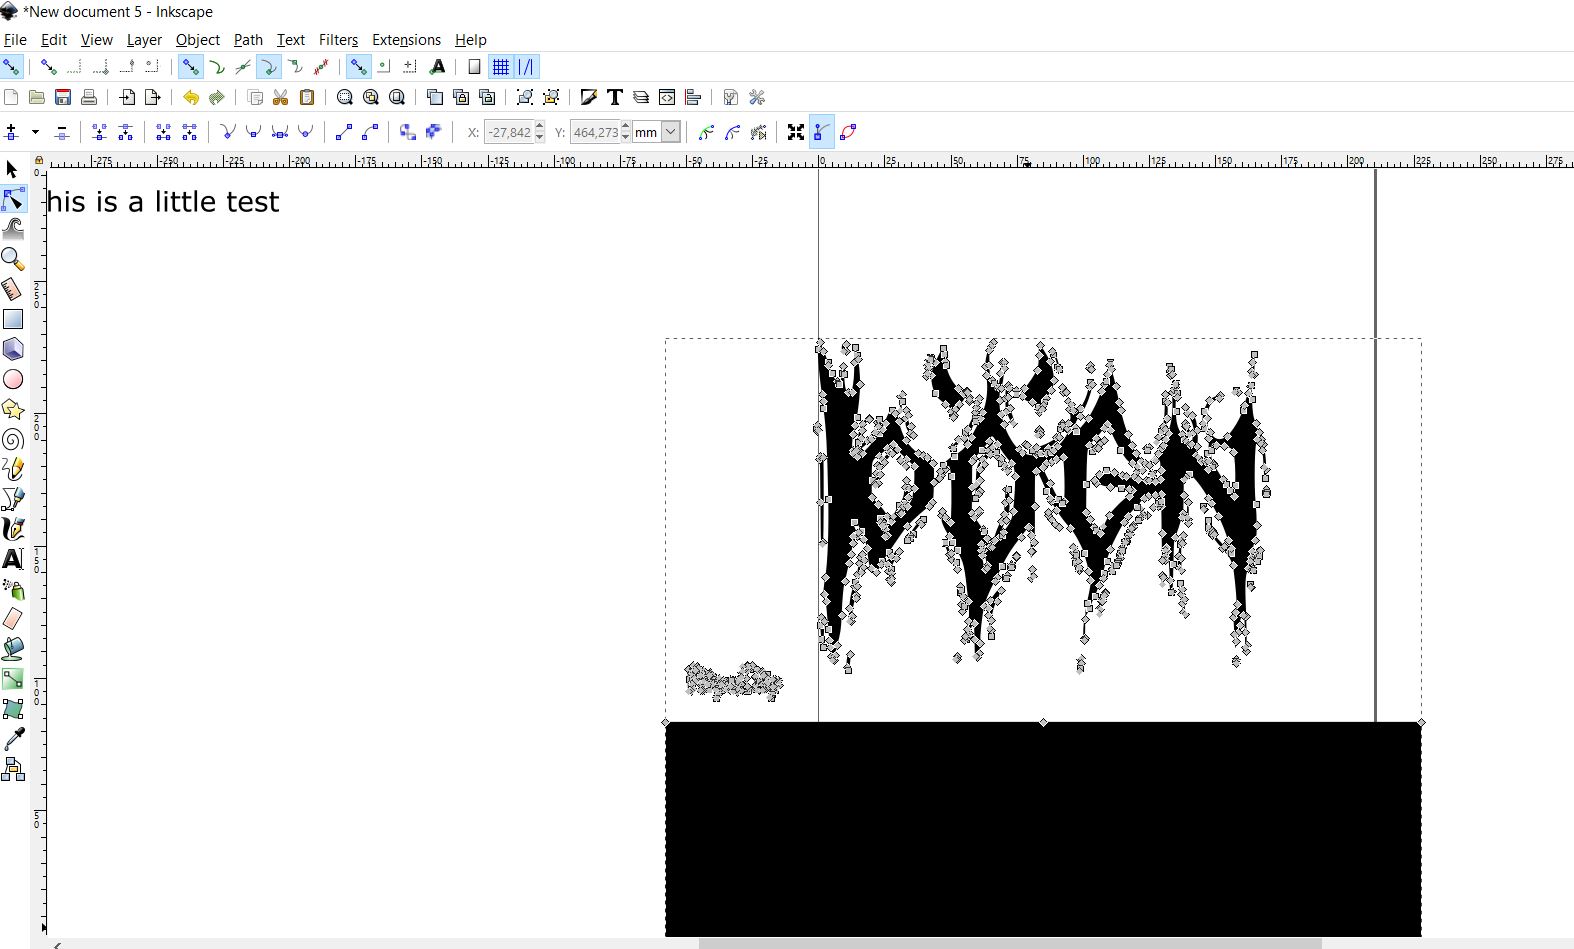
I used cut difference to make a gap in the N
I took the fill away from the image and made the lines red. The line size is always 0.02mm and red so the machine knows where to cut it.
Since we were making a few copies we lined the stickers up using tiles and mirrored the design
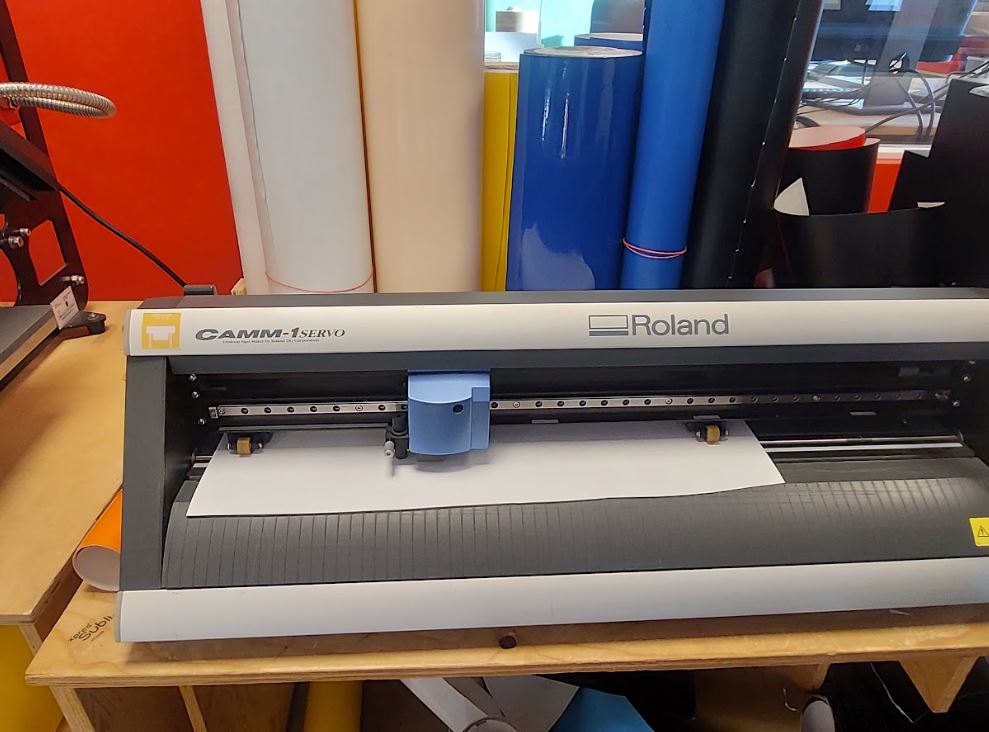
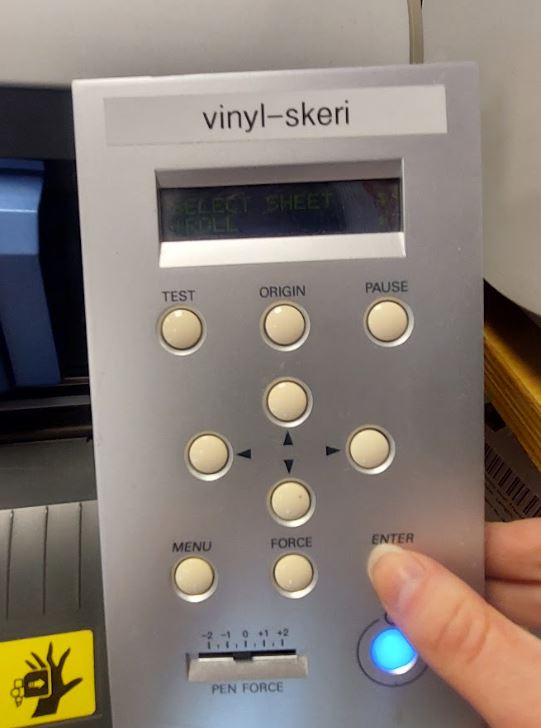
About the machine:
After cutting it we took away the extra parts with tweezers and ironed it onto our shirts that we bought at a local thrift shop
Final result: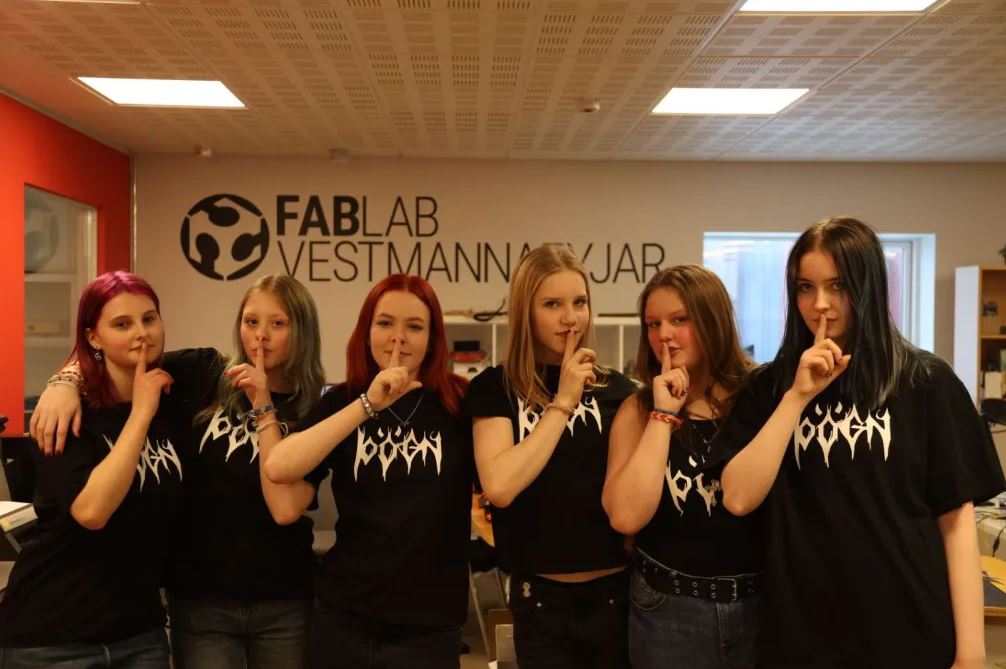
Þögn band - Instagram + Tik Tok
Files
Phantom
Phantom
puzzle pdf
Phantom.f4z
Parametric construction kit final files
pdf 1 file
download
pdf
2 file download
Fusion
file download
video Links
https://www.slideshare.net/openp2pdesign/fab-academy-2015-laser-cutting?ref=
Roland
machine
Freecad tutorials I used:
paremetric-https://youtu.be/fXoRAYv1wHQ?si=5e91wNh0h4R05bFg
My FreeCad playlist (collecting useful tutorials that might come in handy)
https://youtube.com/playlist?list=PLUZR66EmGIh1fn4iI7FyHMU6jGIyLbSyI&si=Hf3_DuXg3ZRoXp7x
My fusion playlist
https://youtube.com/playlist?list=PLUZR66EmGIh2LlJNhH-vBhpjfIEadt2m0&si=uvw0GnUOU1_0PDmj