
Computer-Aided Design
Assignment
- model (raster, vector, 2D, 3D, render, animate, simulate, ...) a possible final project
- compress your images and videos
- Post a description with your design files on your class page
| Krita
|
Blender
|
File compression process
I use the Snipping tool to compress images on
my computer by taking snippets of the screen. The images
that go through the snipping tool are usually a very small
file size. For video compression I used
Freeconvert.com
Freecad
I installed FreeCad on my computer. I followed the steps in this video
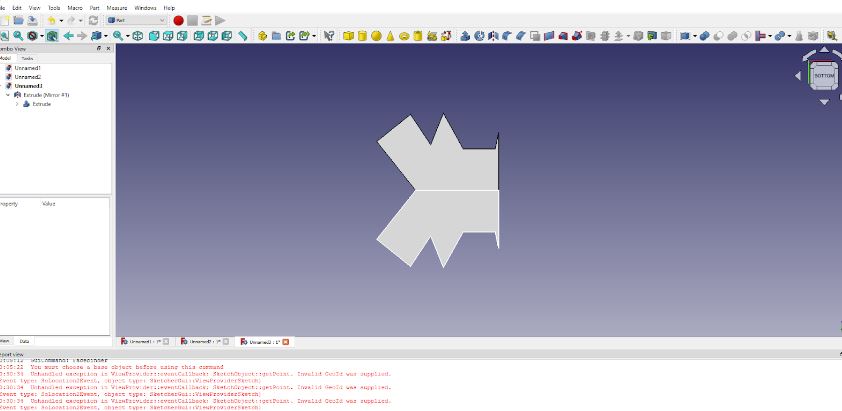
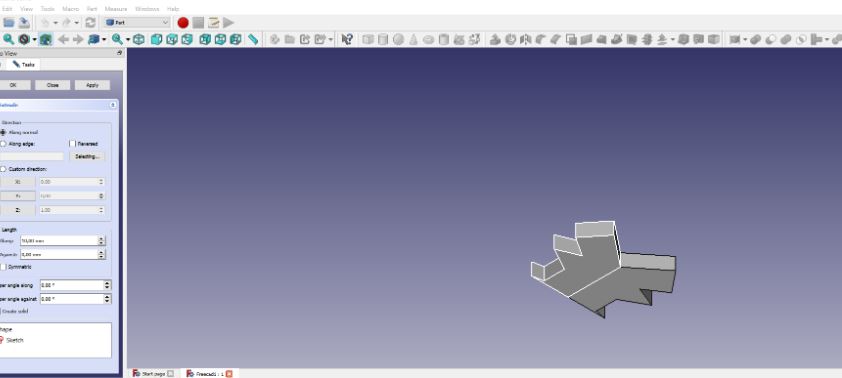
I personally am not a fan of FreeCad although I can see a lot of possibilities for it. The amount of buttons and tools is overwhelming.
Blender
I already had Blender on my computer since I had previously tried learning it. All my knowledge was mostly from previously playing around with the sculpting tool. I've always wanted to learn to use blender better so I was very excited for this week. The first thing I did was to open blender and create a new project. I decided to follow this Tutorial from Derek
 The
first step was simply to open the app and create a new
file.
The
first step was simply to open the app and create a new
file.
 The
image on the right is the first attempt at following the
tutorial. I ended up following the first 5 minutes of the
video a few times until I could do it by memory. I
memorized the commands and wrote them into my notebook
The
image on the right is the first attempt at following the
tutorial. I ended up following the first 5 minutes of the
video a few times until I could do it by memory. I
memorized the commands and wrote them into my notebook
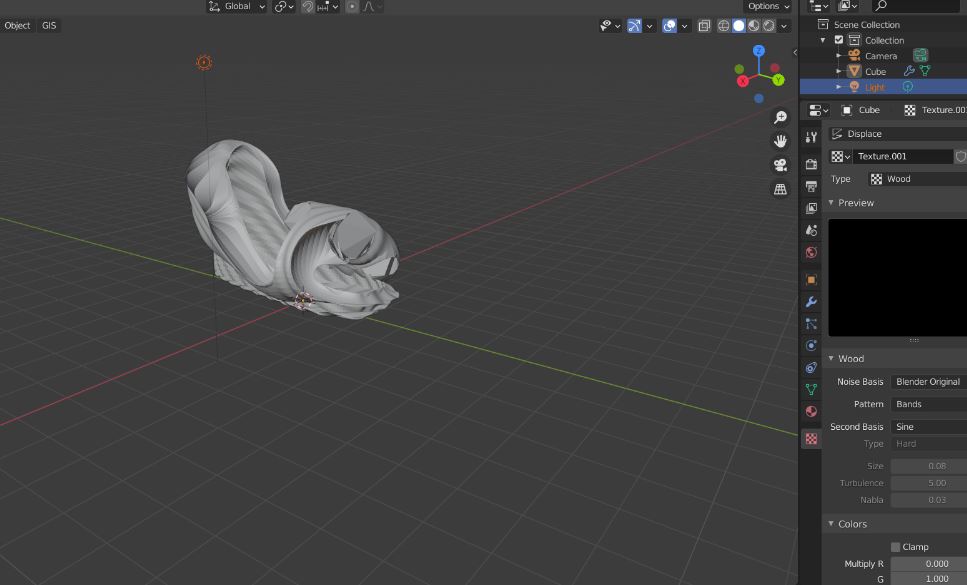
After a little bit I got a bit bored with the look so I
went a bit off script and styled them into heels.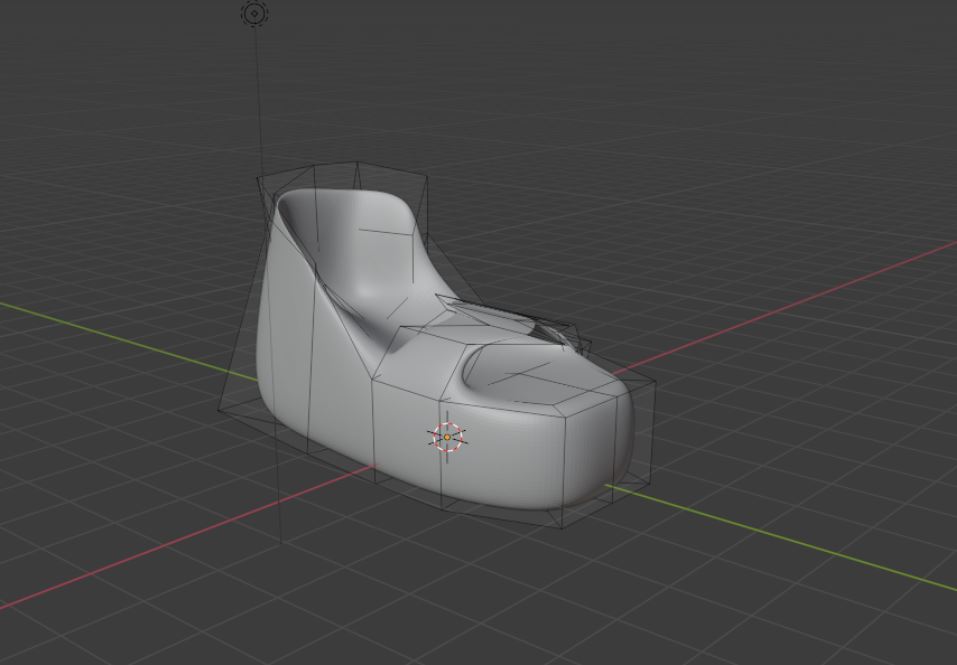
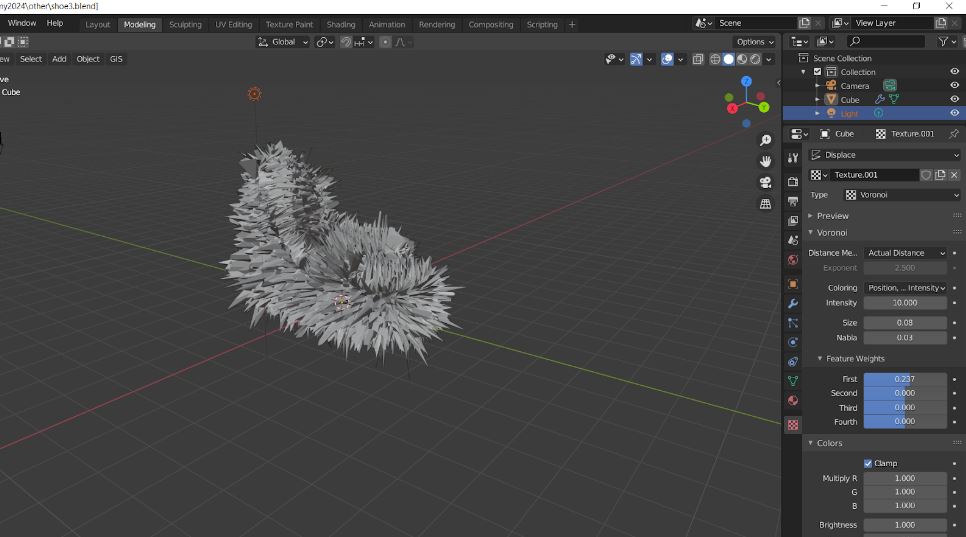
In one part in the video the youtuber introduces textures so I started experimenting with different textures for the shoes. I played around and grouped the bottom of the shoe in order to only apply the texture to that part (this is shown in the video tutorial if you want to give it a go).
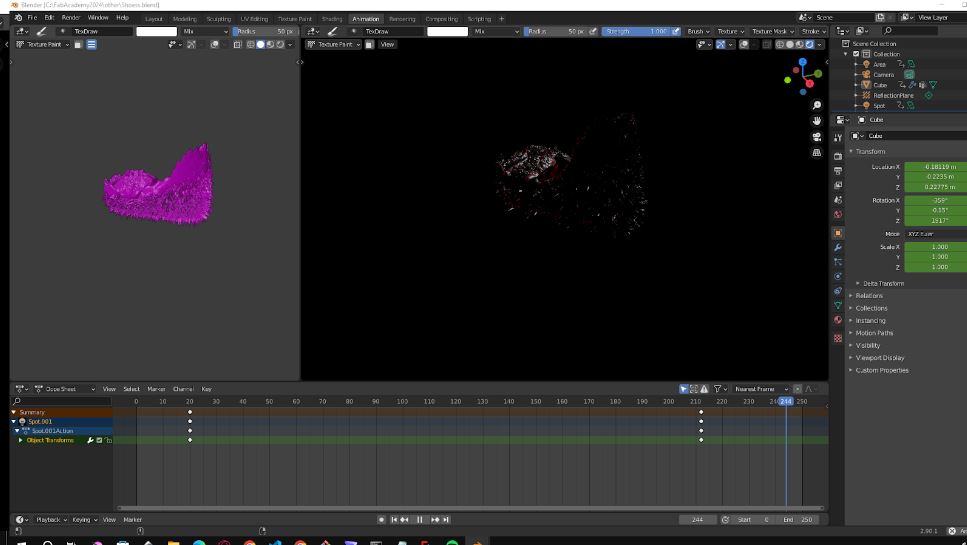
For this part I followed the tutorial to play around with the light and position
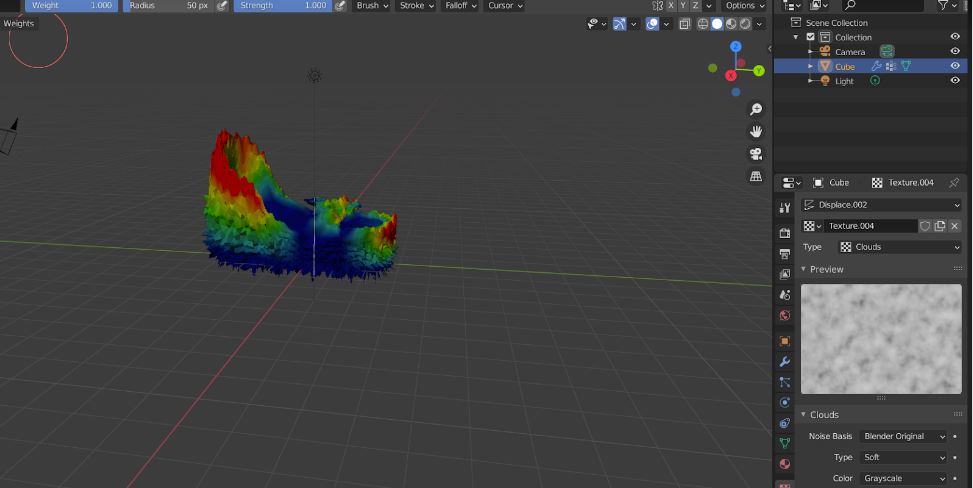
I then began experimenting with adding keyframes and moving objects around and pressing play.
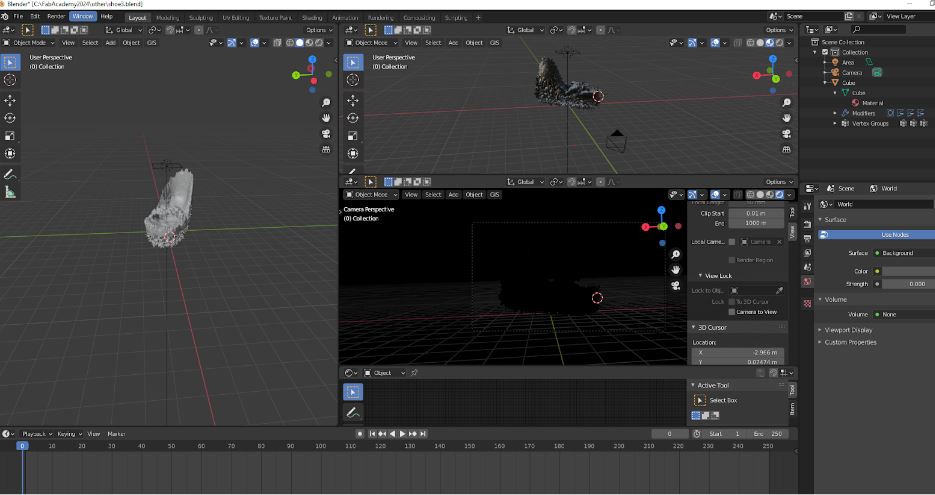
Results
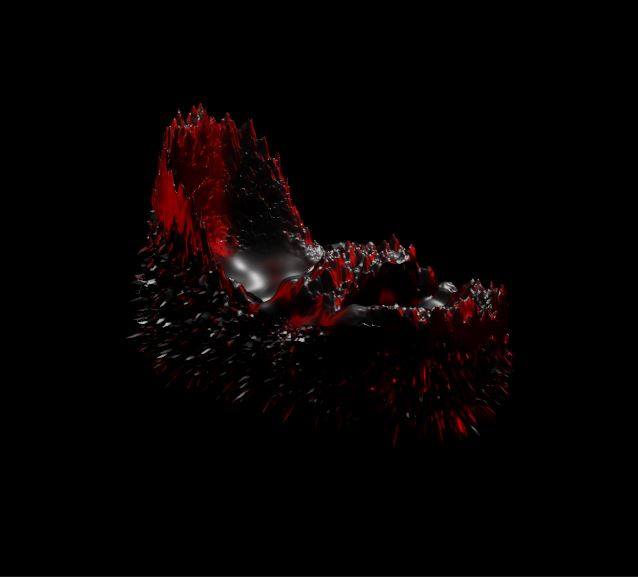
MODEL:
Krita
I already had Krita because I have used it before when drawing on my laptop. Personally I love working on Krita because of how many brushes are available.
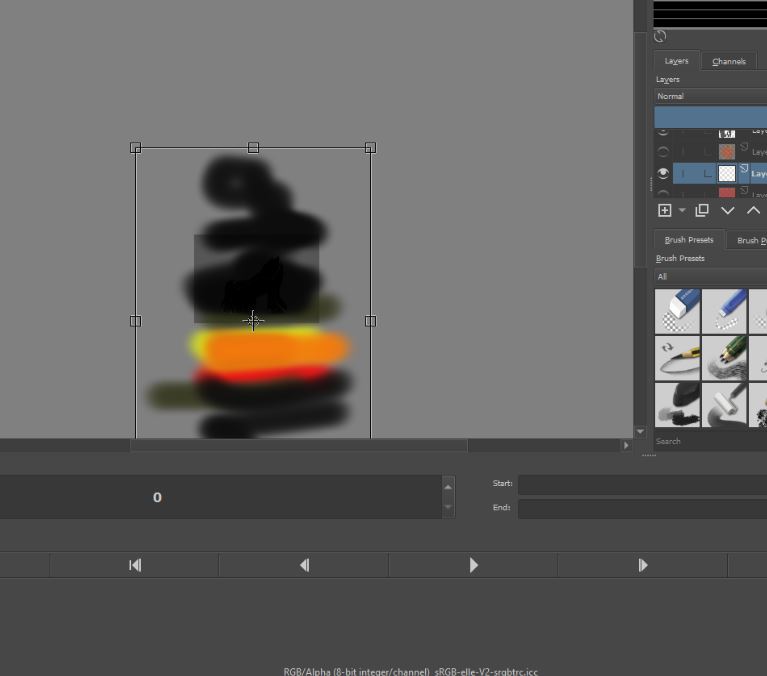
I started by drawing a black shoe and erasing the parts where I want the shoe to light up
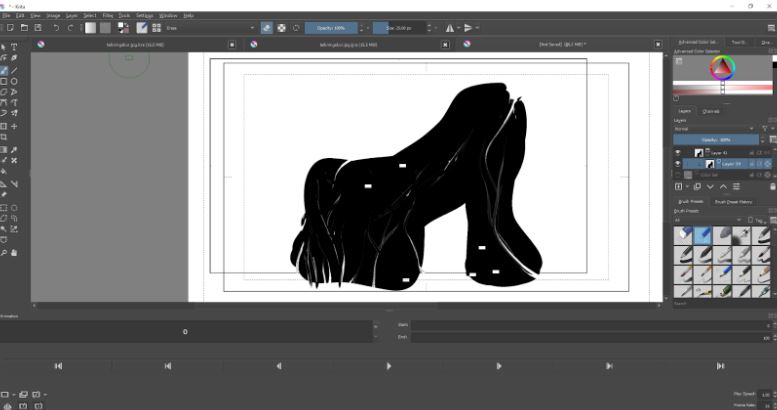
Next I added a coloured background to act as my lava/fire
I used the bucket tool to make the background around the shoe grey, then fixed it up with brushes.
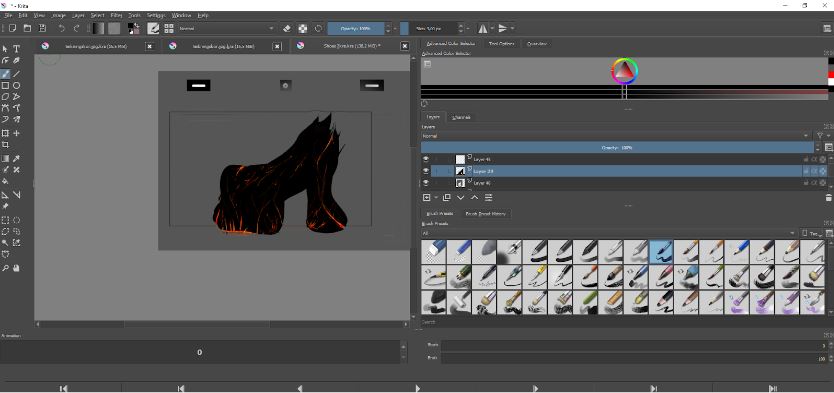
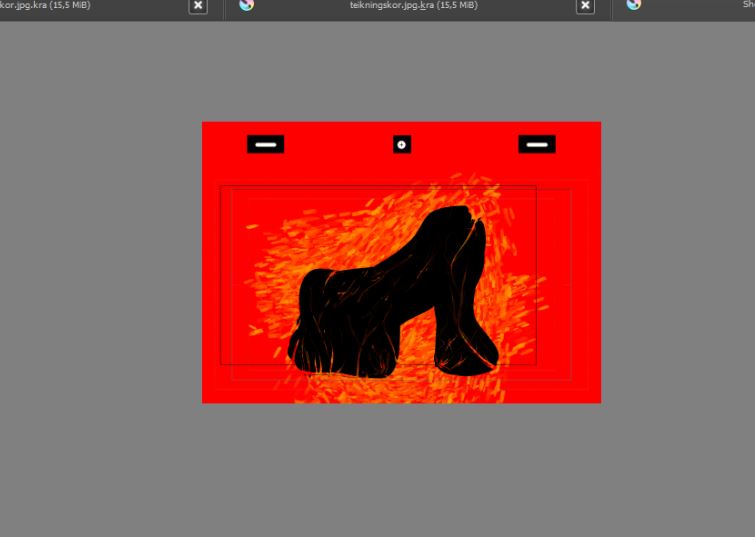
Here I did an underlayer. The idea is to move it around to mimic the animation I want for the shoes. I have not animated on Krita before so the actual animation part was challenging
>
I spent a while searching for the animation panel
before realising there was a button in the top right
that opens it. I ended up using this Krita animation tutorial that I
found online. 
When I tried to render and export the animation I
accidentally put it into jpeg instead of into a video
format by selecting Image sequence instead of video. 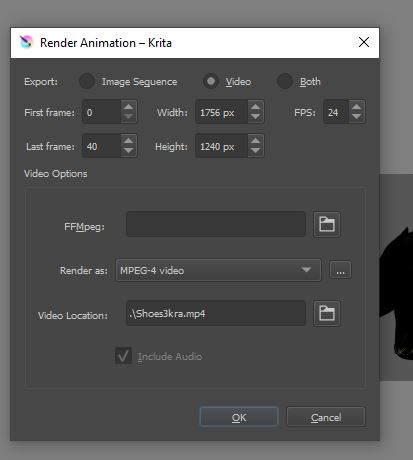 Another issue I ran into was that in order to export the
video I ad to download FFmpeg, so i did that : FFmeg Download
Another issue I ran into was that in order to export the
video I ad to download FFmpeg, so i did that : FFmeg Download

After installing it into my computer I thought it would be easy to render the animation but something went wrong with the file. If you are reading this I am still fighting the evil wizard who cursed my Krita app. It will be a difficult battle but when I return peace will return to the realm. The queen will awaken from her slumber and fae will return to the forest. Wish me luck.
Okay so like a while after retrying it again and again
to render the animation into MP4 I decided to go look
into the handbook since the files seemed corrupt. After
a while I decided to redo the animation by drawing the
colour manually and adding keyframes instead of just
moving one big blob of colours. After updating the
animation I set up FFmpeg and managed to render the
video. 
InkScape
I used InkScape to put my logo into a vector format by
using trace bitmap. I then played around with the
colours.
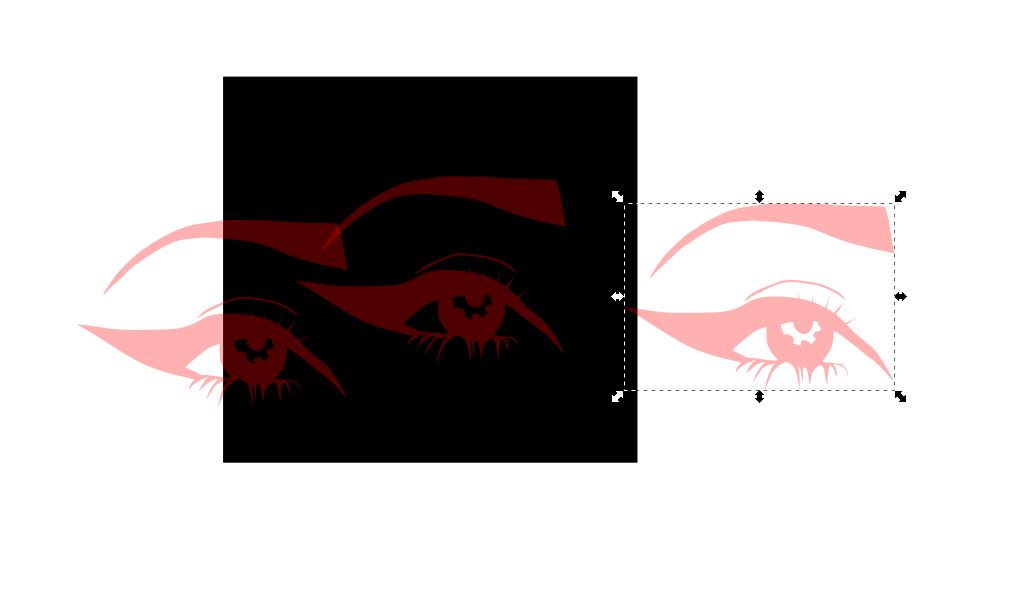
For this week I tried following the example videos we got sent like cloning and explored the tools.
I like Inkscape for how versatile it is.