
Molding and casting
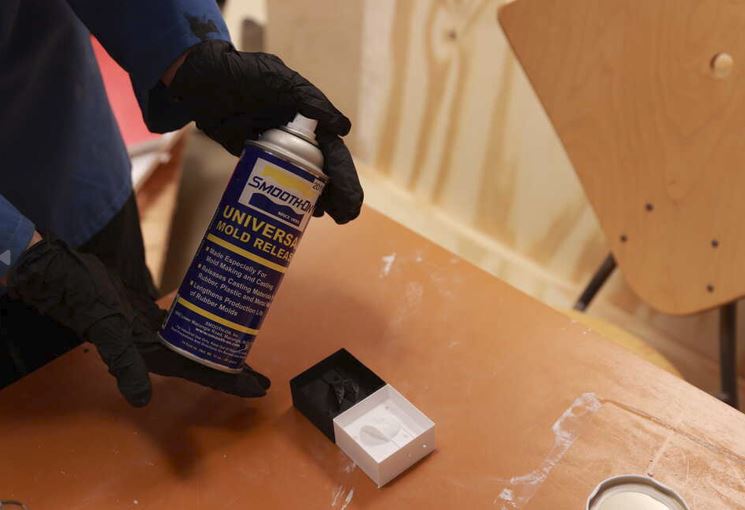
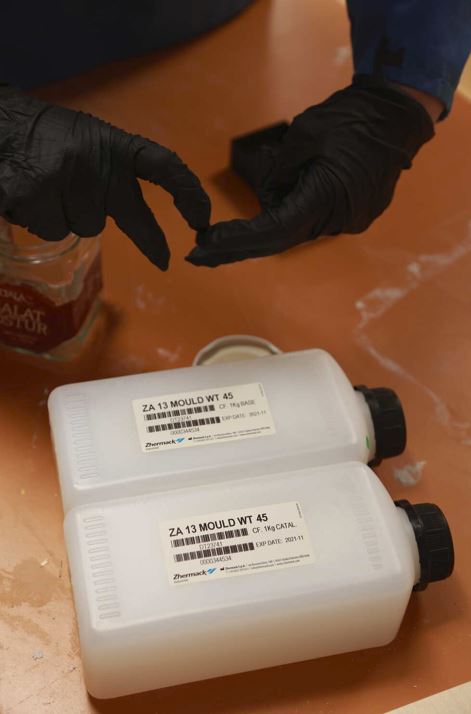
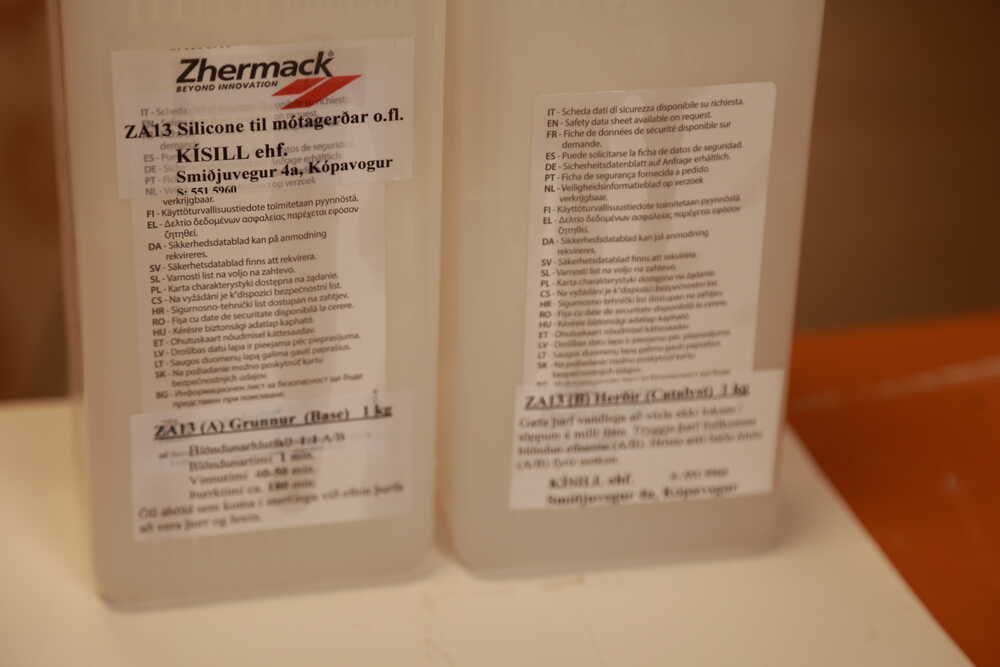
group assignment:- review the safety data sheets for each of your molding and casting materials,
- then make and compare test casts with each of them
- compare printing vs machining molds
.JPG)
.JPG)
- design a mold around the process you'll be using,
- produce it with a smooth surface finish,
- and use it to cast parts
- extra credit: use more then two mold parts
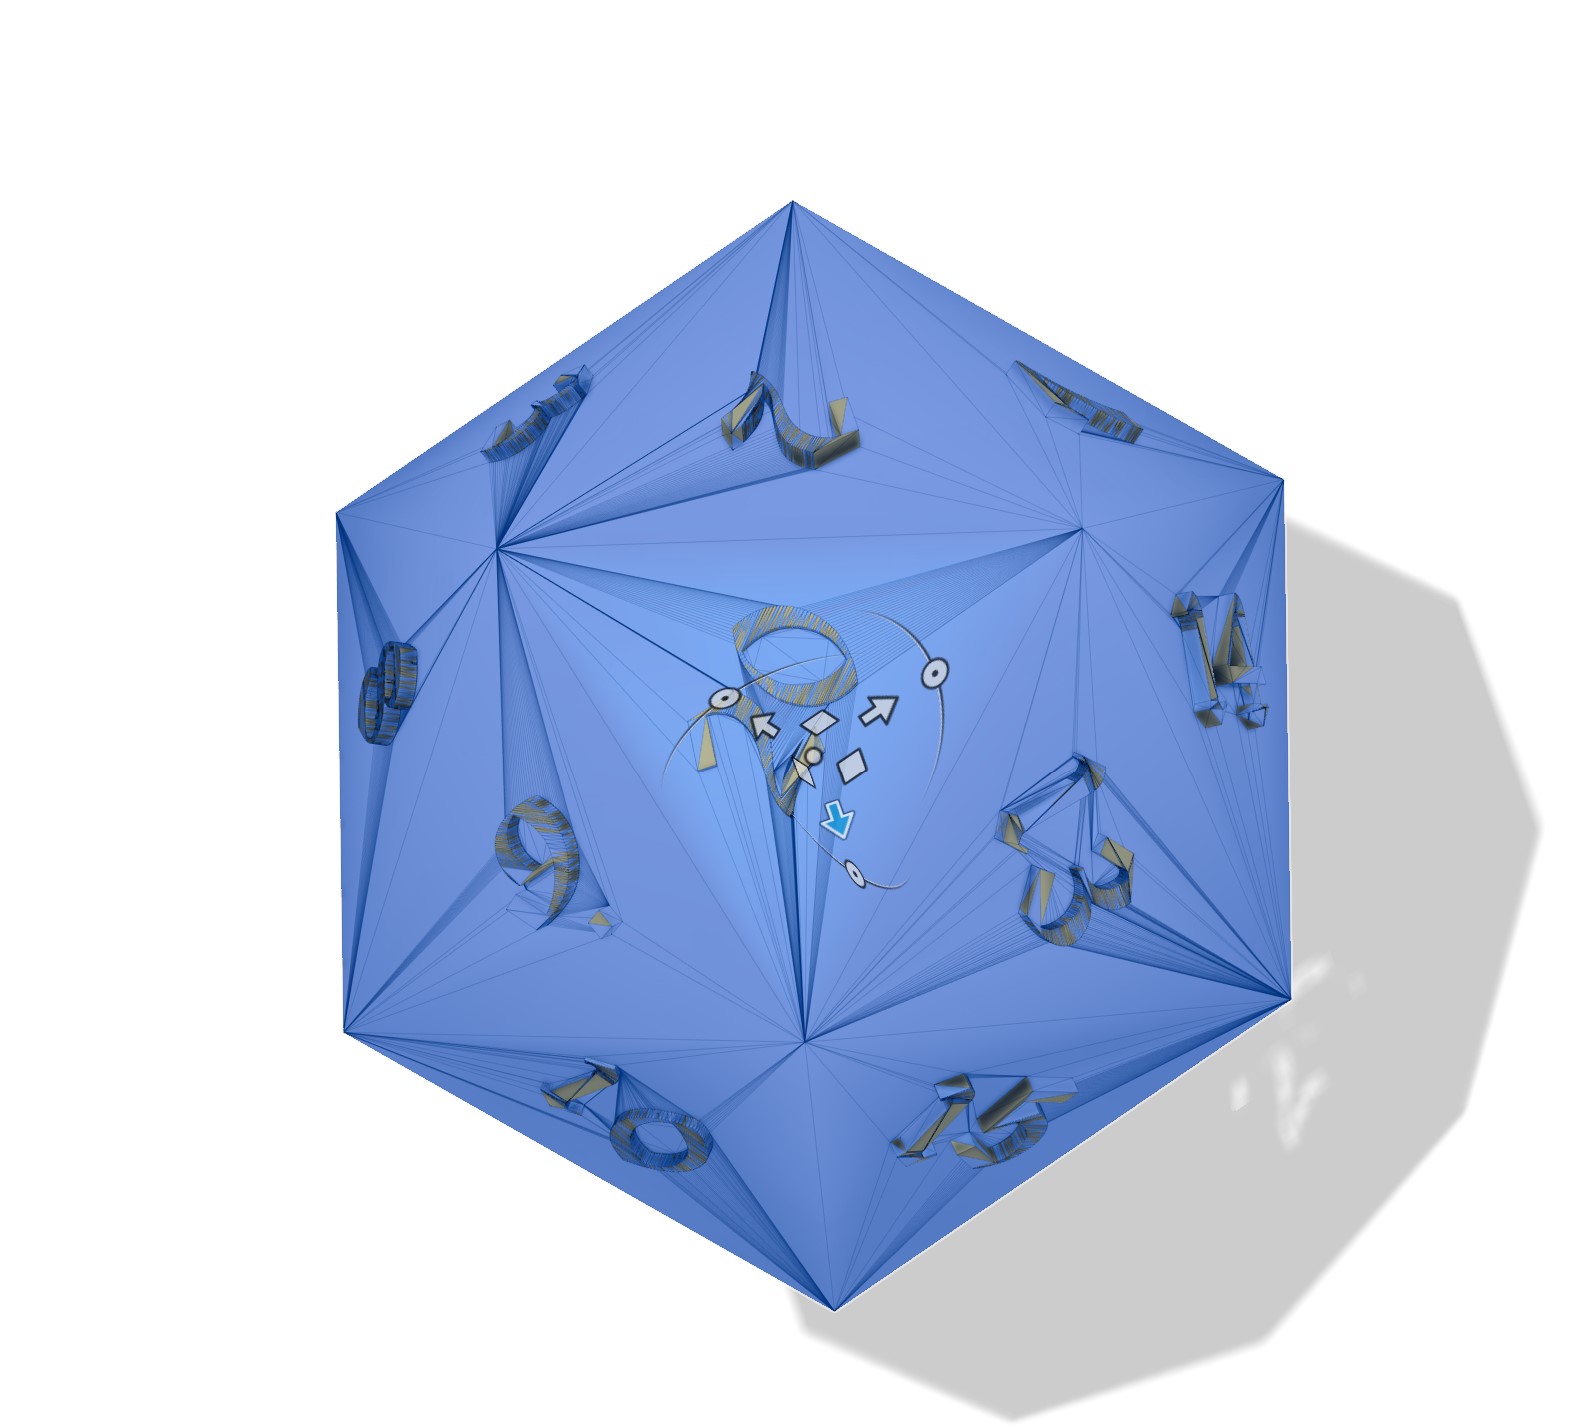
In the beginning I wanted to make a 20 sided dice. (a D20). I followed this tutorial I found online and used an old english font i found on dafont
My result:
It turned out cool looking but the topology didnt turn out great for the numbers and the design felt too complicated to mold so instead of risking ruining it I decided to switch it. Looks cool tho!
I 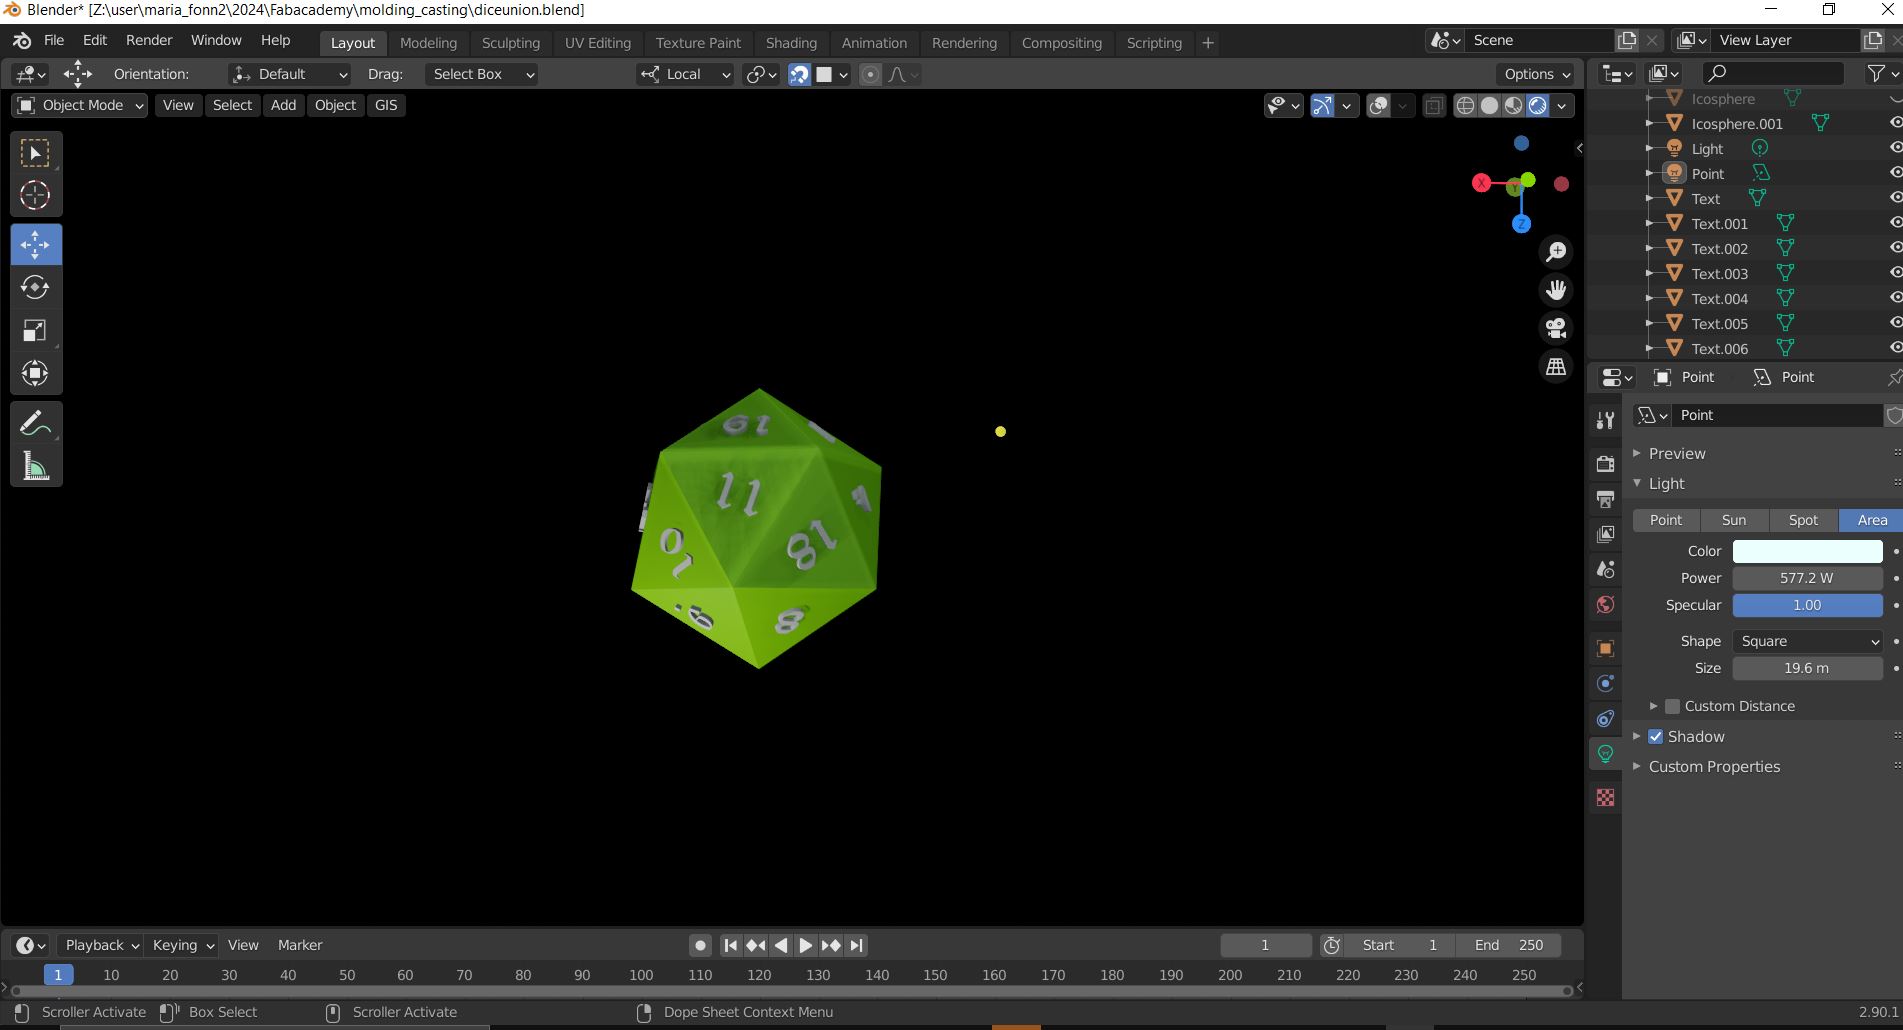
So instead of using the dice I decided to try to use the
puffin scan from the scanning week.
For this week I followed this great
tutorial I found online
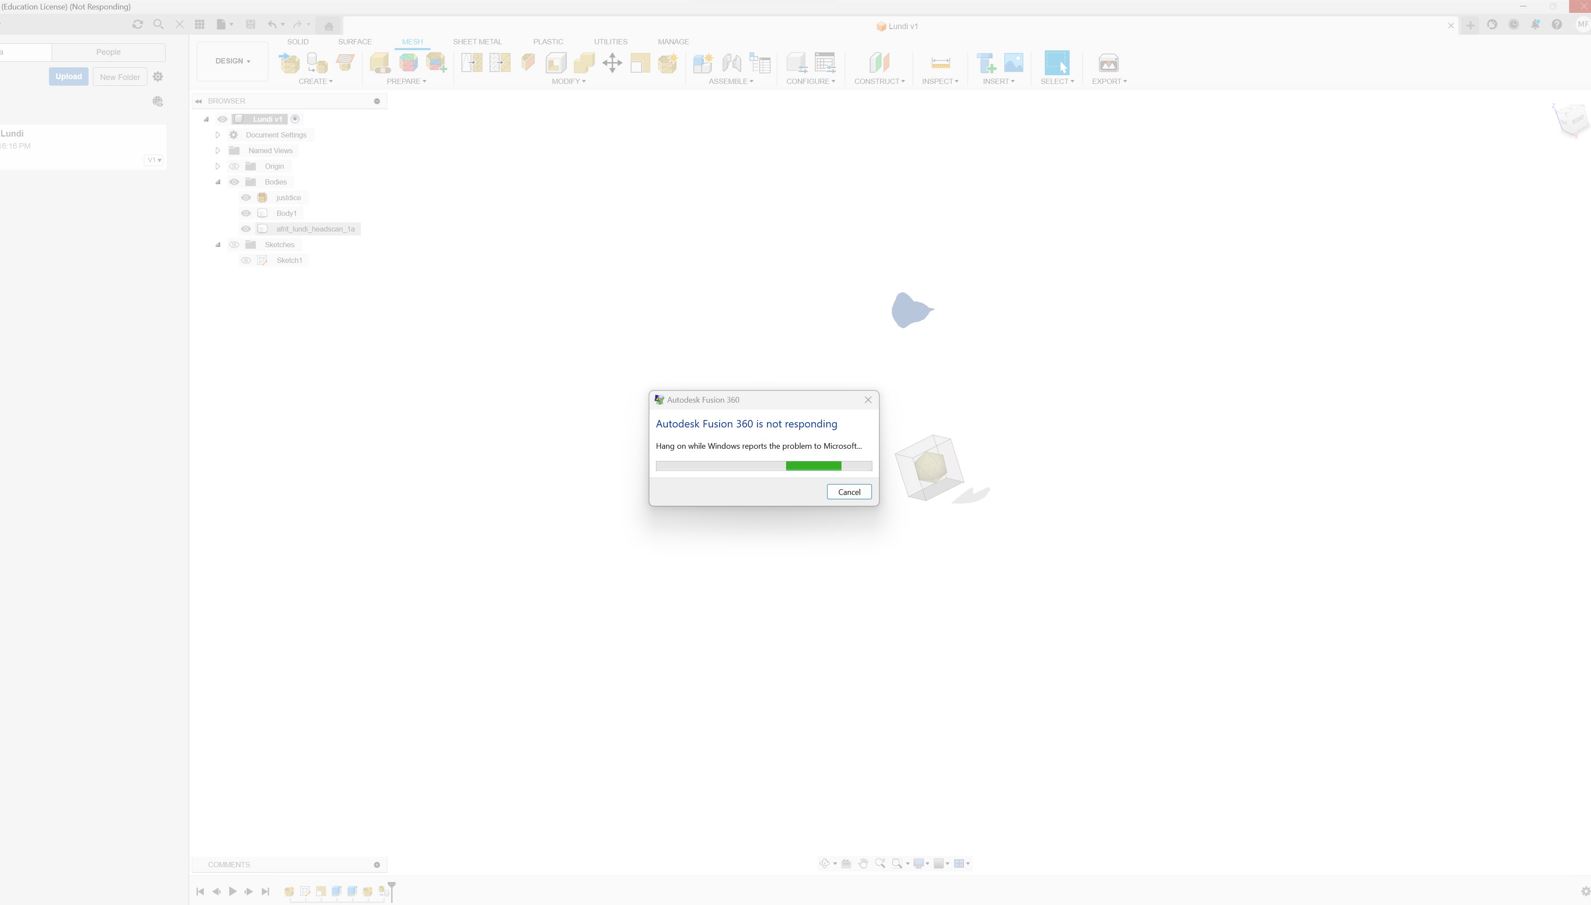
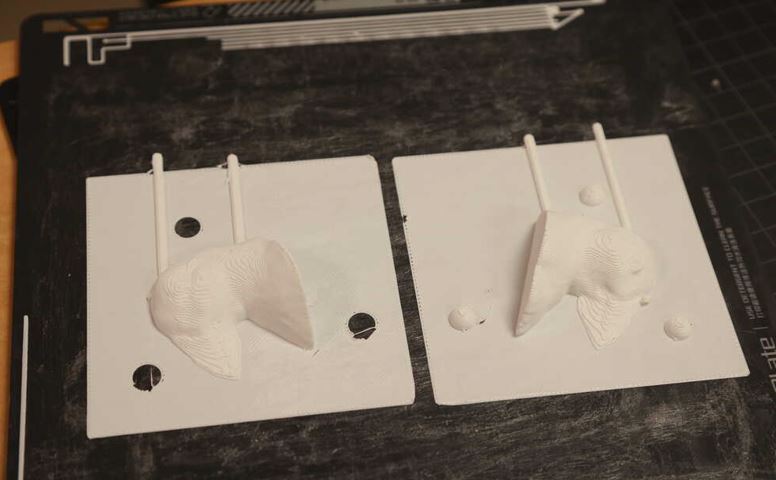
Eventually it worked. I simplified it a bit through the modify menu and followed Kevin´s tutorial on the mold. The biggest major difference is that he used the cut command when combining the object with the box. I did the opposite and simply combined them.

Next I created another sketch and extruded it. I then used the draft feature and put it on a 10 degree angle. I combined the objects and then exported it as an stl to print. I used the prusa 3d printer for this.
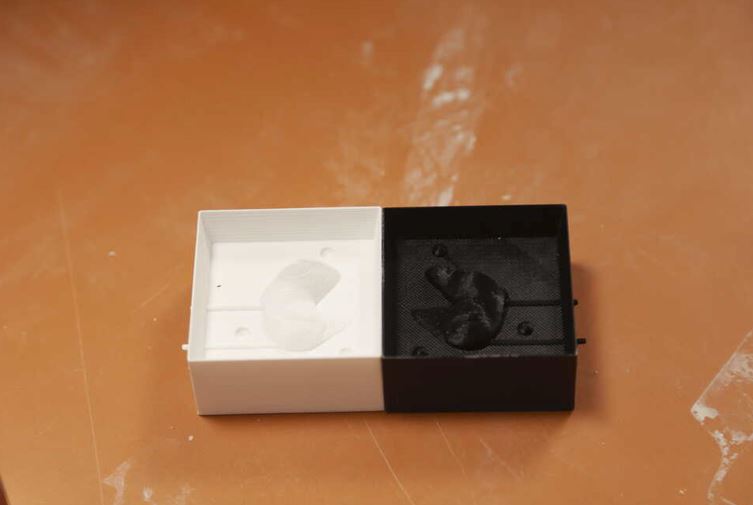
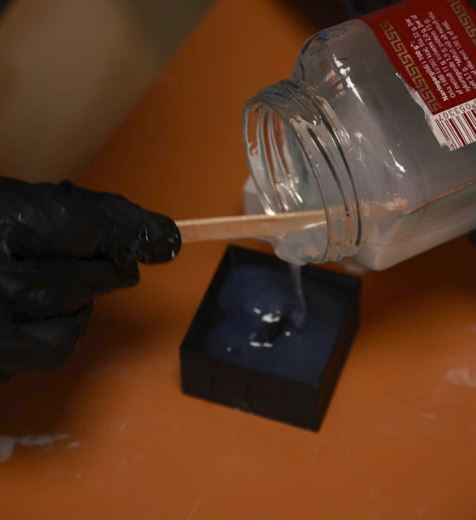
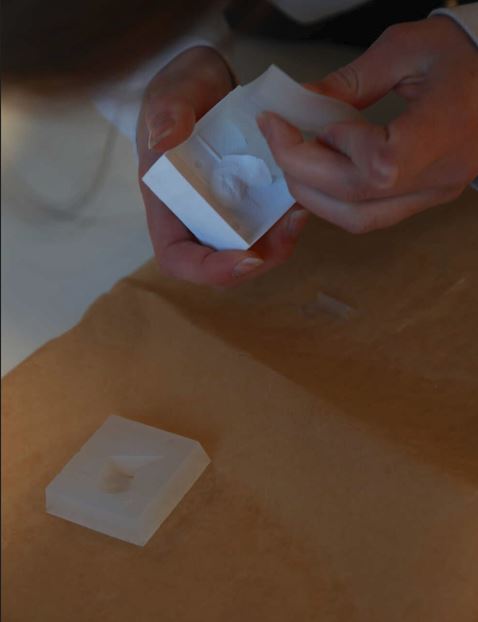
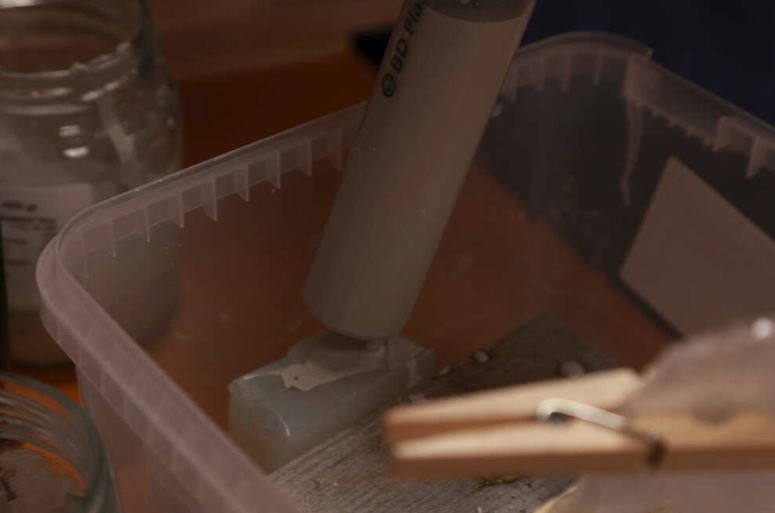
I began by making a miniature version of the mold.
This was mostly to test the silicone. We were unsure of whether it was still usable.
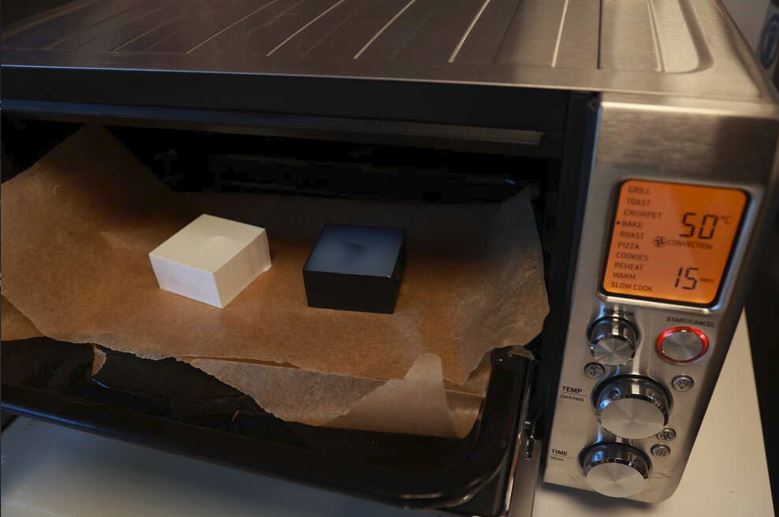
Here is the first test! I printed it through the Prusa 3d printer.
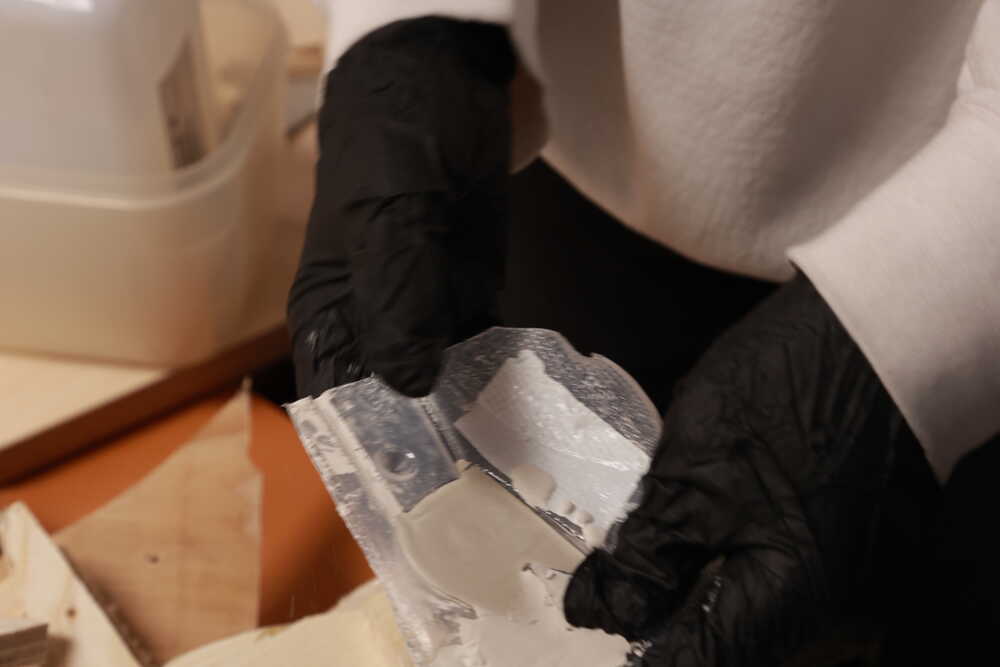
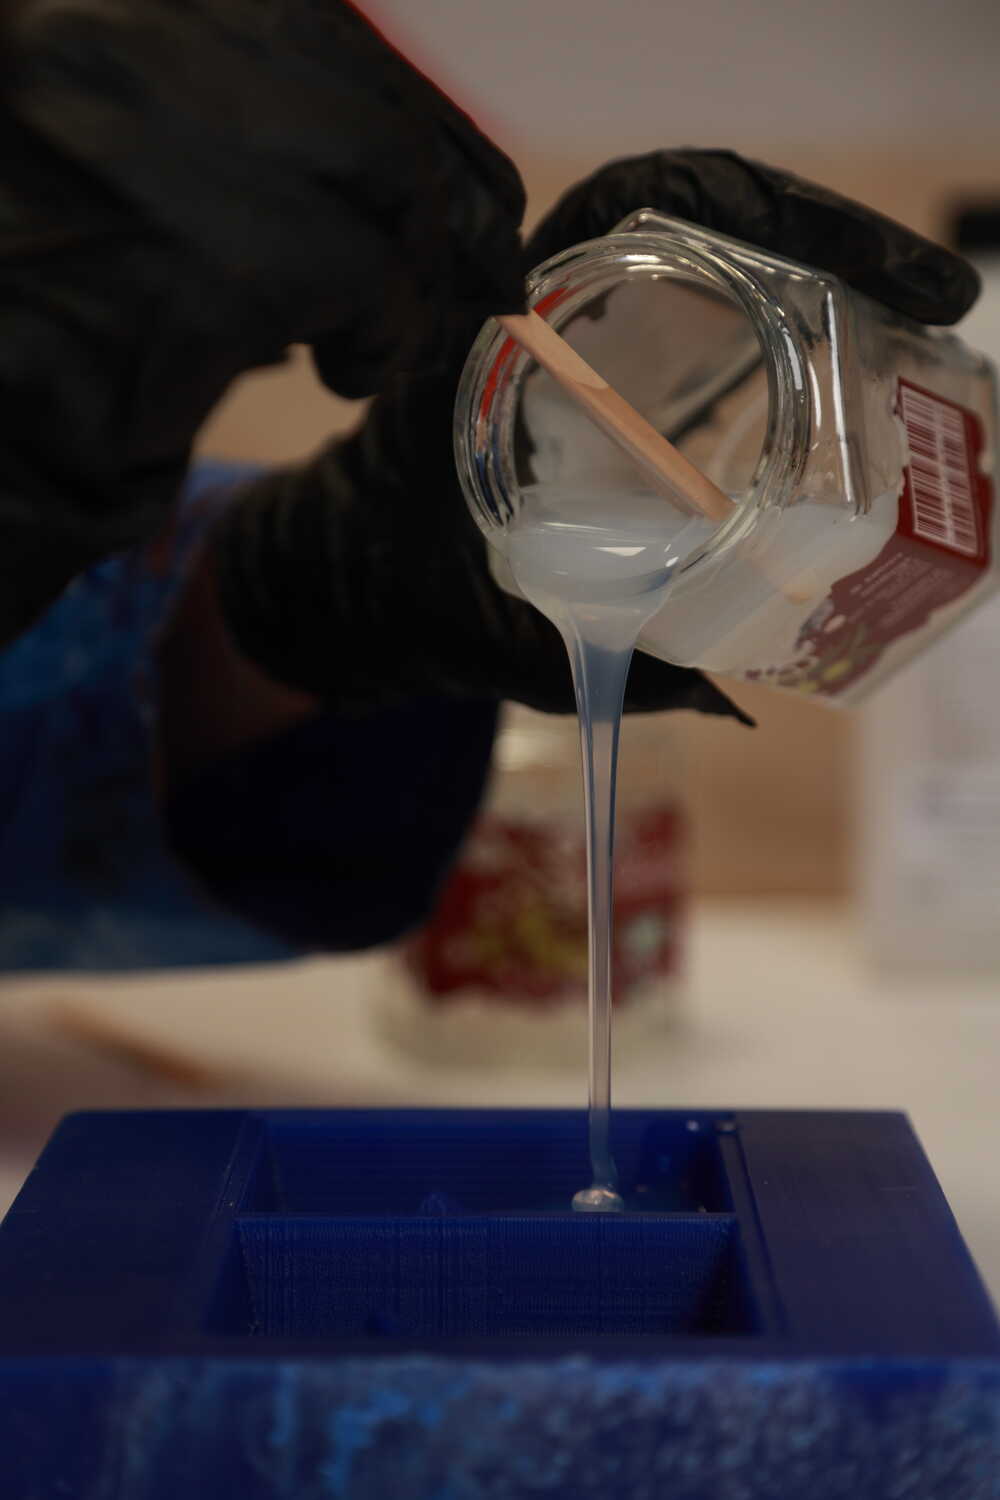
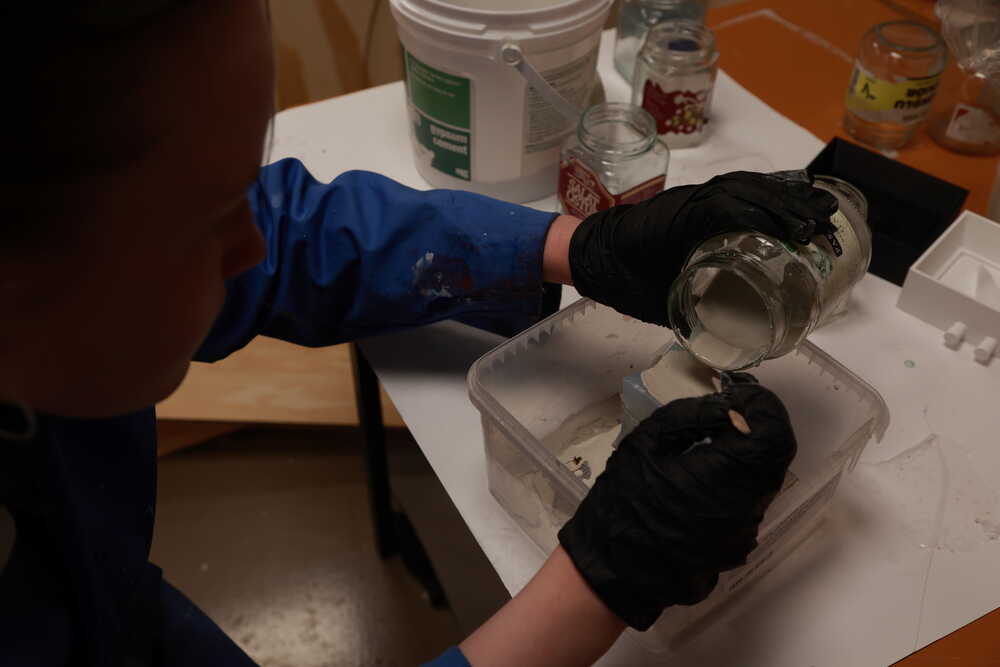
Silicone
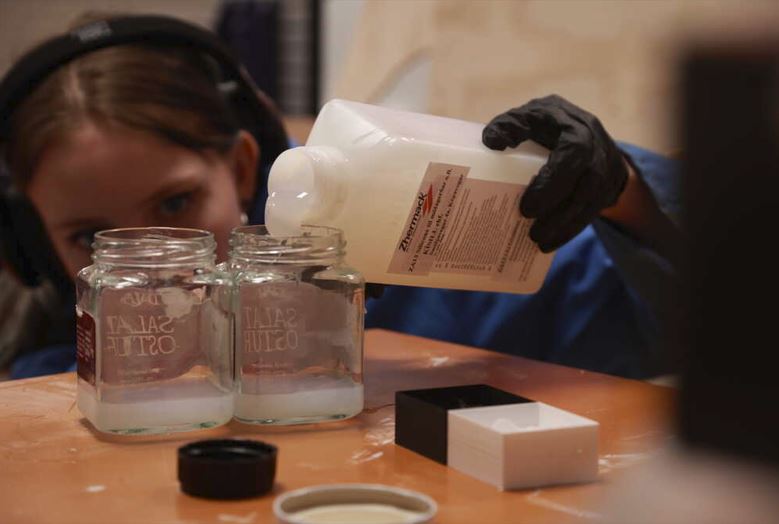
We put it into an oven at 50 degrees celcius for 2 hours so it would dry faster (it did)
 Dish soap
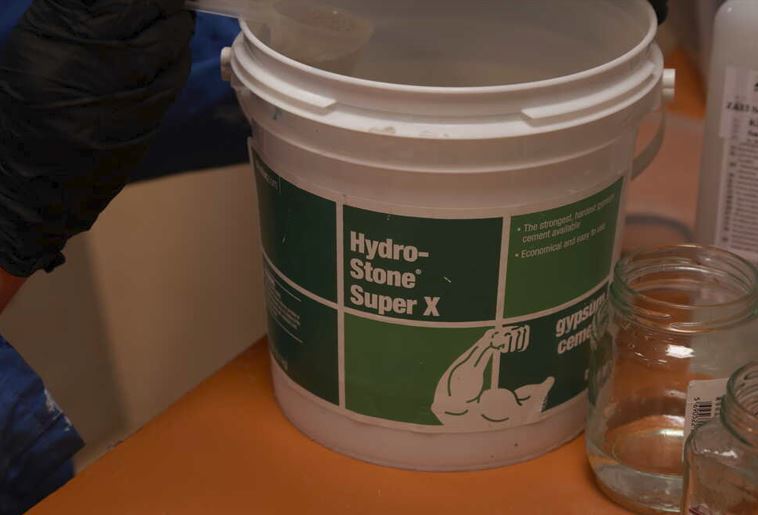
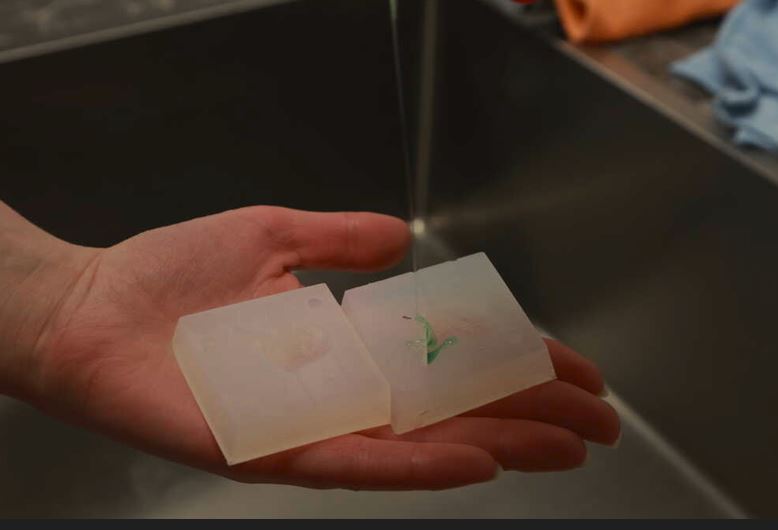
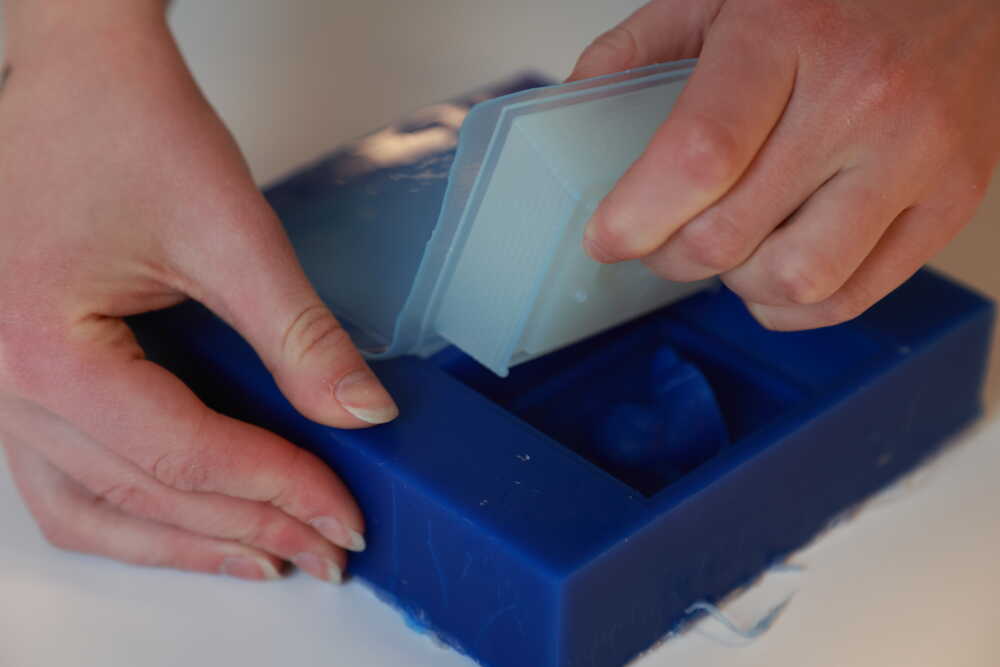
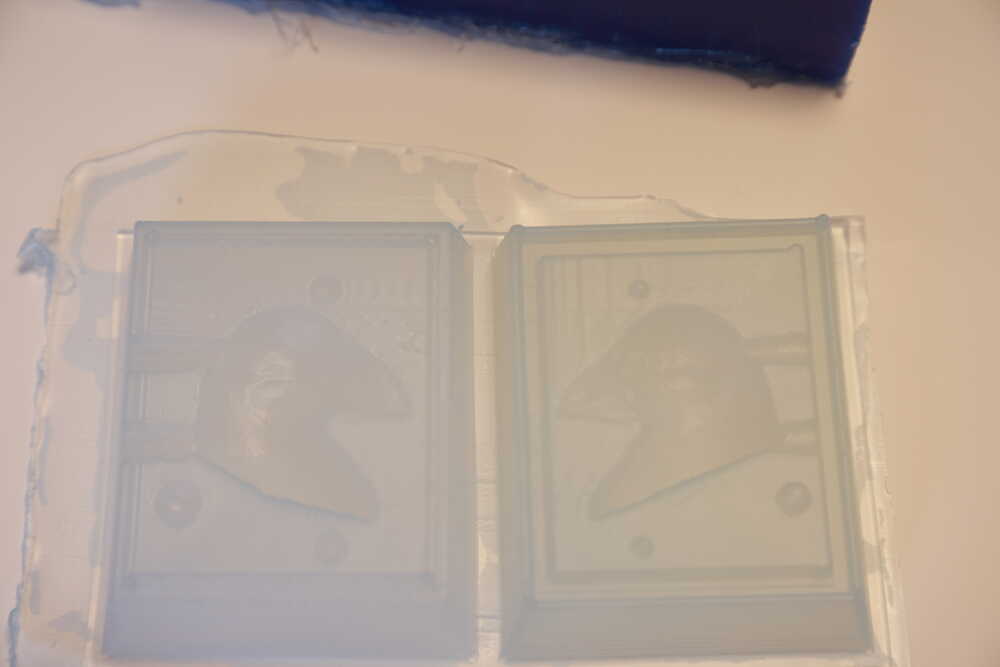
Result:
Fail :((The path I made for the material was way too thin and barely anything seeped through.
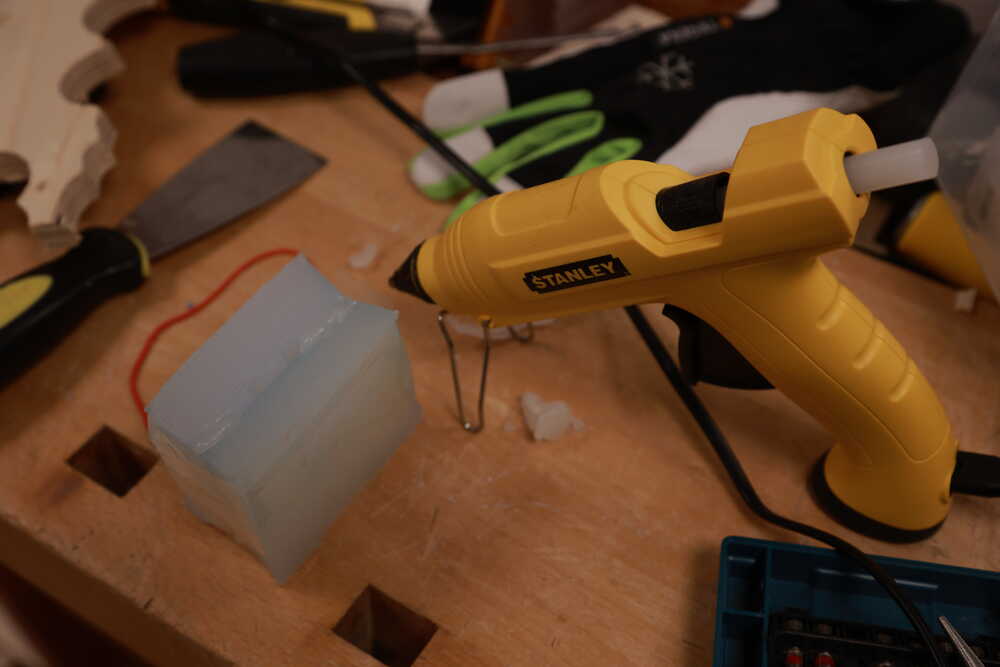
The second test: a different method
Result: plastic melted and it didnt turn out great haha

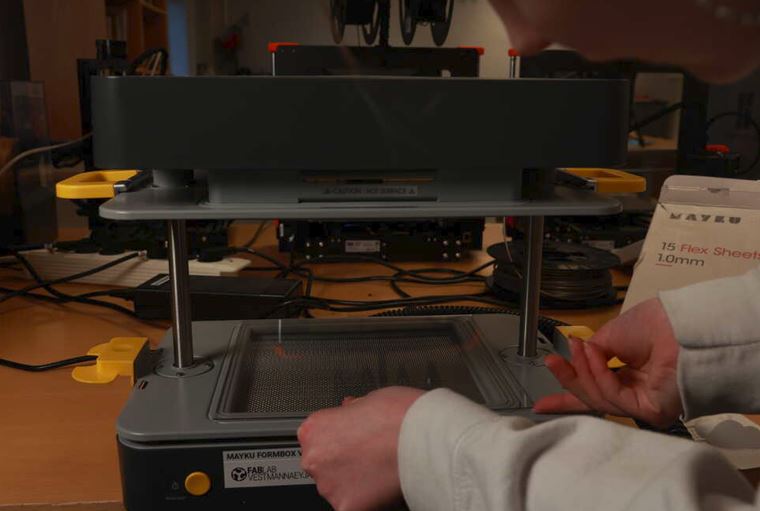
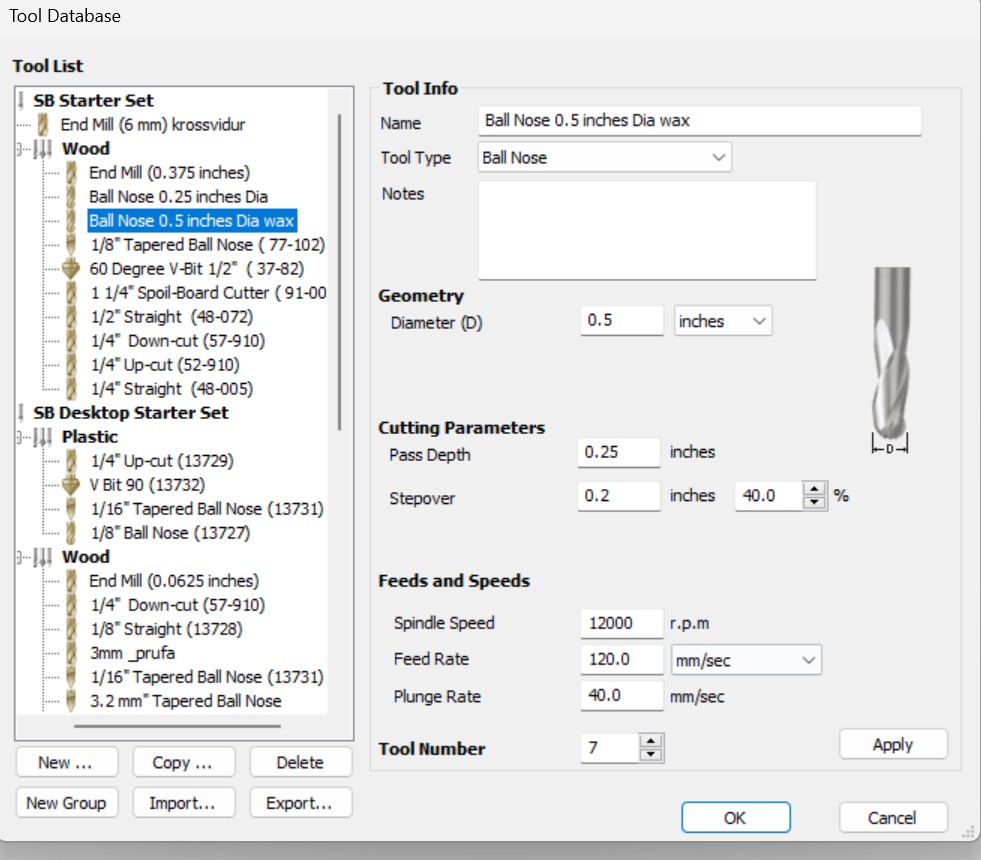
THIRD TRY! Big milling machine
I decided to do an experiment using the big milling machine
to make the mold. My hope is to be able to use different
teeth and make it look as smooth as possible.
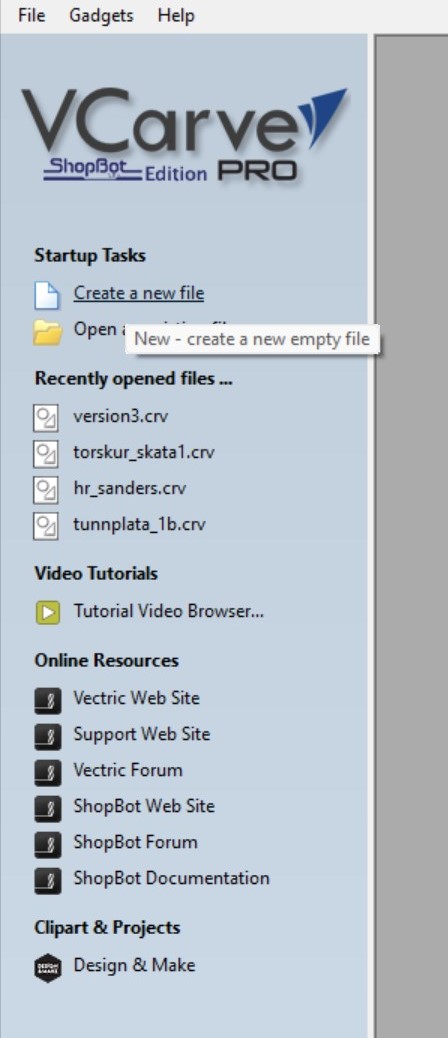
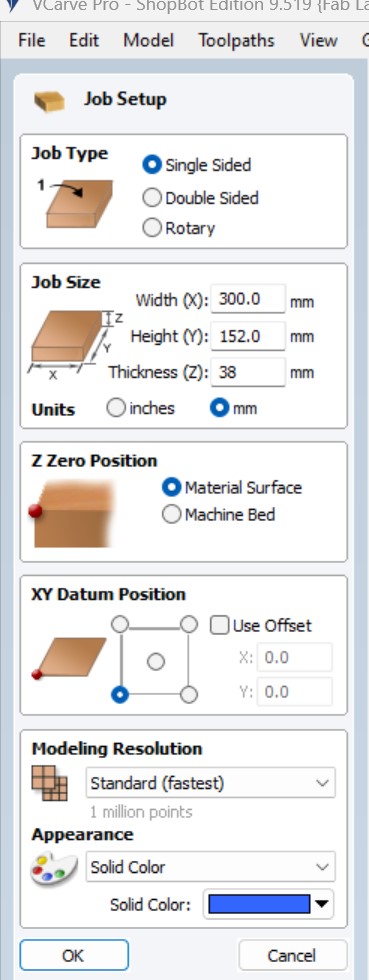
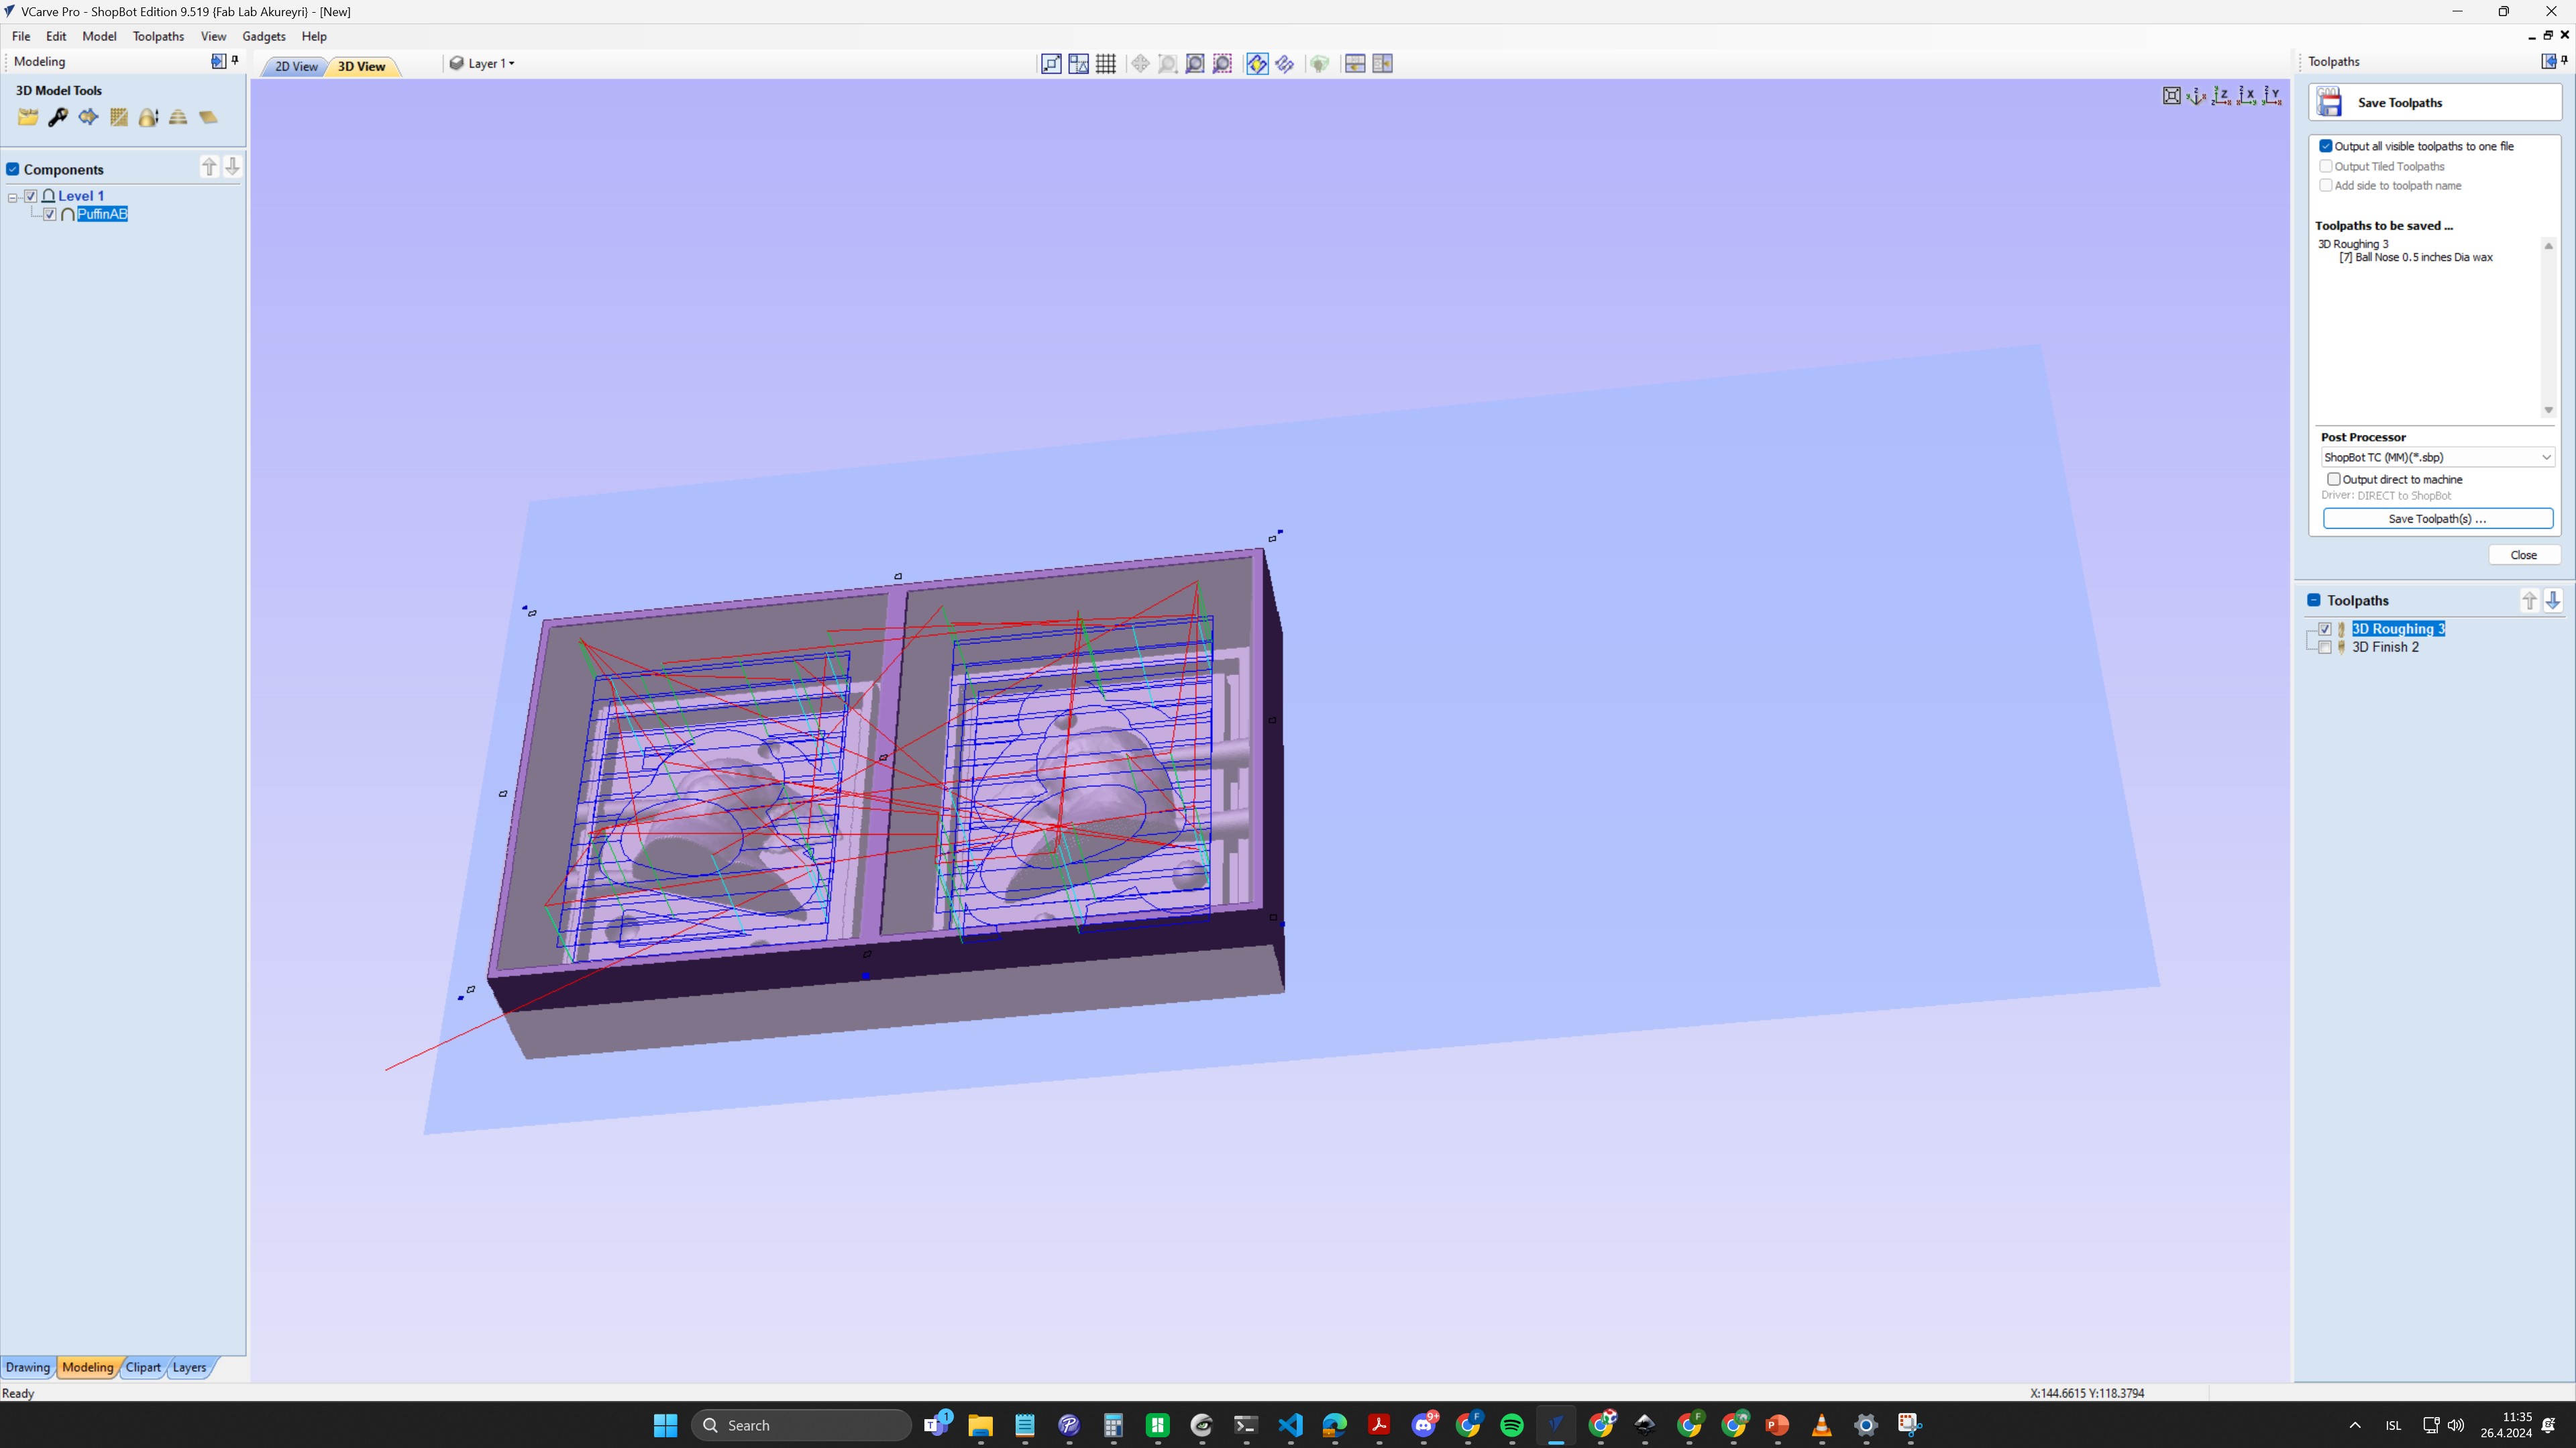
I used V Carve Pro for this version. I started by
selecting the size of the material I would use for the
milling
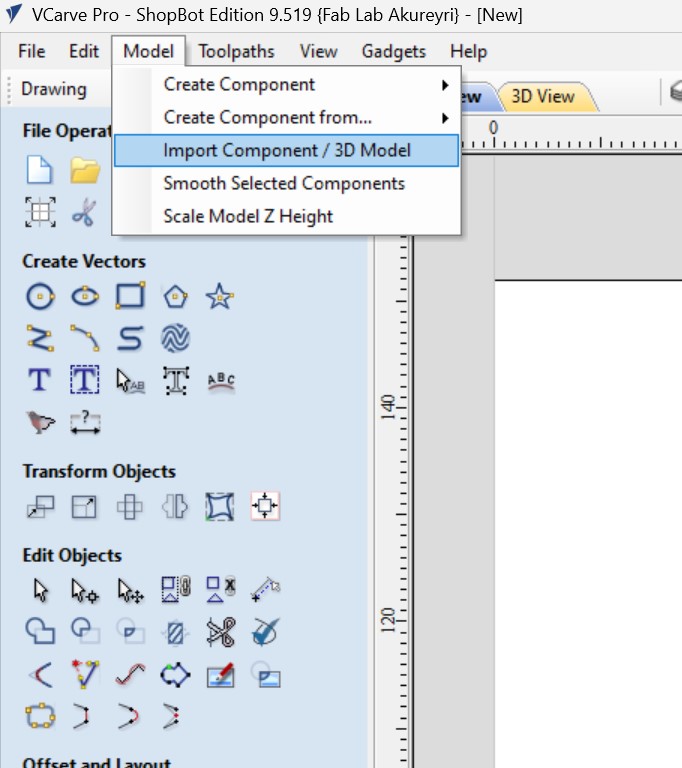
Then I inserted the STL File. (I had put both sides of the
mold together into one file (all files are at the bottom of
the page).
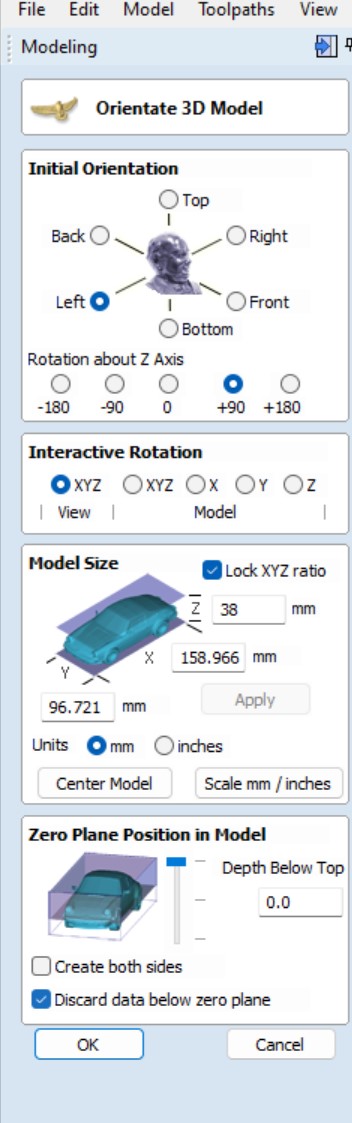
After inserting the mesh I had to position it:
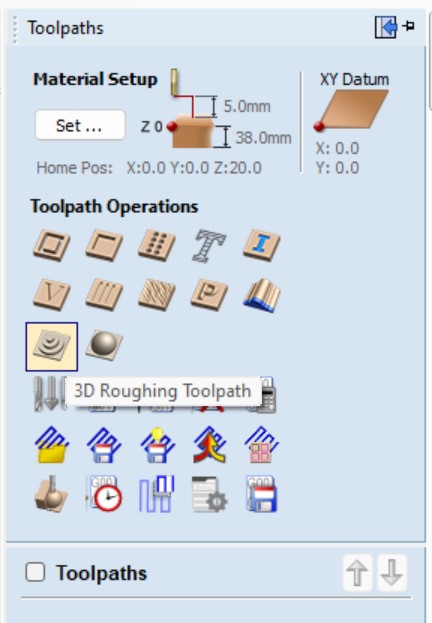
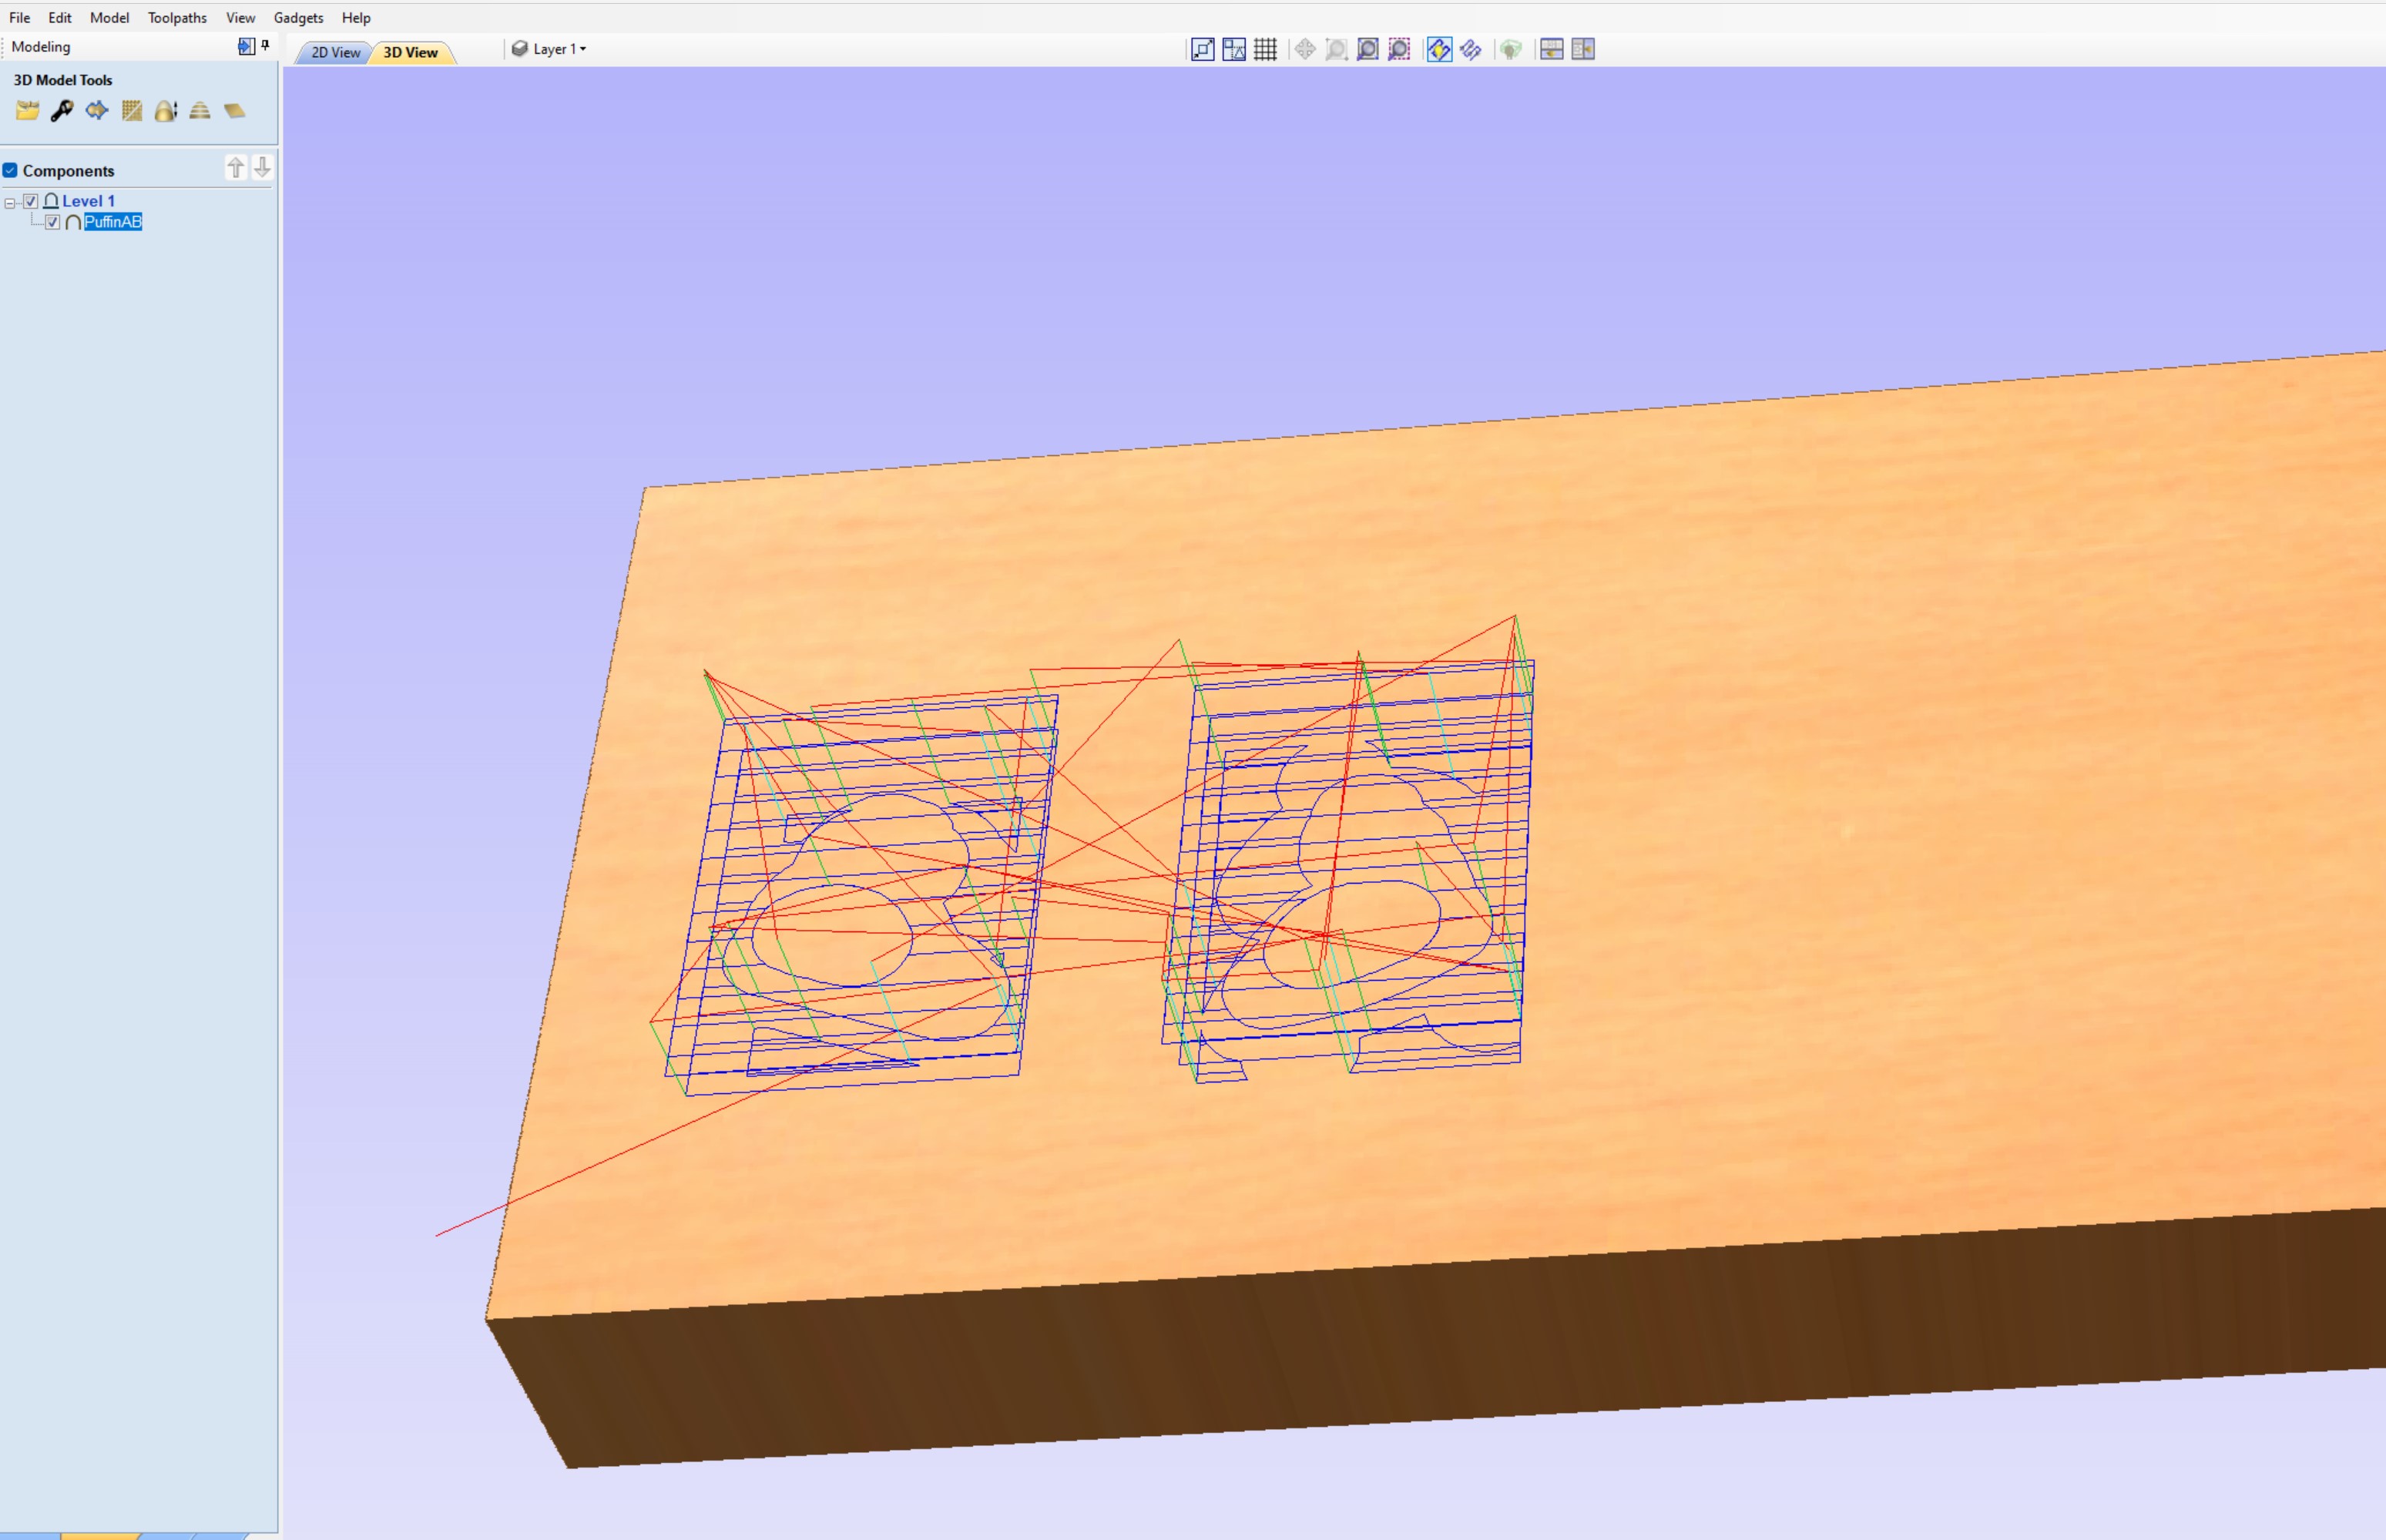
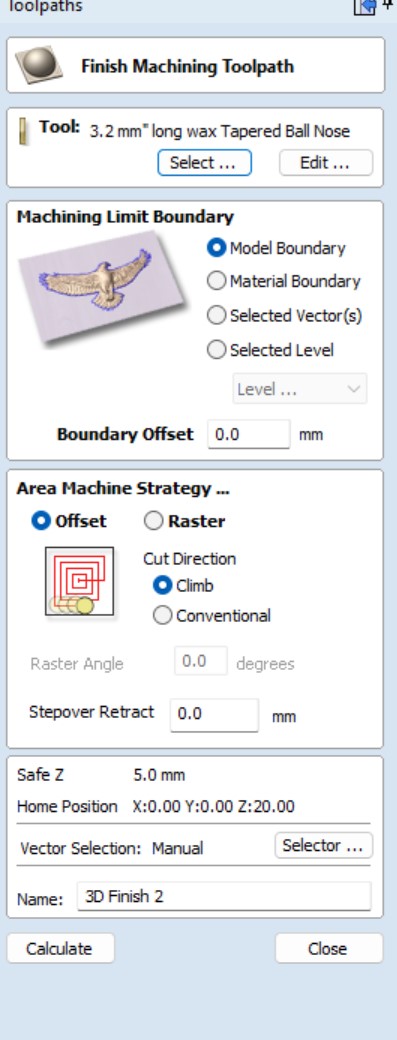
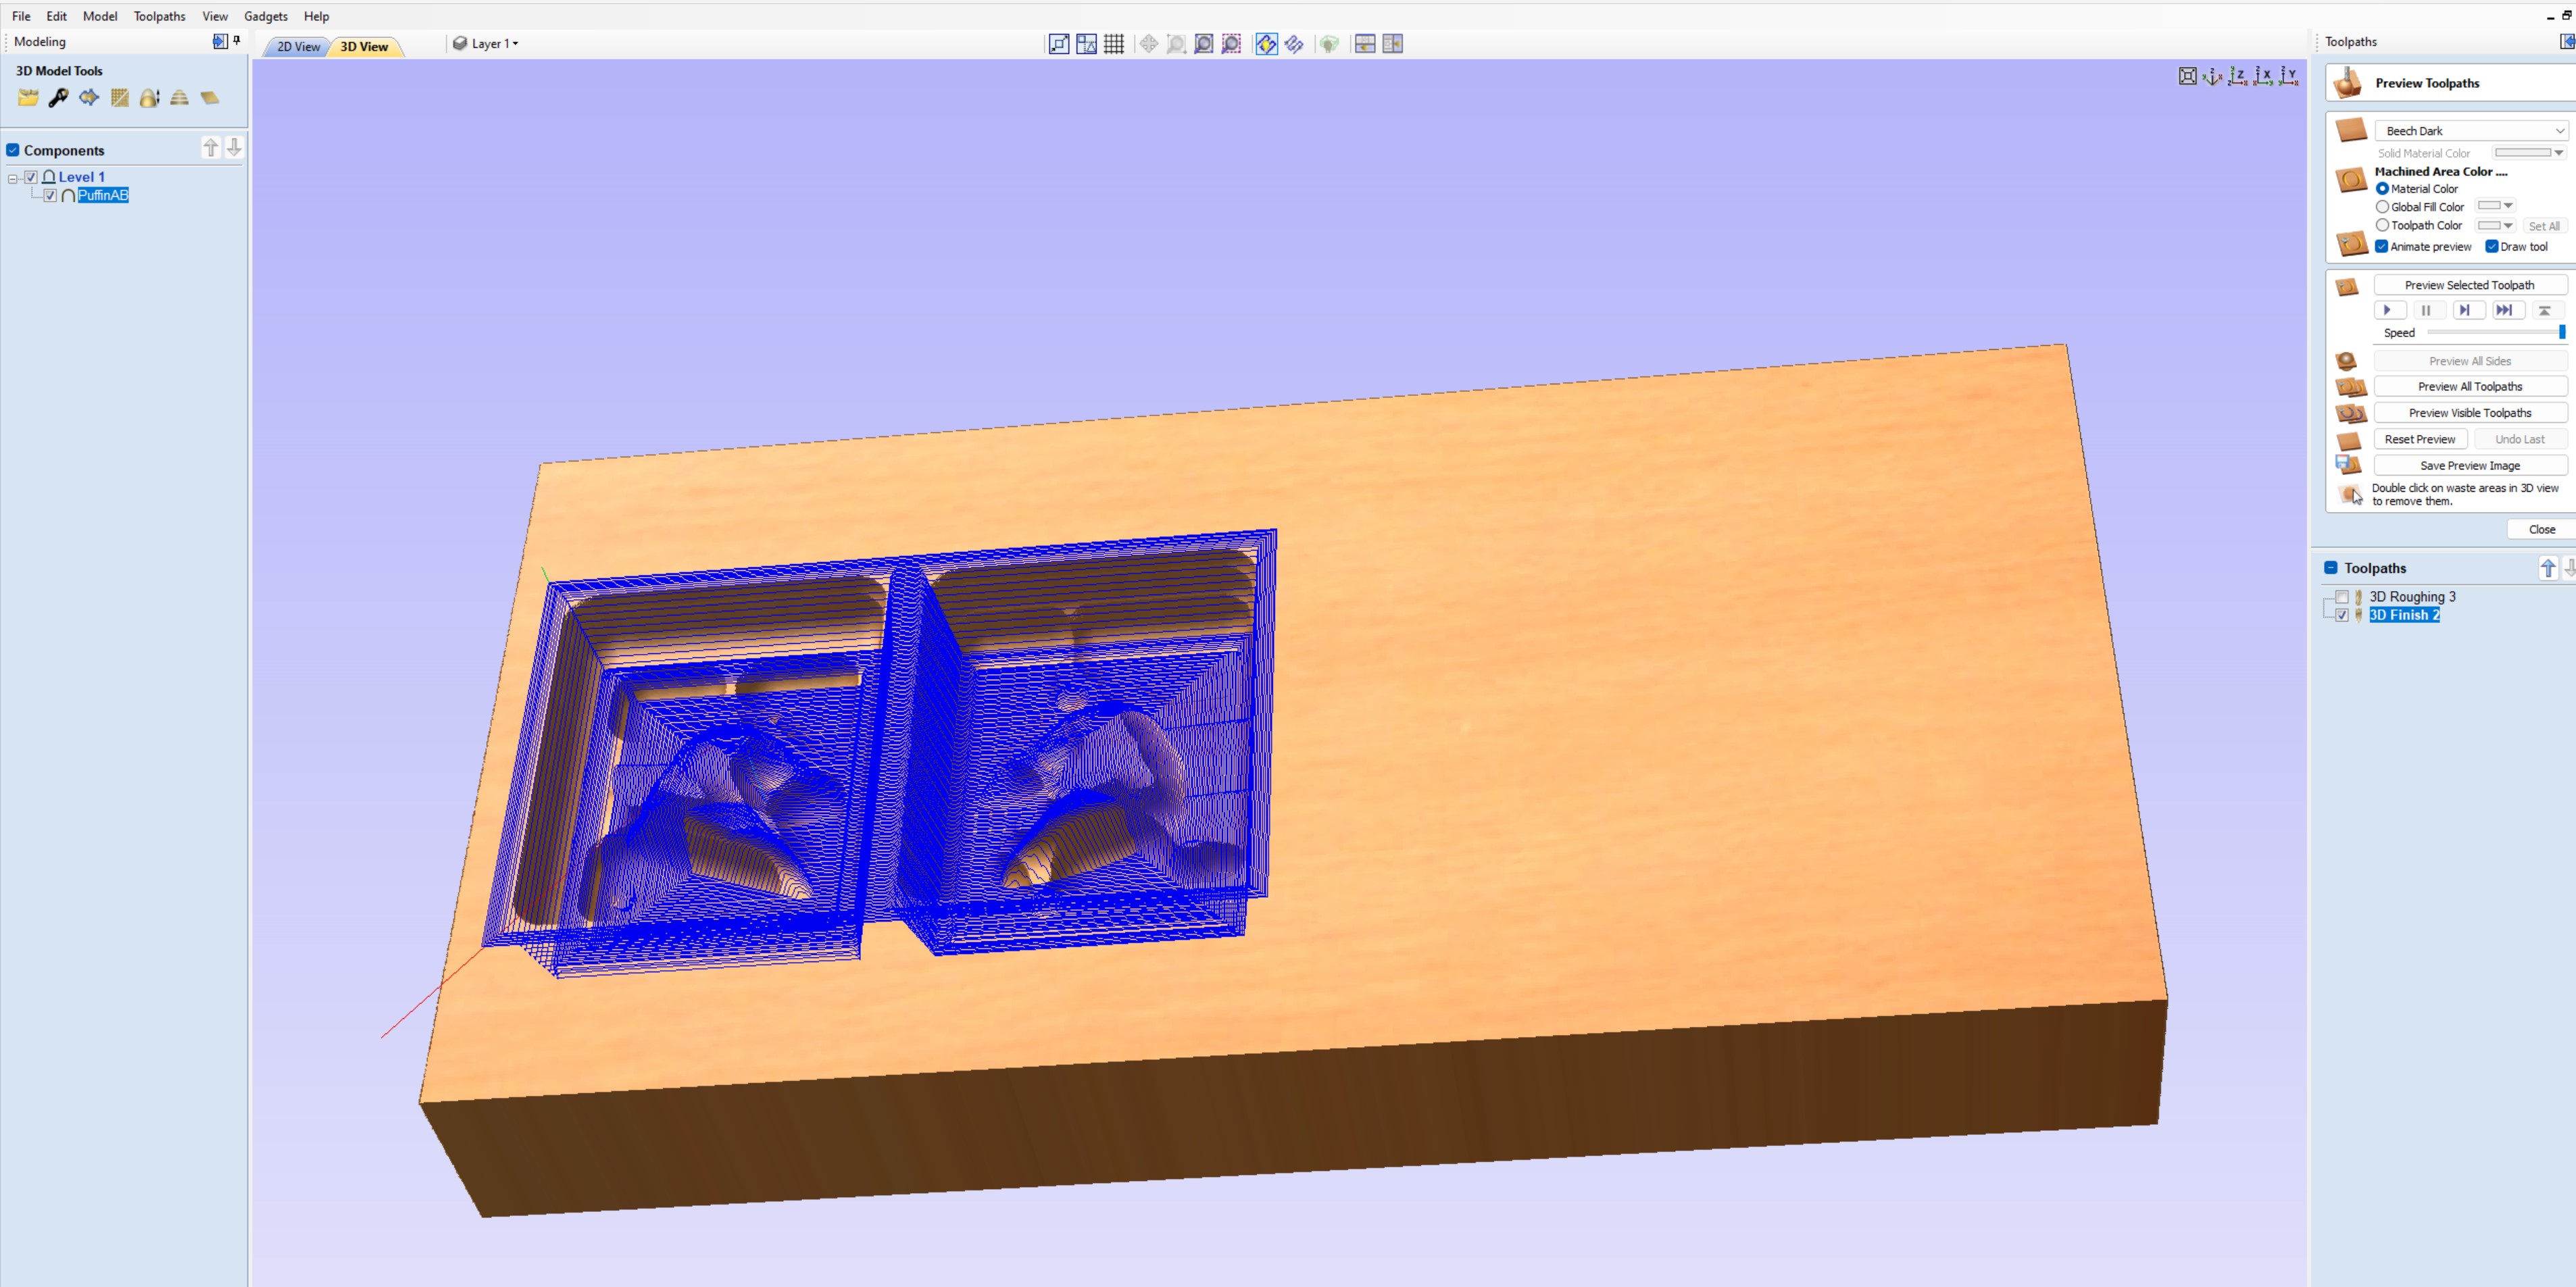
First off we started with the 3D roughing

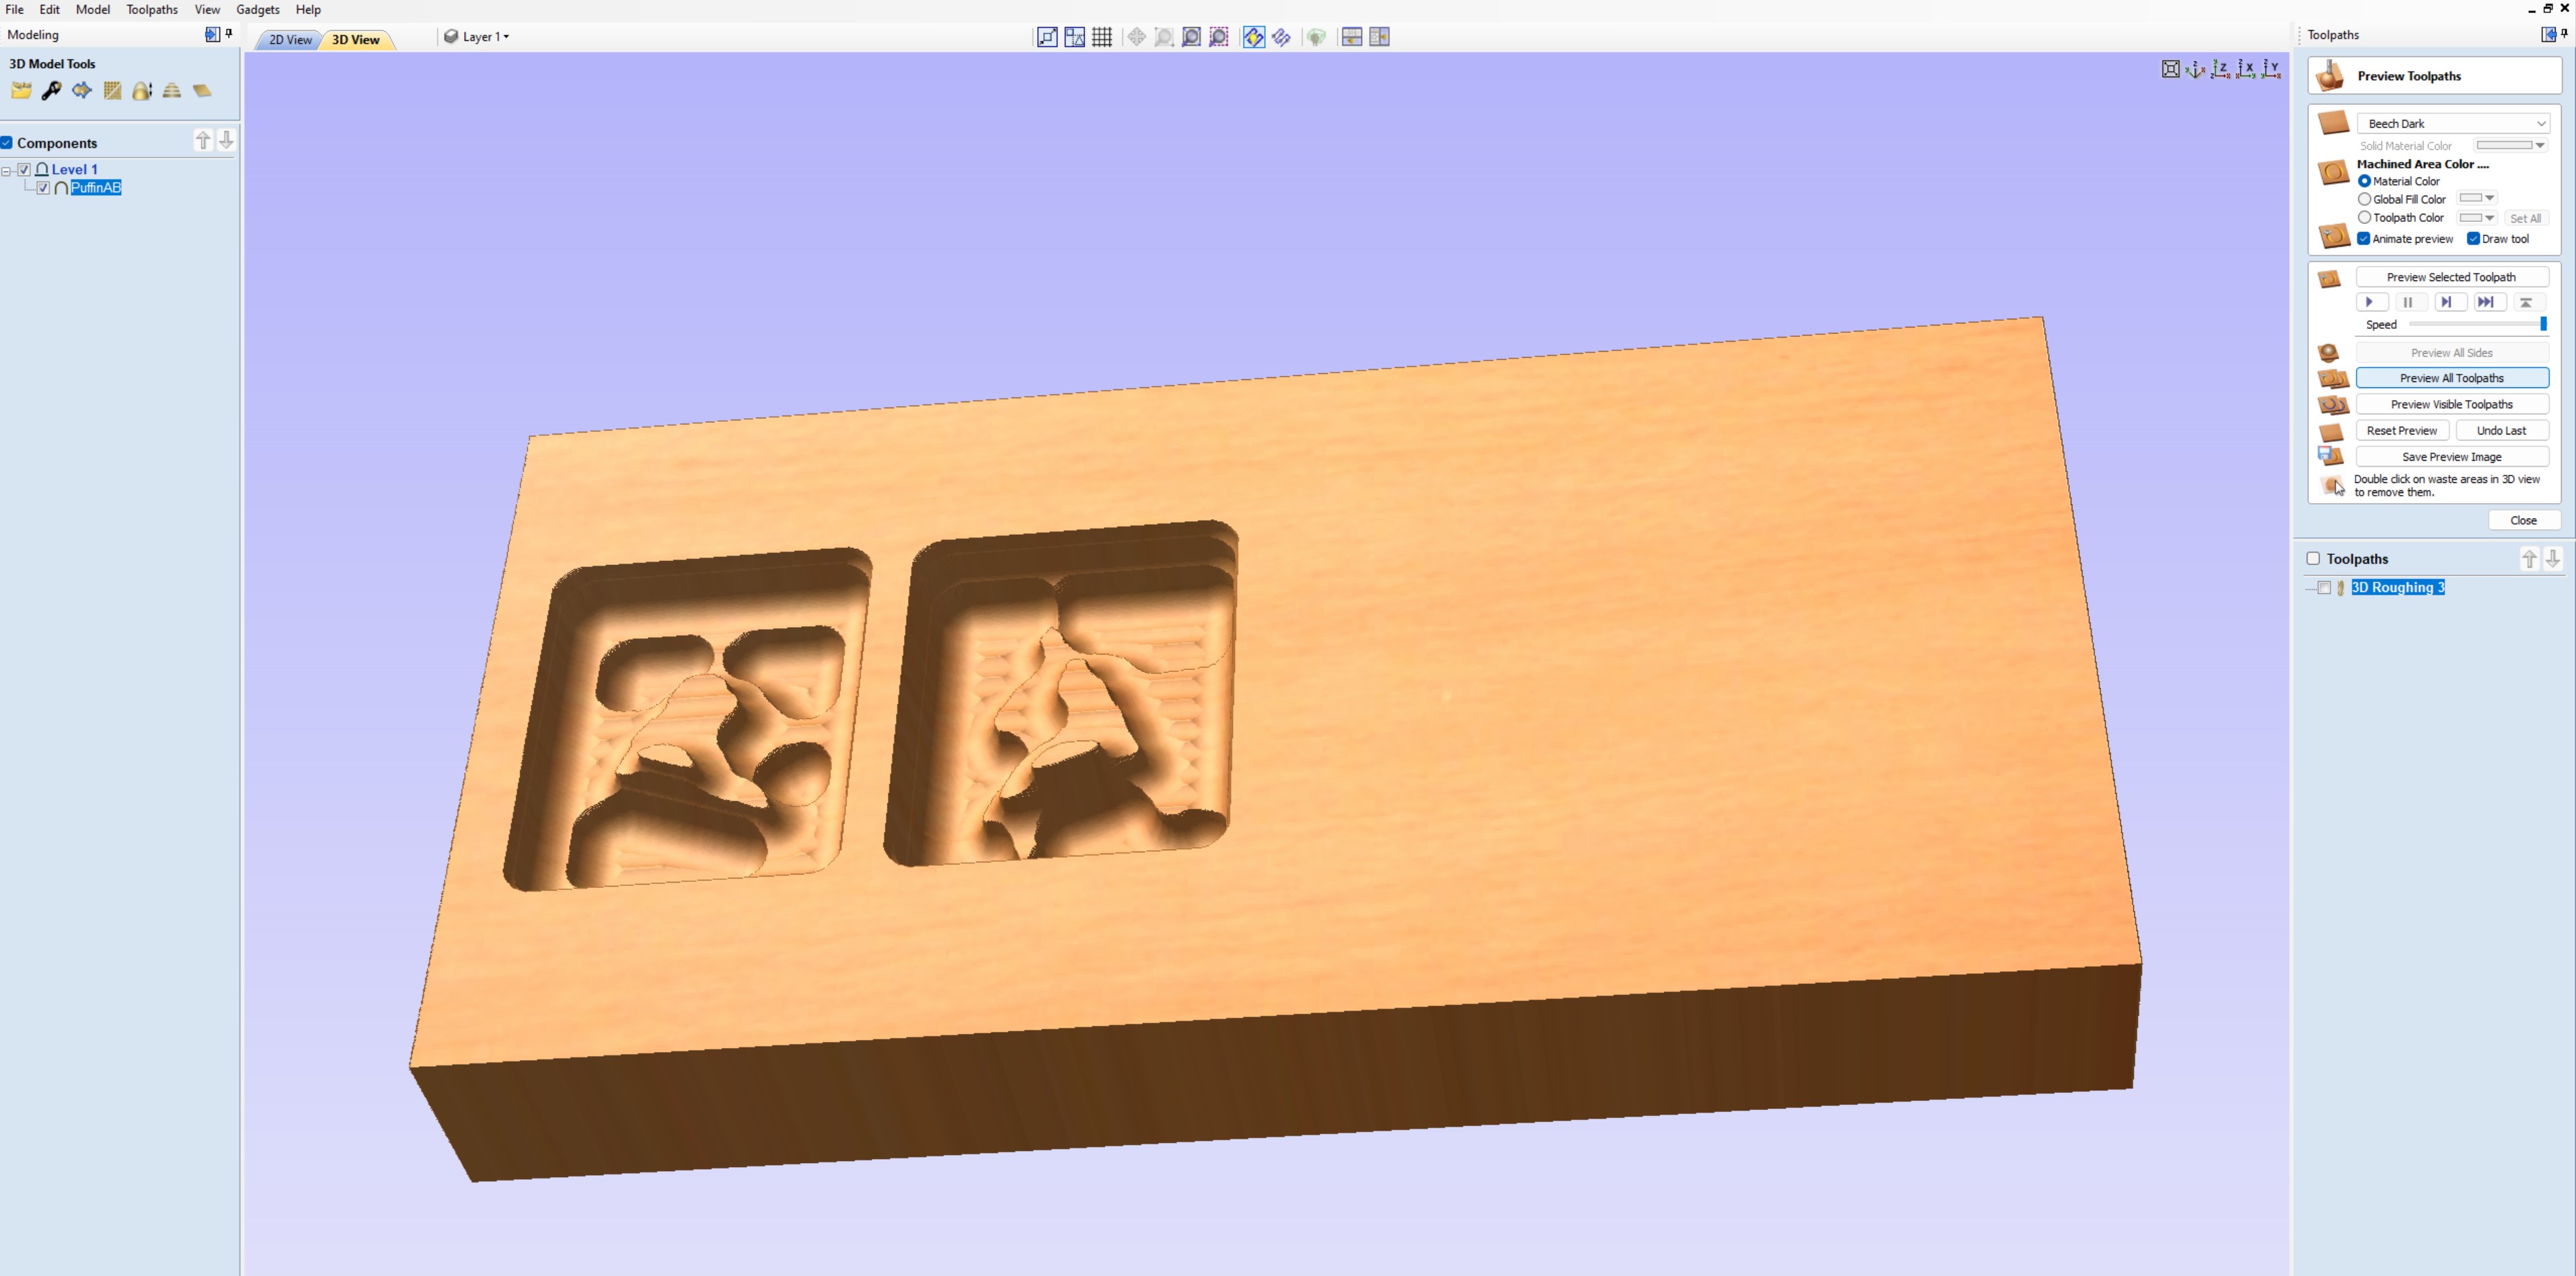
Next was the smooth finish:

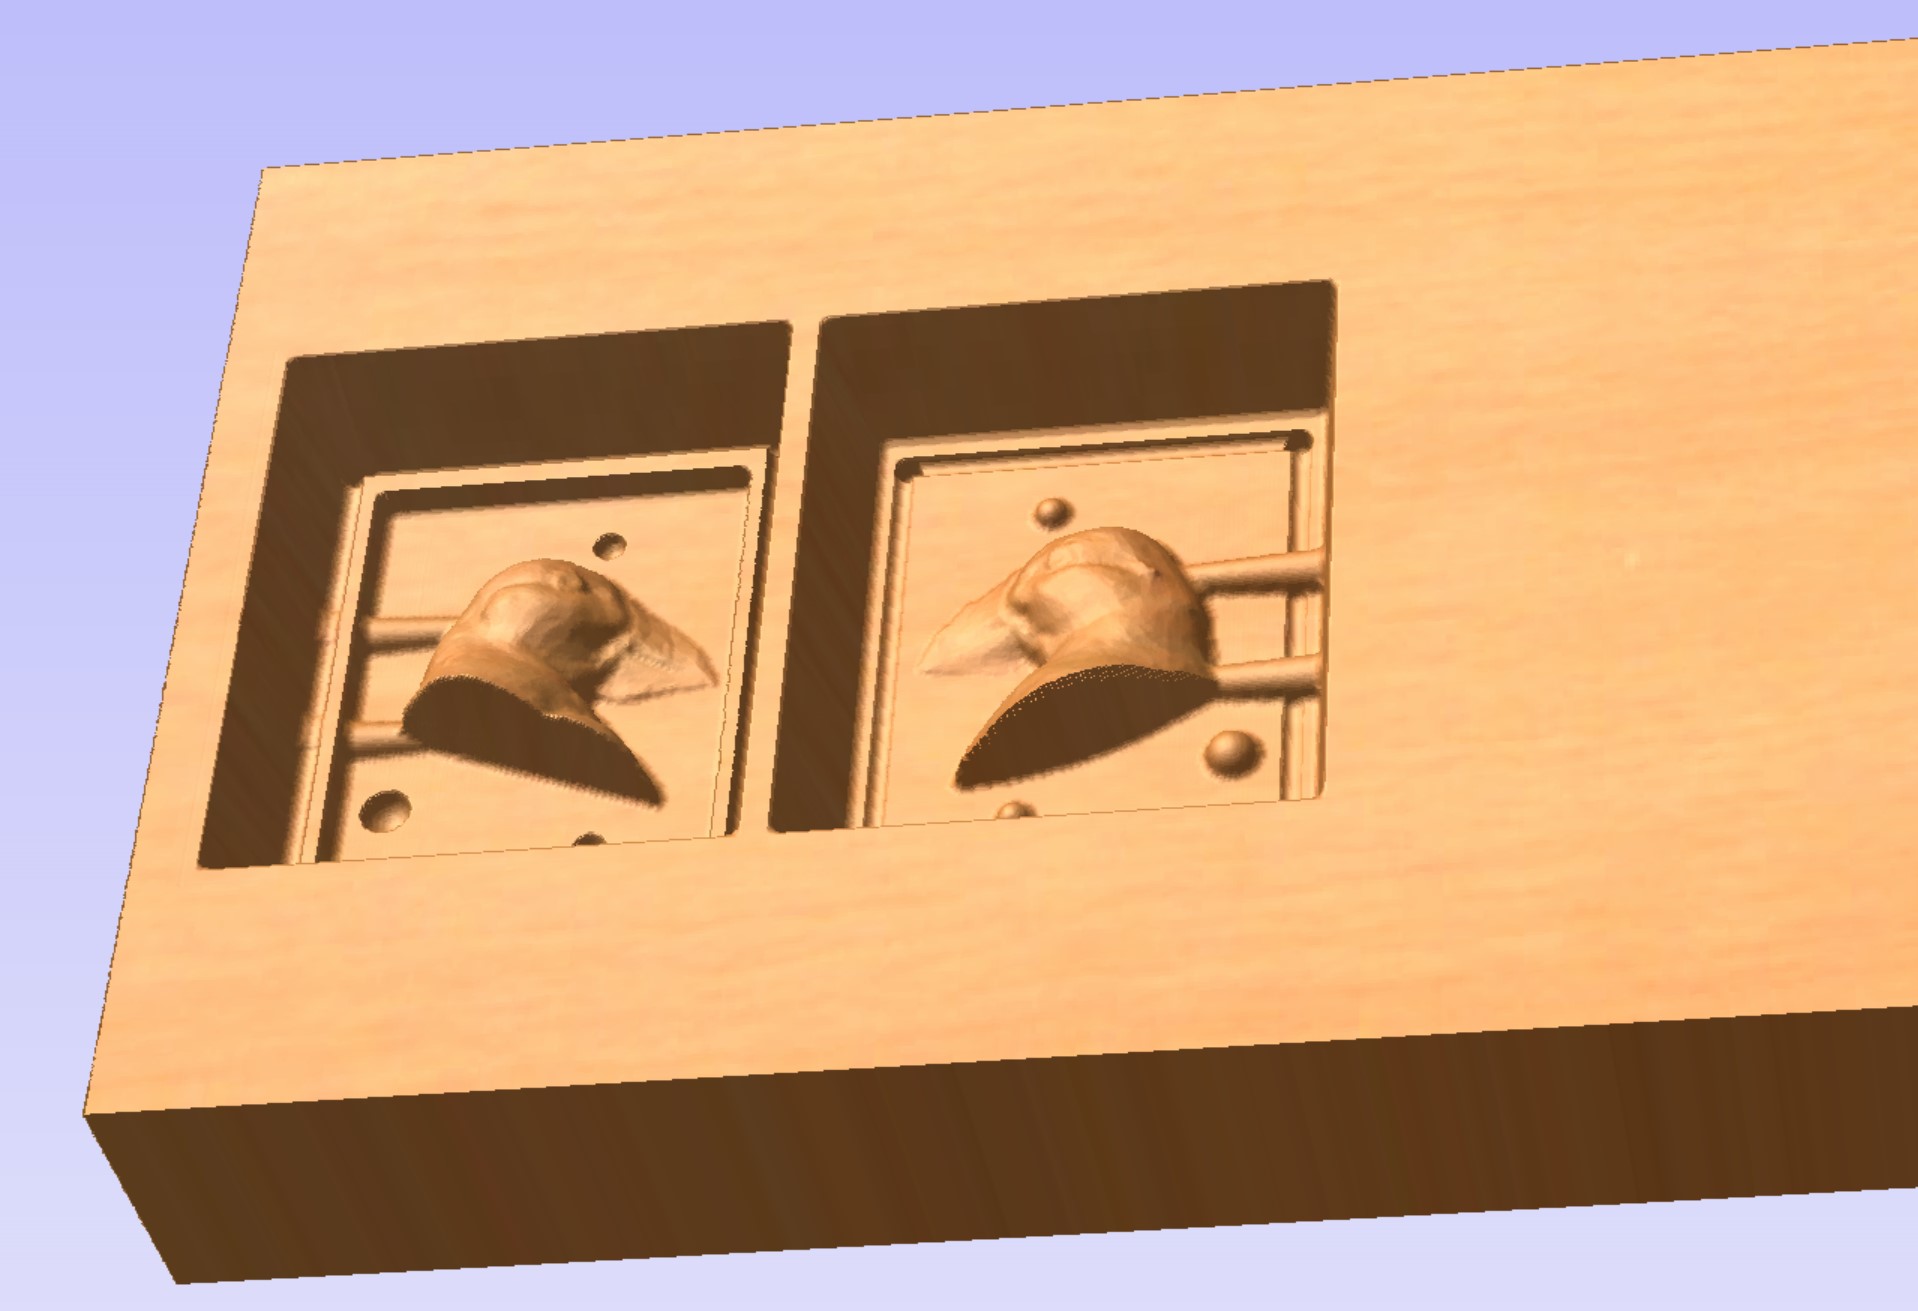
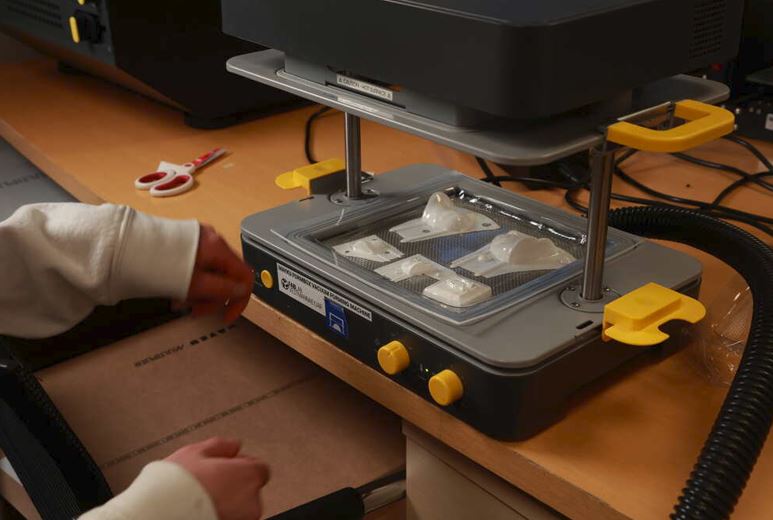
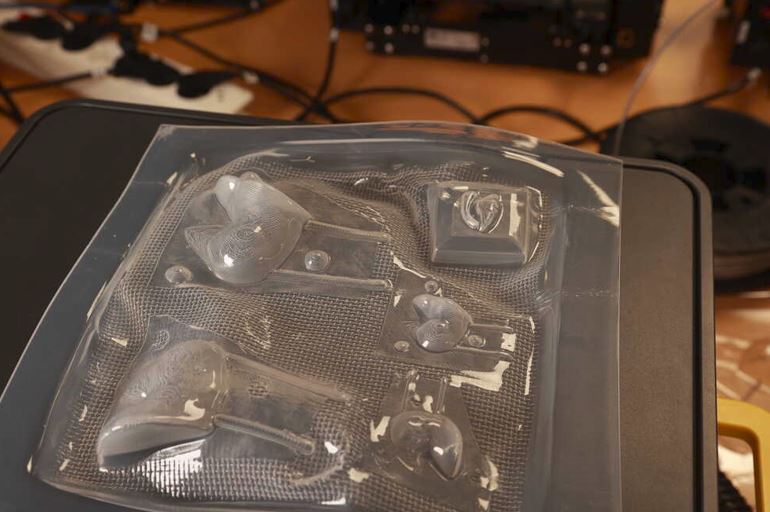
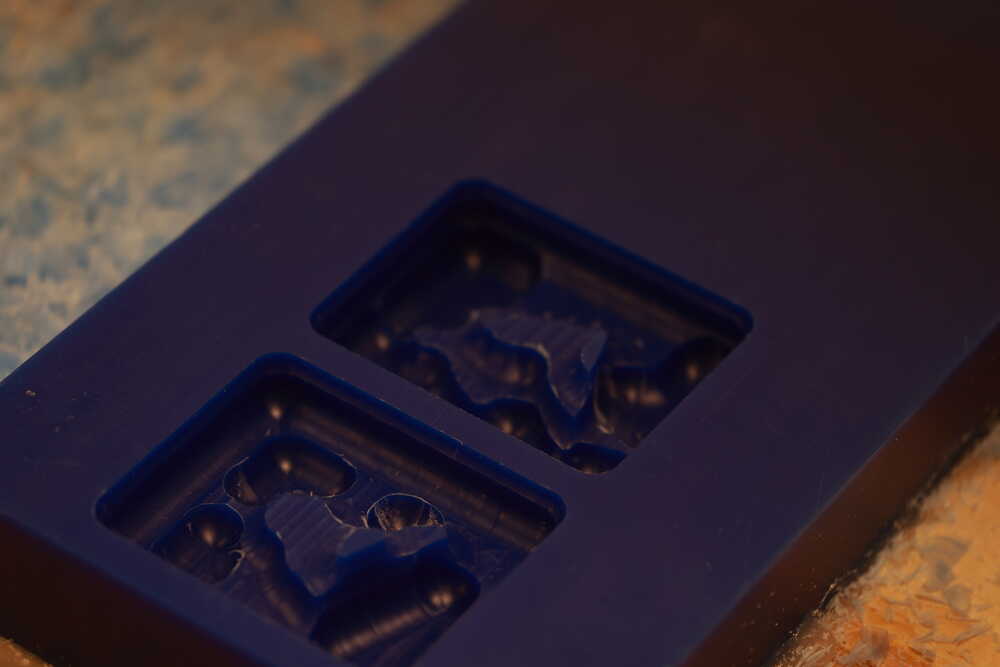
After milling :3

RESULT: