Week 5. 3D Scanning and printing
I had previous experience with this week technics, so I used it to learn something new, like use a diferent scanner, like Artec Spider, which I never used before.
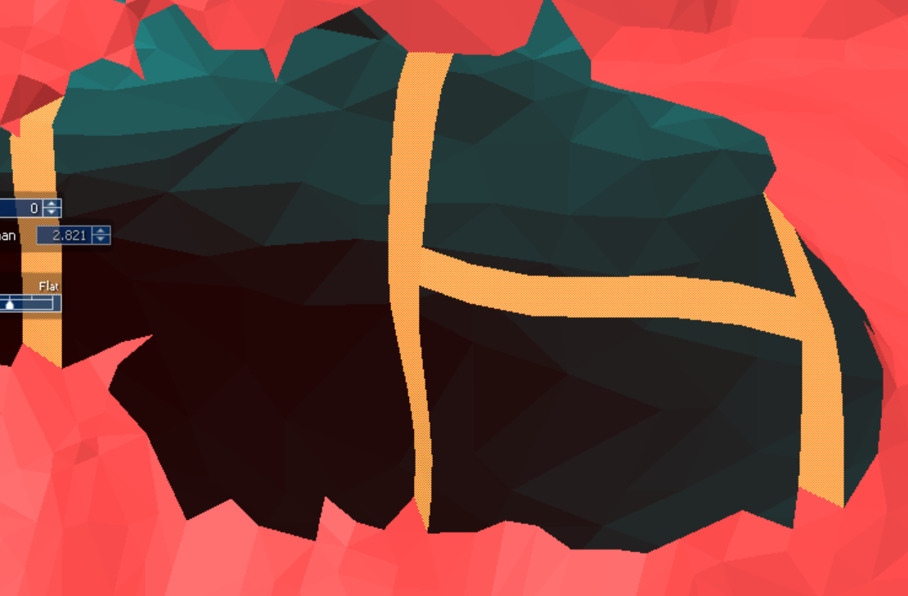
Group assignment: test the design rules for your 3D printer
Group assignment
test the design rules for your 3D printer
I decided to use the Creality K1 Max printer, as it was a new printer in our fablab and I had not done the caracterizacion before.
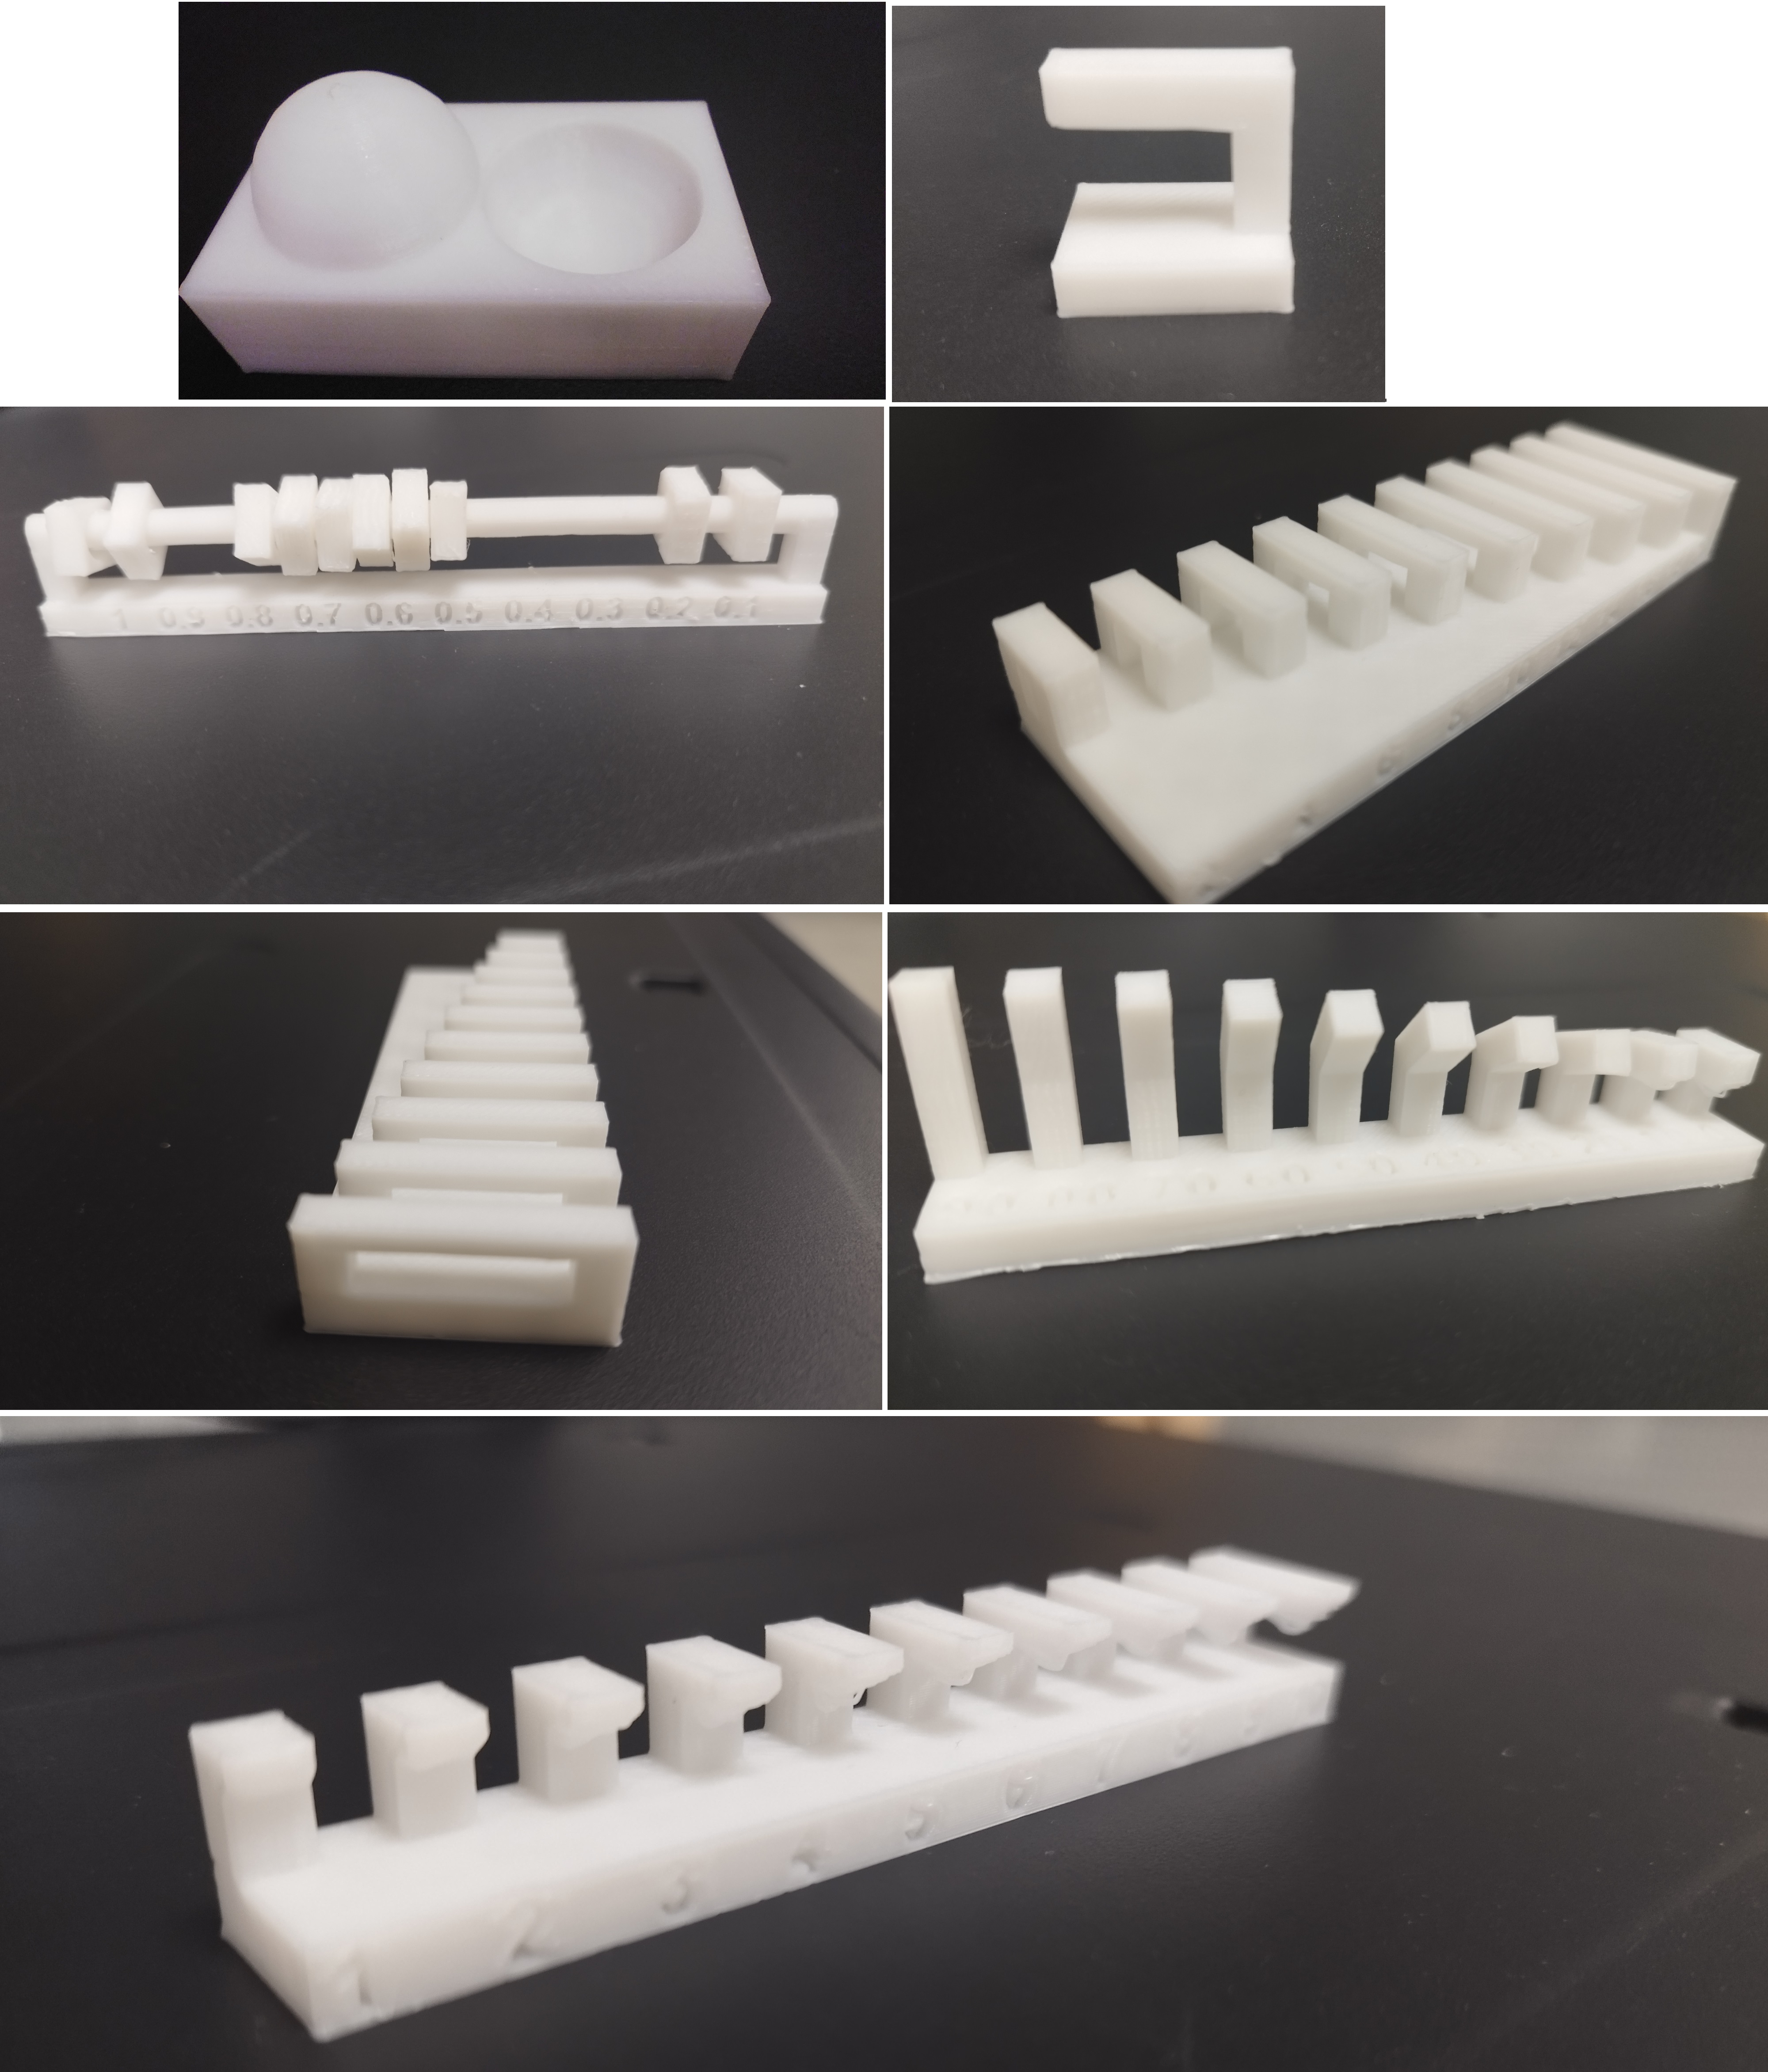
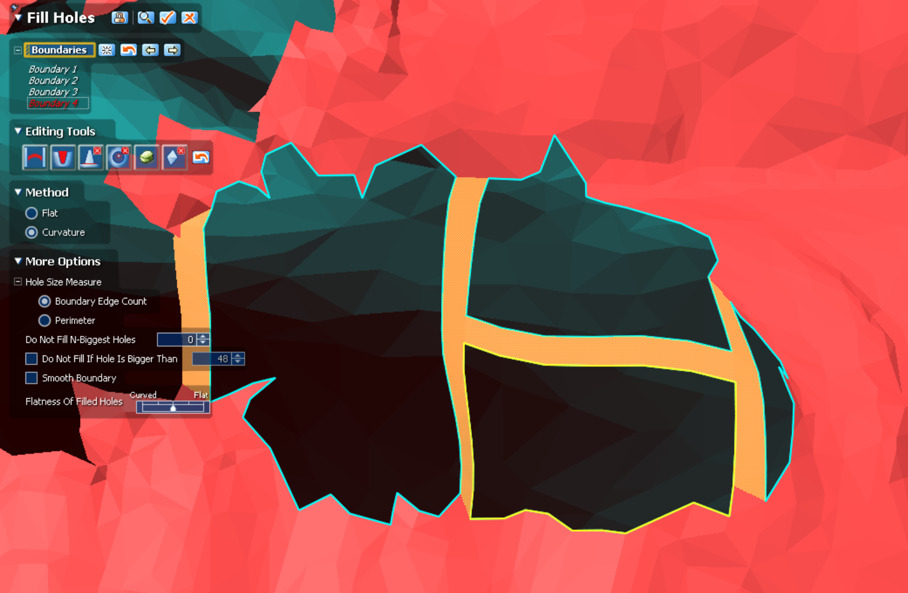
The results are:
The surface finish is not perfect, but I used a normal resolution so it could be because of that.
The bridges are all perfect.
The lower part of the overhangs of more than 3 mm has threads that have come loose.
The angles look perfect until 20 degrees of inclination.
The minimum clearance for joints is 0.6 mm.
Individual assignment
design and 3D print an object (small, few cm3, limited by printer time)
that could not be made subtractively
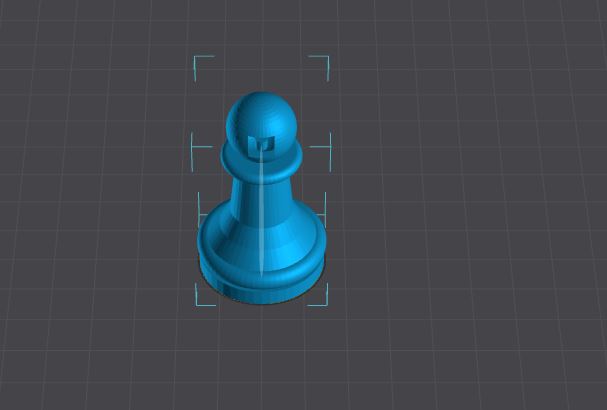
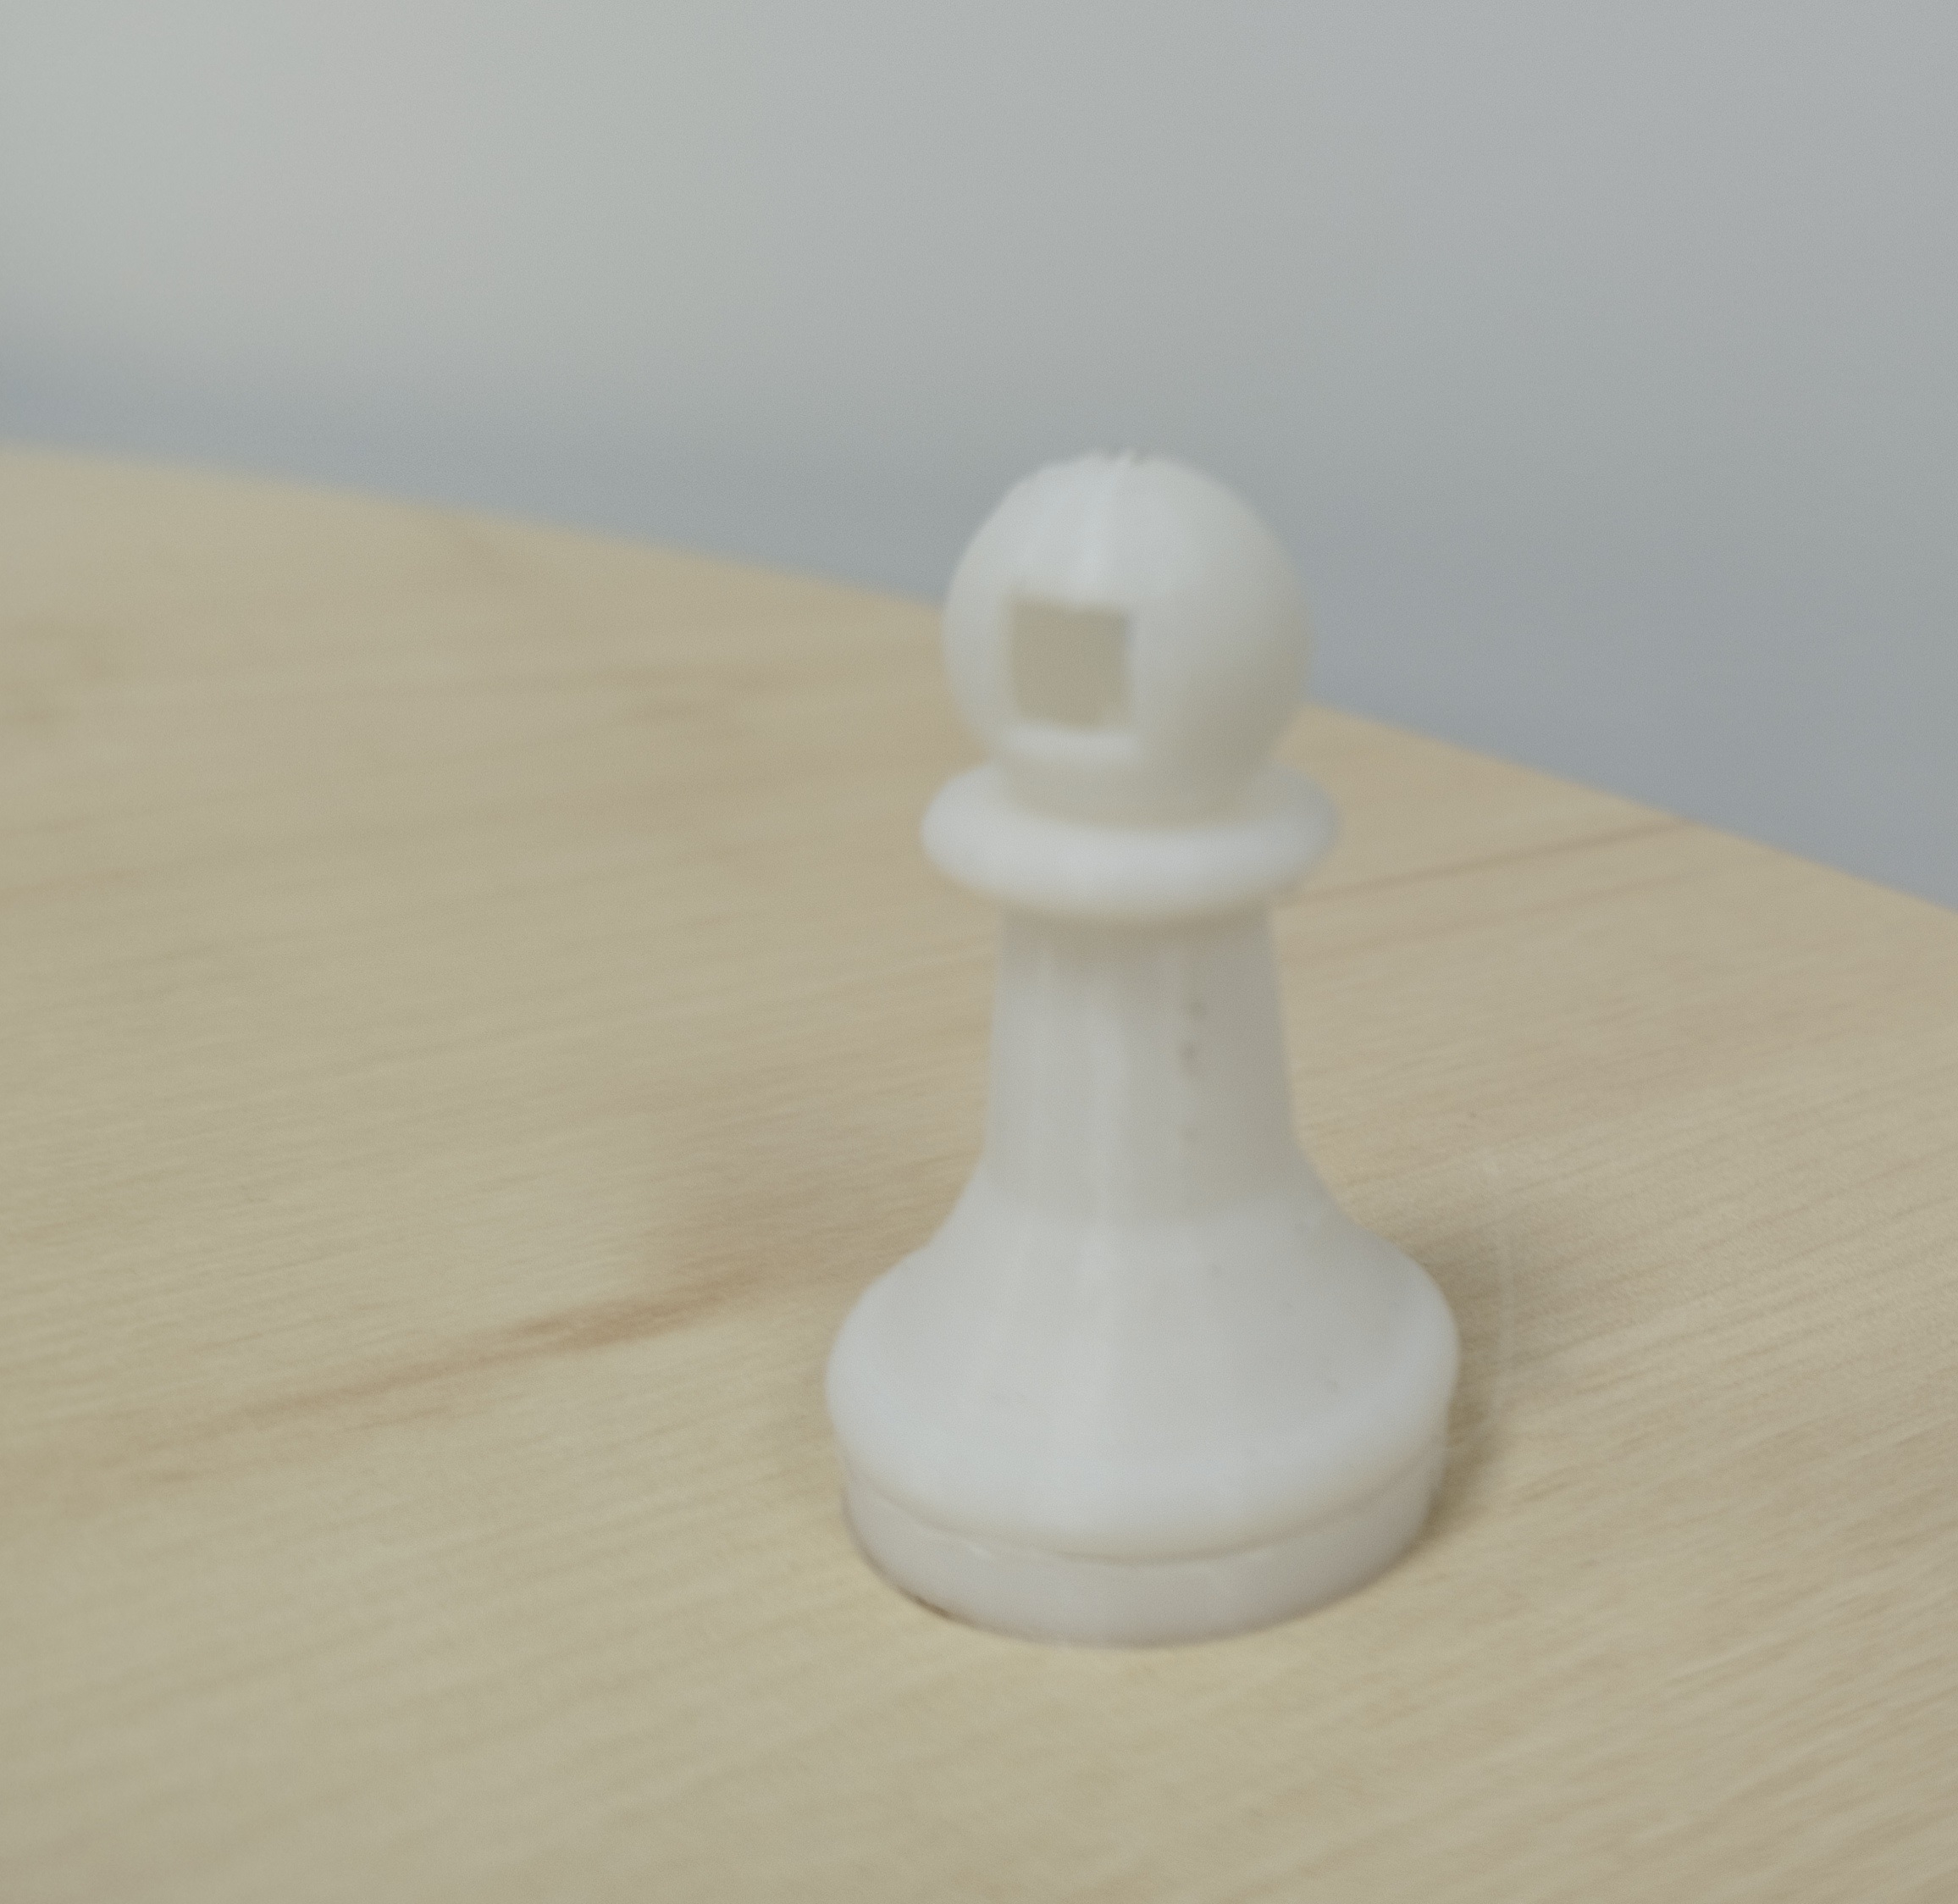
I decided to design something simple because I had limit time to print it. I had to scan and that took me so long, so I made a pawn with an empty top part (the spherical one), something that can not be make with sustractive, because it a round part so the finish would have been not as good as with 3d printing.
3D scan an object (and optionally print it)
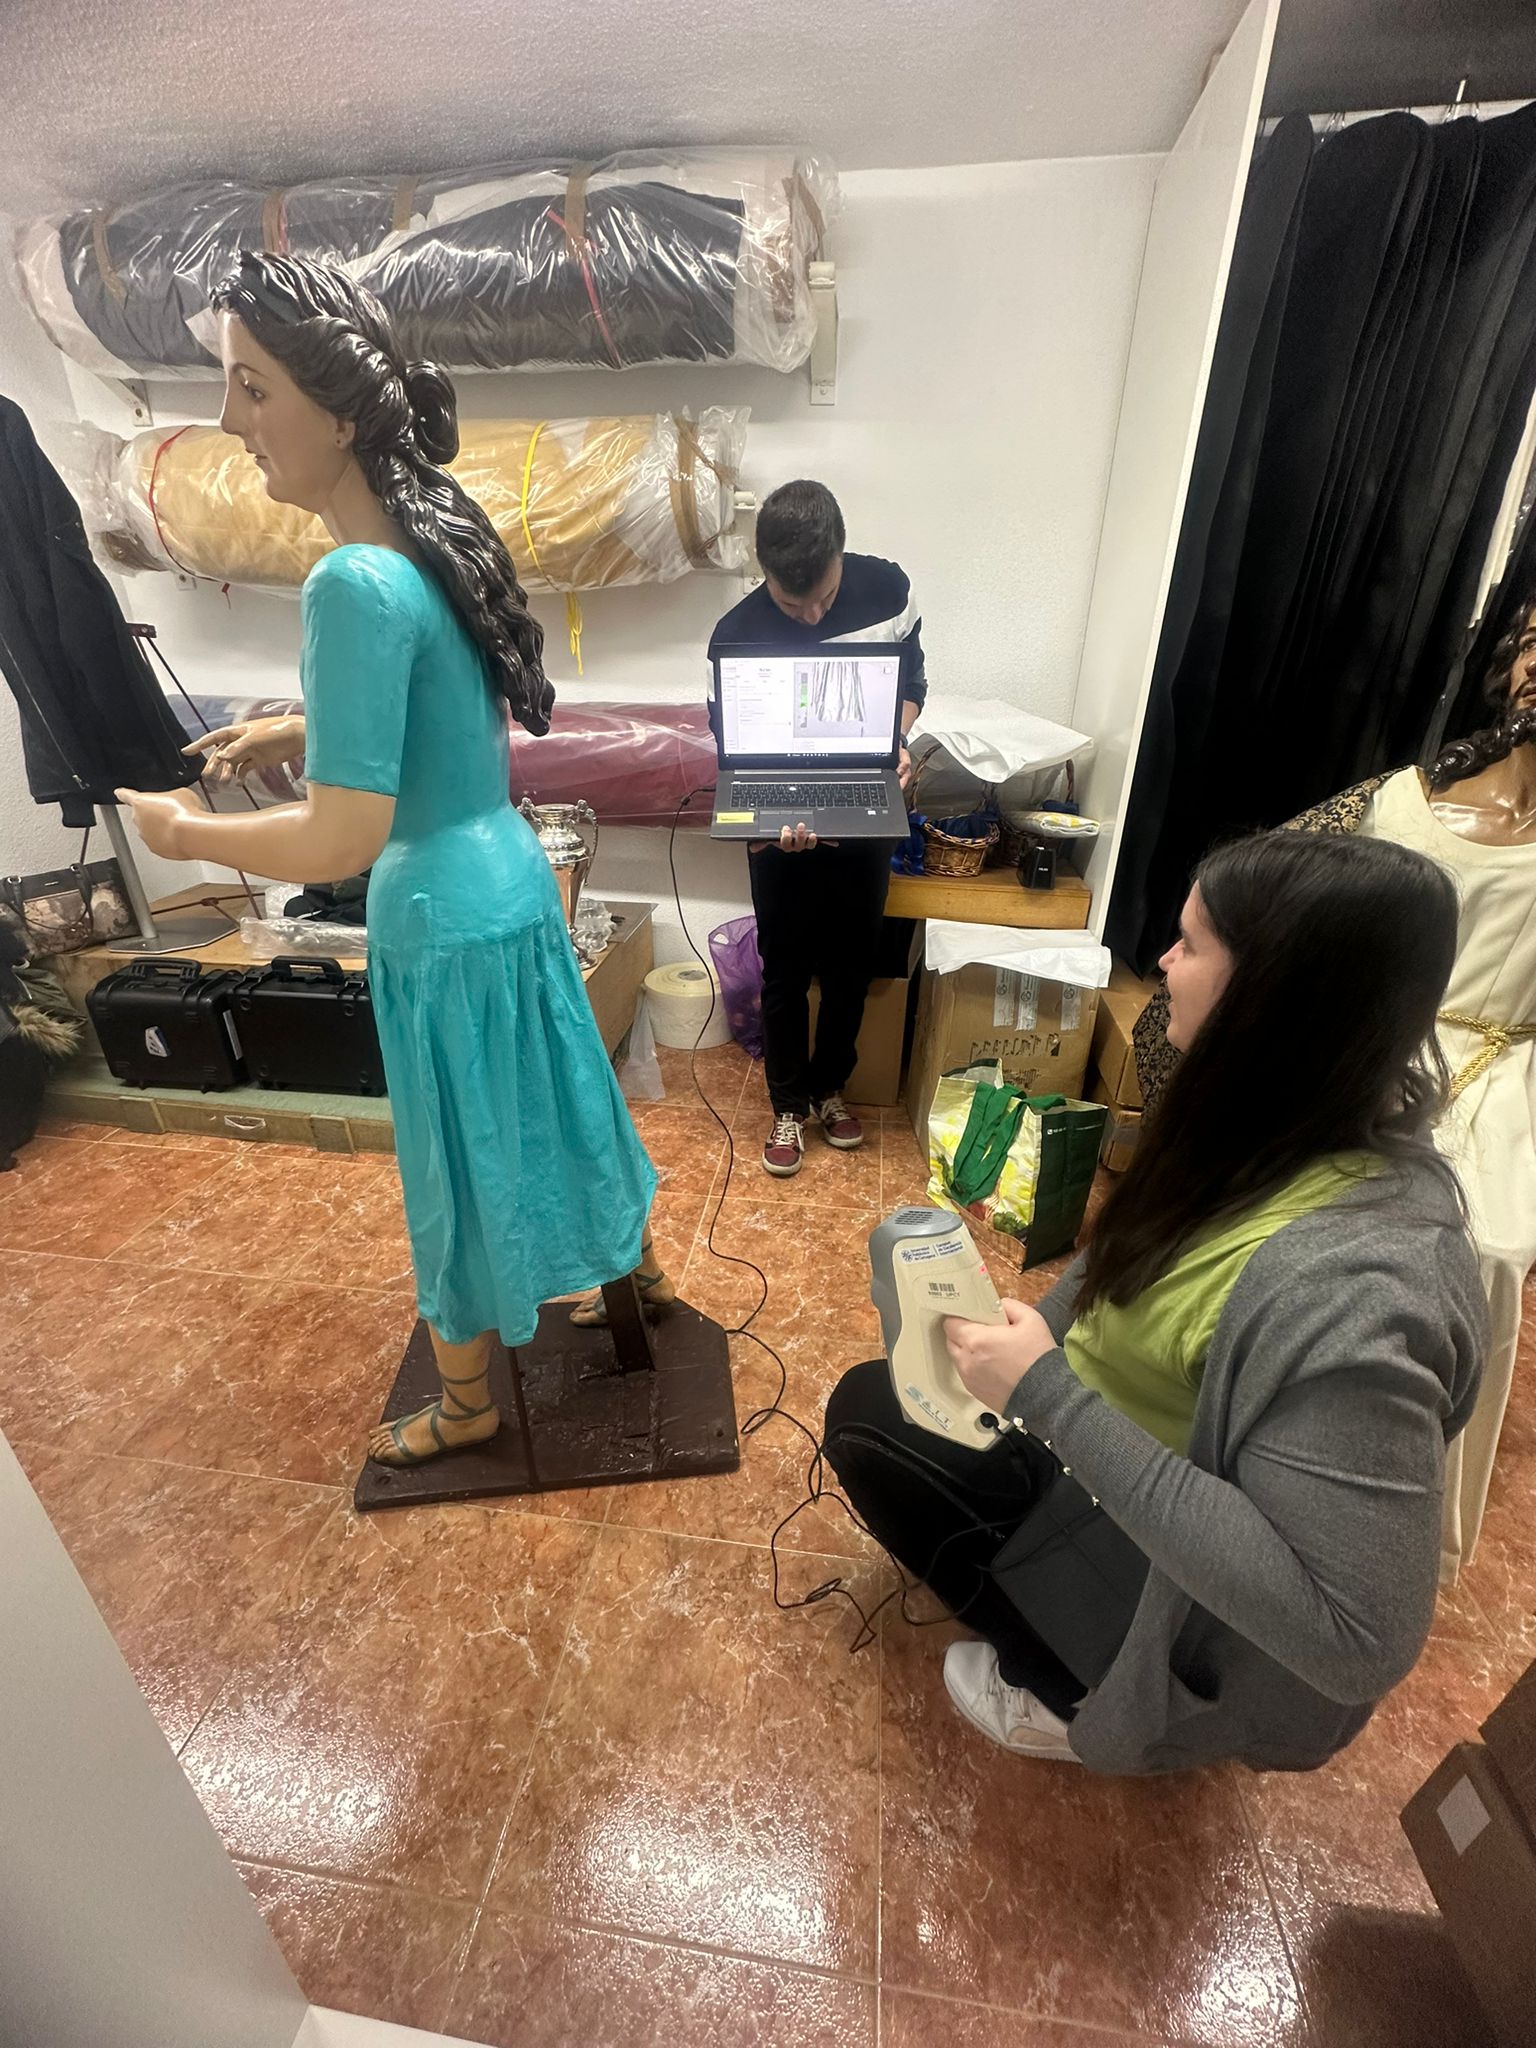
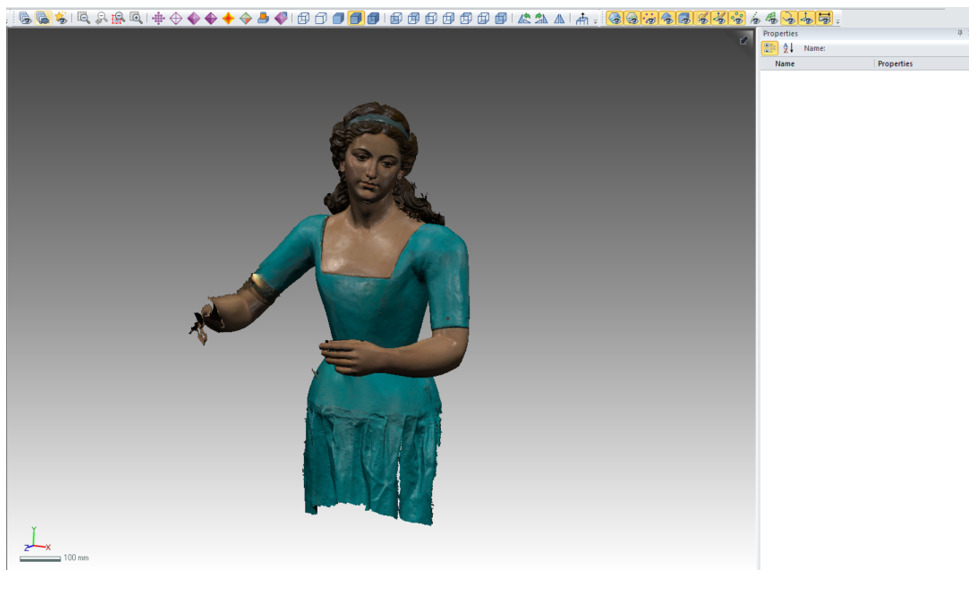
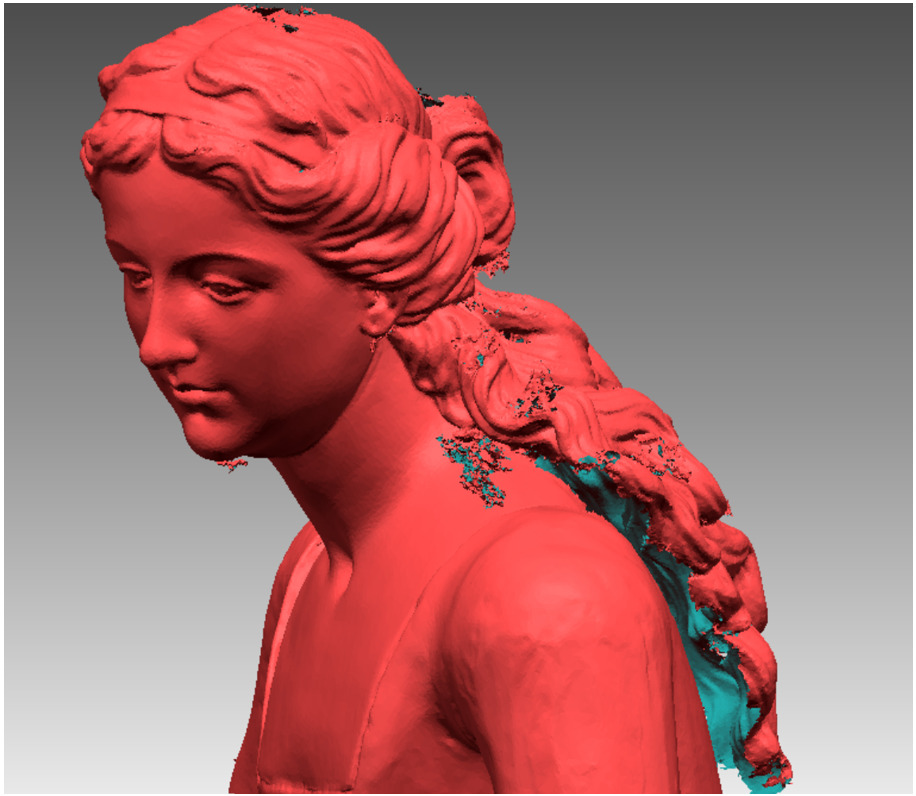
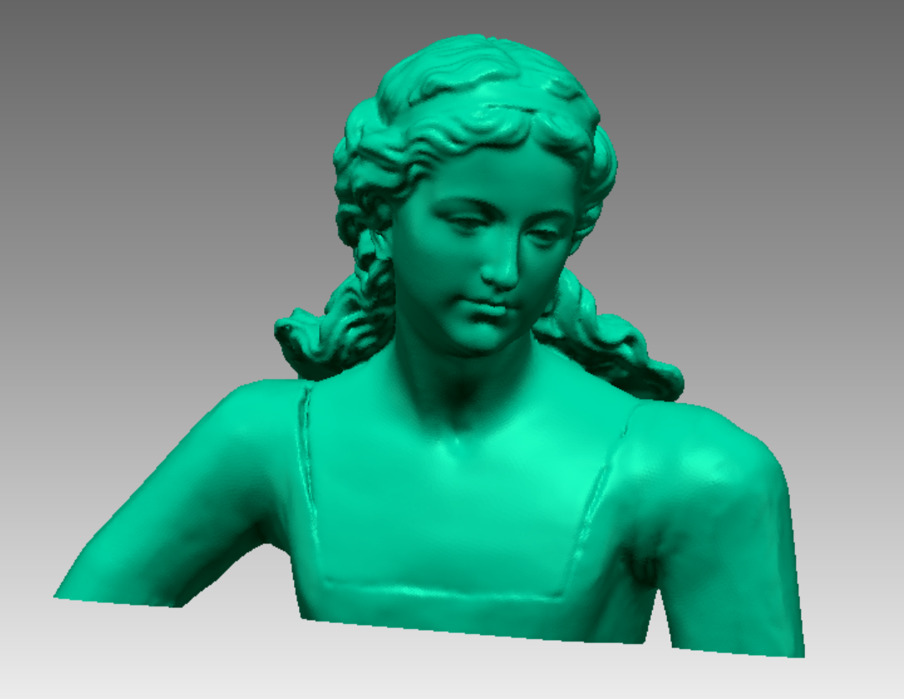
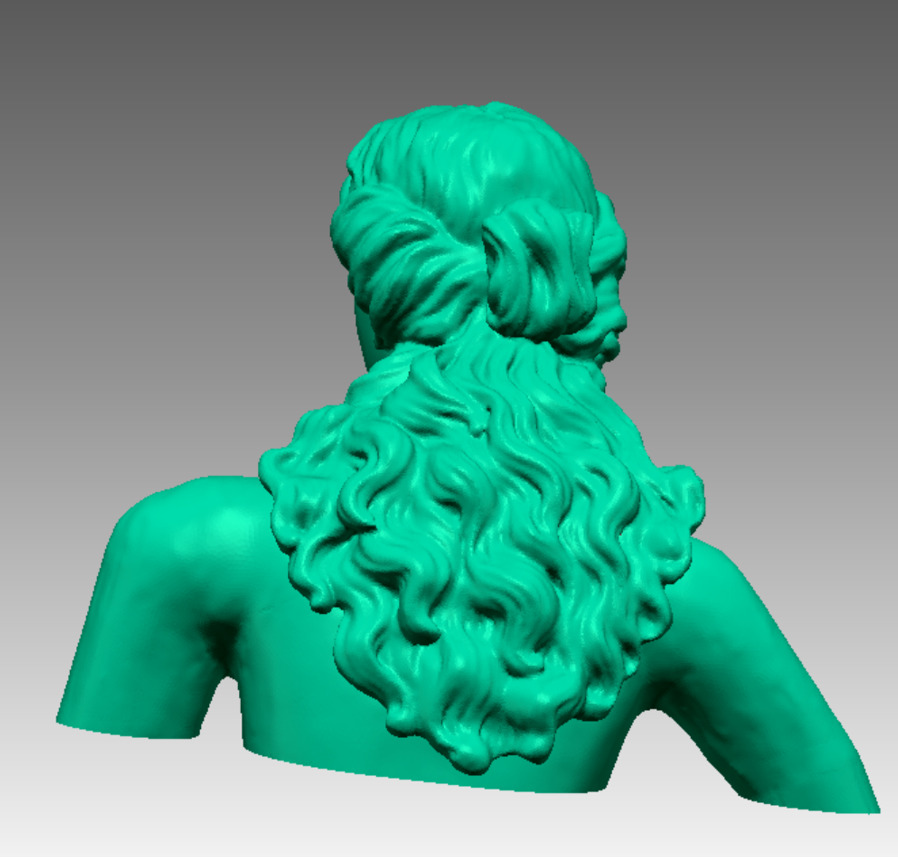
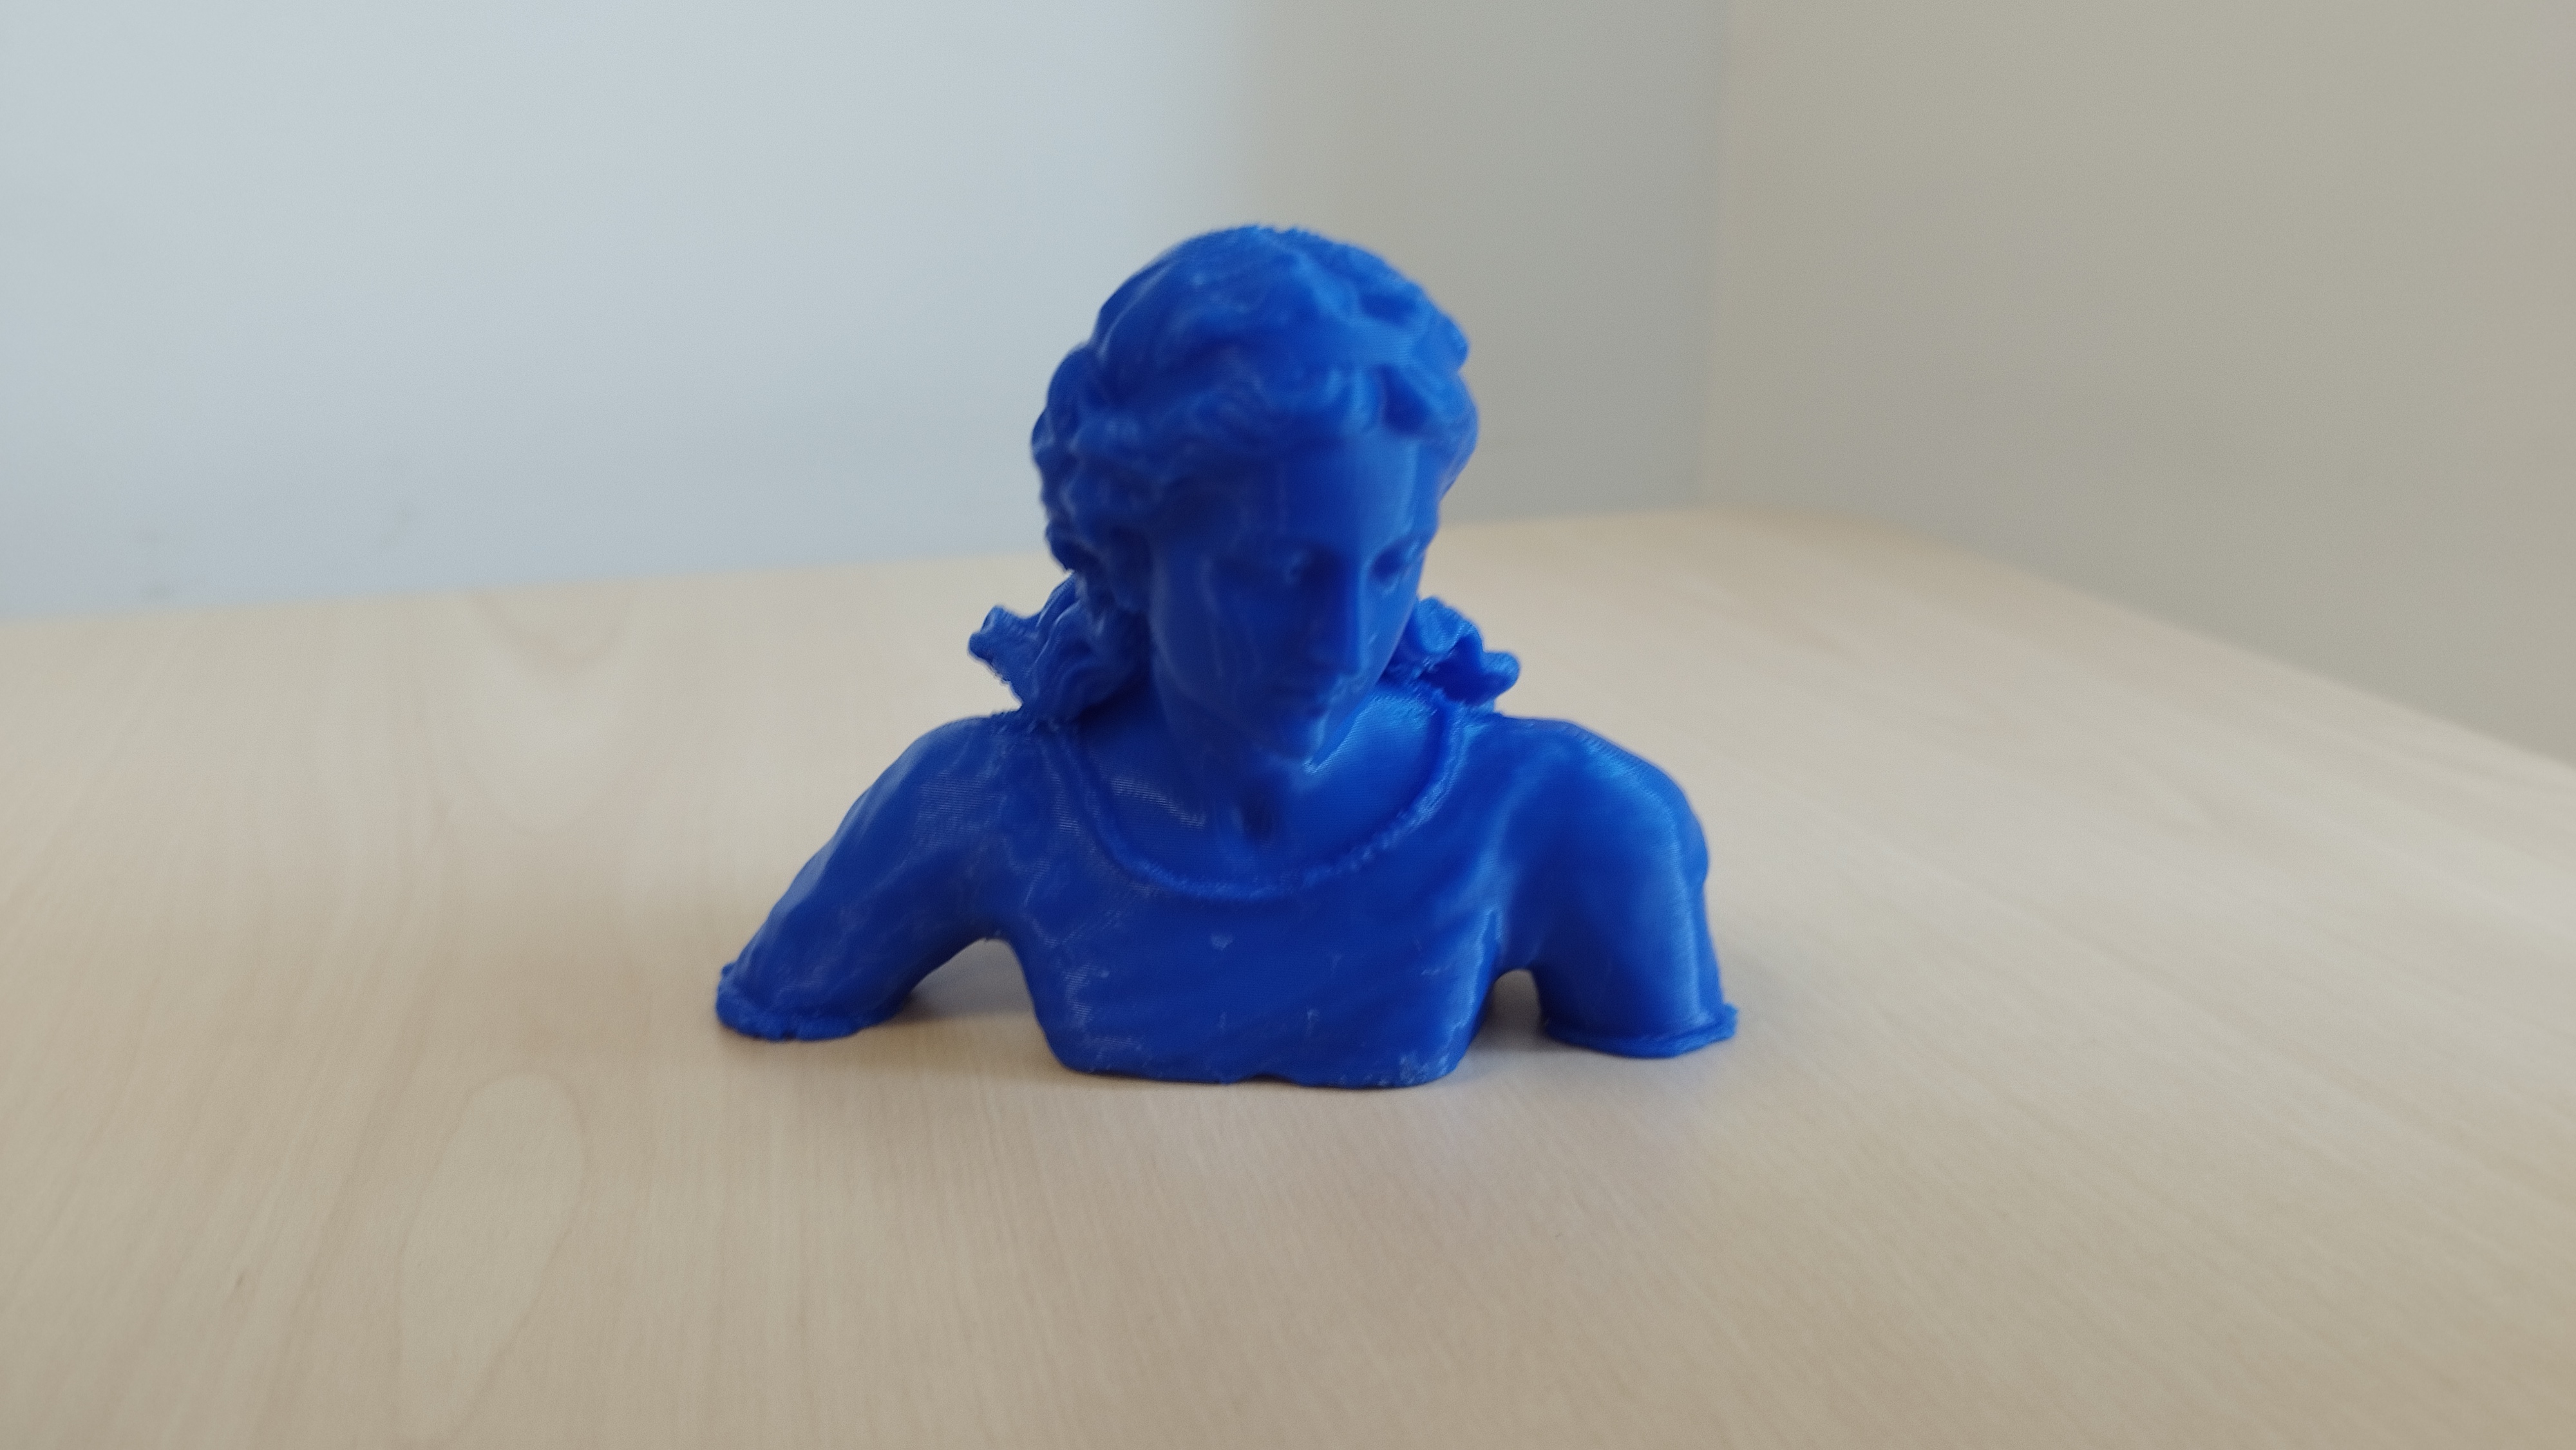
In 3d scanning, I decided to scan a religious figure called "The Samaritan Woman" from one of the churches in Cartagena. Not because I am a religious person, but to digitise part of the city's culture. I used two scanners for this purpose. EVA and SPIDER.The EVA 3d scanner, as it has less resolution, but it scan an object faster. To obtain the highest level of detail possible I used SPIDER scan, which was necessary for her hands, feet and face.
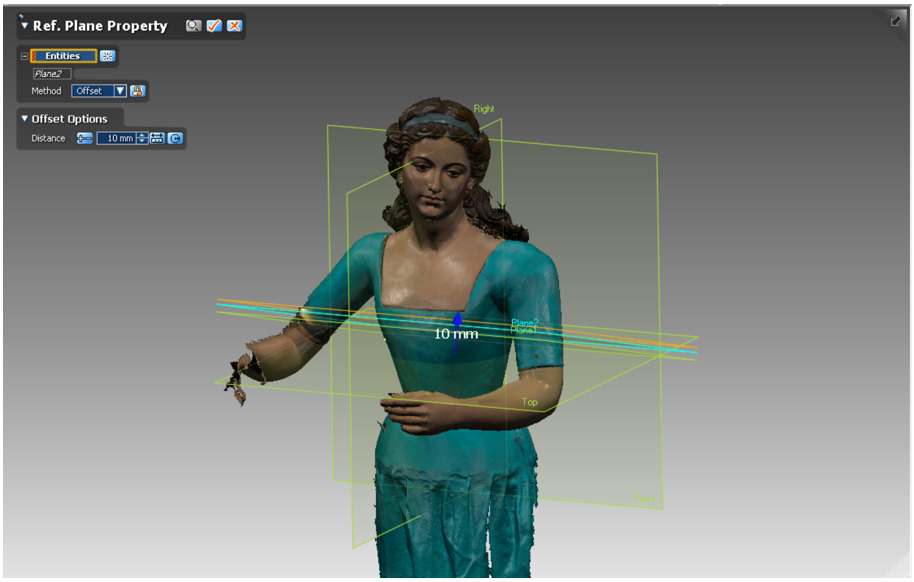
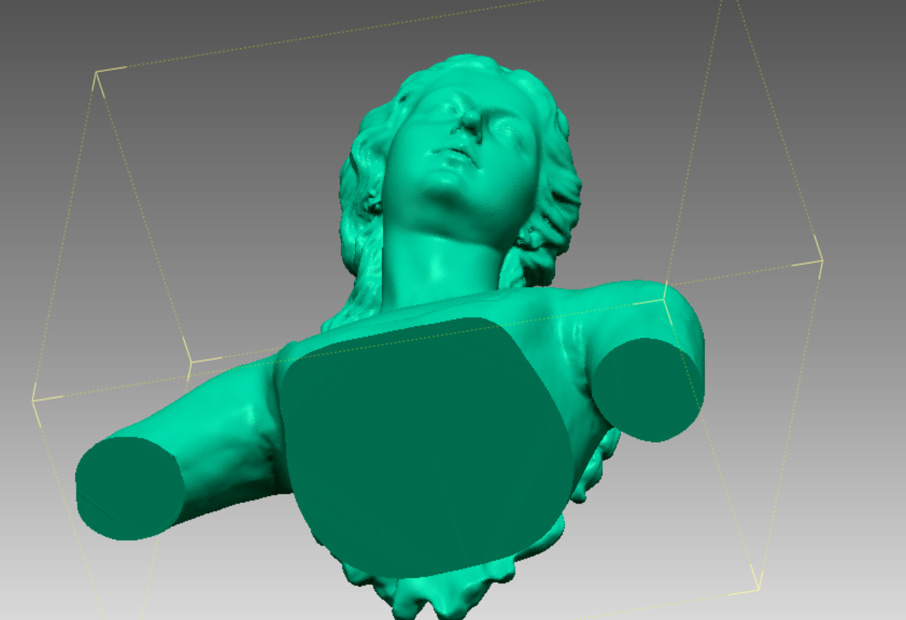
Once the scan is done, use Geomagic X for post-processing. The scanned model is imported:
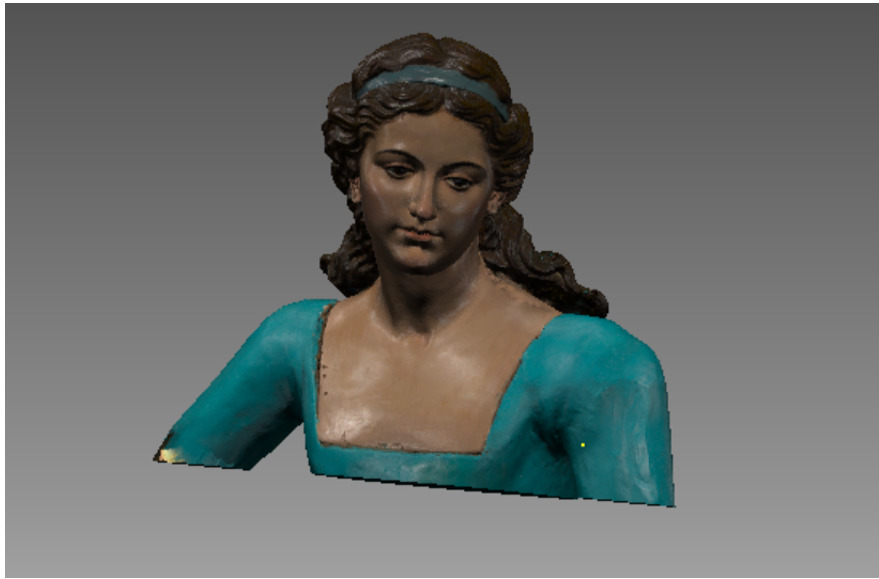
A cutting plan is generated to section the mesh and leave only the part to make the bust.
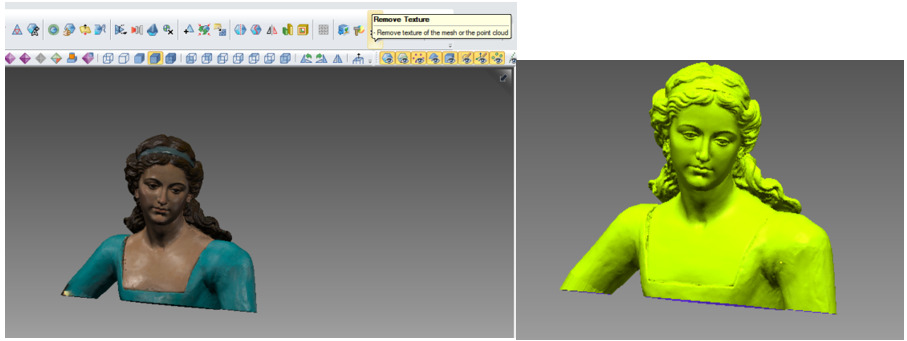
Textures are removed, because for 3D printing it is not necessary:
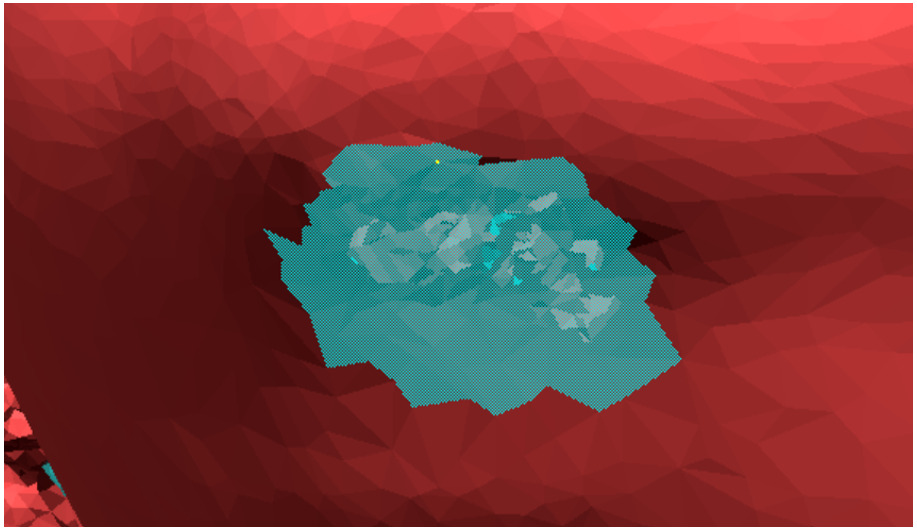
At this point, the mesh geometry has to be fixed to eliminate scanning noise and deformations.
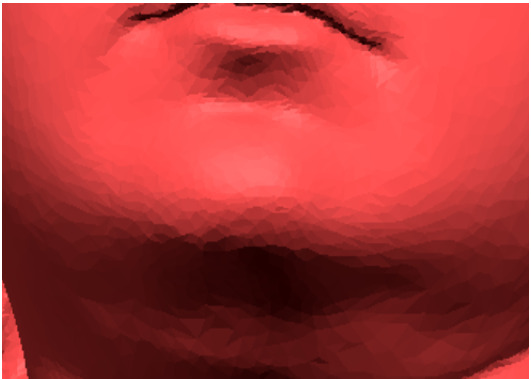
For example, for the part of the chin, the deflection of the mesh is removed, possibly generated by a reflection when scanning on that surface, as the carving was varnished. A quick fix can be achieved by selecting the affected part and removing it.
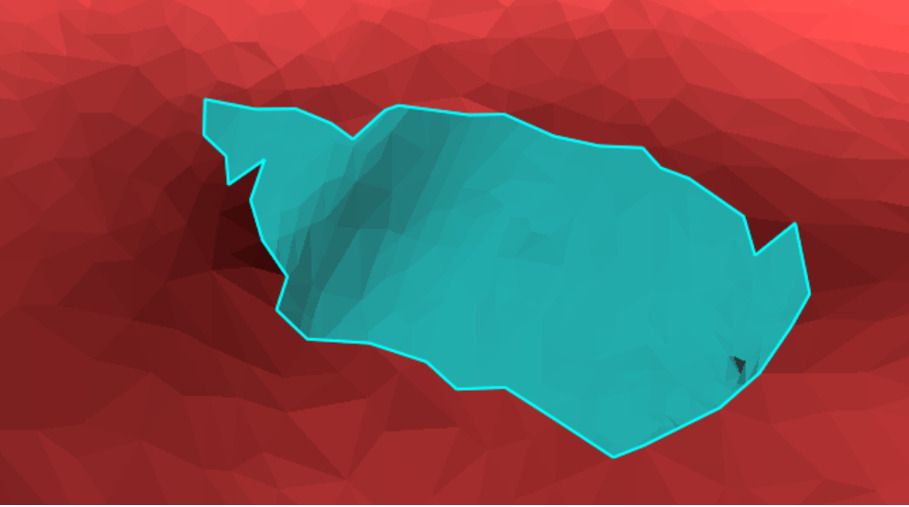
Applying the tool, the result of the fill and the repaired mesh section would be generated.
For more complex areas, it is necessary to work better with the regions of the mesh defects and to indicate to the software where the joints have to be made so that they maintain the shape of the object geometry and do not deform the mesh. Tools such as mesh bridges can be used for this purpose.
Once the bridges are created, the holes can be selected, and the mesh will be closed with the desired geometry.
With these operations, the entire mesh is treated until it is completely closed, as a closed mesh is required for 3D printing. The result would be:
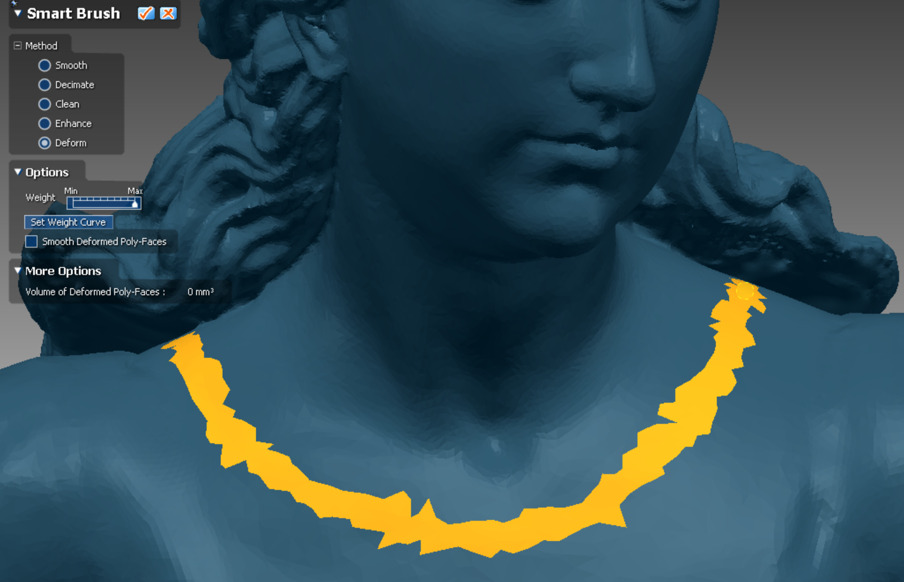
But before printing the model: this scanned carving was digitised without the clothes that are usually worn during Holy Week, so it was decided to model it on the mesh, in order to generate a clothing effect:
To do this, using the deform tool, the effect can be carved manually, in this case the neck of the dress.
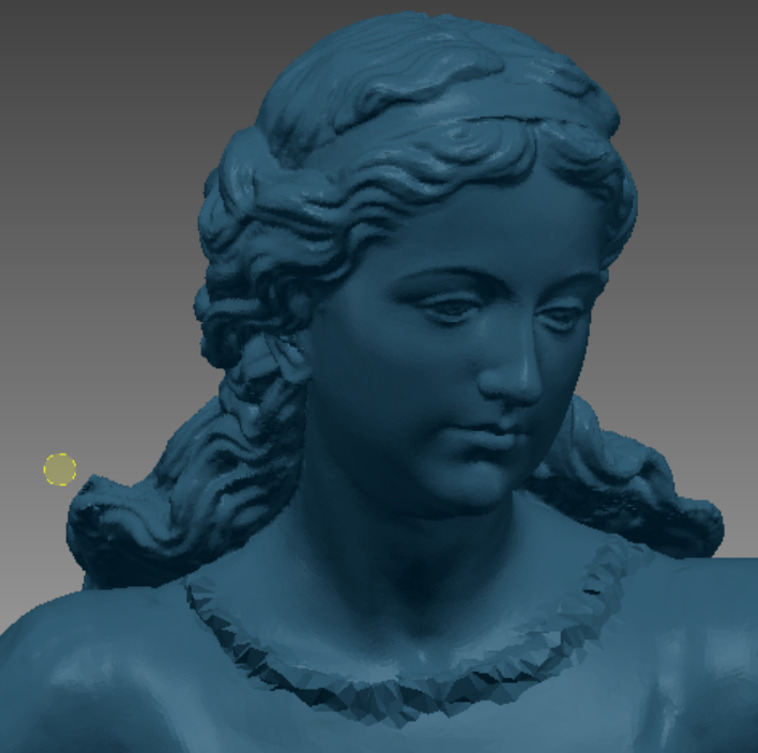
With a little time, the following result can be reached
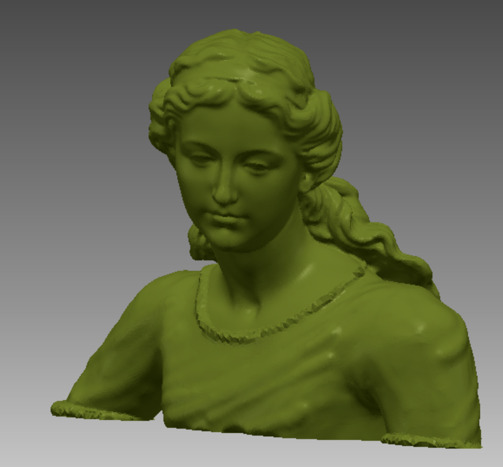
Then I printed it and this is the result
Conclusion
Although I had experience I learn things like the caracterizacion, I used to use always the same parameter, what can be an error. And with scanning I learn a bit of Geomagic.