Week 15. Wildcard week
Assignment
Design and produce something with a digital process
(incorporating computer-aided design and manufacturing) not covered
in another assignment, documenting the requirements that your
assignment meets, and including everything necessary to reproduce
it.
Embroidery
This week I was hesitating between four techniques: waterjet cutting, 3D bioprinting, embroidery and 3D food printing. I finally opted for embroidery as it was the only one of these I had not previously worked with. For this I decided to make the LOGO of our research laboratory development and innovation of biomedical technologies, LIDiTeB.

For this, I used the embroidery machine Entrepeneur 6 Plus, PR670E Brother.

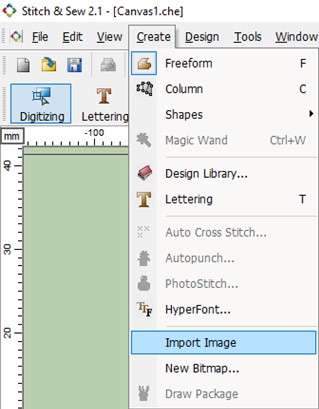
I used Stitch and Sew 2 like software for that. First thing I had to do, was to import the image from the following menu, clicking create, import image, it must be in .jpg
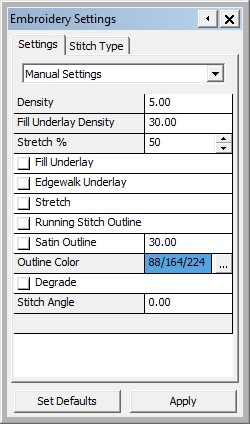
Then a windows opens and displays the embroidery settings.
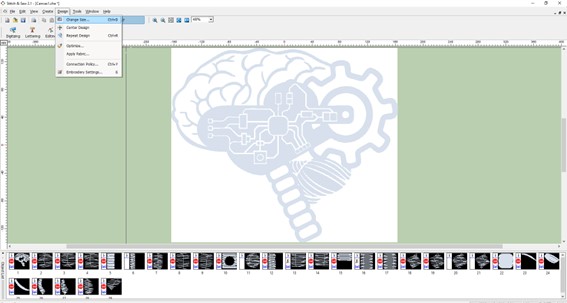
It's also important to select the desing size, pressing desing, change size
Clicking digitalizing, some options appear. Among which appears, magic wand, which can be really usefull, because with double clicking it makes a complete embroidery settings for a specific area ( in this case its easier because is monochrome desing)
Pressing on view, it has an option that allows us to see the pathing.
Finally I exported to the machine USB
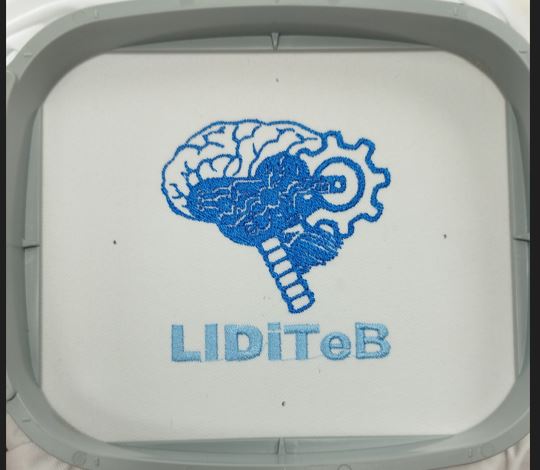
This is the final result
Conclusion and experiences
I really enjoyed learning how to use the embroidery machine. I do need to practice and check the densities better, as the design looked too dense. I would also like to do it on other types of garments and fabrics and also more colorful.
3D Bioprinting
The Technical University of Cartagena has a R&D&I laboratory for biomedical technologies, called liditeb. In it there is a 3D bioprinter, a REG4LIFE, from the company REGEMAT3D.
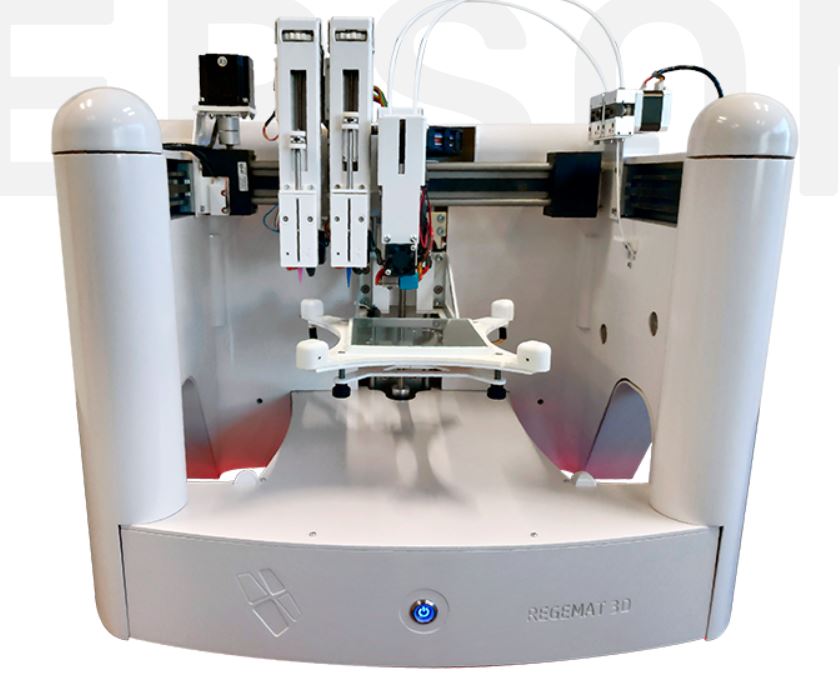
This bioprinter has a modular form, in which you can insert thermoplastic extrusion headers or bioink extrusion headers, as well as others such as UV light curing. The following information will be about something I did previously, but not this week, since a cell culture and this work took months of documentation and a month of development because of the need for cell maturation.
What was done was the 3D bioprinting of fibroblast cells on a collagen matrix and on the other hand on another GelMA matrix, in order to compare which was more reliable for maturation. The need for 3d bioprinting and not just 2d culture was to better simulate the structure of the dermis, although this is limited since it does not simulate the dermal adnexa.
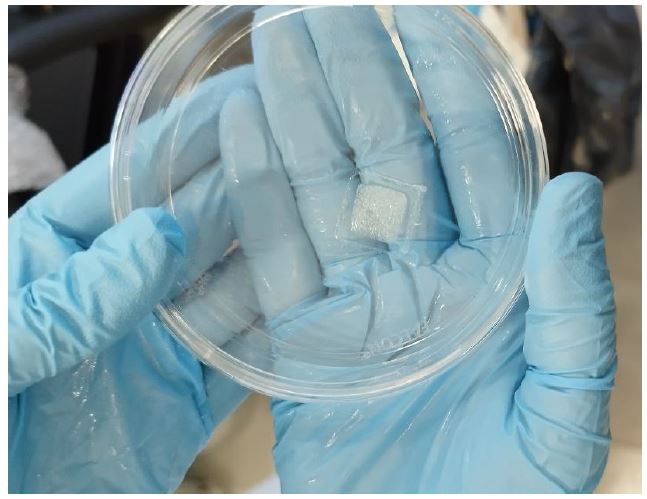
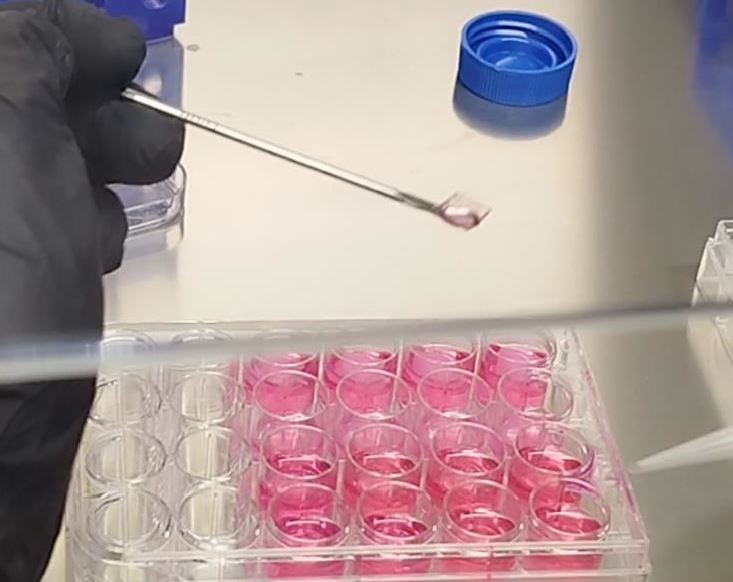
In the first image its collagen patch and the second one its GelMA patch, both of them with fibroblast included.
Conclusion and experiences
I have to develop this part further since it is a very broad study, but I wanted to mention it since bioprinting is gradually becoming essential, both to avoid rejections and to lower the animal model, reduce donors, etc.