In this assignment, I decided to explore the Embroidery Machine.
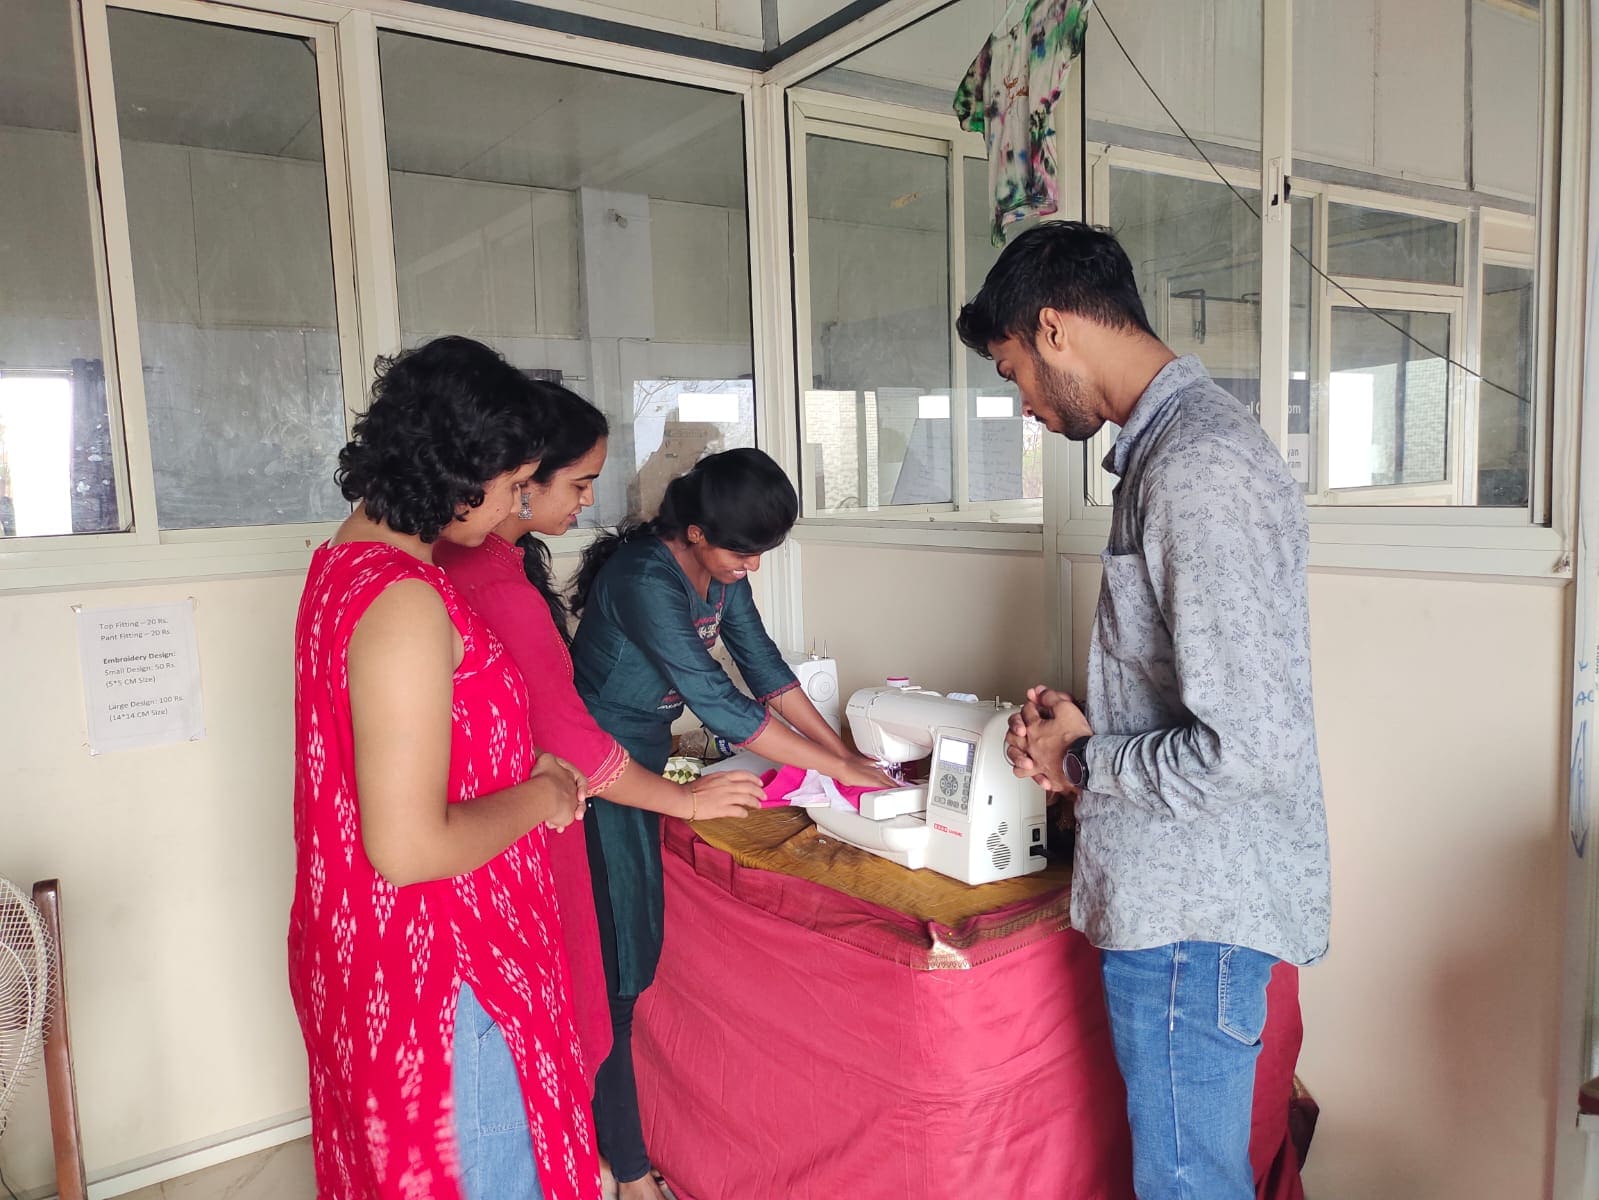
Our instructor Miss. Renuka mam and Miss. Dipali gaves us an orientation session about how to use Embroidery machine with all the safety precautions.
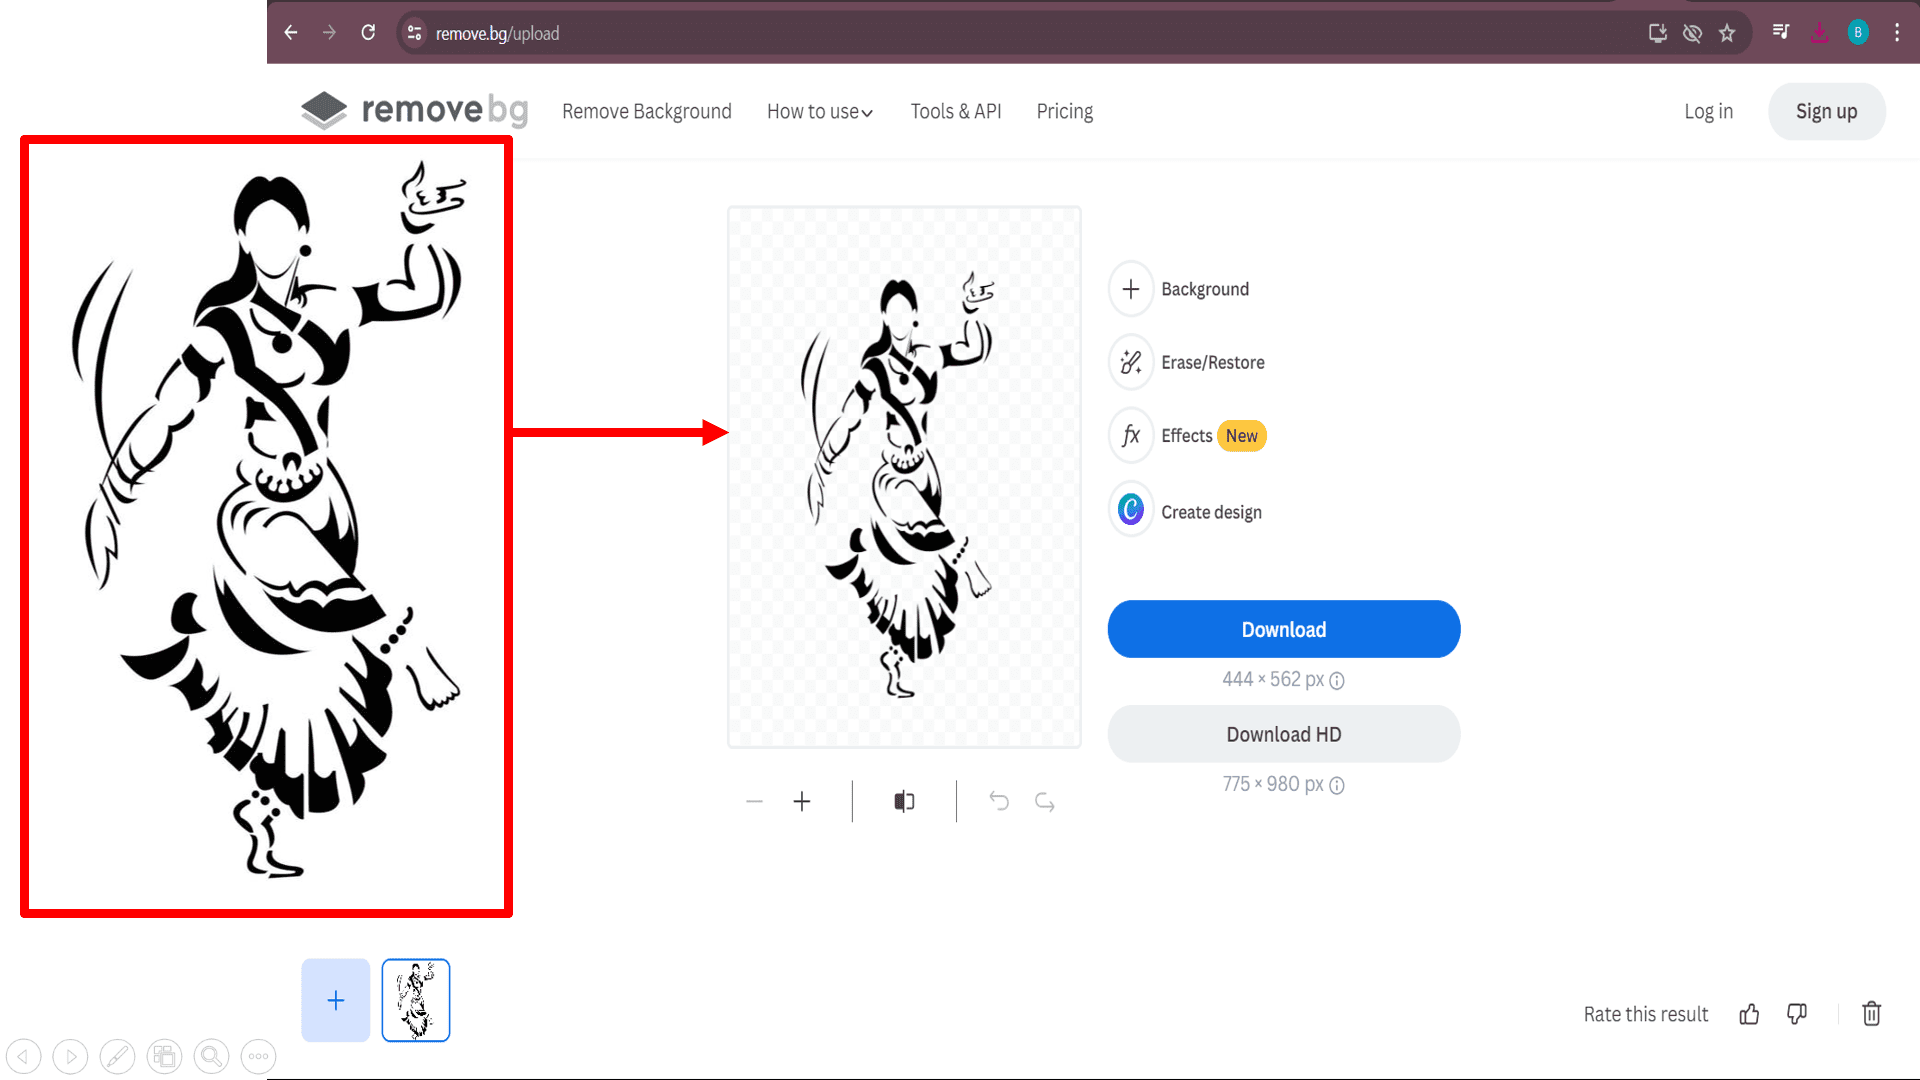
Here, I downloaded the image from google and and remove its background using online background remover.

I wanted ".pes" format file to import into the software. So, I used Filestar software to convert ".png" into ".pes" format.
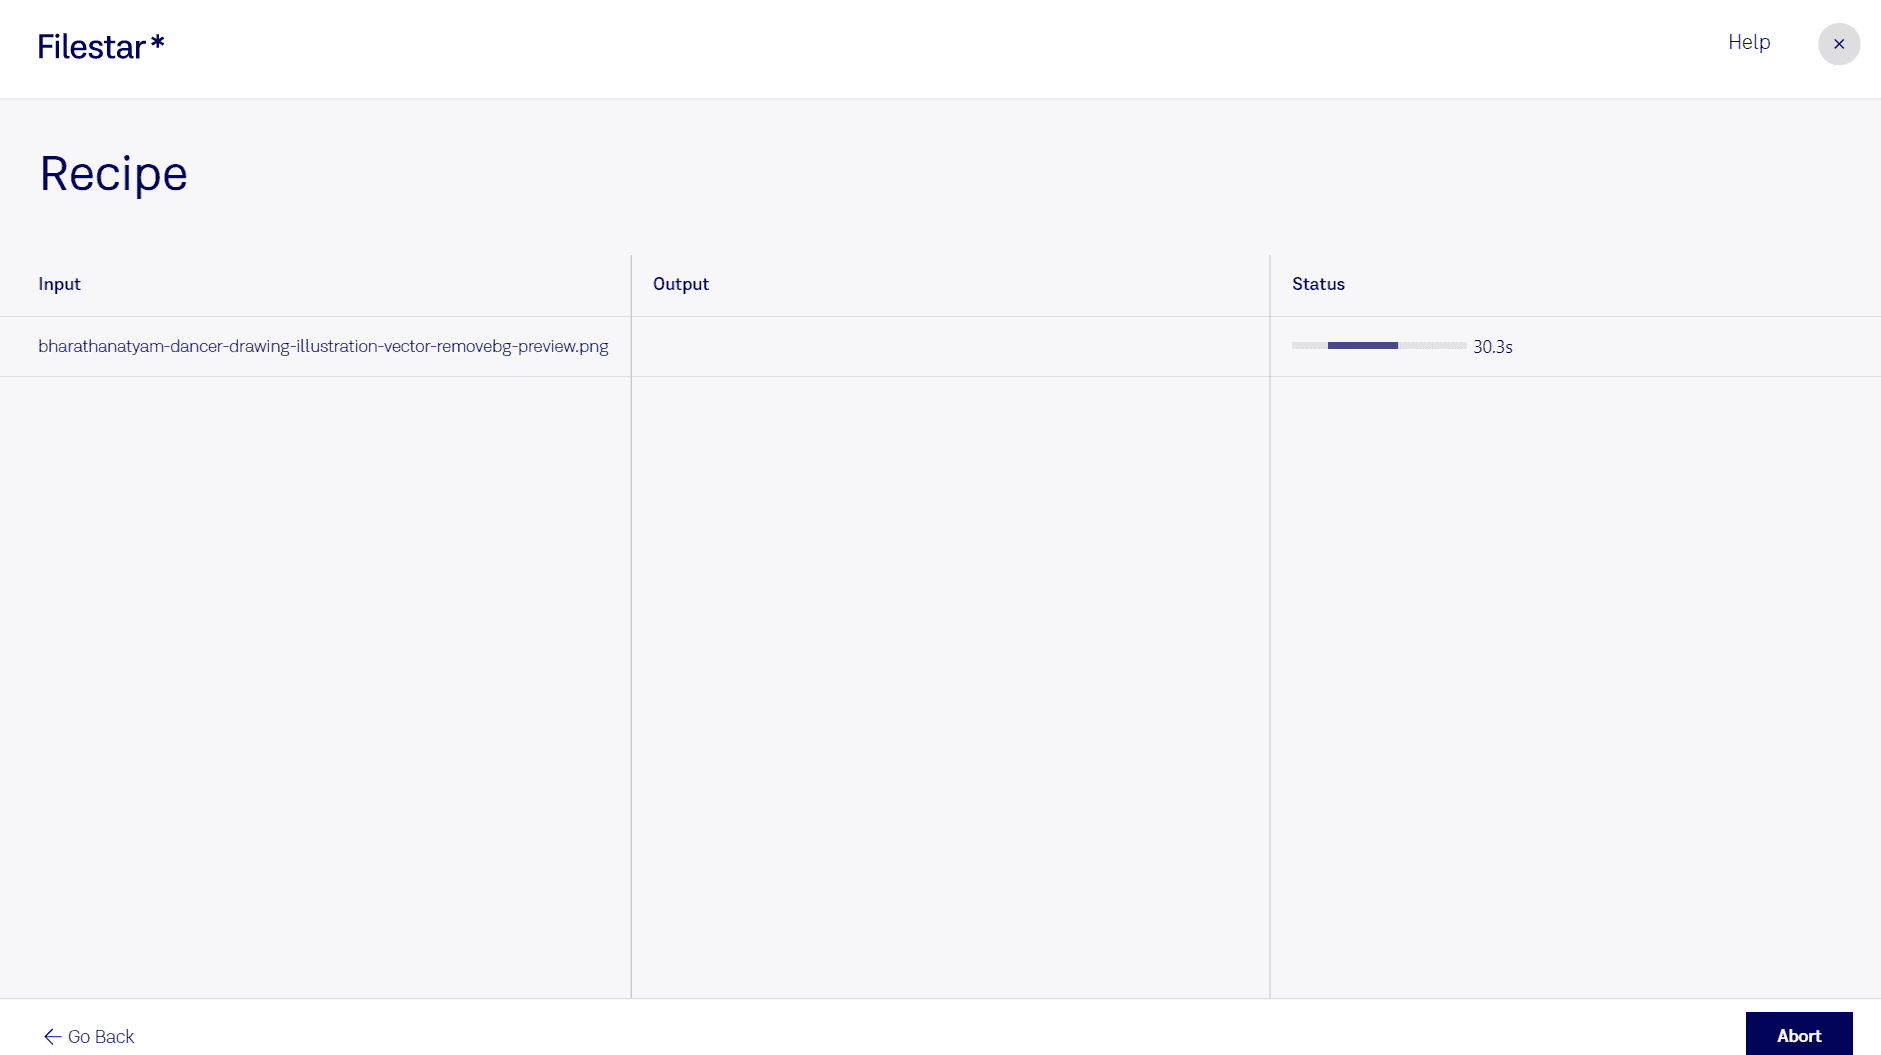
Here is the process while converting ".png" to ".pes" format.
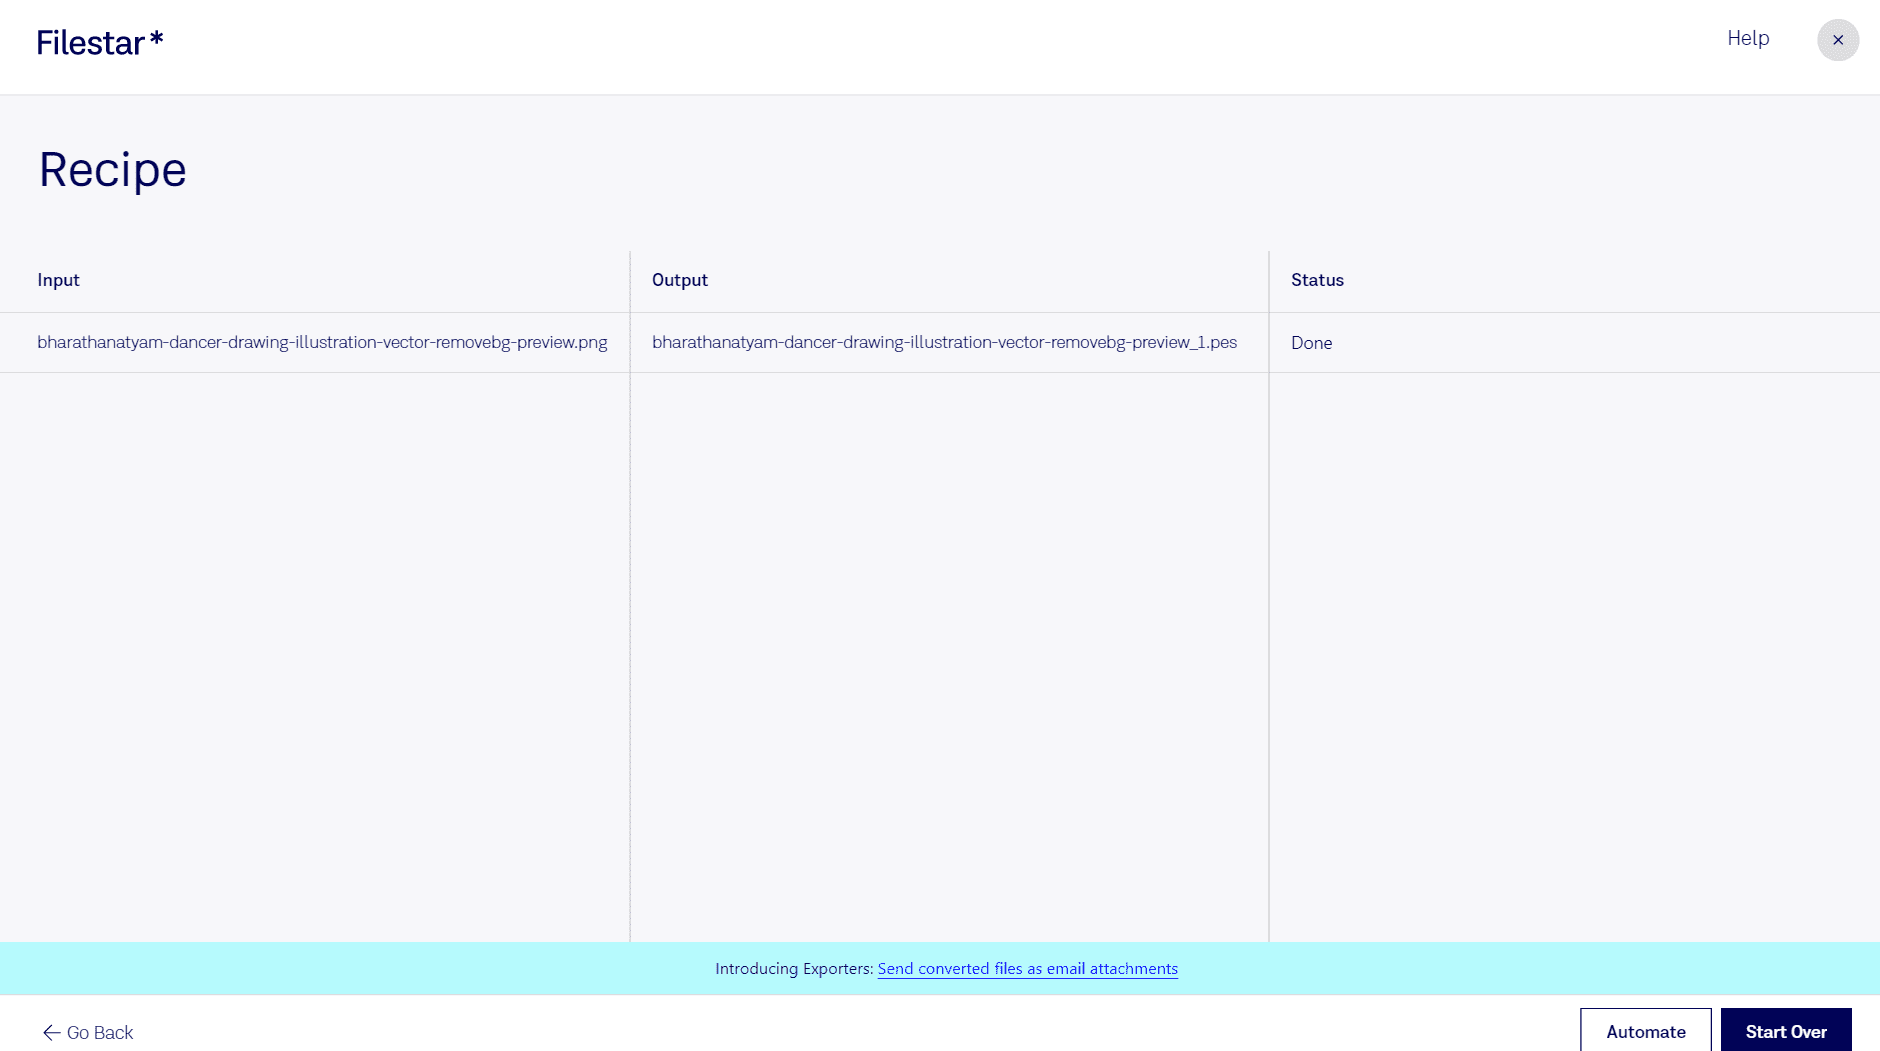
Finally, file is successfully converted.
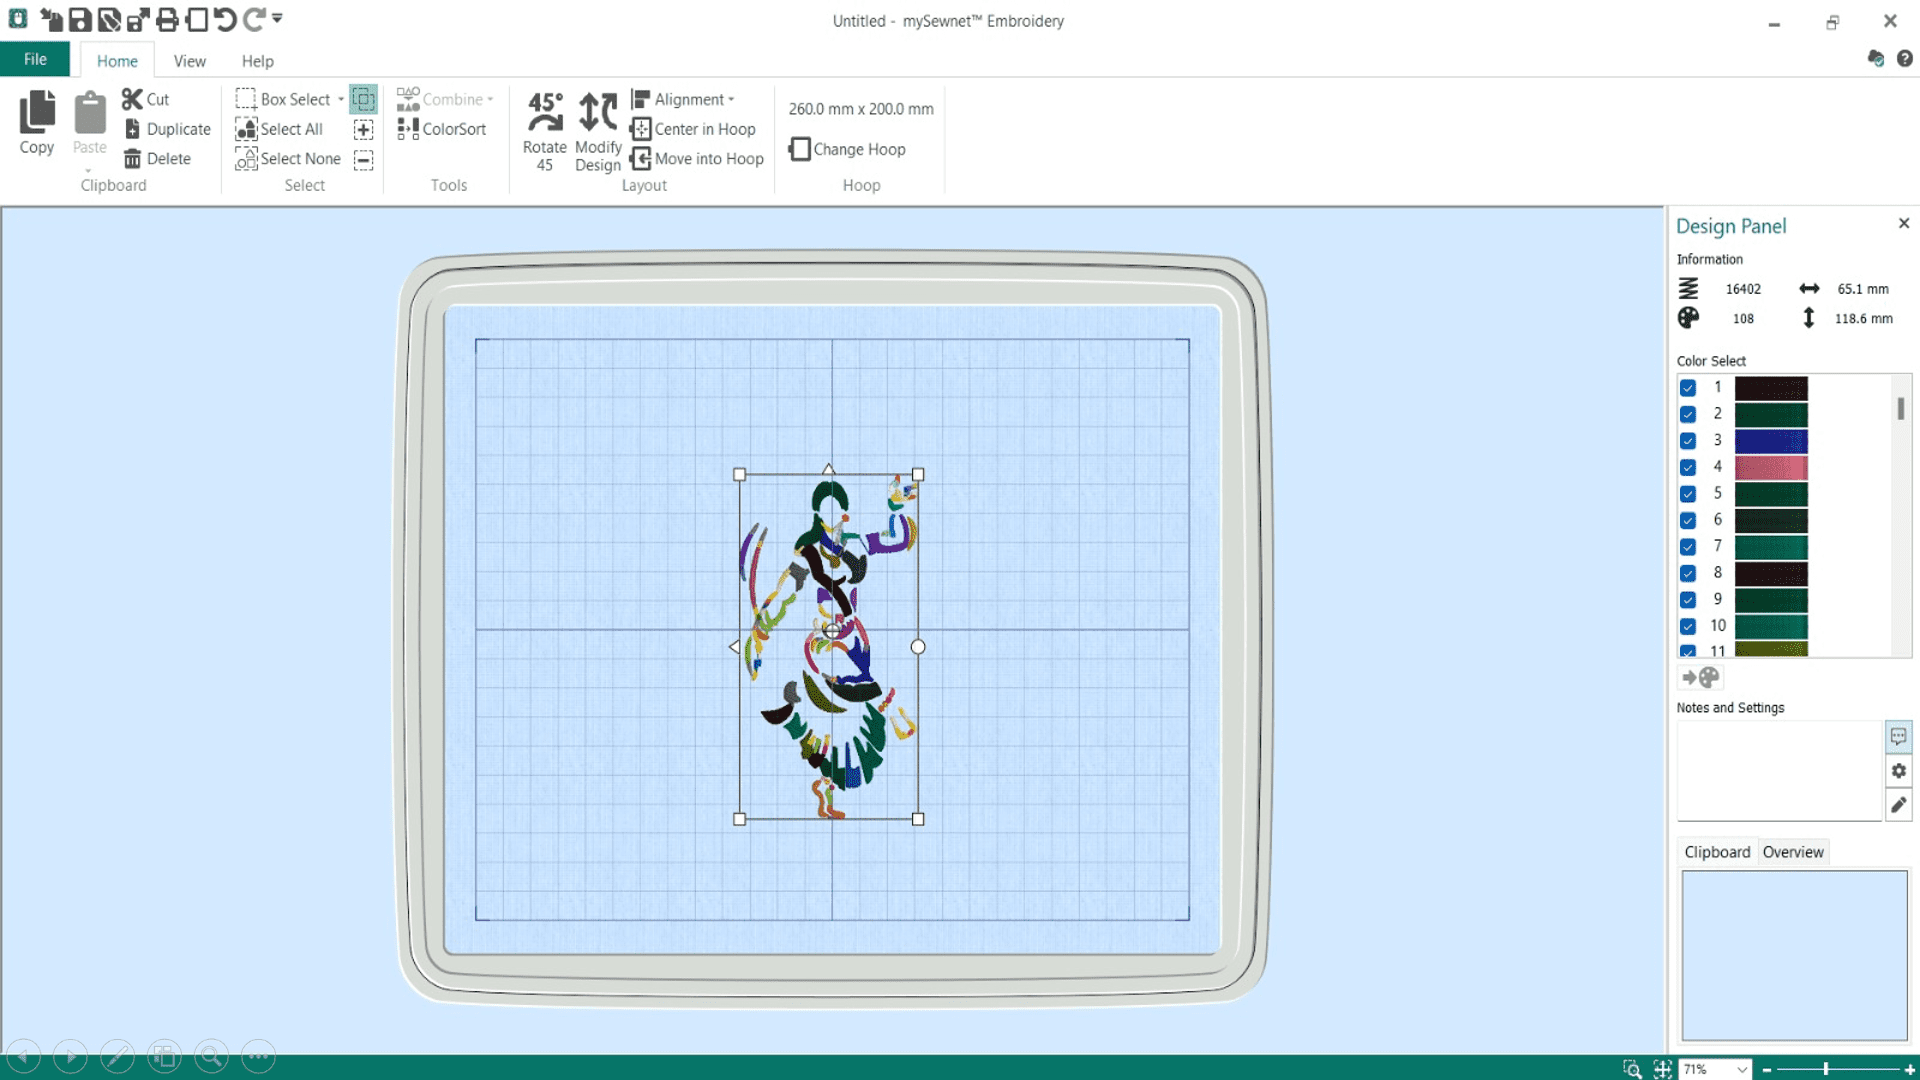
Now, I used mySewnet software to generate ".vp4" format file which I have to inserted into the machine.
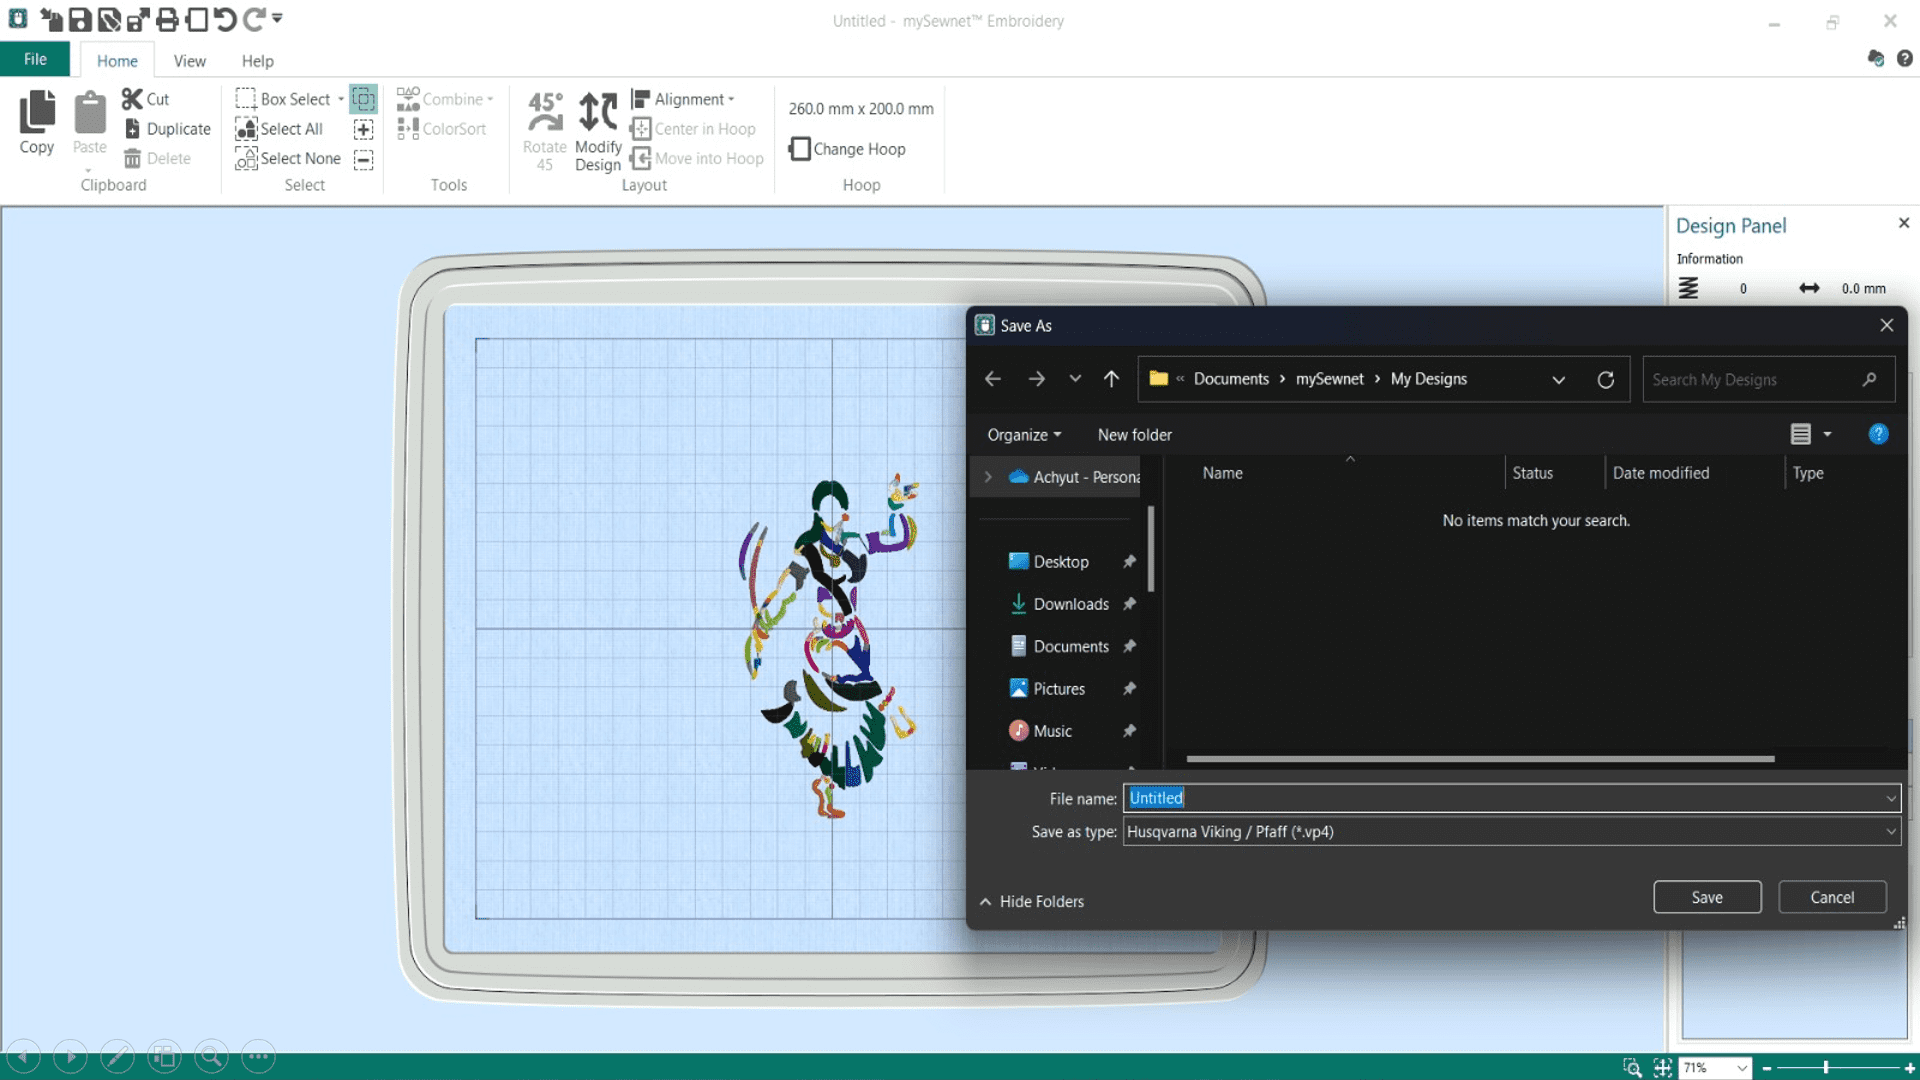
Here, I got the ".vp4" format of my image.

This is the image of Embroidery machine. An embroidery machine is a sewing machine that automatically creates decorative designs on fabric. You use it by uploading a digital design, and the machine stitches the pattern with different threads. This makes it easy to add logos, monograms, or artwork to clothes and other textiles. Modern embroidery machines have touchscreens and USB ports for easy design uploads, and they work much faster and more accurately than doing embroidery by hand.
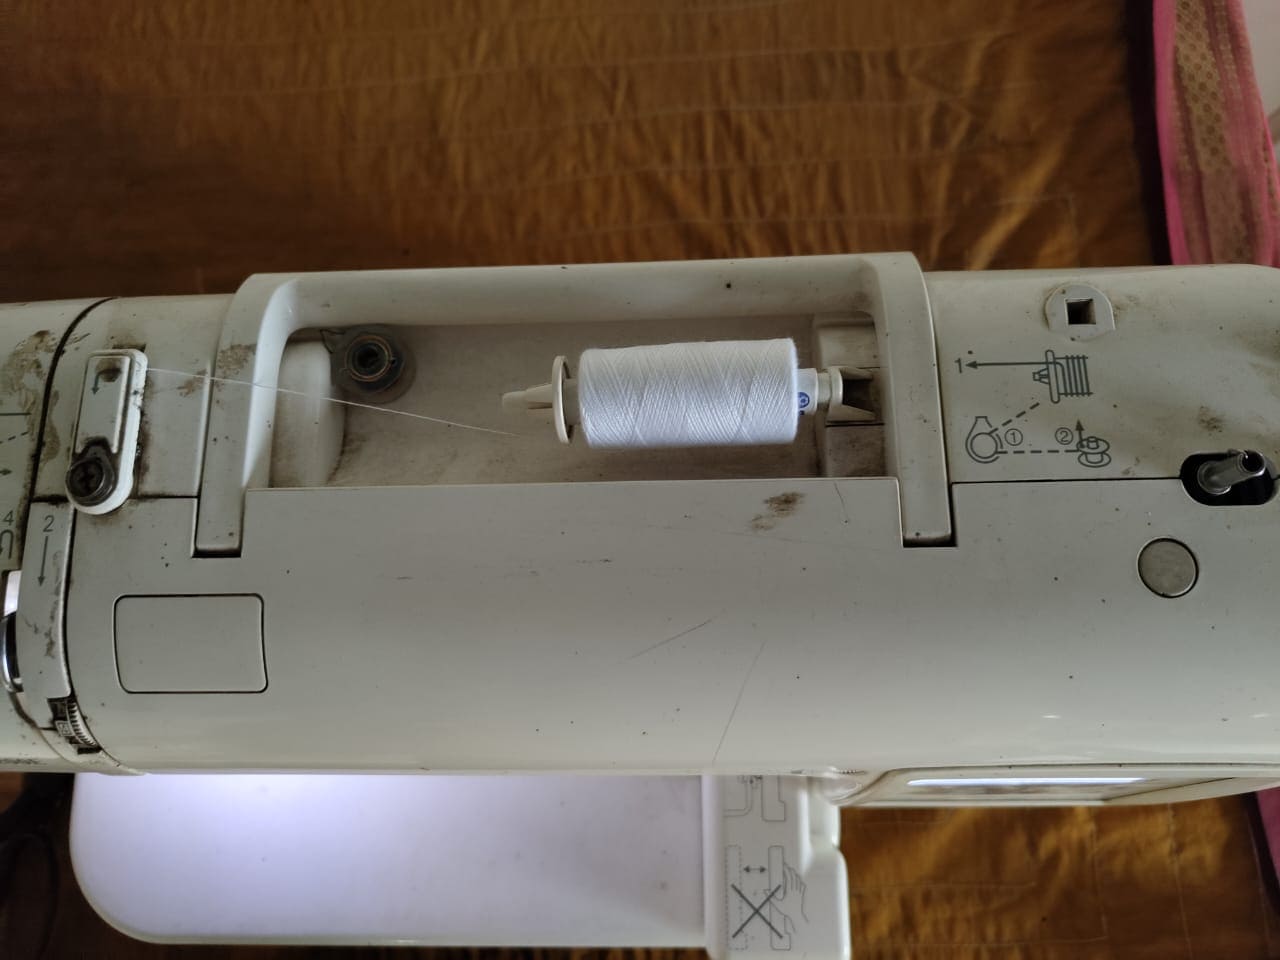
This is the top view of machine where we inserted the thread.
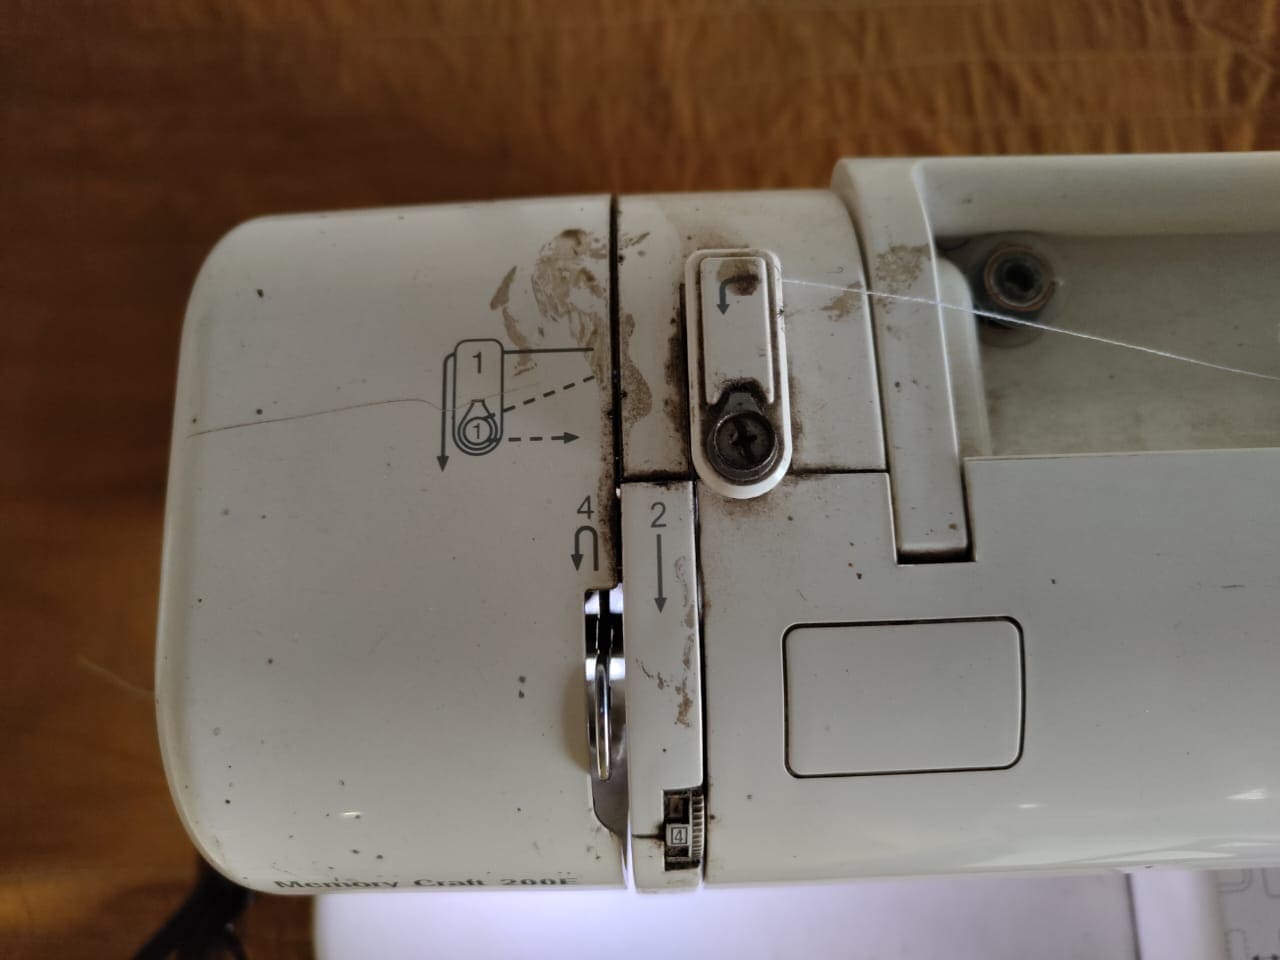
Here are the steps to inserted the thread in the machine as per indicated the numbers onn the machine.
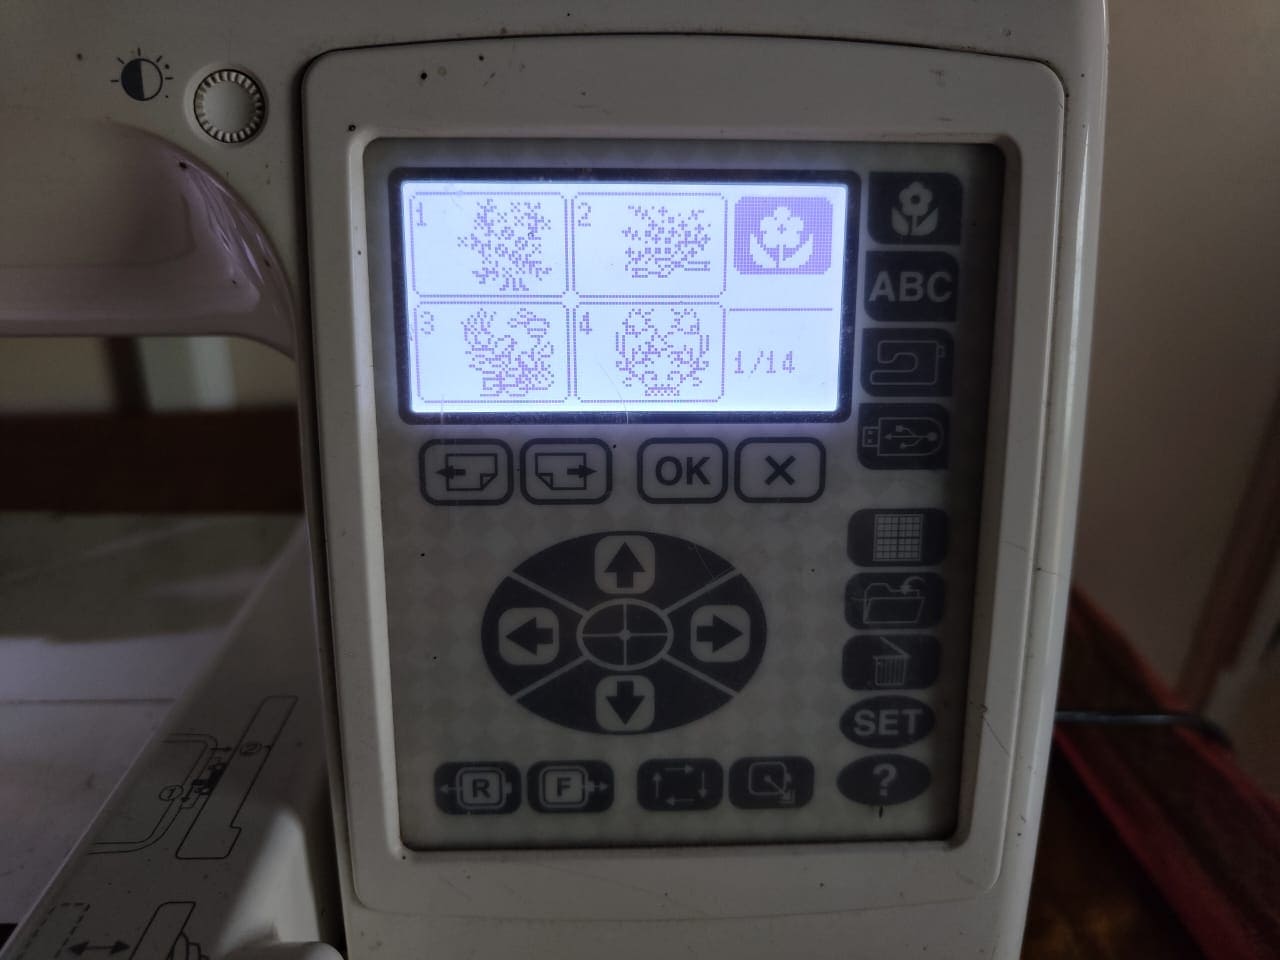
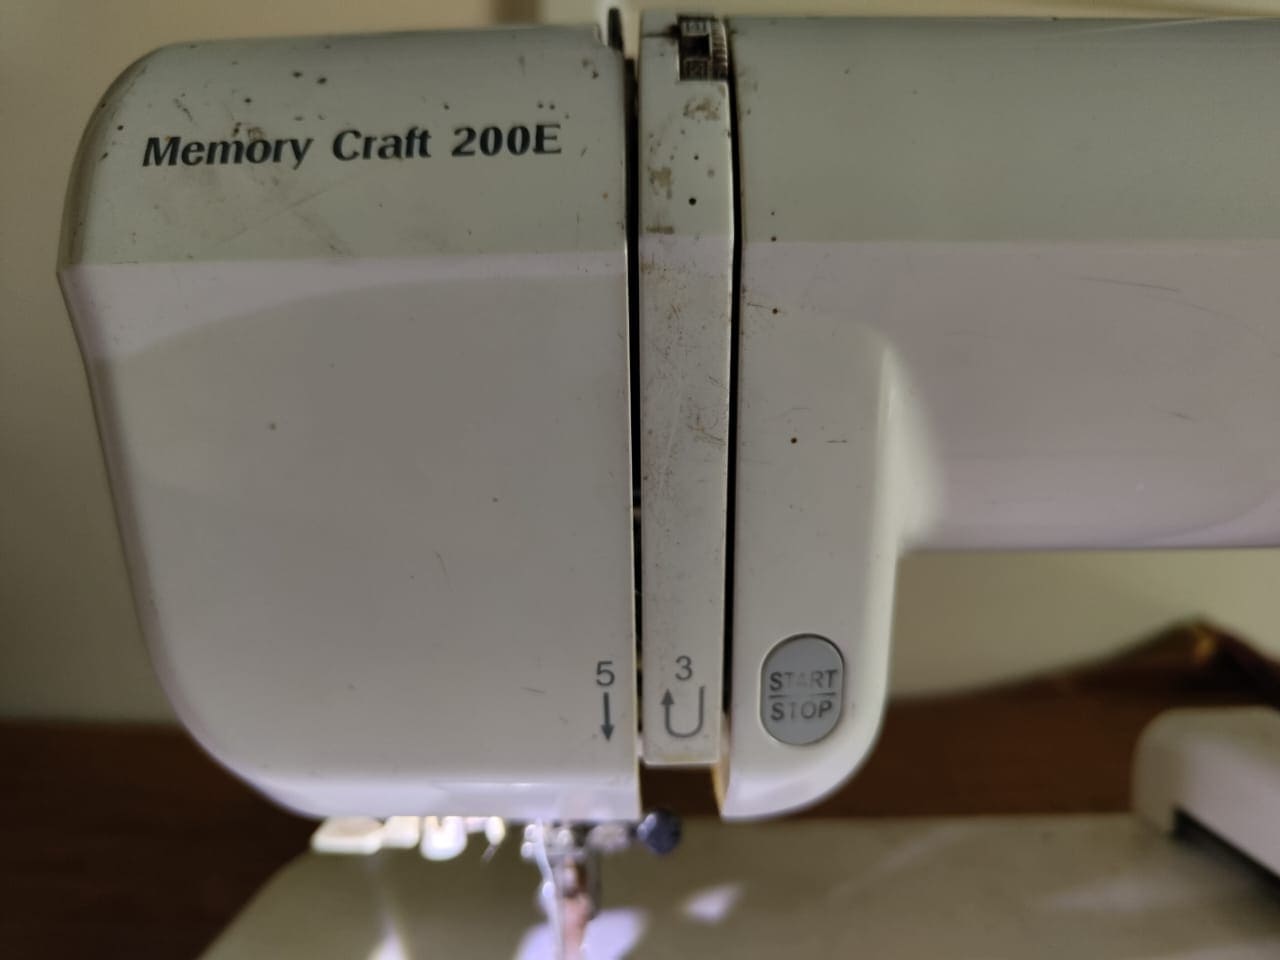
Here is the main display of machine from where we control the machine.
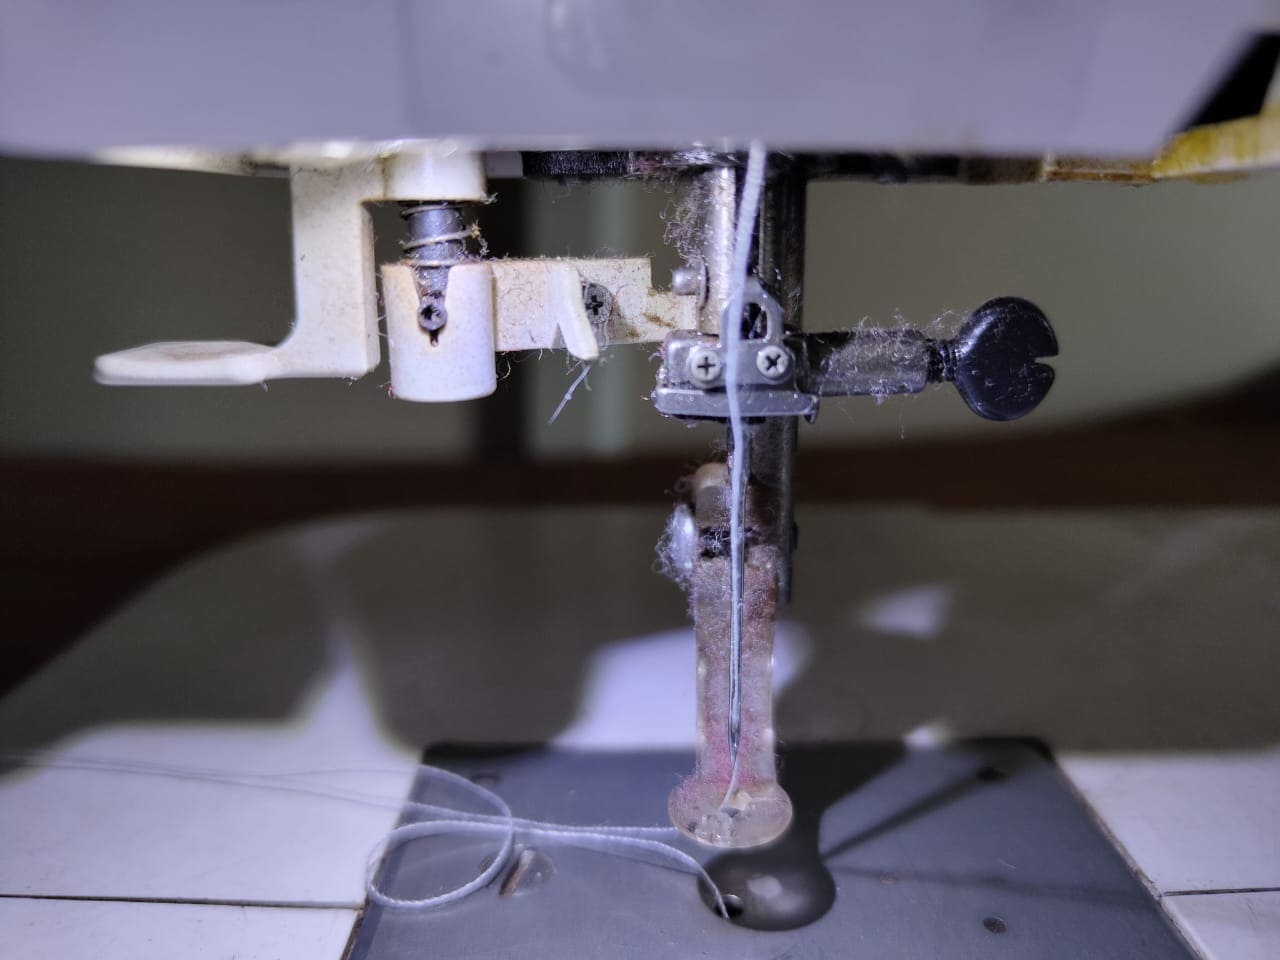
This is the end effector of machine which exerted the thread on bed for sewing.
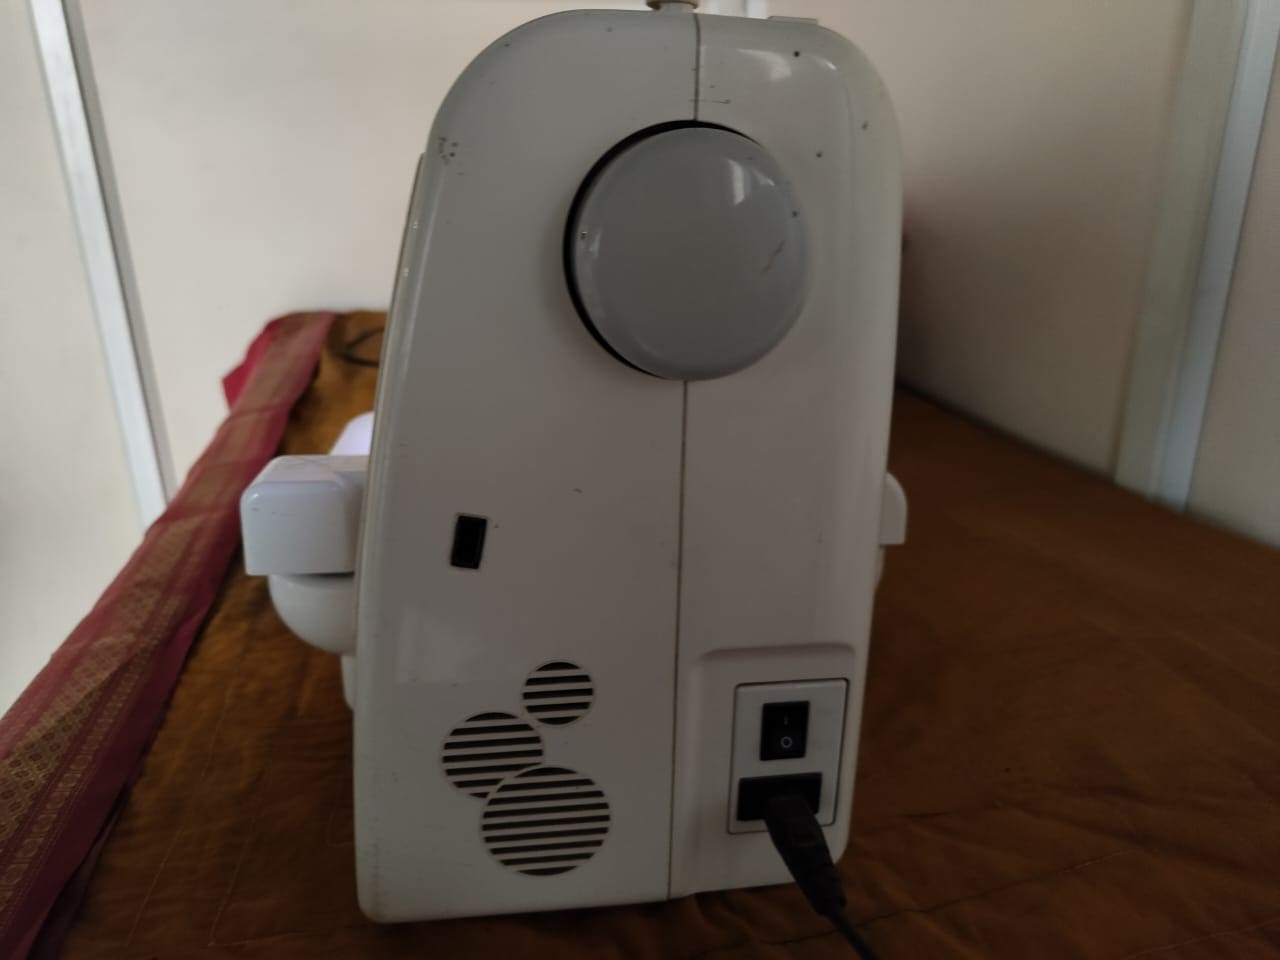
This is the sidee view of machine from where we inserted our design through USB.
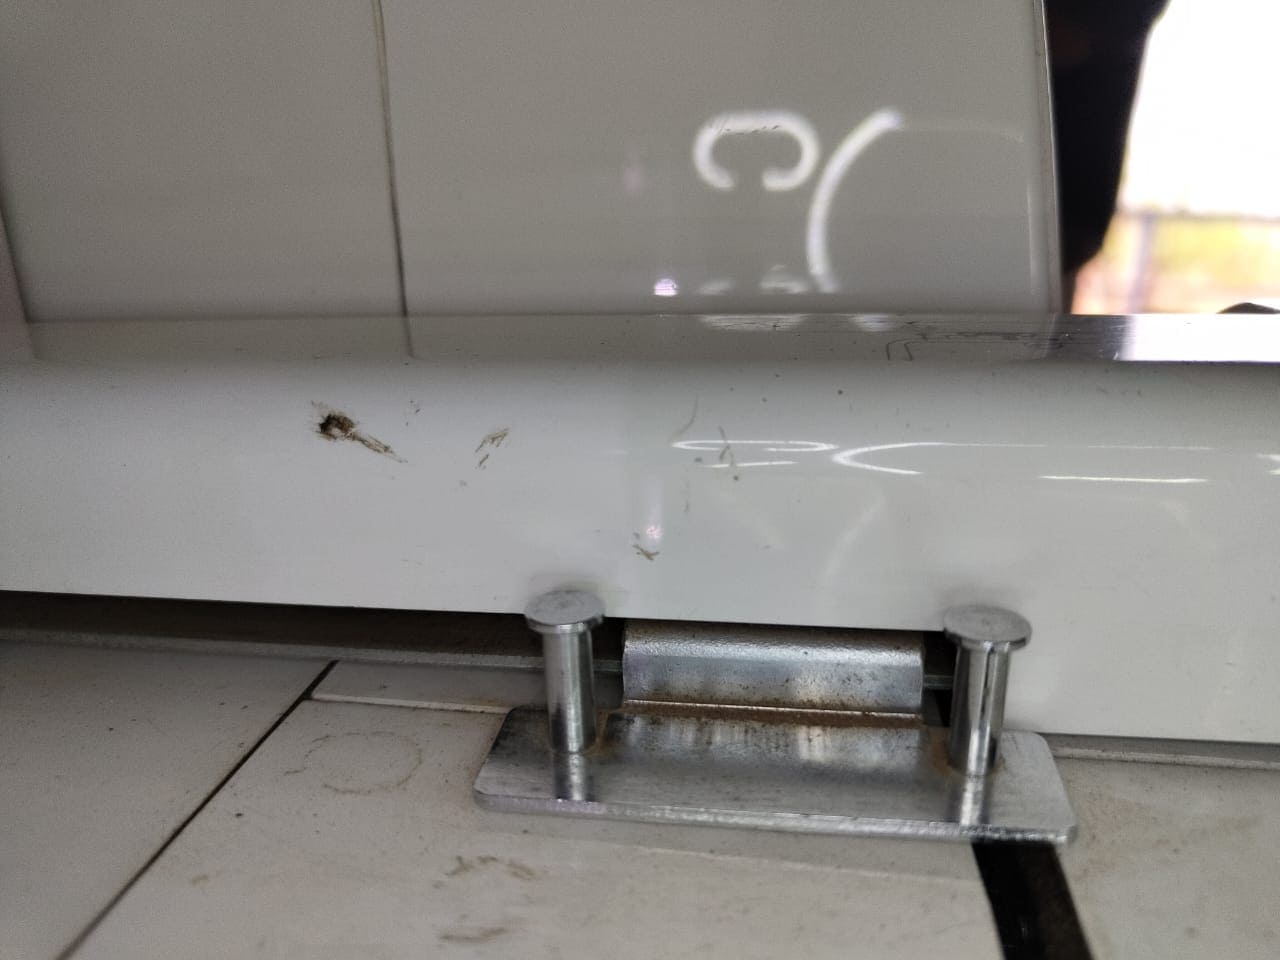
Here is the clamp for fixing the bed.
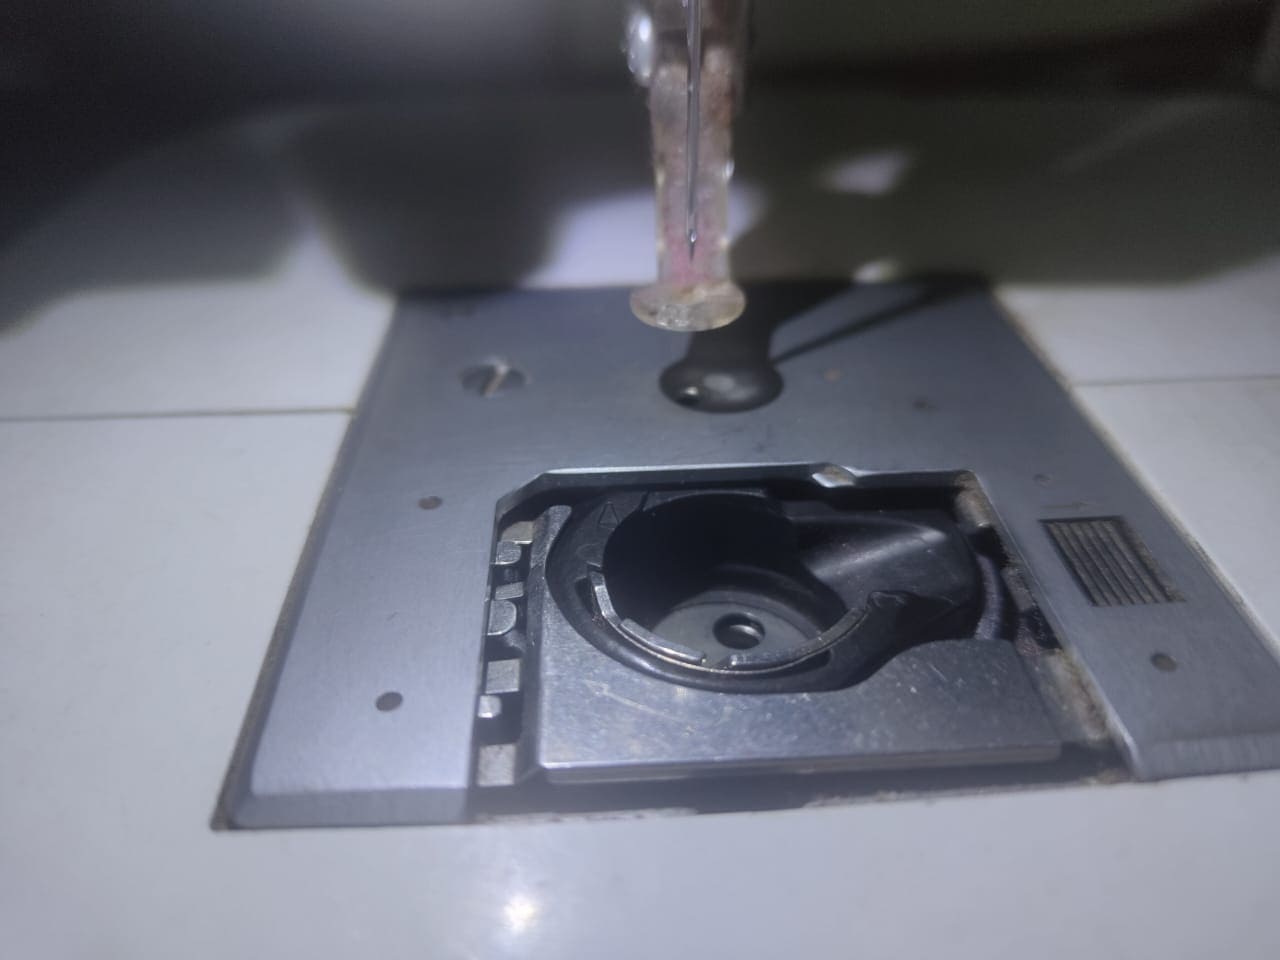
here is the space for inserting the bobine.
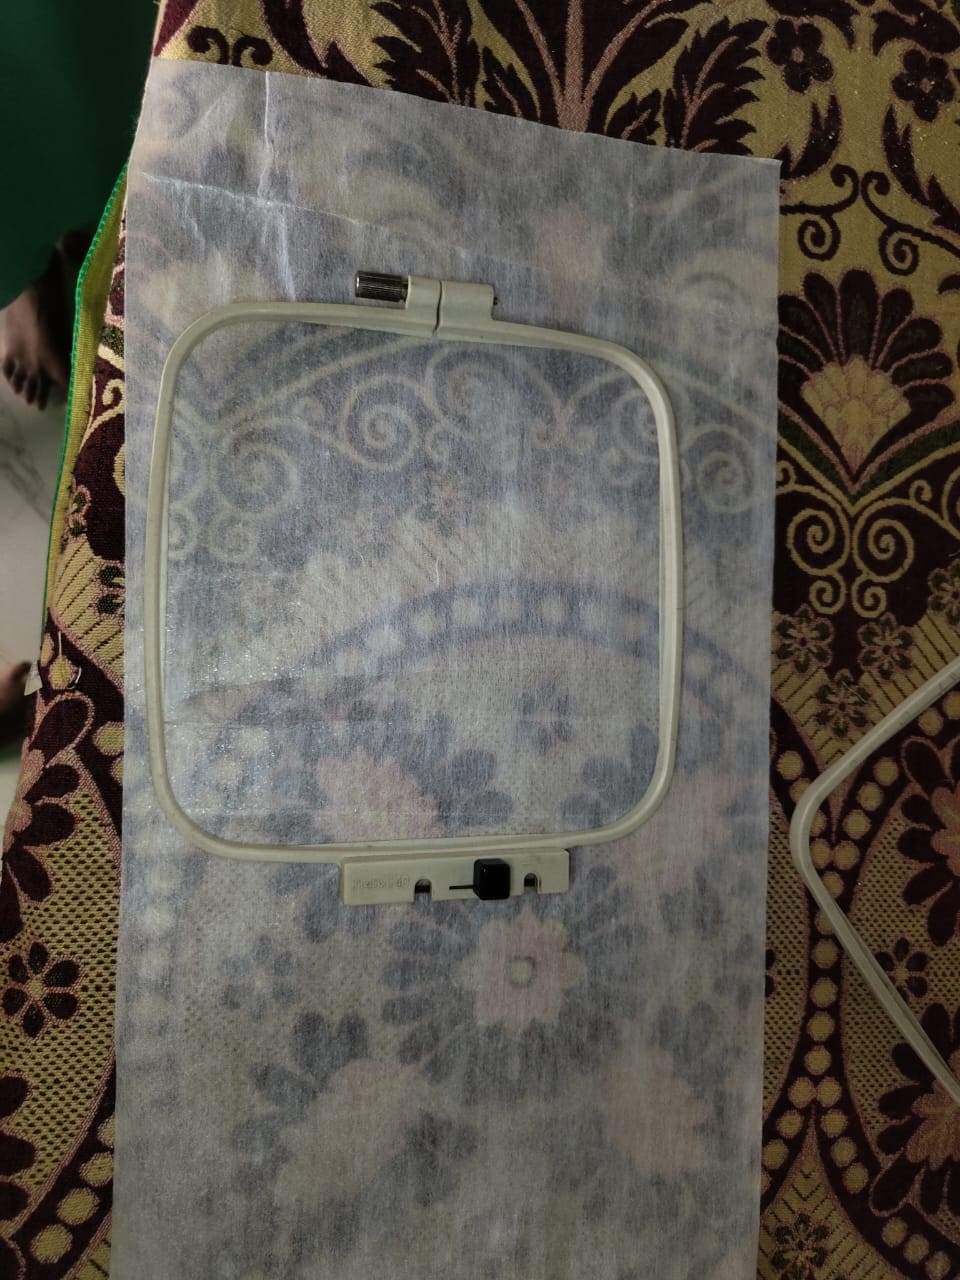
here, we have to insert canvas paper below the cloth for better output.
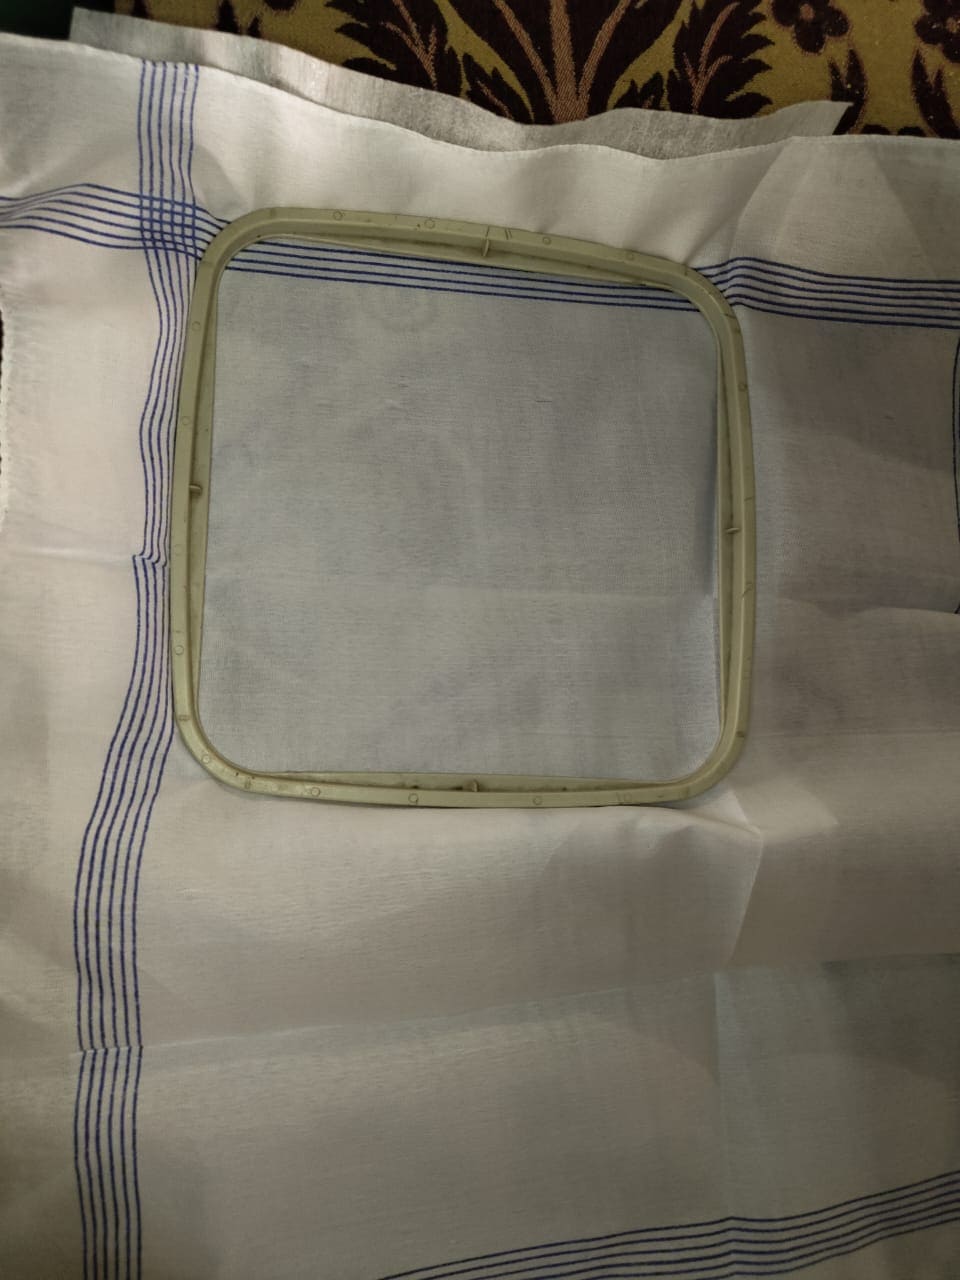
Now, finally, insert the cloth where we want to sew our design.
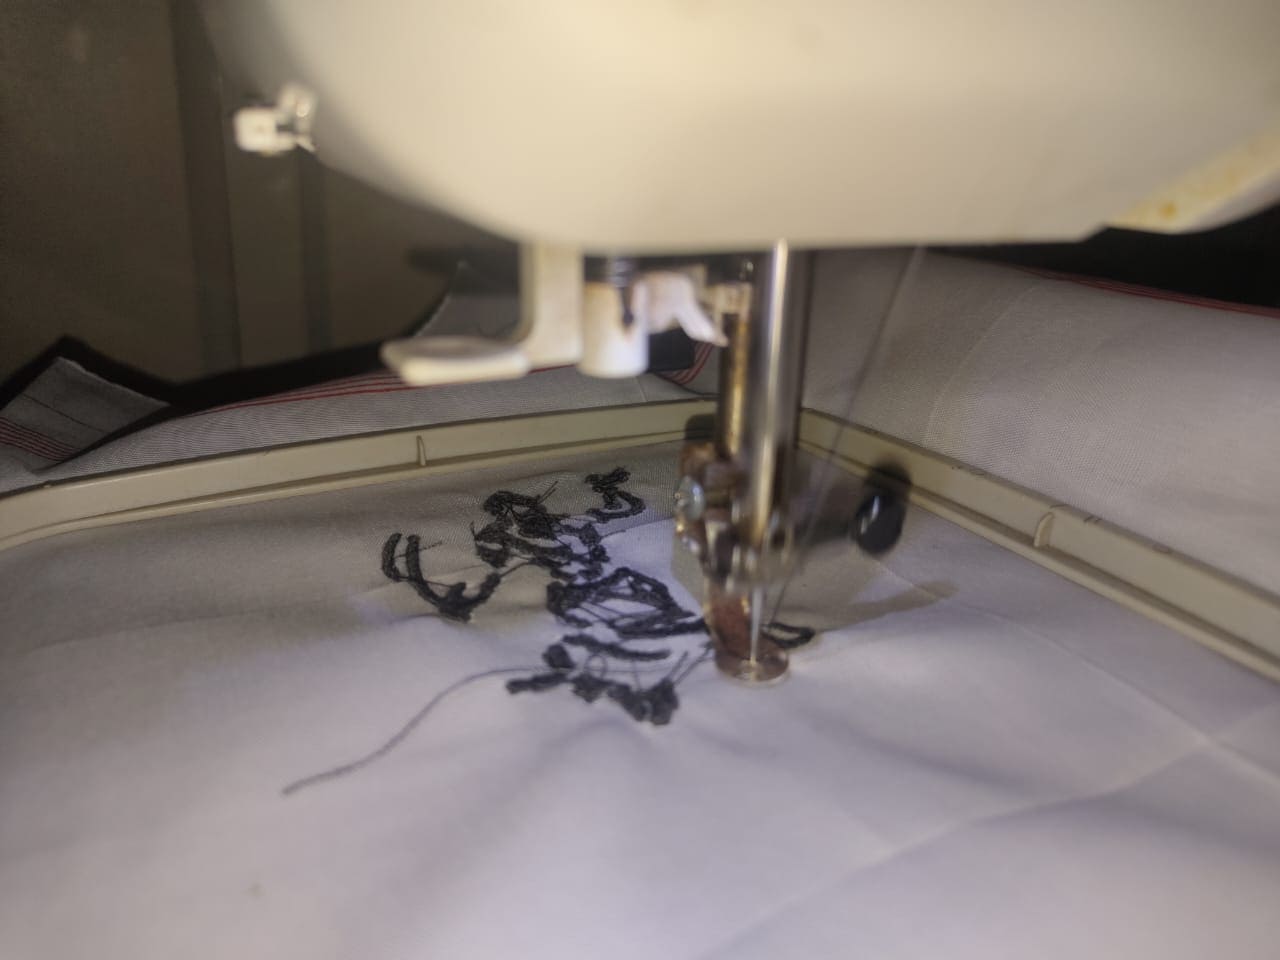
here is the glimpse while sewing of my workpiece.
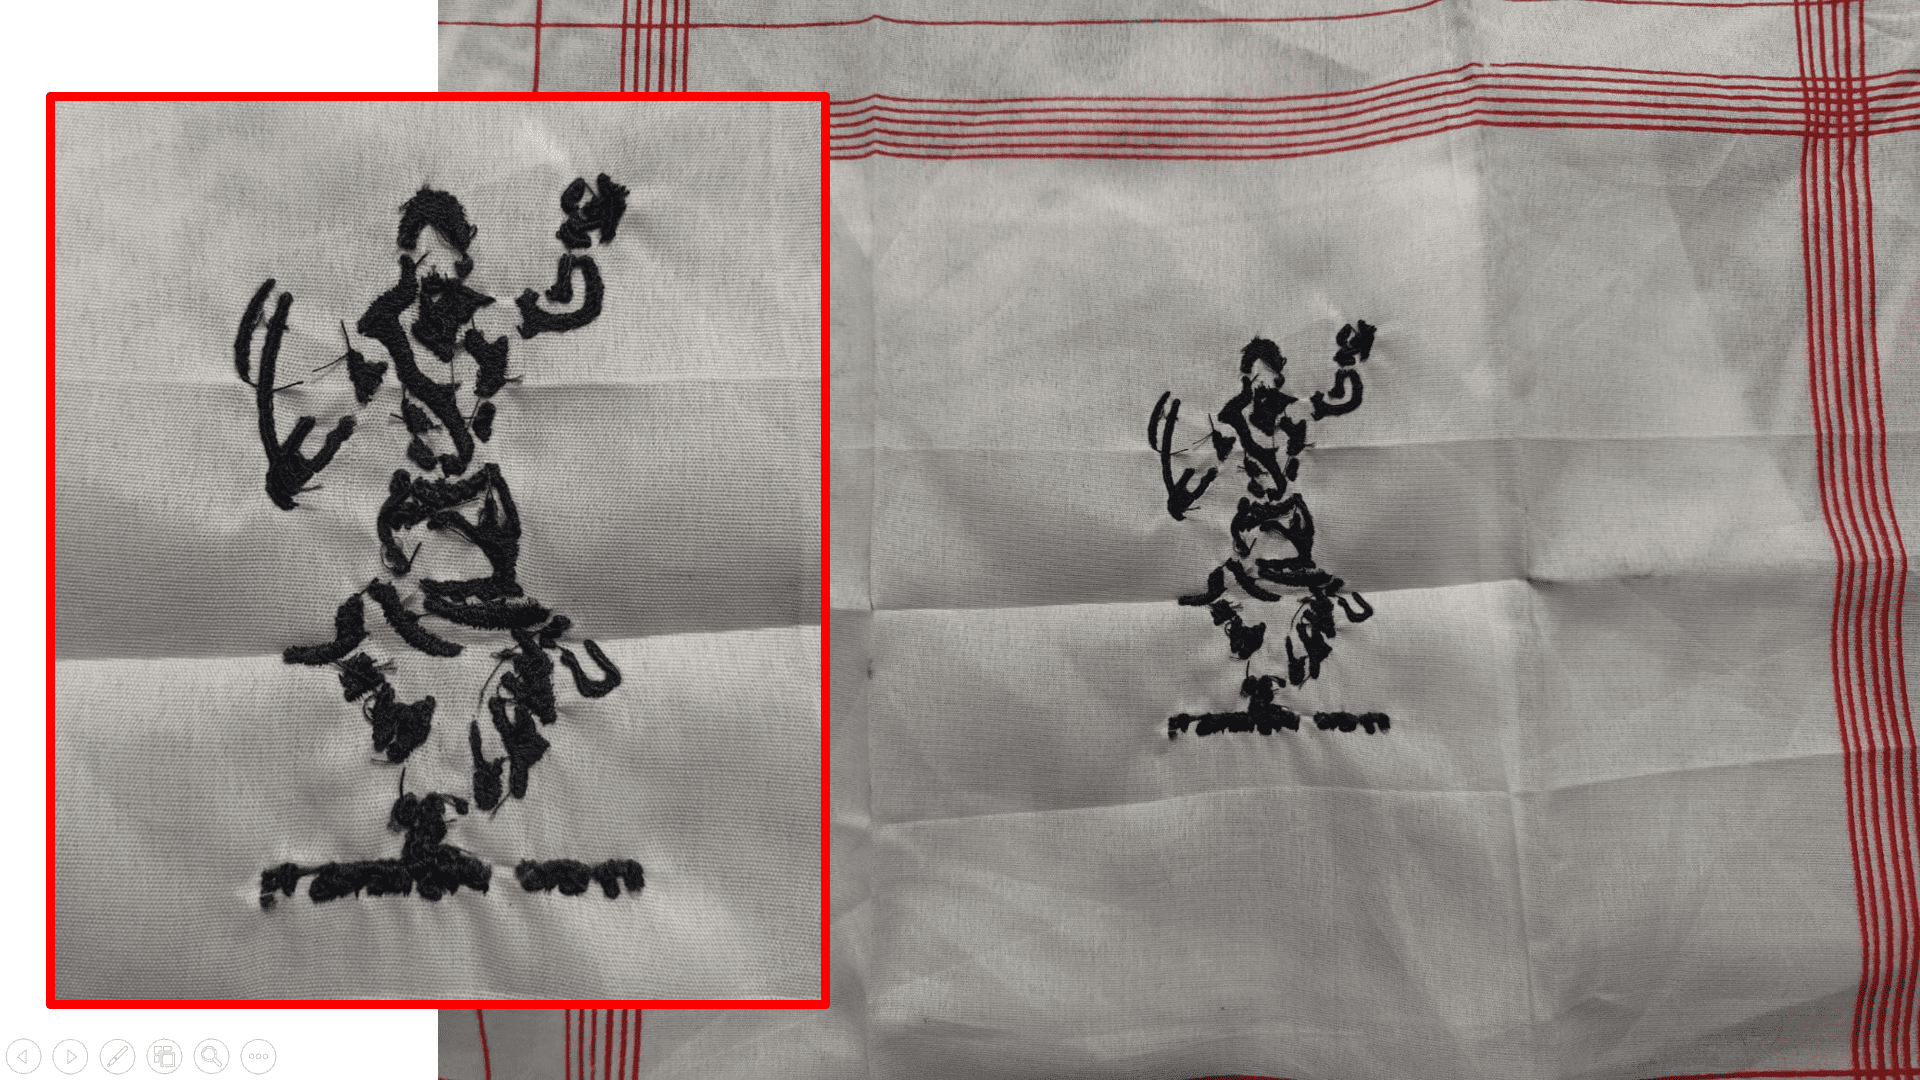
Here I got the final output.