Week 1
Principles and Practices, Project management
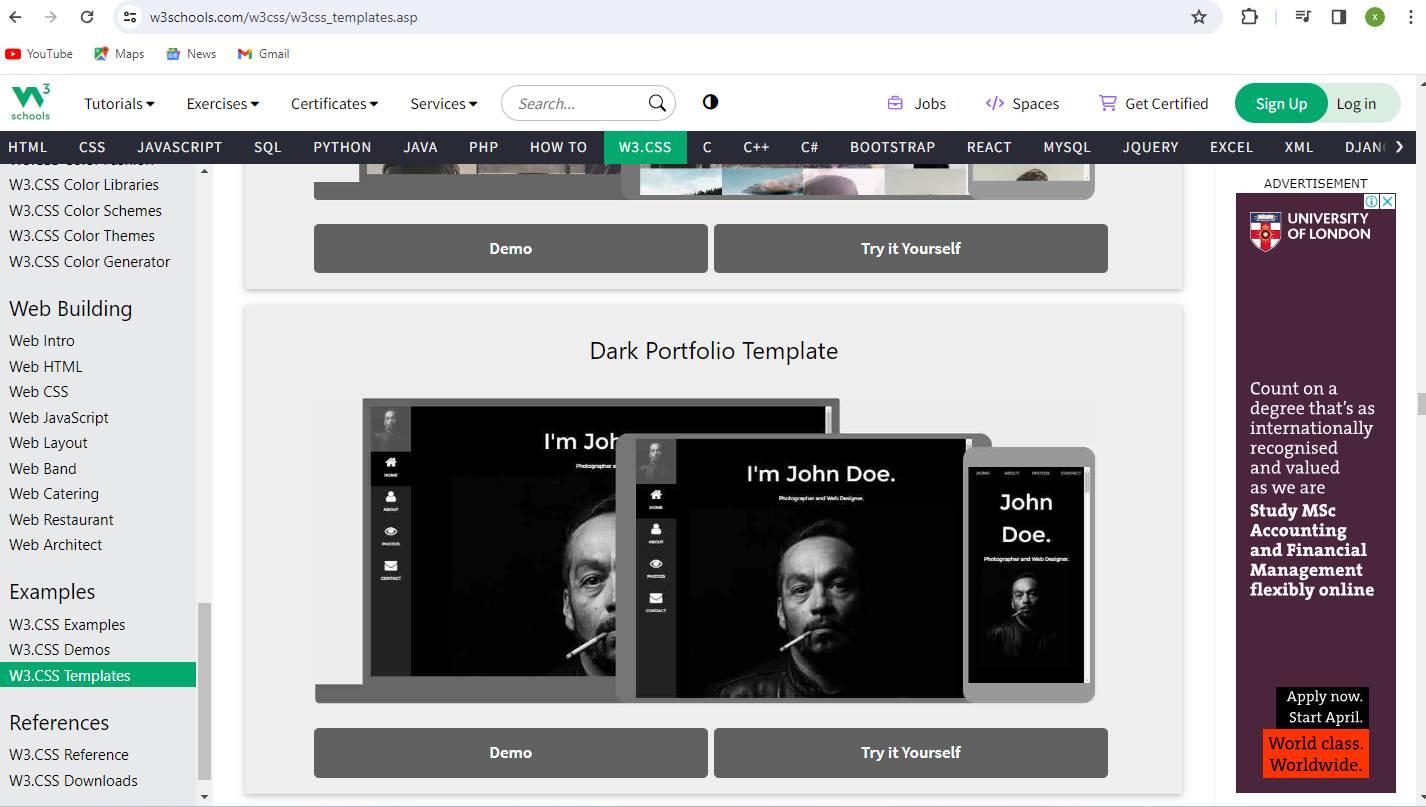
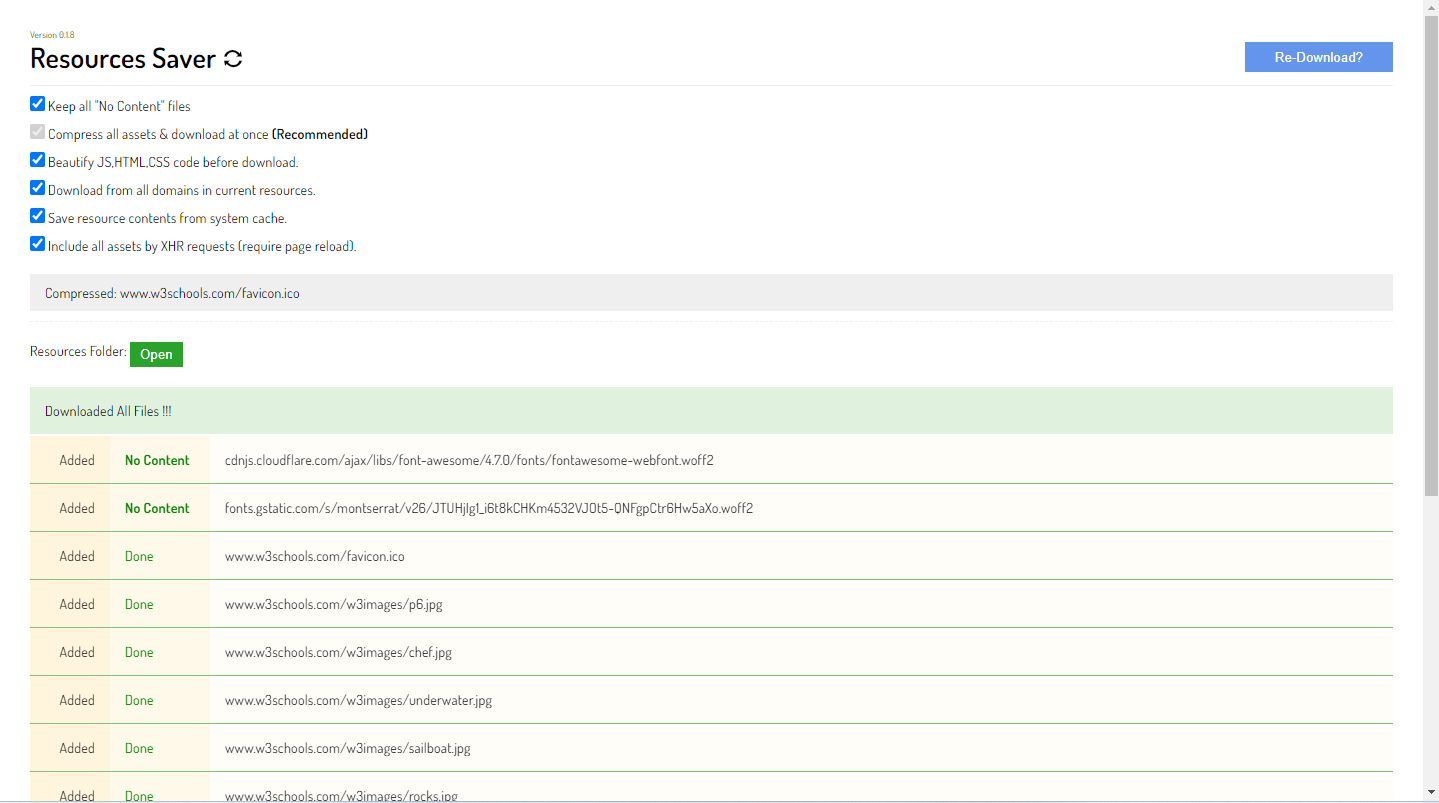
For the first week i was able to find a web template from w3schools that i can model my website around, the source of this template can be found here. now to find the web tamplate i went to google as a search engine then typed web template for search, i was presented with different websites that provides web templates to use but i choose this one because i had used the website before but for learning purposes and so i was eager to use it again what i liked also that it wasn't inquiring any fees to use it. So after search results i clicked on here. scrolled down to until i reached the template i wanted with the title Dark Portofolio Template; then clicked on DEMO but after this in order for to use it, i had to download every code that made it so used this info i found on youtube, so i went to to search for the chrome extension to help me download on google whiwh was save all resources then clicked on this to add it to the browser, then clicked on Add to Google Chrome then next, clicked Add to Extension then i went back here to the web i wanted codes from then clicked on the right click of the mouse then clicked on Inspect went on more tabs scrolled down to resources saver which opens up a window, in the right upper corner, click on the Save All Resources then it downloads the zip file, after extracting files i moved to open the file under the name www.w3schools.com clicked to open it, next i clicked on to open the w3css then with the text already choosen i opened the file under the name tryw3css_templates_dark_portfolio with the Visual Studio Code by right clicking the mouse/touchpad then scroll down to open with code which is visual studio code.
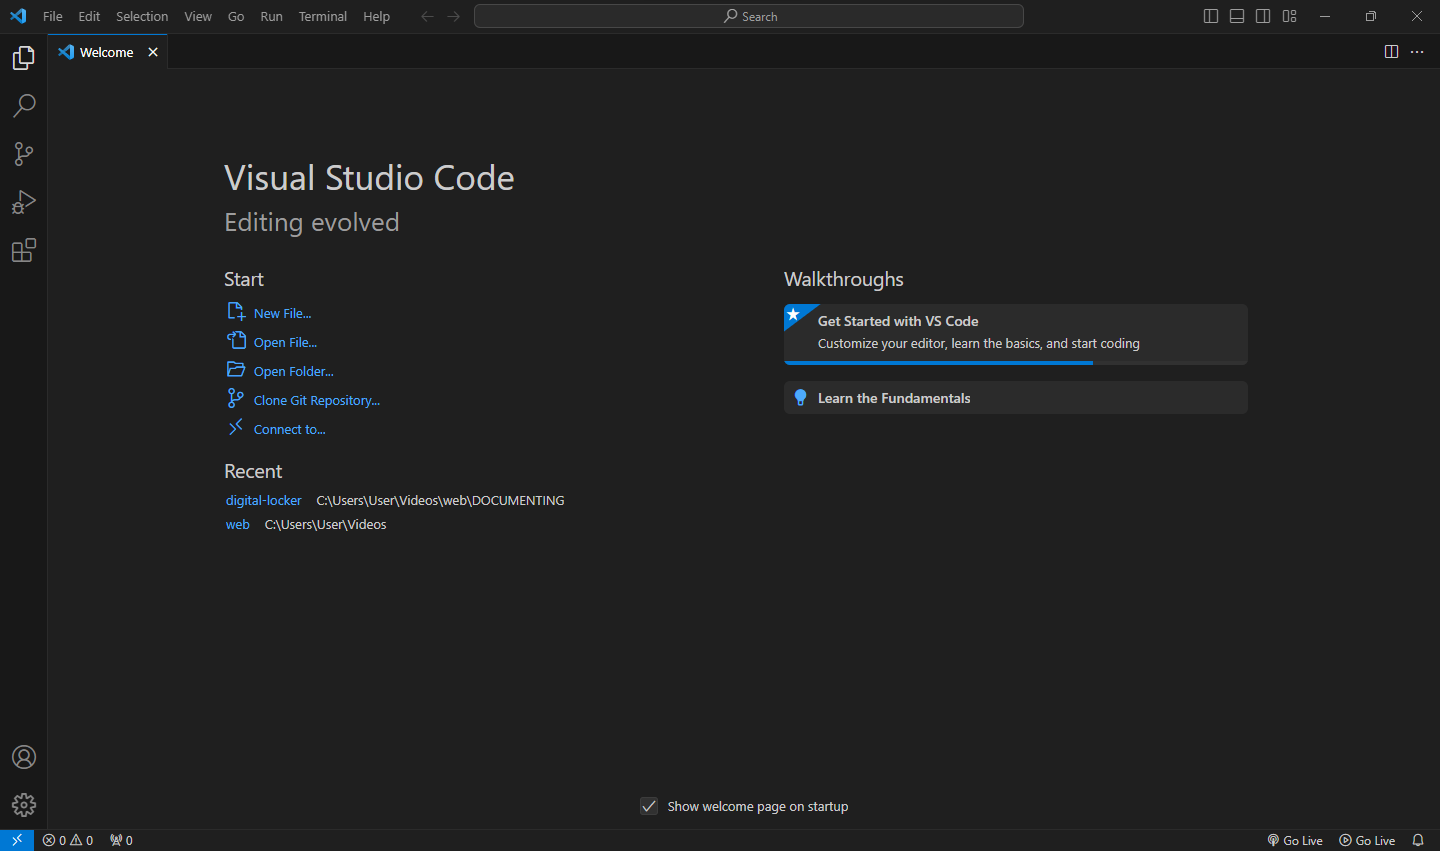
I proceeded with choosing the text editor which is virtual studio code which can be downloaded here then click on download regarding the system you use, you'll choose what to download.
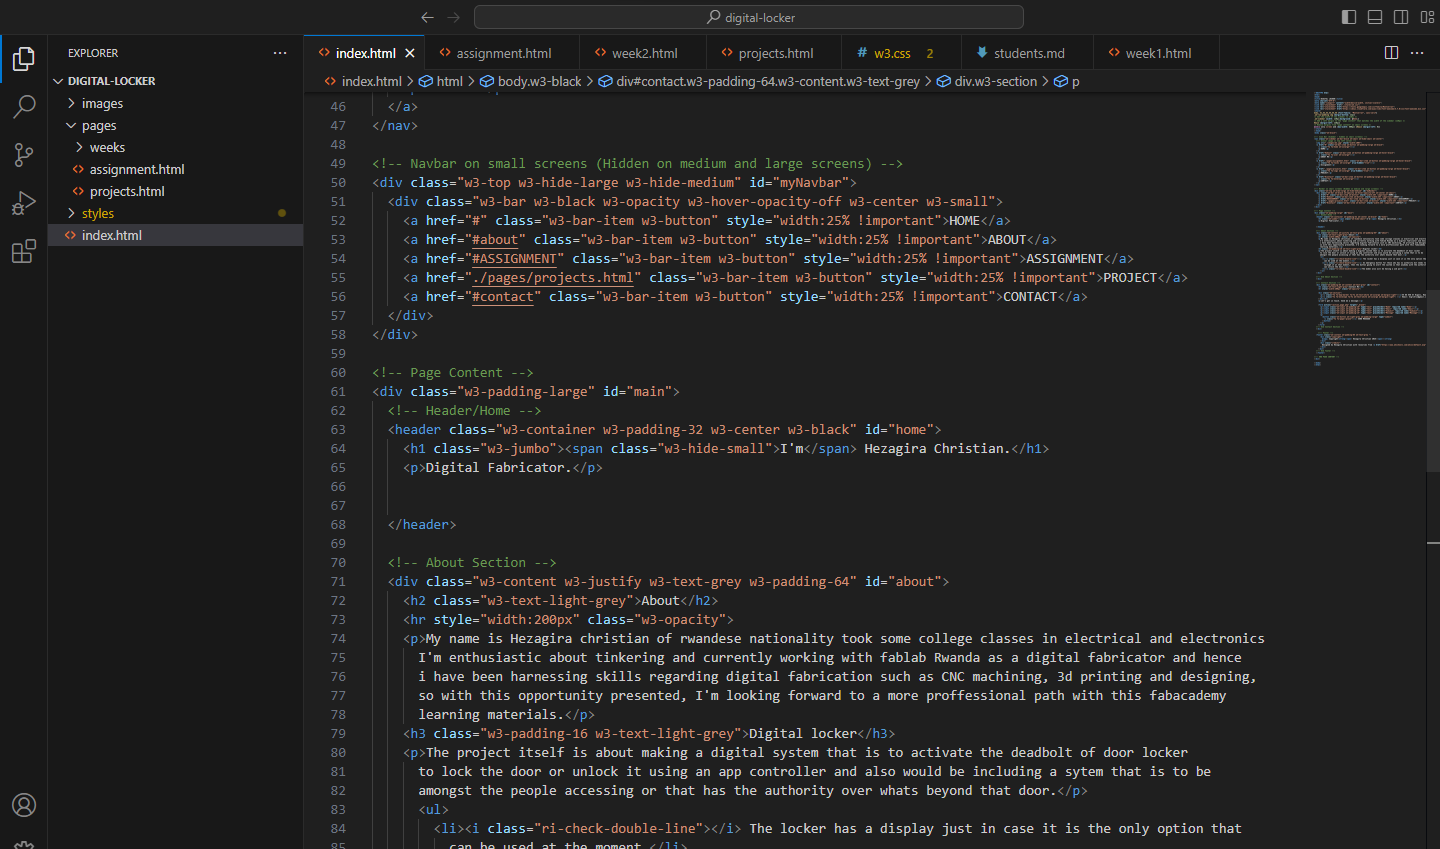
Then i acquired the source code in order to edit them to my preference by pressing f12 on the keyboard that lead me to the page with its source code.
The next task was to edit the source code to my preference.
SETTING UP GIT
I initially first went through a git tutorial to understand more about it so that i can start the process fully understanding what i'm about to do so here is the link of where i sourced info about git and gitlab in order to be able to proceed.
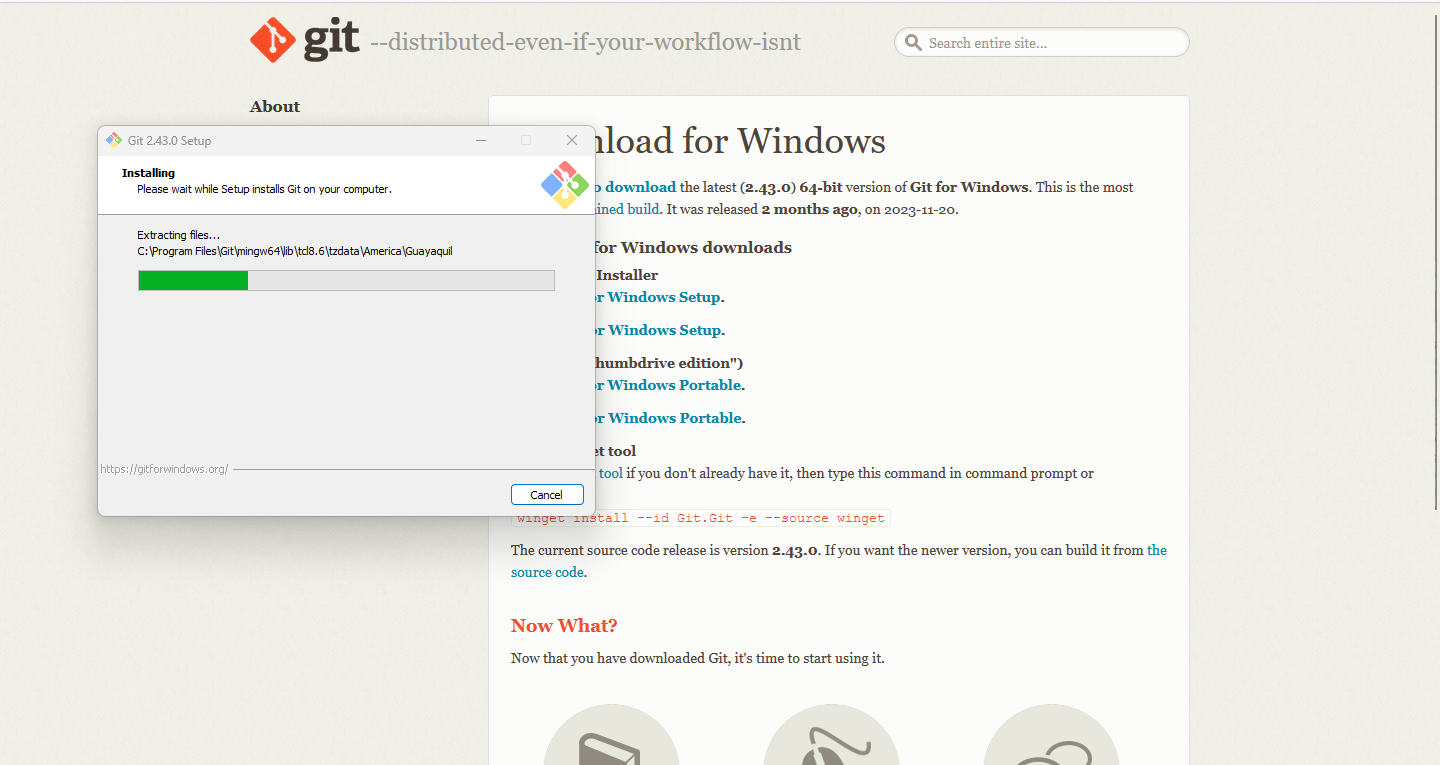
After downloading i went on to install git
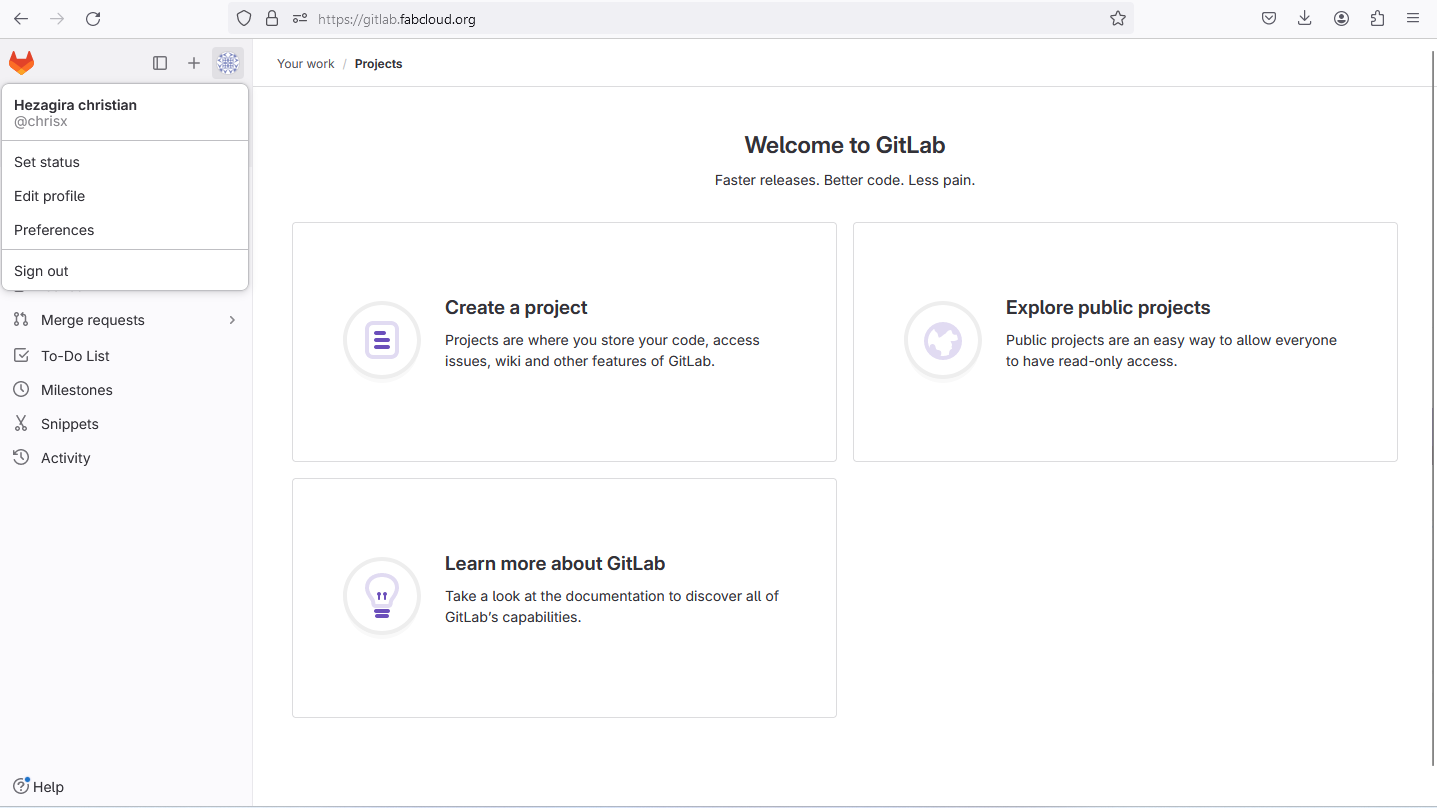
In order to use fab archive I have to set up Git and Gitlab. to do so I opened an account on Gitlab filled all required information.
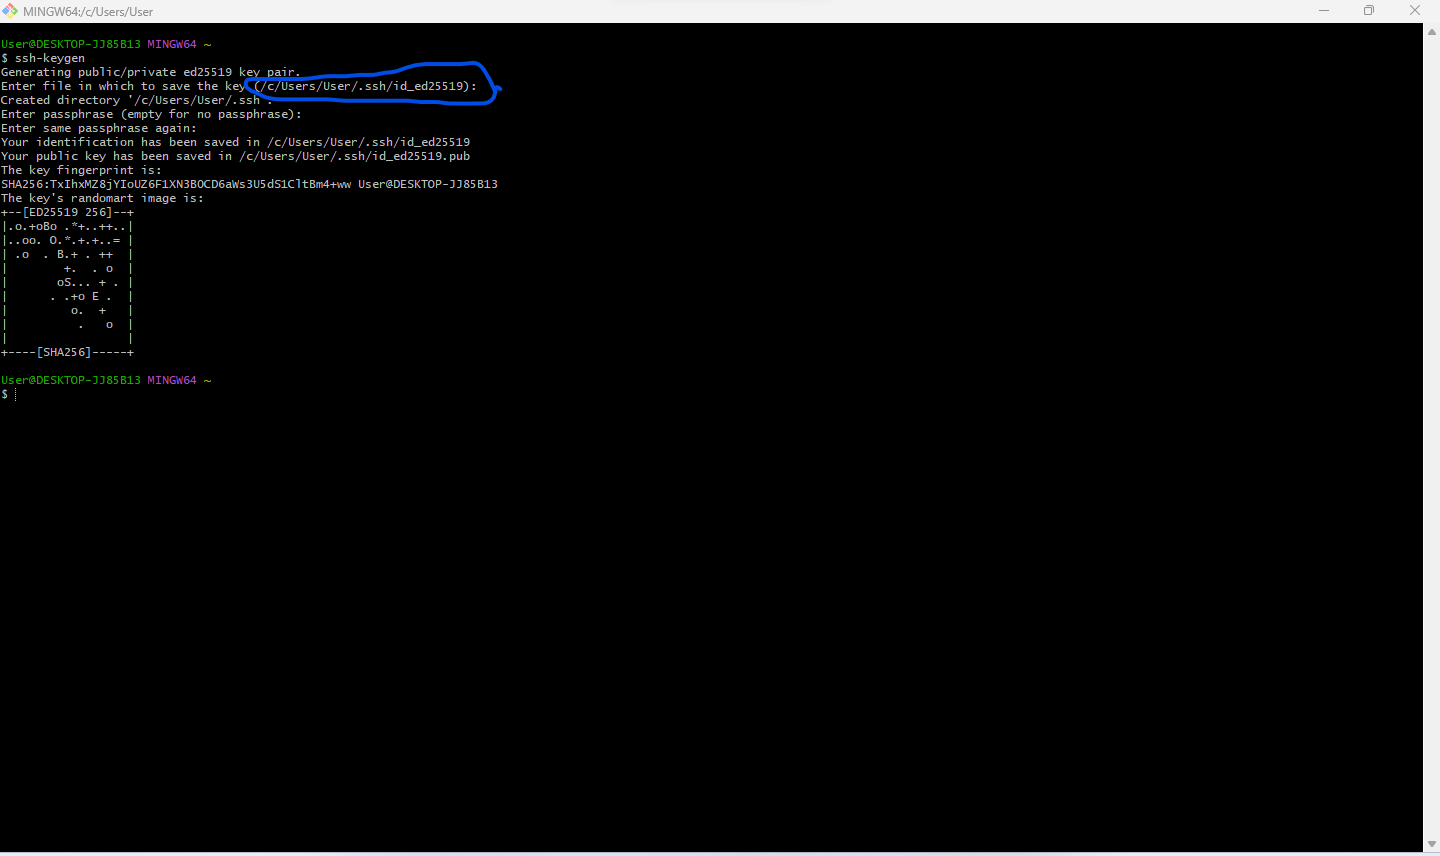
So after i had been given access to the the class i moved on to create a local repiository and generate both private and public key on my local machine.
Generating keys with git bash.
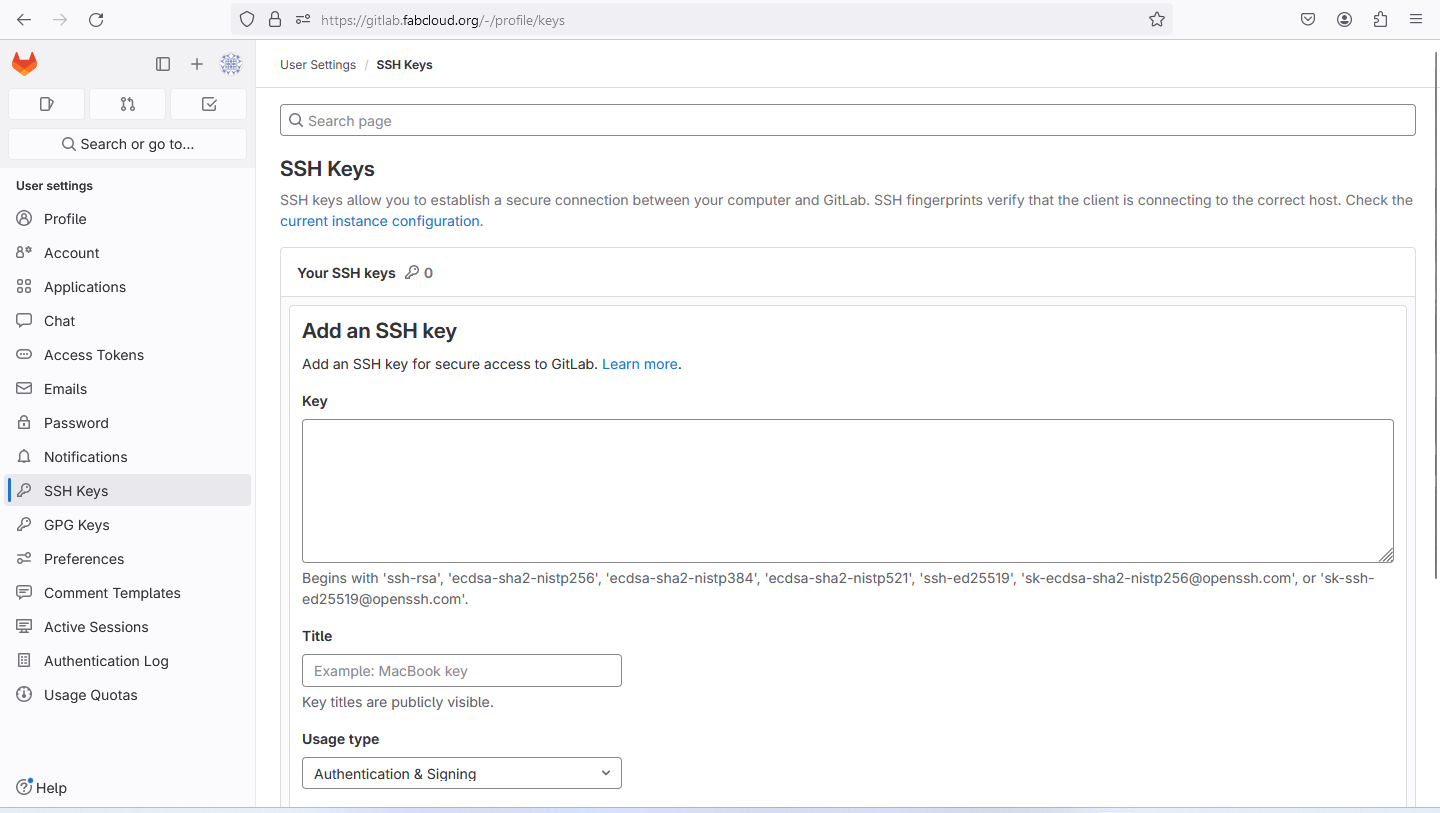
I carried on with adding the created or generated keys to gitlab
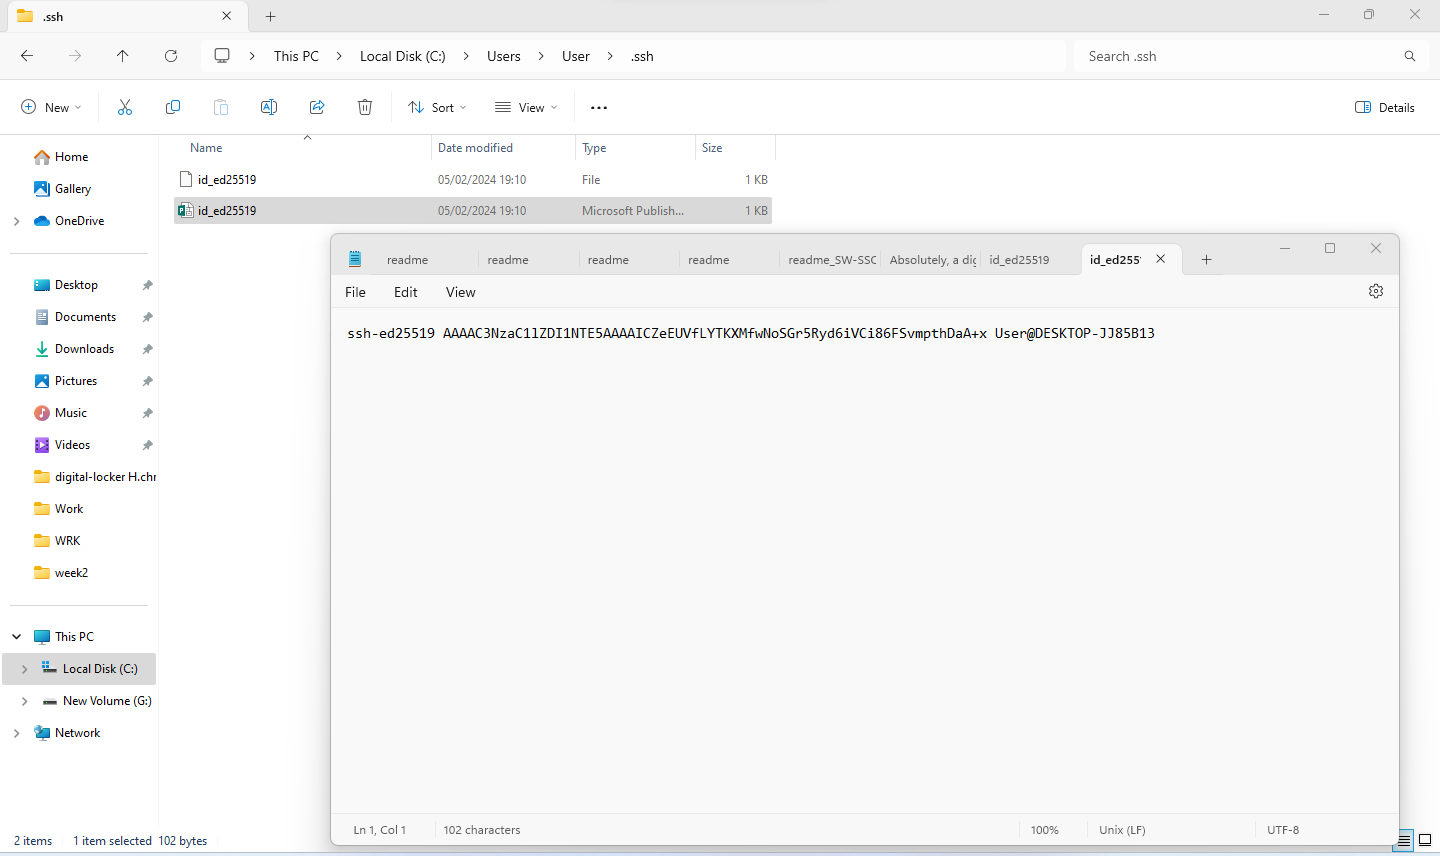
I added the new SSH key
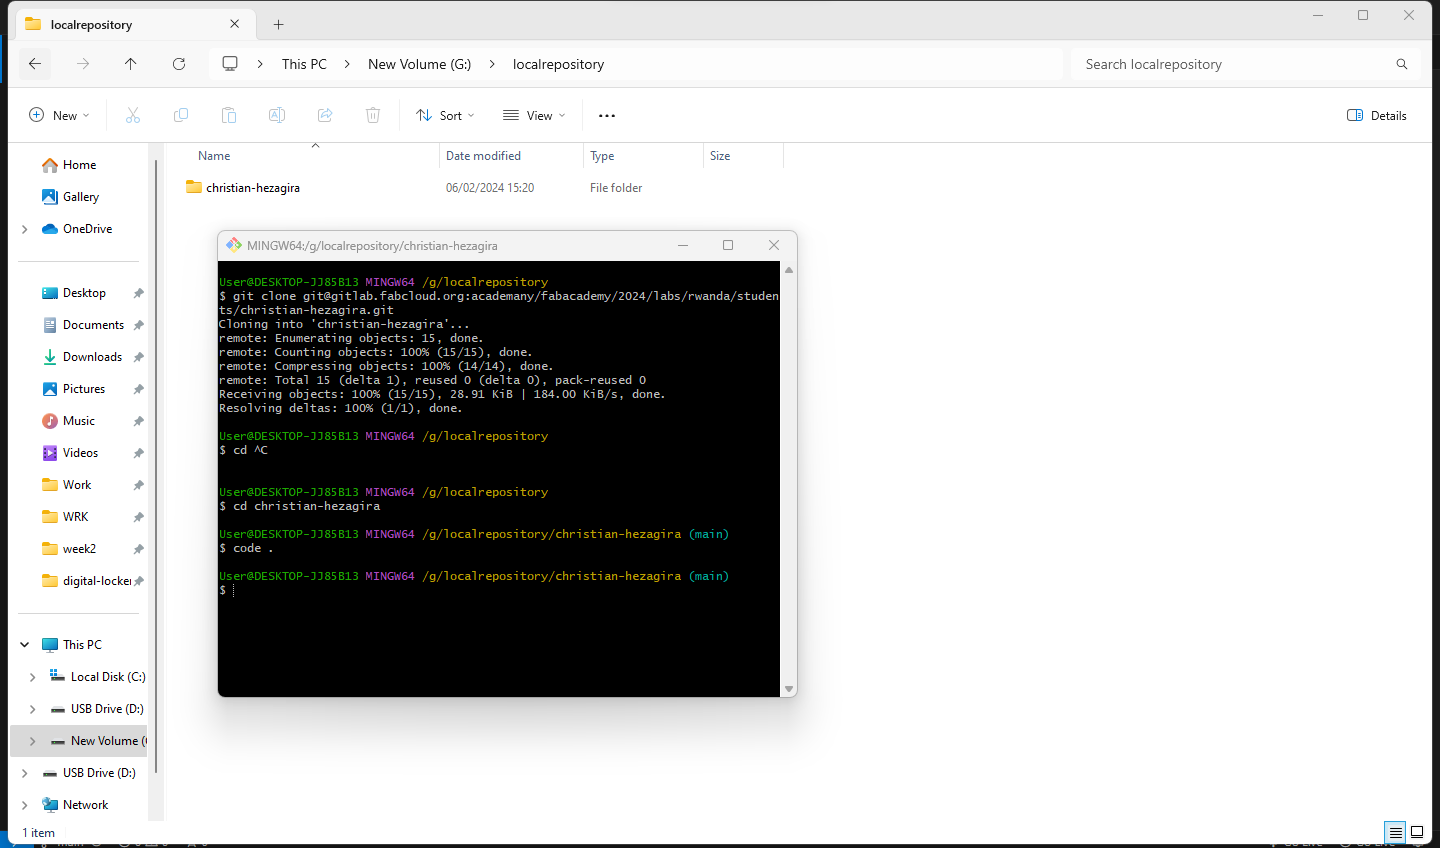
In order for me to add files to gitlab or to push files to gitlab, I cloned my git repo to my local repo to be able to add the files of my and later on push it to the git repository, so step one is cloning:

Step two is downloading the git repository or cloning to the local repository:
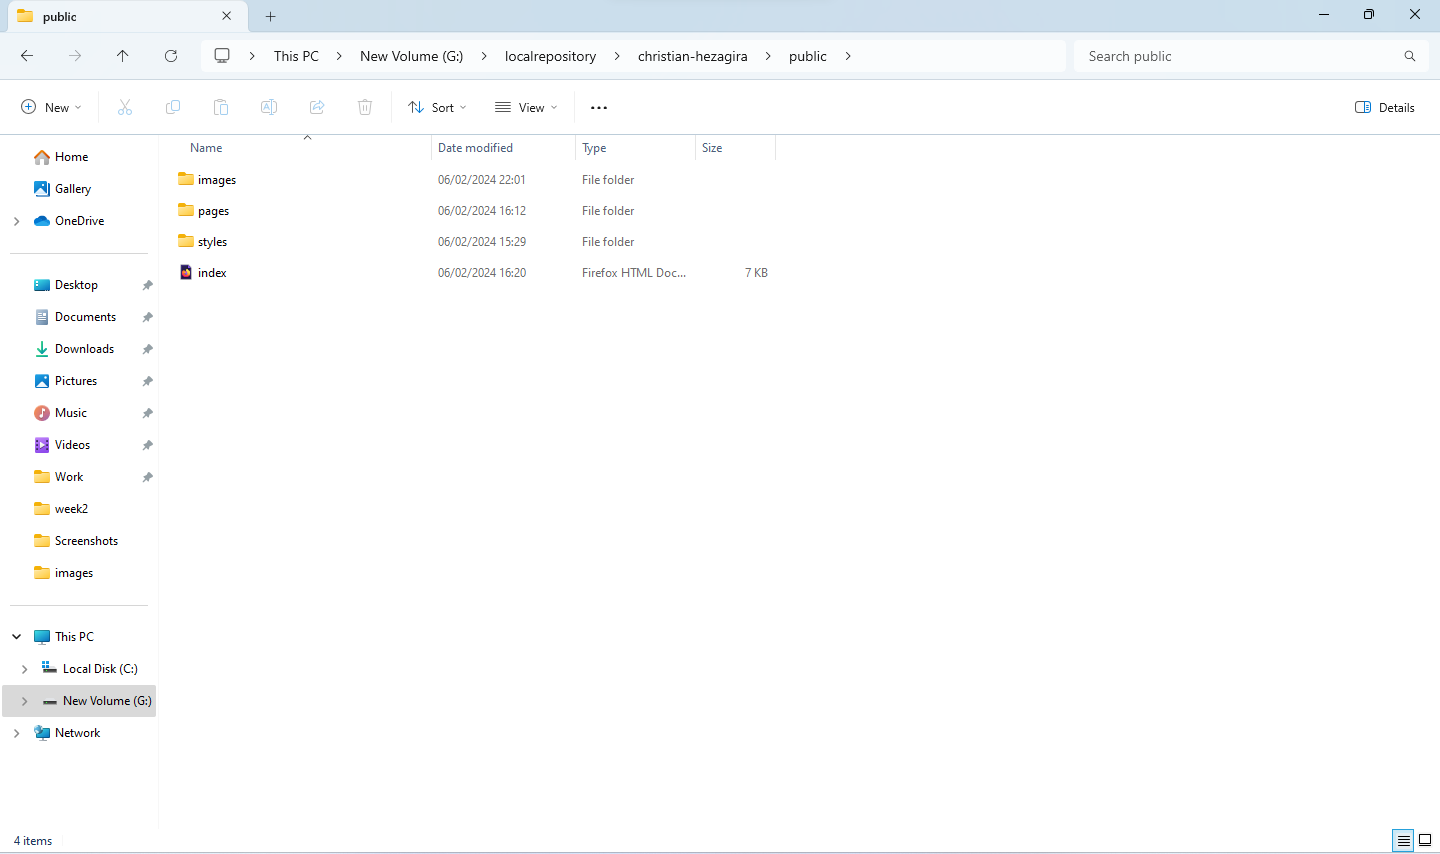
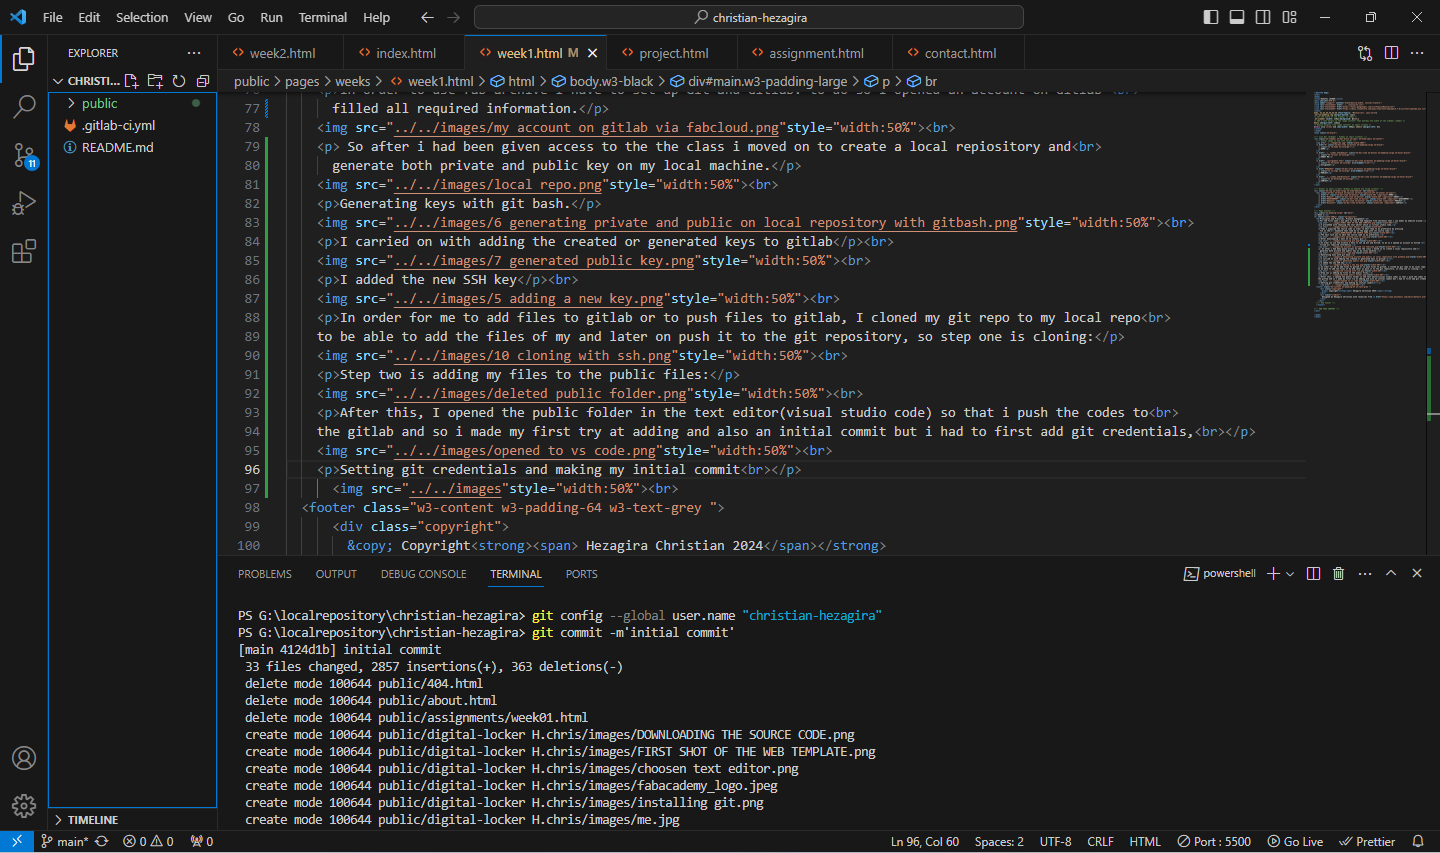
After this, I opened the public folder in the text editor(visual studio code) so that i push the codes to
the gitlab and so i made my first try at adding and also an initial commit but i had to first add git credentials,
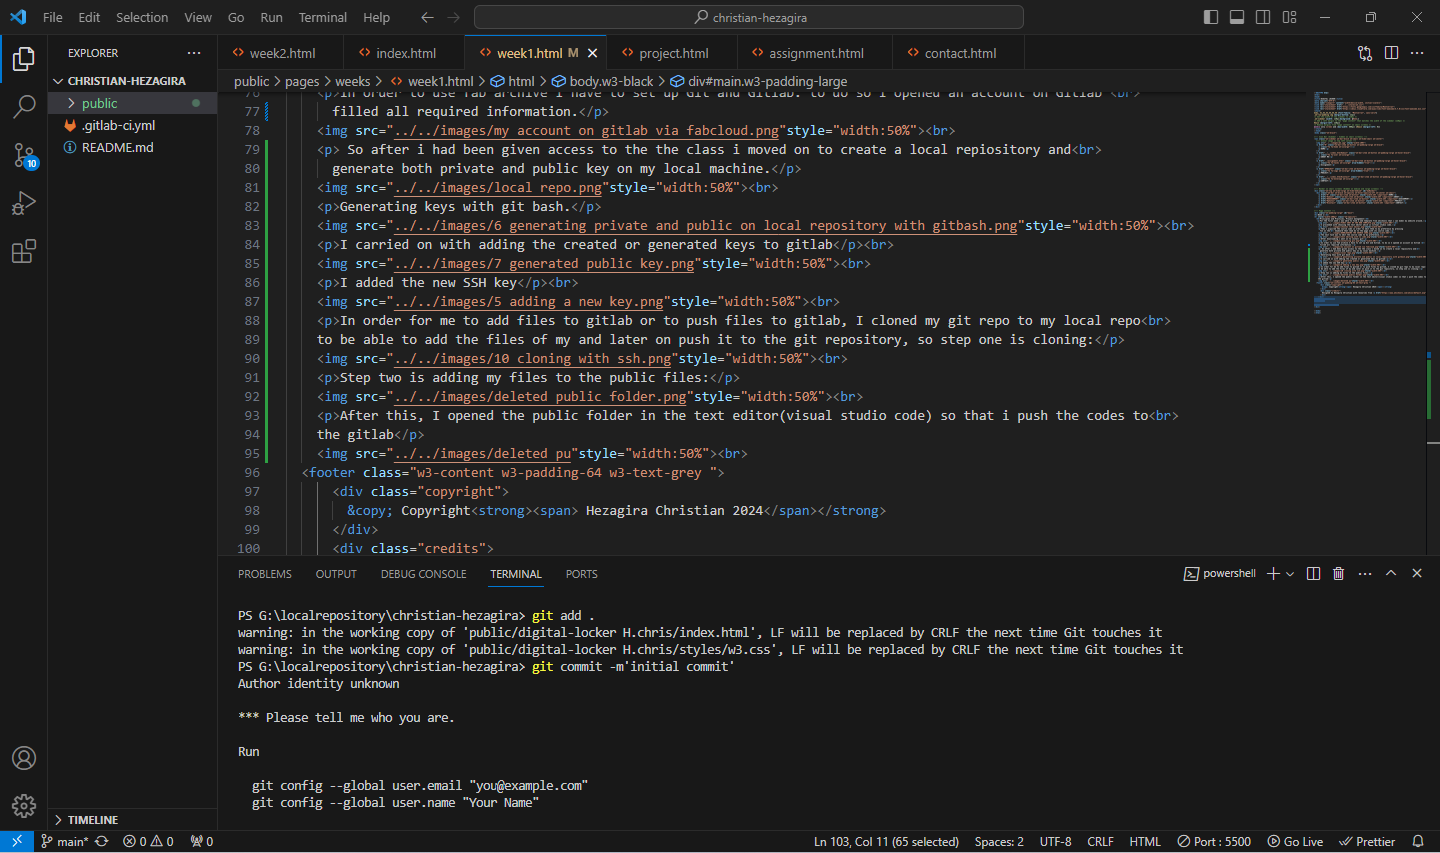
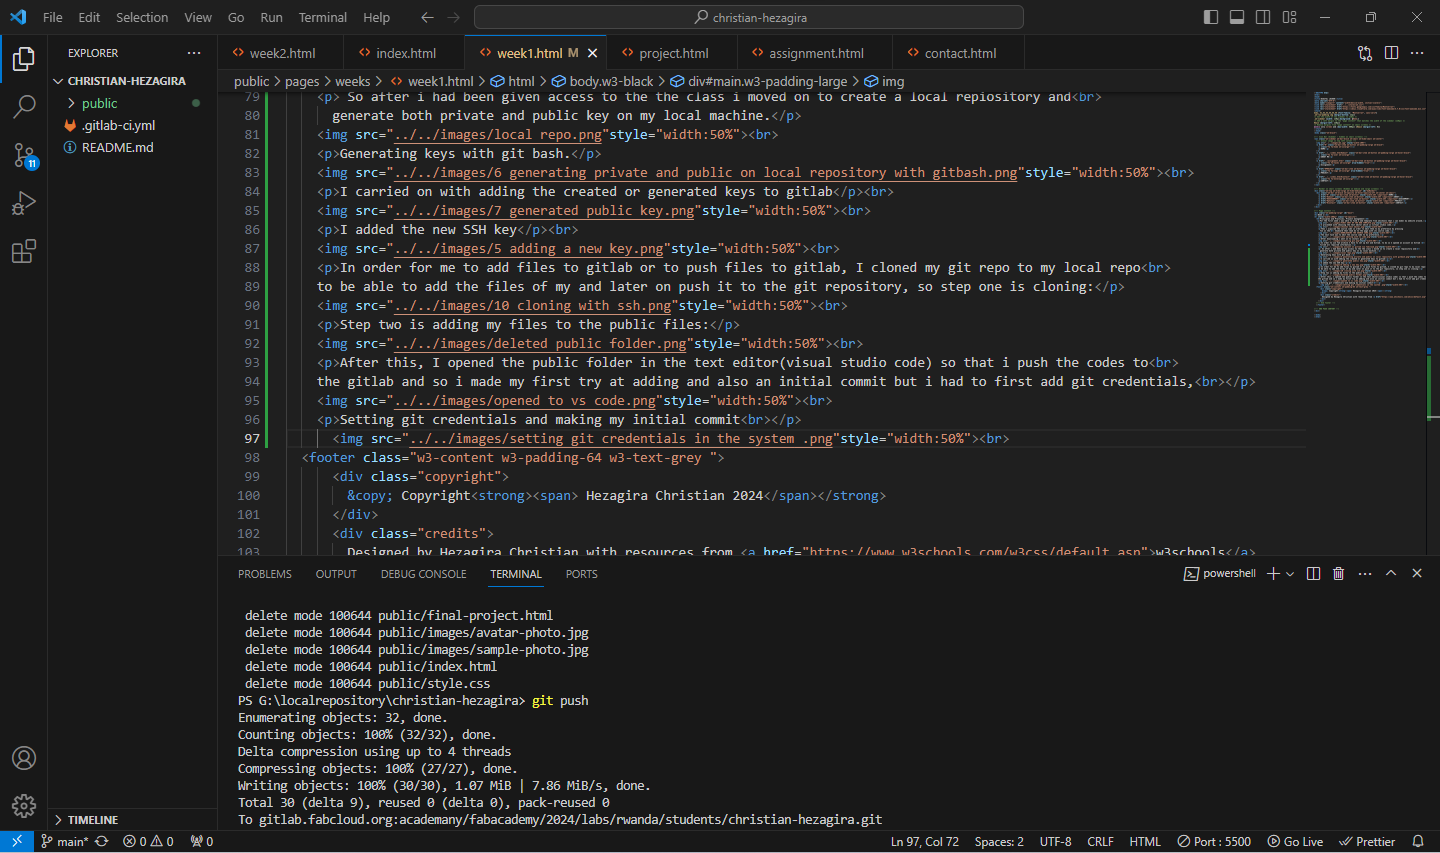
Setting git credentials and making my initial commit
Pushing files to the gitlab repo
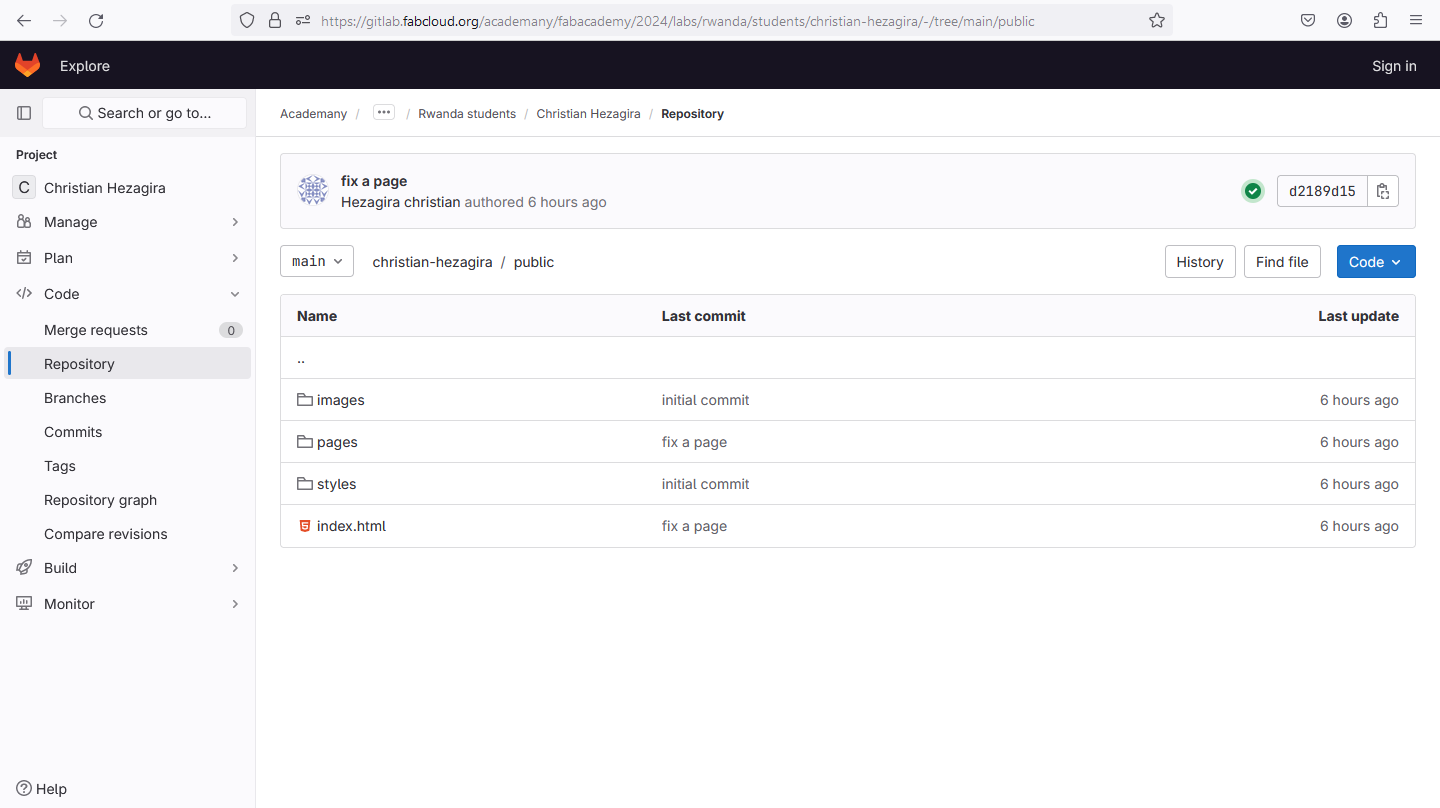
Files on my gitlab repository.
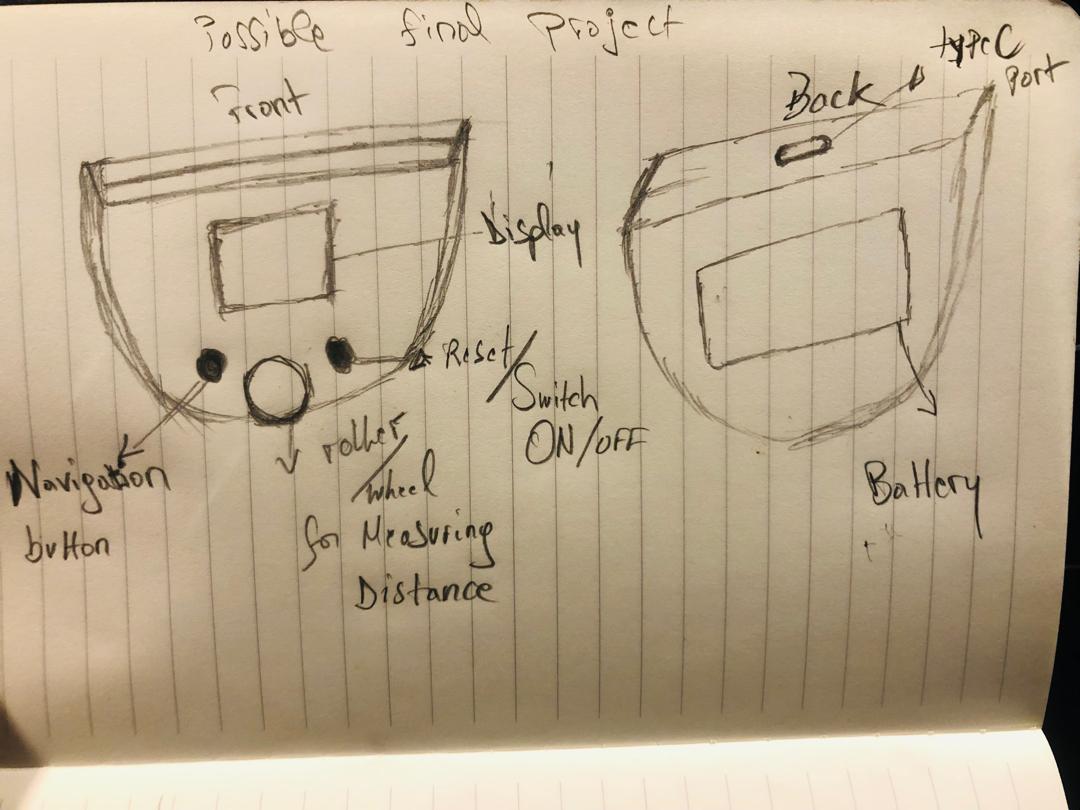
Potential final project.
The project i will be doing is the Digital measuring tape so below is a picture of what the project will be looking like but i haven't added full information due to everything changing while develloping the project.
Student Agreement
Student Agreement