16.Wildcard Week
Print your footprint
This week I loved it, since we could do a job with some experimental technique, in my case I am a printer and I would like to show you a little bit of my work, in this case I chose screen printing since this printing technique mixes digital and manual skills to the completion of the work.
This form of marking is one of the most traditional and widely chosen by companies to personalize a wide variety of products. It stands out for its ability to reproduce high-quality designs on different surfaces without losing details.
Thanks to its repetitive nature, once the first model has been created, printing can be done hundreds or thousands of times without losing resolution. This makes it an ideal option for mass production of promotional gifts and personalized items.
File Preparation
The first thing we must do is design the image, it must be positive or negative, depending on the result you are looking for, to avoid getting tangled we will leave it in monochrome, in this case we will do something simple as an introduction.
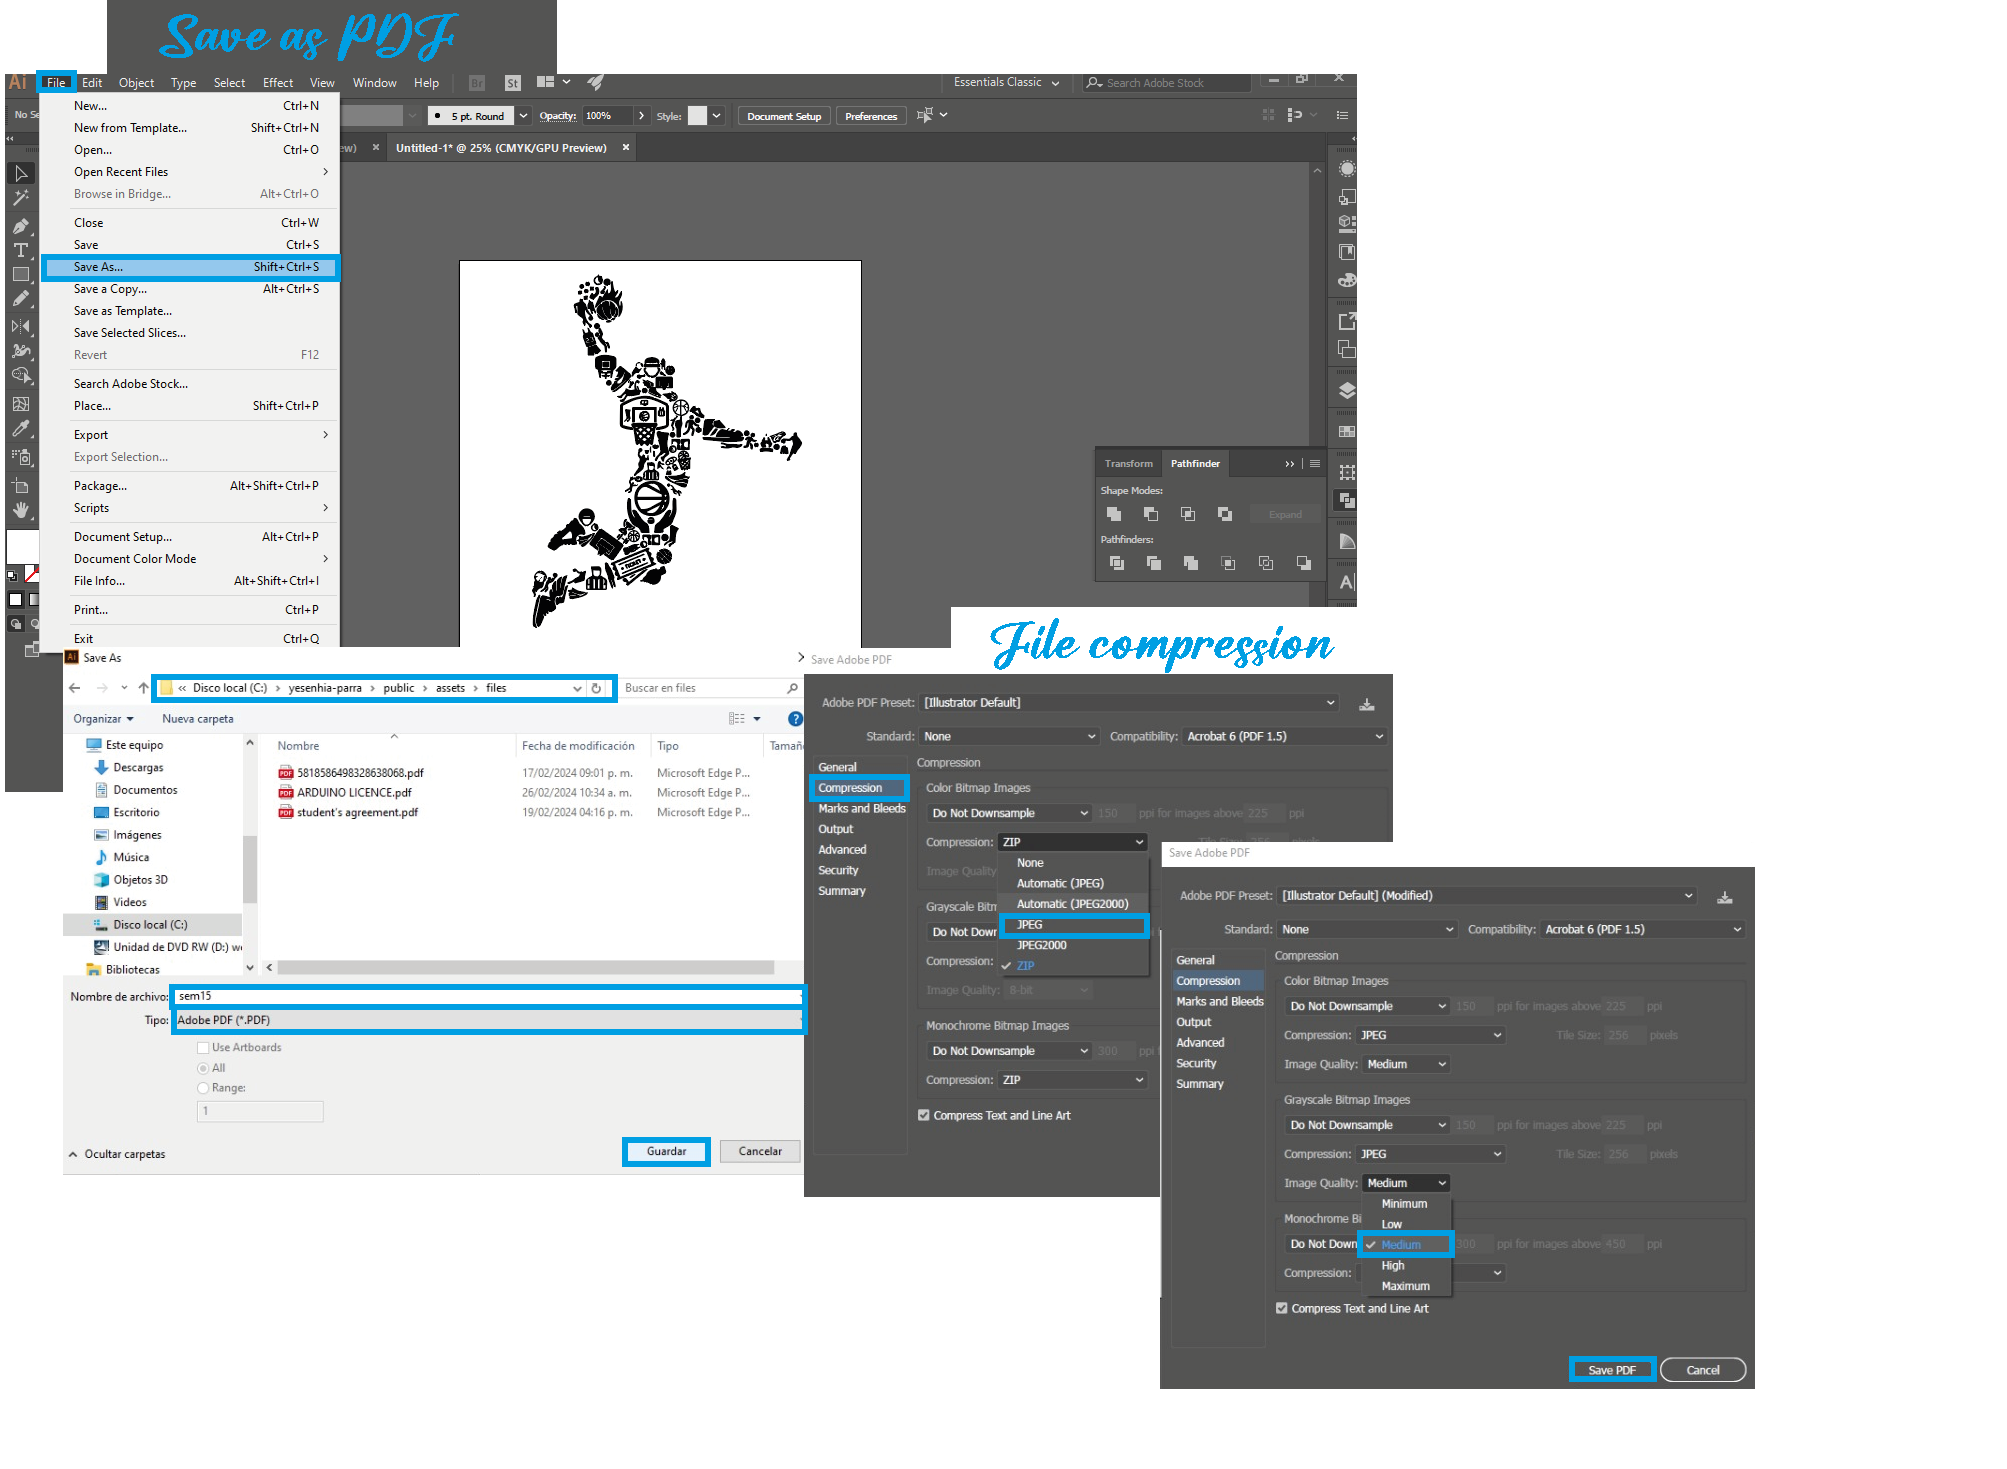
In the program of your choice you must make a drawing like a clay, leave in black everything that we want to be printed, in my case I used Illustrator, in a letter size which is the format that we will print, once finished it can be saved as an image or as a pdf to later print.
Impresión
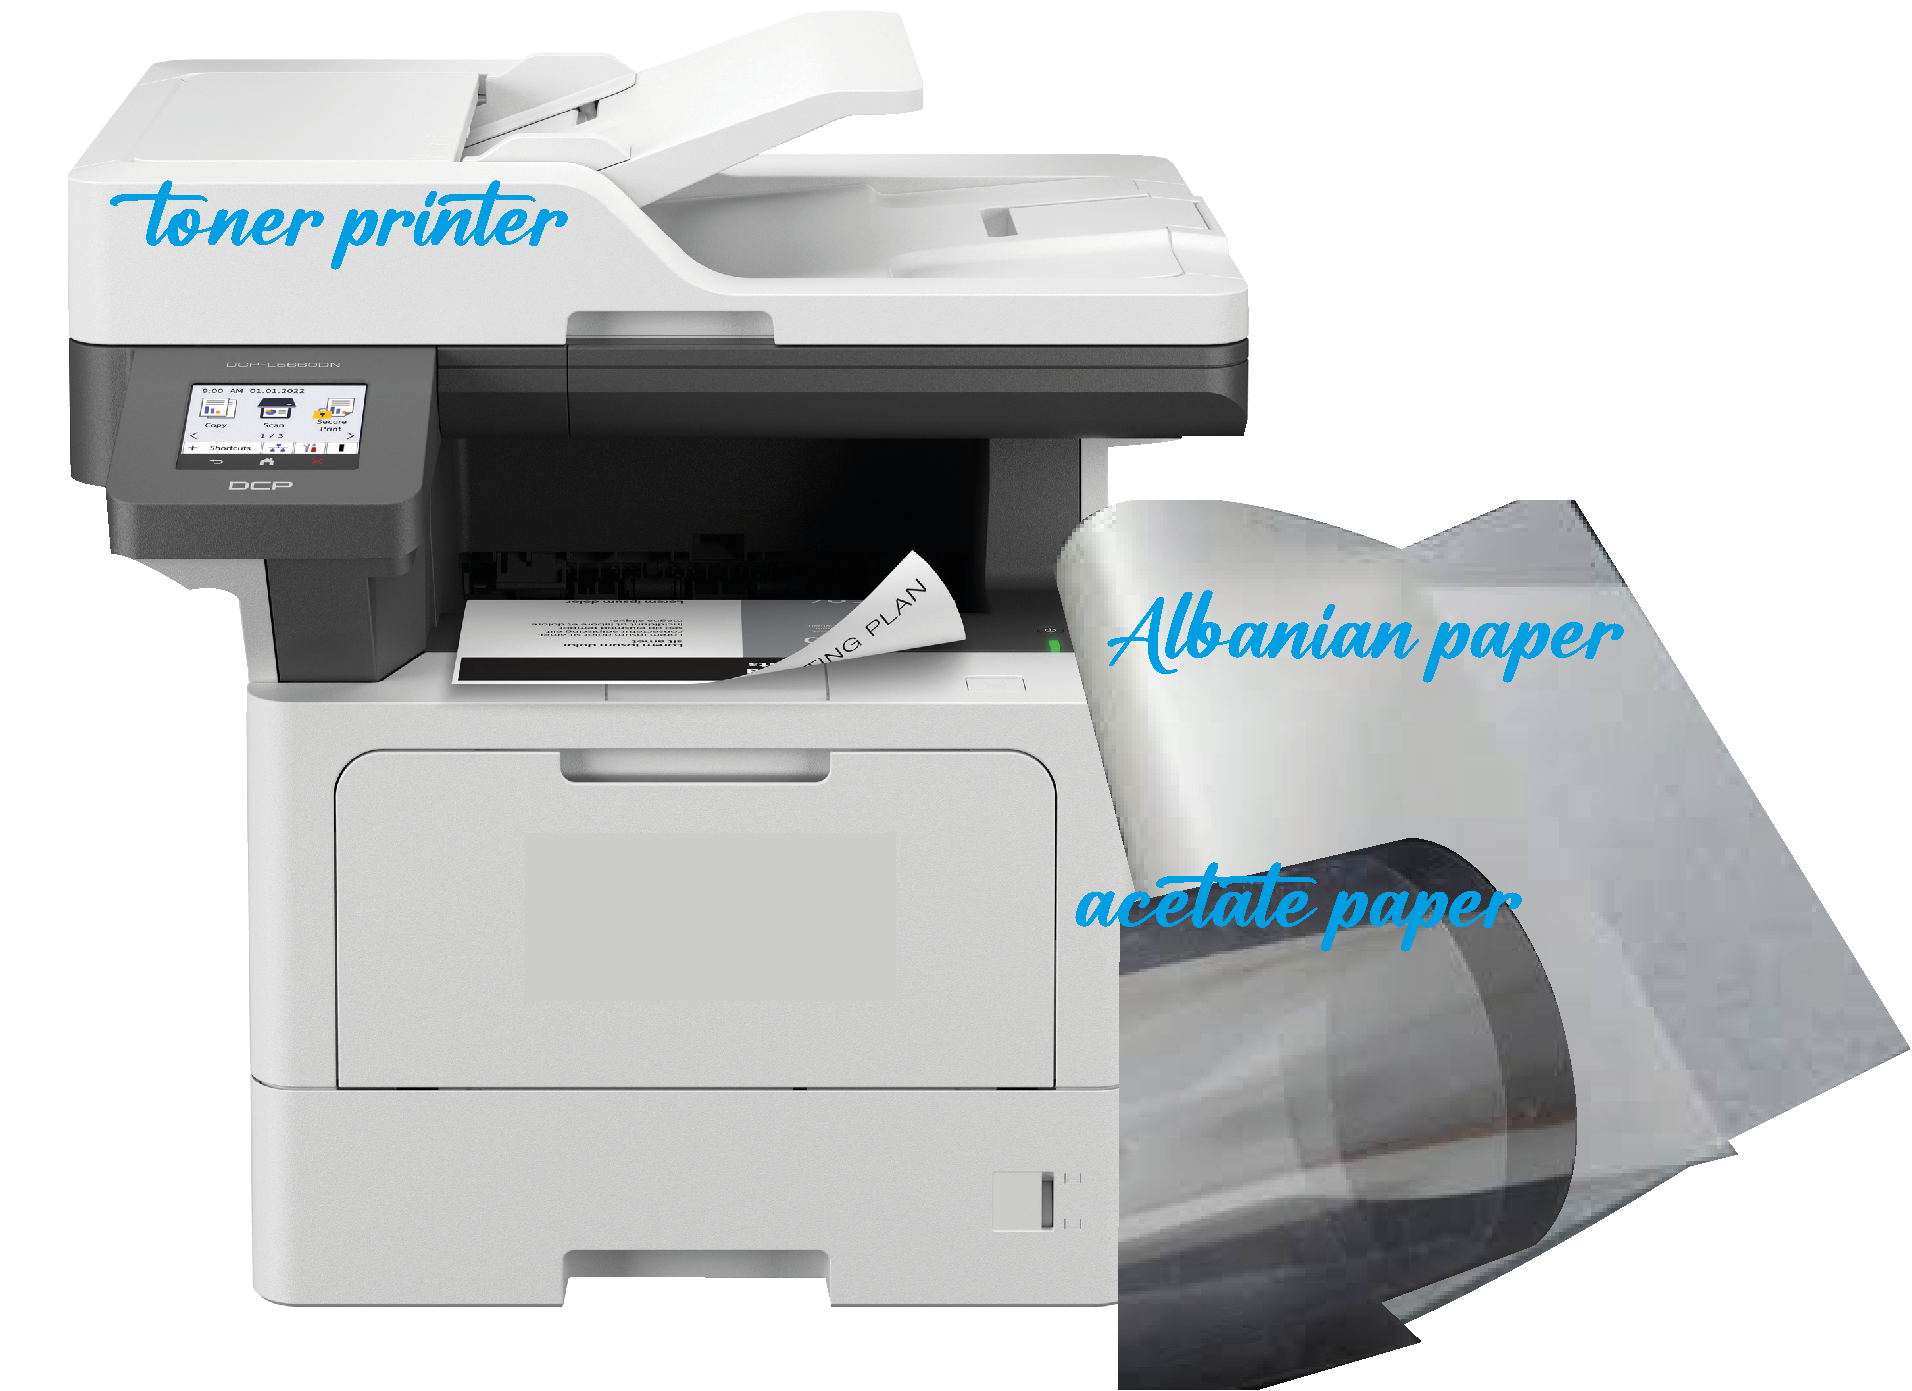
The file is printed on a toner printer, on albanene or acetate paper.
Emulsified / Developed
Mask with cinnamon tape or large diurex.
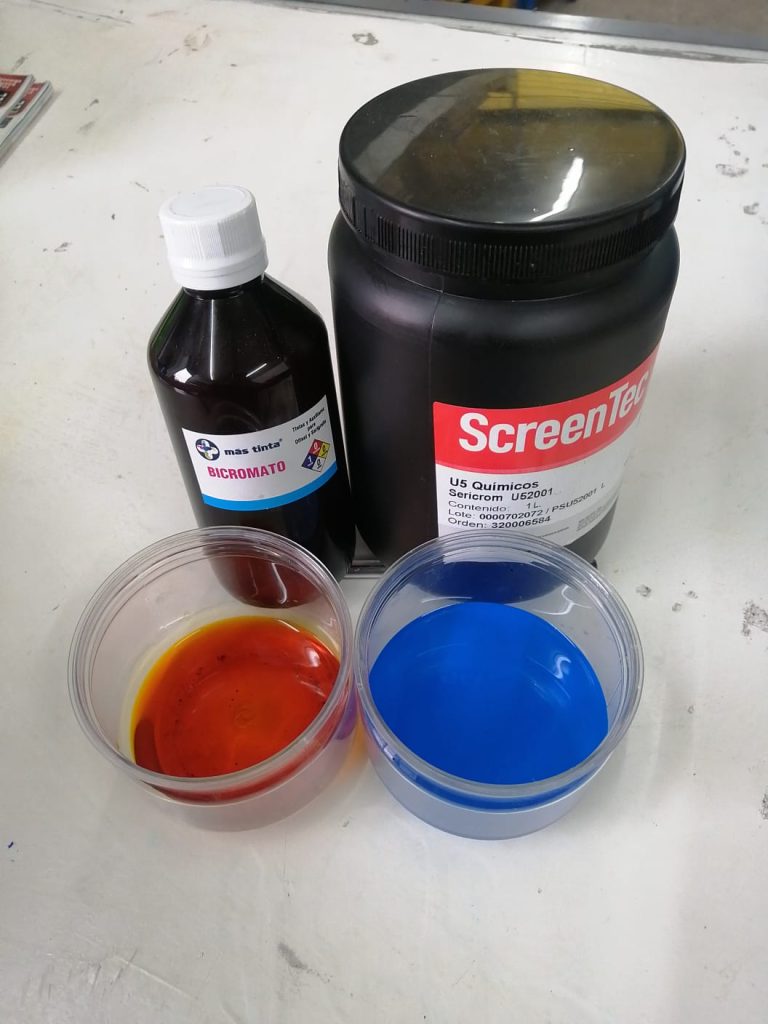
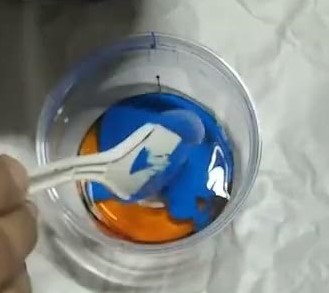
Mix 10ml of sericrom and 2ml of dichromate.
Rest for 30 minutes so that the air bubbles come out.
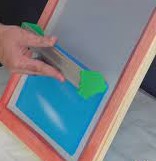
Apply evenly in one direction on both sides.
Let it dry well (you can speed up the process with a hair dryer, fan, etc.).
Place the original, cardboard and glass
Develop for 20 seconds (Mississippi) in the sun.
With the flifli remove the surplus
Printing
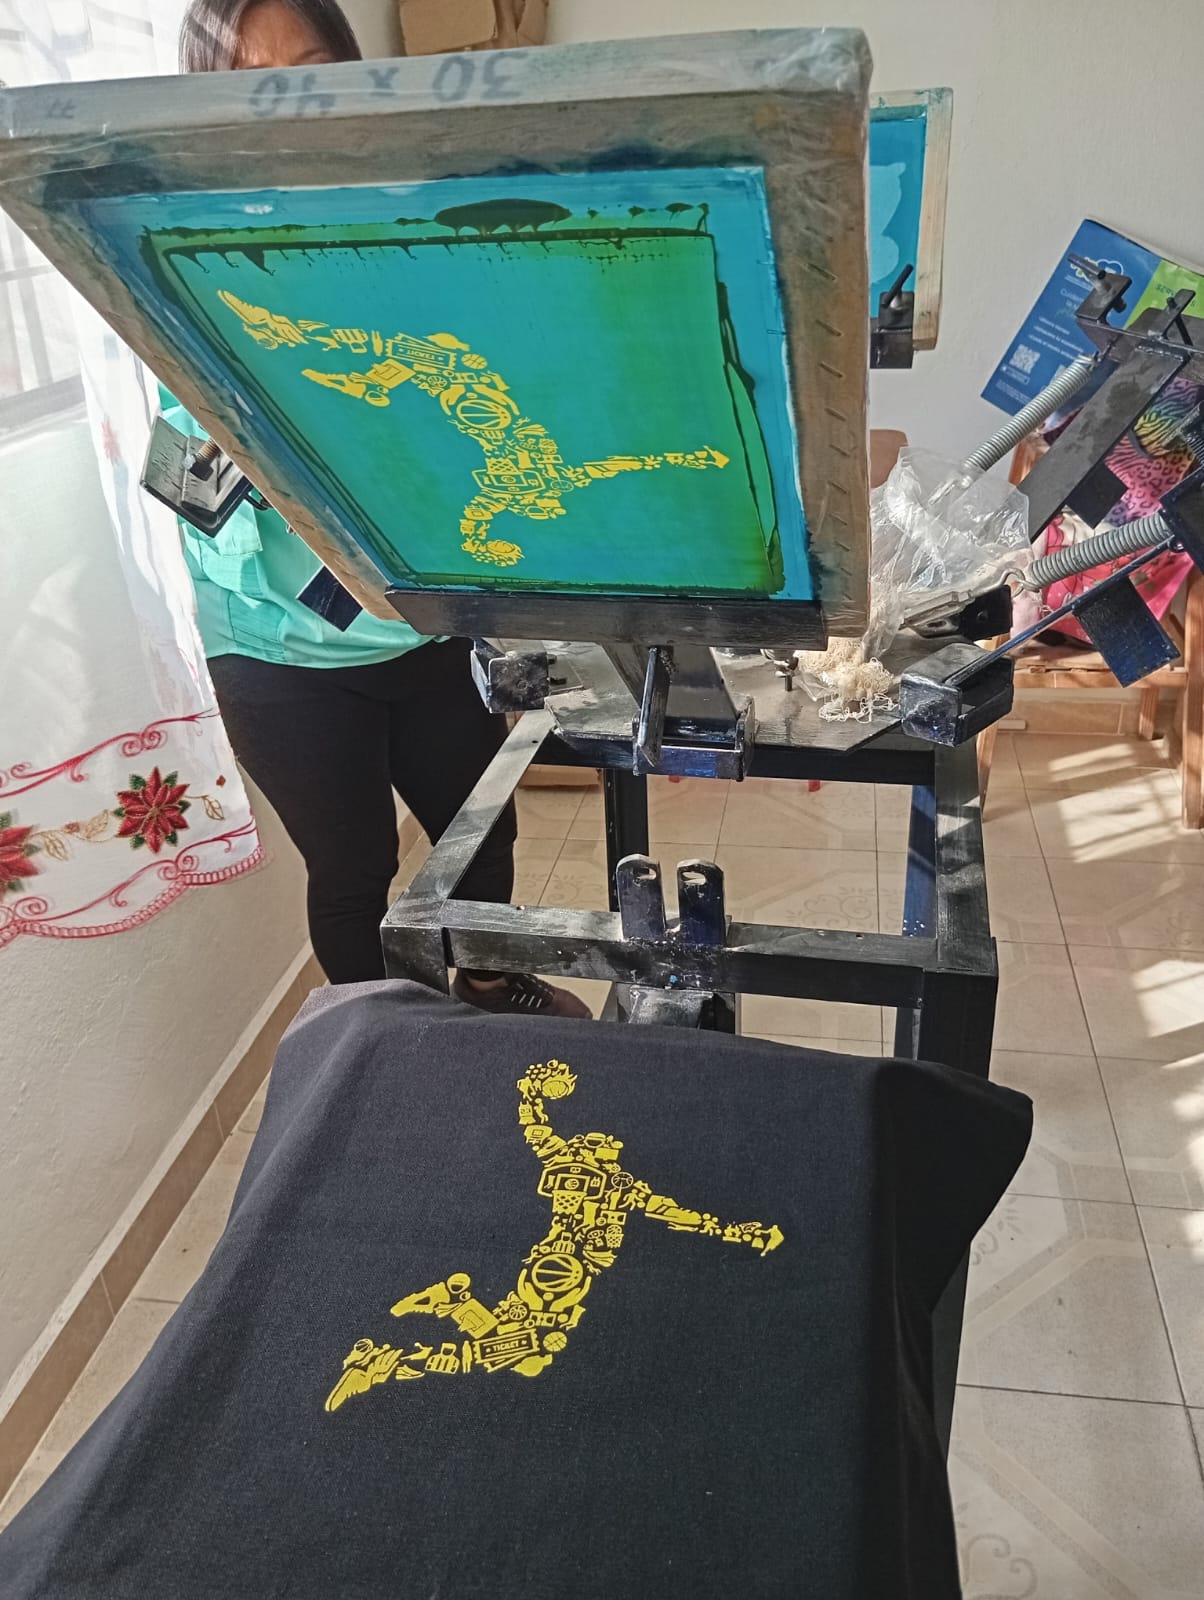
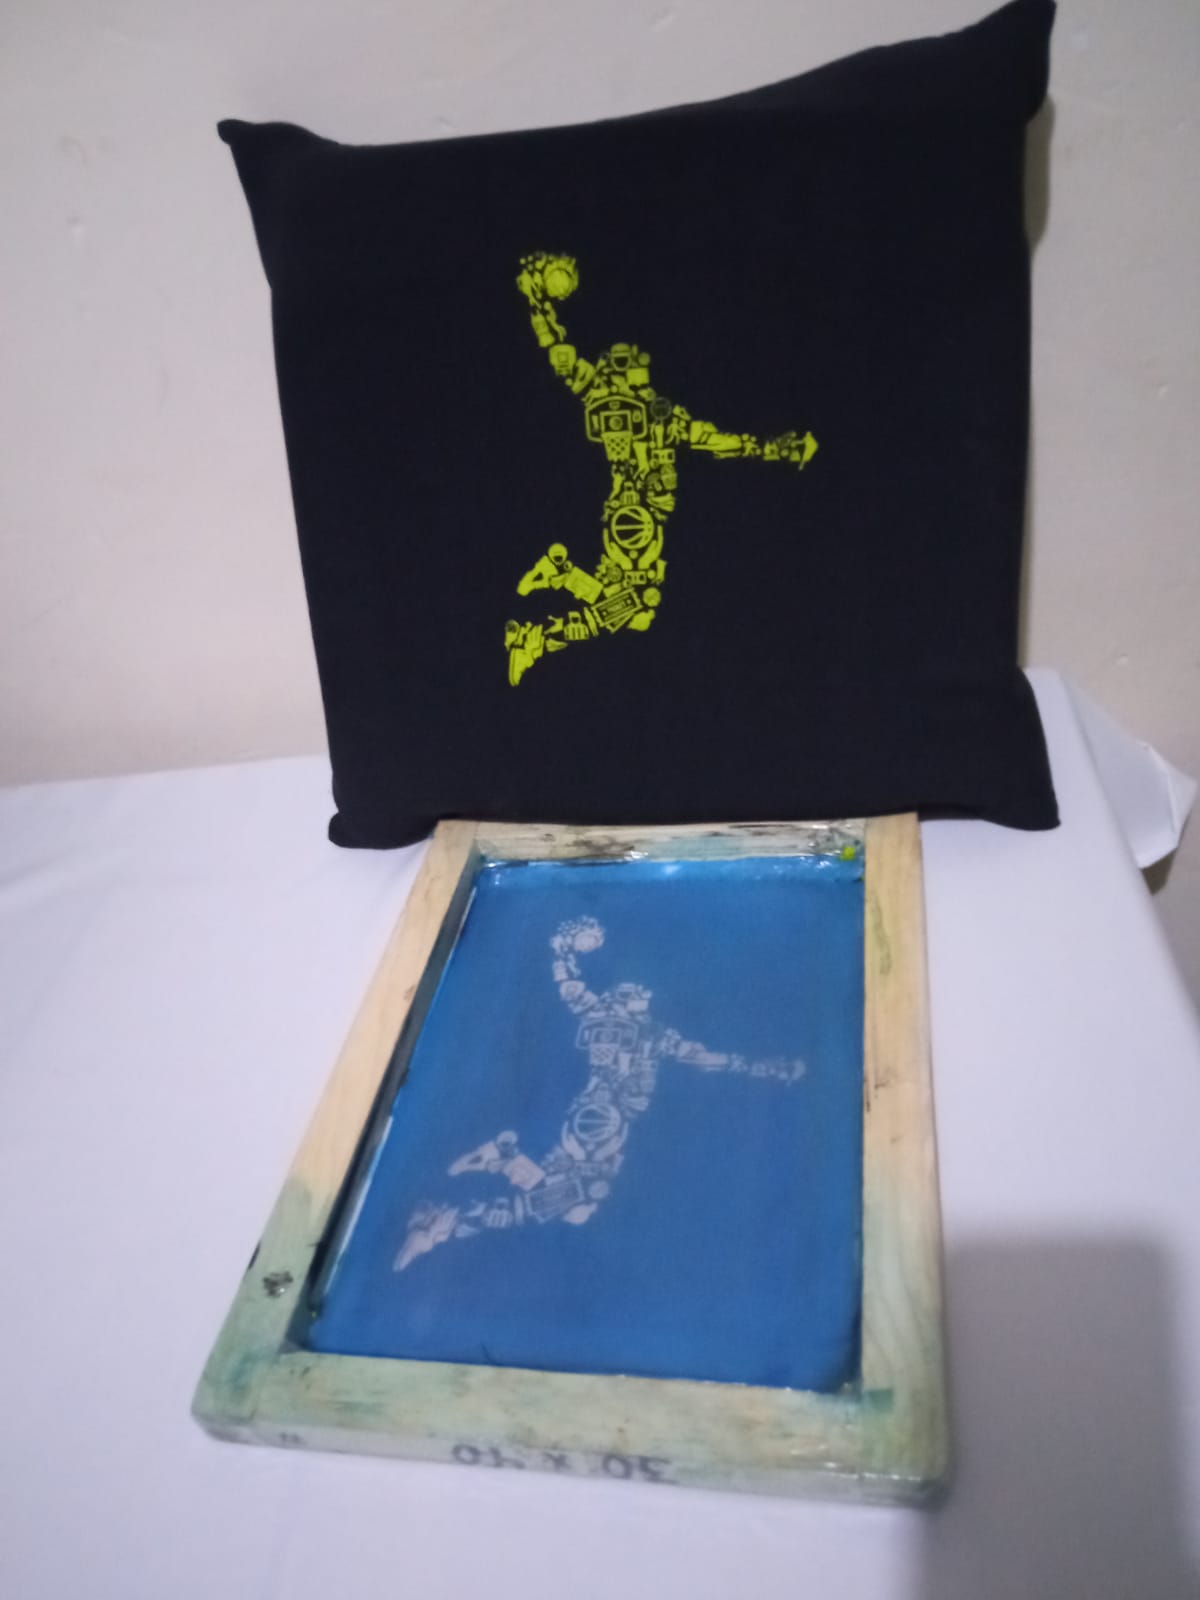
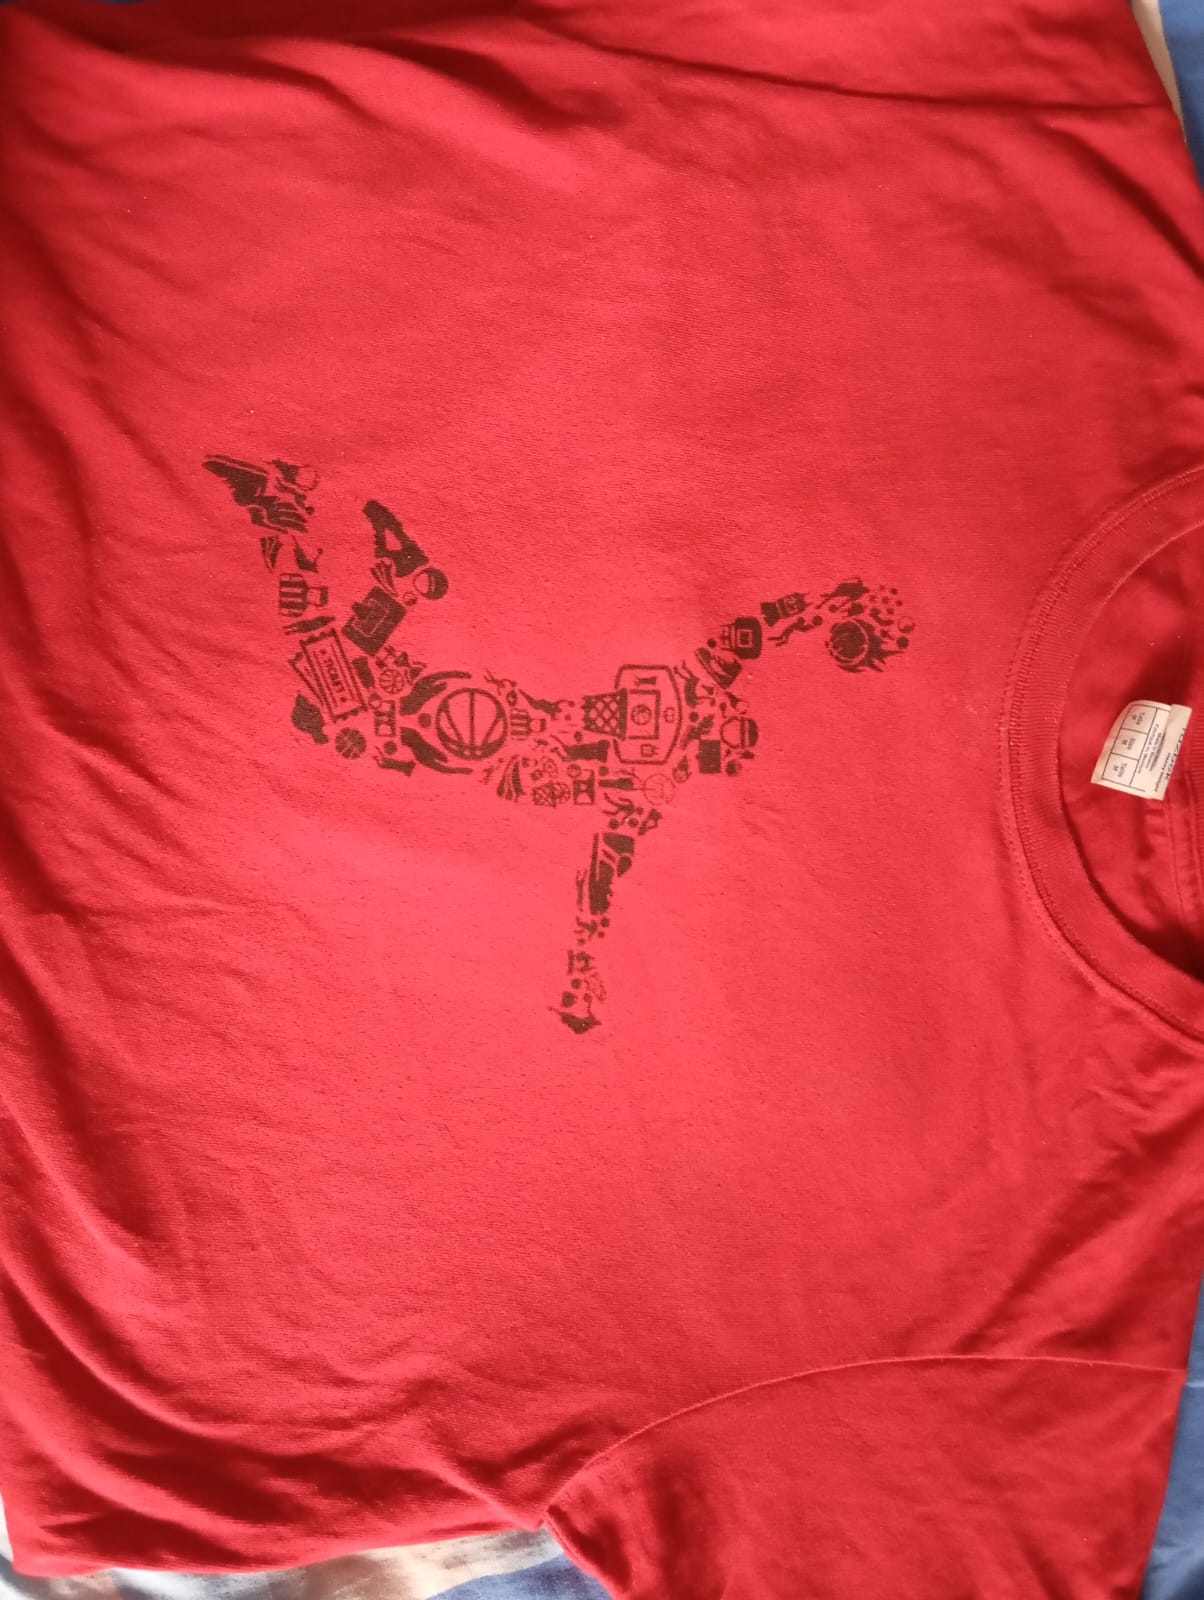
Once we have our mesh developed, we go to the press, where we will print our design on a t-shirt and a cushion.
This step is quite simple, now all that remains is to put the mesh on the printing octopus and place the article to be printed on the base. Once this is done, you put textile ink on the mesh and with the help of the racer you run it to make a load.
Once this is done, the mesh is lowered onto the garment and the ink load is returned, allowed to dry a little and finally ironed.
