12.Moulding and Casting
For this week we have to work on designing and making a mold for molds, this was initially difficult to understand since I left with the idea that the mold only worked to make the figure I wanted, but no, we really had to take out the mold that would give us the mold to generate several pieces.
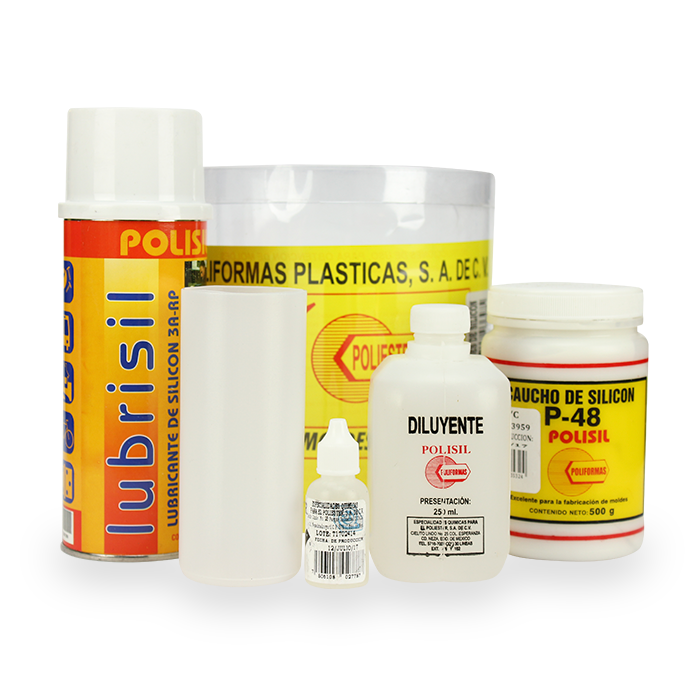
For this activity, use the following material: Silicon P3, its catalyst, release lubricant and bubble thinner, which I show you below.
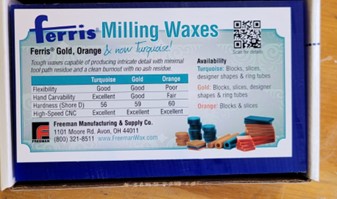
I also used a bar of Ferris Talling wax, 1L
Individual work
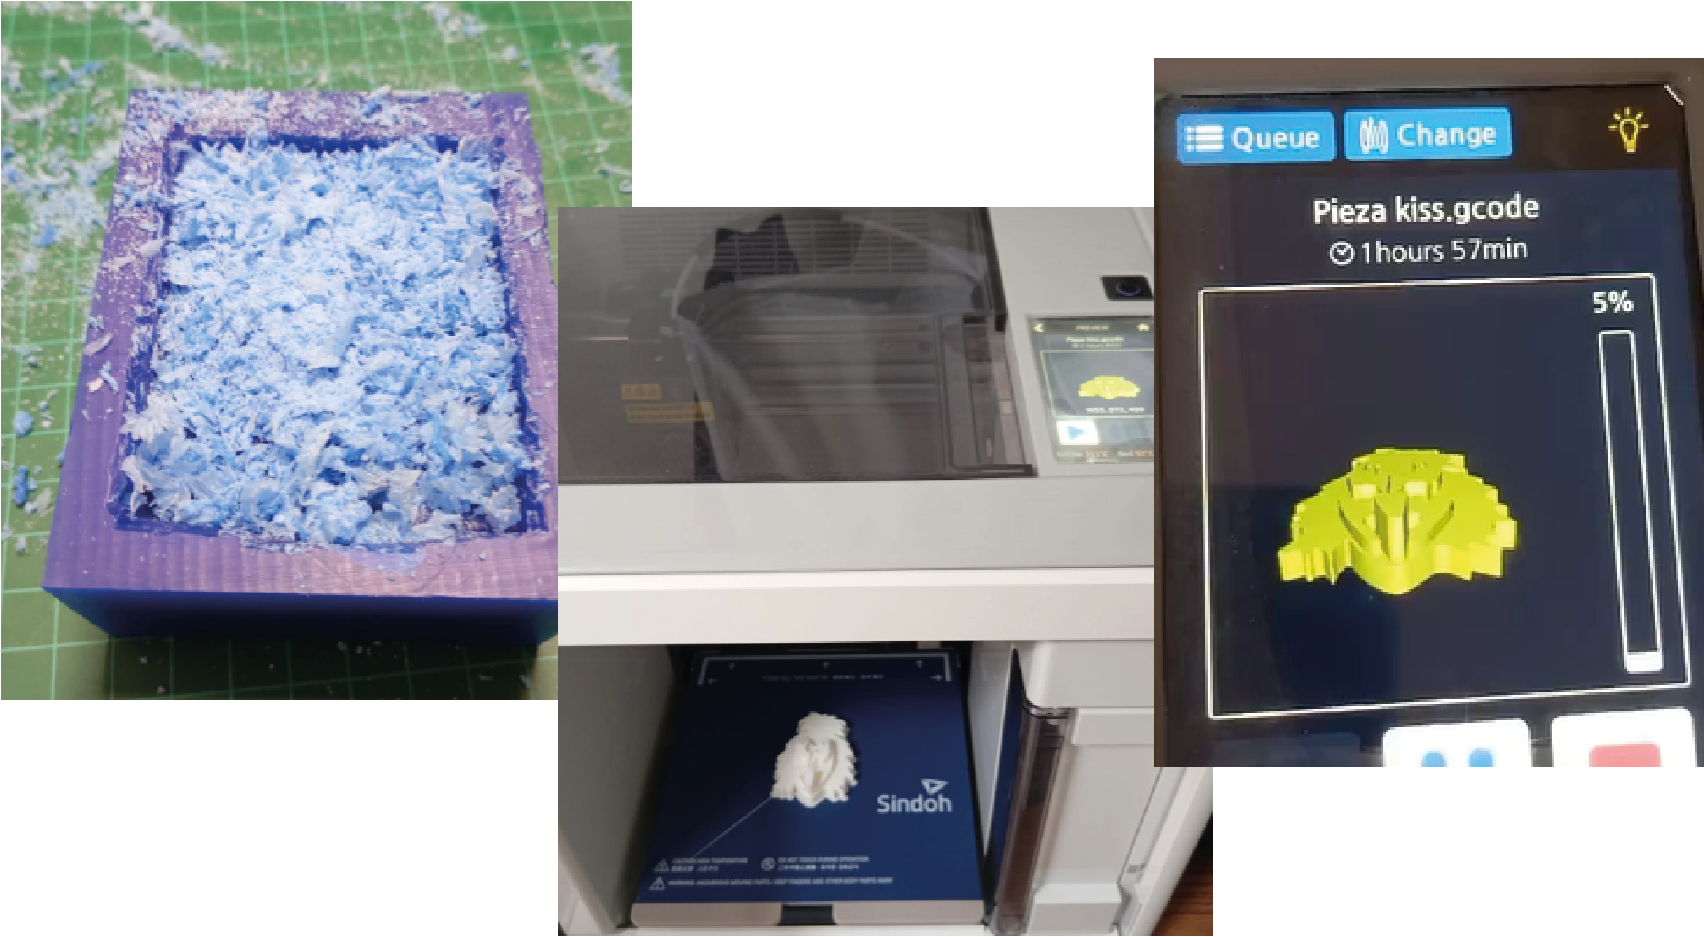
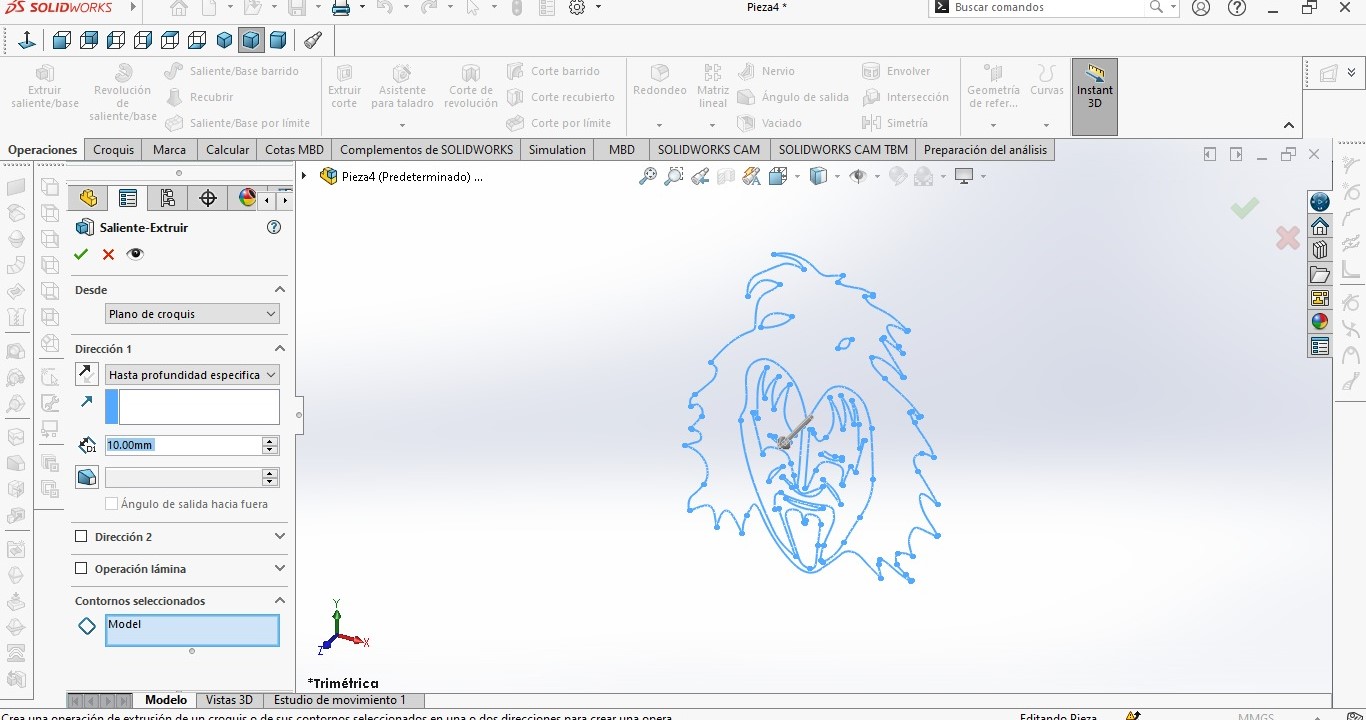
For this week I returned to the file from last week with the shape of Gene Simmons, this was done in solidworks, the whole process is in week 5 (link), try to generate the mold of molds from this piece that I already had, but when it came to separating the blocks the function was not cocreted. I will describe the process I carried out: In this technique, blocks are added and the piece that I will use is examined to first add the upper part of the mold to the origin, then the section of the piece that I am going to use is added and positioned at the origin and lastly the other side of the mold is added.
We must carry out the cavity process, this is done by working with one side of the sections, with the top piece we can edit and indicate that it should be taken as a reference > options section > cavity, here we add tolerance parameters and it should automatically be Taking the section as a reference for what we are working on, the same process is subsequently carried out for the next side of the mold.
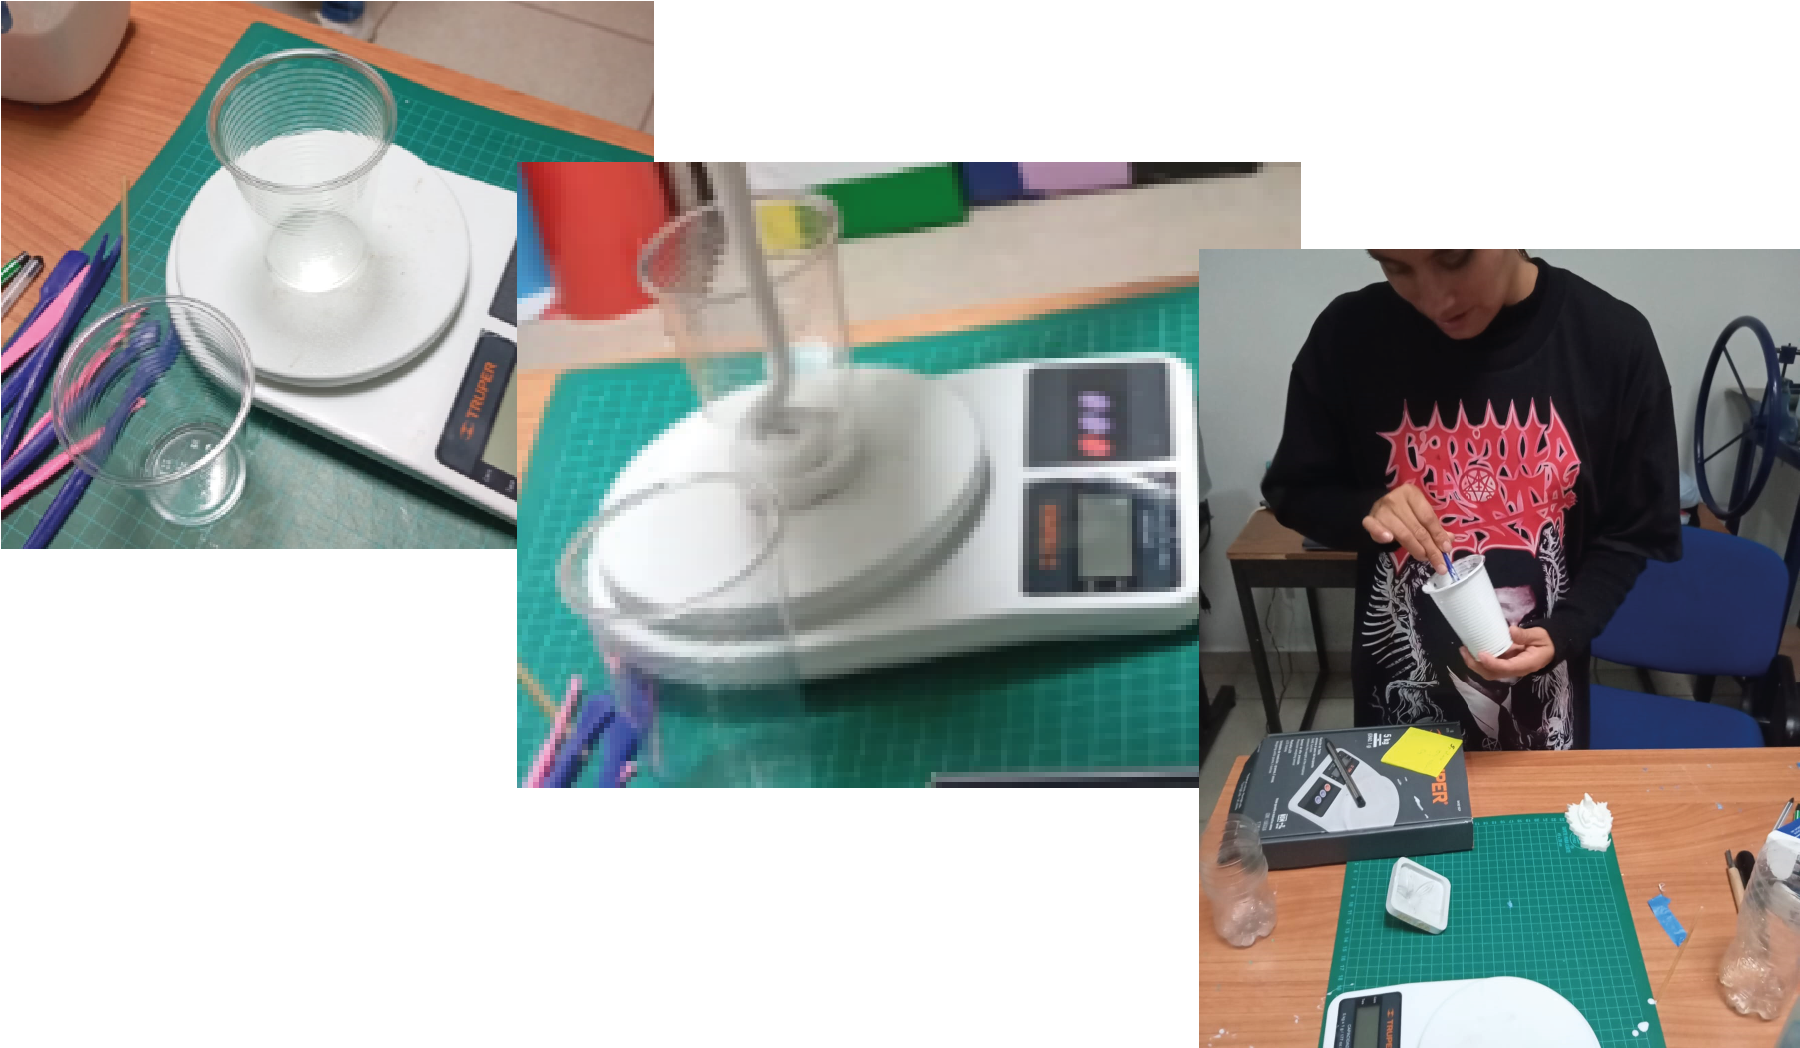
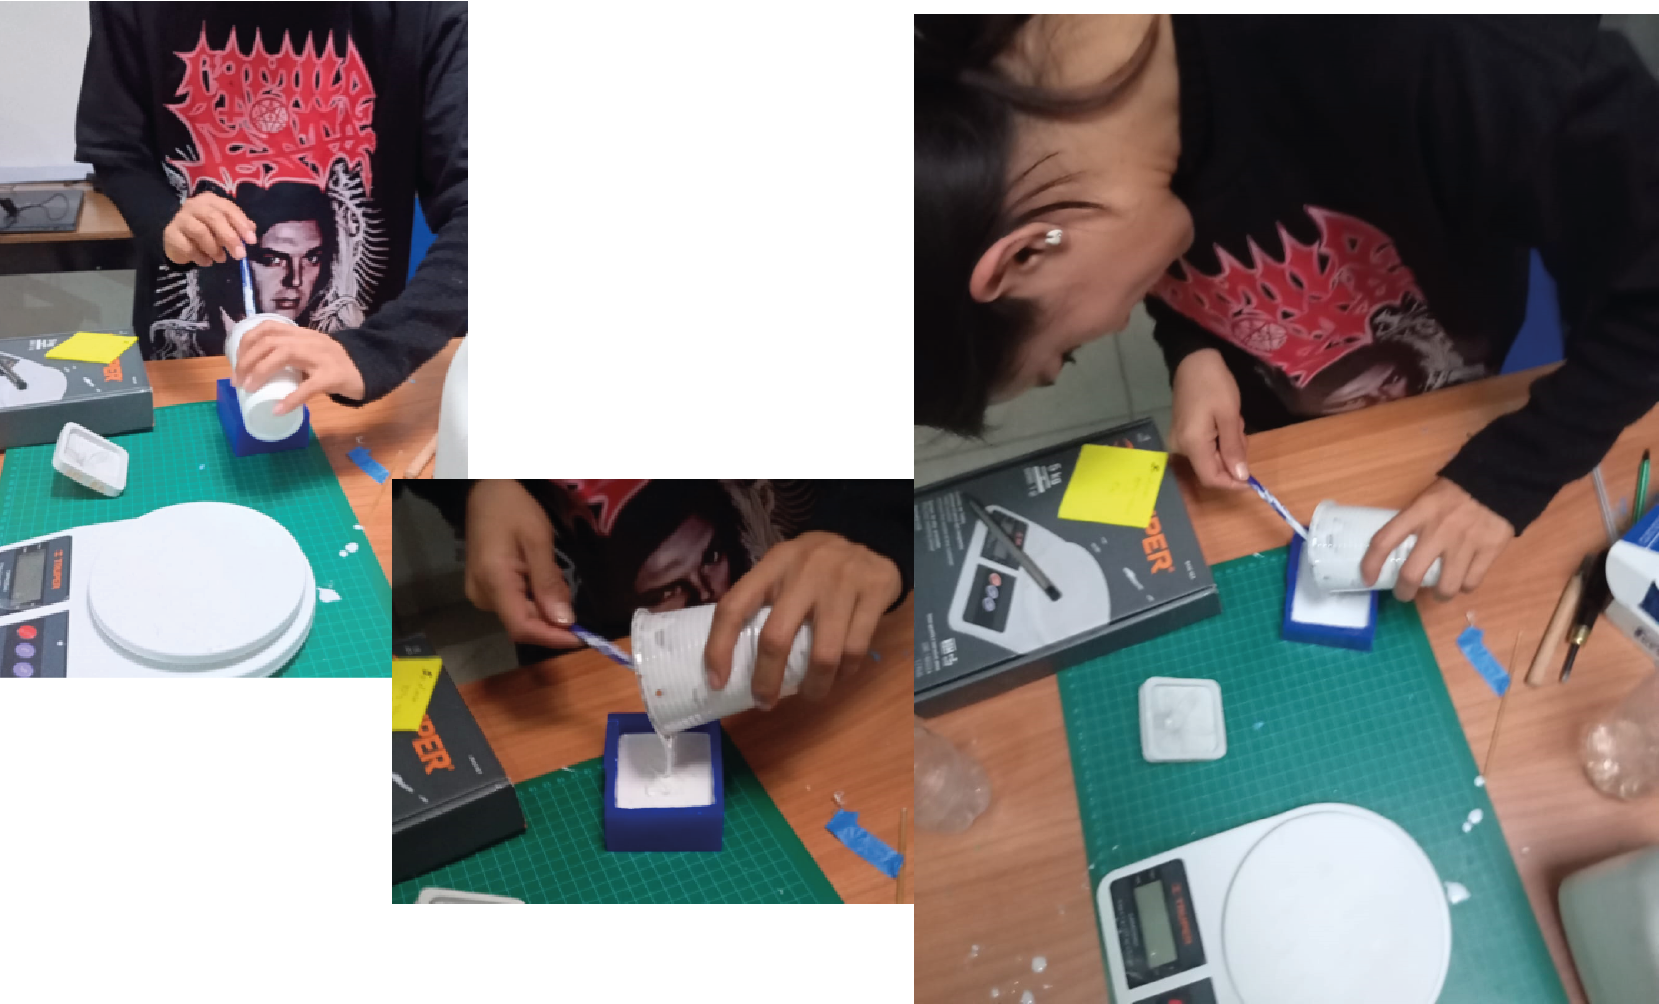
To make the mold, use 100% P3 C/C silicone rubber and 10% Tp catalyst, weigh the elements so that there was no error, mix carefully so that the entire mixture was uniform and pour into the previously lubricated mold, wait approximately 72 hours for it to dry completely.
