WEEK 5 3D SCANNING AND PRINTING
This week we did some 3D scanning and printing activities. I learned how to use new tools; we'll be working with different materials, and at the end, I'll show you the results. So let's learn more about this new way of working, but first, let me explain.
What is 3D scanning and printing?
Okay, often when we hear the word 3D we can imagine shapes or figures with a different style, but we don't always know the process behind many of the things we commonly see. Let's start by talking about 3D scanning. This process is done to digitize a physical object we want, achieving a detailed replica to then move on to 3D printing, where the digital model is taken and a three-dimensional physical object is created.
3D SCANNING
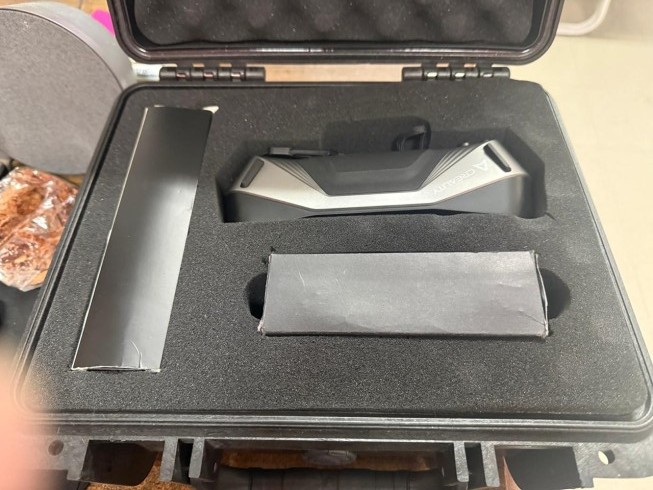
CR-Scan Raptor
Our first tool for this activity is this high-precision scanning device which combines blue laser and infrared light to be able to capture objects from 5mm to 2000mm
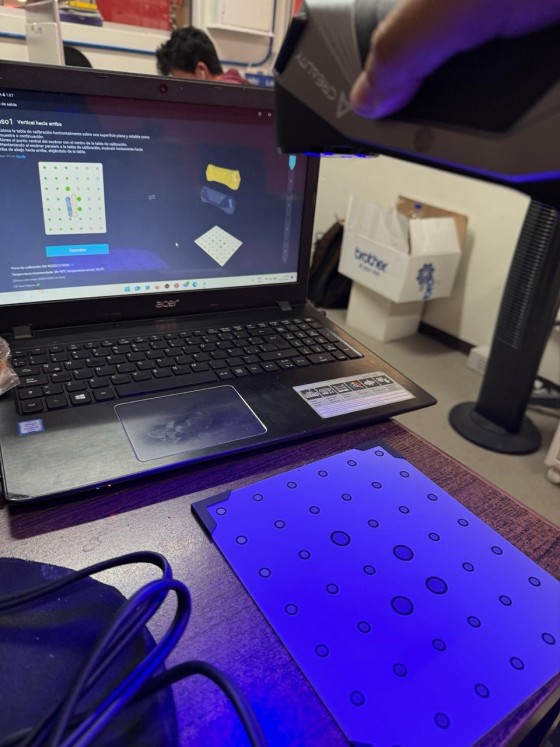
CALIBRATION
Before starting work, we must perform a calibration. We can observe the plate which has the pattern points. We also observe the laptop screen that guides the user through the process. It is very important not to omit the calibration step to ensure better geometric accuracy.
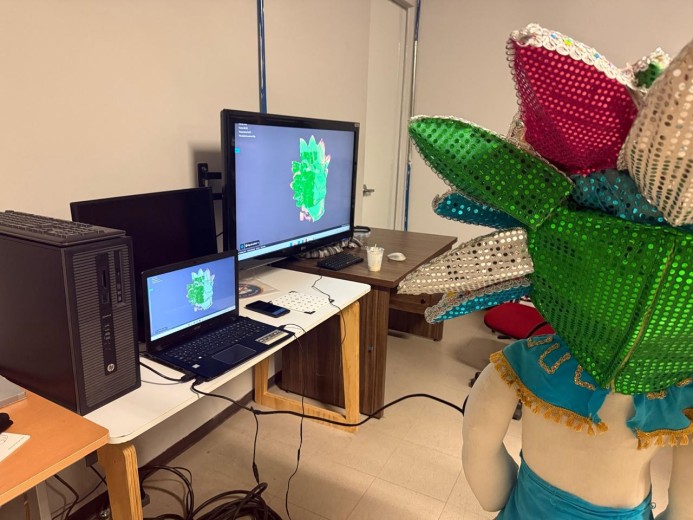
OBJECT
Okay, now we'll start by selecting the object to scan. I chose a rag doll about 1.30 meters tall with different shapes, which makes it a bit interesting. The images show the shapes and details in more detail, which I'll have to scan to get a clean and complete result.


To work more comfortably, we will place the object on a stable surface, which will allow us to have 360-degree freedom of movement around it.
SCANNING PROCESS
Once the scanner was ready and properly calibrated, I placed the object on the work surface and began the scanning process. To do this, I held the scanner and moved it slowly and in a controlled manner around the object, taking great care to maintain an appropriate distance. During this process, the scanner began to capture the general shape of the object. It was very important not to make any sudden movements to prevent the scanner from losing its reference point. I also watched the screen as the system began to record the information to rule out any errors.
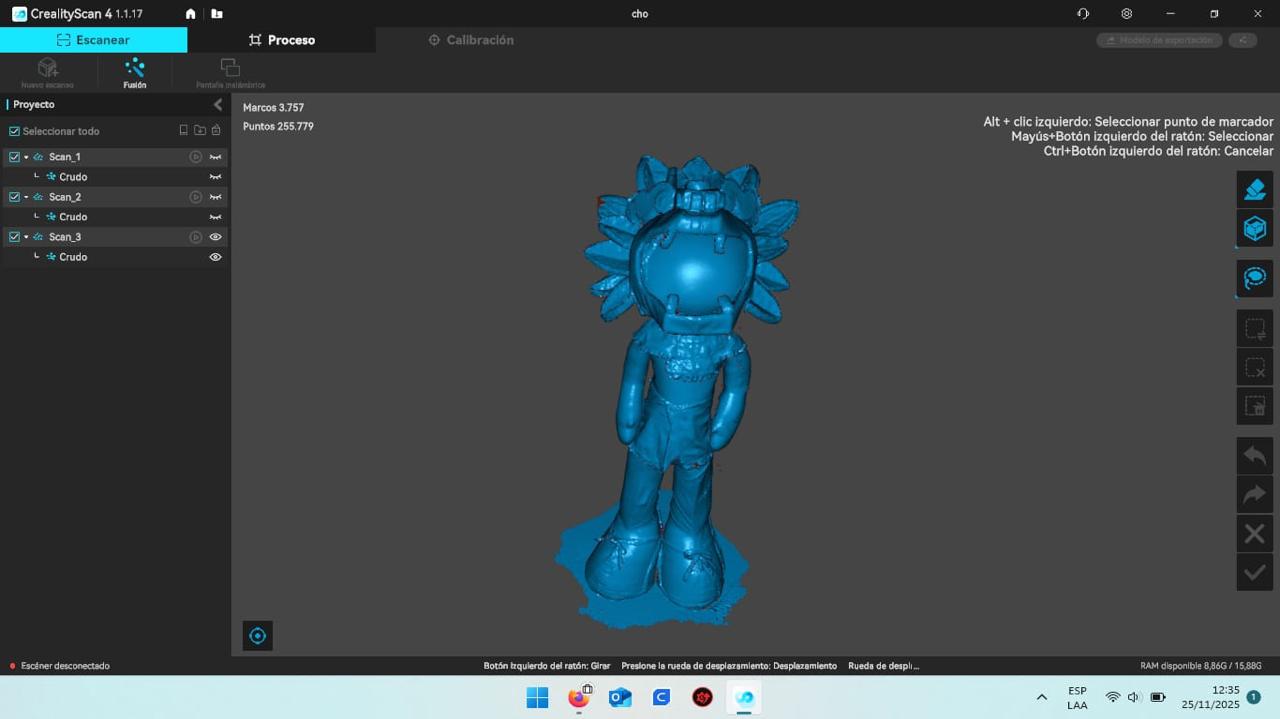
FINAL 3D MODEL
Finally, I get the complete 3D model. Here I can clearly see the shape, details, and overall structure. It still requires cleaning and editing to close surfaces, among other things. However, the model is now ready to be exported and used in other applications, such as 3D printing, which will be our next activity this week.