
WEEK 10 OUTPUT DEVICES
This week we will be working with output devices, explaining what they are and how they work. Ultimately, the goal will be to understand their behavior. As in previous weeks, we will also be working on programming to bring this activity to life.
What are output devices?
Now, a brief explanation of what output devices, also known as output peripherals, are: these devices perform the function of translating information into visual, auditory, or printed formats. Everything the system processes internally needs a way to output, and that's where these devices come in.
EXAMPLES
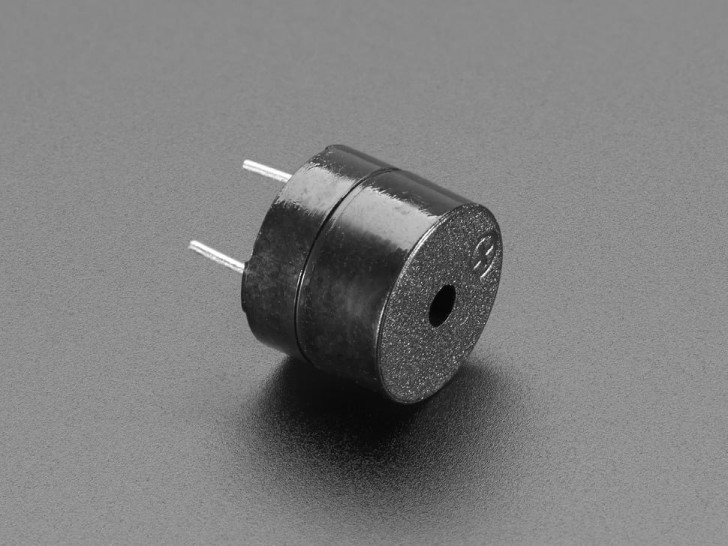
Buzzer
This small object is a transducer which converts electrical energy into sound. There are two types of buzzers: passive and active, and they also have a basic positive and negative connection.
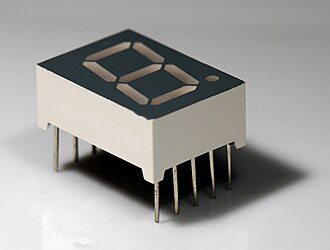
Display
Its function is to display information, usually numbers, through electrical signals.
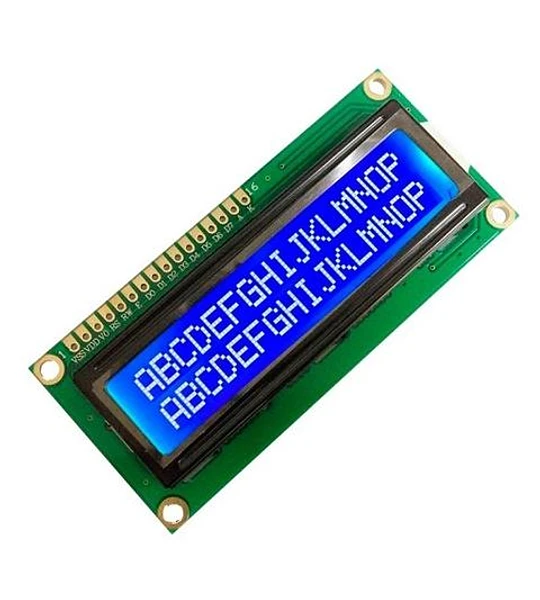
lcd screens
This device serves the function of displaying numerical information or texts which are programmed.
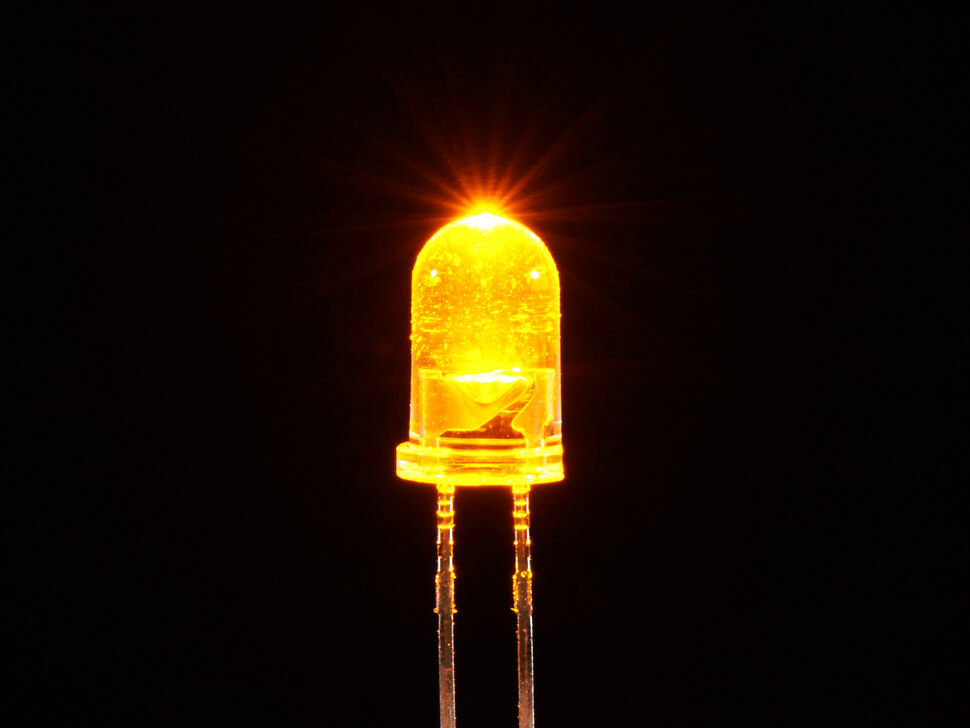
Led
They work by using electrical currents to emit light, acting as small indicators.