
SEMANA 1 INTRODUCTION TO PROJECT MANAGEMENT
In our first week we will learn the instructions for project management, analyze the tools that will help us develop, as well as a brief introduction to them and the main steps to start this project
Git Lab
One of the main tools we will use for the development of our project is a lightweight, free, and open-source source code editor.
VISUAL STUDIO CODE
We downloaded Git Bash, a command-line program we'll use to interact with our repository. After downloading the installer, we selected the options to customize the installation; one of them will determine the default software we'll use to edit our HTML code. Our preferred software will be Visual Studio Code.
START OF GITLAB
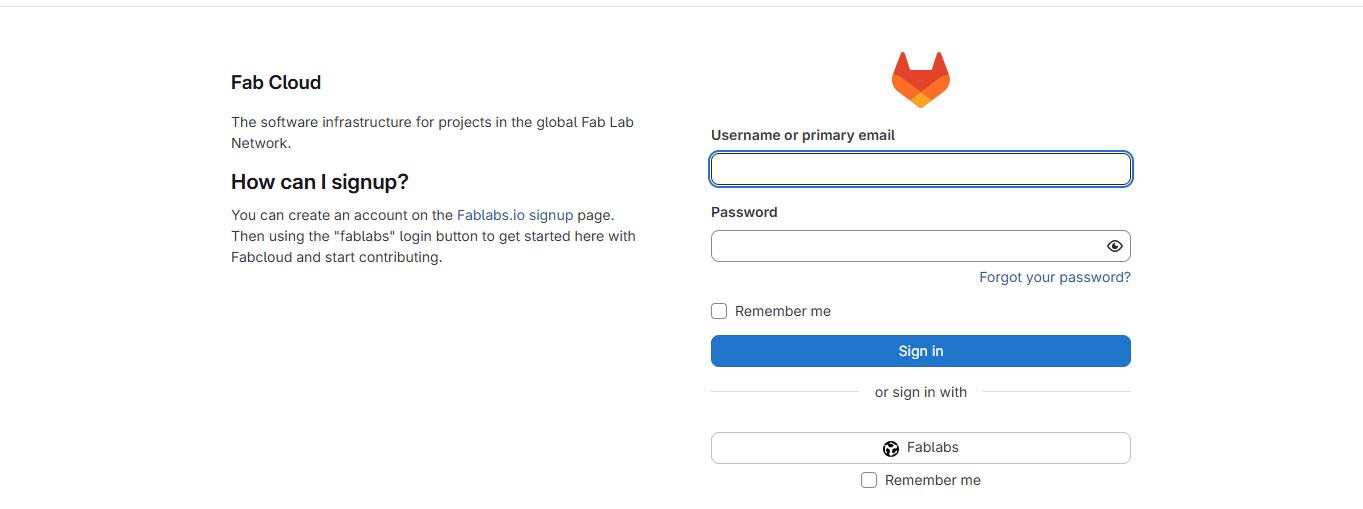
1.LOG IN
To begin working, the first thing we need to do is log in to Fablabs. It's important to have our username and password handy in order to access it.
2.CLONING THE REPOSITORY
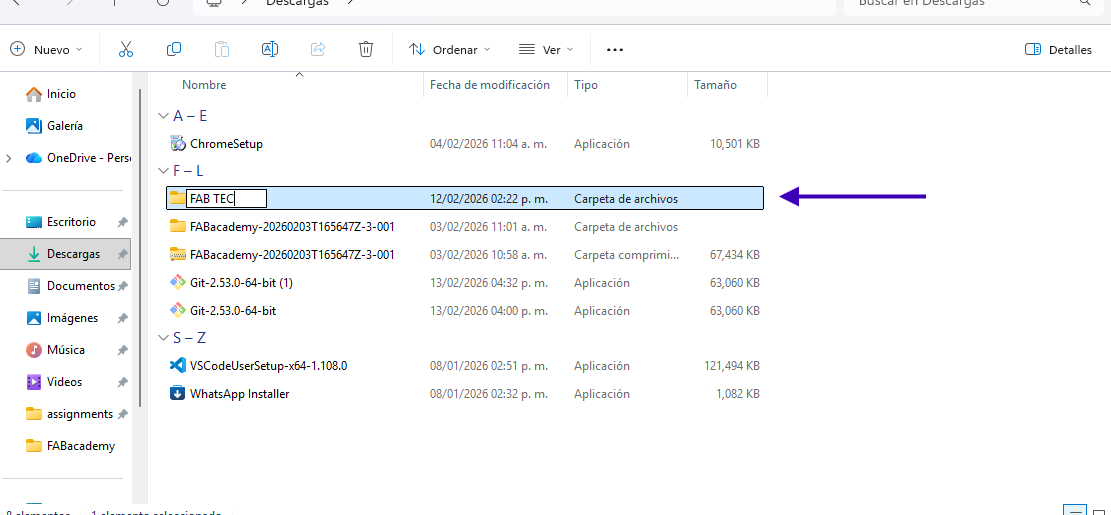
The first thing we need to do is create our folder as shown in the following image. This is where we will save all the documents, images, or elements that we will use for our project. In my case, I named it as follows.
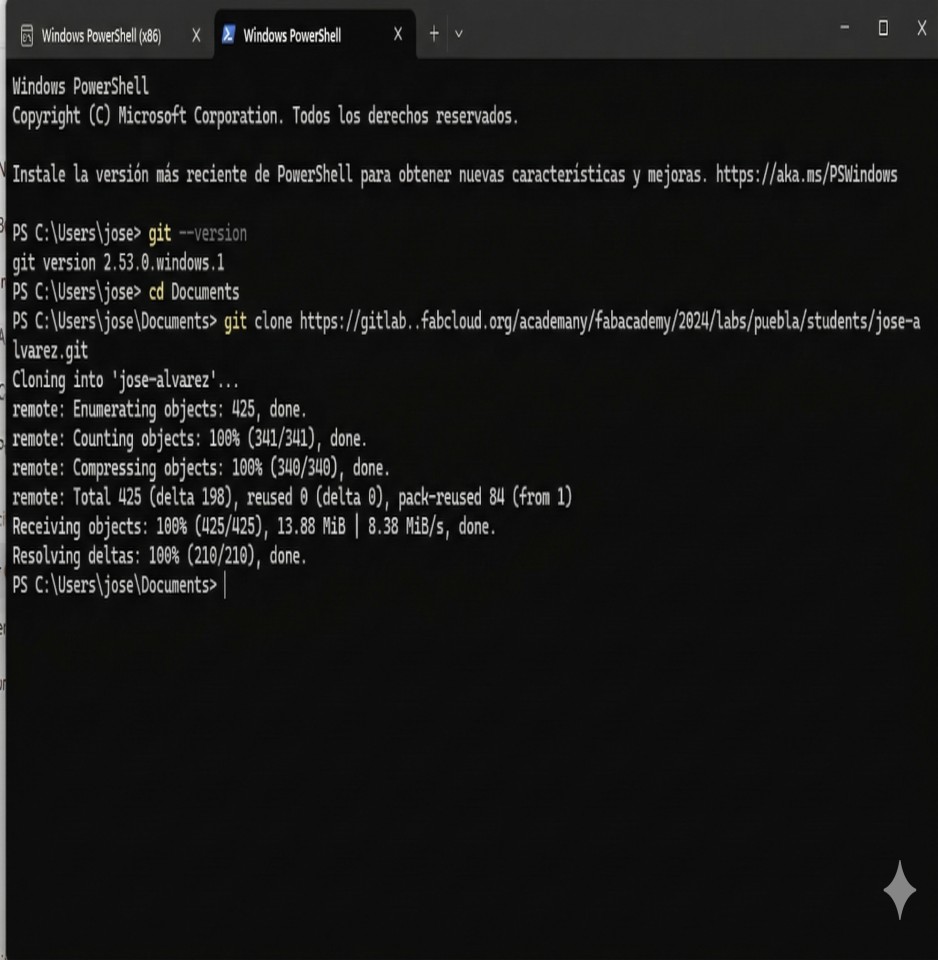
Once our folder is created, we open PowerShell to perform the cloning.
We follow this order step by step:
- We typed the command cd documents
- In the next line we write git clone followed by the link that we can find in our gitlab profile we will find a button with the name code when we click on it we will see two links and we copy the second one
- It should show us a "cloning into" message and our username.
- And that's it, we have the cloning of our repository
Example for better understanding of how I did it
It is important to mention that errors may occur during the process, which is why you should verify that you have the necessary tools installed before starting.
COMMANDS
For the entire process we carried out previously, we worked with different commands, the function of which I will explain to you. This is to further expand your knowledge and development of the project.
•git --version; This command will show us the version of git we have. It may seem like something not very important, but many times in the process errors can arise due to different versions, configurations, or other reasons.
•cd documentsThis command will switch us to the documents folder
•git cloneThe key command to clone a remote repository to our computers
BASIC CONCEPTS OF HTML
Now let's learn more about HTML together. It's a hypertext markup language and is mostly used for creating web pages. Thanks to this language, we can have better order in our pages; it serves as a structure for a web page and its content, for example, text and images. Something that stands out about HTML is that it is defined using tags.
Let's see what the advantages and disadvantages of HTML are:
ADVANTAGES
- It is an easy-to-understand language for those who are just beginning to learn; it can be easy to understand and use.
- It is a hypertext bookmark that works with open source code and runs in all browsers.
- It turns out to be cost-effective because it is a free tool and no additional licenses are needed to develop it.
DISADVANTAGES
- It is a static language, which is why it does not allow databases.
- Code length can lead to code repetition
- Each browser's interpretation may be different.
LABELS HTML
- <!DOCTYPE html>:Indicates the version of the HTML document. It is usually the first tag in the document.
- <html>: This tag is the root element of your document and contains all other elements of the document except the element <!DOCTYPE html>.
- <head:> It contains metadata about our document. This data is also set using tags; in my case, these include:
- <title:>The title of our document, this is what appears in the browser tab.
- <meta charset="utf-8>:Declare the character encoding for our document.
- <meta name="viewport" content="width=device-width, initial-scale=1, user-scalable=no">:Sets the viewport to the width and scale of the device.
- <meta name="description" content="description">: Provide a description of our document.
- <link rel="stylesheet" href="path-to-css-file">: Link our document to a CSS file.
- <body>: It contains all the content of our document, such as text, images, links, etc. To insert content into our document
- <div >: We can use this tag to group content as a unit.
- <header>: Define the content within this tag as the header of our page.
- <nav>Define the content within this tag as a navigation menu within our page.
- <h1 a h5>: Define headings and subheadings, starting with h1 as the main heading.
- <p>: Define a paragraph.
- <br>: Insert a line break; this does not require a closing tag.
- <ul> : Create an unordered list, like this one.
- <ol> :Create an ordered list.
- <li> Define a list item within one of the two lists above.
- <a >: "form" for creating input forms to collect user data.
- <img >: Insert an image; this tag requires a src attribute containing the image URL.
- <video >:Insert a video; this tag requires a src attribute containing the video URL.
CSS
It is a programming language that helps determine the style or presentation of our web content, just like HTML, CSS is one of the main languages on the internet, beyond giving style and life to the pages, it makes them have a better order.
JAVA SCRIPT
This language allows us to create interactive pages, from adding animations to simply helping the user interact with the page, and with this tool we will bring this project to life.
MY PROFILE
Now that we know a little more about HTML, CSS, and JS, we'll start by creating our profile to show how we use all these tools.
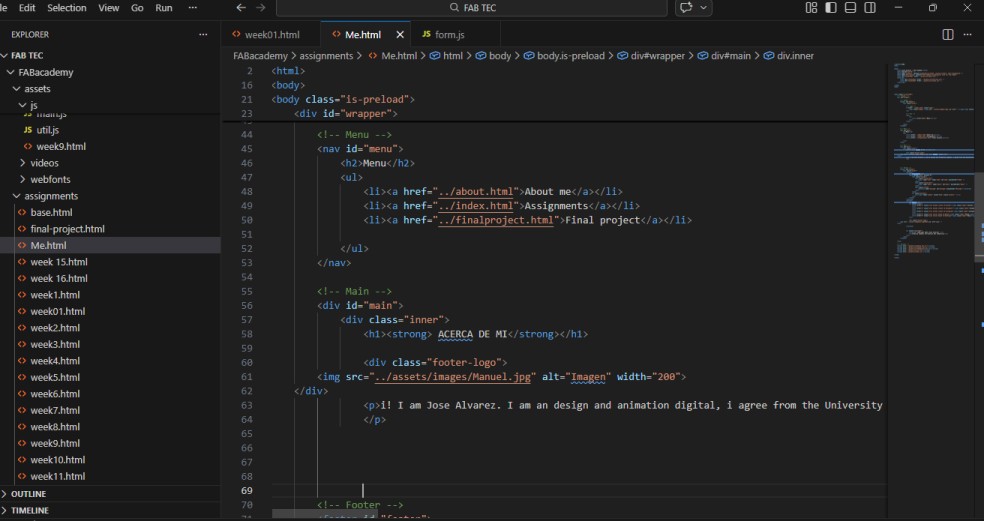
1.We begin by creating a new file in Visual Studio where we will start developing the code for creating our profile, we will put our information, add a photograph, our social networks among other things.
2. In a new file we begin to create our CSS; here we will style our page. So we start by choosing the colors for the titles, the font type, the image placement, and the margins.
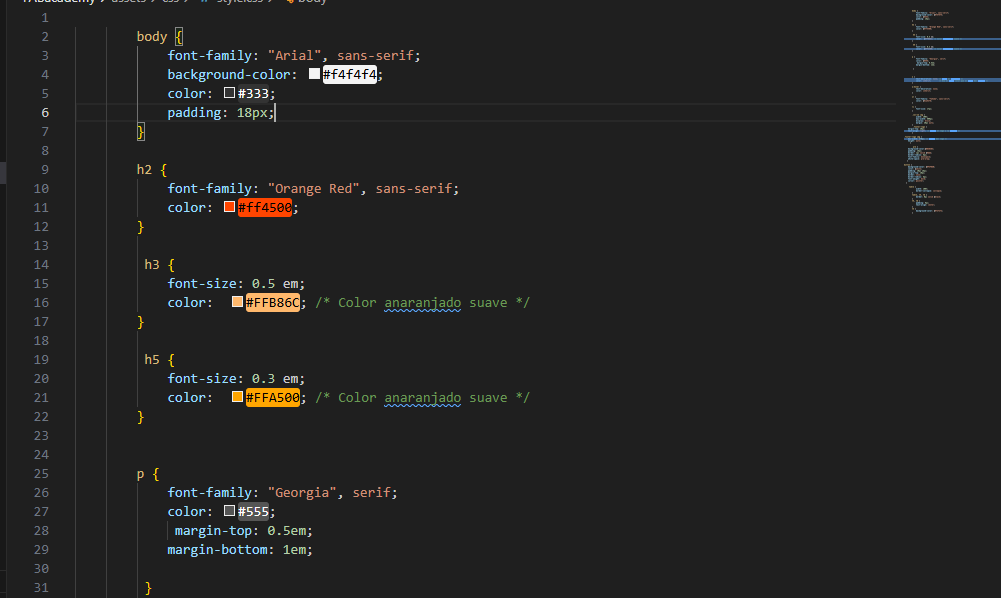
In this first part, I'll share the colors I chose for the titles, as well as the font type and color. It's important to mention that more can be added later if needed, so this code may grow. For now, only the first basic steps are shown. Now we add our CSS to our HTML code following these steps:
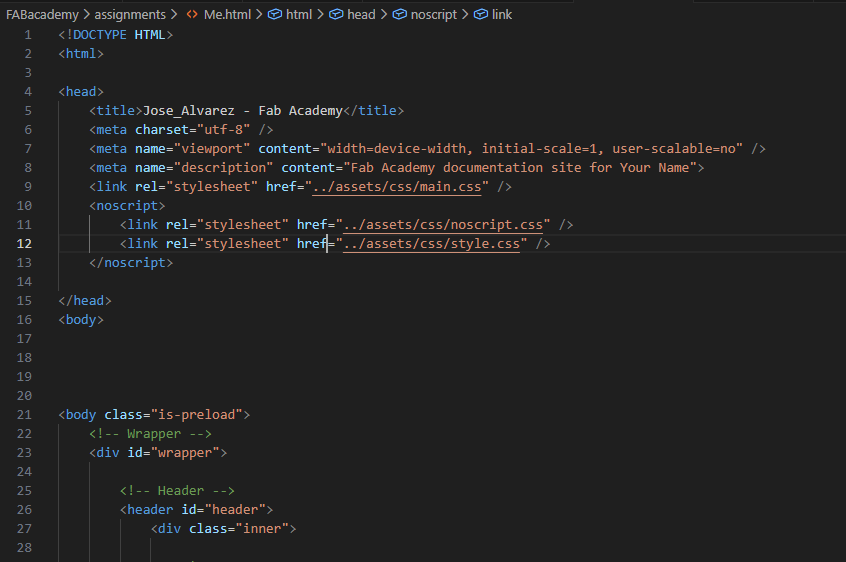
- We saved our CSS file; in my case, I called it style.css and saved it in the assets folder. Inside that folder, I created another folder called css, where I will save all the CSS files that I want to add to the HTML.
- Now in our HTML we add the path or link to the CSS so that it can load it, and we do this with all the CSS files we want to add.
- Let's save our changes and see the results.
RESULTS
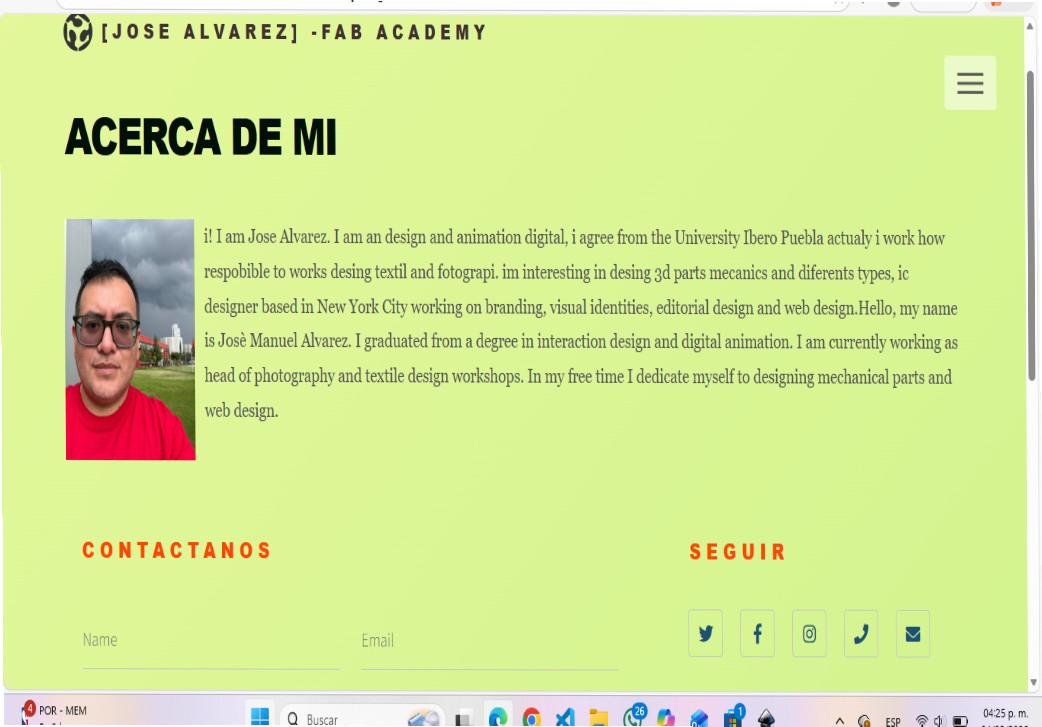
As we can see, colors, margins, and fonts were added, allowing us to gradually personalize our work. With this small example, we put what we learned in the first class to the test and further explained the use of these tools.