Principles and Practices, Project Management
In the first week of learning FAB-Academy. i worked on the final proyect, explicando todos los puntos necesarios para el desarrolo de mi proyecto final
Step 1 Web-site
management of the HTML programming language applied to the creation of the website that will contain the development of the FabAcademy using the different structures
HTML documents consist of a series of elements, each enclosed in angle brackets (< >), which are used to define the structure and content of the page. These are some elements:
- Headings: "h1", "h2", "h3", "h4", "h5", "h6" for different levels of headings.
- Paragraphs: "p" for paragraphs of text.
- Links: "a" for creating hyperlinks to other web pages or resources.
- Images: "img" for embedding images into the page.
- Lists: "ul" for unordered lists (bullet points) and "ol" for ordered lists (numbered items).
- Tables: "table" for creating tables to organize data.
- Forms: "form" for creating input forms to collect user data.
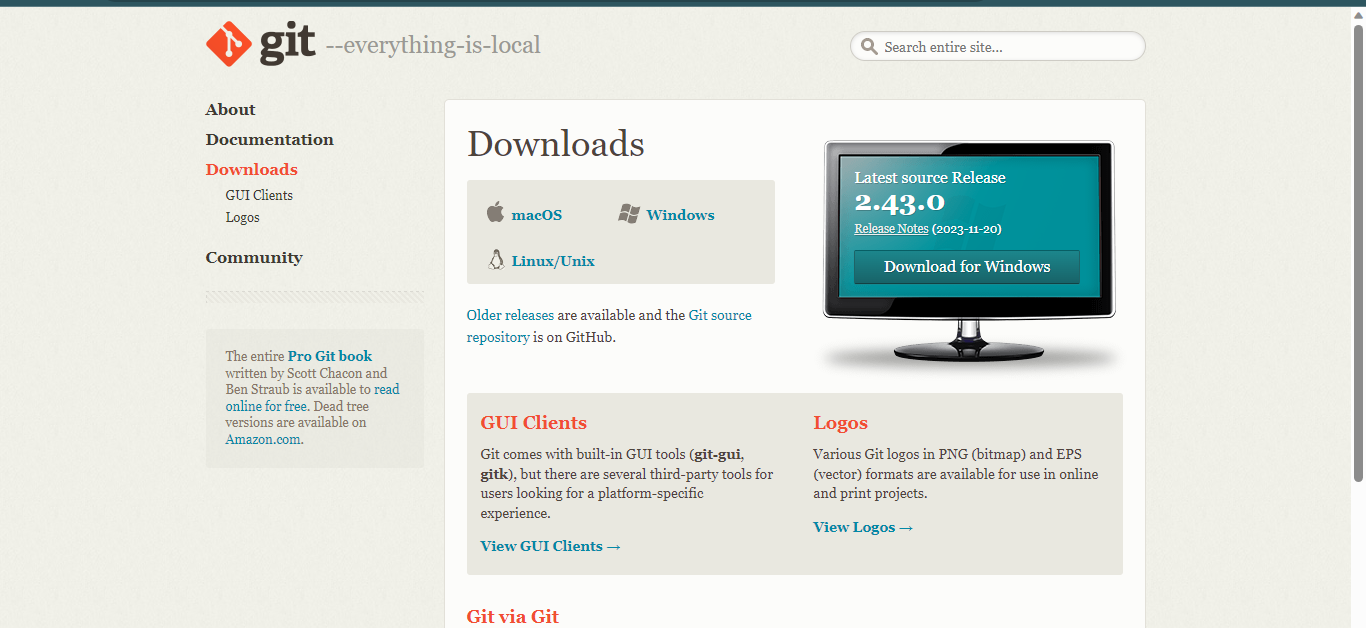
Step 2 Working with GIT
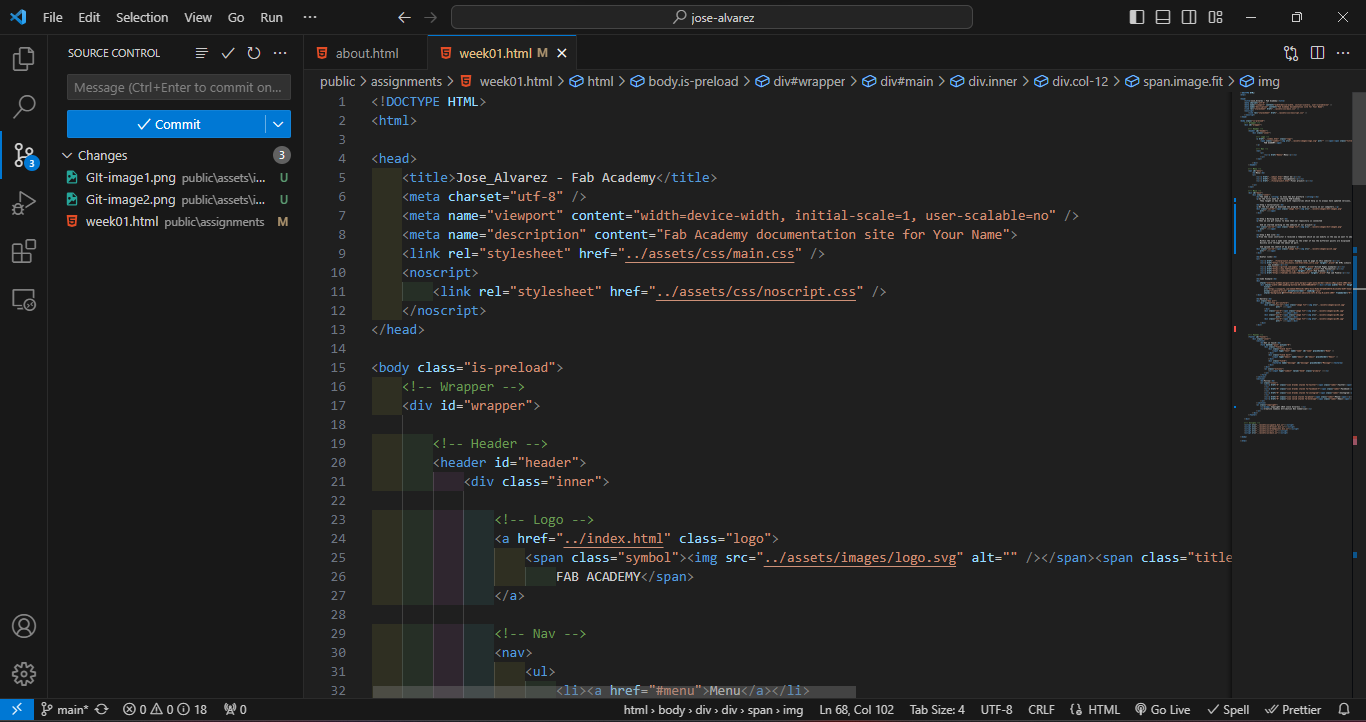
The first step we need to find our assigned repository which is located on the platform FabAcademy's GitLab and then load it into the Visual Studio Code code reader program to be able to generate a git.
clone of Git
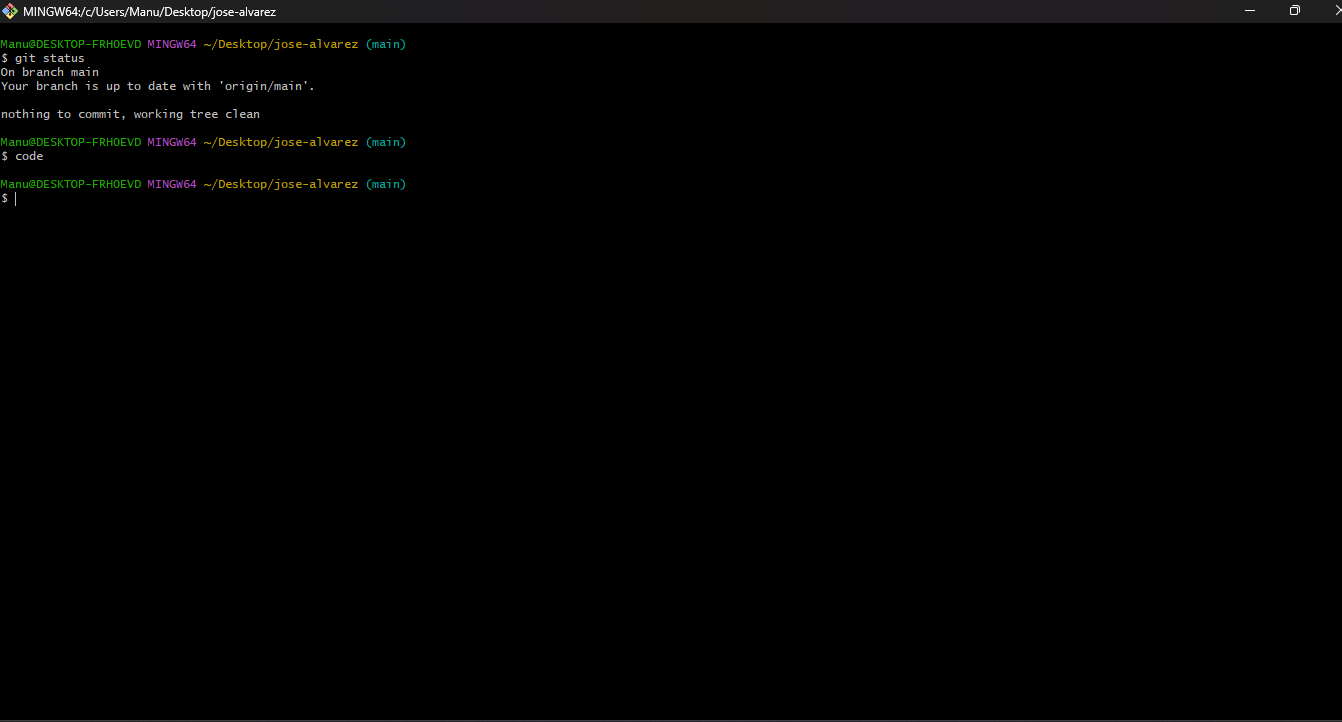
Next, I created a directory called "FabAcademy" using the "mkdir" command. When finished I navigated to my new directory using the "cd" command.
Git tools
- clone: copy repository
- add: stage changes
- commit: save changes
- push: upload changes
I used a template provided to us because it had the structure almost ready. Also, the design of the page looks great.
Below, I will present some images of the template provided to us:
div id="template" style="display: flex; justify-content: center;">


However, I made some changes to give more originality to the page.
First of all, I changed the color of the main titles from red to green using "background" in my css file.

This is how it looked on my page: :

Then, I changed the way I present the information. I made a rectangle and added shadows and border to create a floating rectangle.. For this I created a div and gave it an id called "main-container": :

Then I went to my css file to modify the styles of the rectangle:

The result is shown in the image below:

On the home page I changed the color of the boxes where I access all the weeks. Before, they were of different colors, and I decided to change them to green colors, for that I used ChatGPT to generate a palette of colors with green tones. Then, I added the colors to my css file:

The following image represents the result. I liked it because the colors range from a light green to a darker green:

For the use of images, I used the "center" tag to center the images:

After making some changes to the template (change titles, whitespace, put some images, etc)
I uploaded all my files to my repository.
First I used the "git add" command to add all the modifications I made.

Then, I used the "git commit" command to save the changes to the Git repository.

Finally, I uploaded the local changes to my repository in GitLab usign "git push" command.
