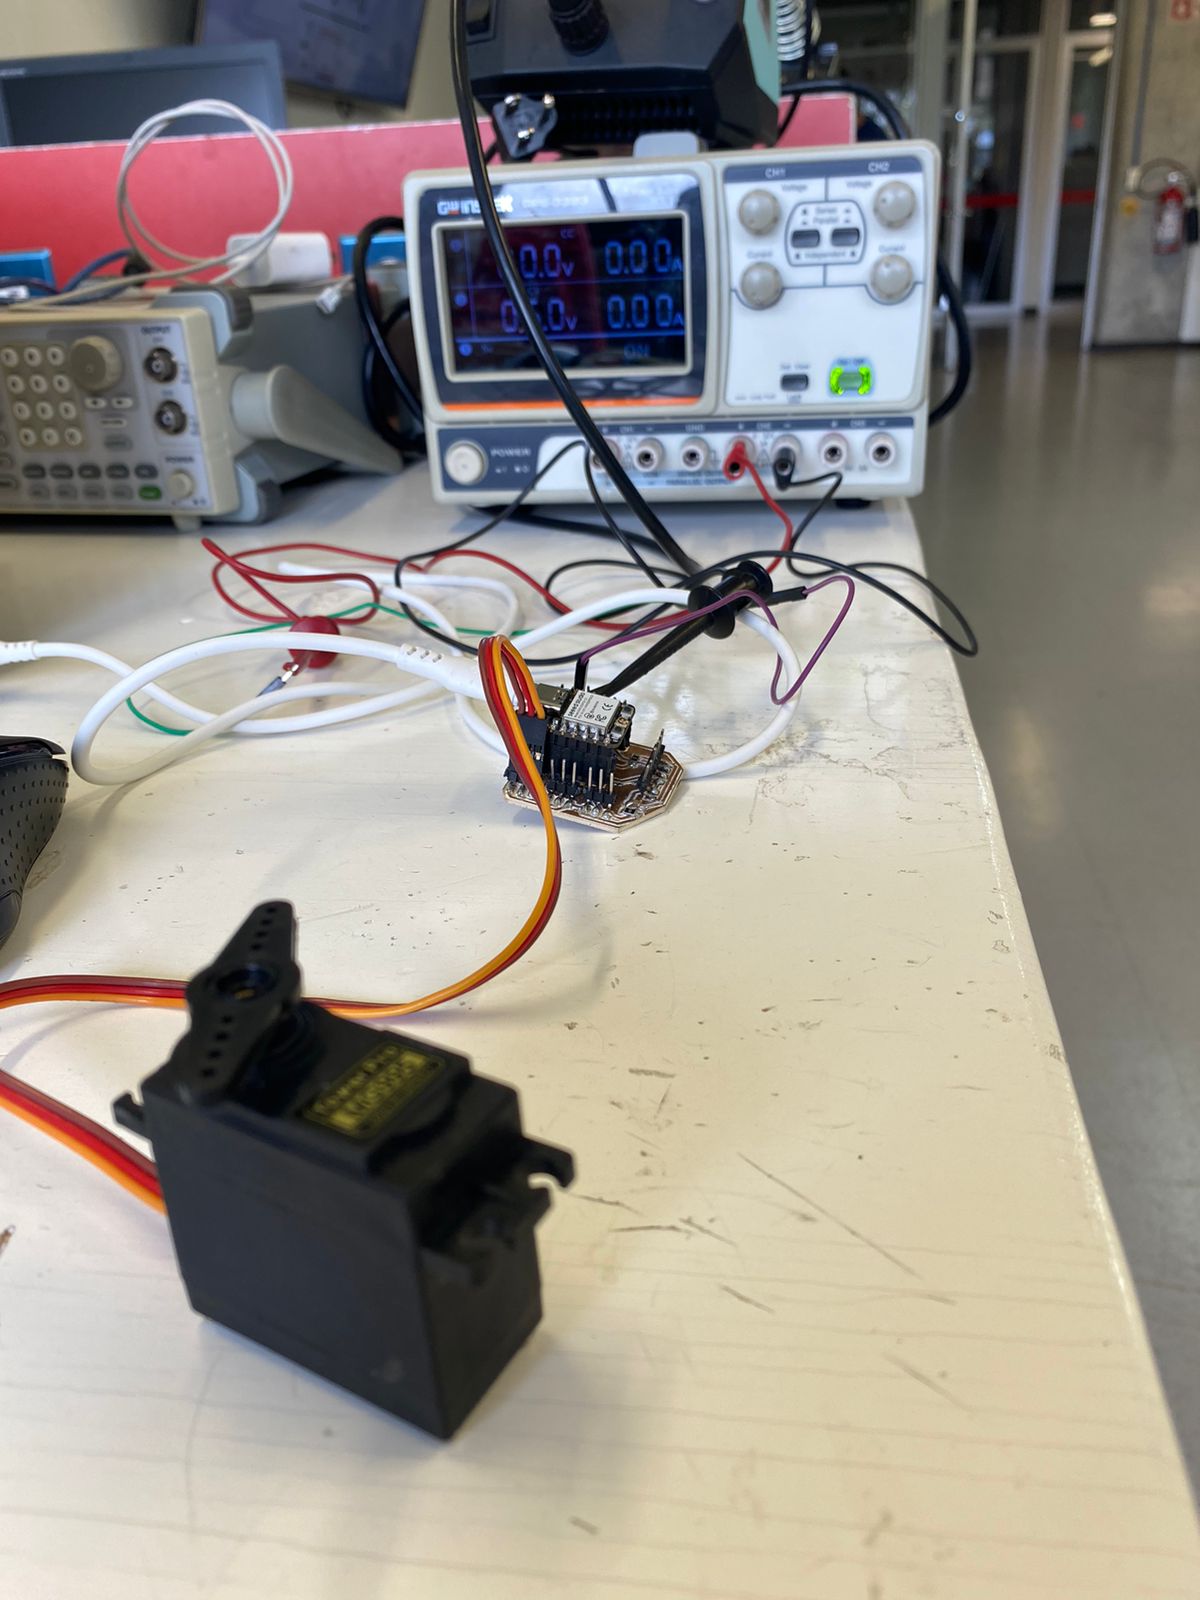
14. Interface and application programming
this week i worked on making an interface for mi PCB
THIS WEEK GROUP ASSIGNMENT(click the title)
QT
QT is a is a Qt tool that provides you with a what-you-see-is-what-you-get (WYSIWYG) user interface to create GUIs for your PyQt applications productively and efficiently. With this tool, you create GUIs by dragging and dropping QWidget objects on an empty form.
First when qt opened i selected the main window option, which opened the window in which i would design the interface
then i dragged from the panel on the left, in which you can select diferent components for an interface, a button

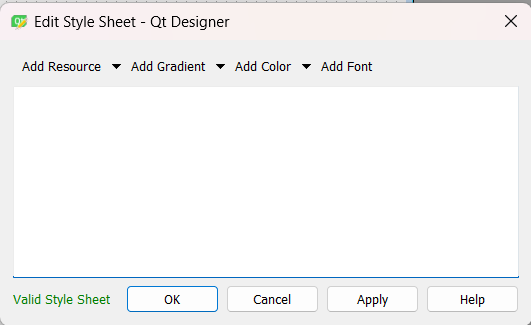
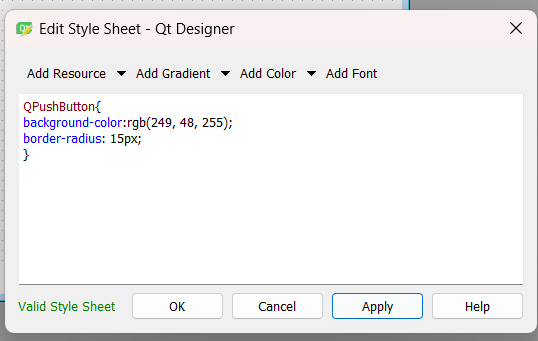
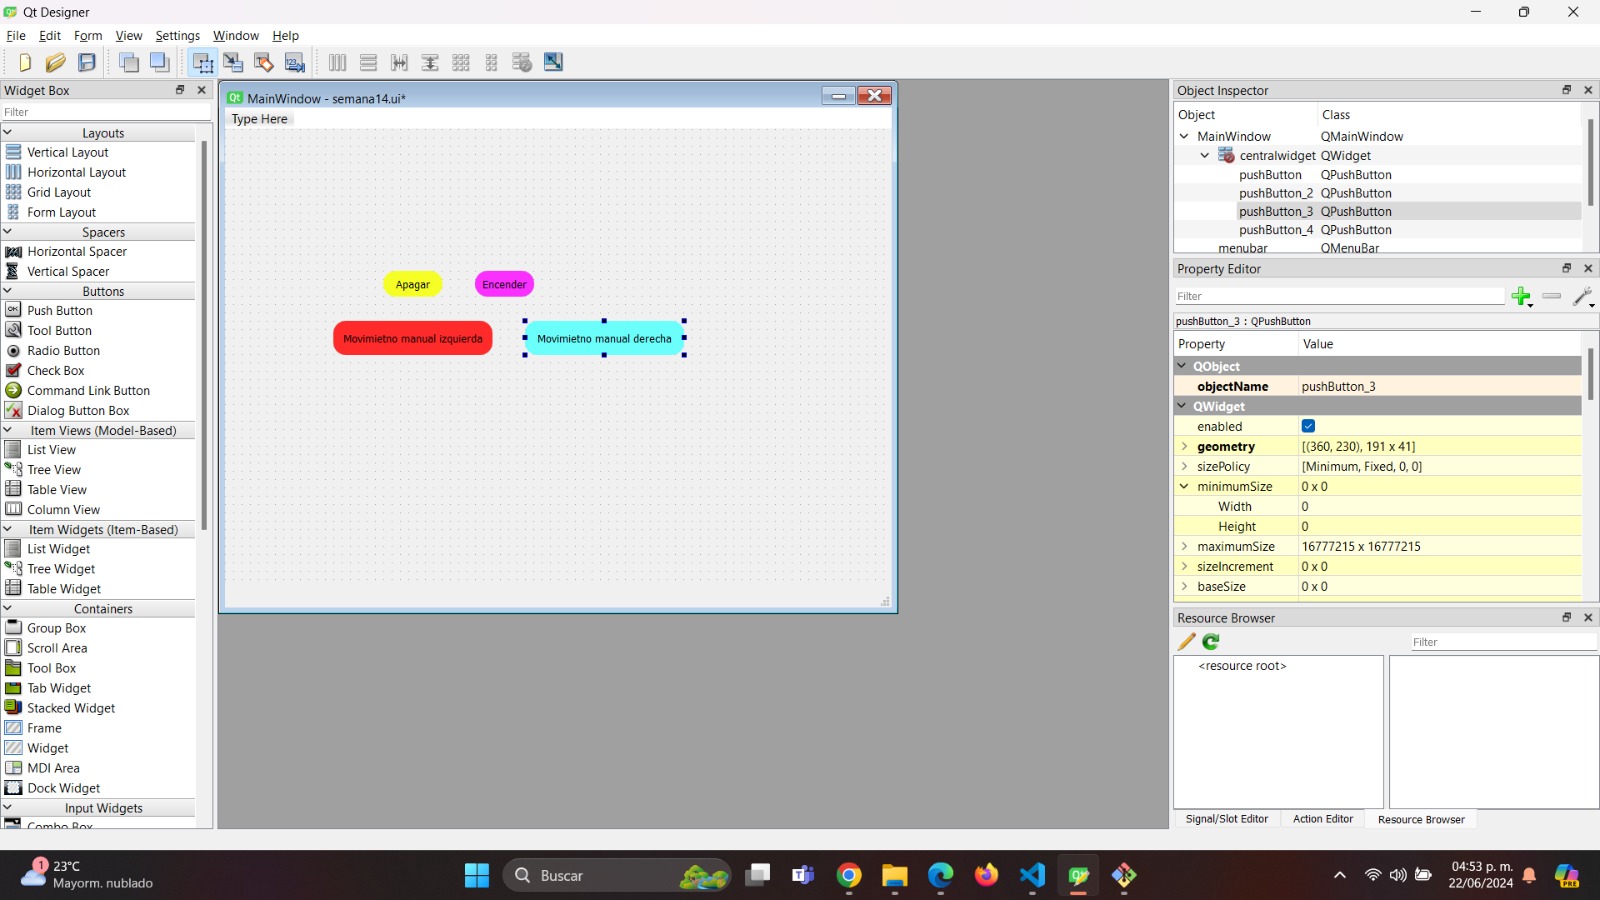
Its necesary to have python for this step ( click here it say python
to go to download it )
having python downloaded you will next create a folder on your desktop where you can create a virtual space.
Having that done i saved the file of the interface in the new carpet i created in my desktop for the virtual space of the interface.
Application programming
The following image shows the steps that i took in the command panel to create the personal space
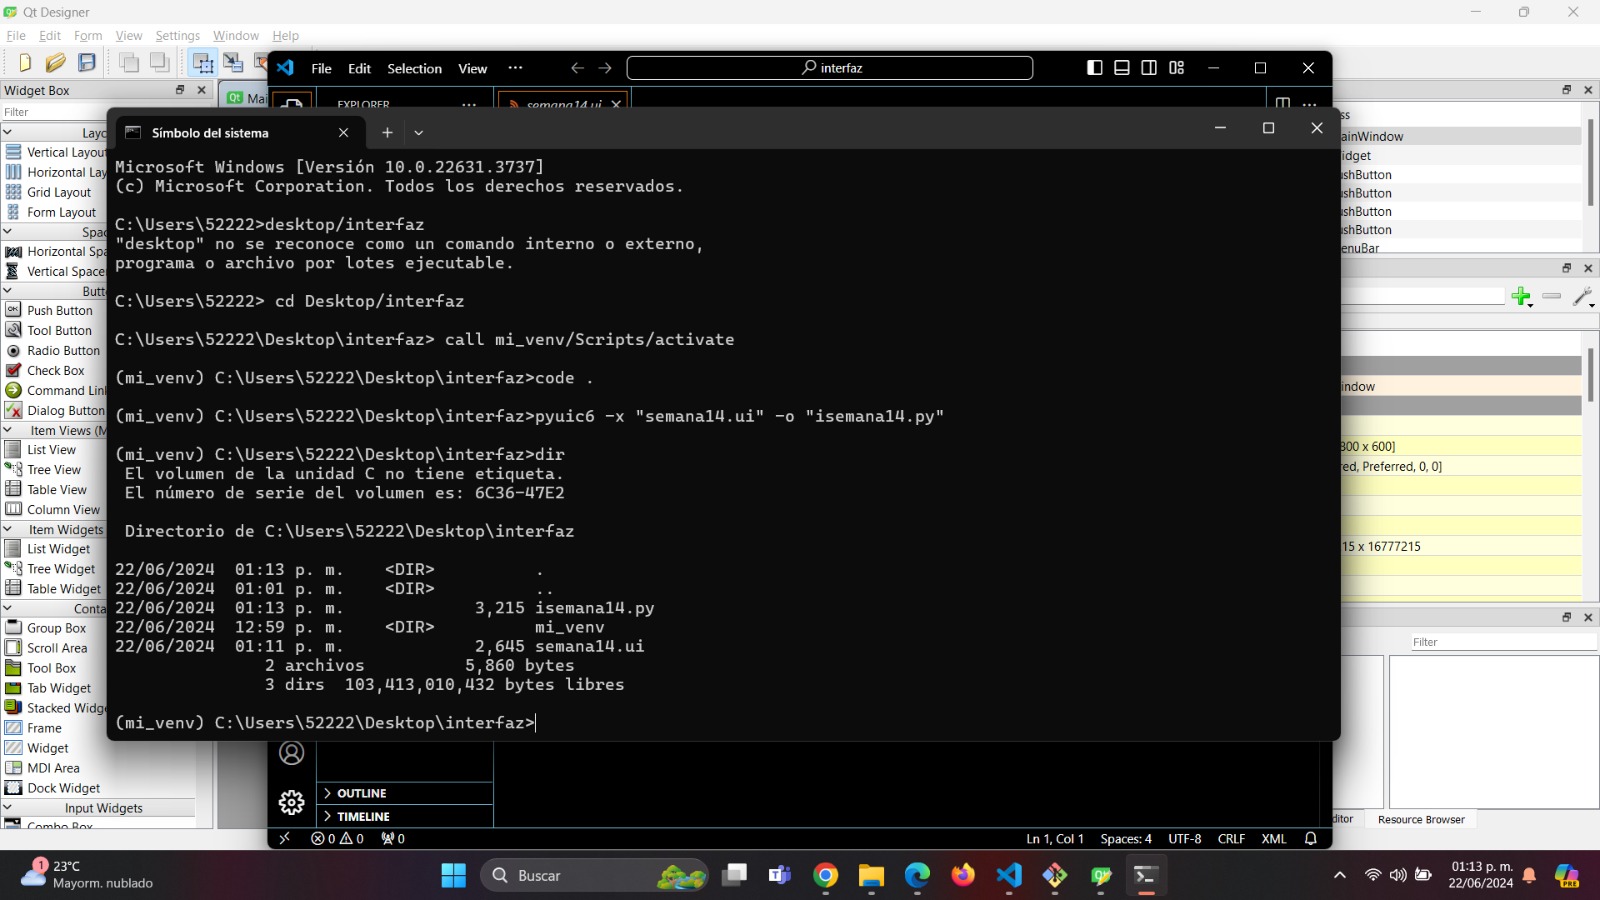
Steps to Create a Virtual Environment for a Python Interface
- Install Virtualenv (if not already installed):
If you haven't installedvirtualenvyet, you can do so usingpip, Python's package installer:pip install virtualenv - Navigate to Your Project Directory:
Open a terminal or command prompt and change your current directory to where your Python project or interface files are located. For example:cd /path/to/your/project - Create a Virtual Environment:
Usevirtualenvto create a new virtual environment. You can specify Python versions if needed, but by default, it uses the Python interpreter currently active on your system:
Here,virtualenv venvvenvis the name of your virtual environment directory. You can choose any name you prefer. - Activate the Virtual Environment:
After creating the virtual environment, you need to activate it. Activation sets up your shell to use the Python interpreter and packages associated with the virtual environment:- On Windows:
venv\Scripts\activate - On macOS and Linux:
source venv/bin/activate
(venv)at the beginning of your terminal prompt, indicating that you are now working within the virtual environment. - On Windows:
- Install Required Packages:
While the virtual environment is active, usepipto install the necessary Python packages for your interface:
Replacepip install package1 package2 ...package1,package2, etc., with the actual names of the Python packages your interface requires. - Develop and Run Your Interface:
Now, you can proceed with developing your Python interface. All installed packages will be isolated within the virtual environment, ensuring no conflicts with other projects. - Deactivate the Virtual Environment:
When you're done working on your project, you can deactivate the virtual environment:
This command returns you to your system's default Python environment.deactivate
Using a virtual environment helps maintain project dependencies cleanly separated and ensures consistency across different environments, making it easier to manage dependencies and collaborate on projects without issues related to package versions.
Then i opened the interface folder with visual studio code compiler and there i had my .py archive and when i run it, it should show
the interface.
Here i show the code next to the interface i made having it runned from visual studio code.
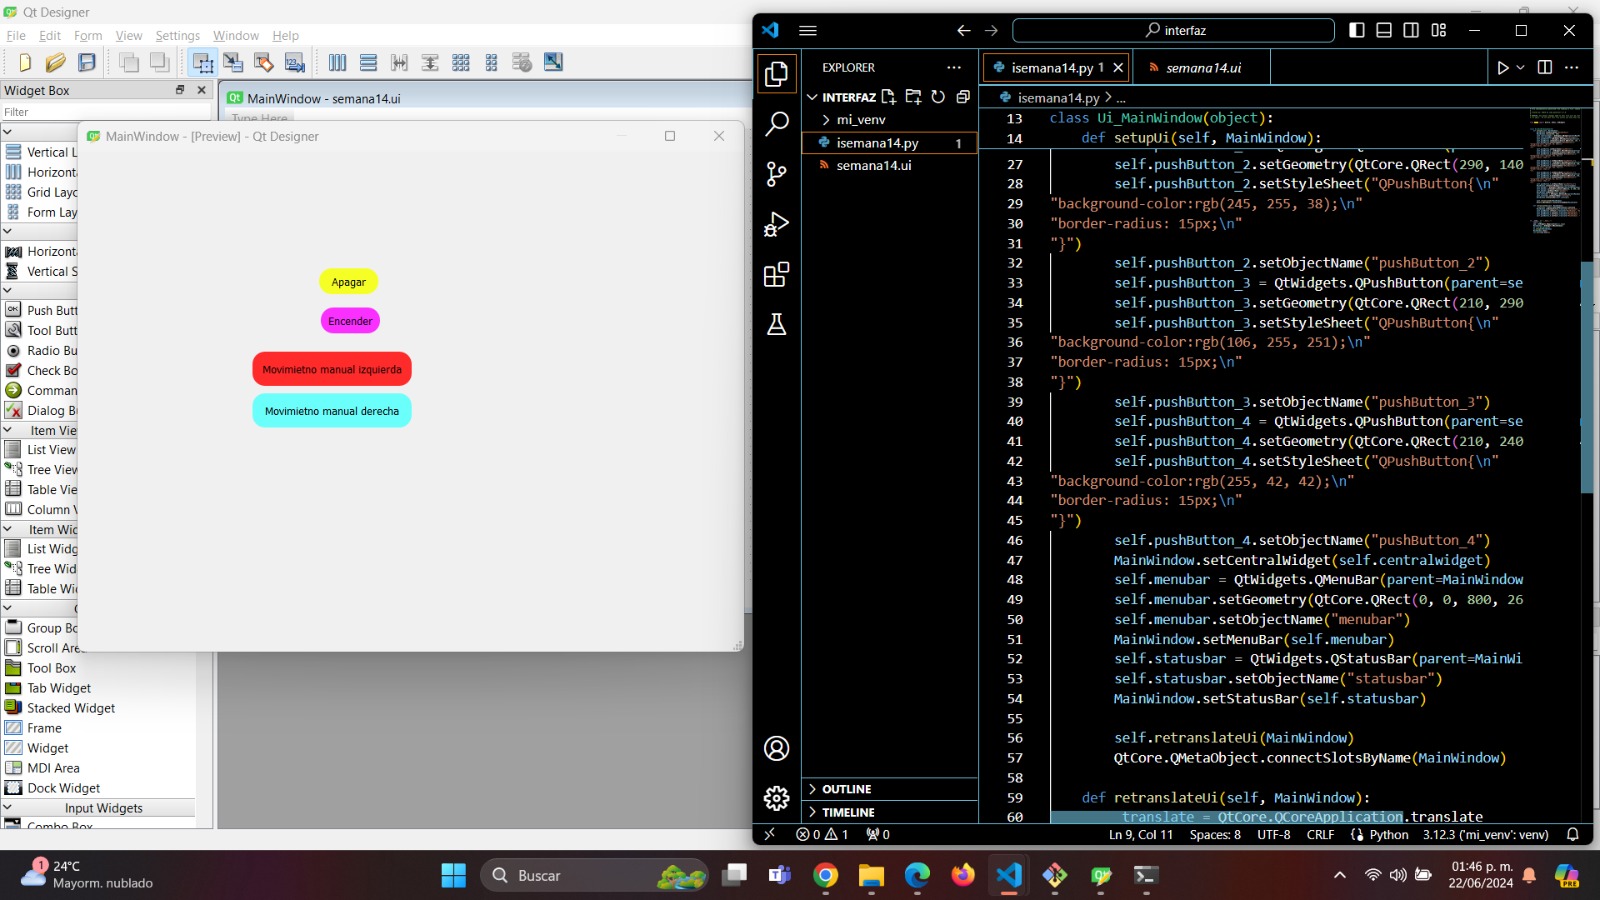
programing
having the interface ready i proggramed it from its Visual Studio Code code so that the on button would start moving it forth and the off button made it stop
and the other buttons would move it clockwise and counterclockwise
here is the code
#include
Servo myservo;
bool servoOn = false;
int buttonPin1 = 2; // Pin del primer botón (encender)
int buttonPin2 = 3; // Pin del segundo botón (apagar)
int buttonPin3 = 4; // Pin del tercer botón (mover en sentido de las manecillas)
int buttonPin4 = 5; // Pin del cuarto botón (mover en sentido contrario)
int buttonState1 = 0;
int buttonState2 = 0;
int buttonState3 = 0;
int buttonState4 = 0;
void setup() {
Serial.begin(9600);
myservo.attach(D0);
pinMode(buttonPin1, INPUT);
pinMode(buttonPin2, INPUT);
pinMode(buttonPin3, INPUT);
pinMode(buttonPin4, INPUT);
}
void loop() {
buttonState1 = digitalRead(buttonPin1);
buttonState2 = digitalRead(buttonPin2);
buttonState3 = digitalRead(buttonPin3);
buttonState4 = digitalRead(buttonPin4);
if (buttonState1 == HIGH) {
if (!servoOn) {
Serial.println("Encendiendo servo...");
myservo.attach(D0);
servoOn = true;
delay(500);
}
}
if (buttonState2 == HIGH) {
if (servoOn) {
Serial.println("Apagando servo...");
myservo.detach();
servoOn = false;
delay(500);
}
}
if (buttonState3 == HIGH && servoOn) {
Serial.println("Moviendo en sentido de las manecillas del reloj...");
for (int i = 0; i <= 180; i++) {
myservo.write(i);
delay(15);
}
delay(500);
}
if (buttonState4 == HIGH && servoOn) {
Serial.println("Moviendo en sentido contrario al reloj...");
for (int i = 180; i >= 0; i--) {
myservo.write(i);
delay(15);
}
delay(500);
}
}
results
