3. Computer controlled cutting
This week I desigend something simple that could be used to be assembled in different figures using MDF.
THIS WEEK GROUP ASSIGNMENT(click the title)
Design
For the design i did a single piece that reminded me of a lego like toy that i used to play with when i was a toddler, so i did a hexagon and used a rectangle to put where the pieces would join.
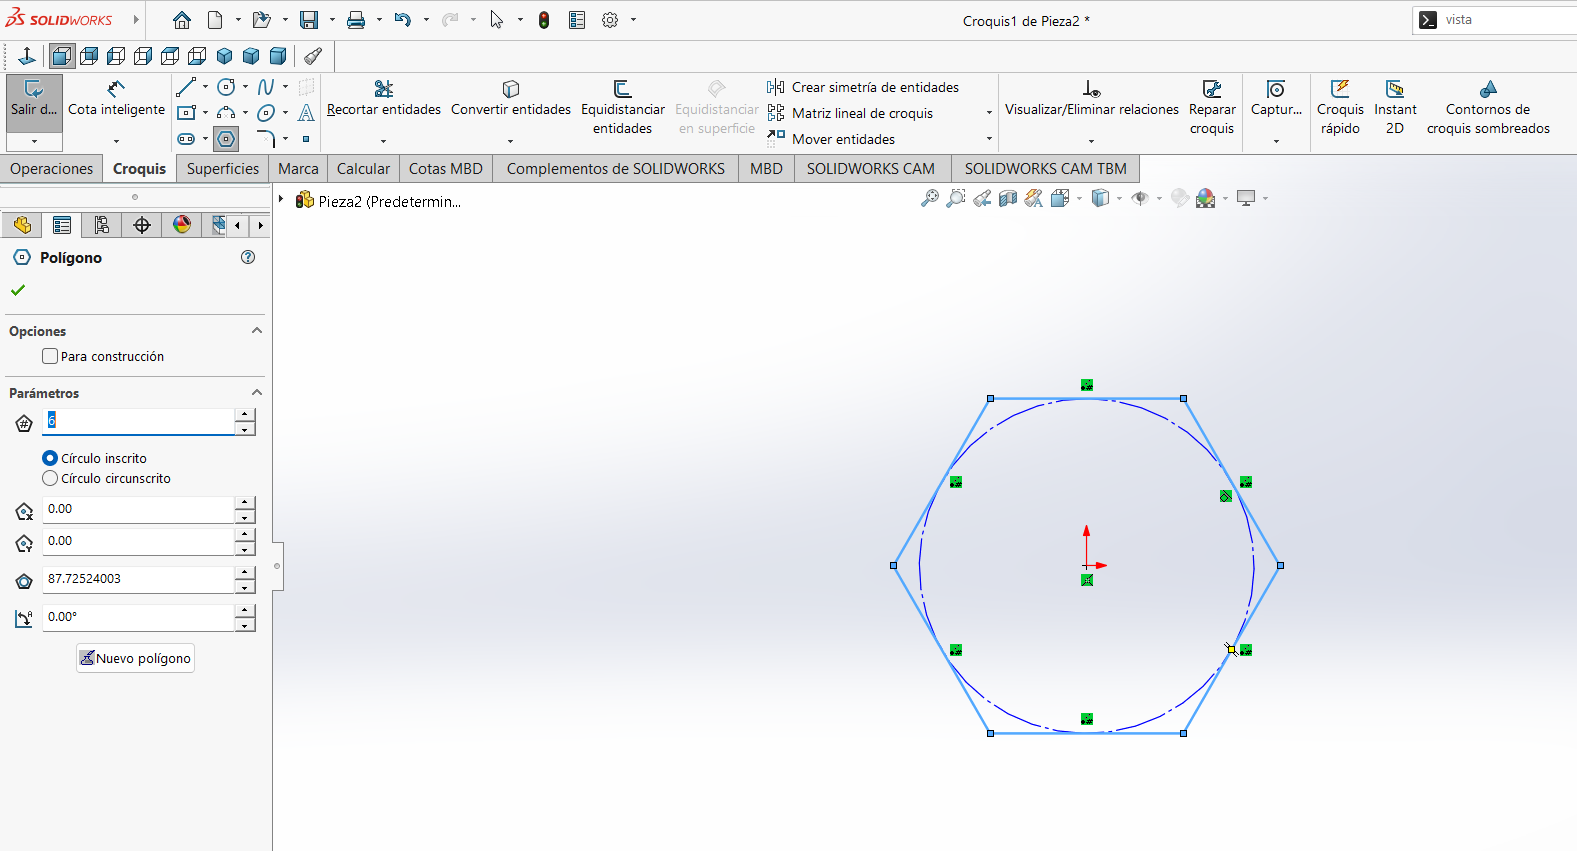
To start with the design i used the hexagon tool to make a hexagon
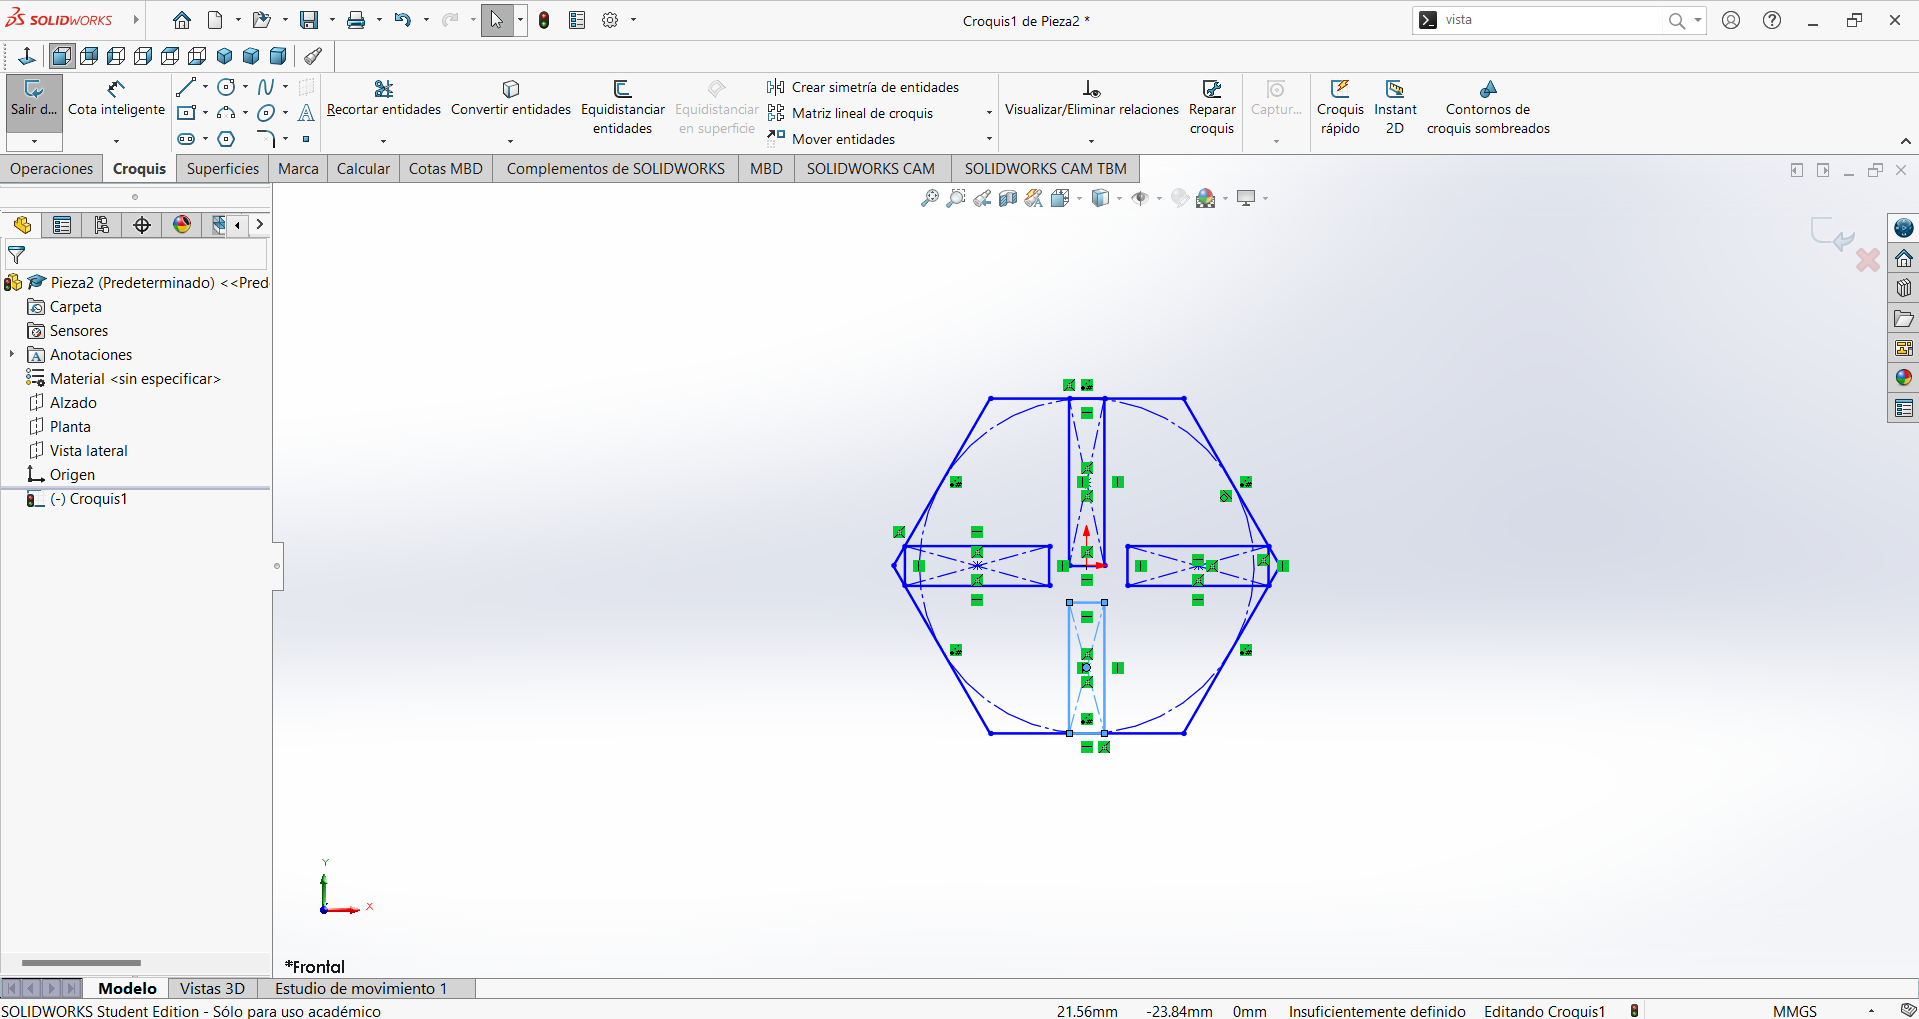
Then i used rectangles to later make the extrusion of the piece with the spaces already made
And using the following measurement and restriction i aligned all the figures
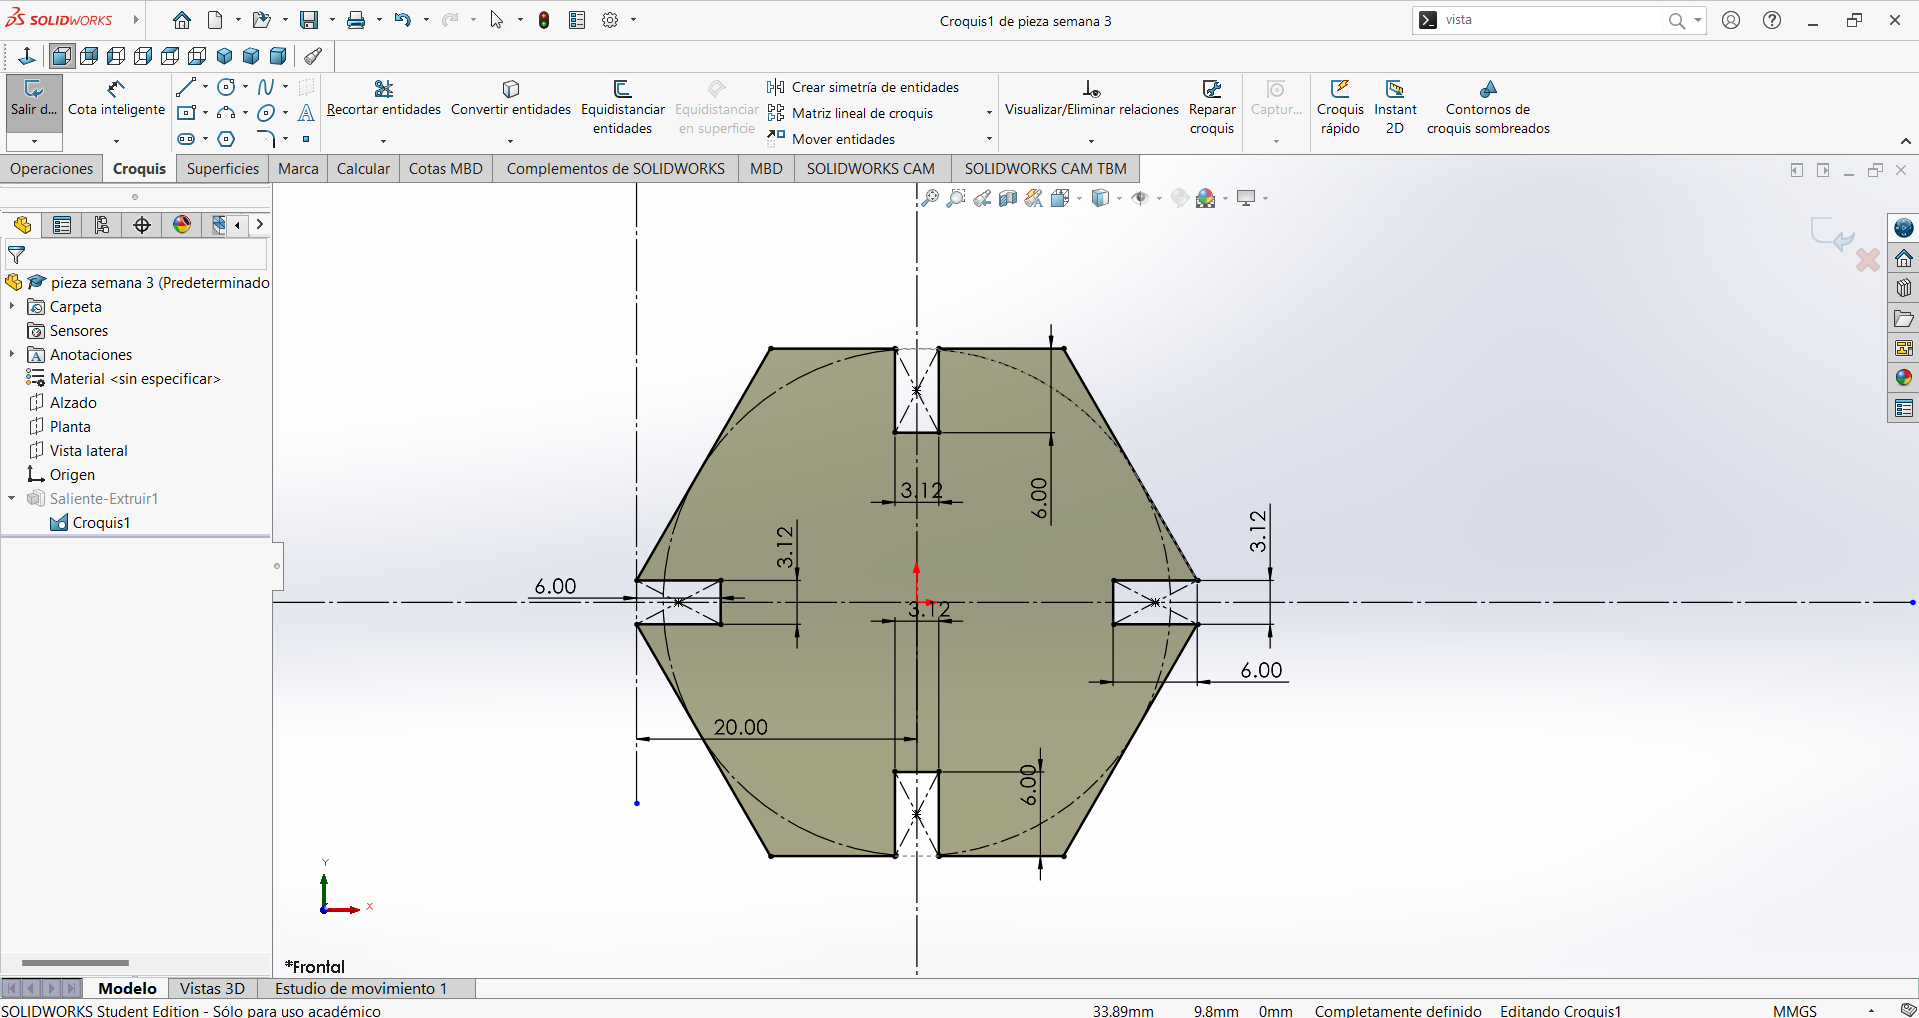
once i had the design complete i exported it to .dxf format since that is the format that puts the piece in vectors
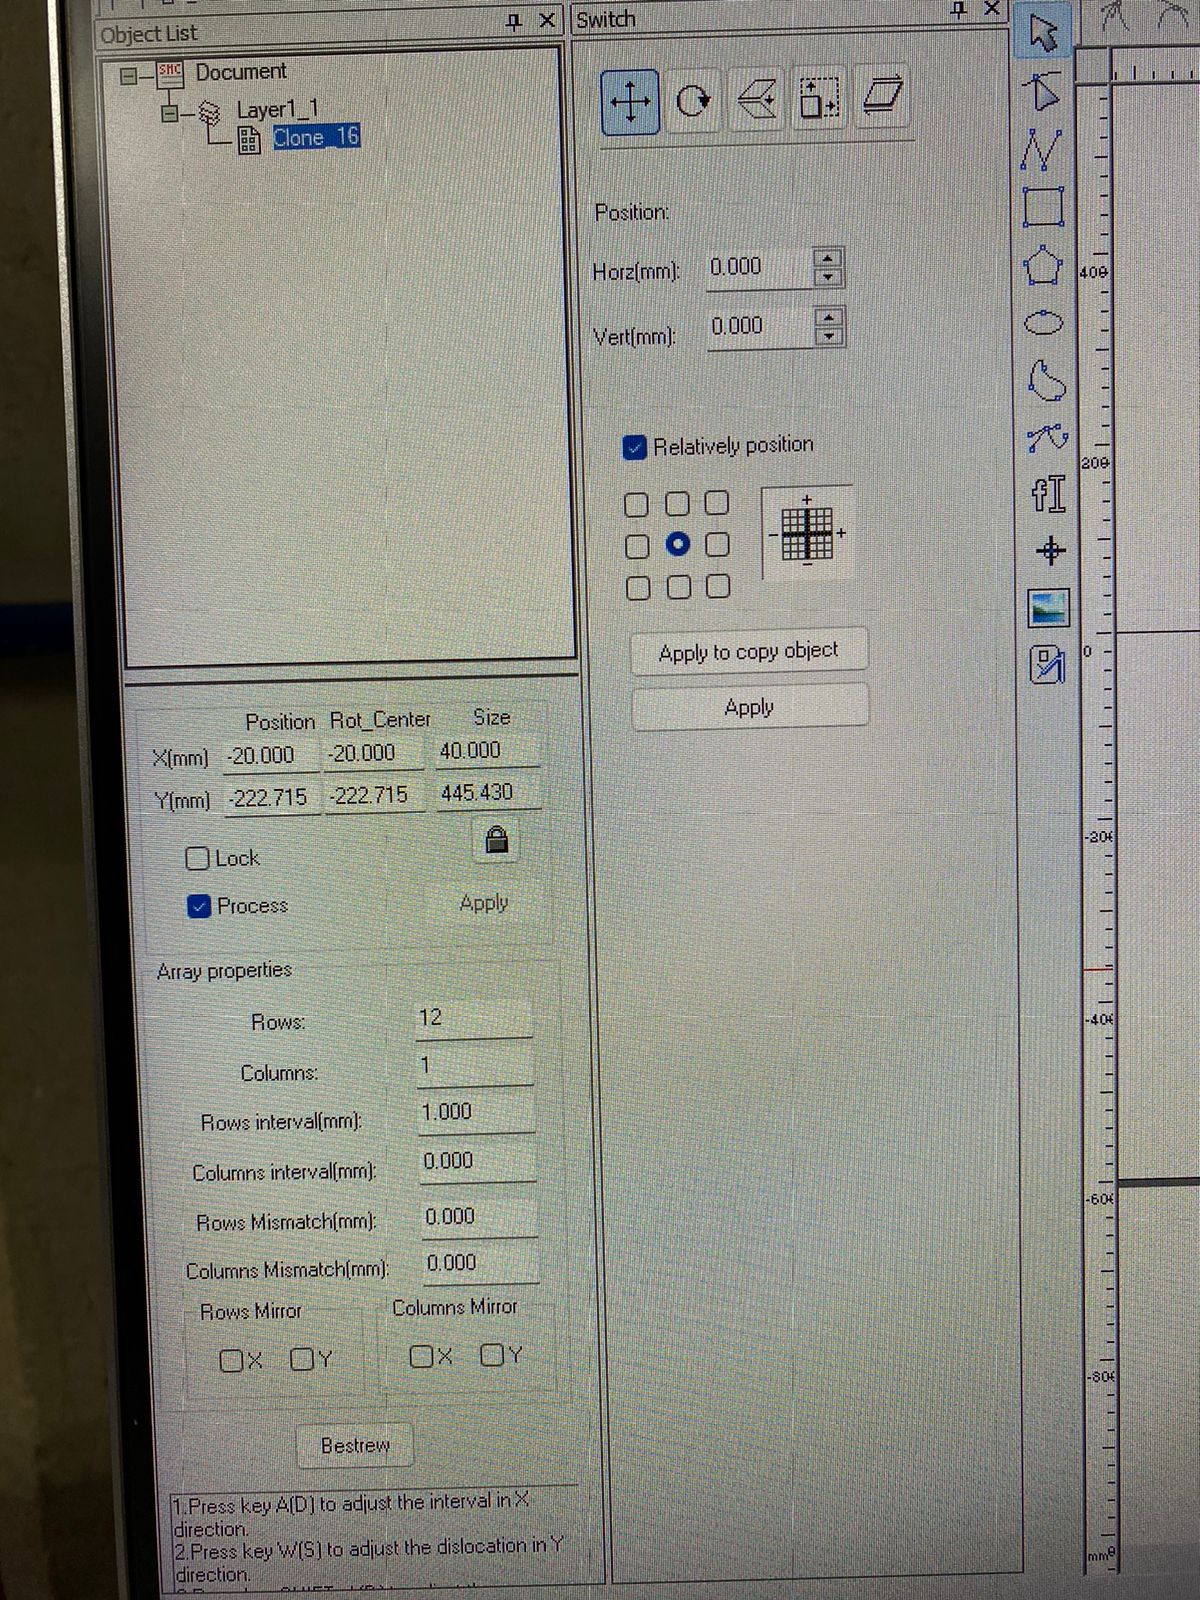
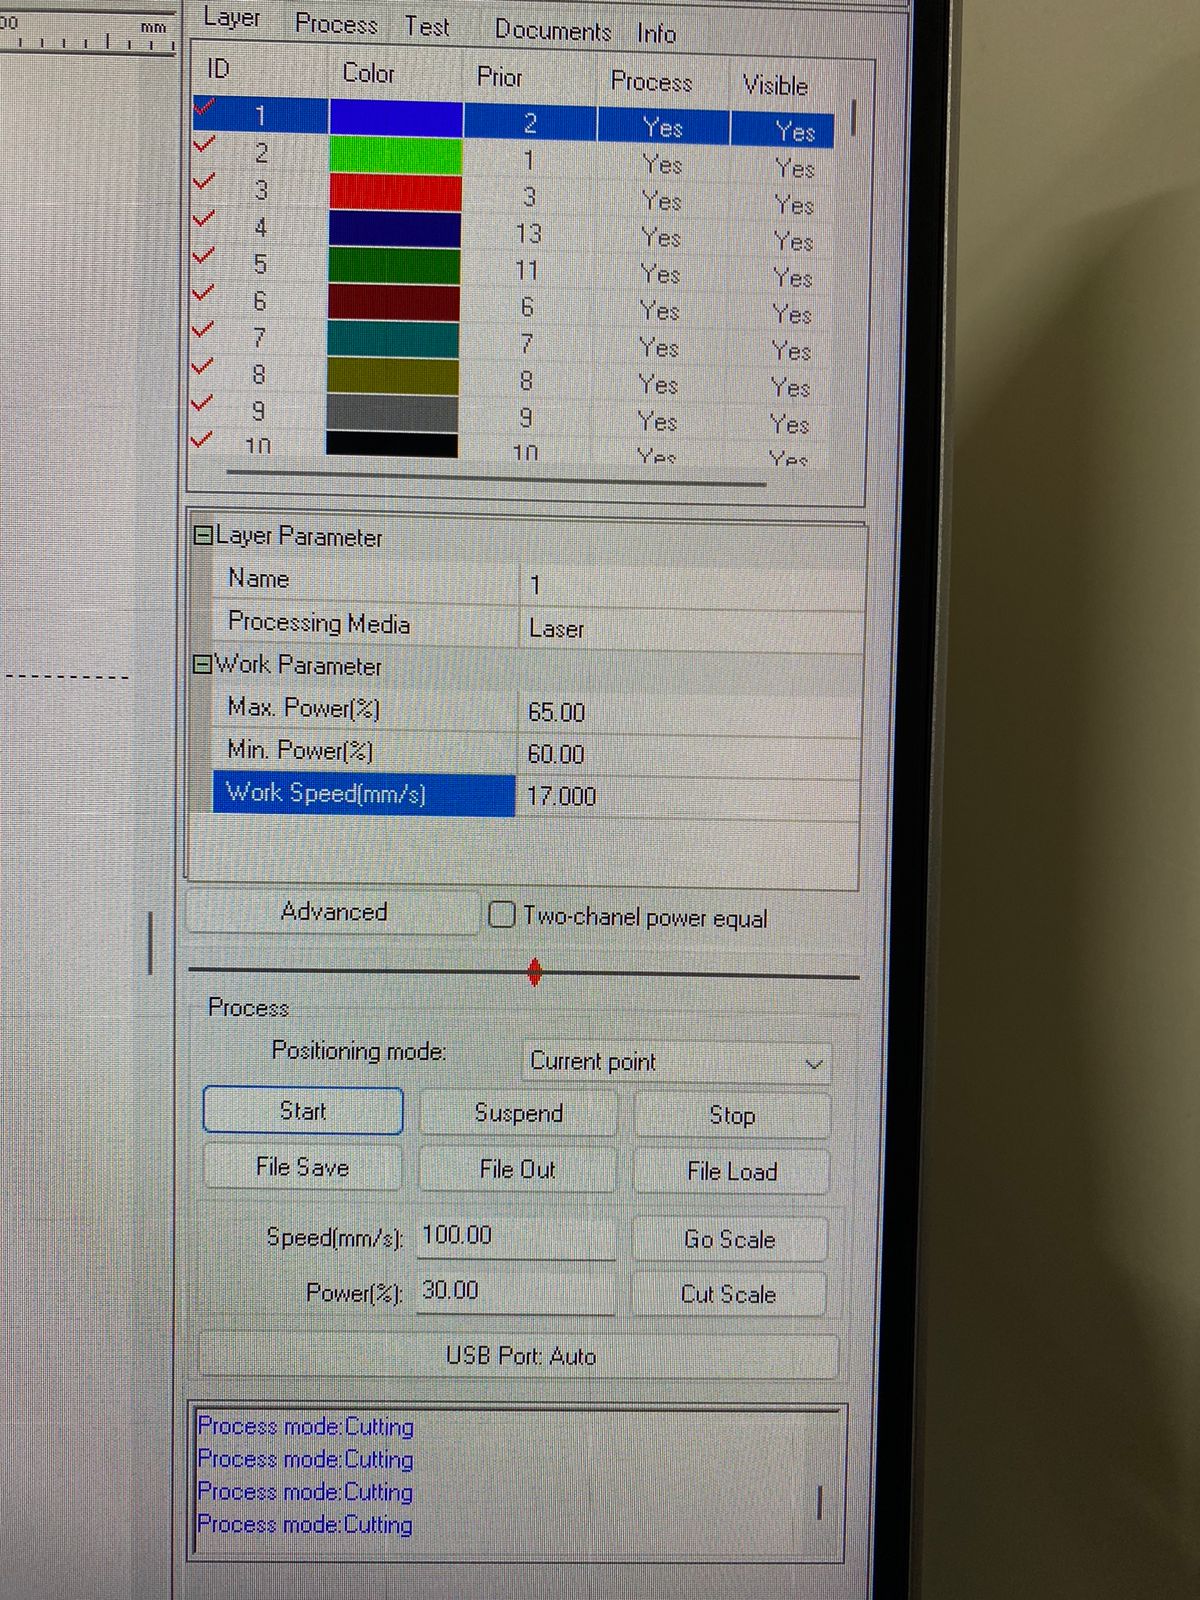
I used a speed 17 of and a potency 60 of for the cut since its what was calculated to be good parameters in the group assignment
And here is the final result of some of the pieces i assembled
Vinil cutting
To cut vinil I downloaded an image and uploaded it in the program
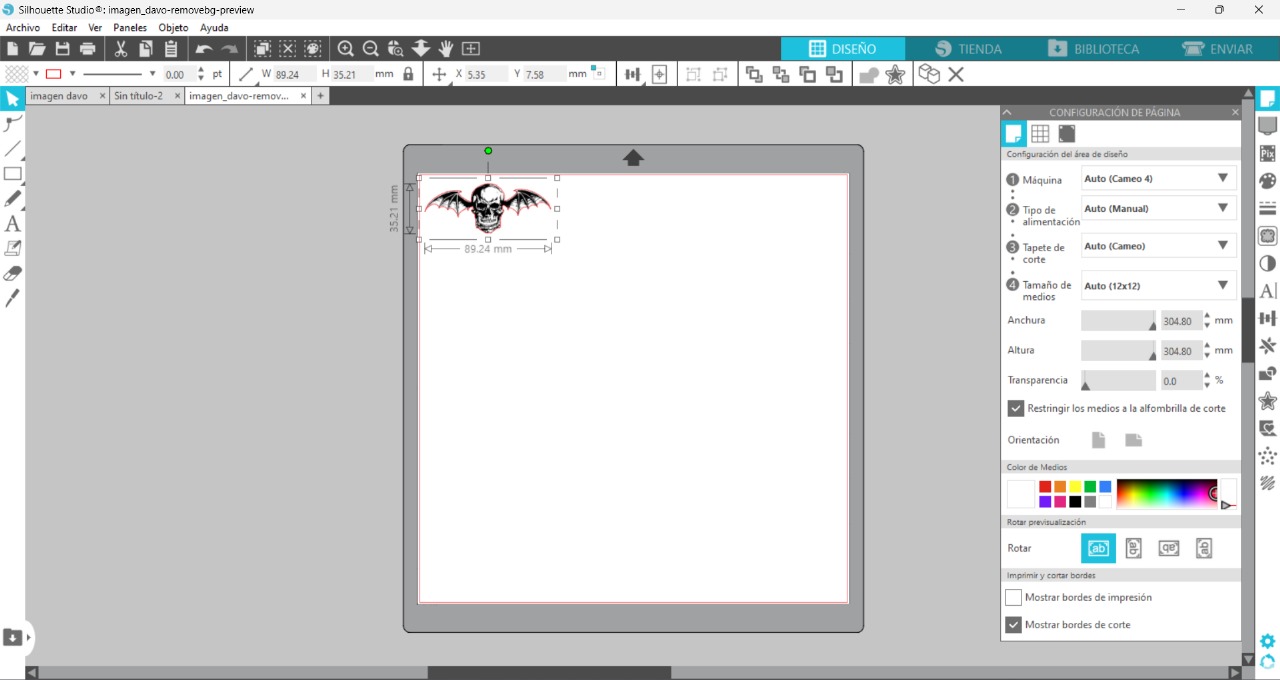
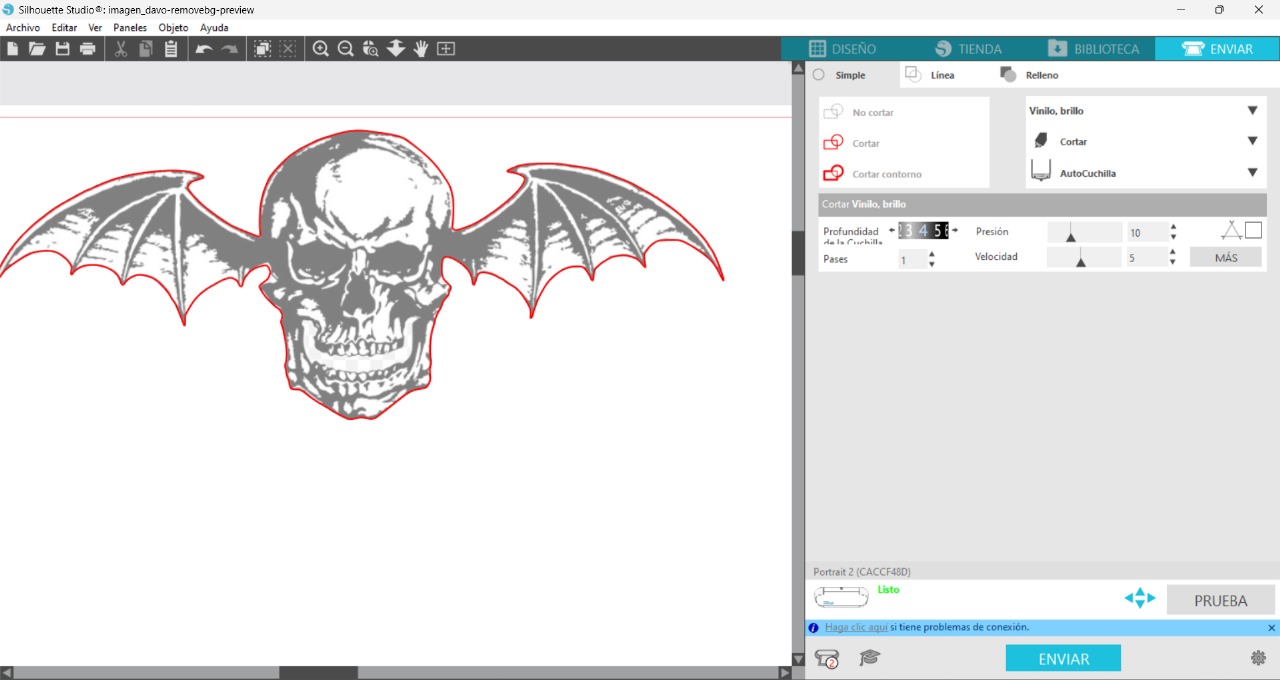
I then cut a vinil piece with enough space to cut the full image, the redline indicates what the machine vill be cutting
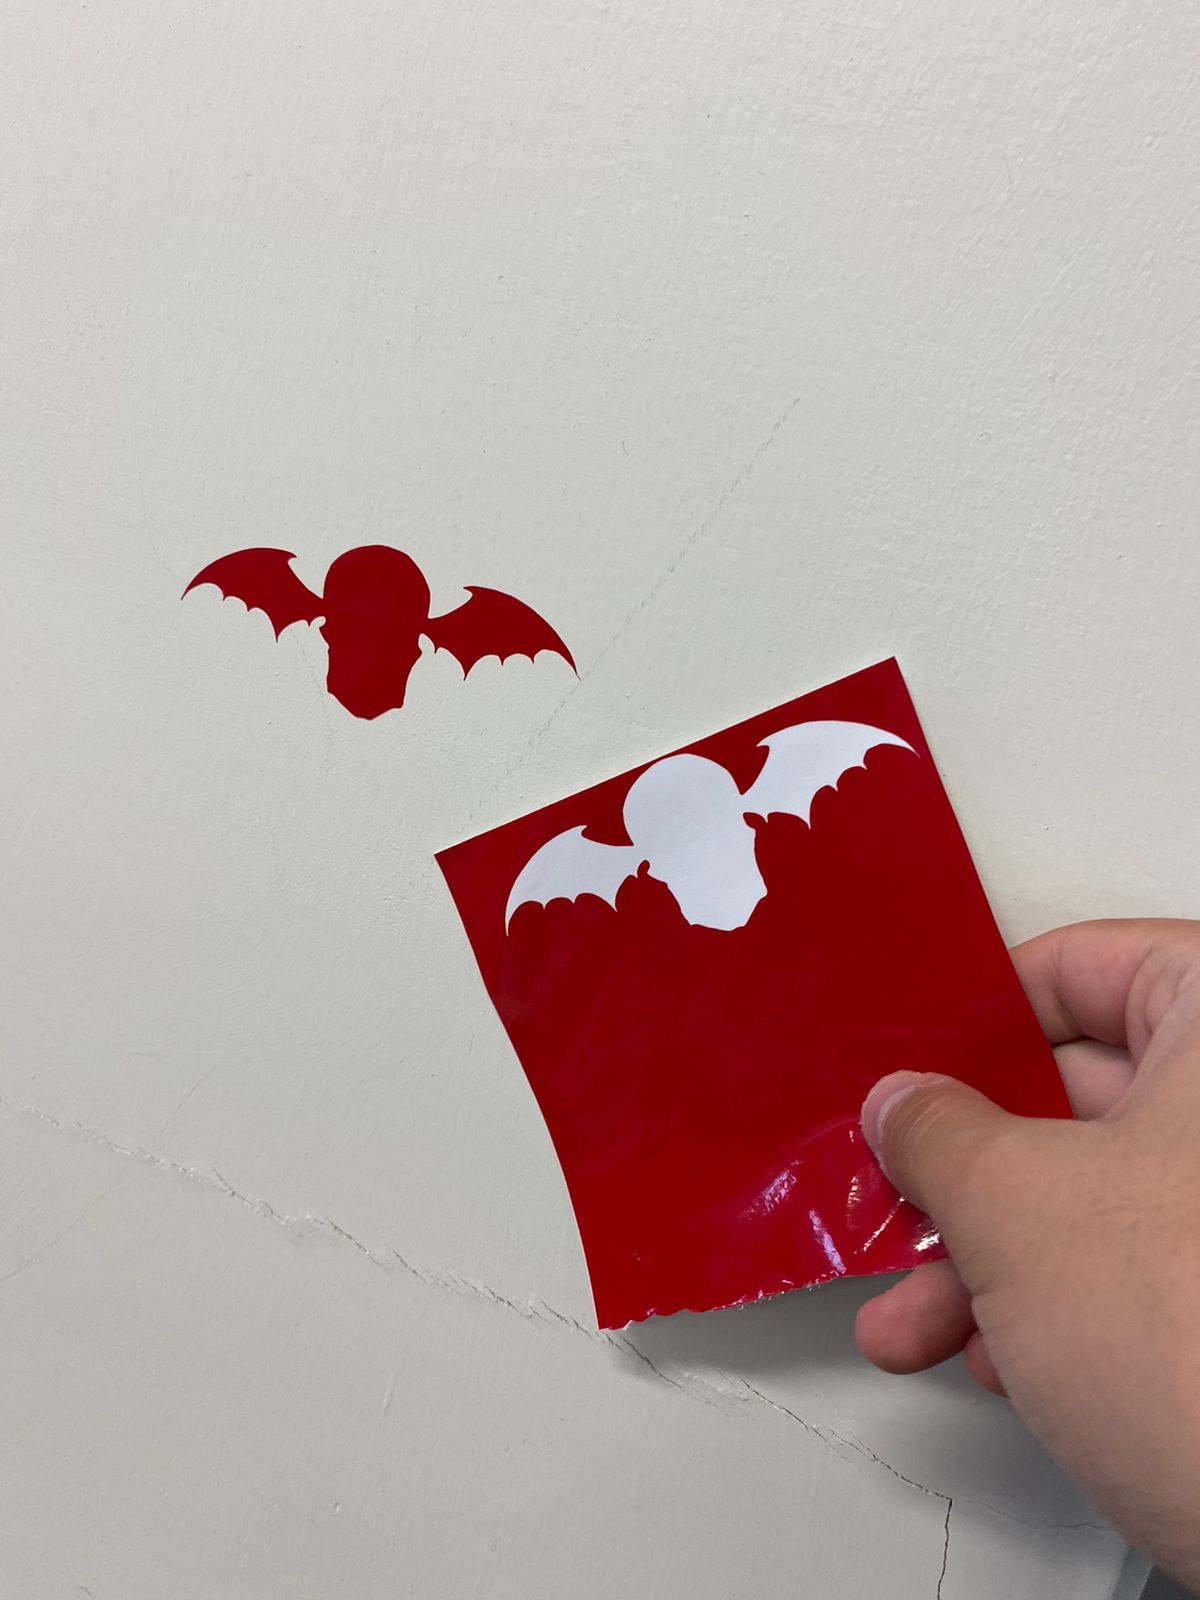
Finally it came out and i pasted it in a wall
conclusion
It was a pretty easy week without much complications but in the vinil cutting i couldn´t find a way to print the shades, but even if i could i would have had to take every piece of the shade and carefuly paste it in the contour of the image little by little.
