MOLDING AND CASTING
For this week they asked us to make a mold to be able to make some processes faster and be more efficient, this task is a little difficult for me since I have never done something like this and I have no idea how to design it.
I thought that for this week it would be a good idea to create something that I like to do and be able to save money in the long term with my mold, so I chose to make a fishing lure so that when I go fishing I don't have to buy lures all the time, so That would be a good weekly task and would also help me save on the cost of my fun.
DESIGNING MY MOLD
First part.
In order to make my fishing lure I will first need to take measurements of my mold and then modify them in my 3D software.
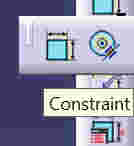
For this task I will use the catia software because it is the most comfortable software to take measurements
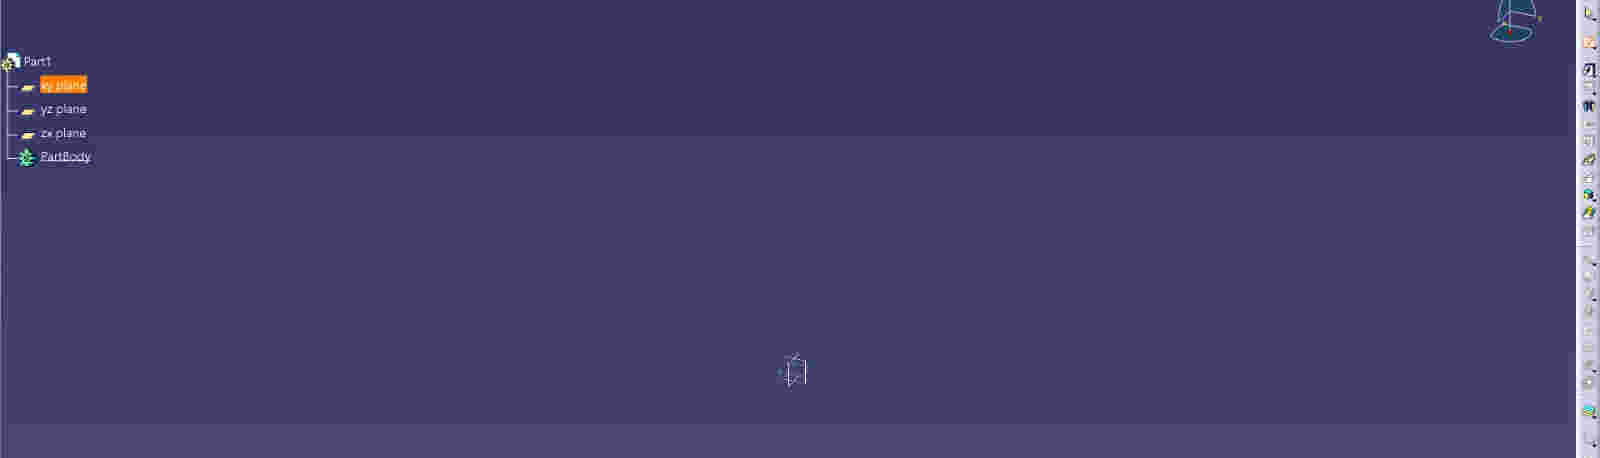
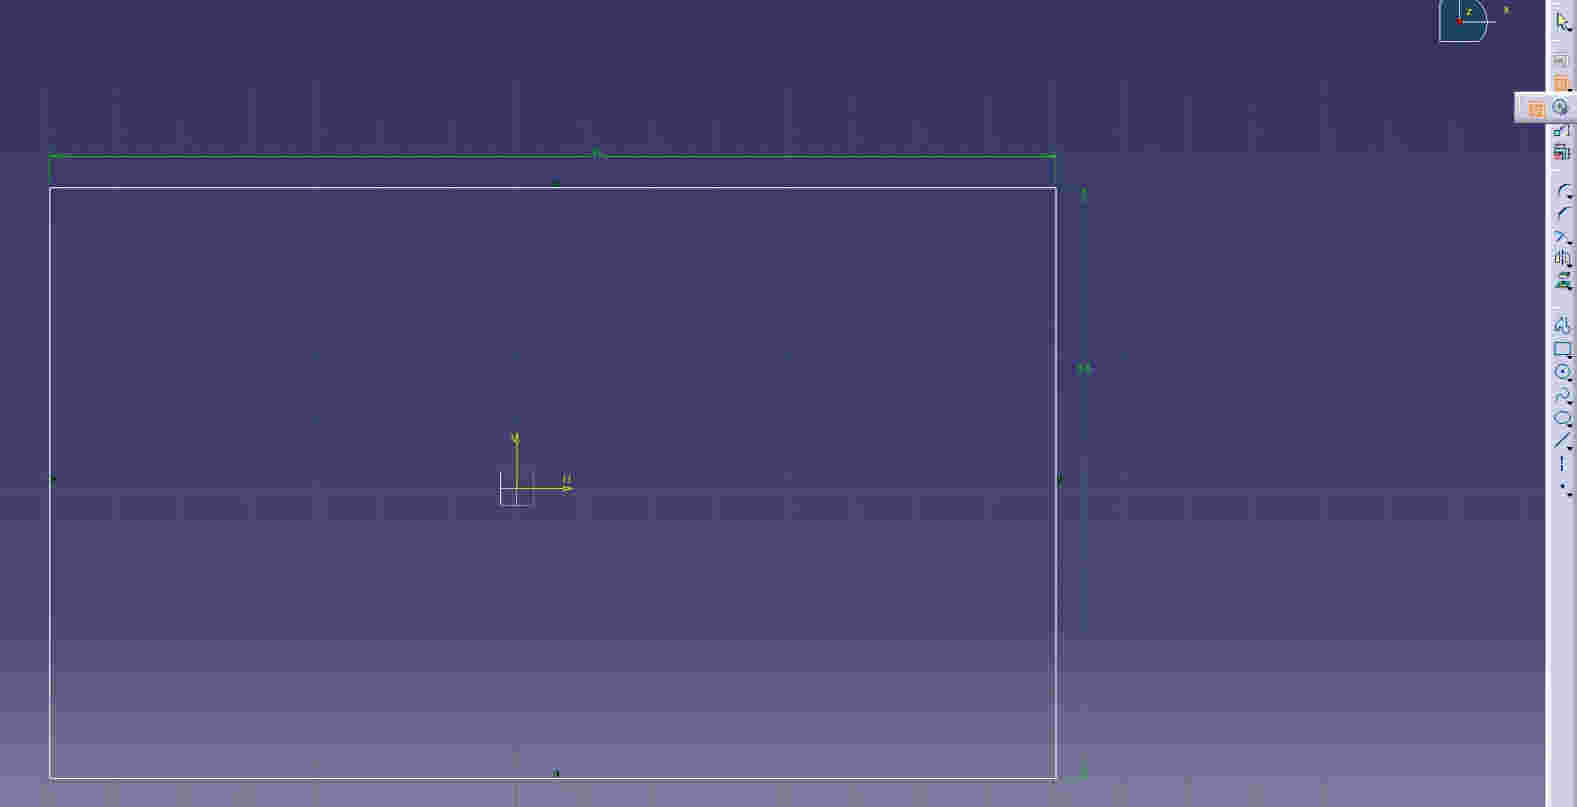
to start the mold model I will use the XY plane and click on the sketch button to create a cube with the measures of 15x8.8 with the constraint option and at the end of this process I will leave the option of sketch

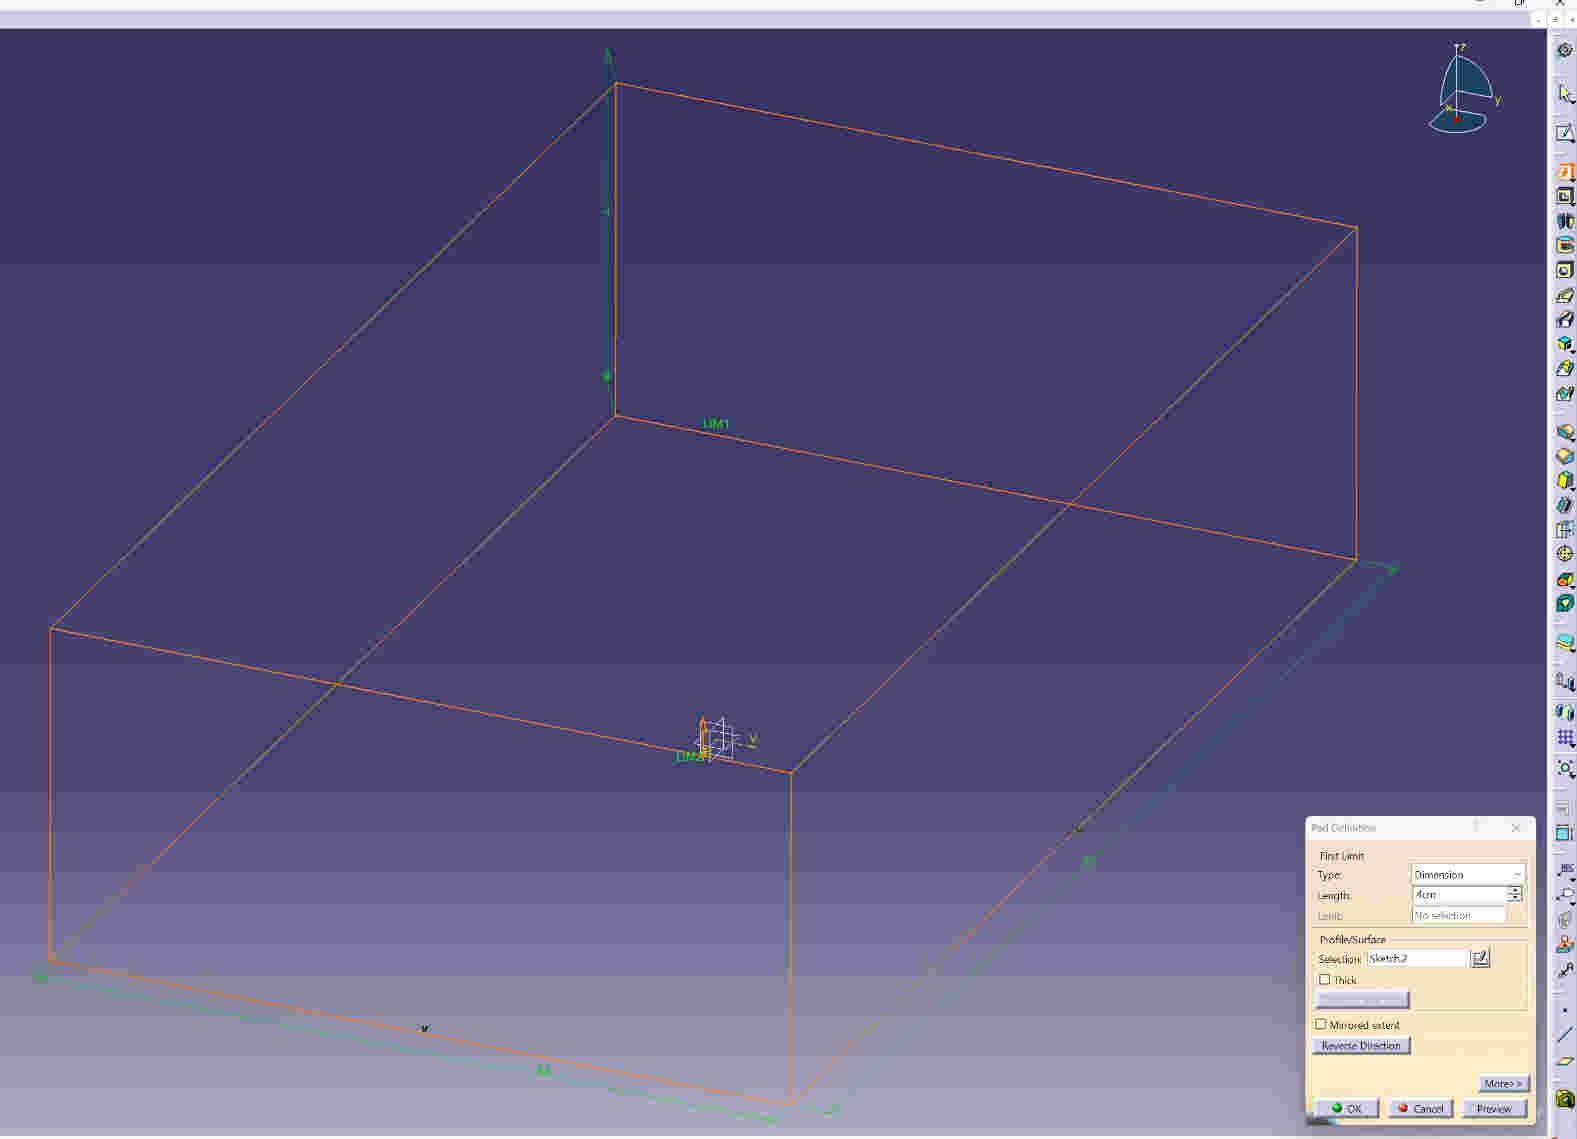
I will give you a pad of 4cm to give you the thickness of my mold
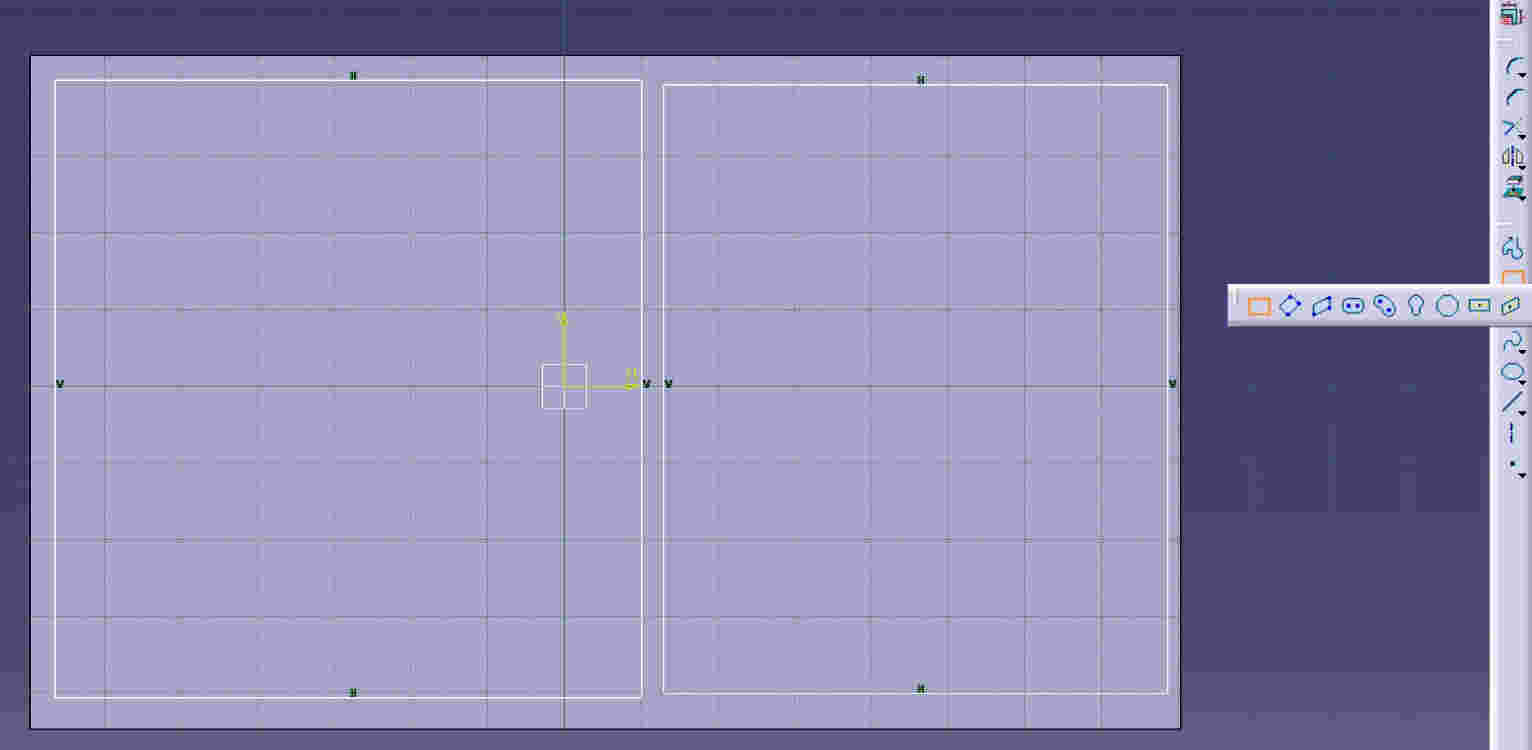
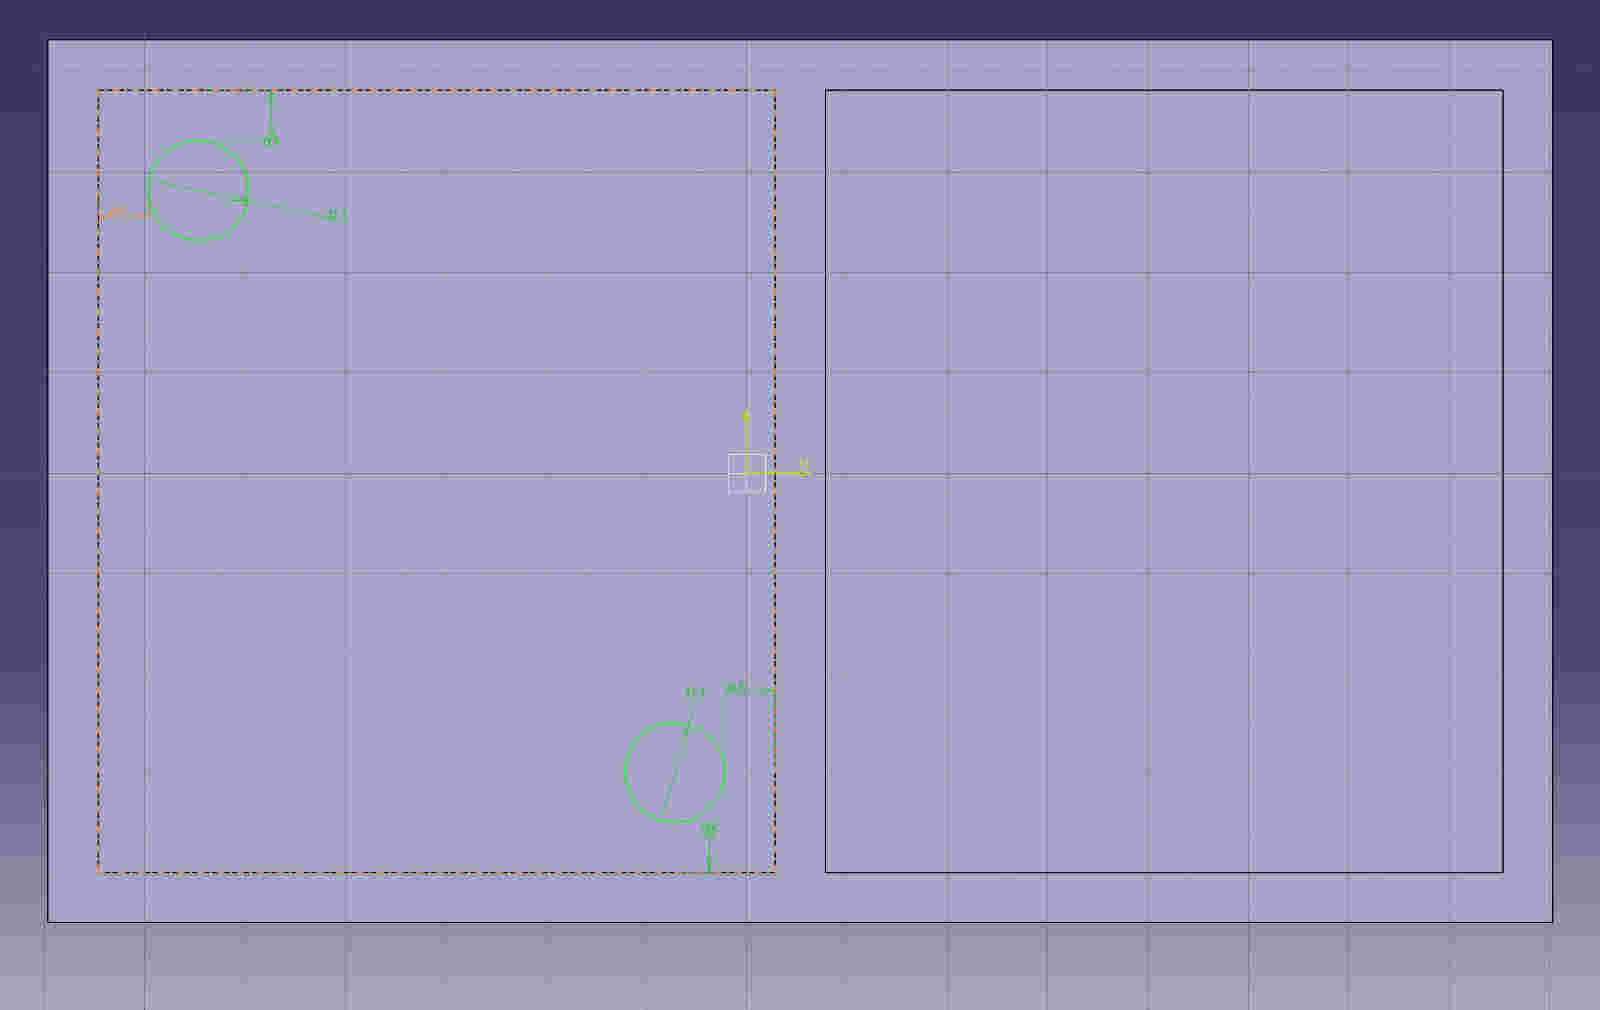
I will create 2 smaller cubes with the option of sketch inside the first cube and give it a constraint so that the space can be well distributed>I will leave the sketch.
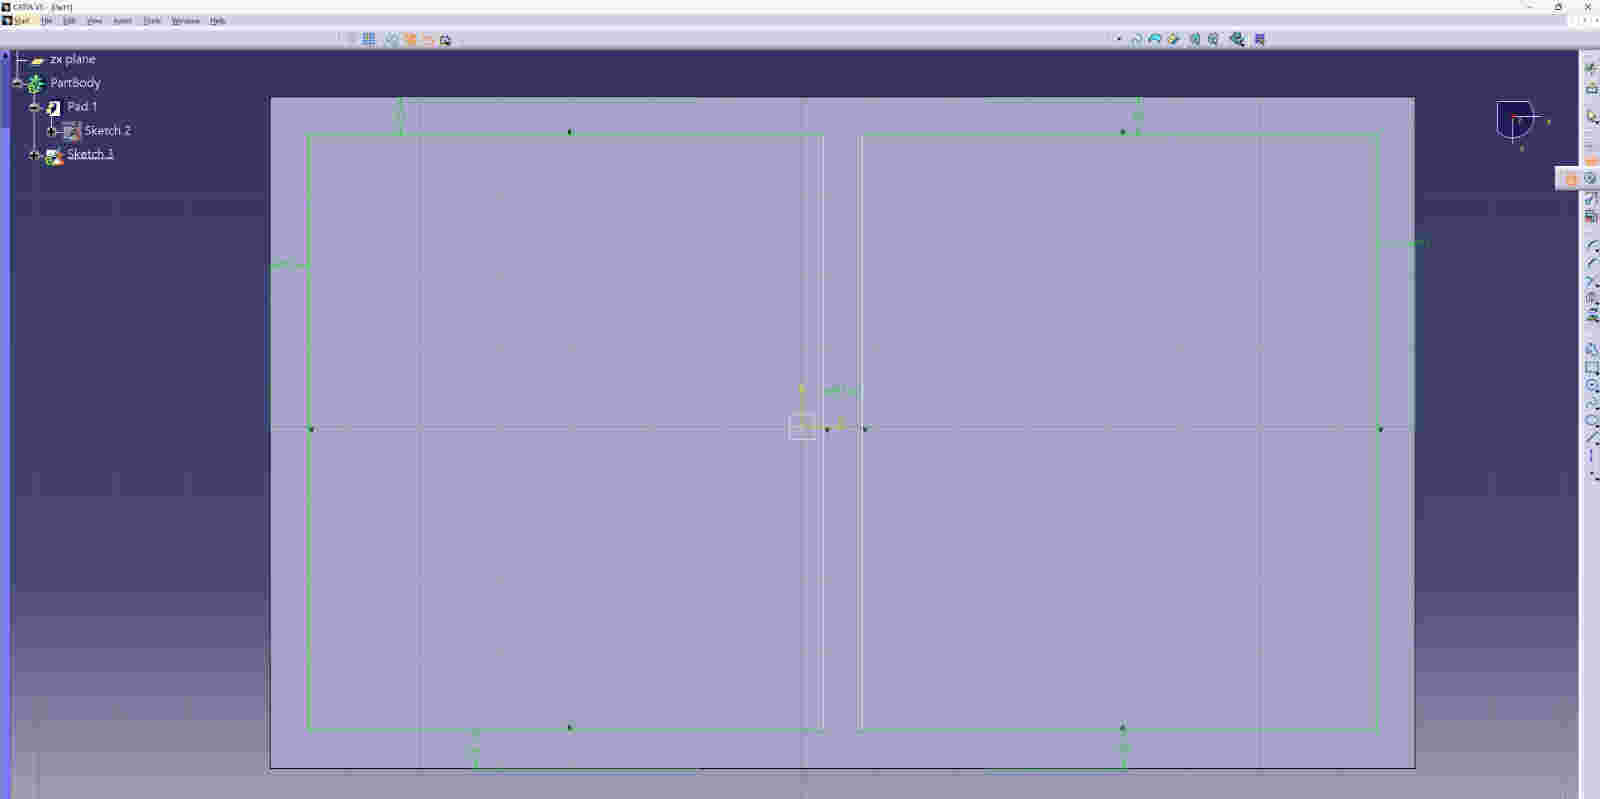
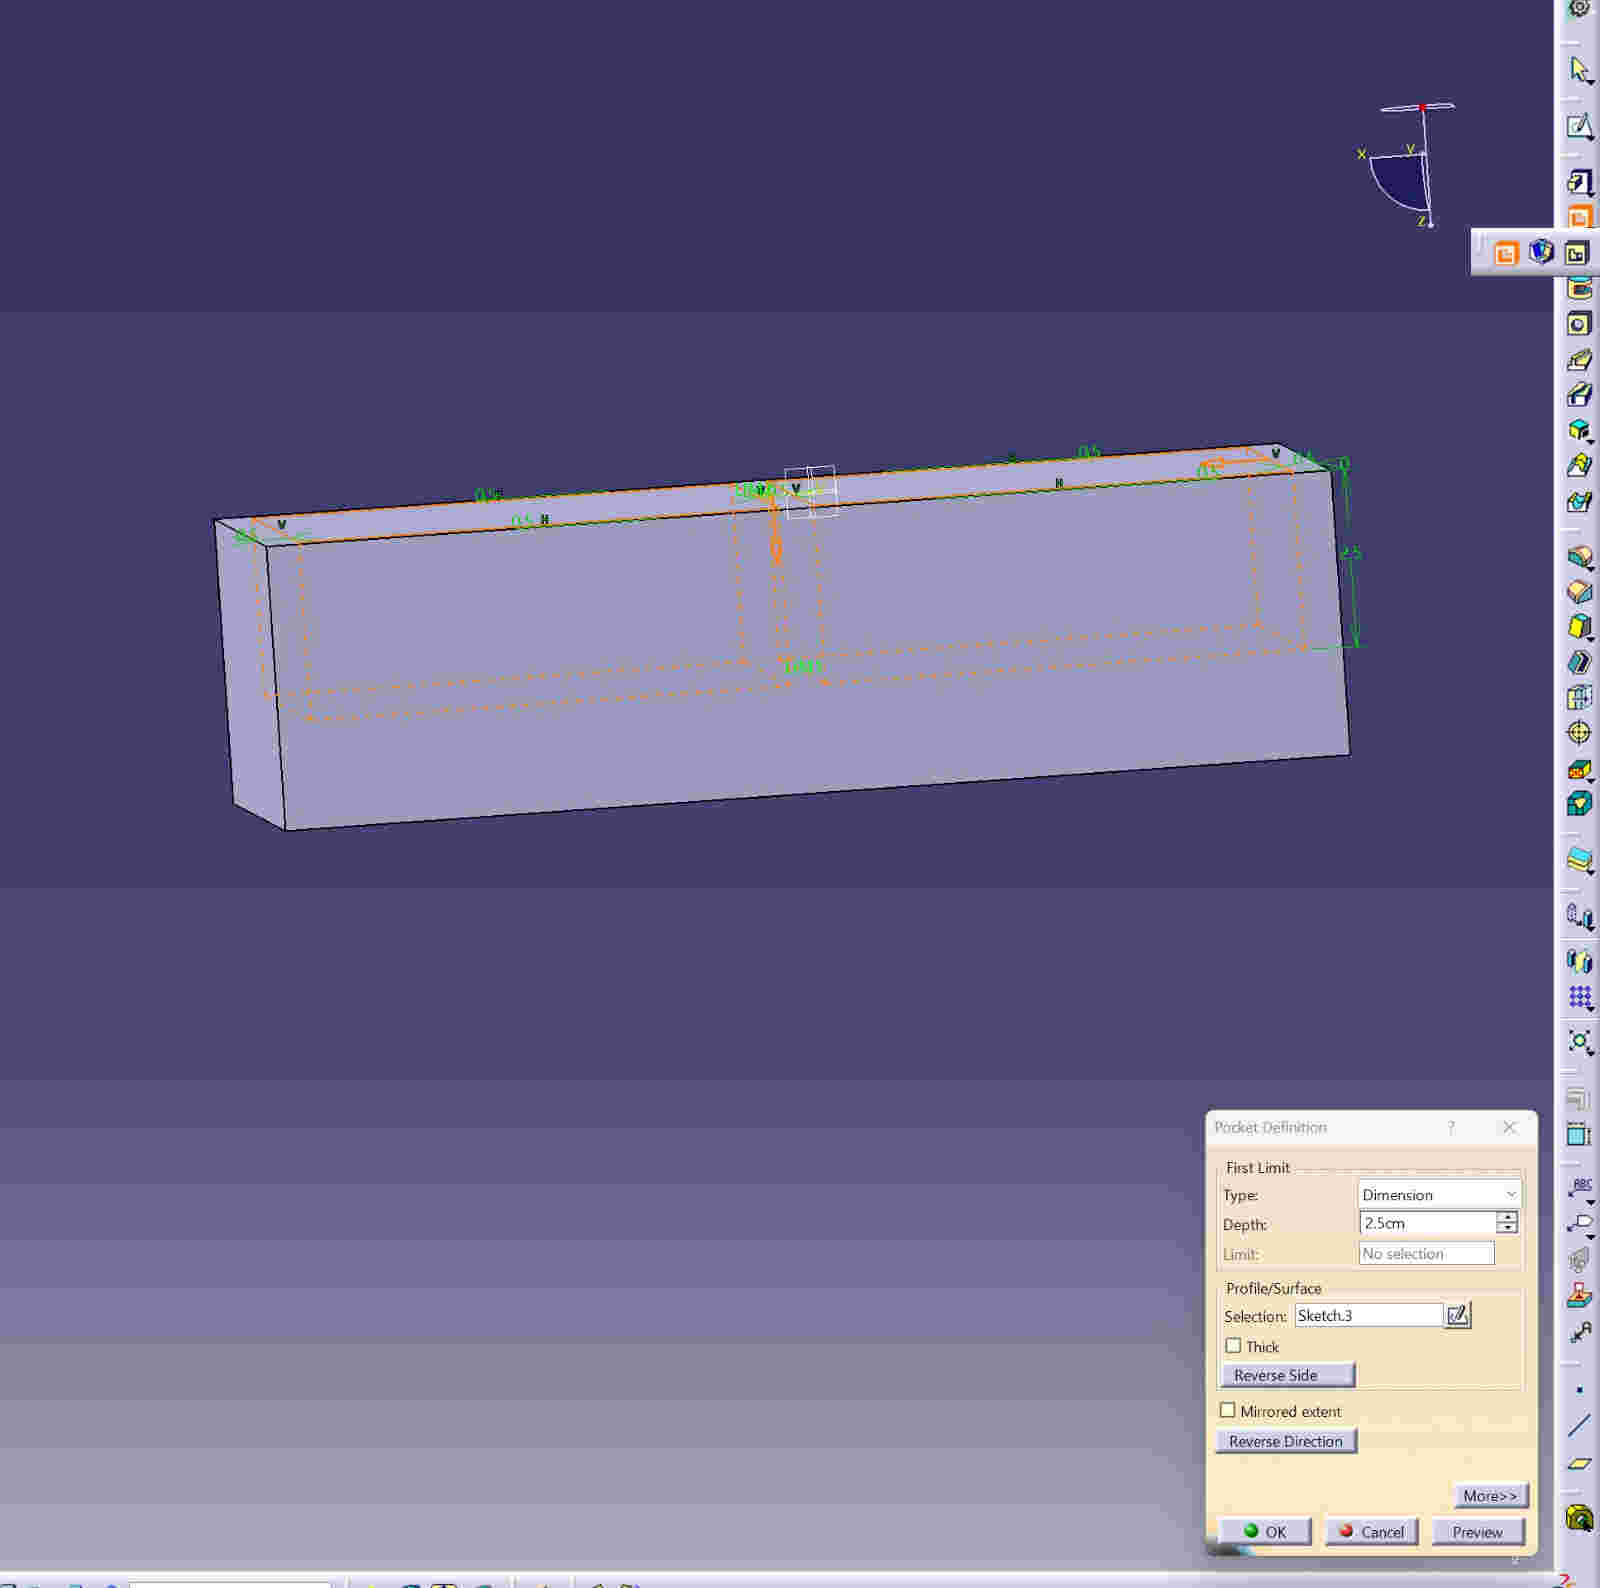
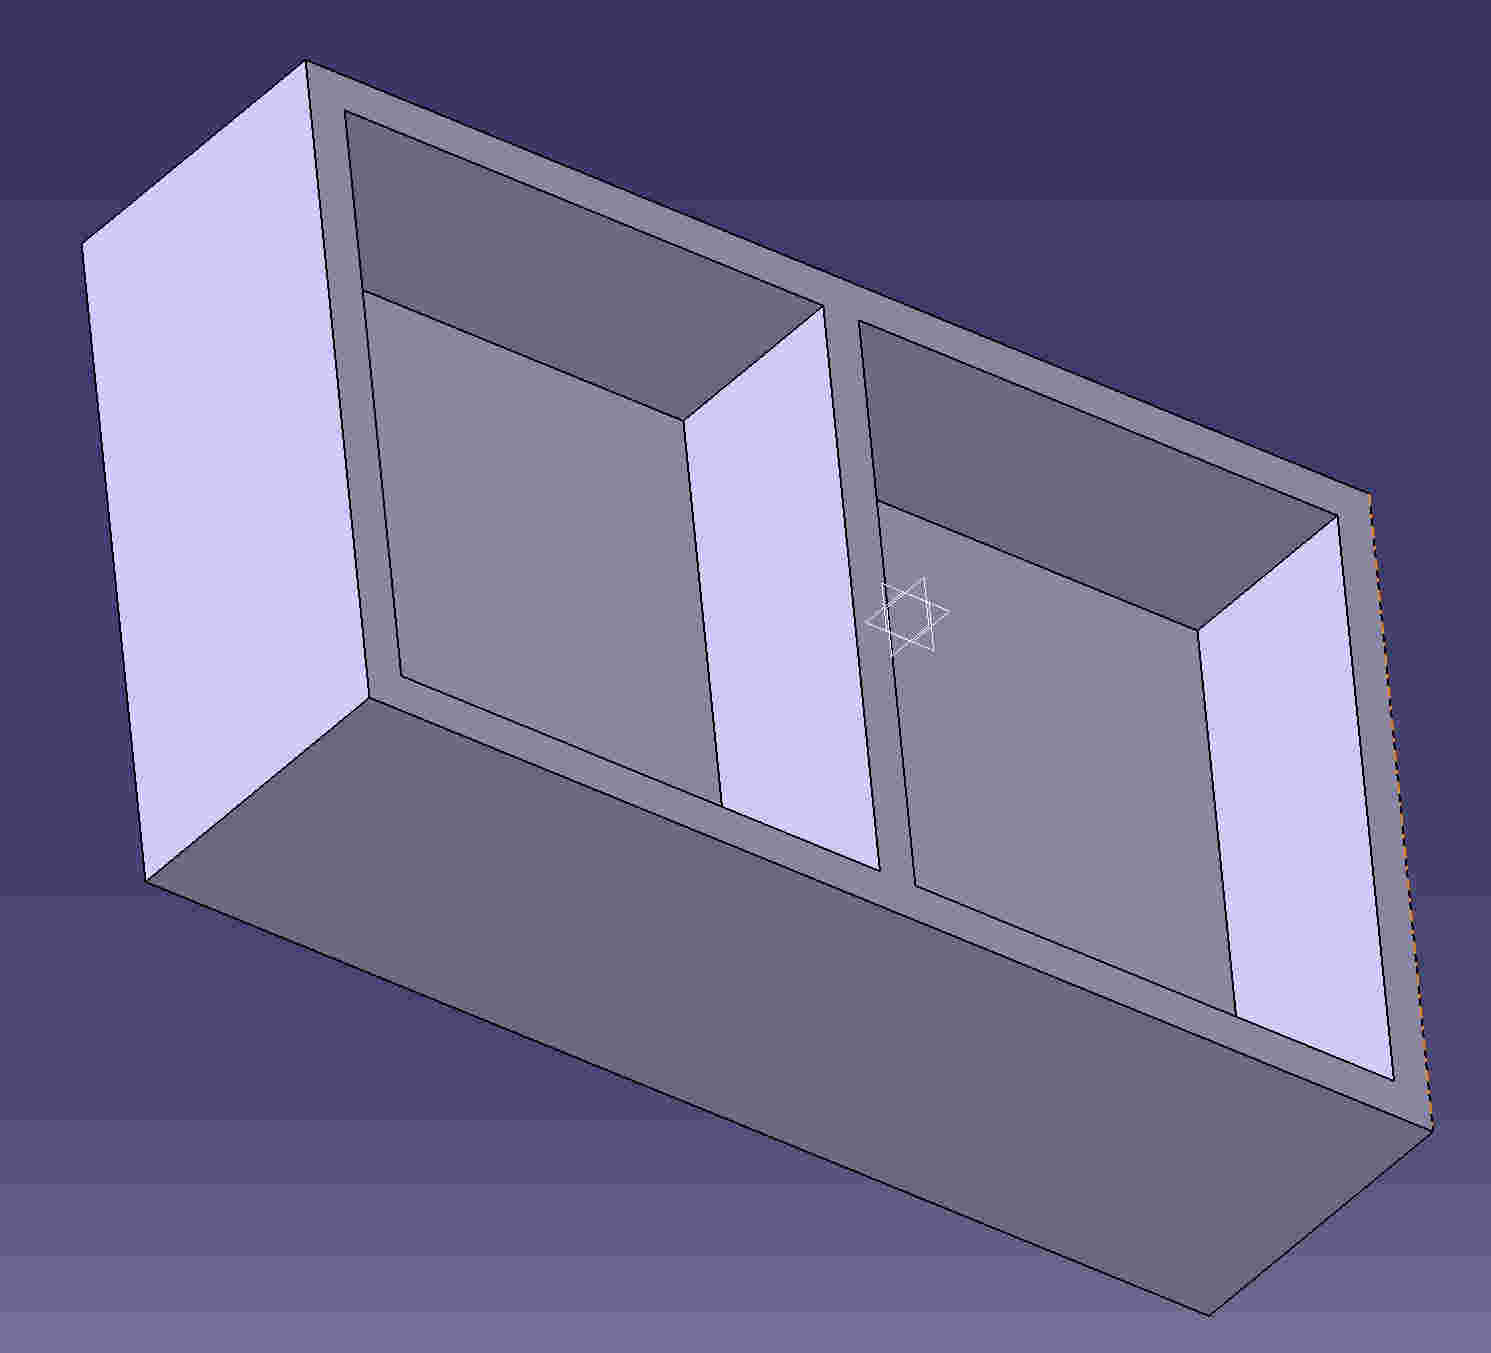
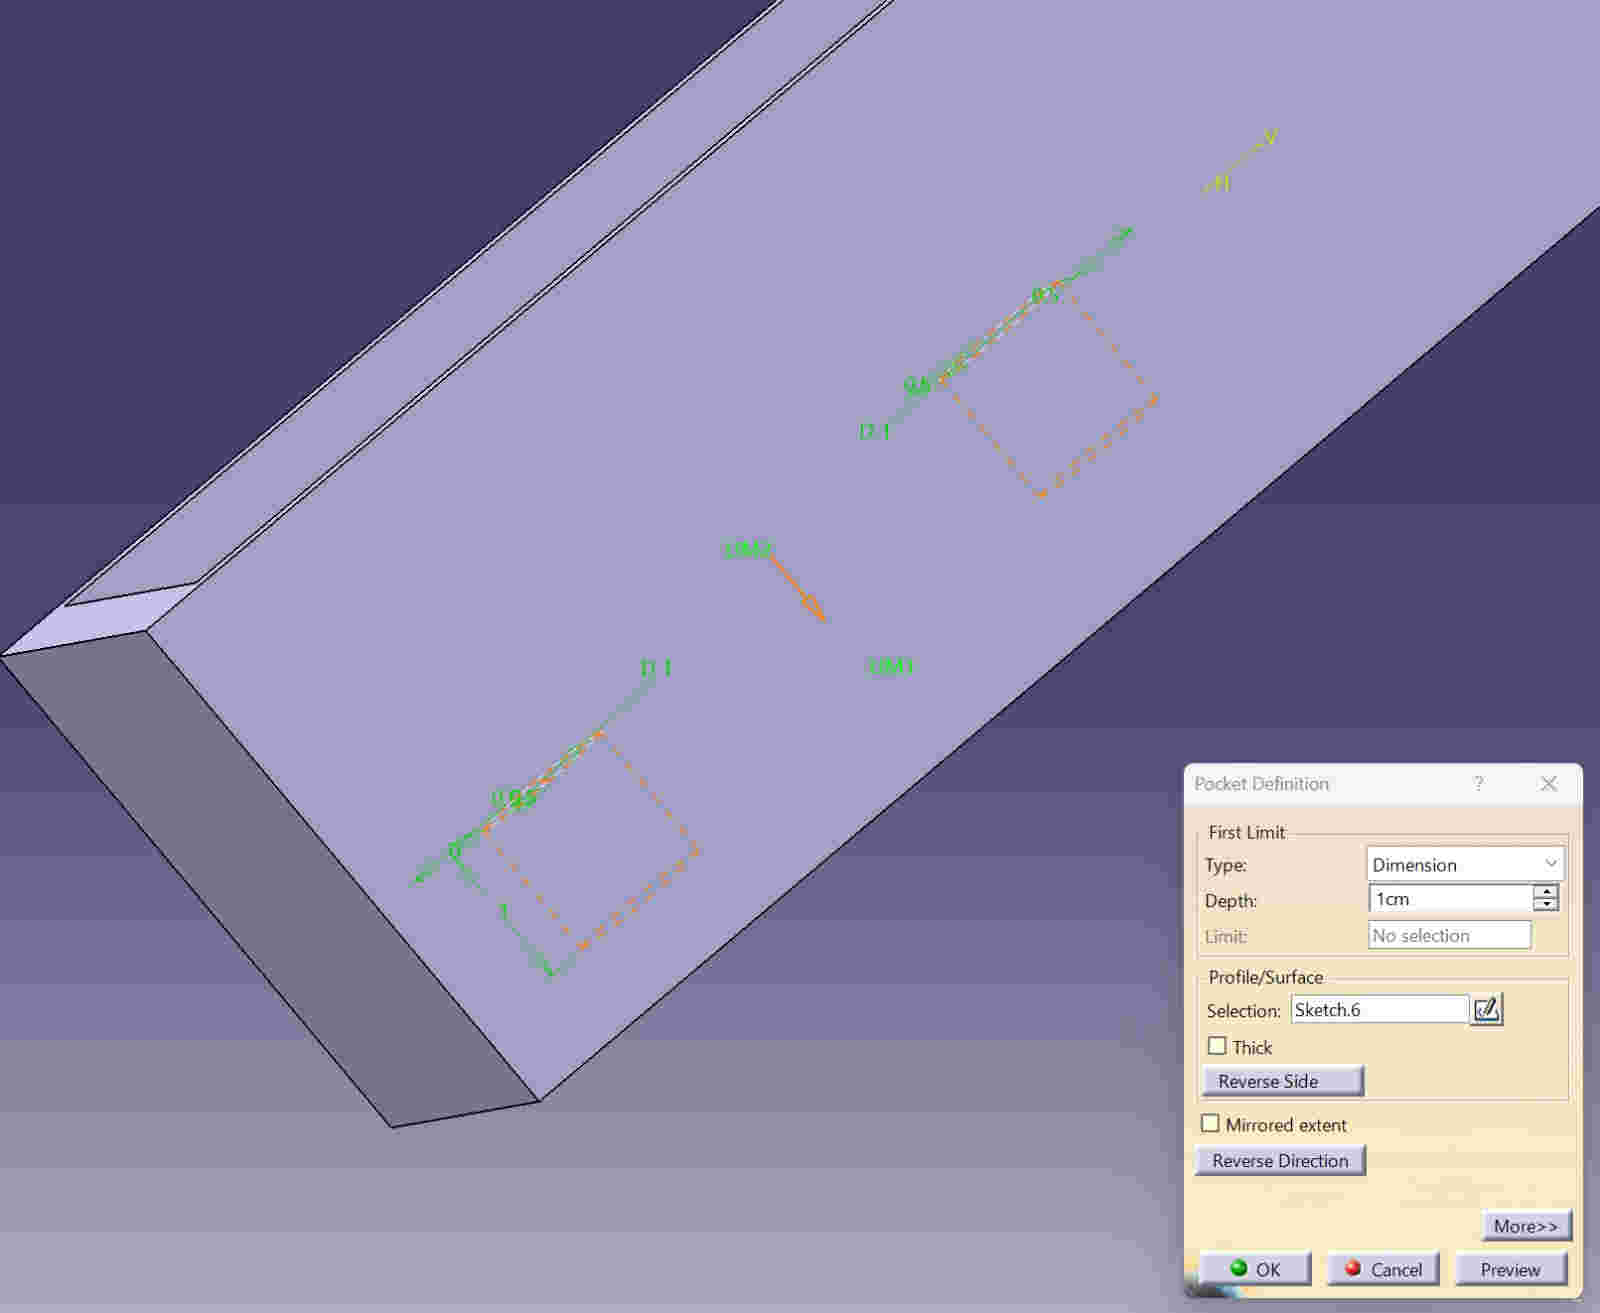
Give a 2.5cm pocket to the cubes made
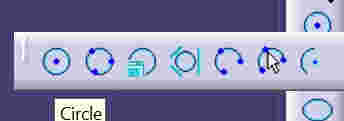
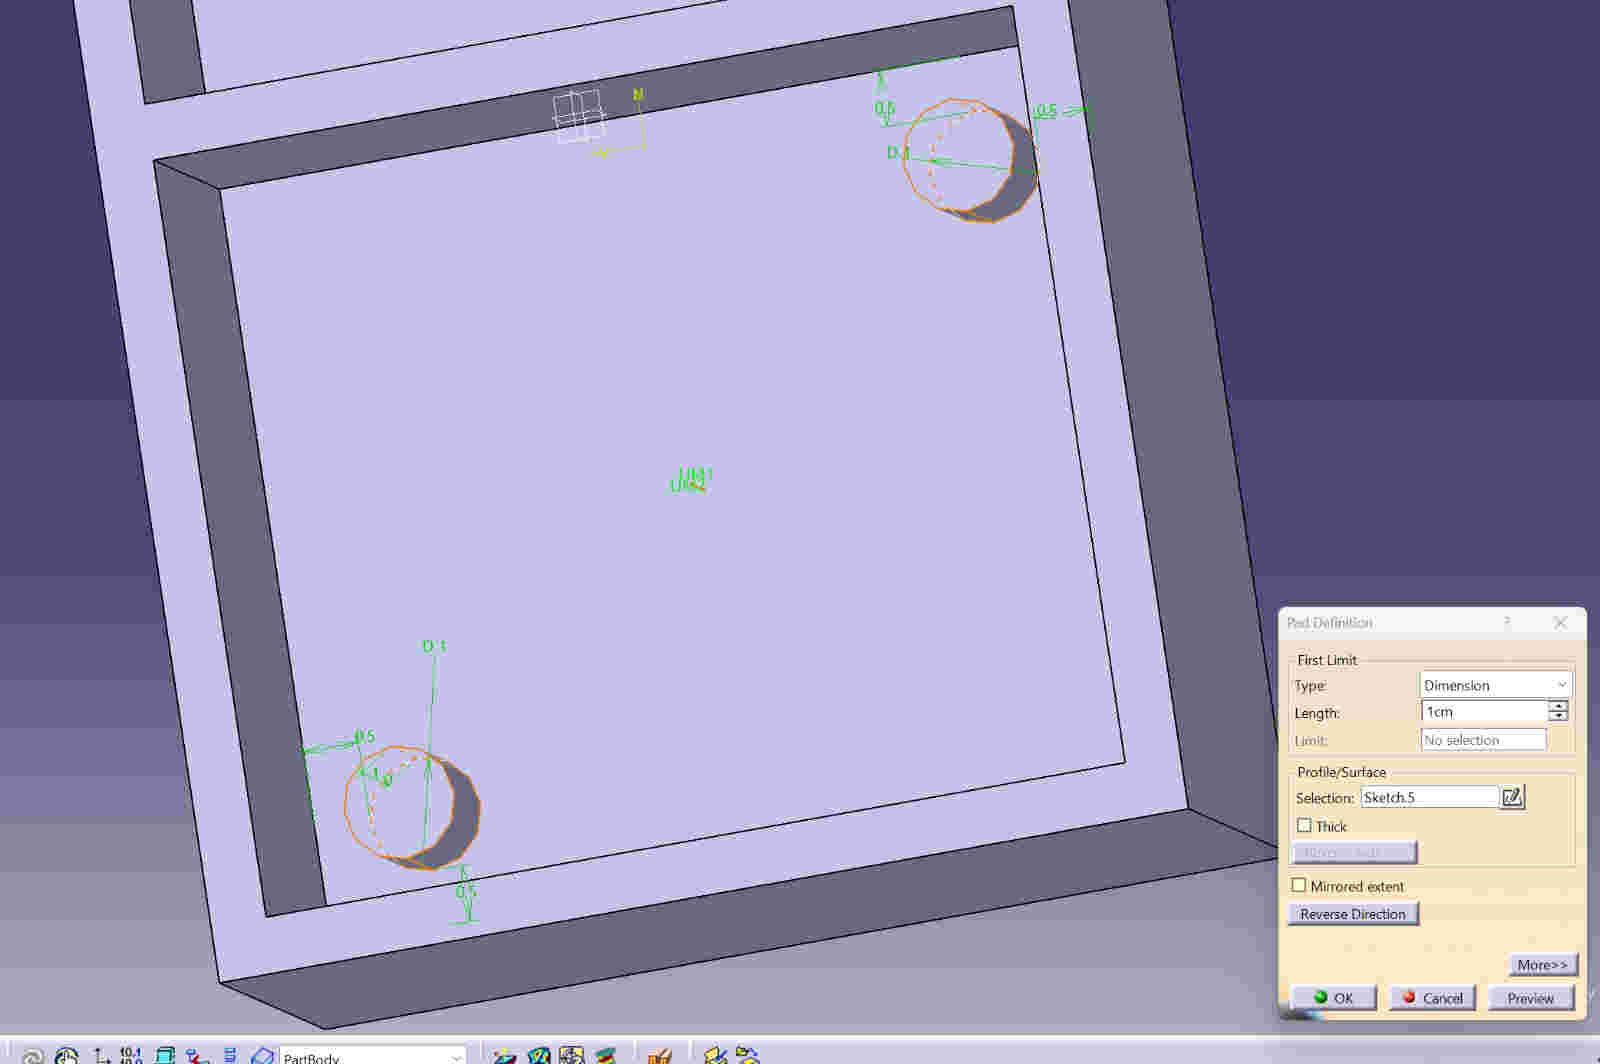
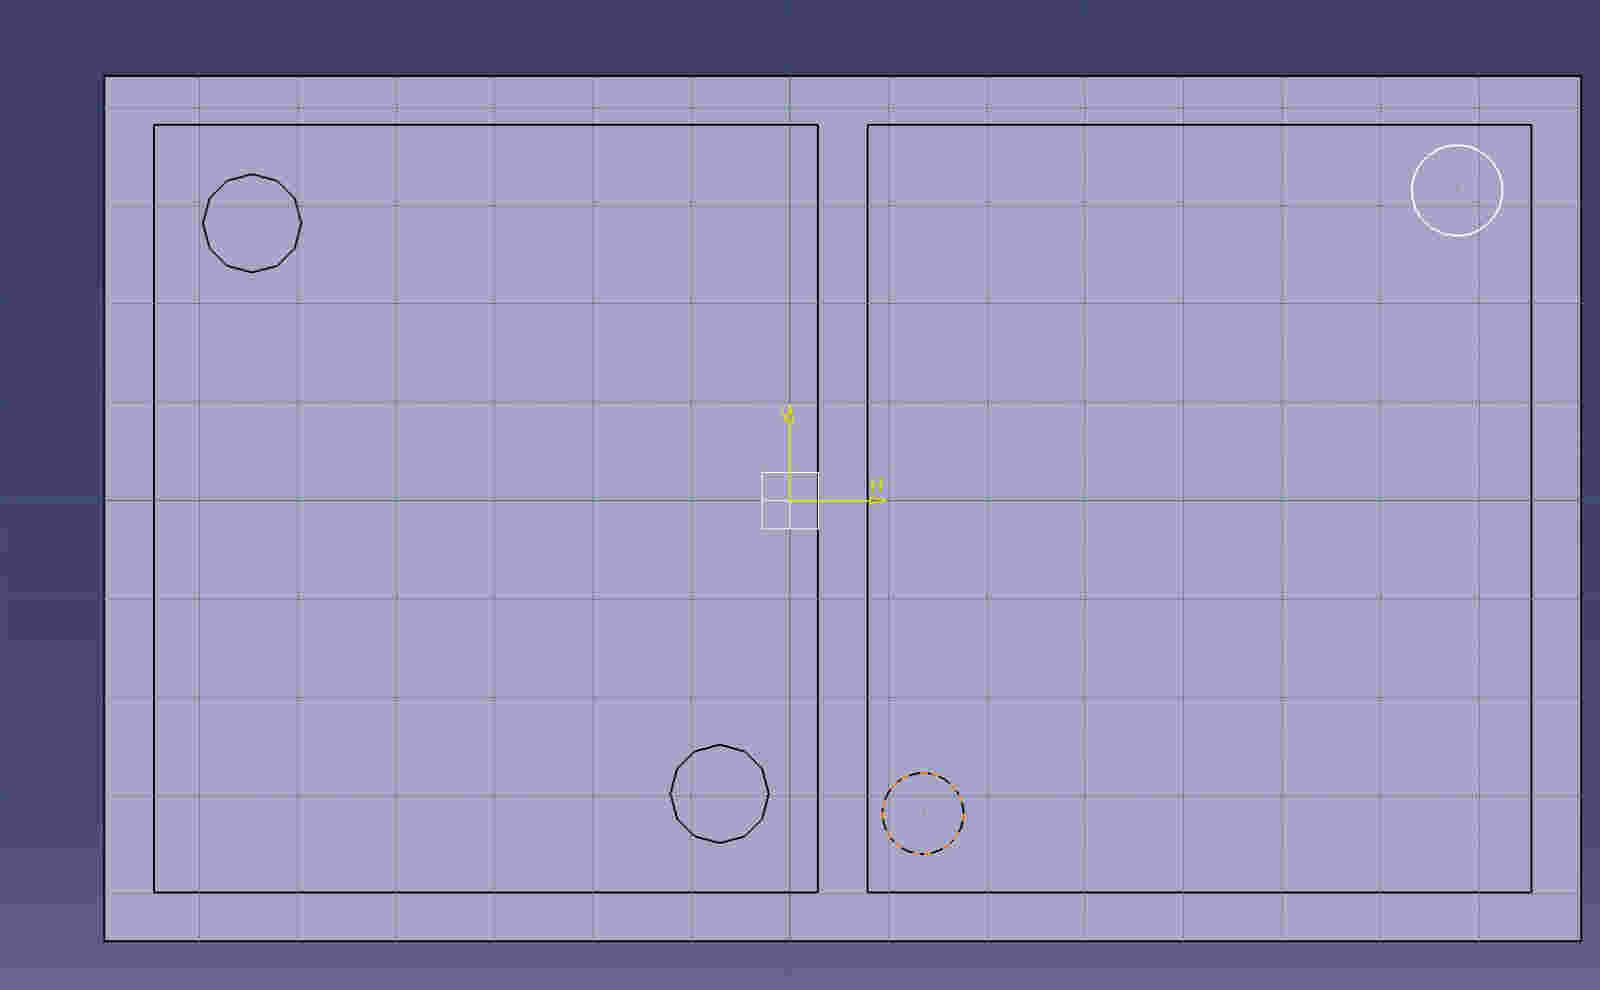
With the sketch option I will create two circles inside the two pockets generated and I will give it the diameter of 1 cm and it is detached from the edges .5 cm with constraint option.
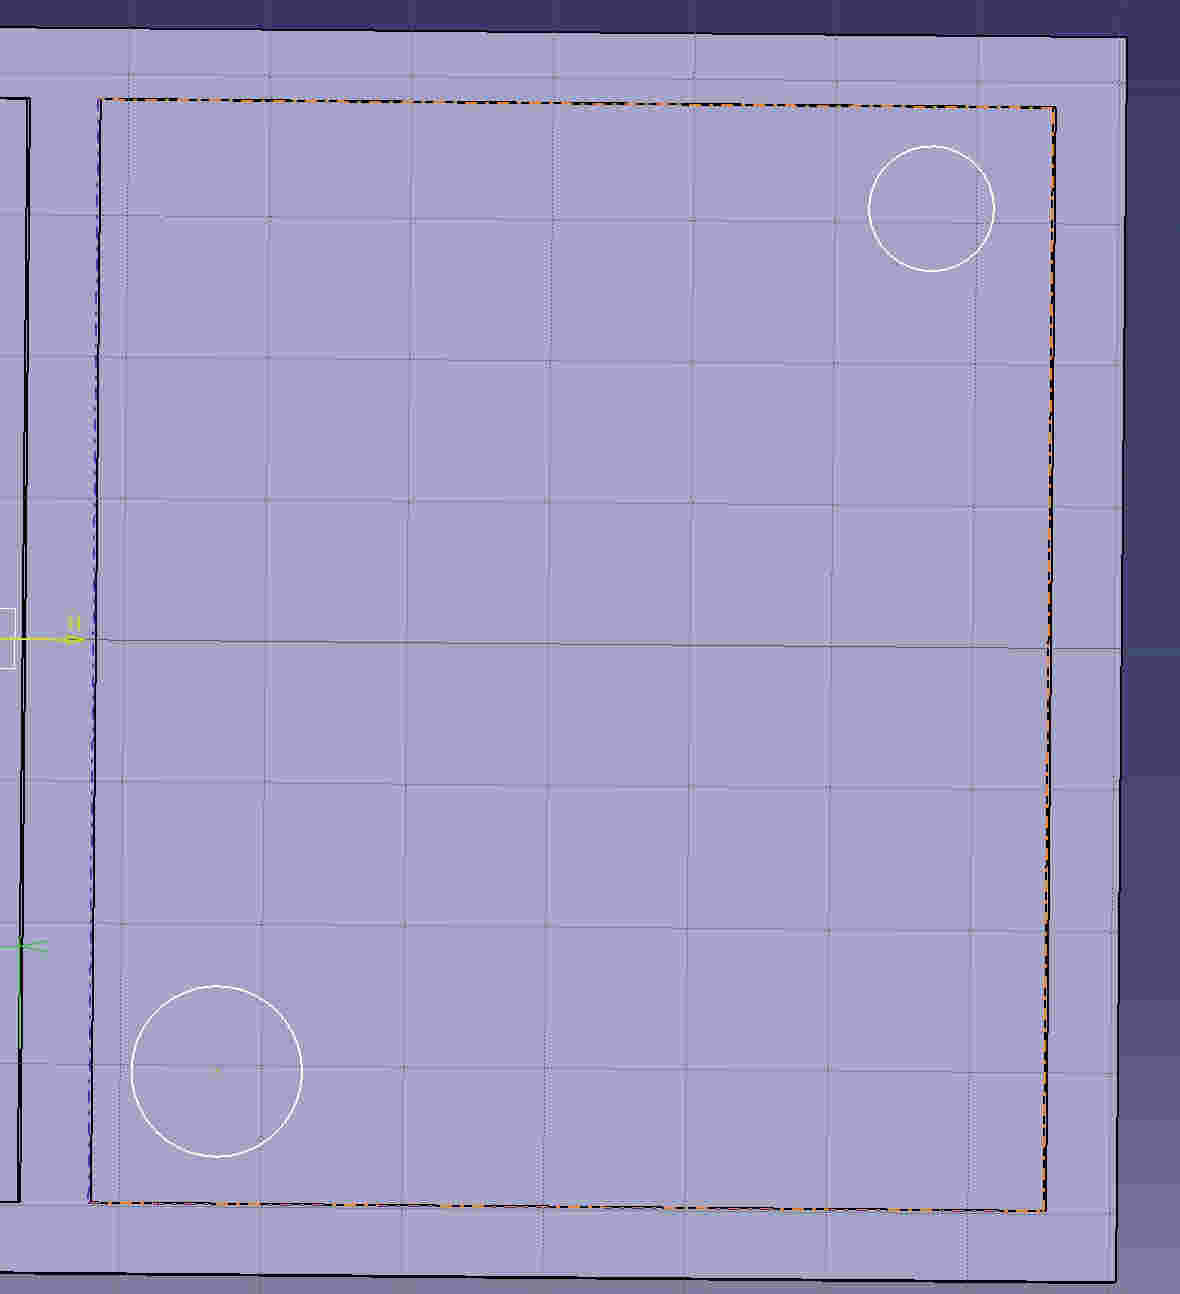
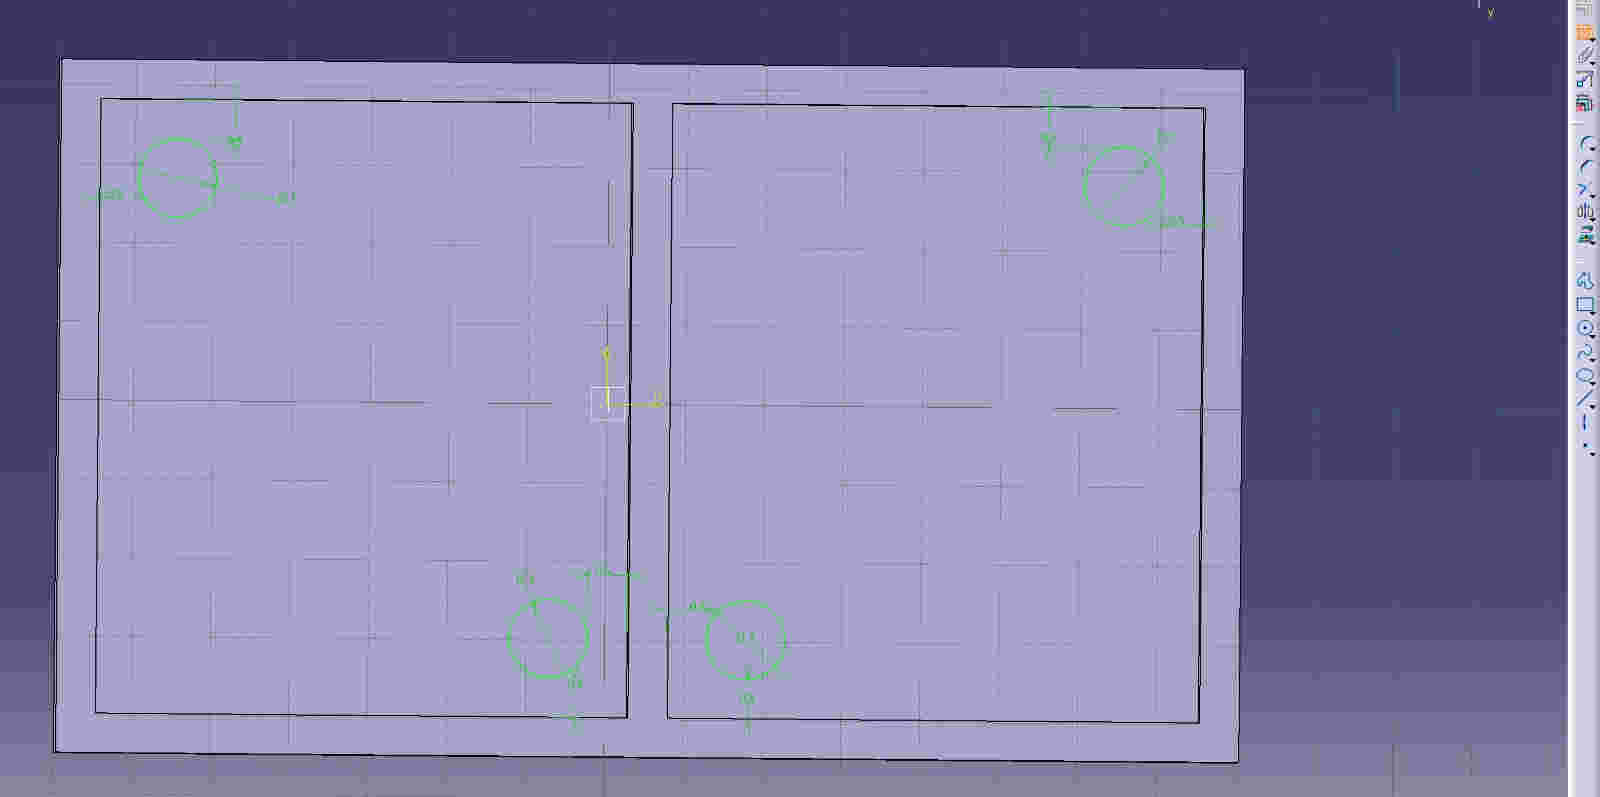
To two circles within a square I will generate a pad of 1 cm and to the other two I will generate a pocket of 1 cm.
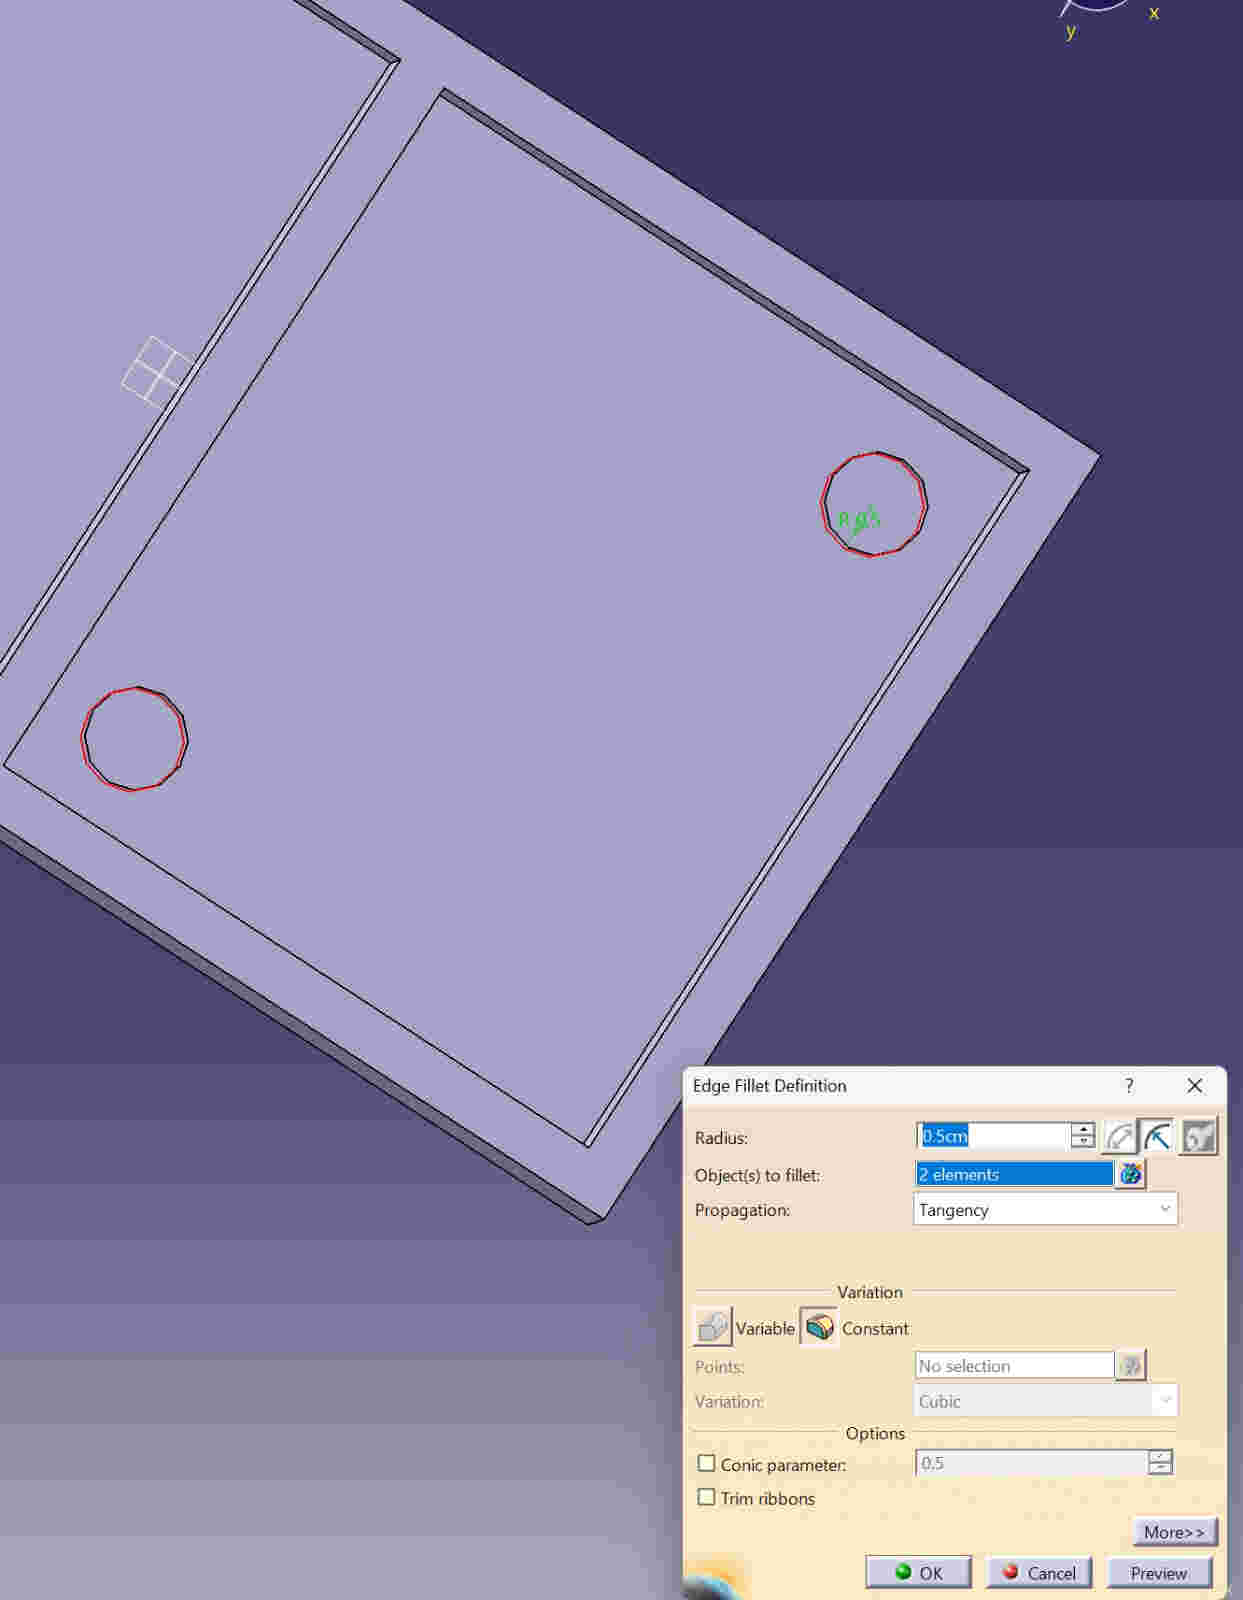
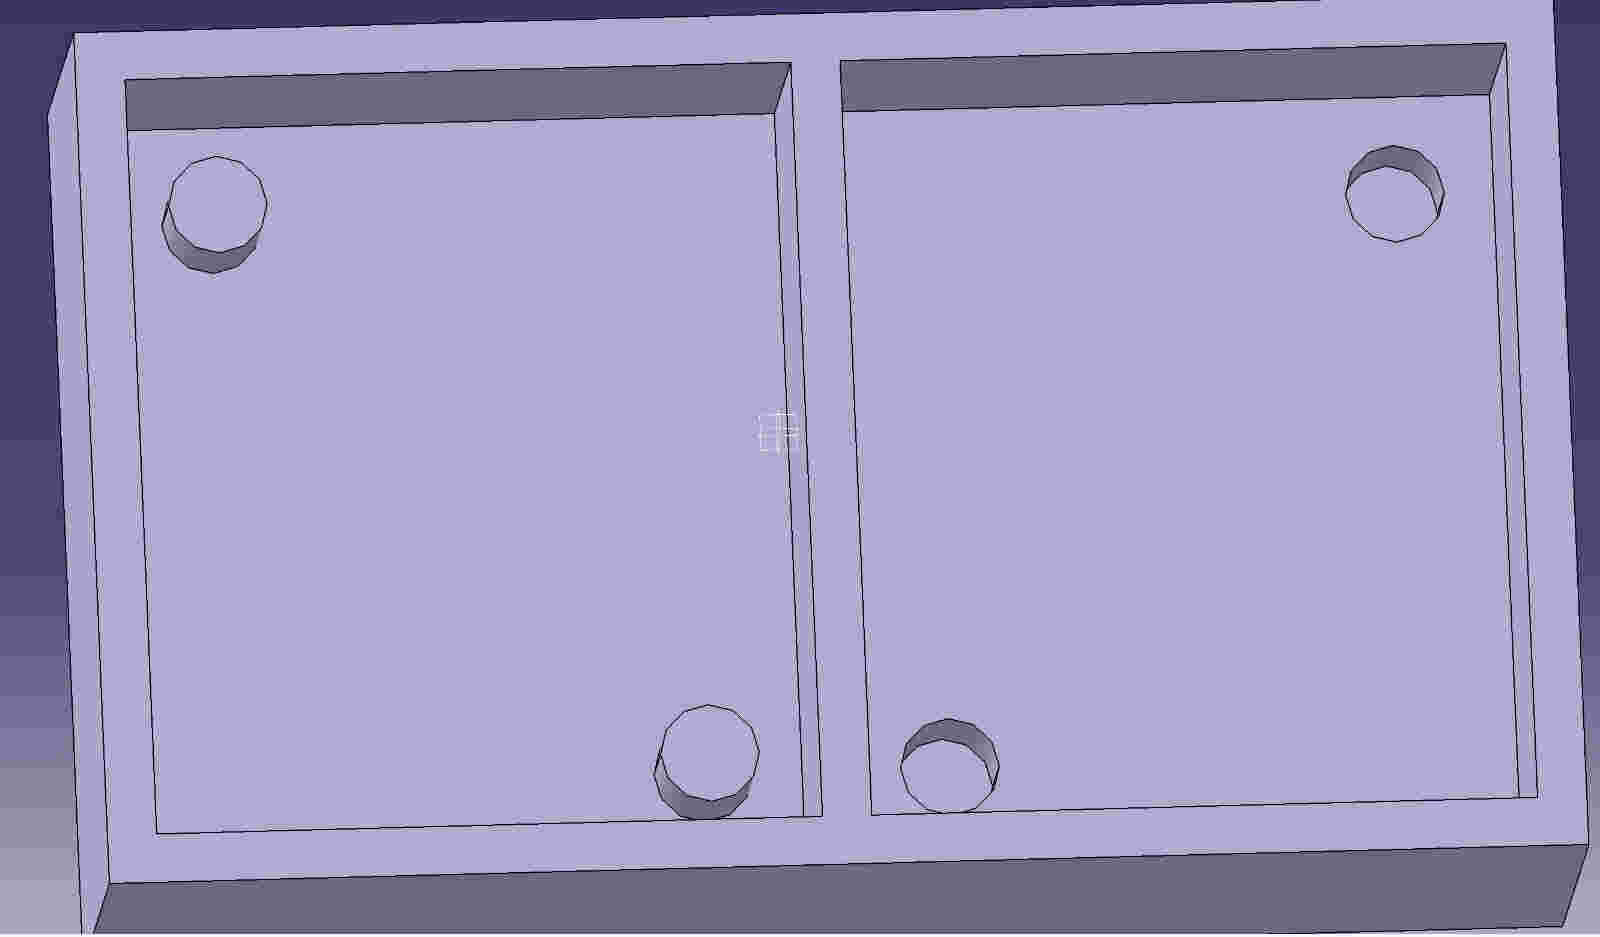
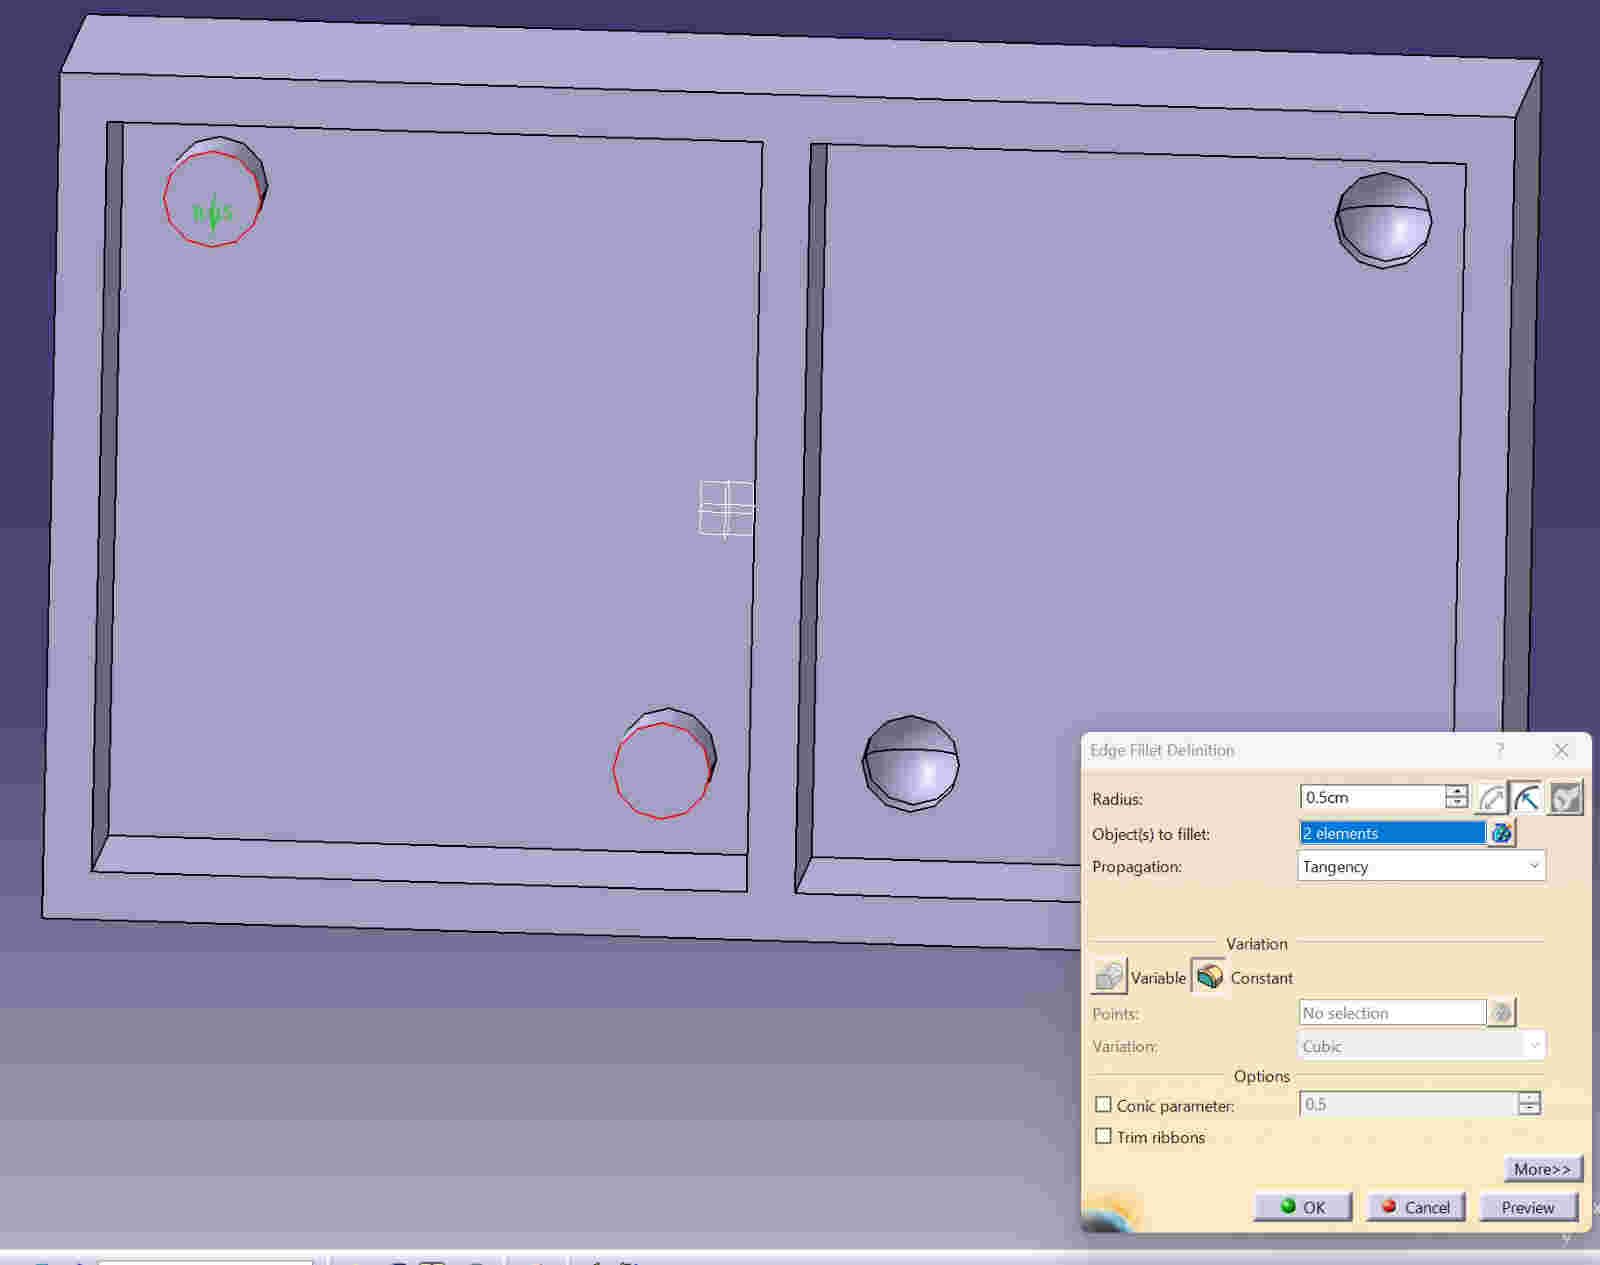
To make my model more appreciated, I will add an edge fillet to the pad and the pocket I generated of . 5 cm
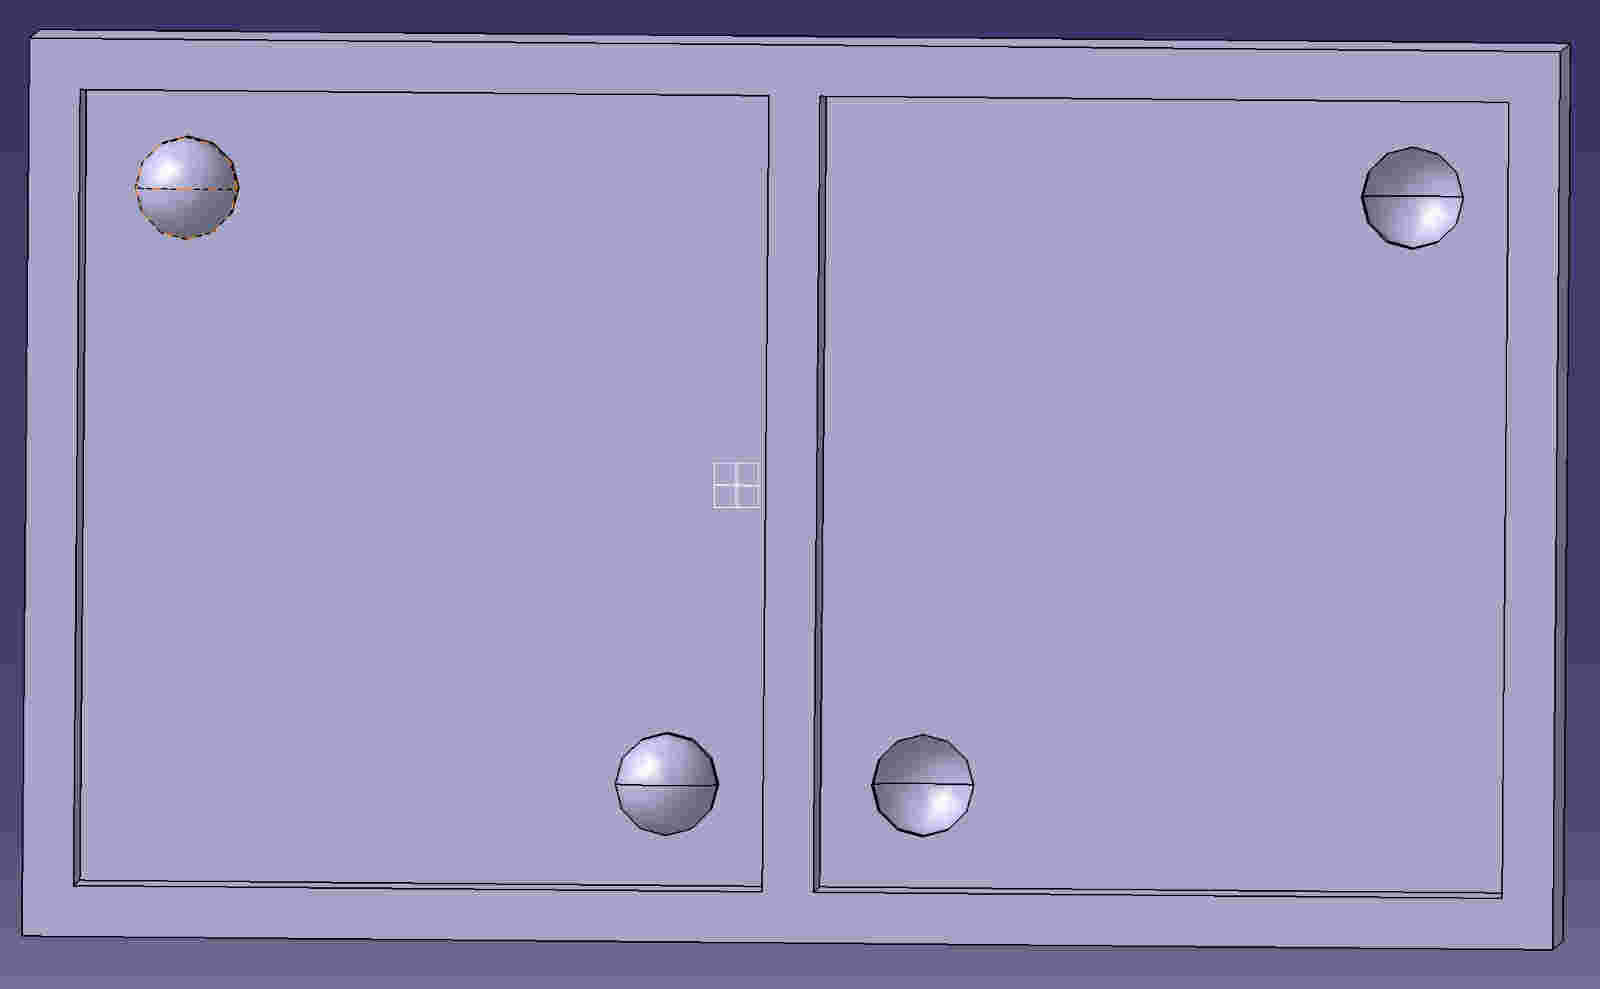
To finish a part of the mold process I will save it as .STL file
Second part.
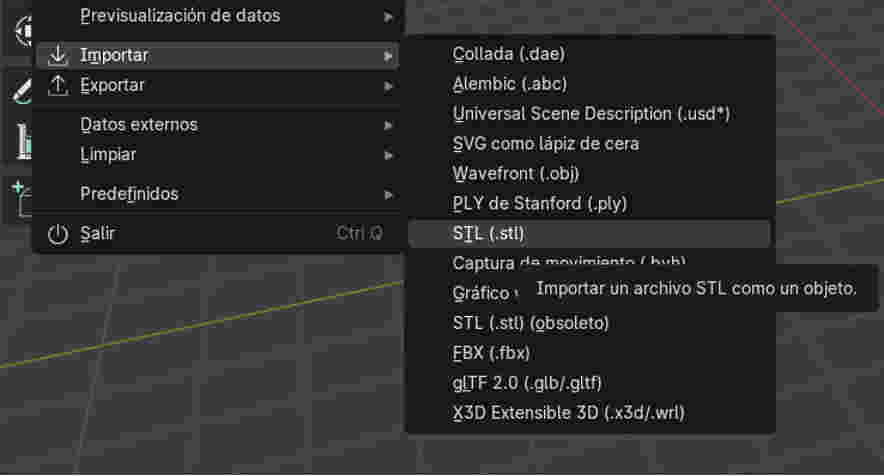
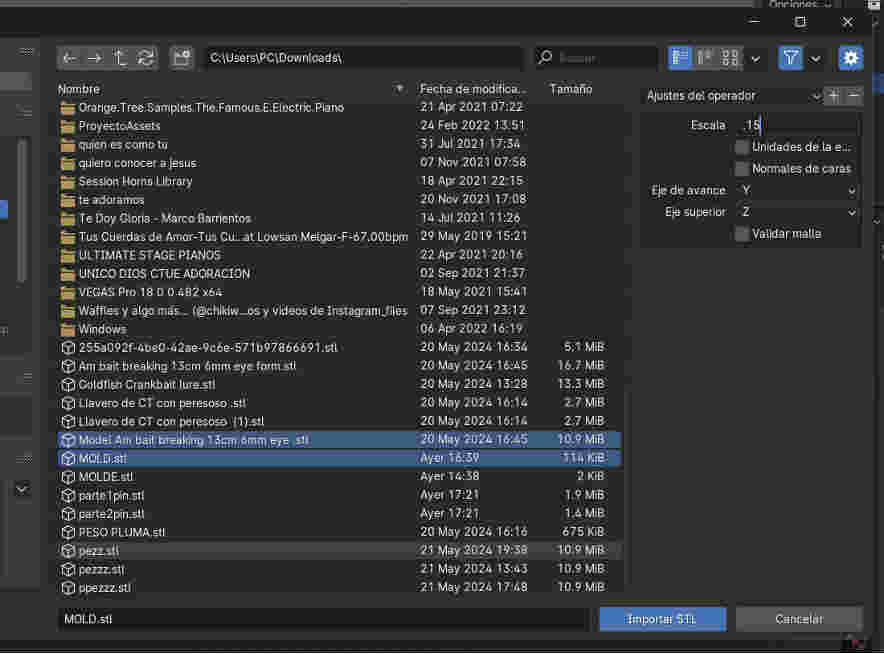
For the continuation of my mold I will use the Blender software, since the stl is a maya and because it is easier to extrude meshes there.
To start importing filewhich had generated in catia and the fish that downloads in Cults 3Din STL format. and dare them a scale of . 15
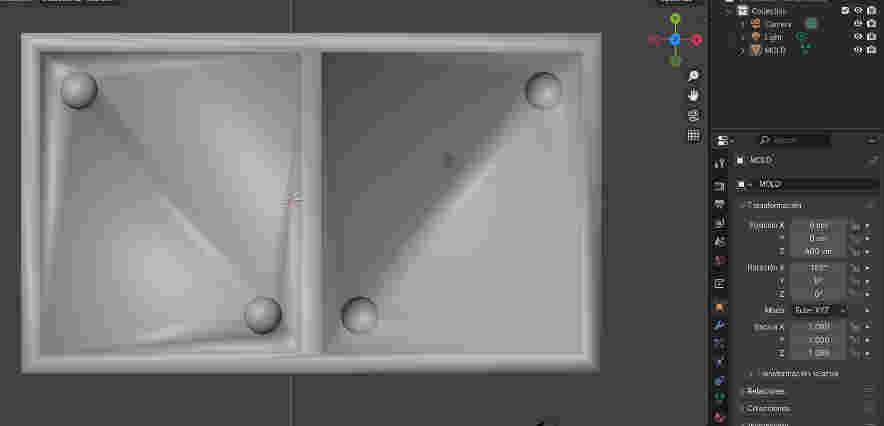
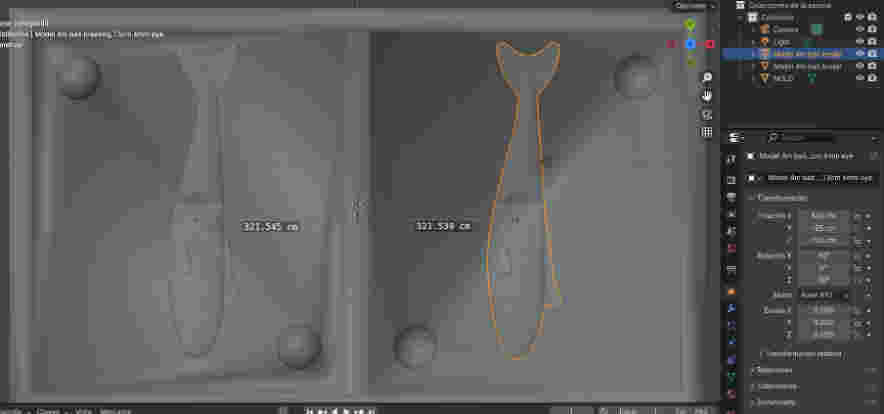
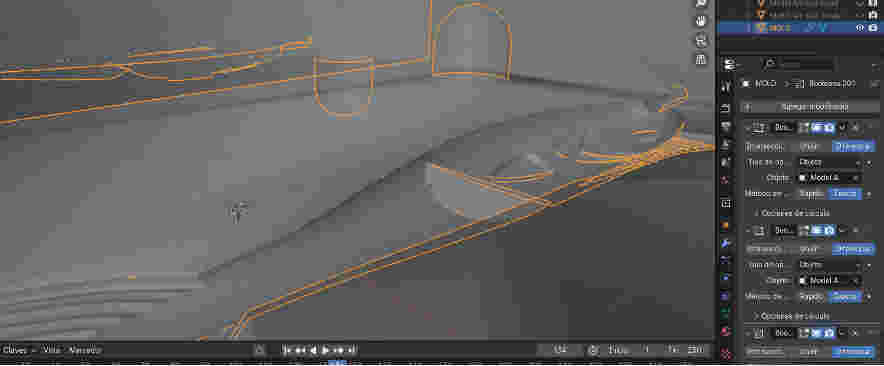
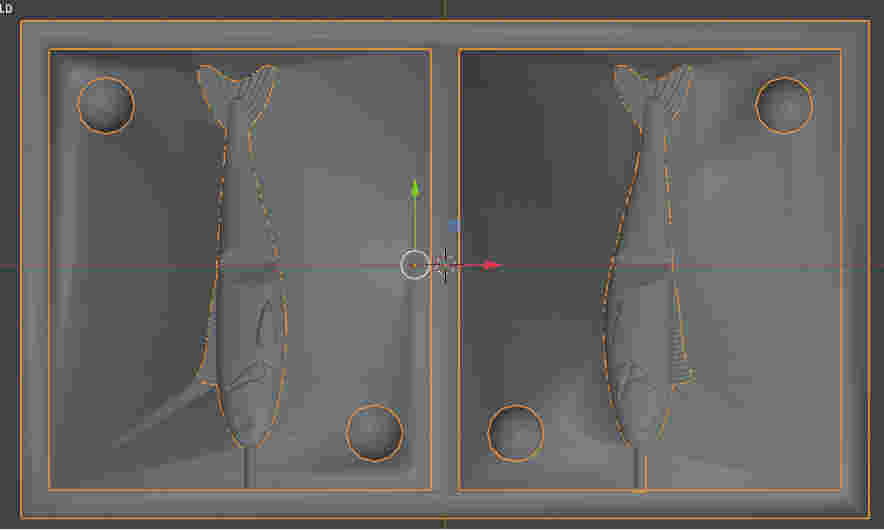
After that I will arrange the fish in a way that fits in the mold and manages to be half the fish of the surface of the pocket
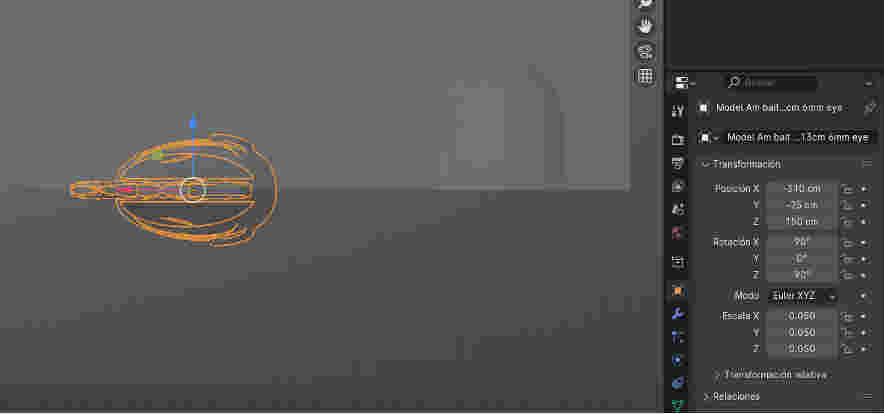
Already arranged the fish I will double it to just move in the plane of X so that it can be symmetrical and save me the part to accommodate the fish
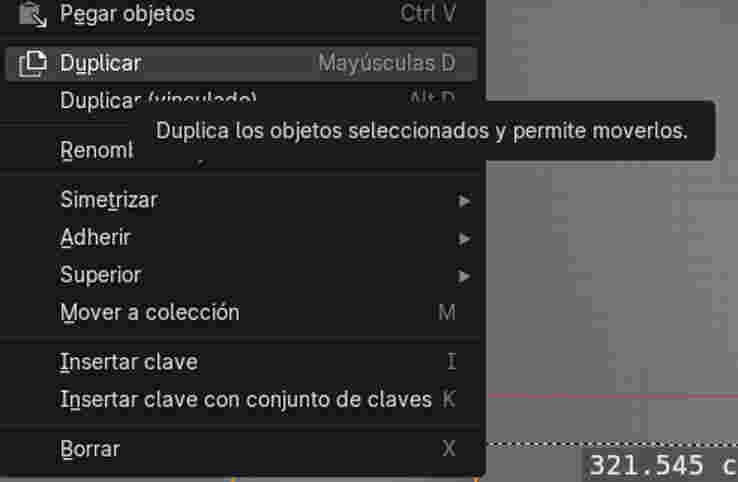
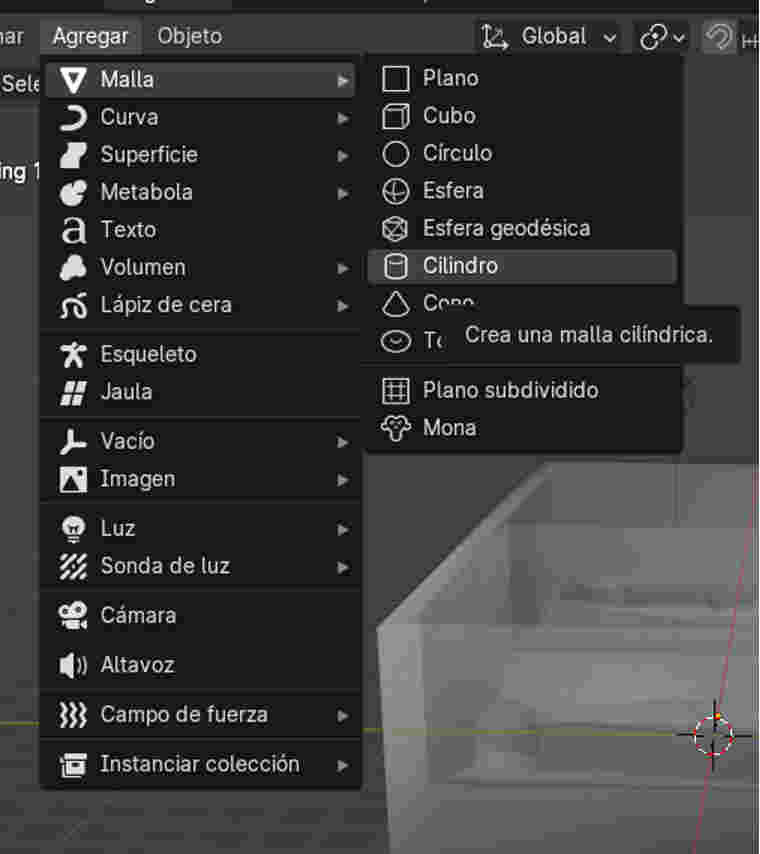
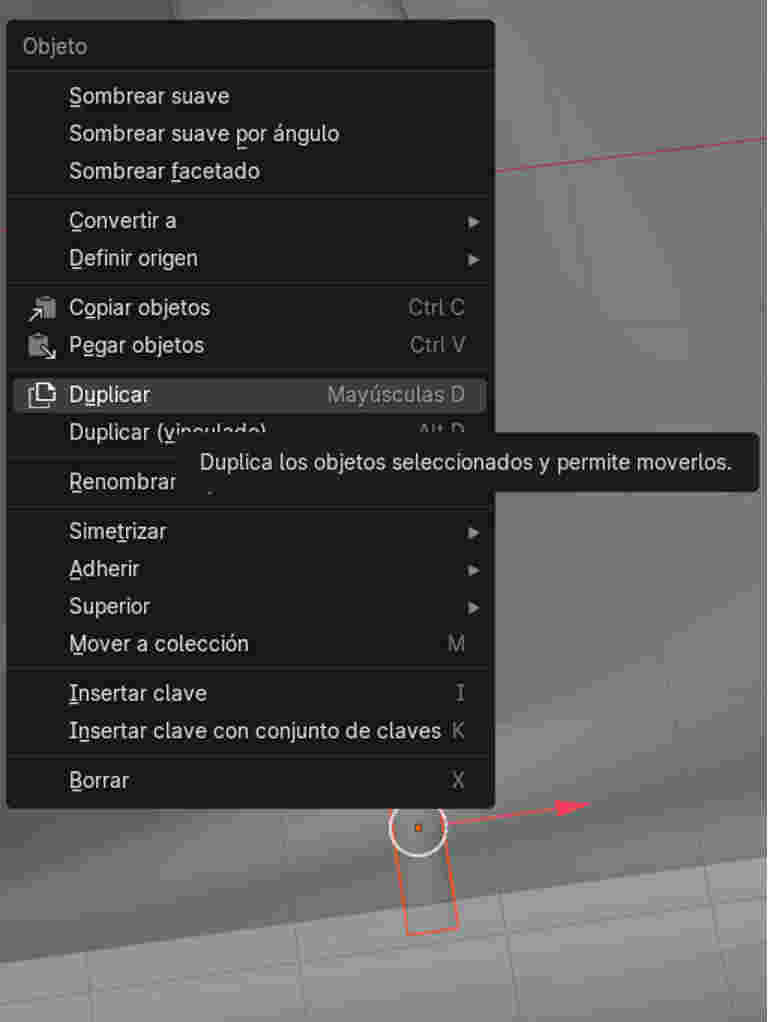
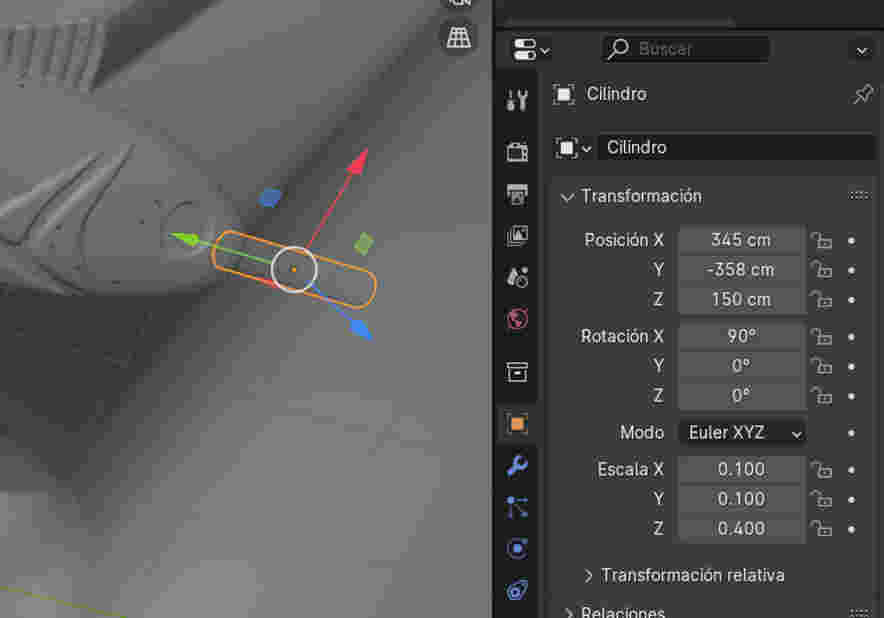
I will add a cylinder so that there I can pour the liquid that corresponds to my figure. Once created I will give a position which favors my mold, in my case in the mouth and I will also duplicate it to just move it in the X plane and save me a little more time
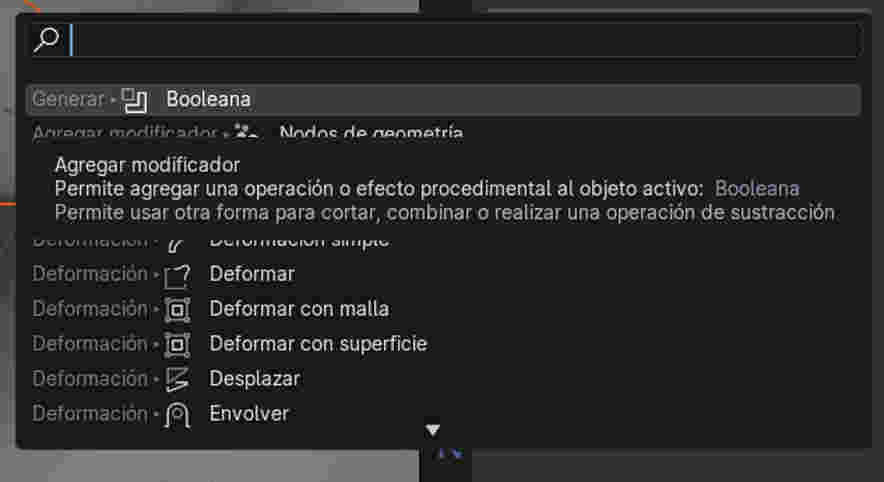
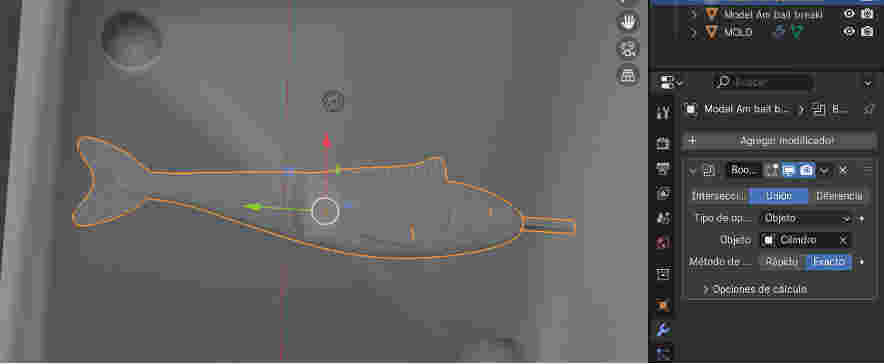
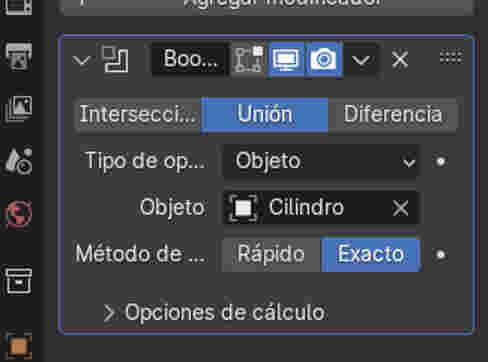
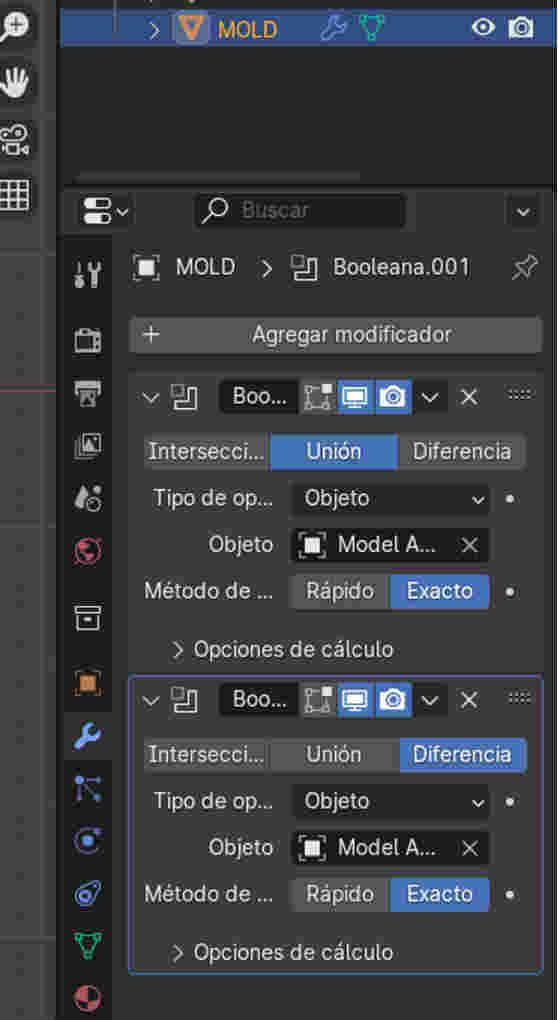
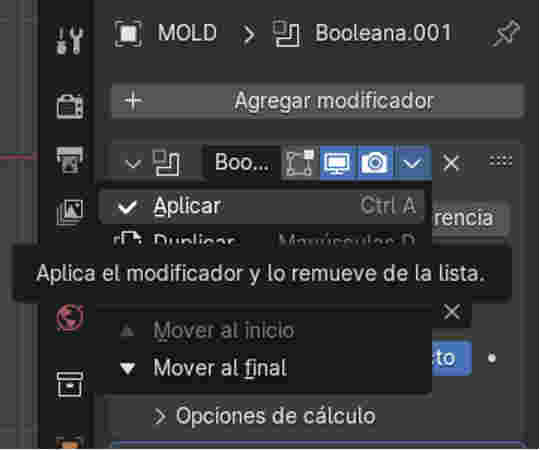
After that I will click on the tool option on the right side>Click on the button add modifier>I will look for the boolean option to be able to join the fish piece and cylinder>Dare click on union option and I will place my cylinder in the object option>Apply the change
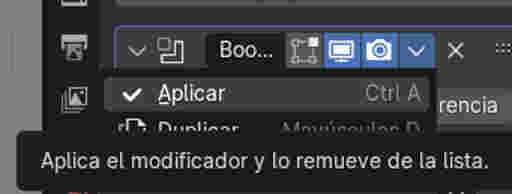
I will now do the same for my mold but now the fish already attached to the cylinder. Tool>add modifier>booleana>union>add the objects that I want to attach to the mold(fish with cylinder)>apply.
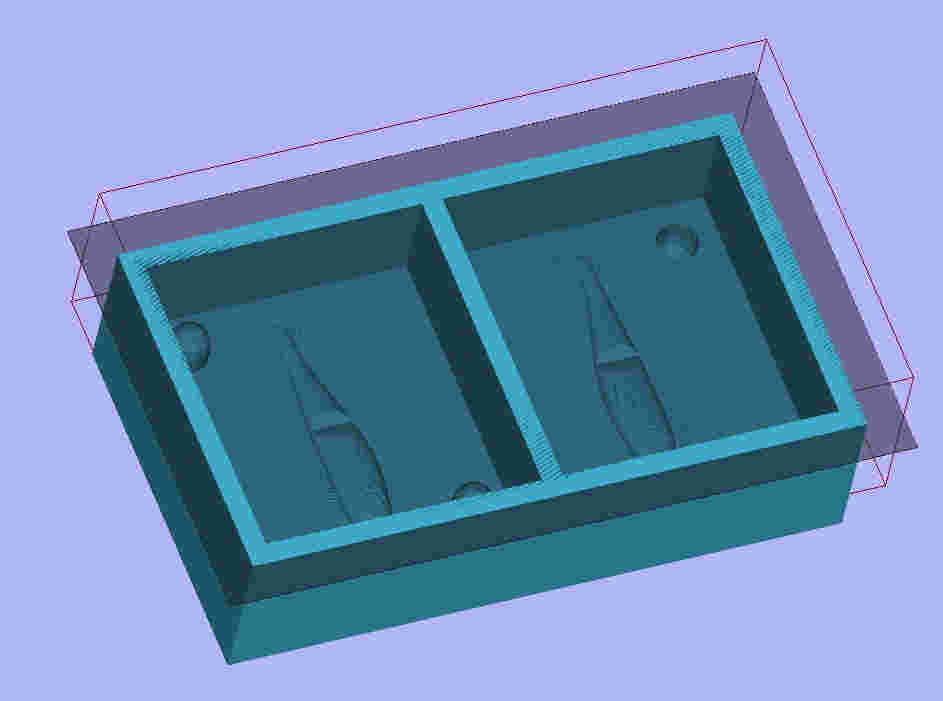
Mold design ready
Creating the G code to cut my mold
In order to cut my mold I will use VCarve software to configure the roughing and finishing tool.
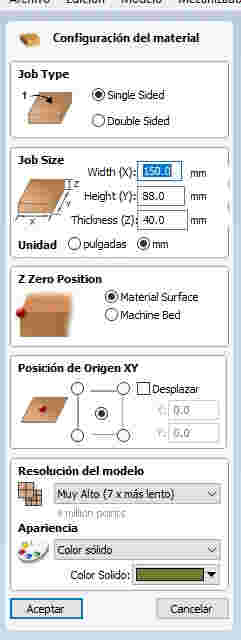
I will create a new file and give you the measurements of my mold in the option of job size>accept
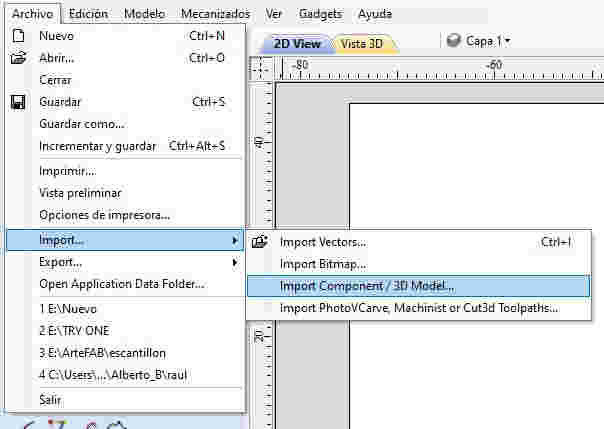
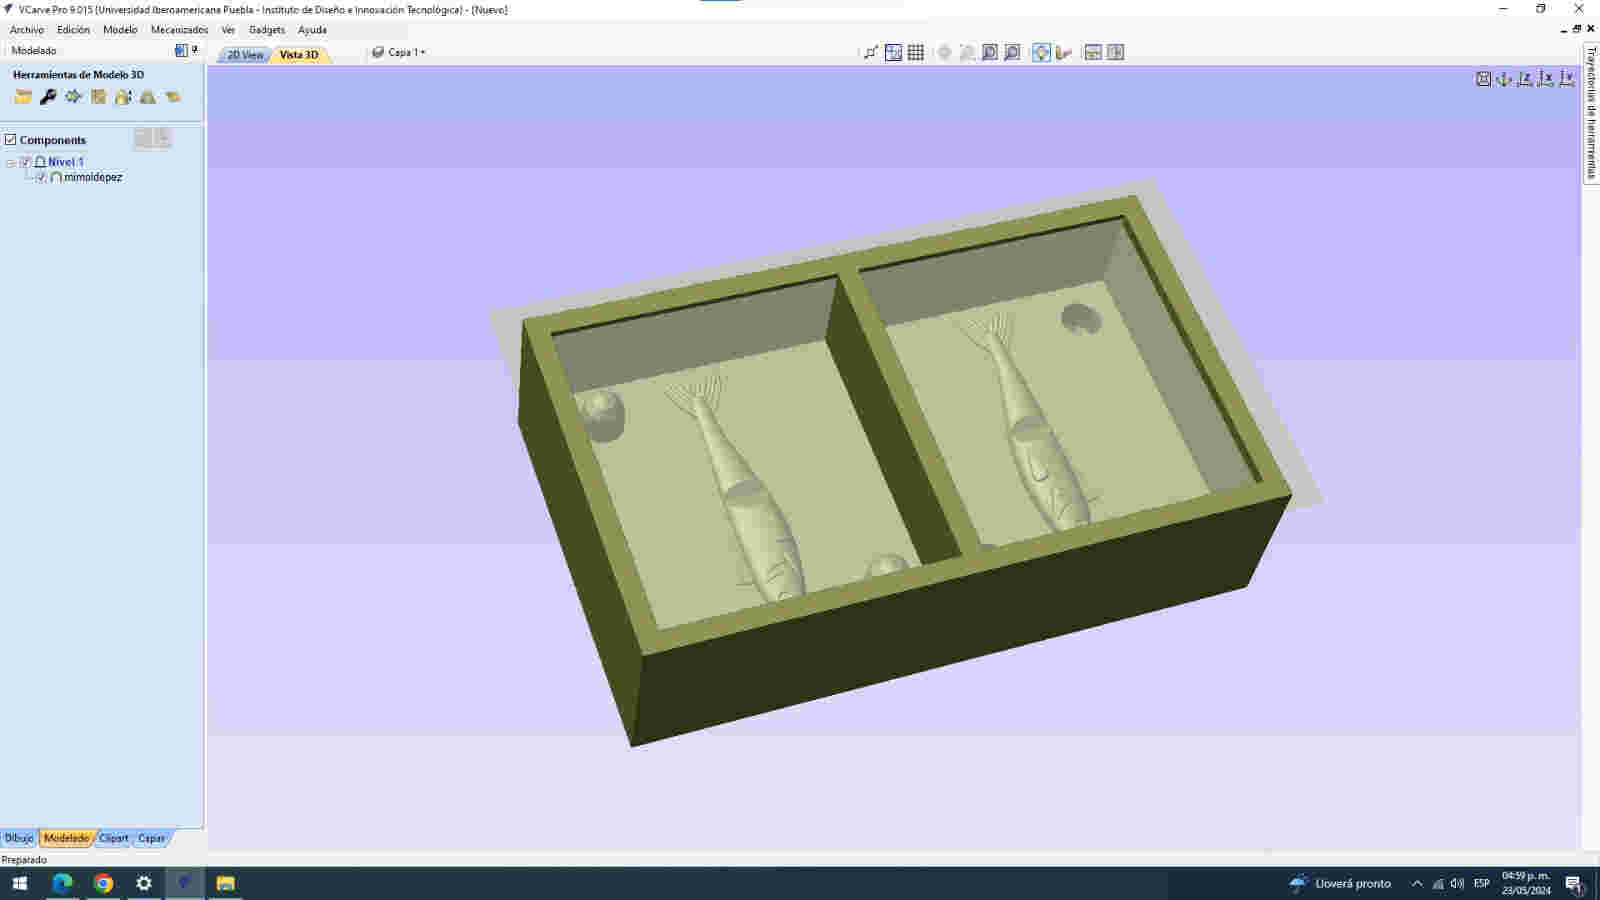
In the file option a menu will open which you dare to import>import component/ 3D model...
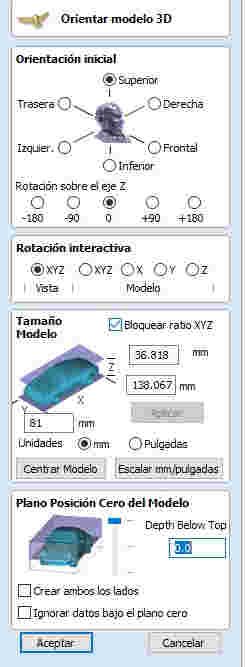
A tab will open where I will give measurements to the tamñano of my model and put in 0 the zero plane of my model>accept
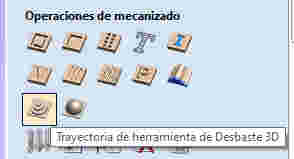
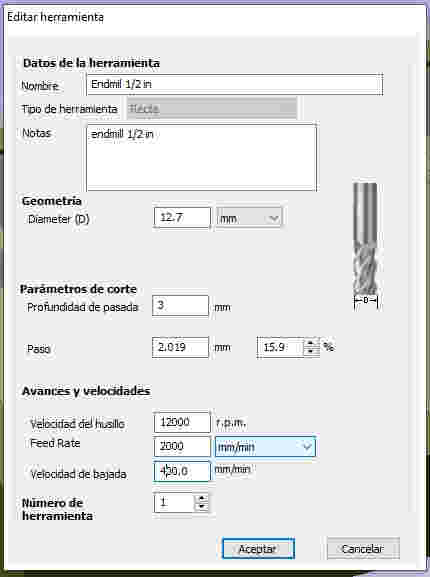
On the right side of the software is the tool path option and clicking it opens the machining operations menu. I will choose the 3D roughing option and automatically take me to an option where I can edit the tool configuration
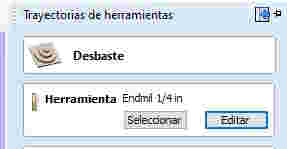
I will give the specifications of my tool and accept to finish my 3D roughing tool setup>Calculate
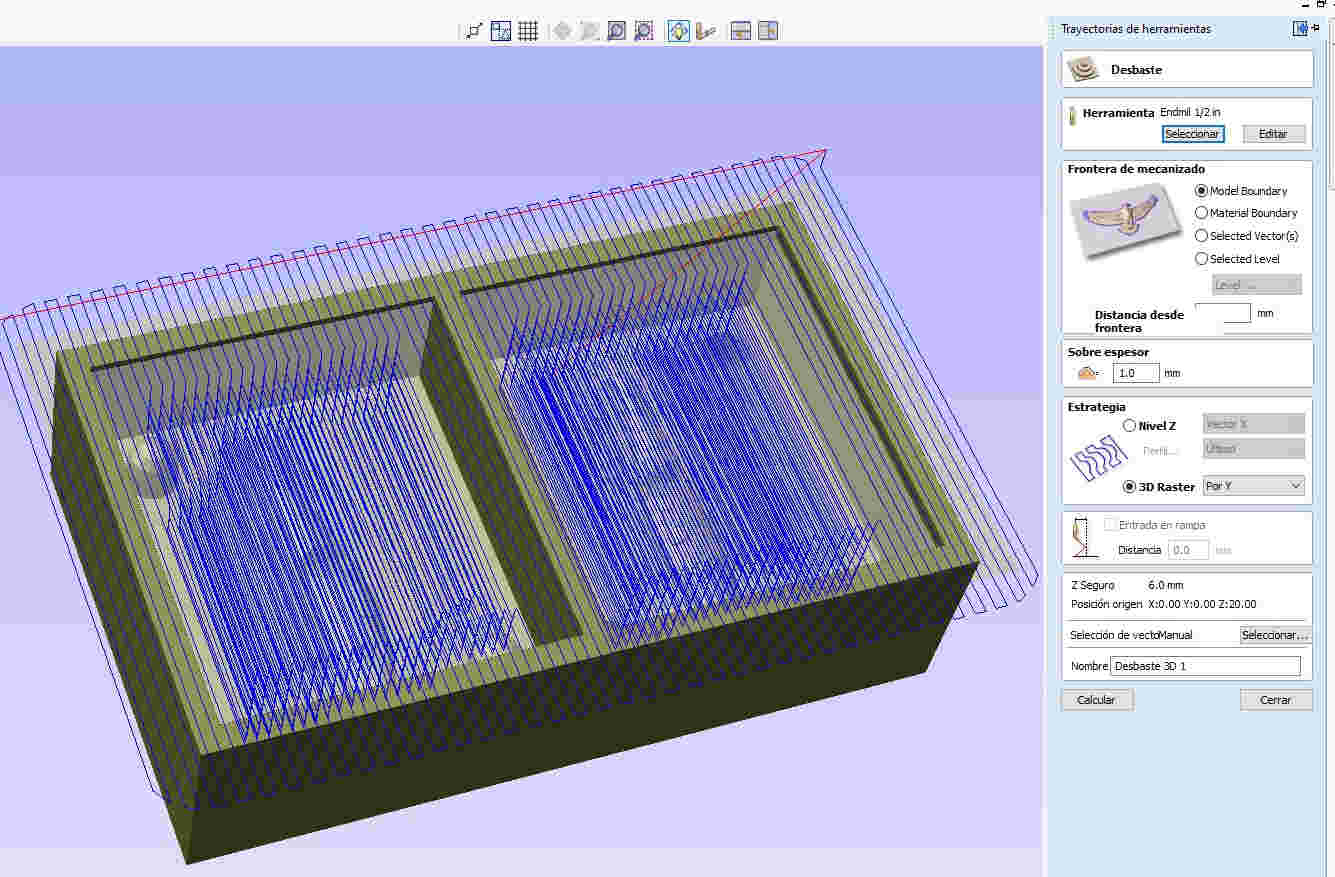
after that I will choose the finish extragia option to give you specifications of my finish>calculate and I see the process to see how the roughing is cut
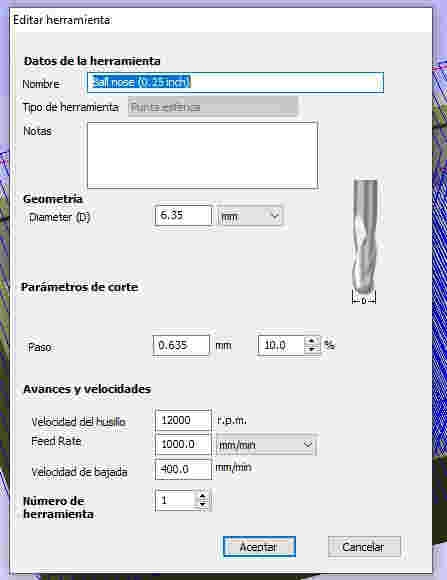
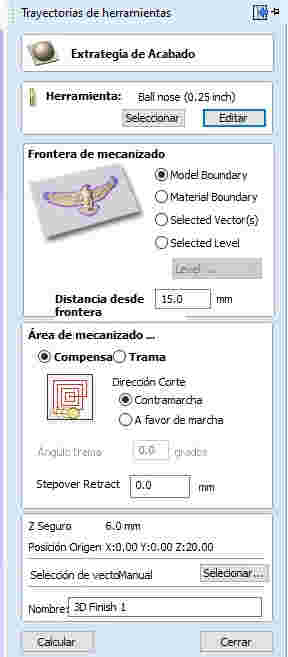
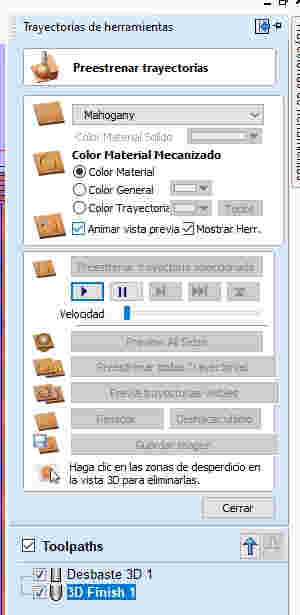
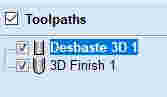
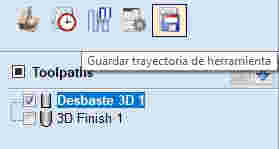
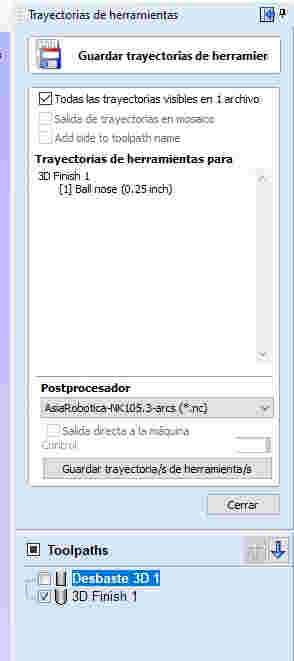
To finish I click on the option "Roughing 3D 1" and save the path of the tool and take me to an option where I can choose the postprocessor and save the tool. I do the same process for the finishing tool.
And that’s how I made my Code G after cutting my part on the CNC router.
Doing tests
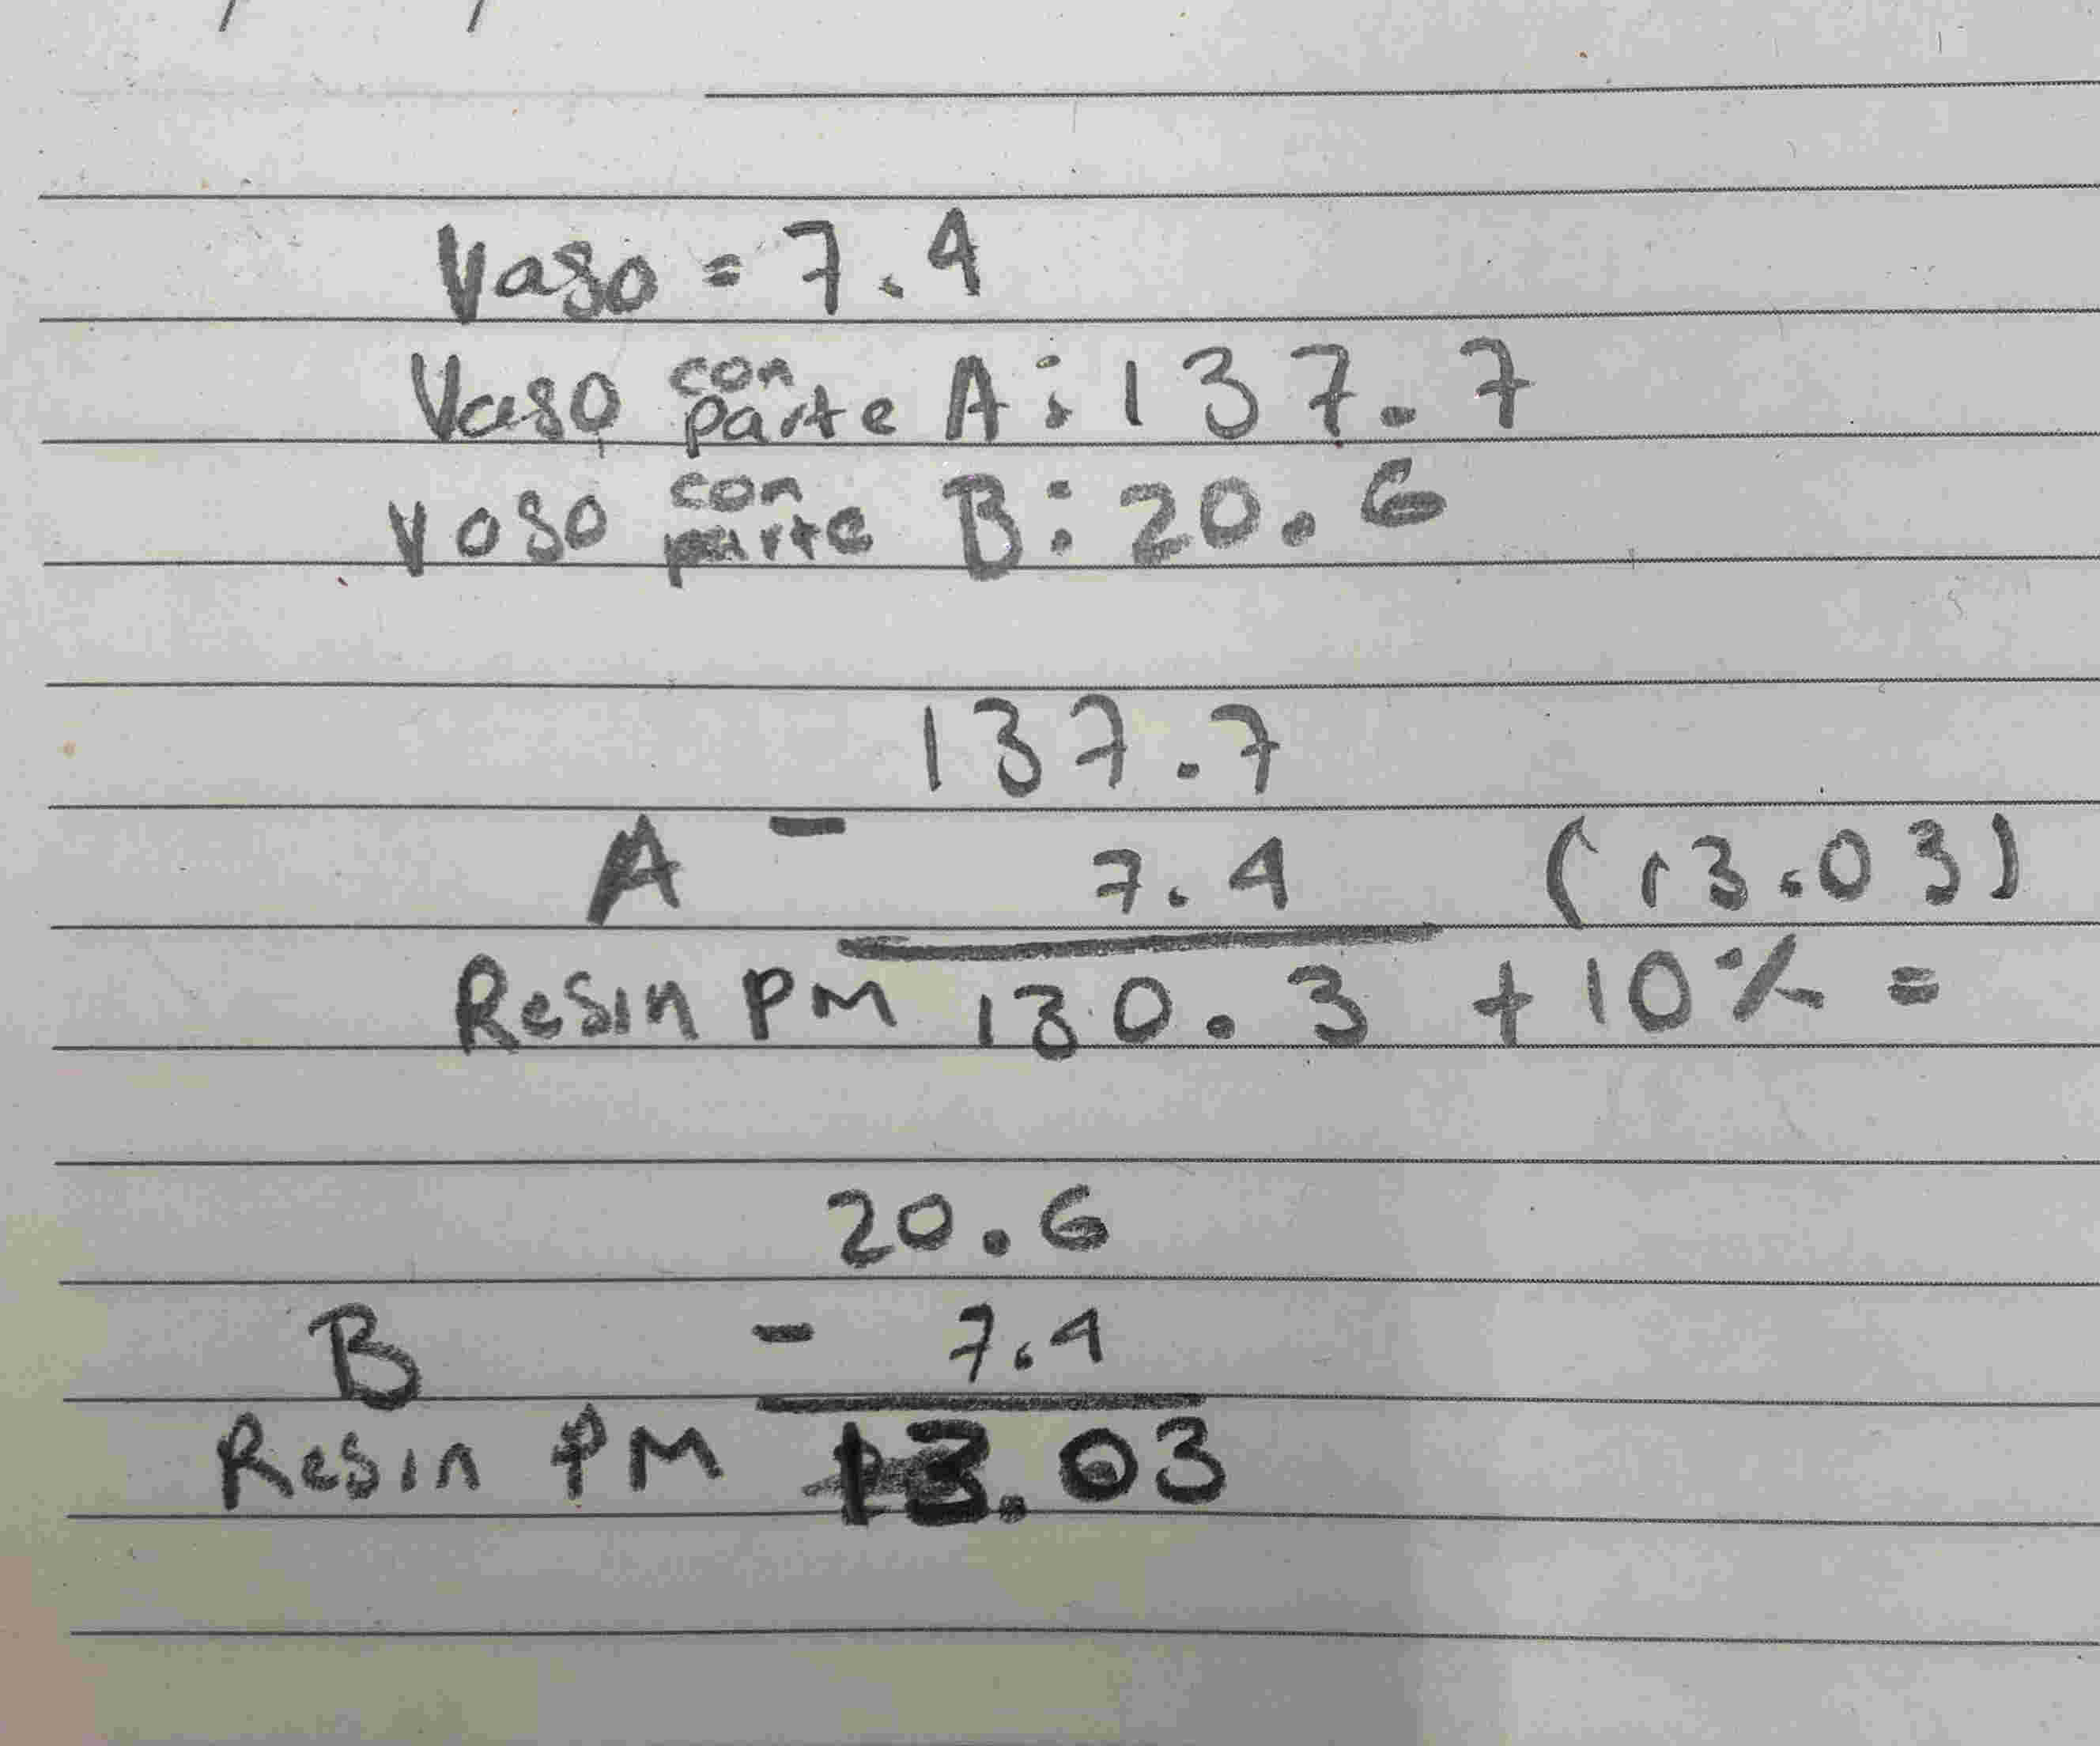
To start making my mold I first had to do silicone tests. 90% must be liquid A and 10% must be liquid B.
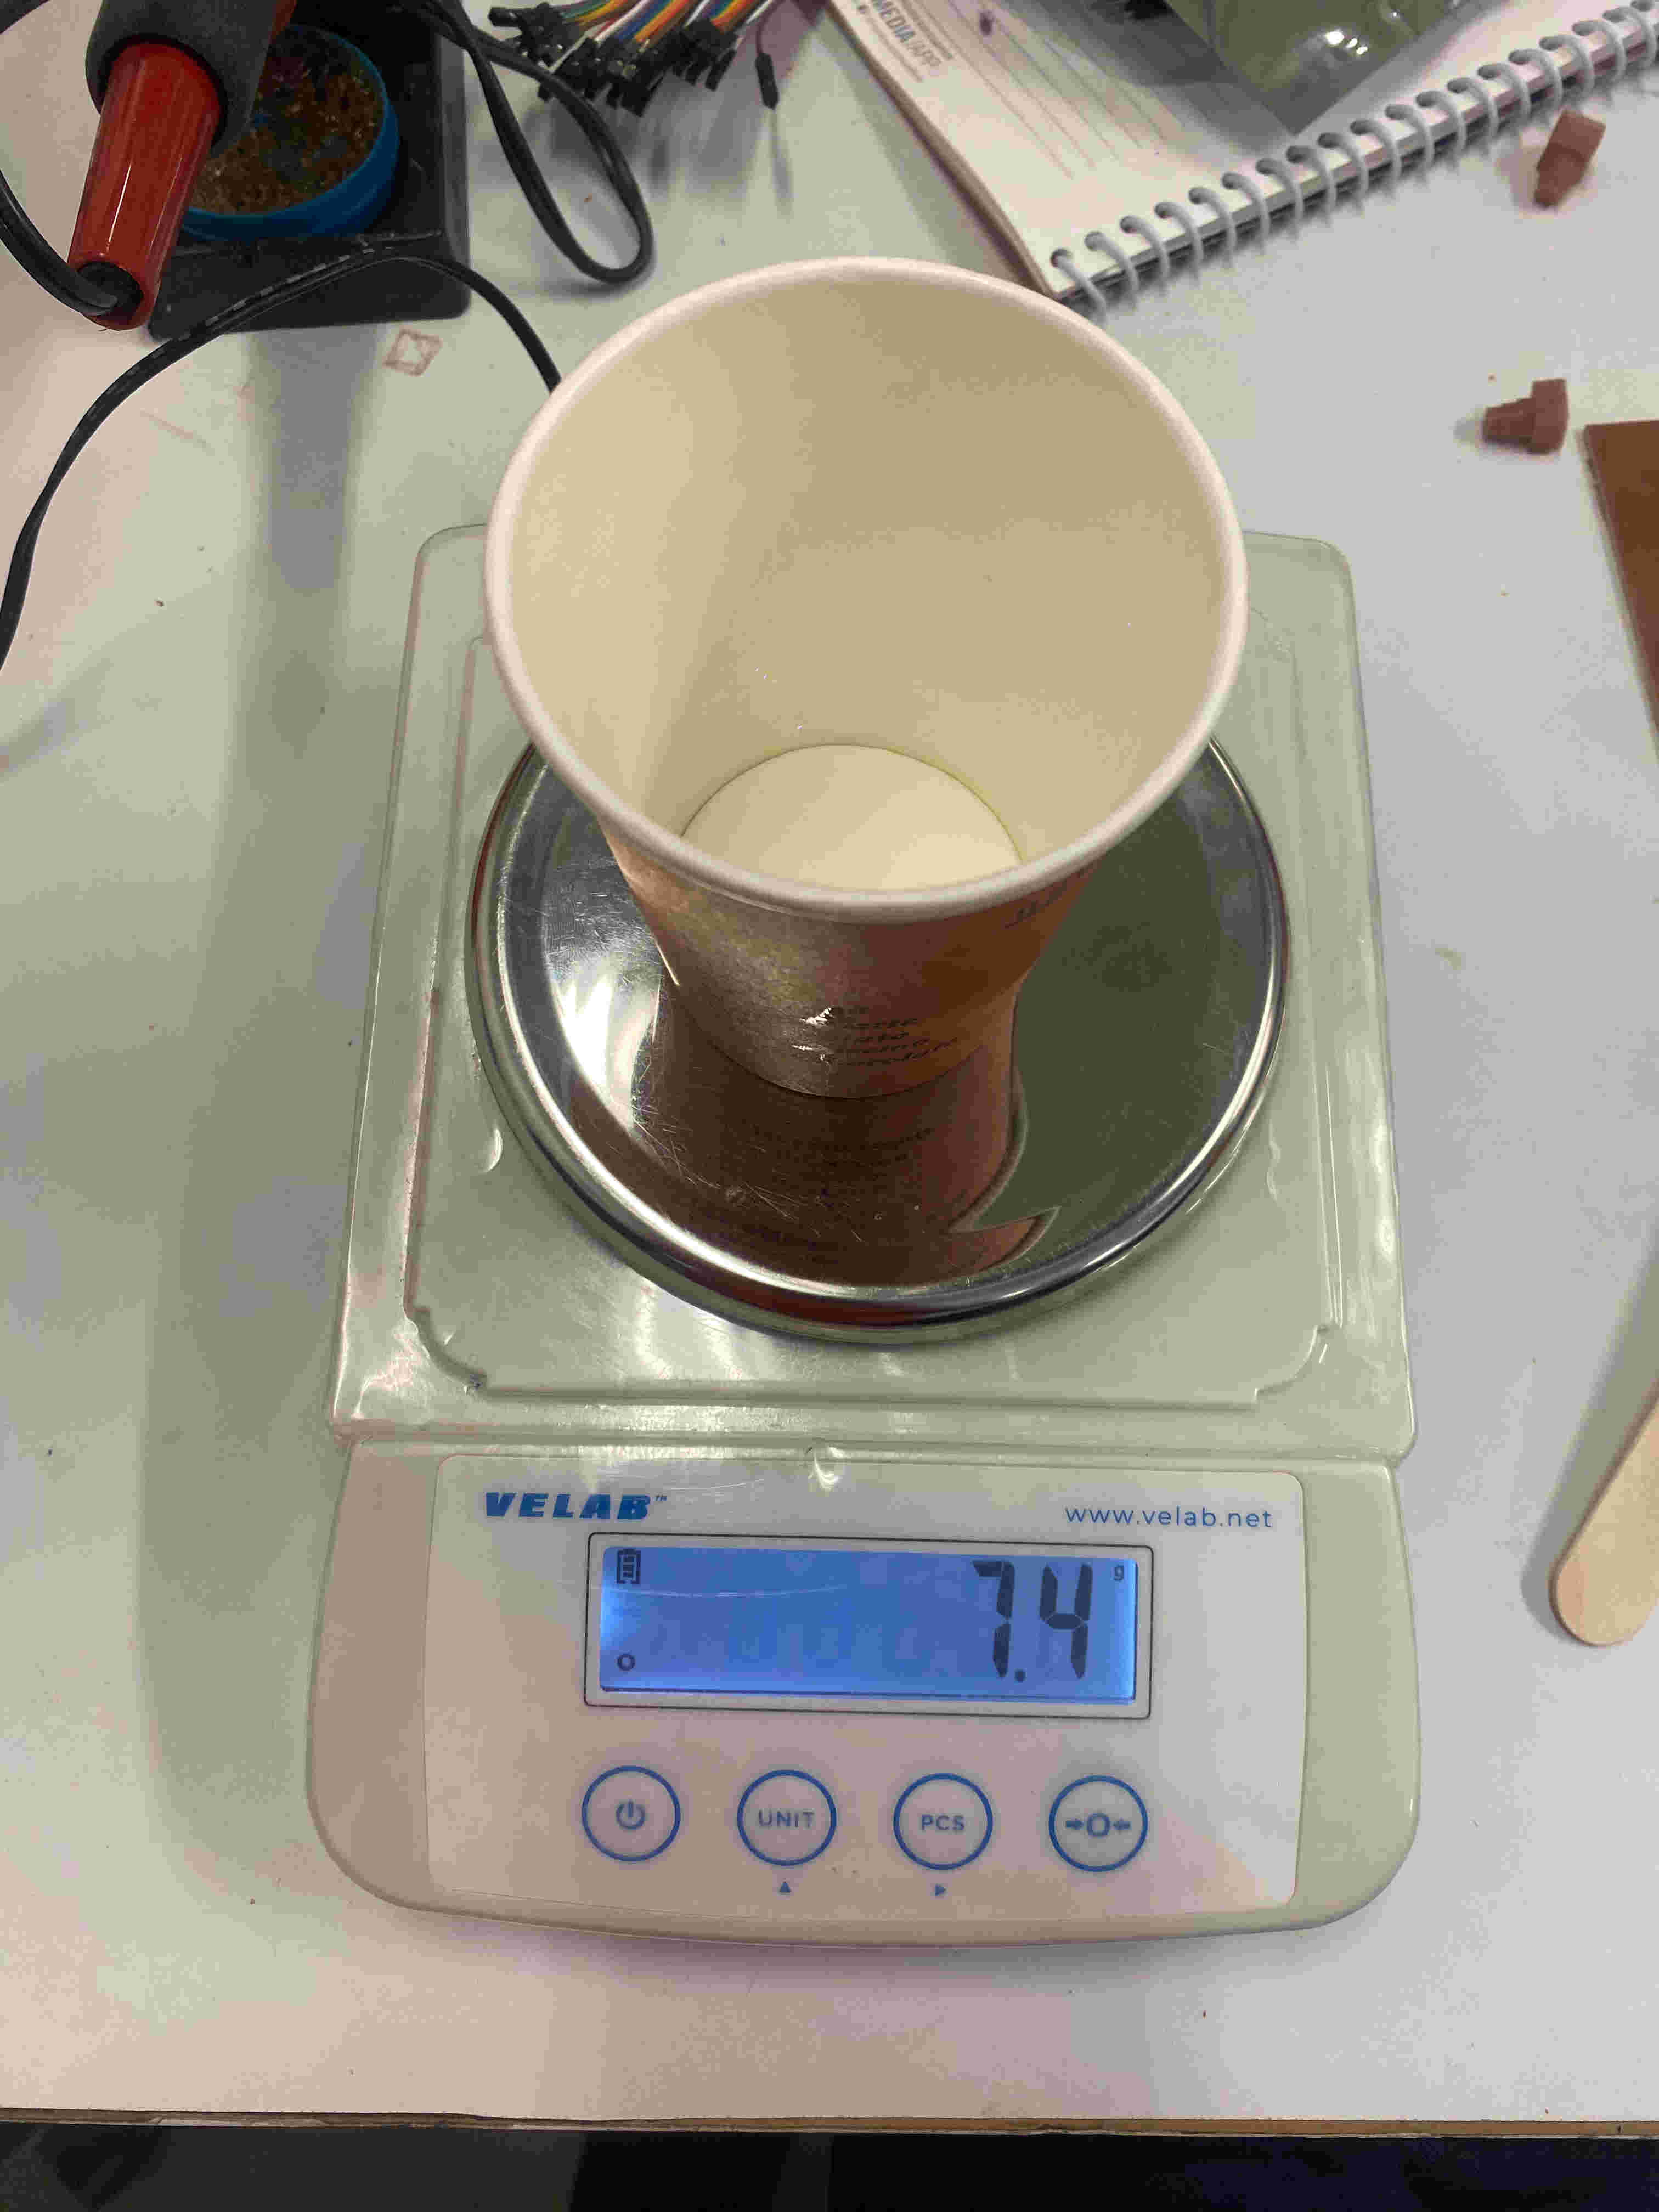
With a Granada scale I had to first think about the mass of the container into which I was going to pour both liquids, the mass of the glass was 7.4.
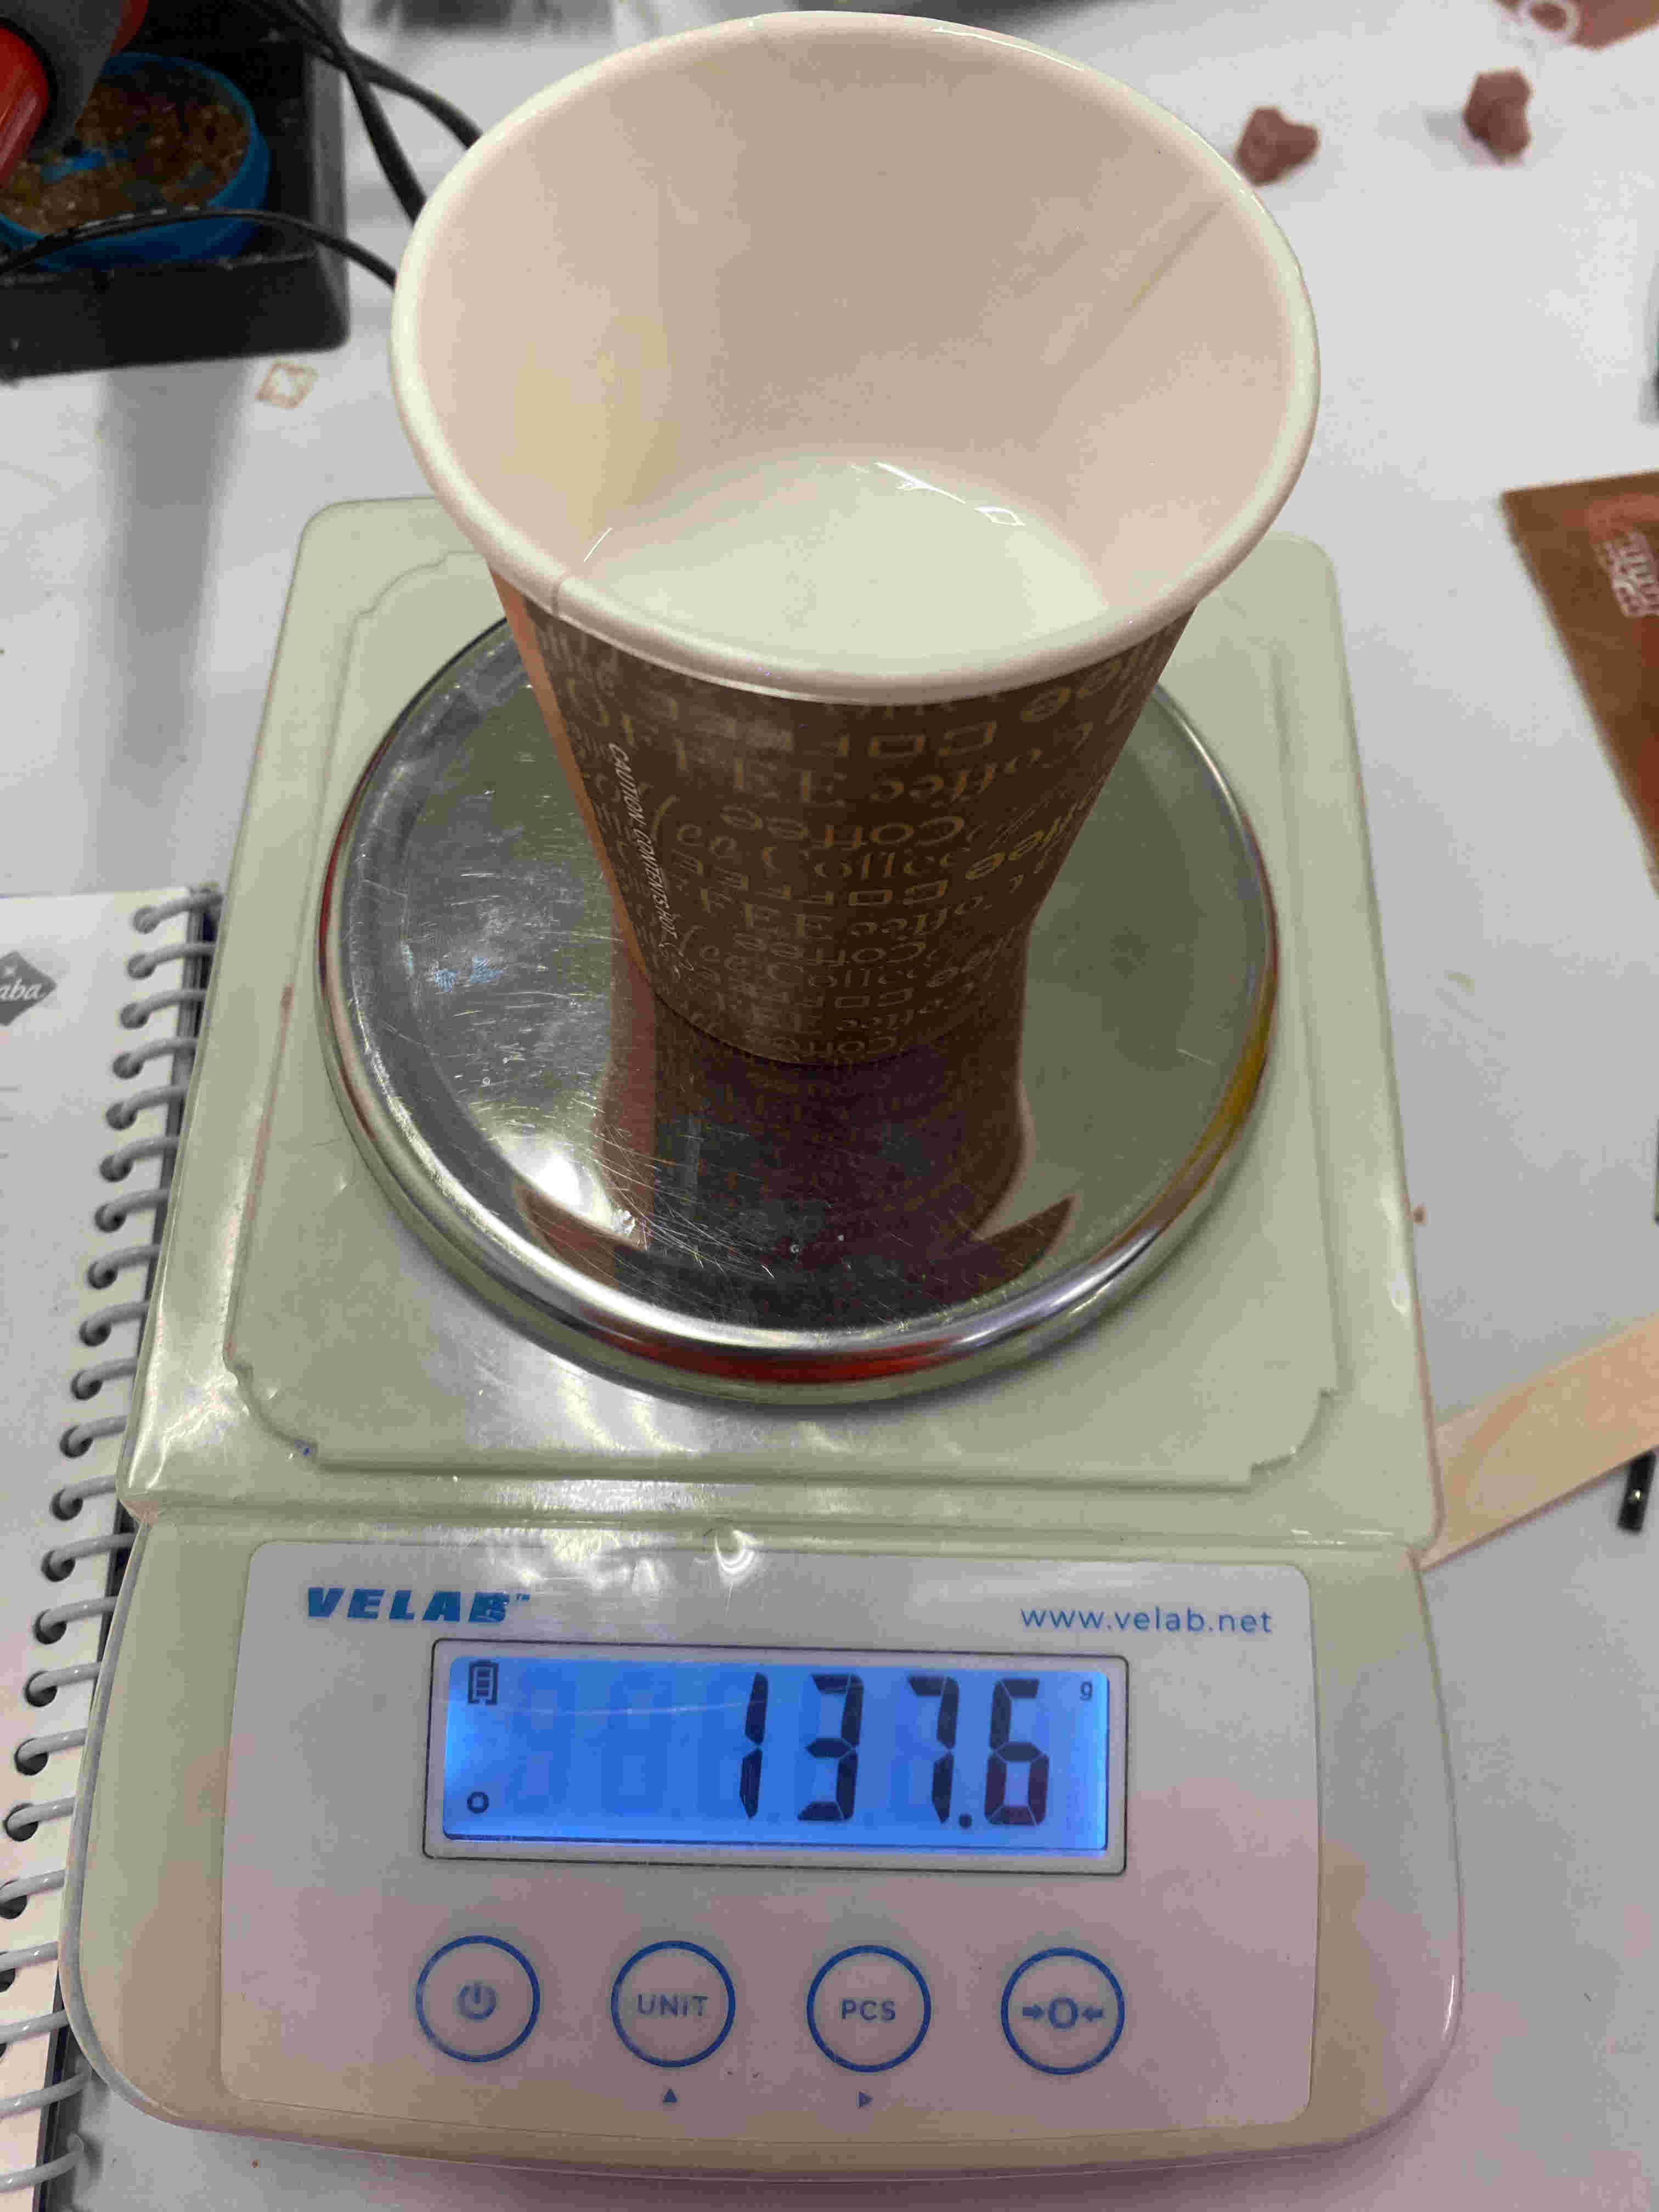
After knowing the mass of the glass, he poured 90% of liquid A (130.2) and subtracted the amount of the mass of the glass (7.4) to know 10% of what he would put in liquid B
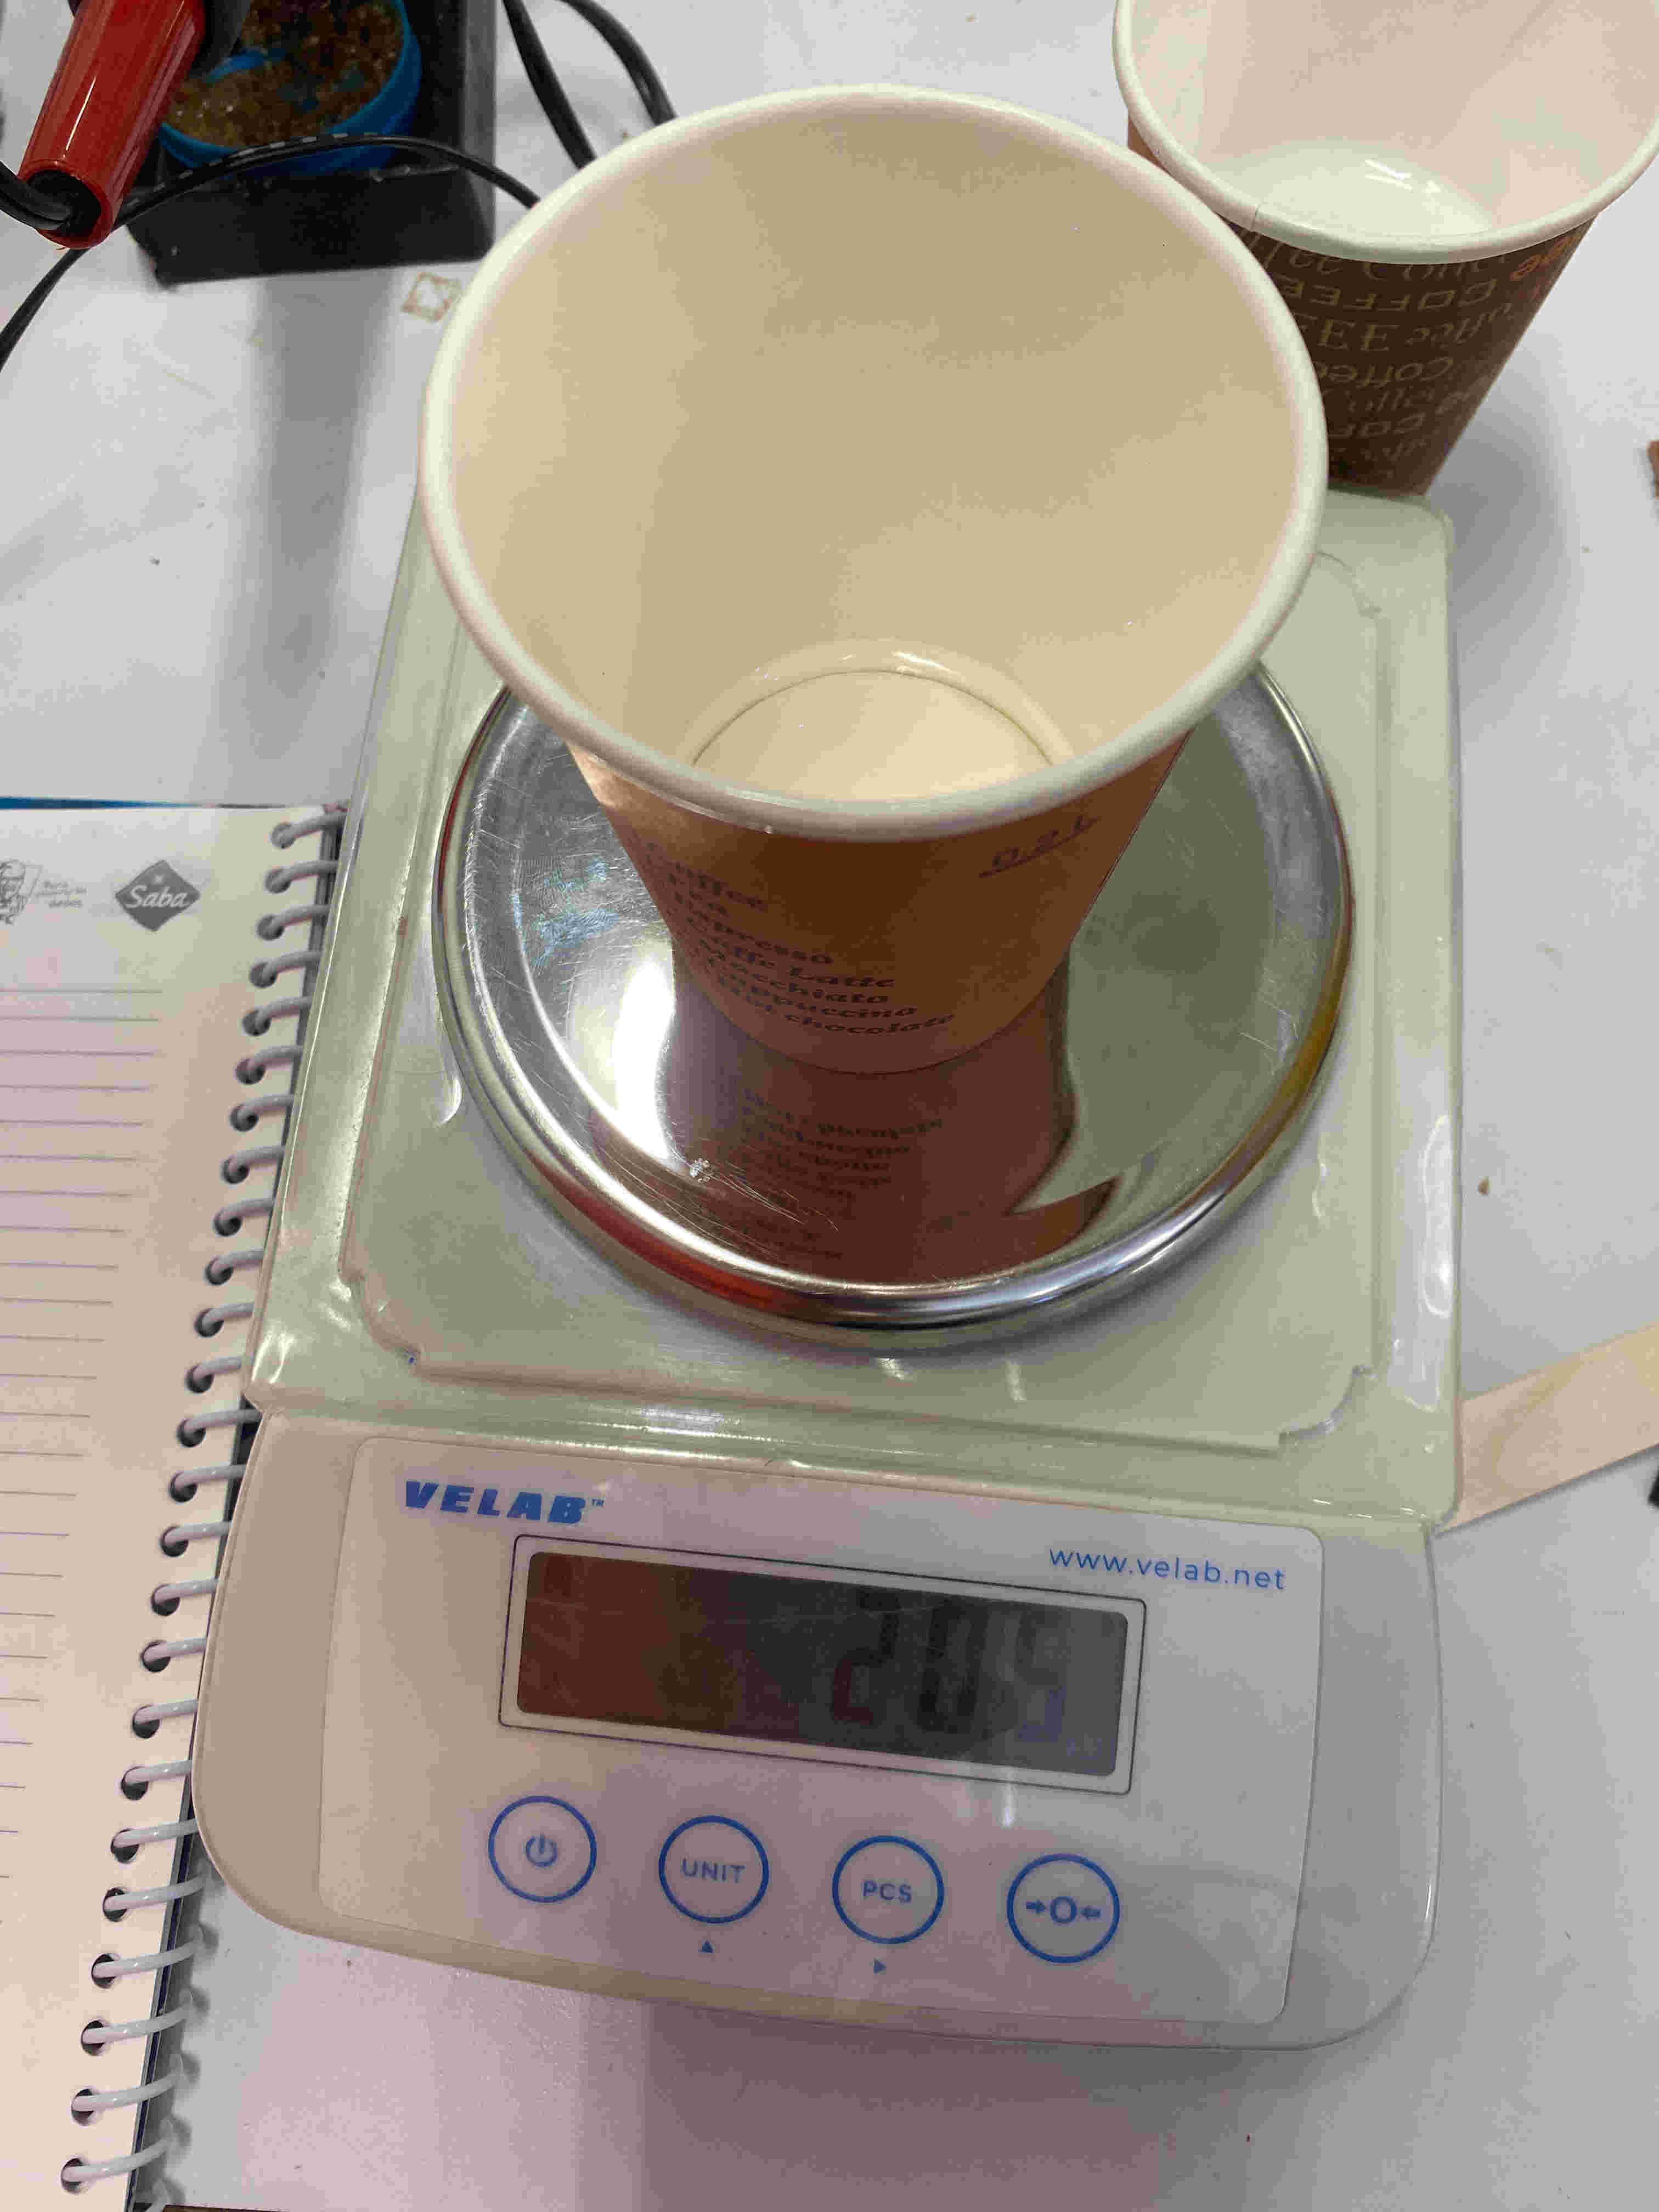
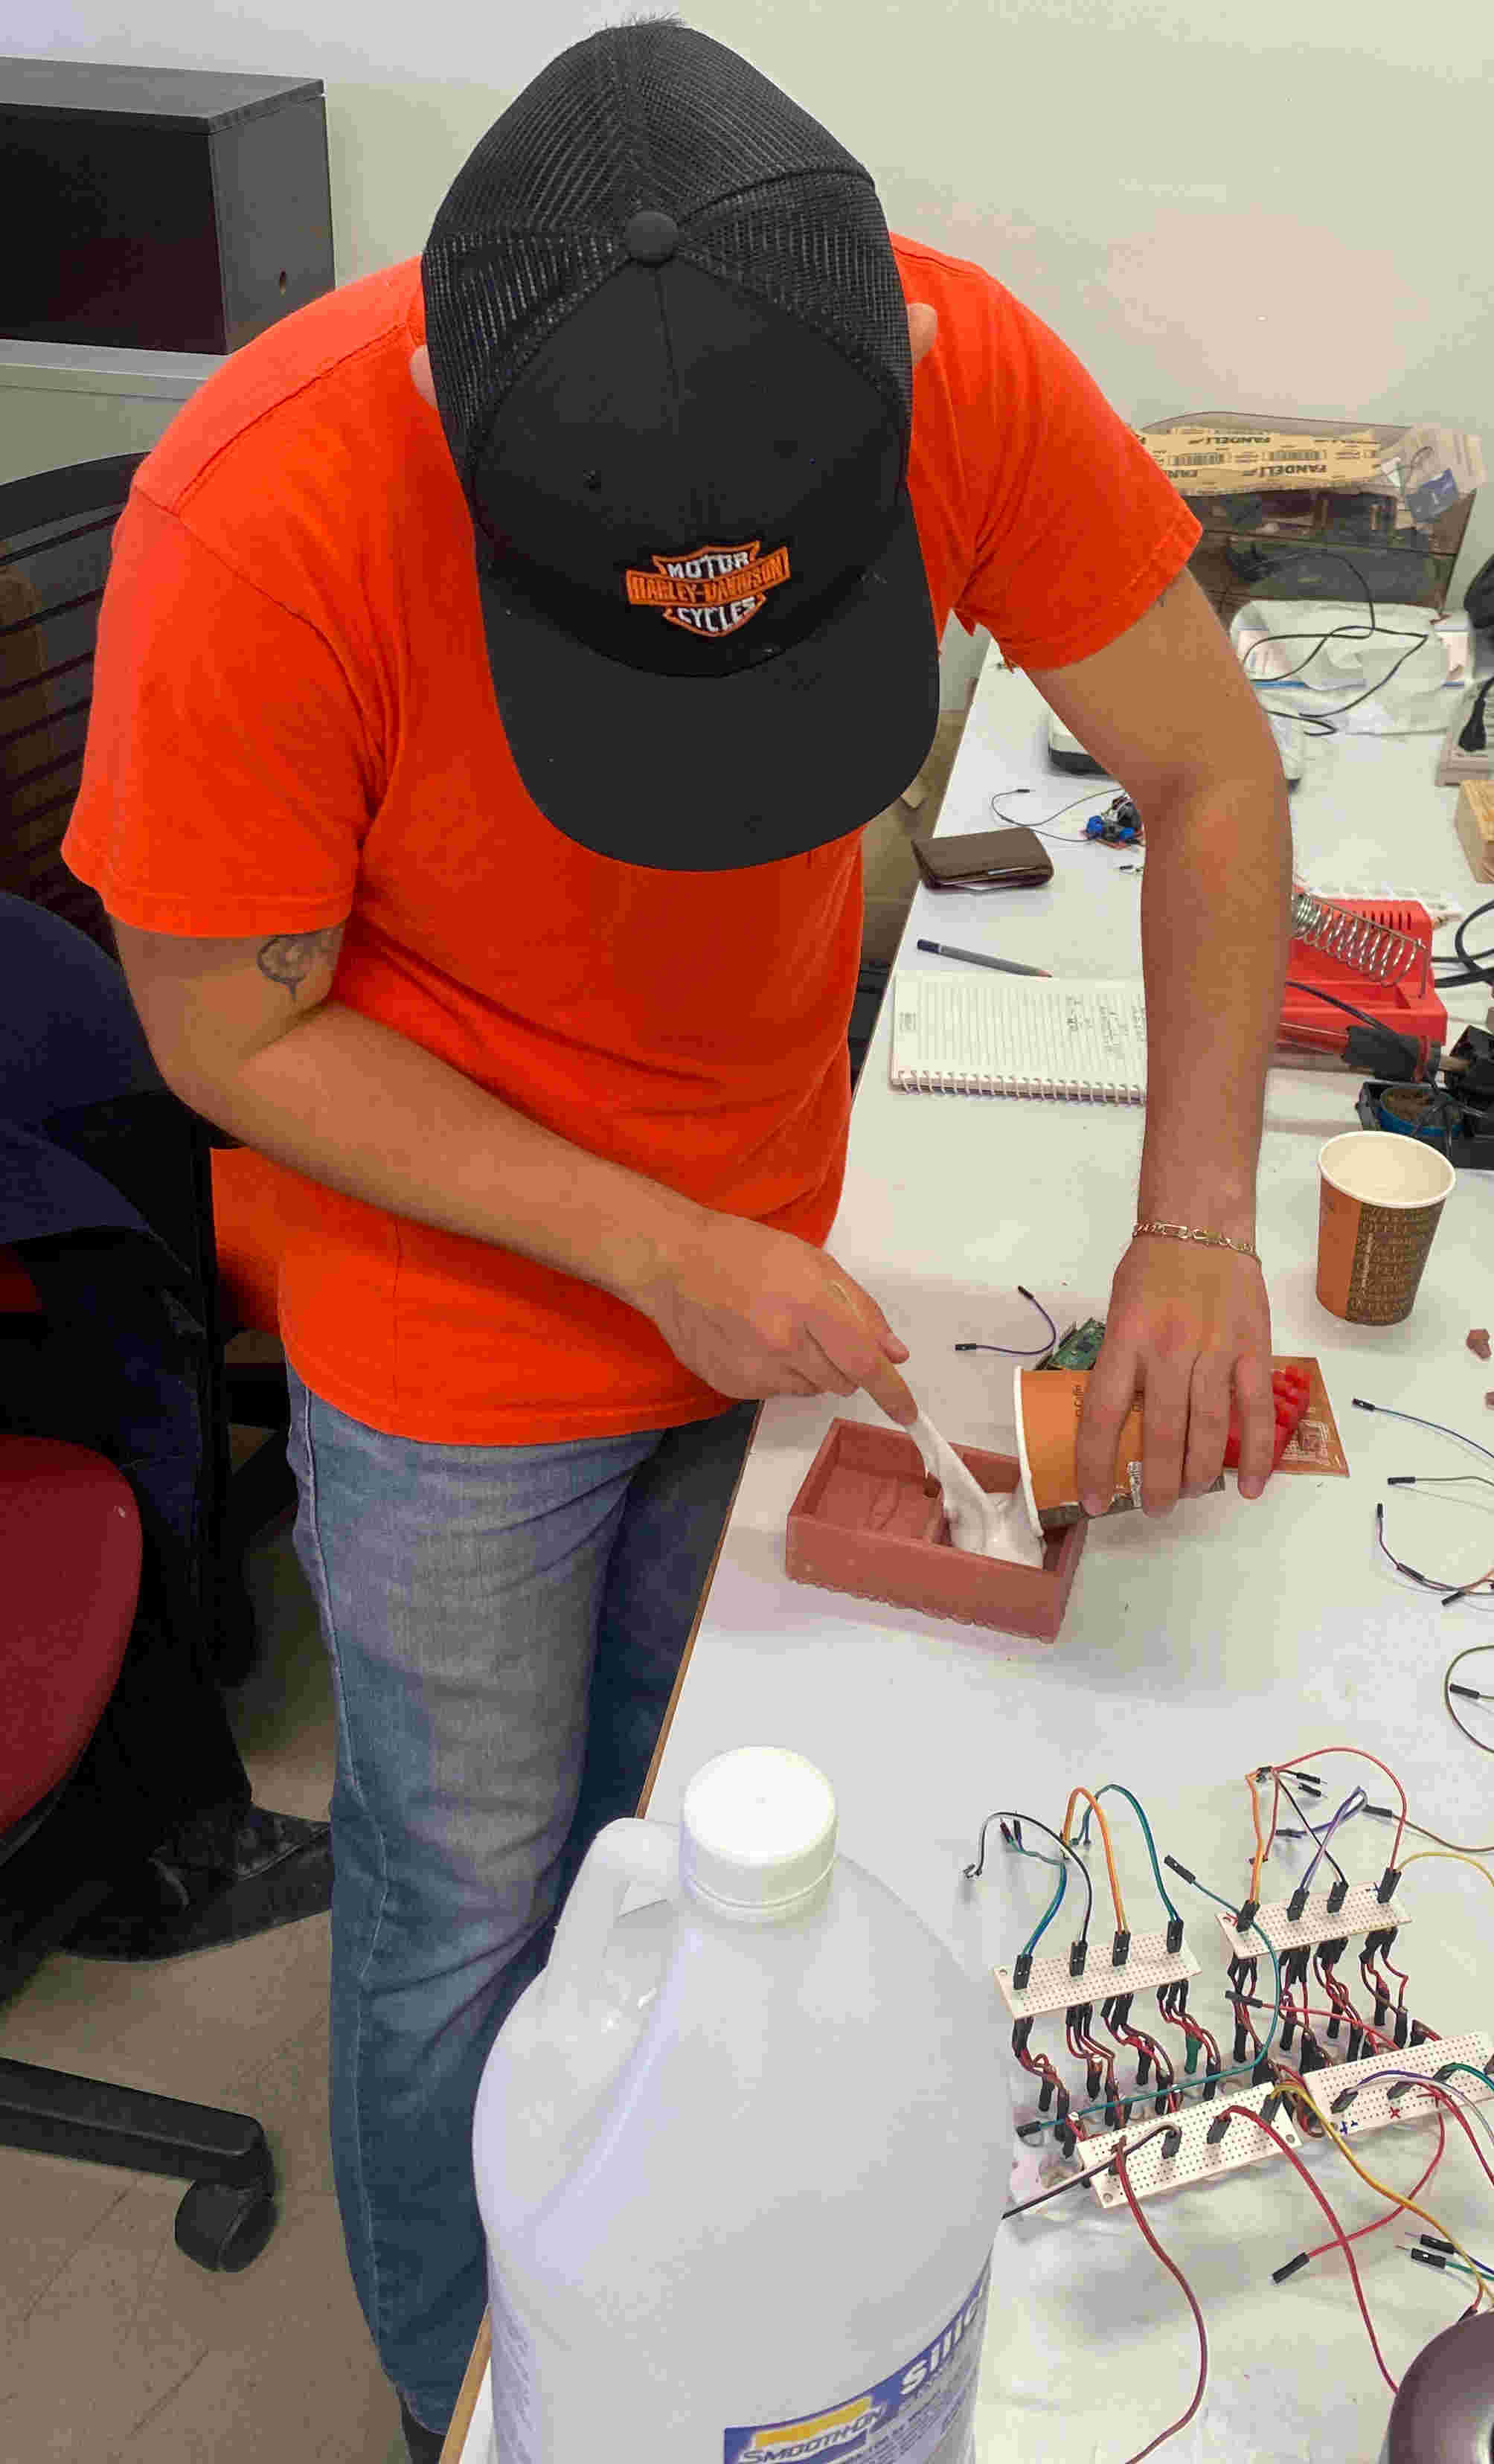
Then in another glass I weighed 10% of liquid B (13.1) and subtracted the mass of the glass and then mixed it with liquid A for 10 min.
Evidence of calculation for favorable results
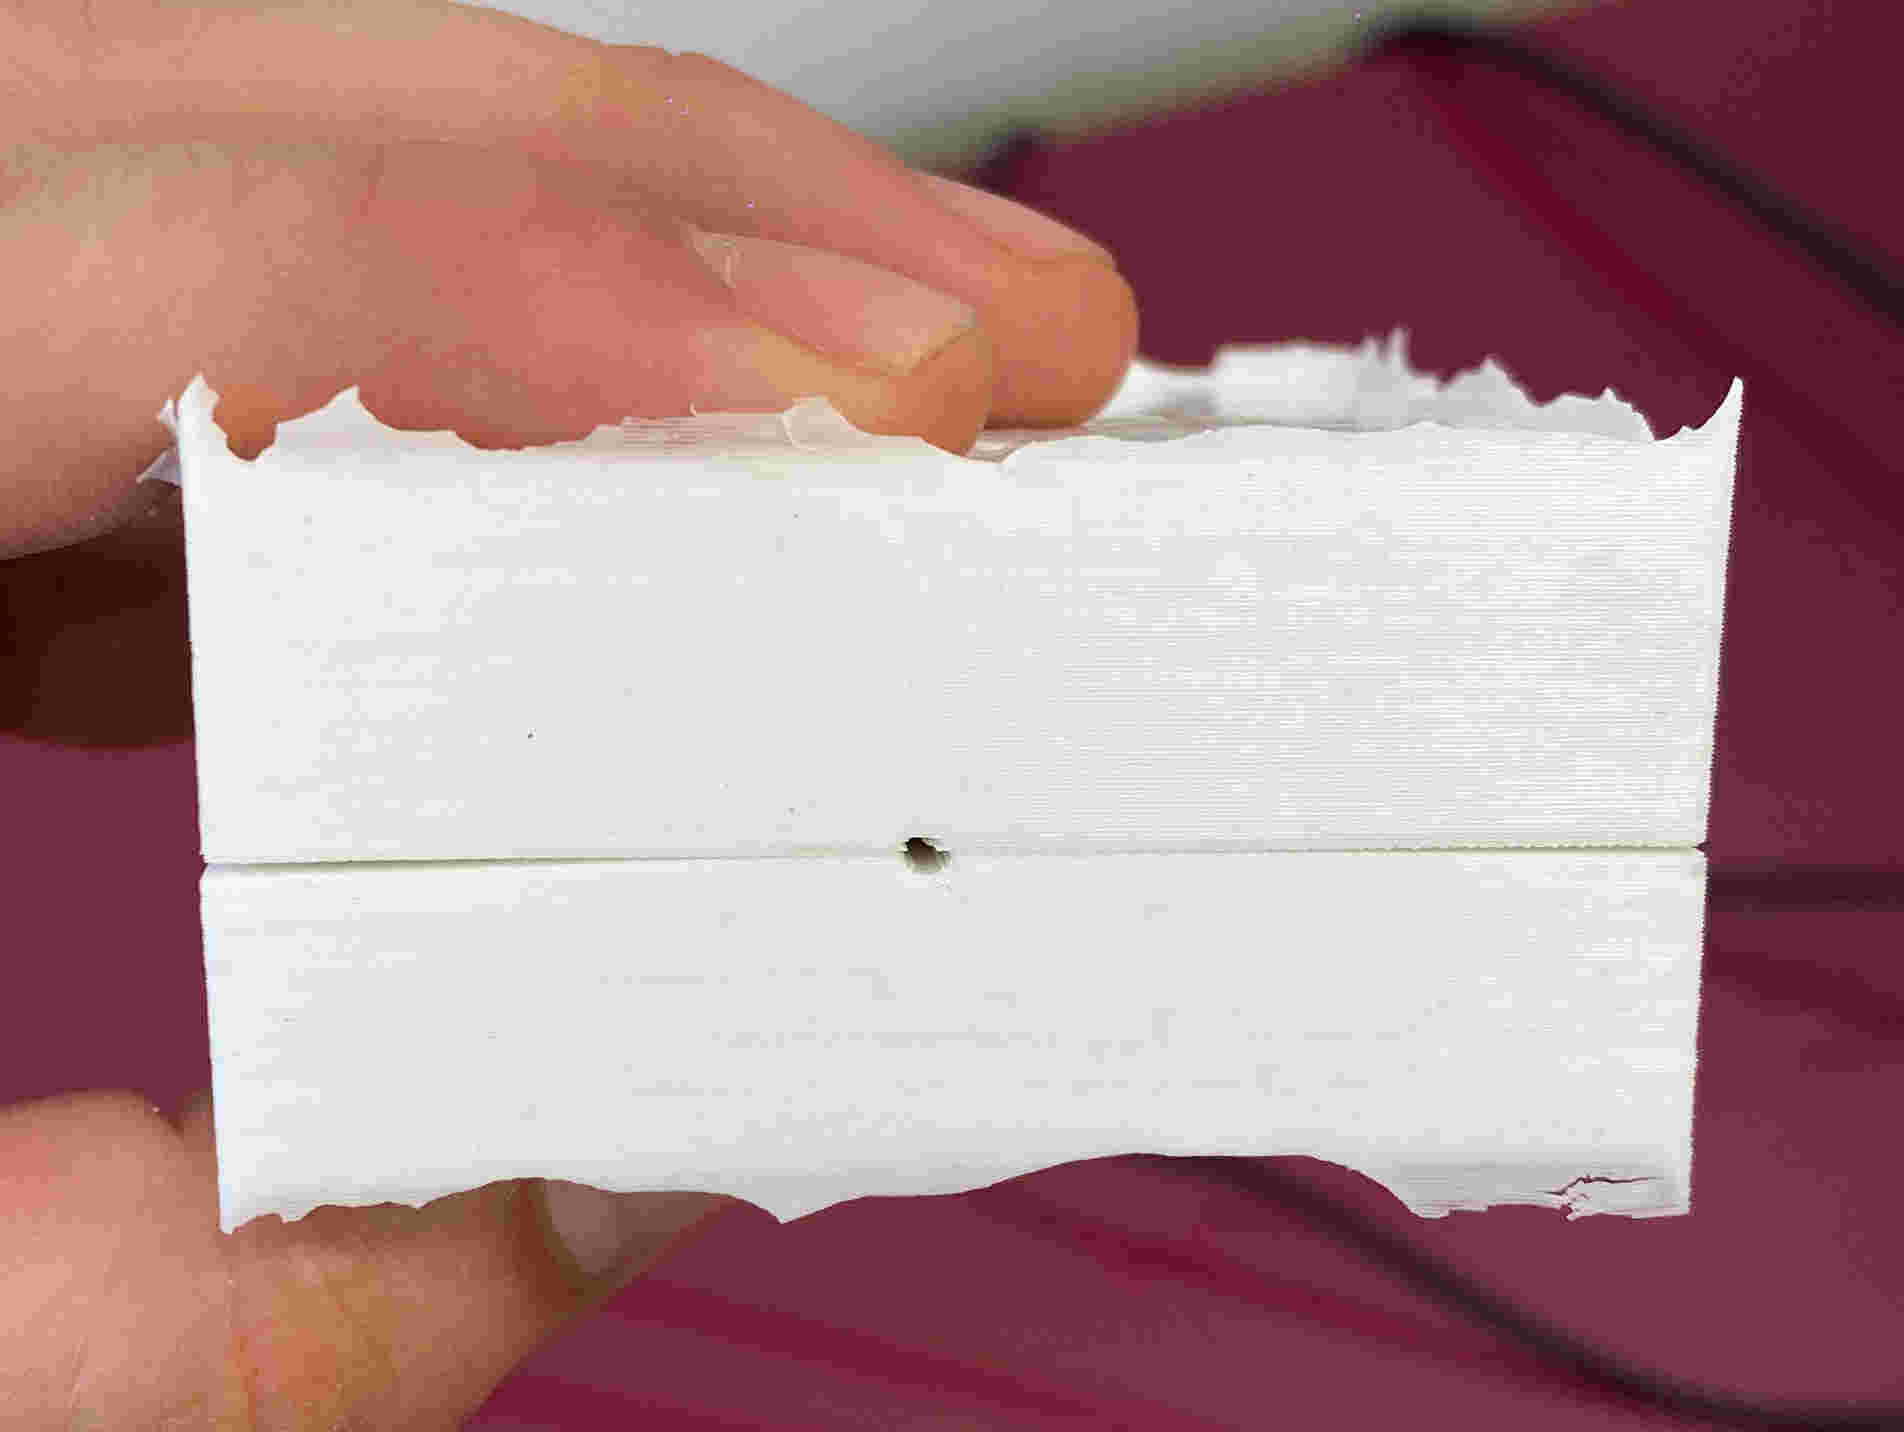
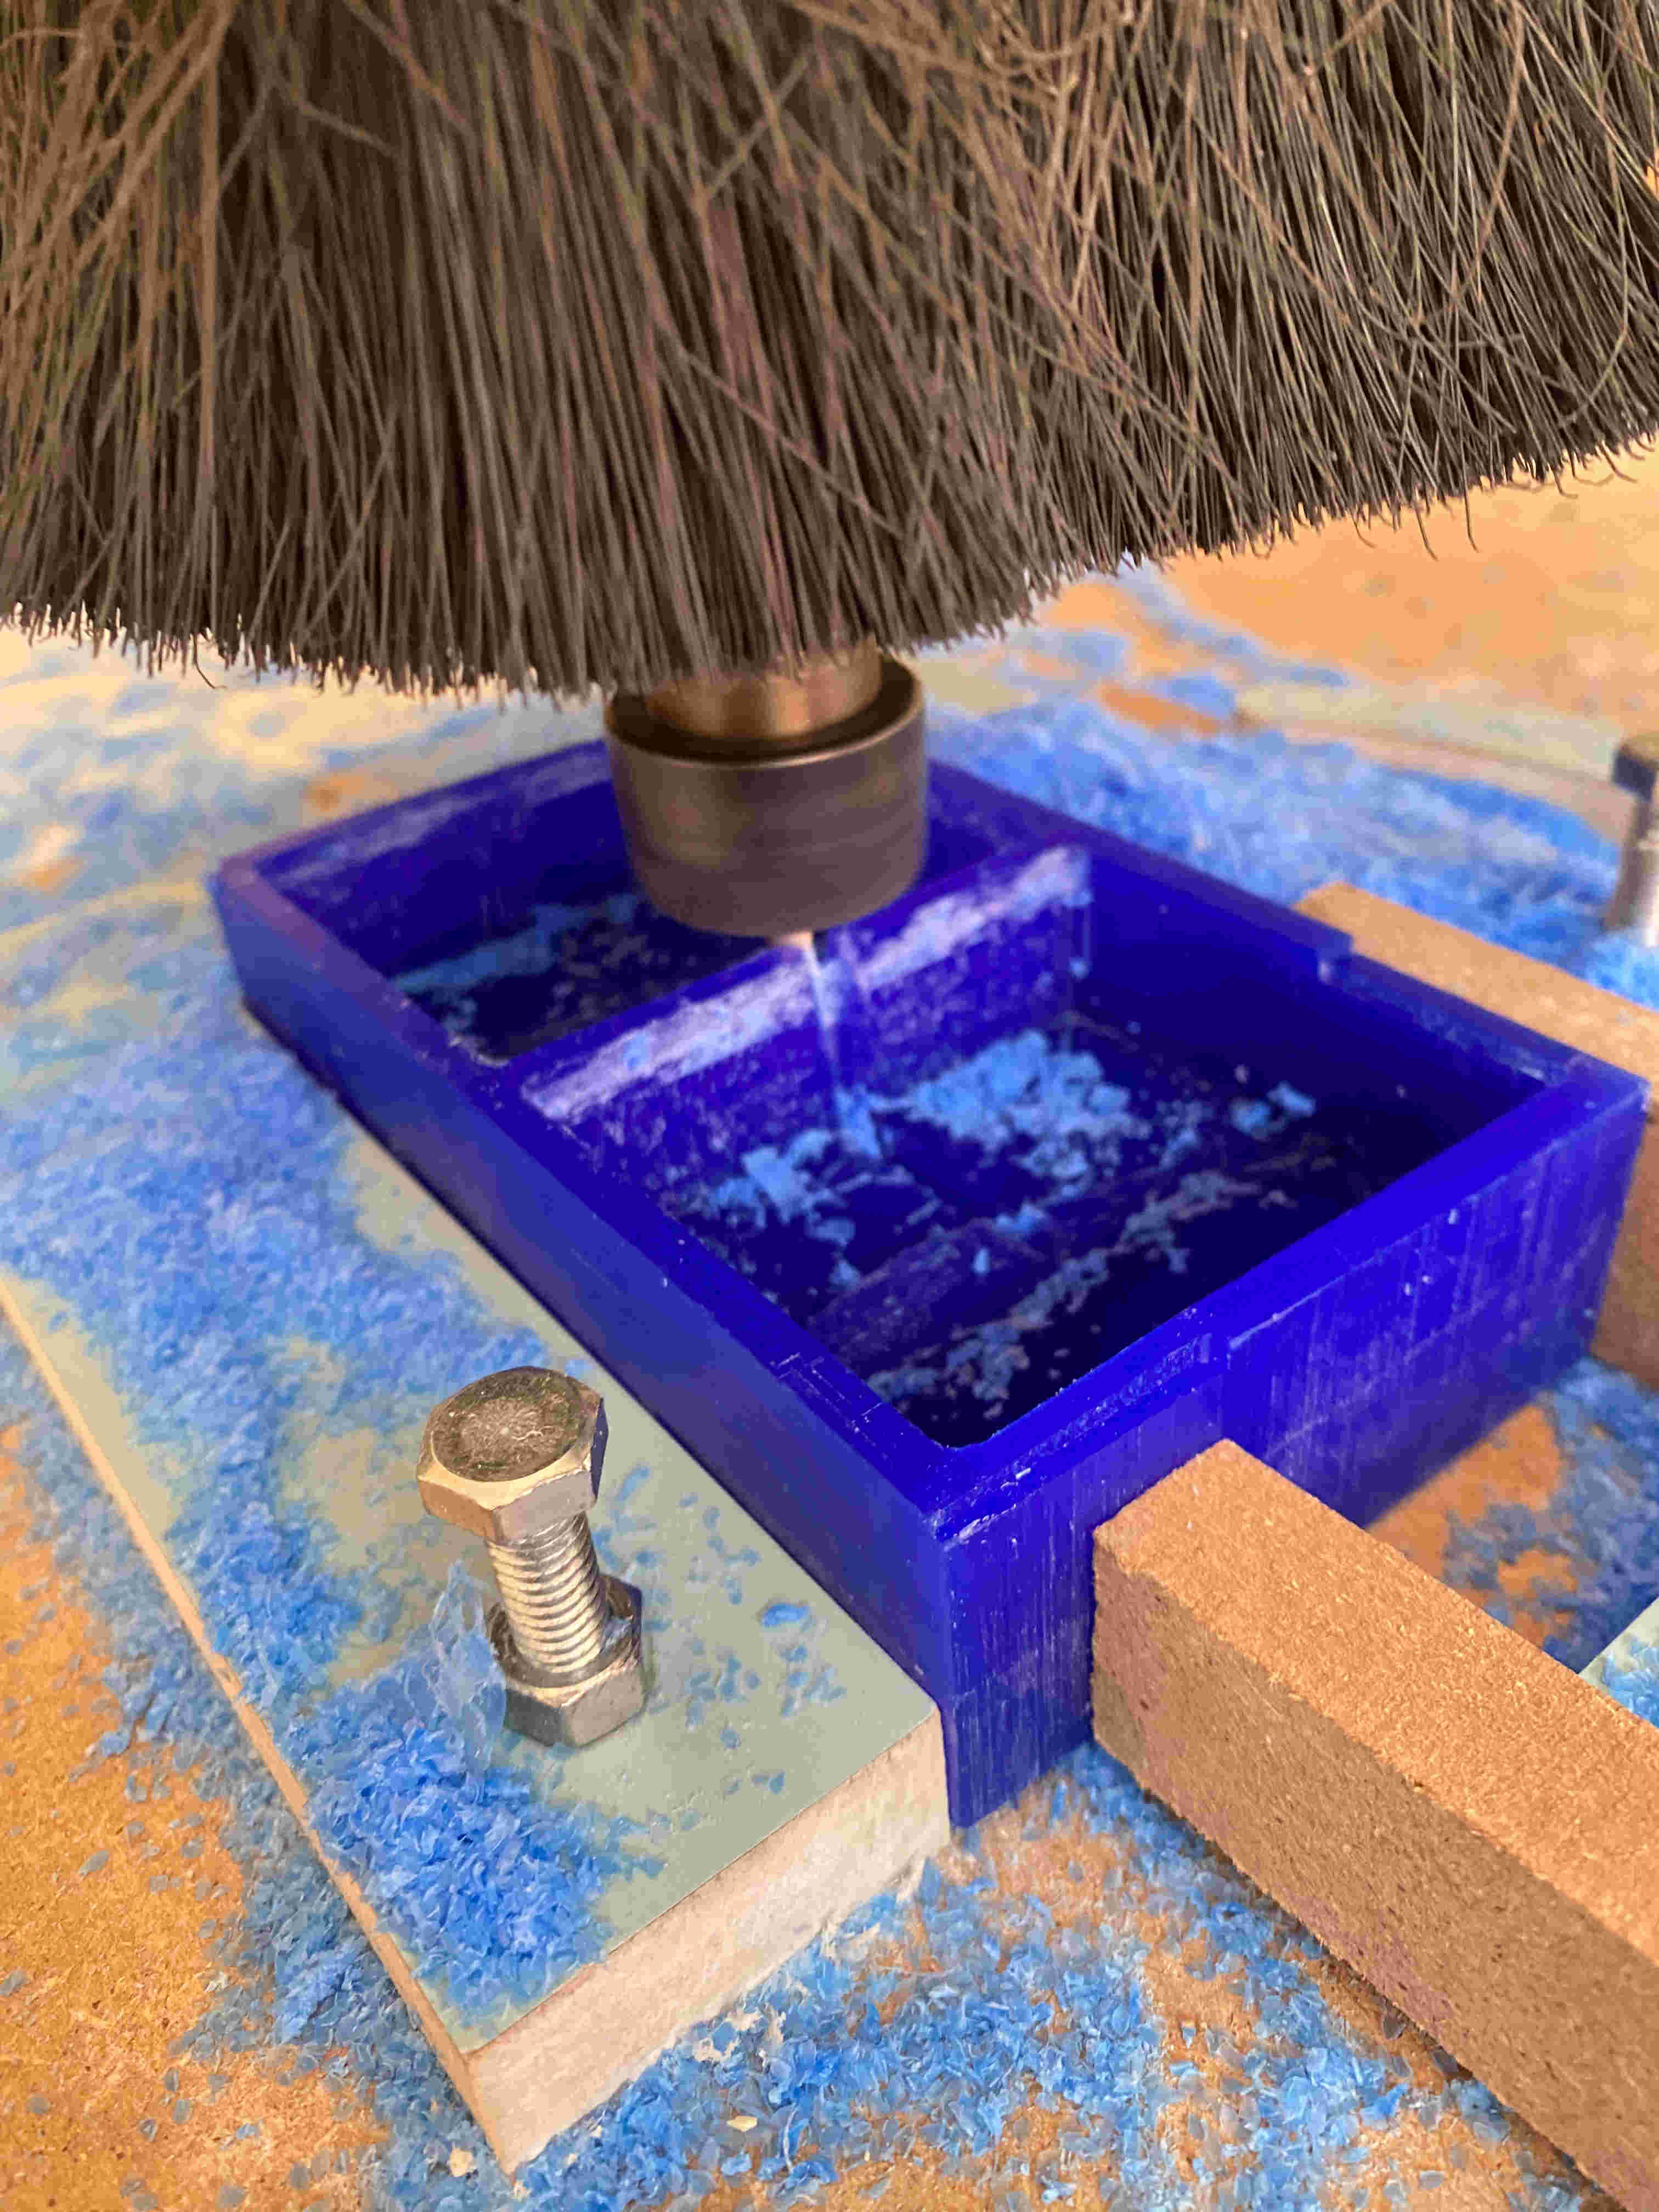
To speed up this task a little more since I couldn't find the tool to cut my mold, I printed a 3D piece of my mold, so I poured the previously made solution there.
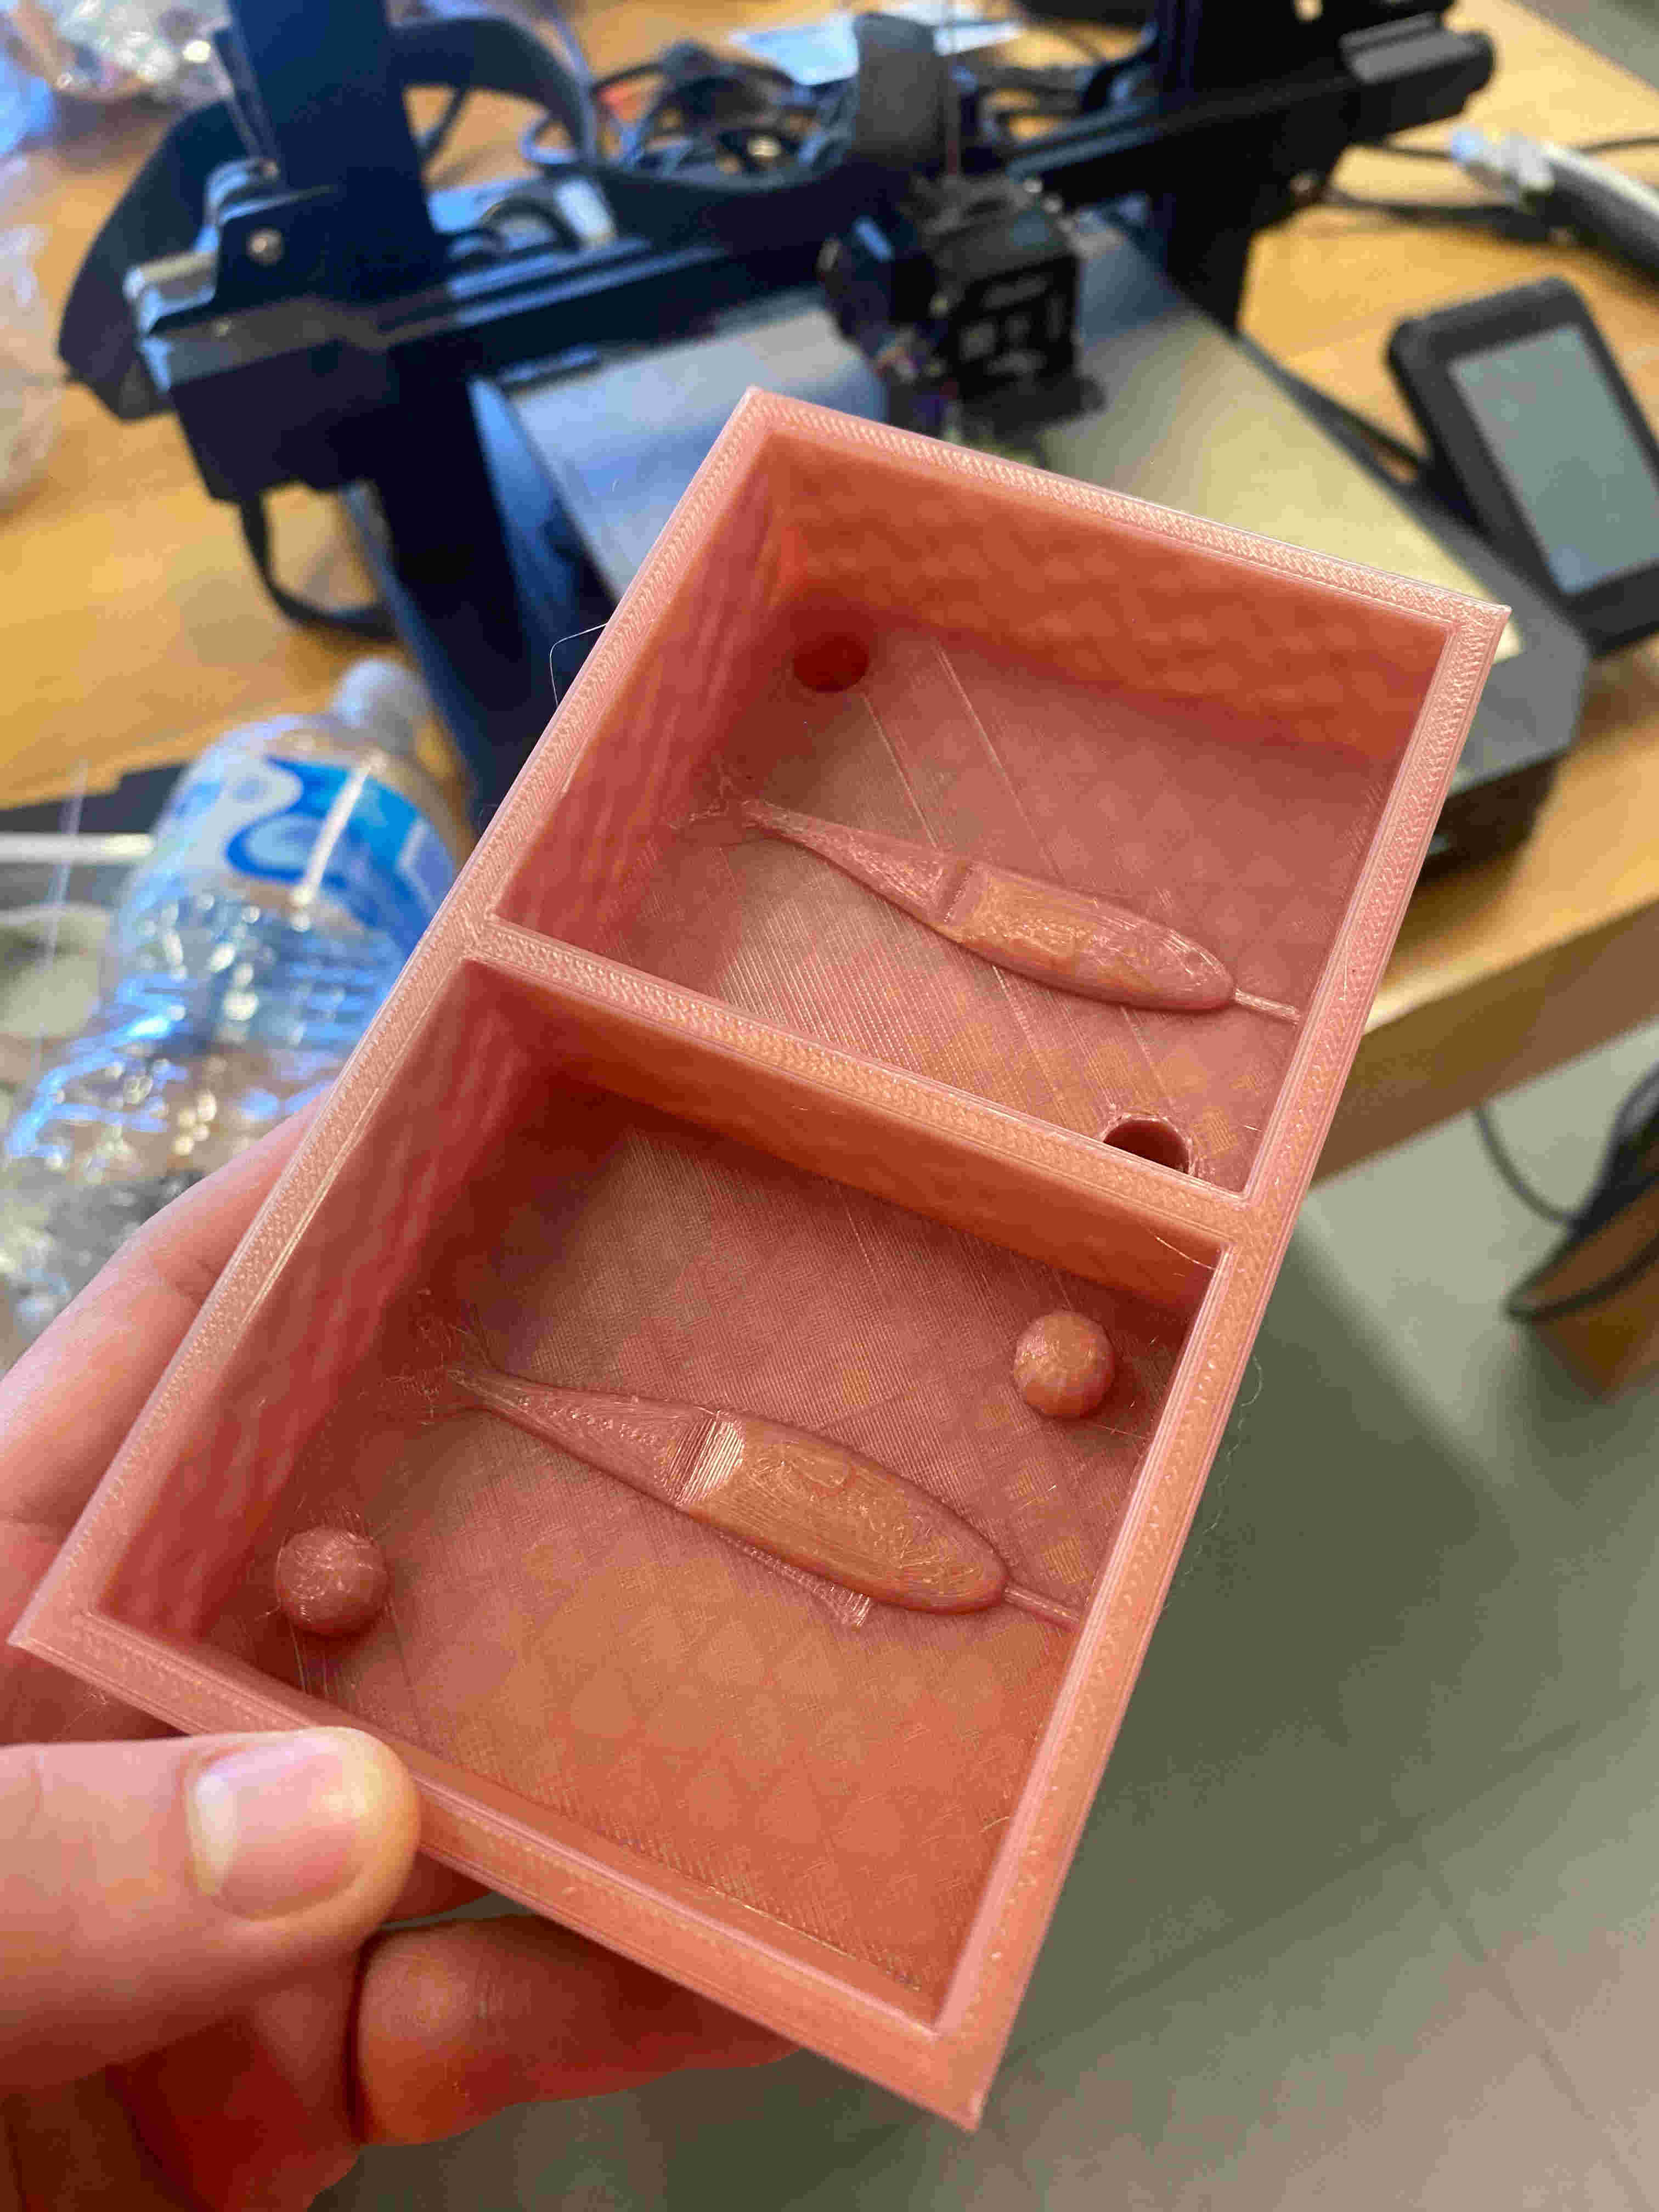
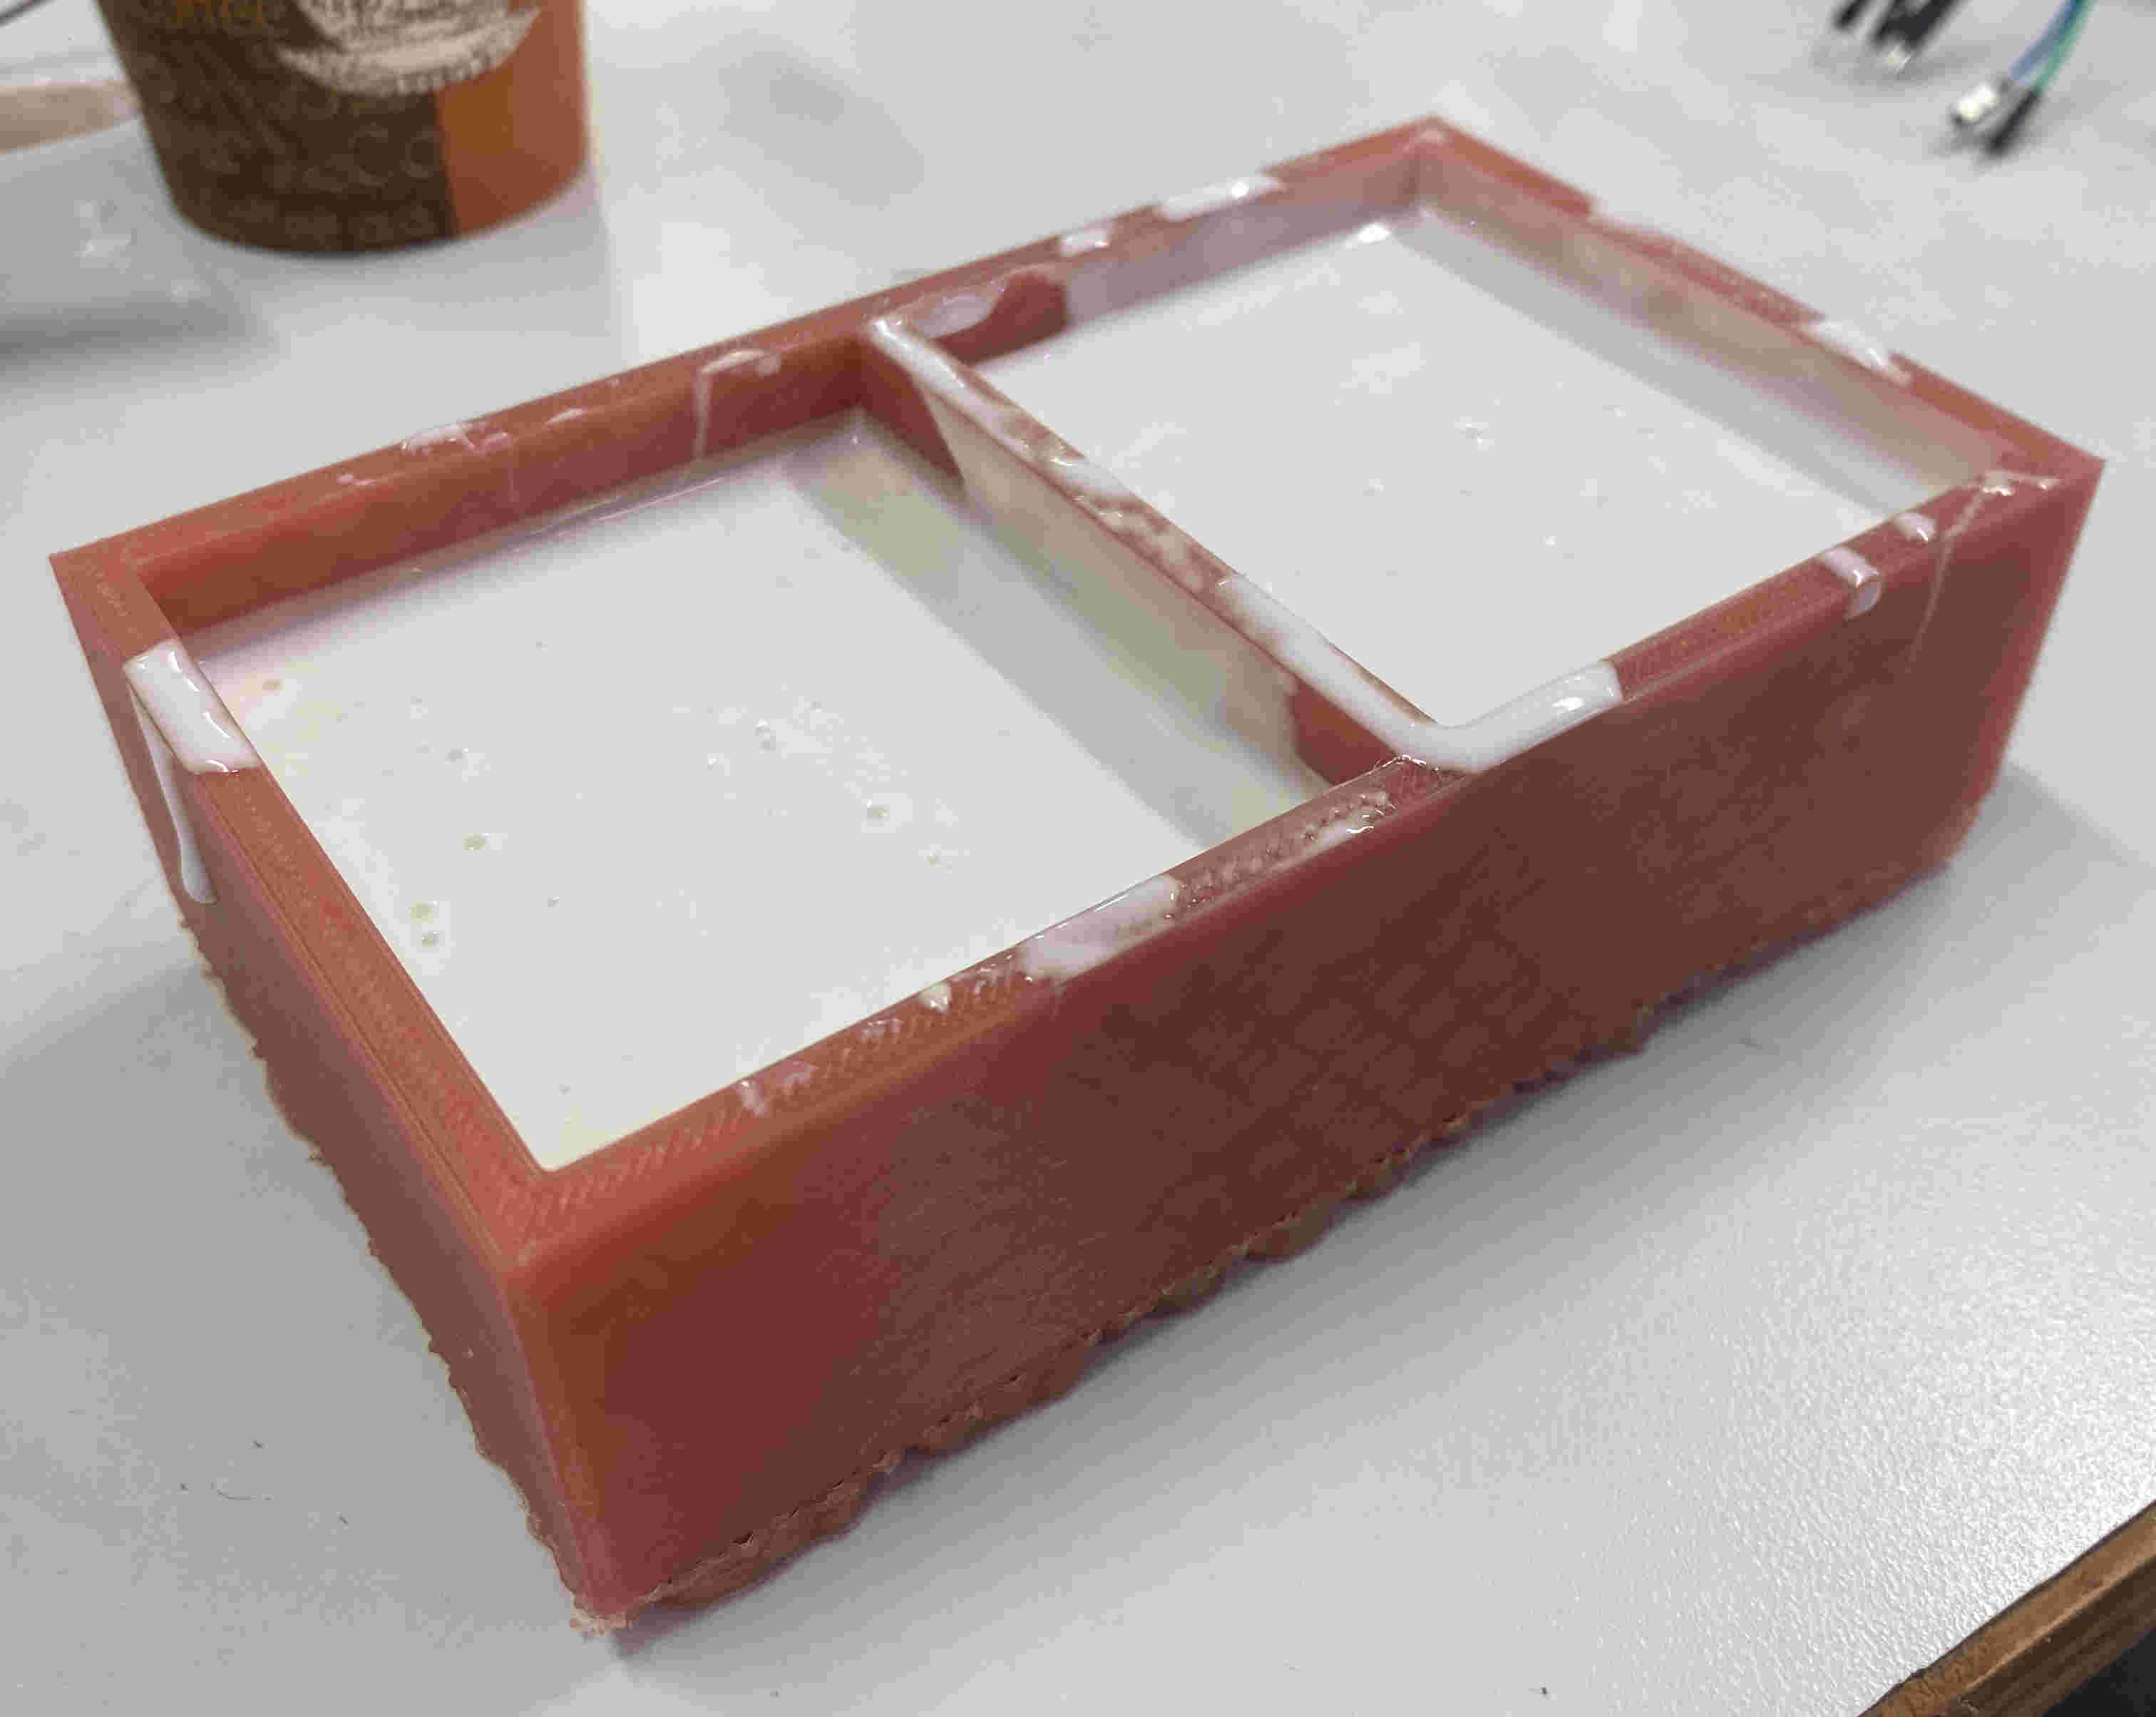
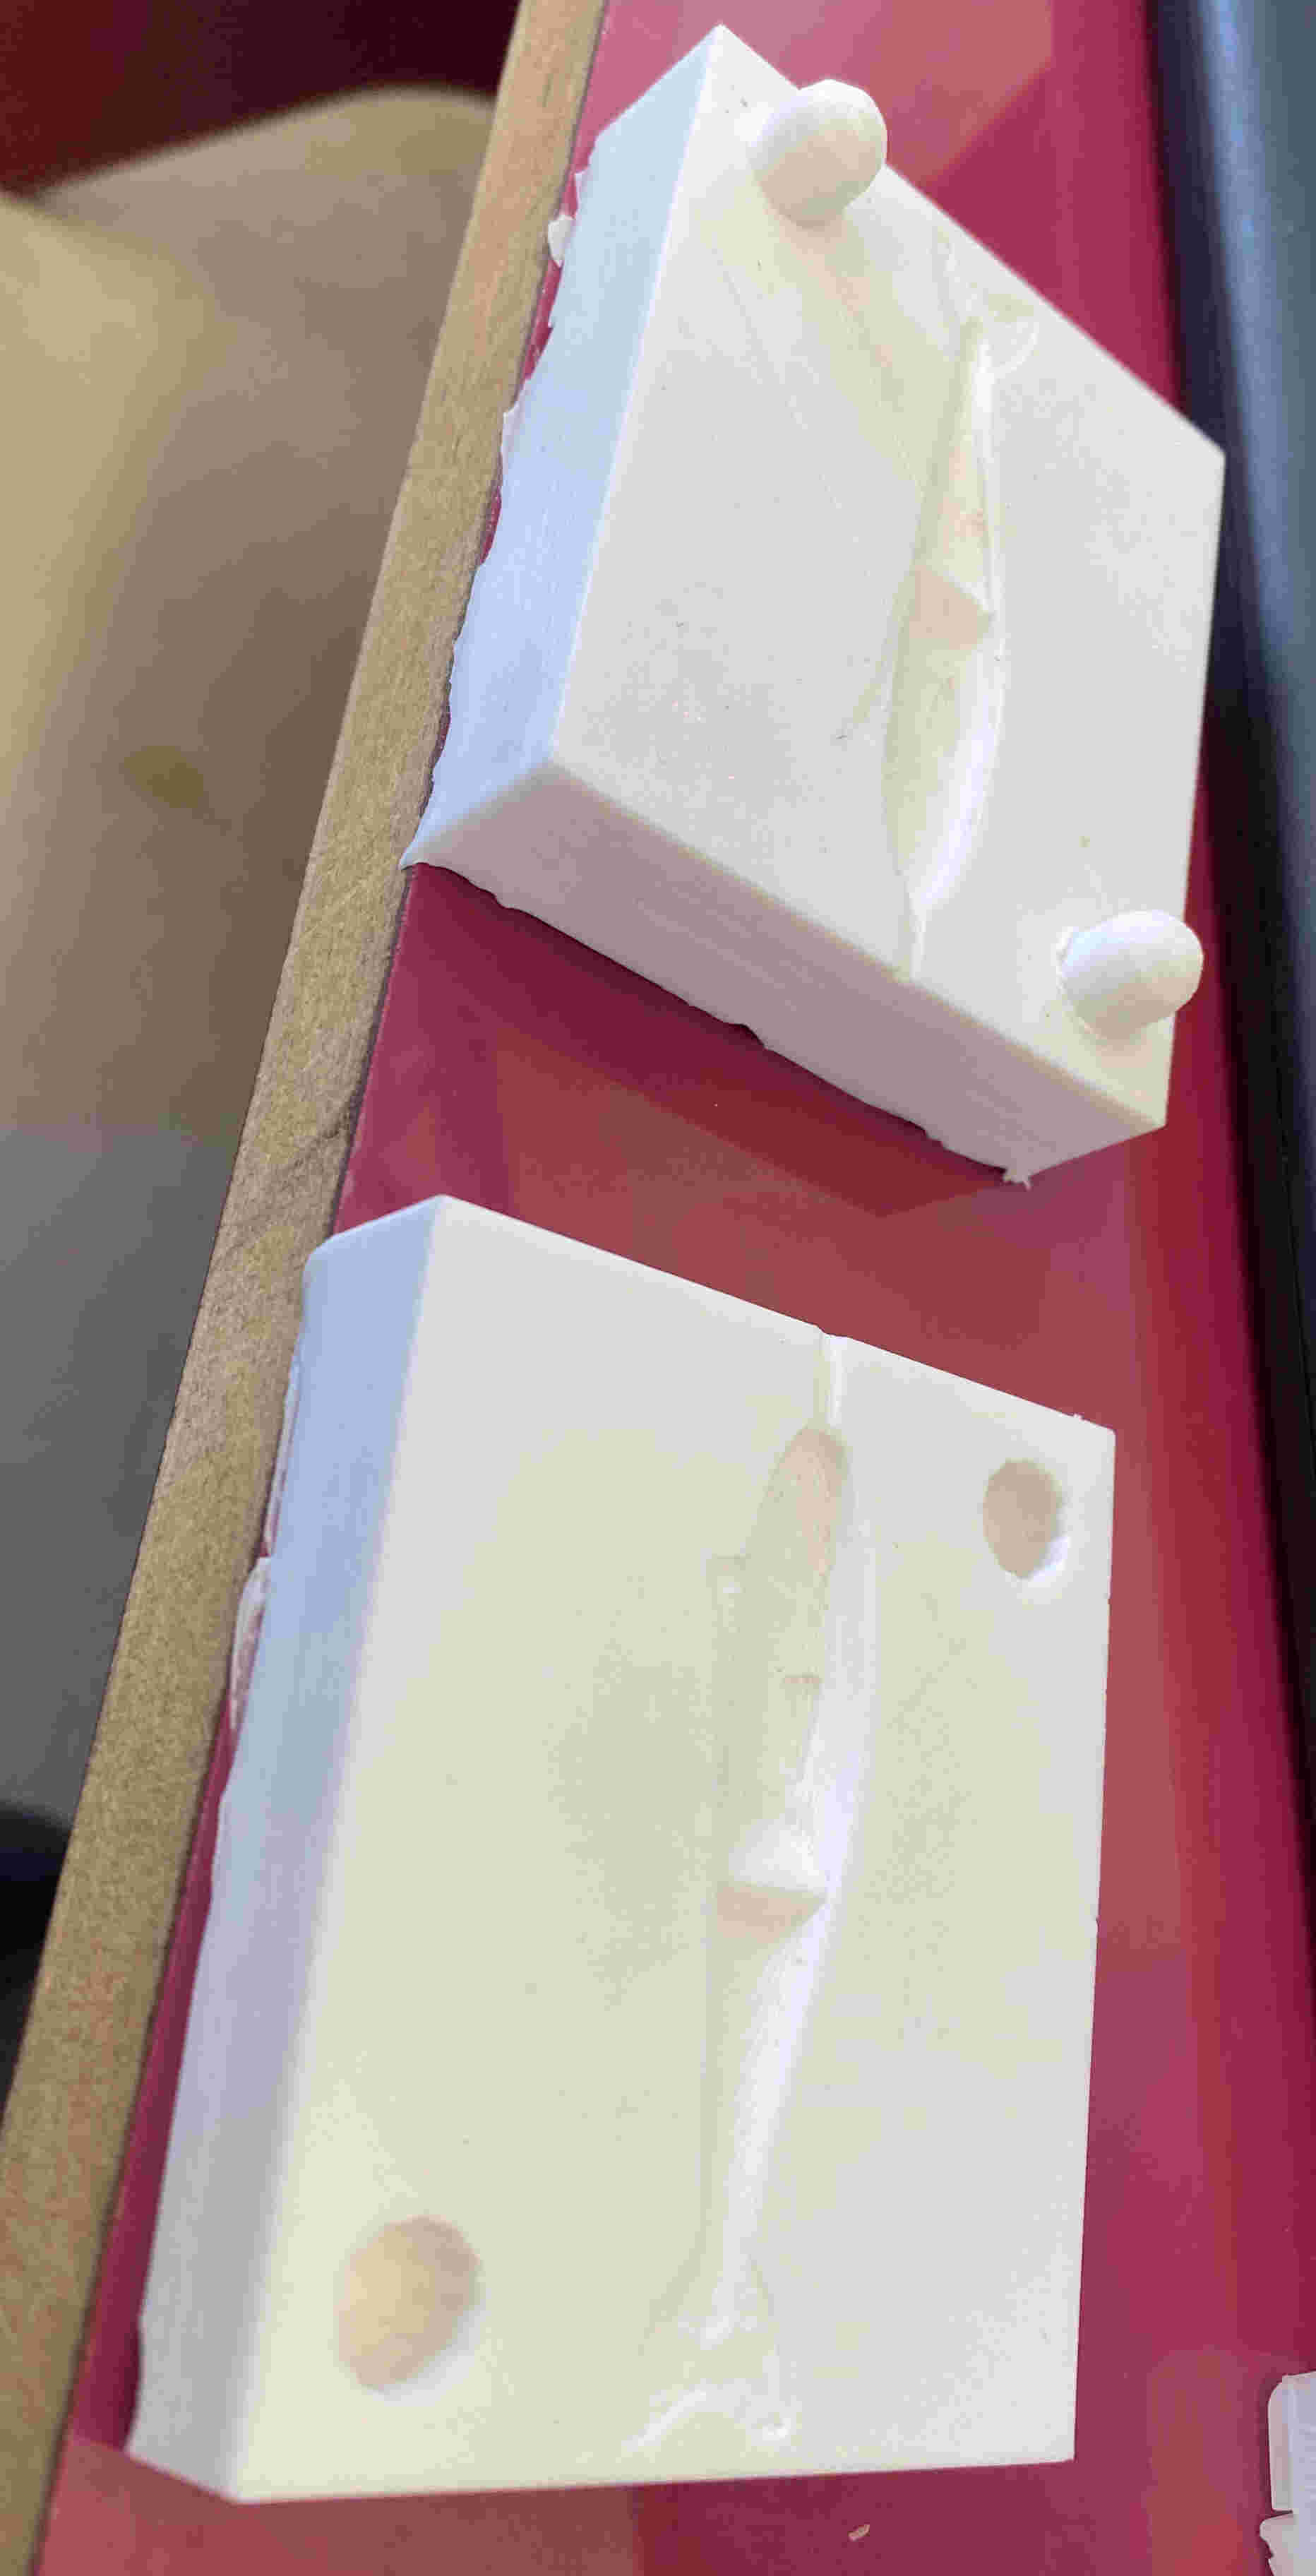
This was the result of this test. The test achieved the objective which was to make the mold join together with a tab that was placed in the design and also managed to do the test to be able to pour liquid A and B.
Making my mold
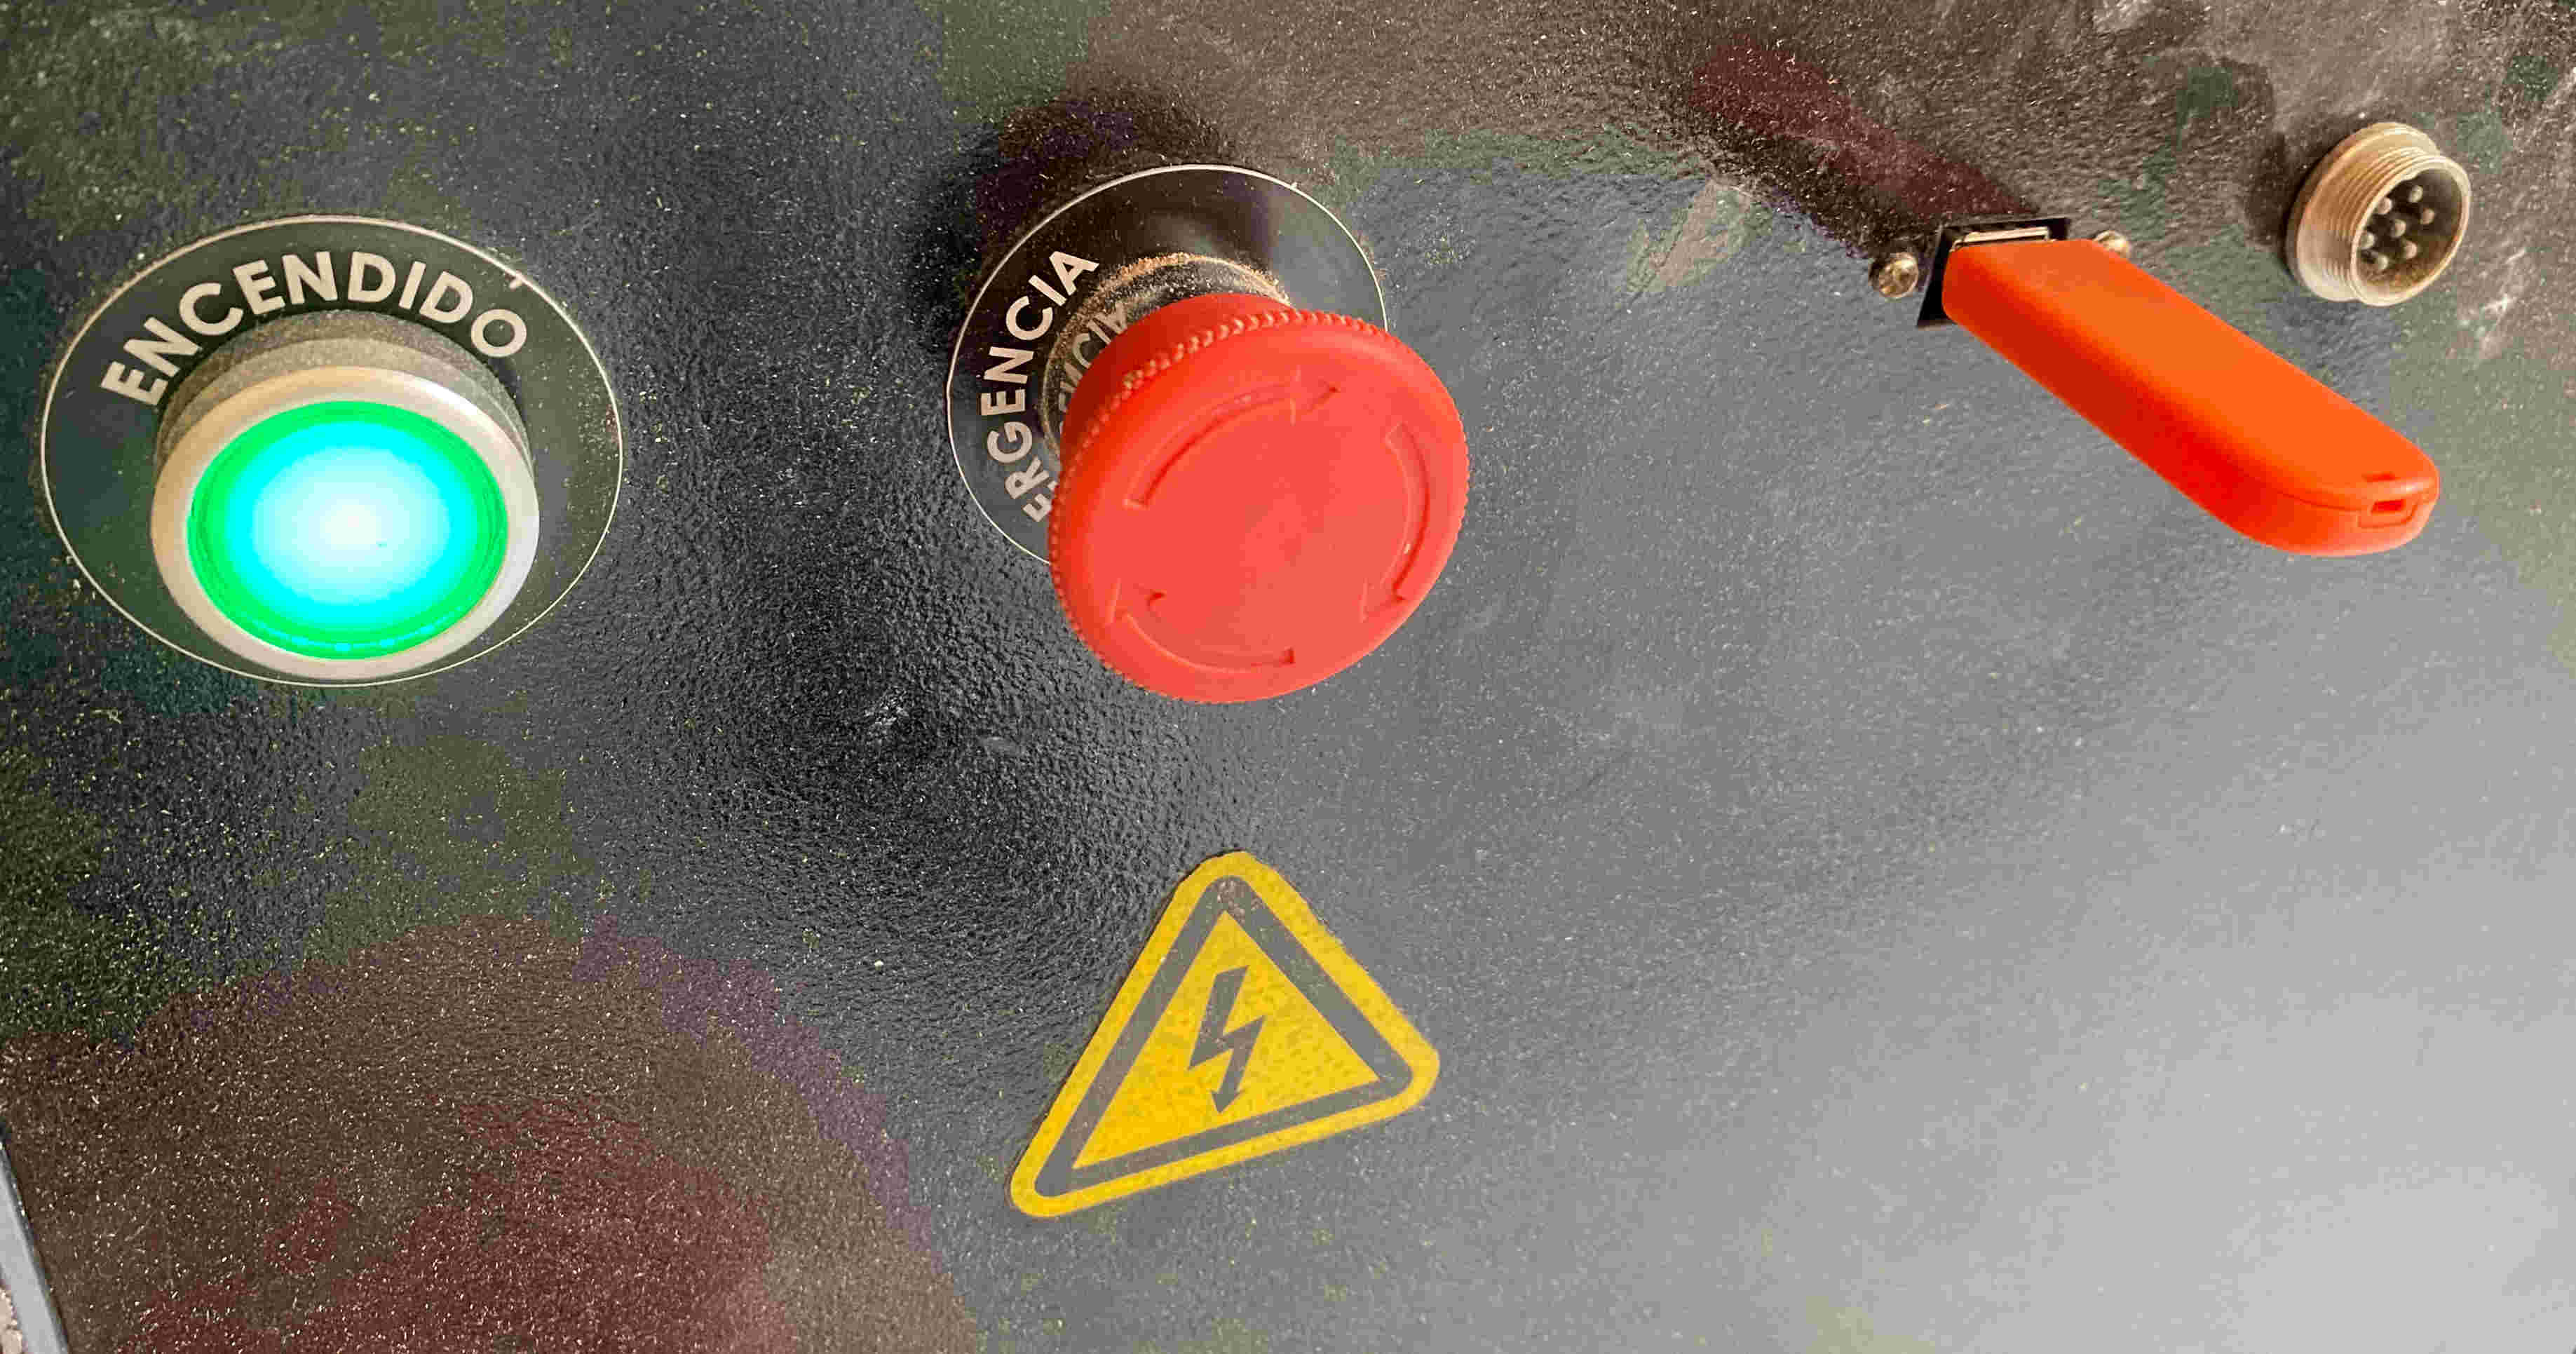
First of all, I turn on the CNC router, mark ASIA and insert the memory that contained the file to cut the mold
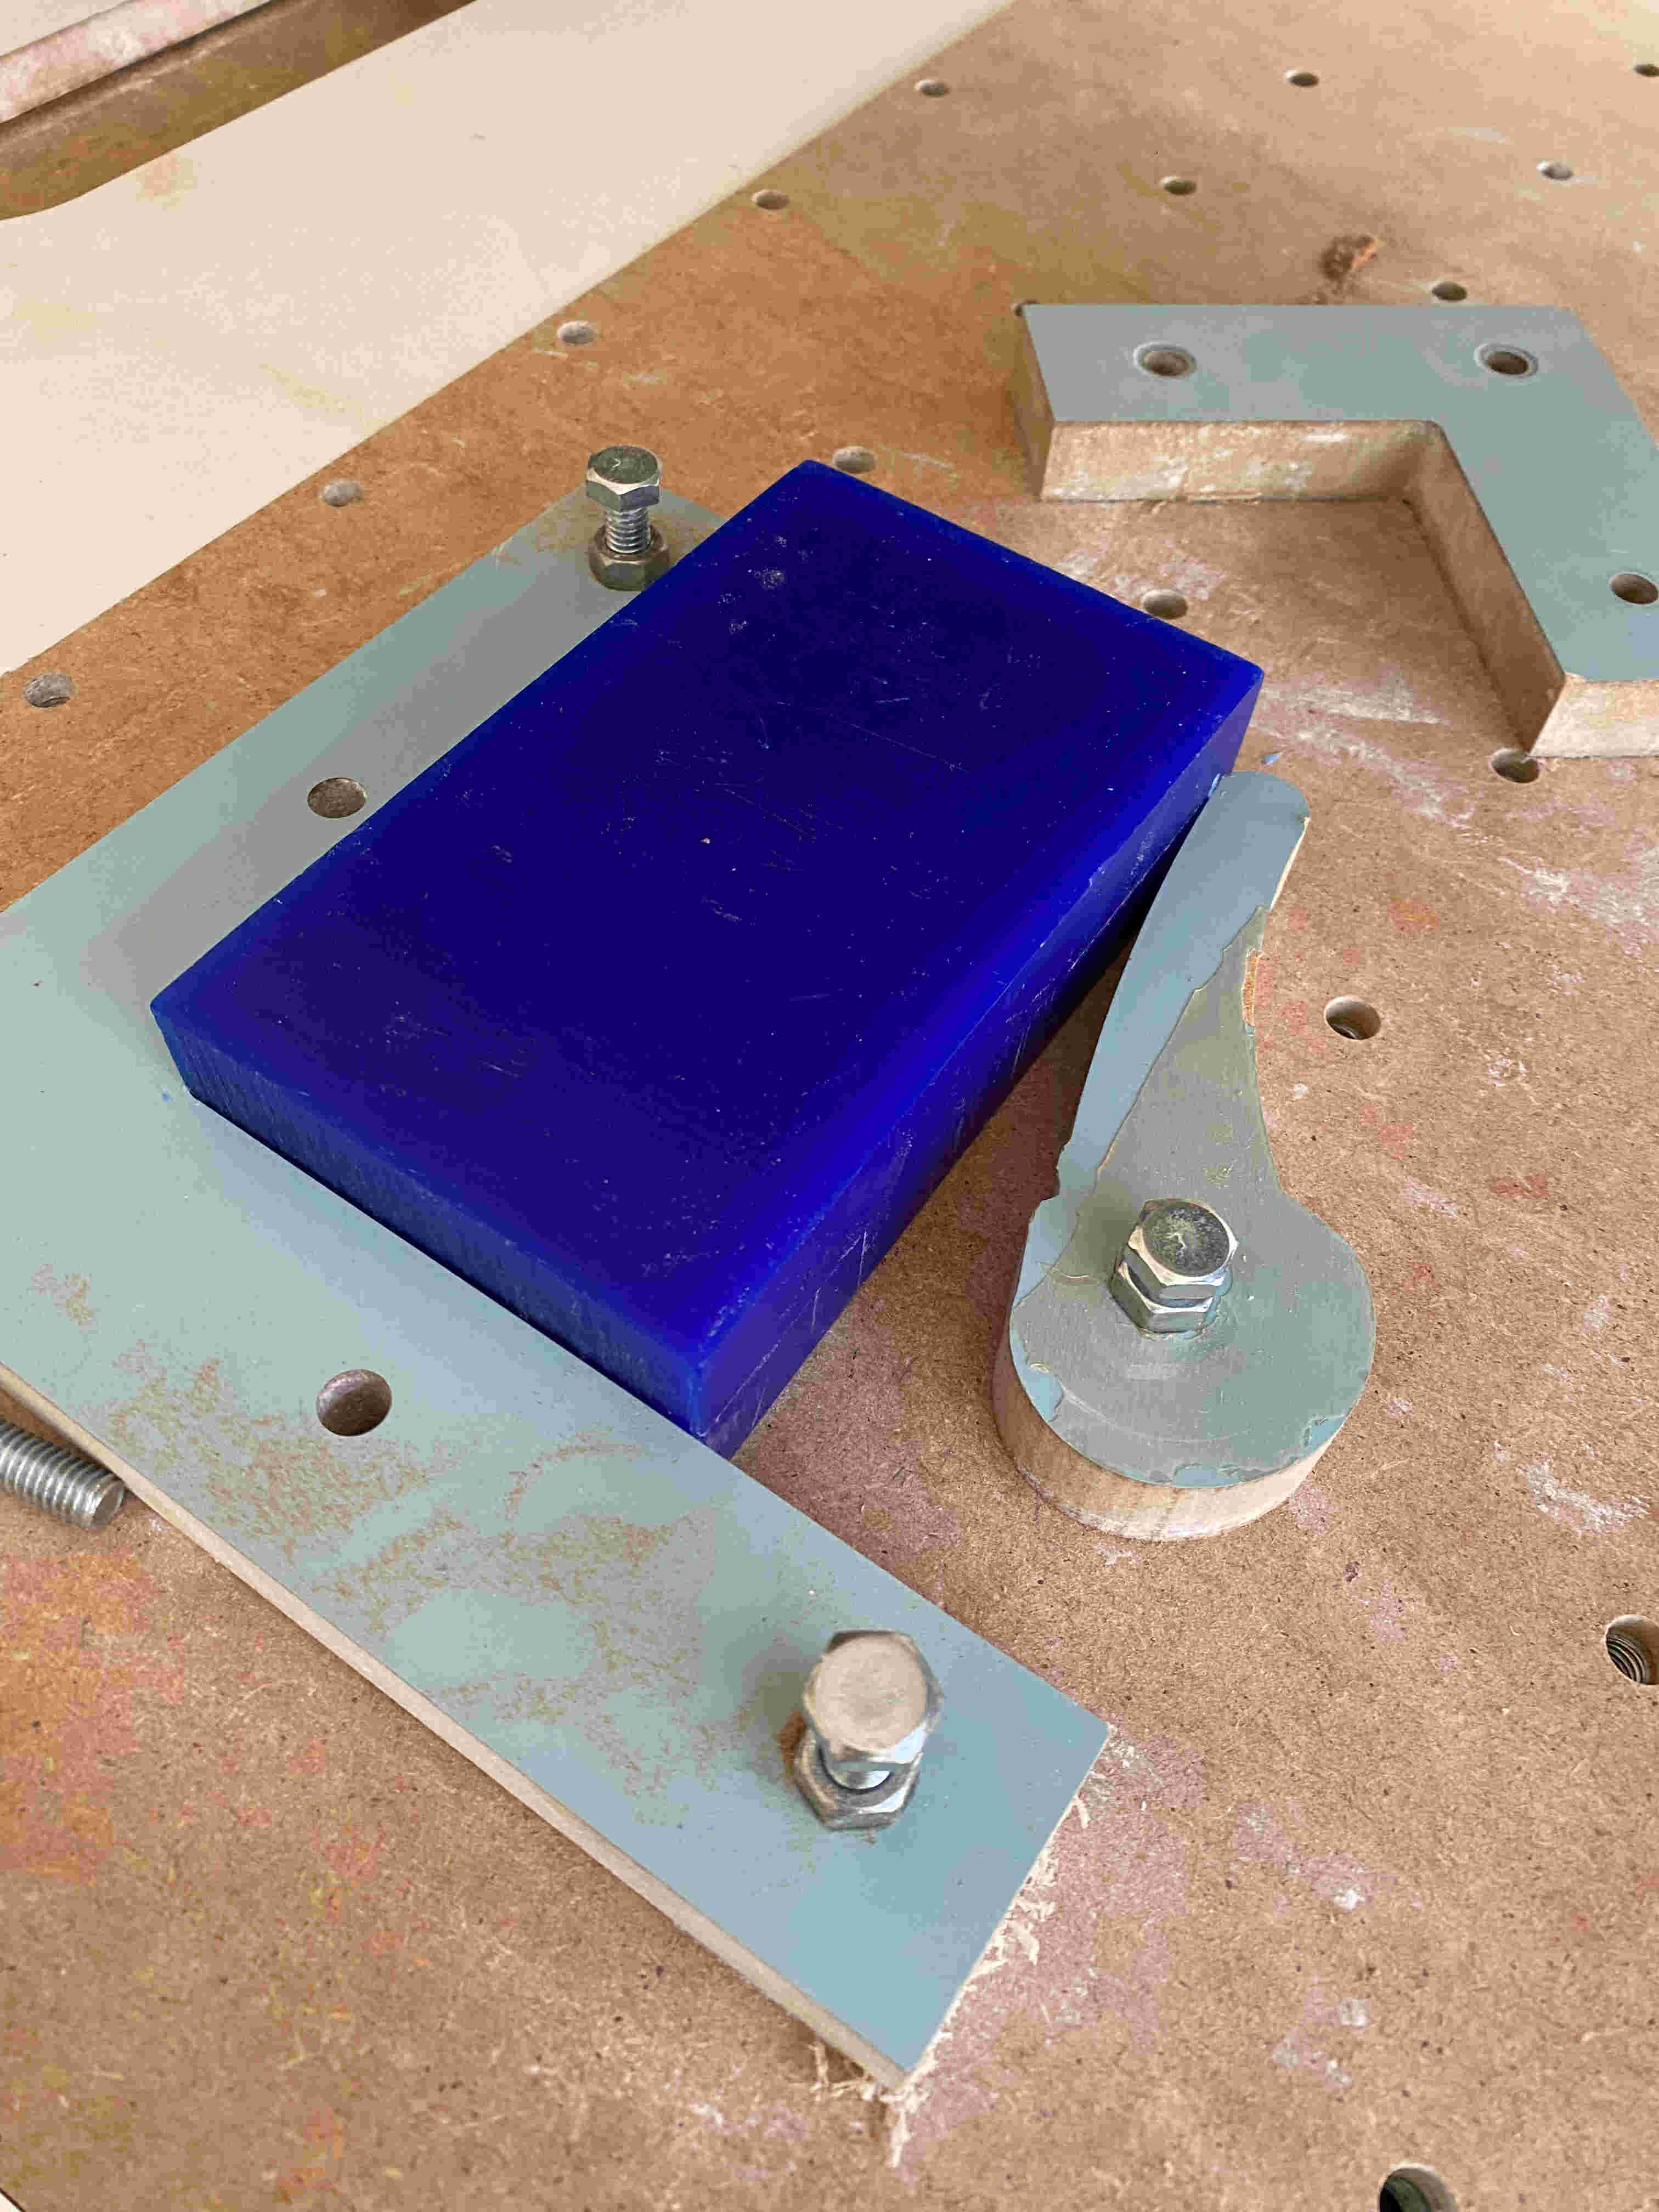
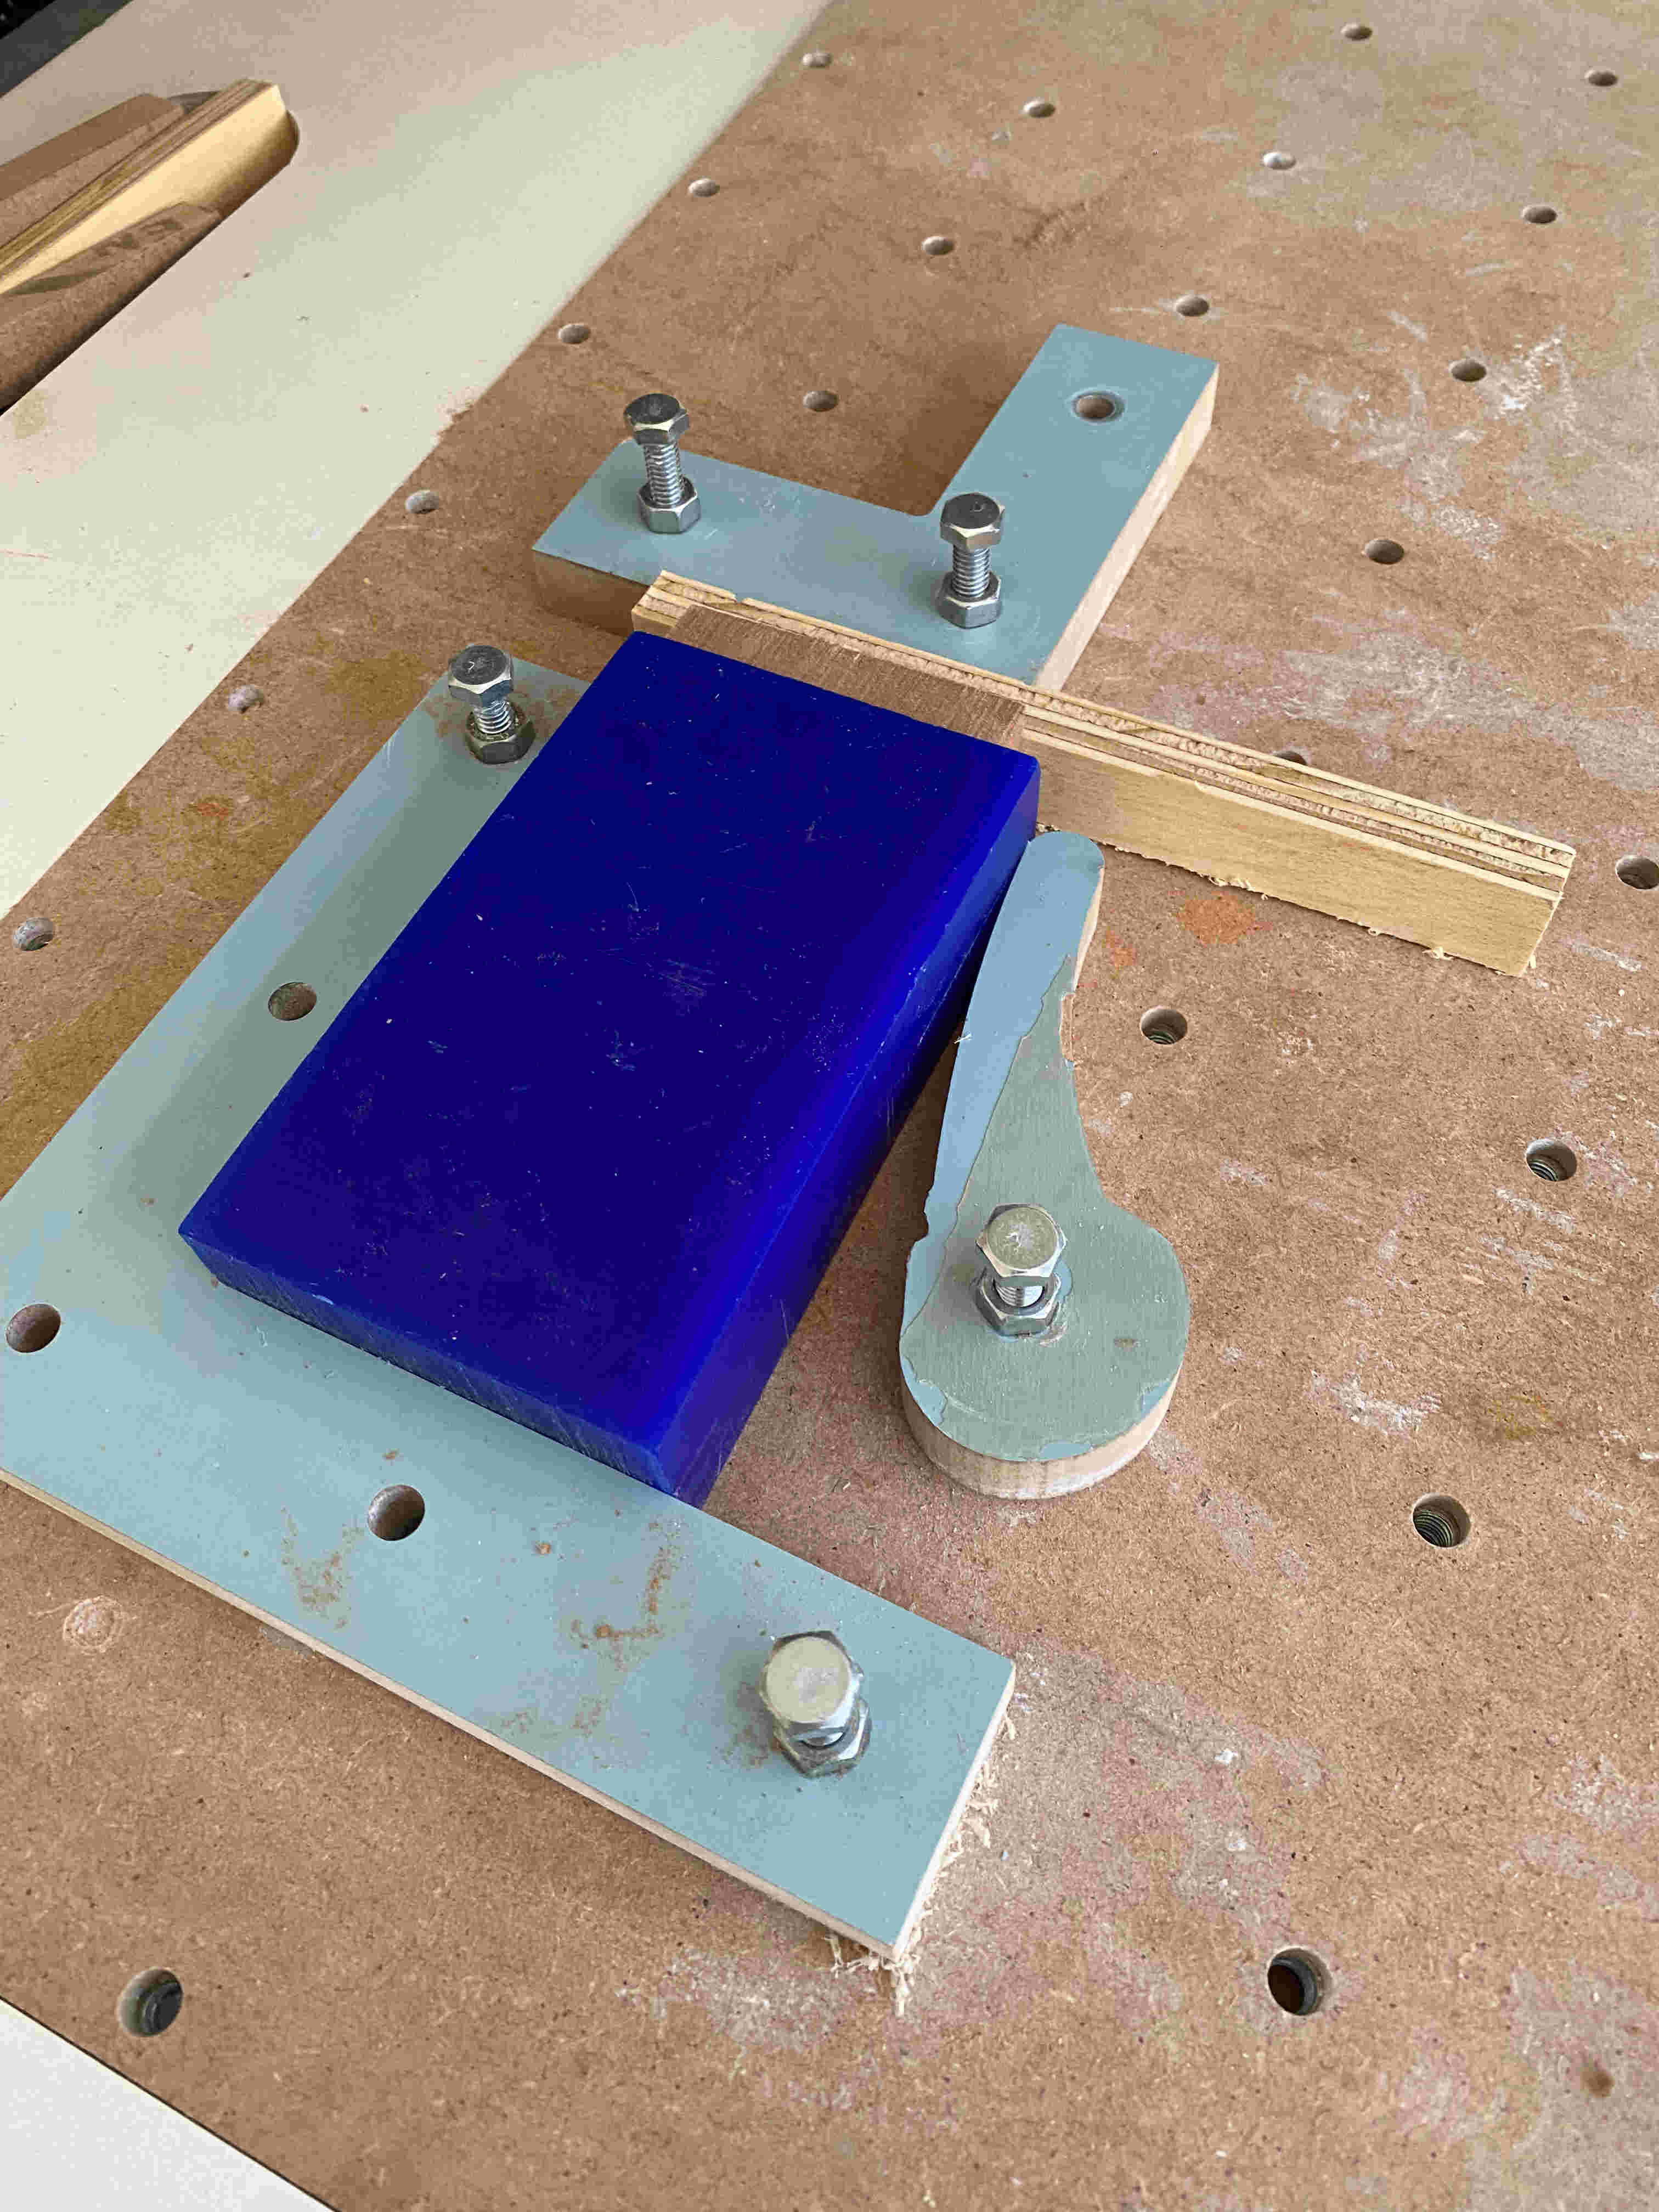
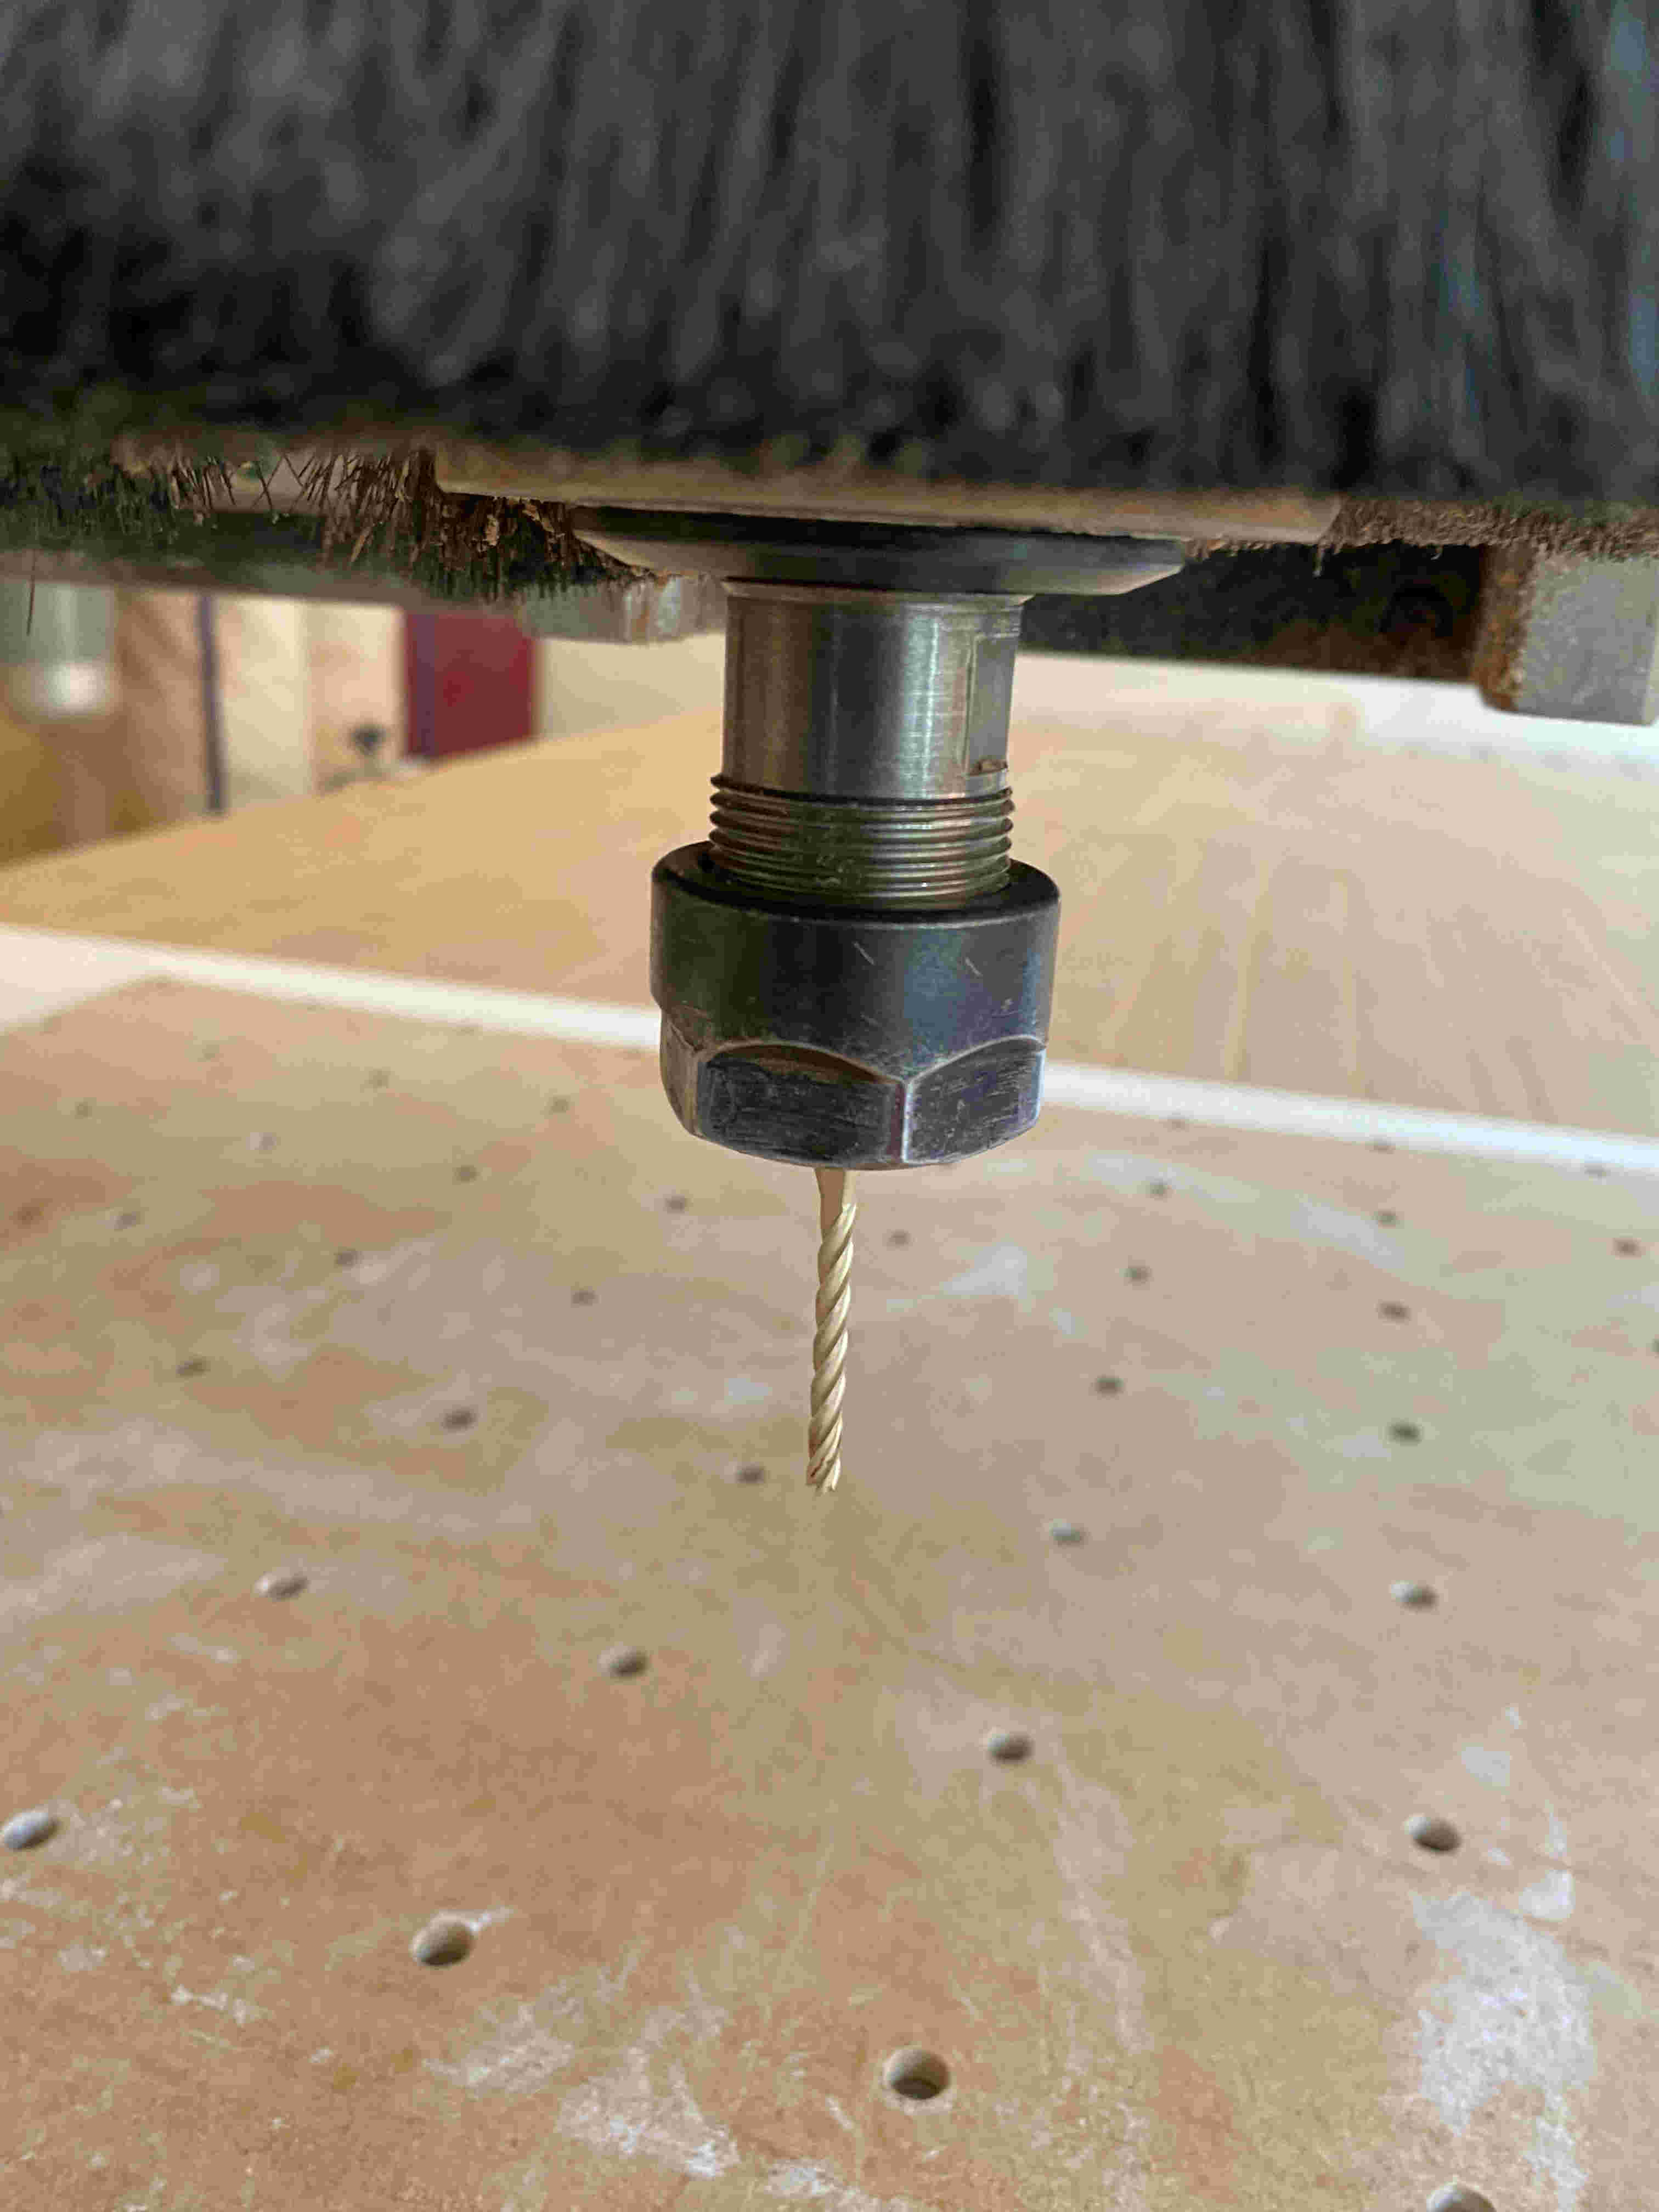
I arranged the sacrificial bed with presses so that it would not cause any type of accident with the tool and the router. I still placed the wax cube where it will be cut, I had to put clamps on it but since it didn't exert pressure I had to put two pieces of wood on it so that the cube could be fixed. Also place the cutting tool on the router

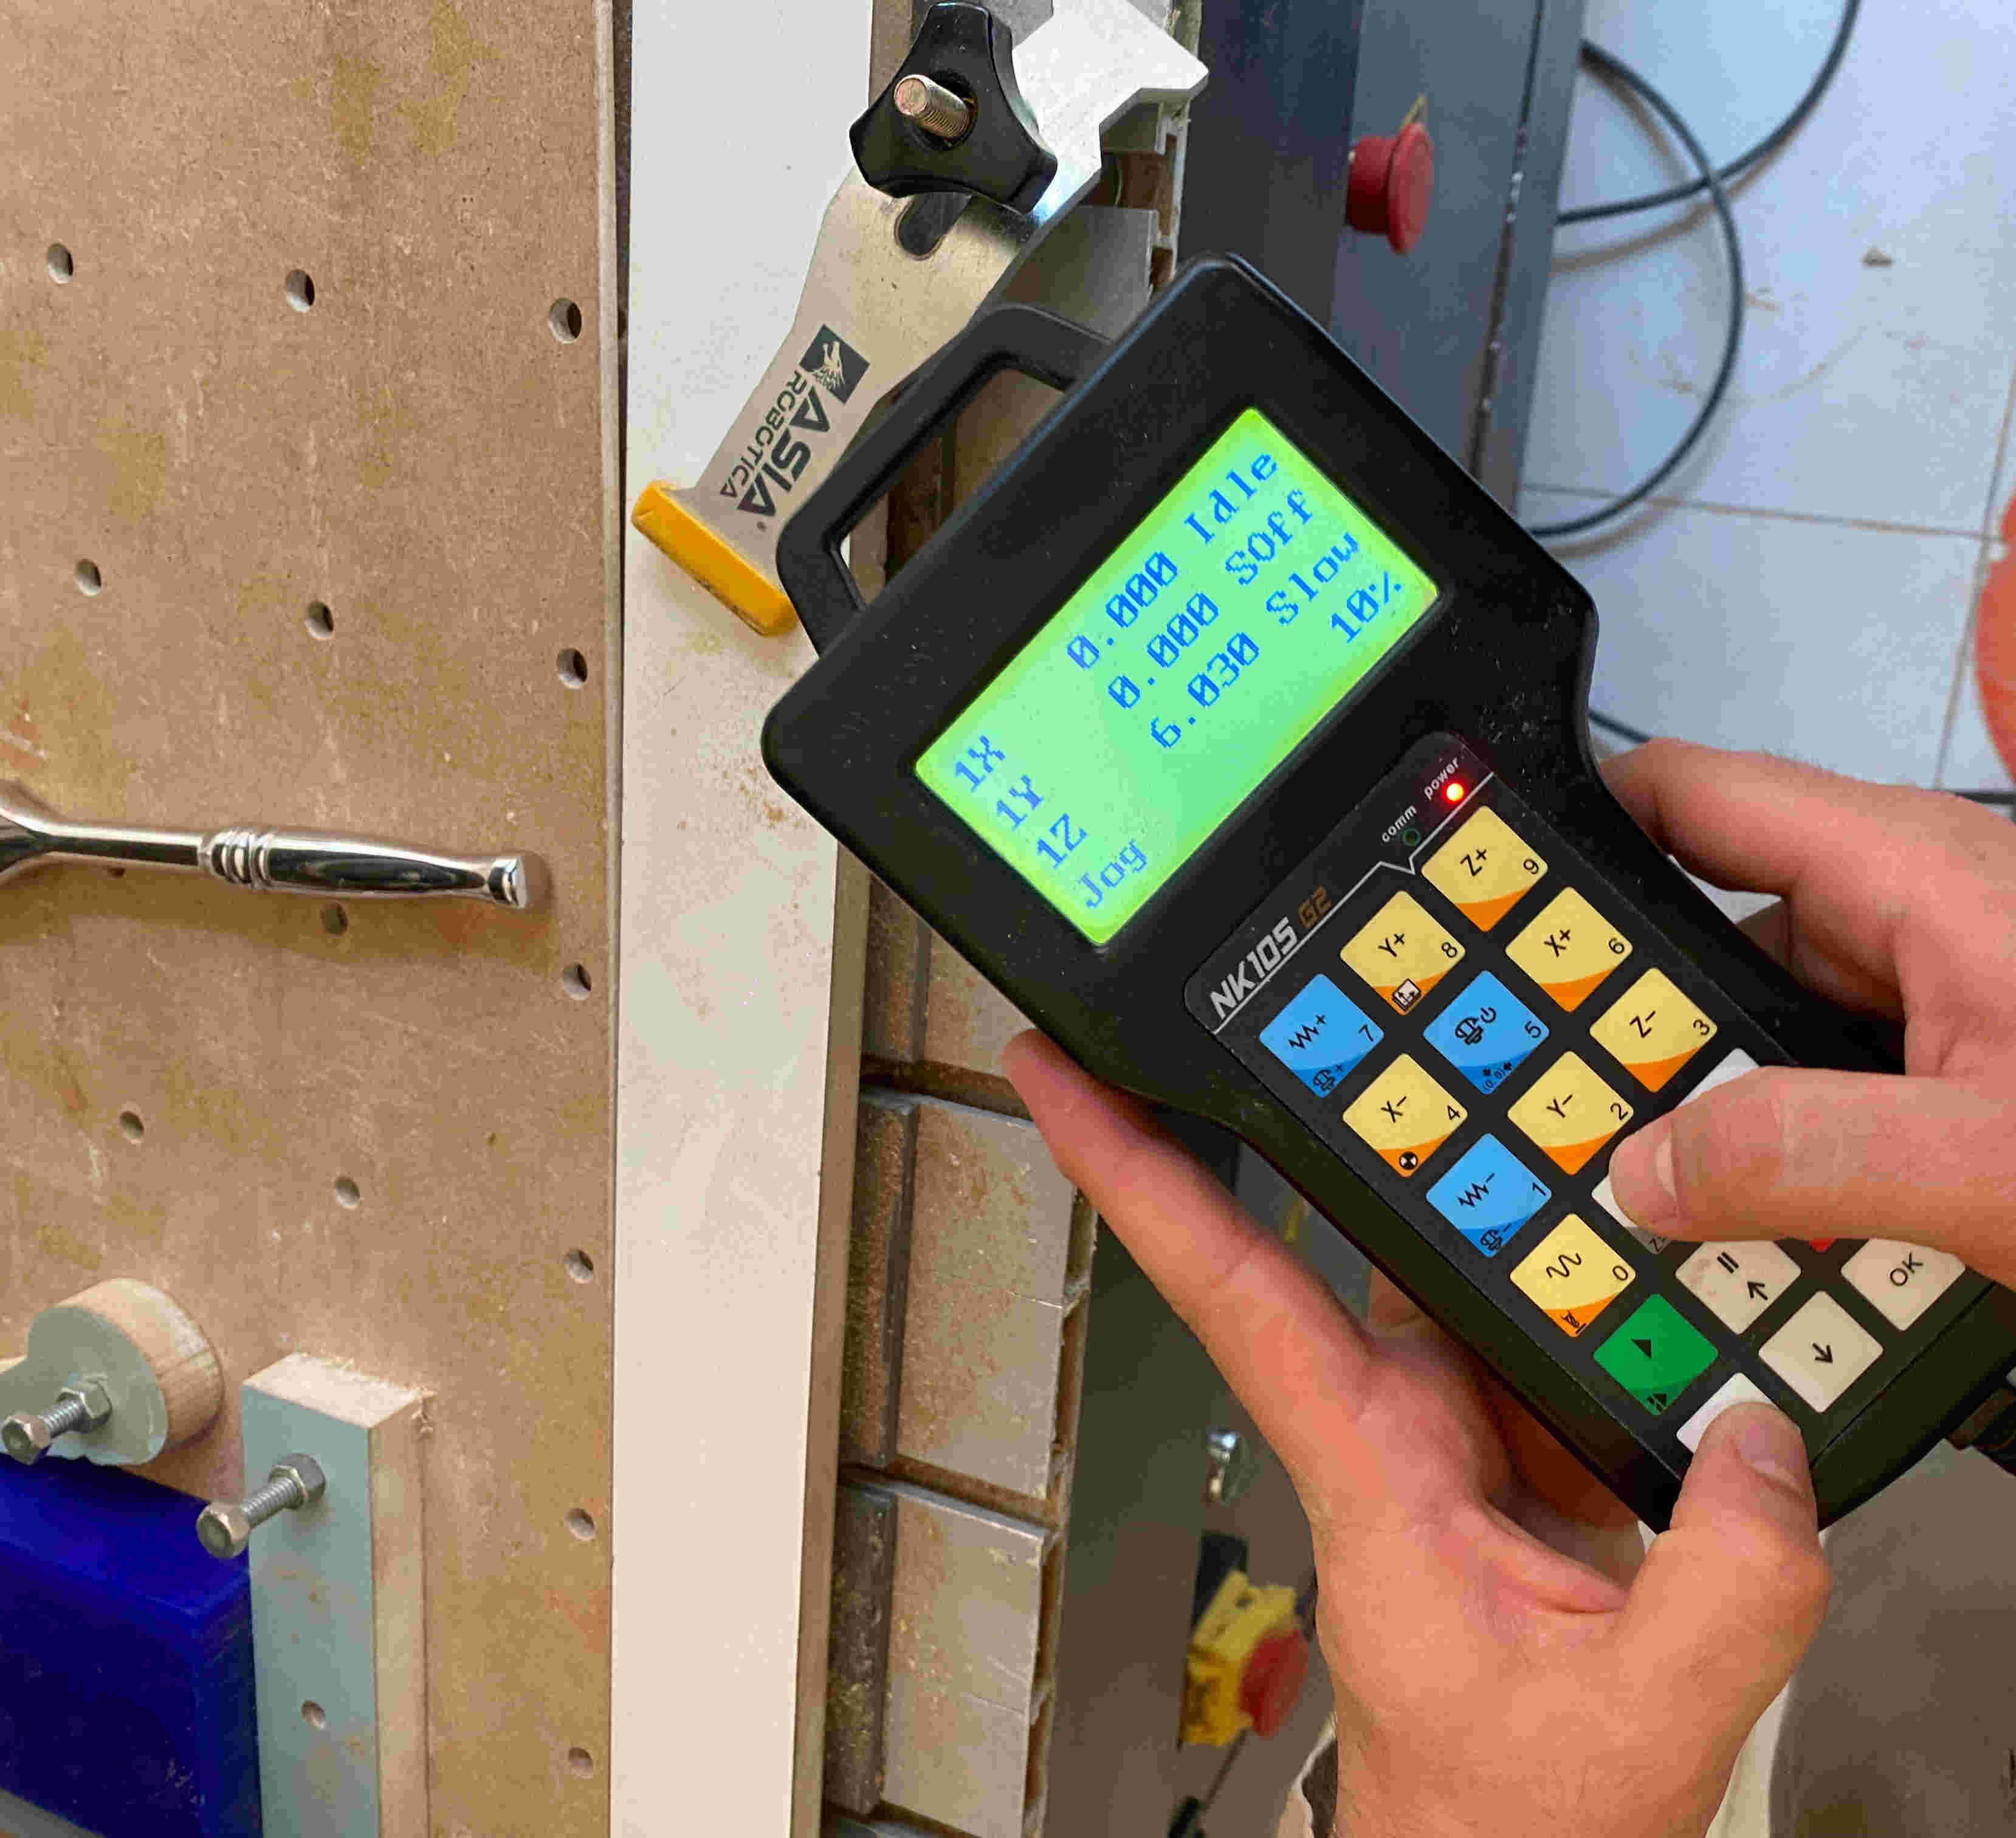
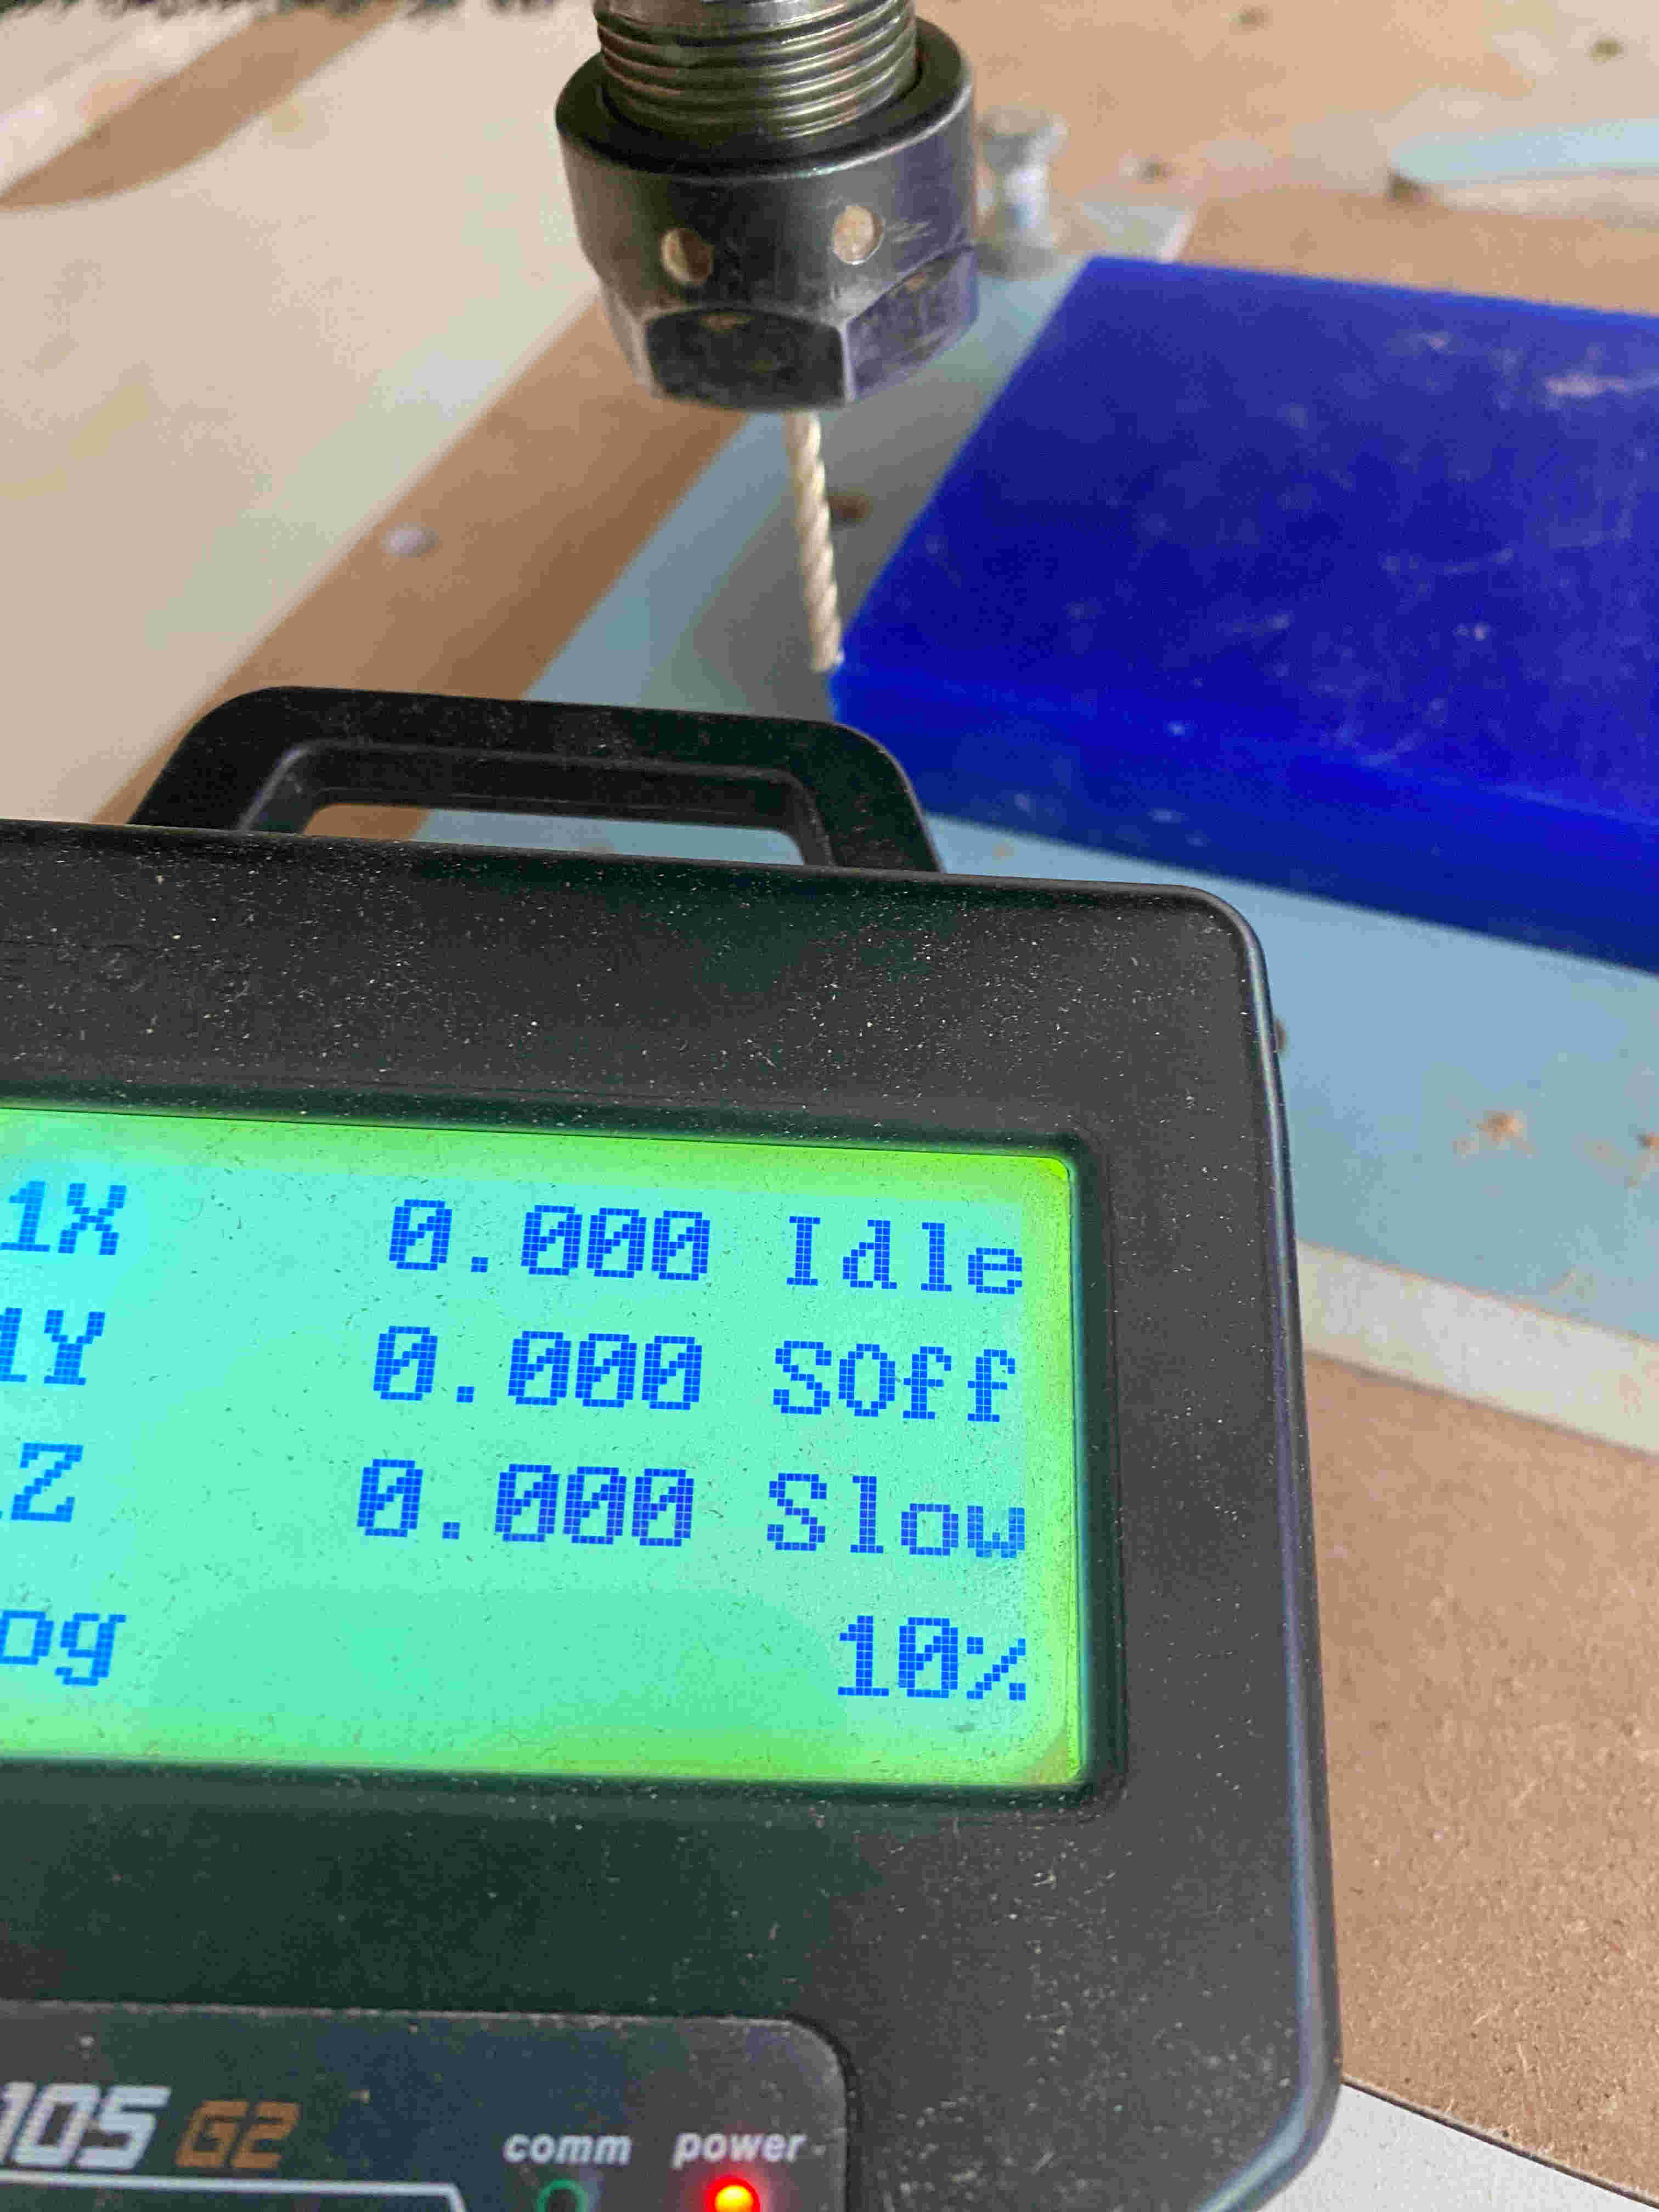
When I turn on the machine it will take me to the hooming option which is a default option for it
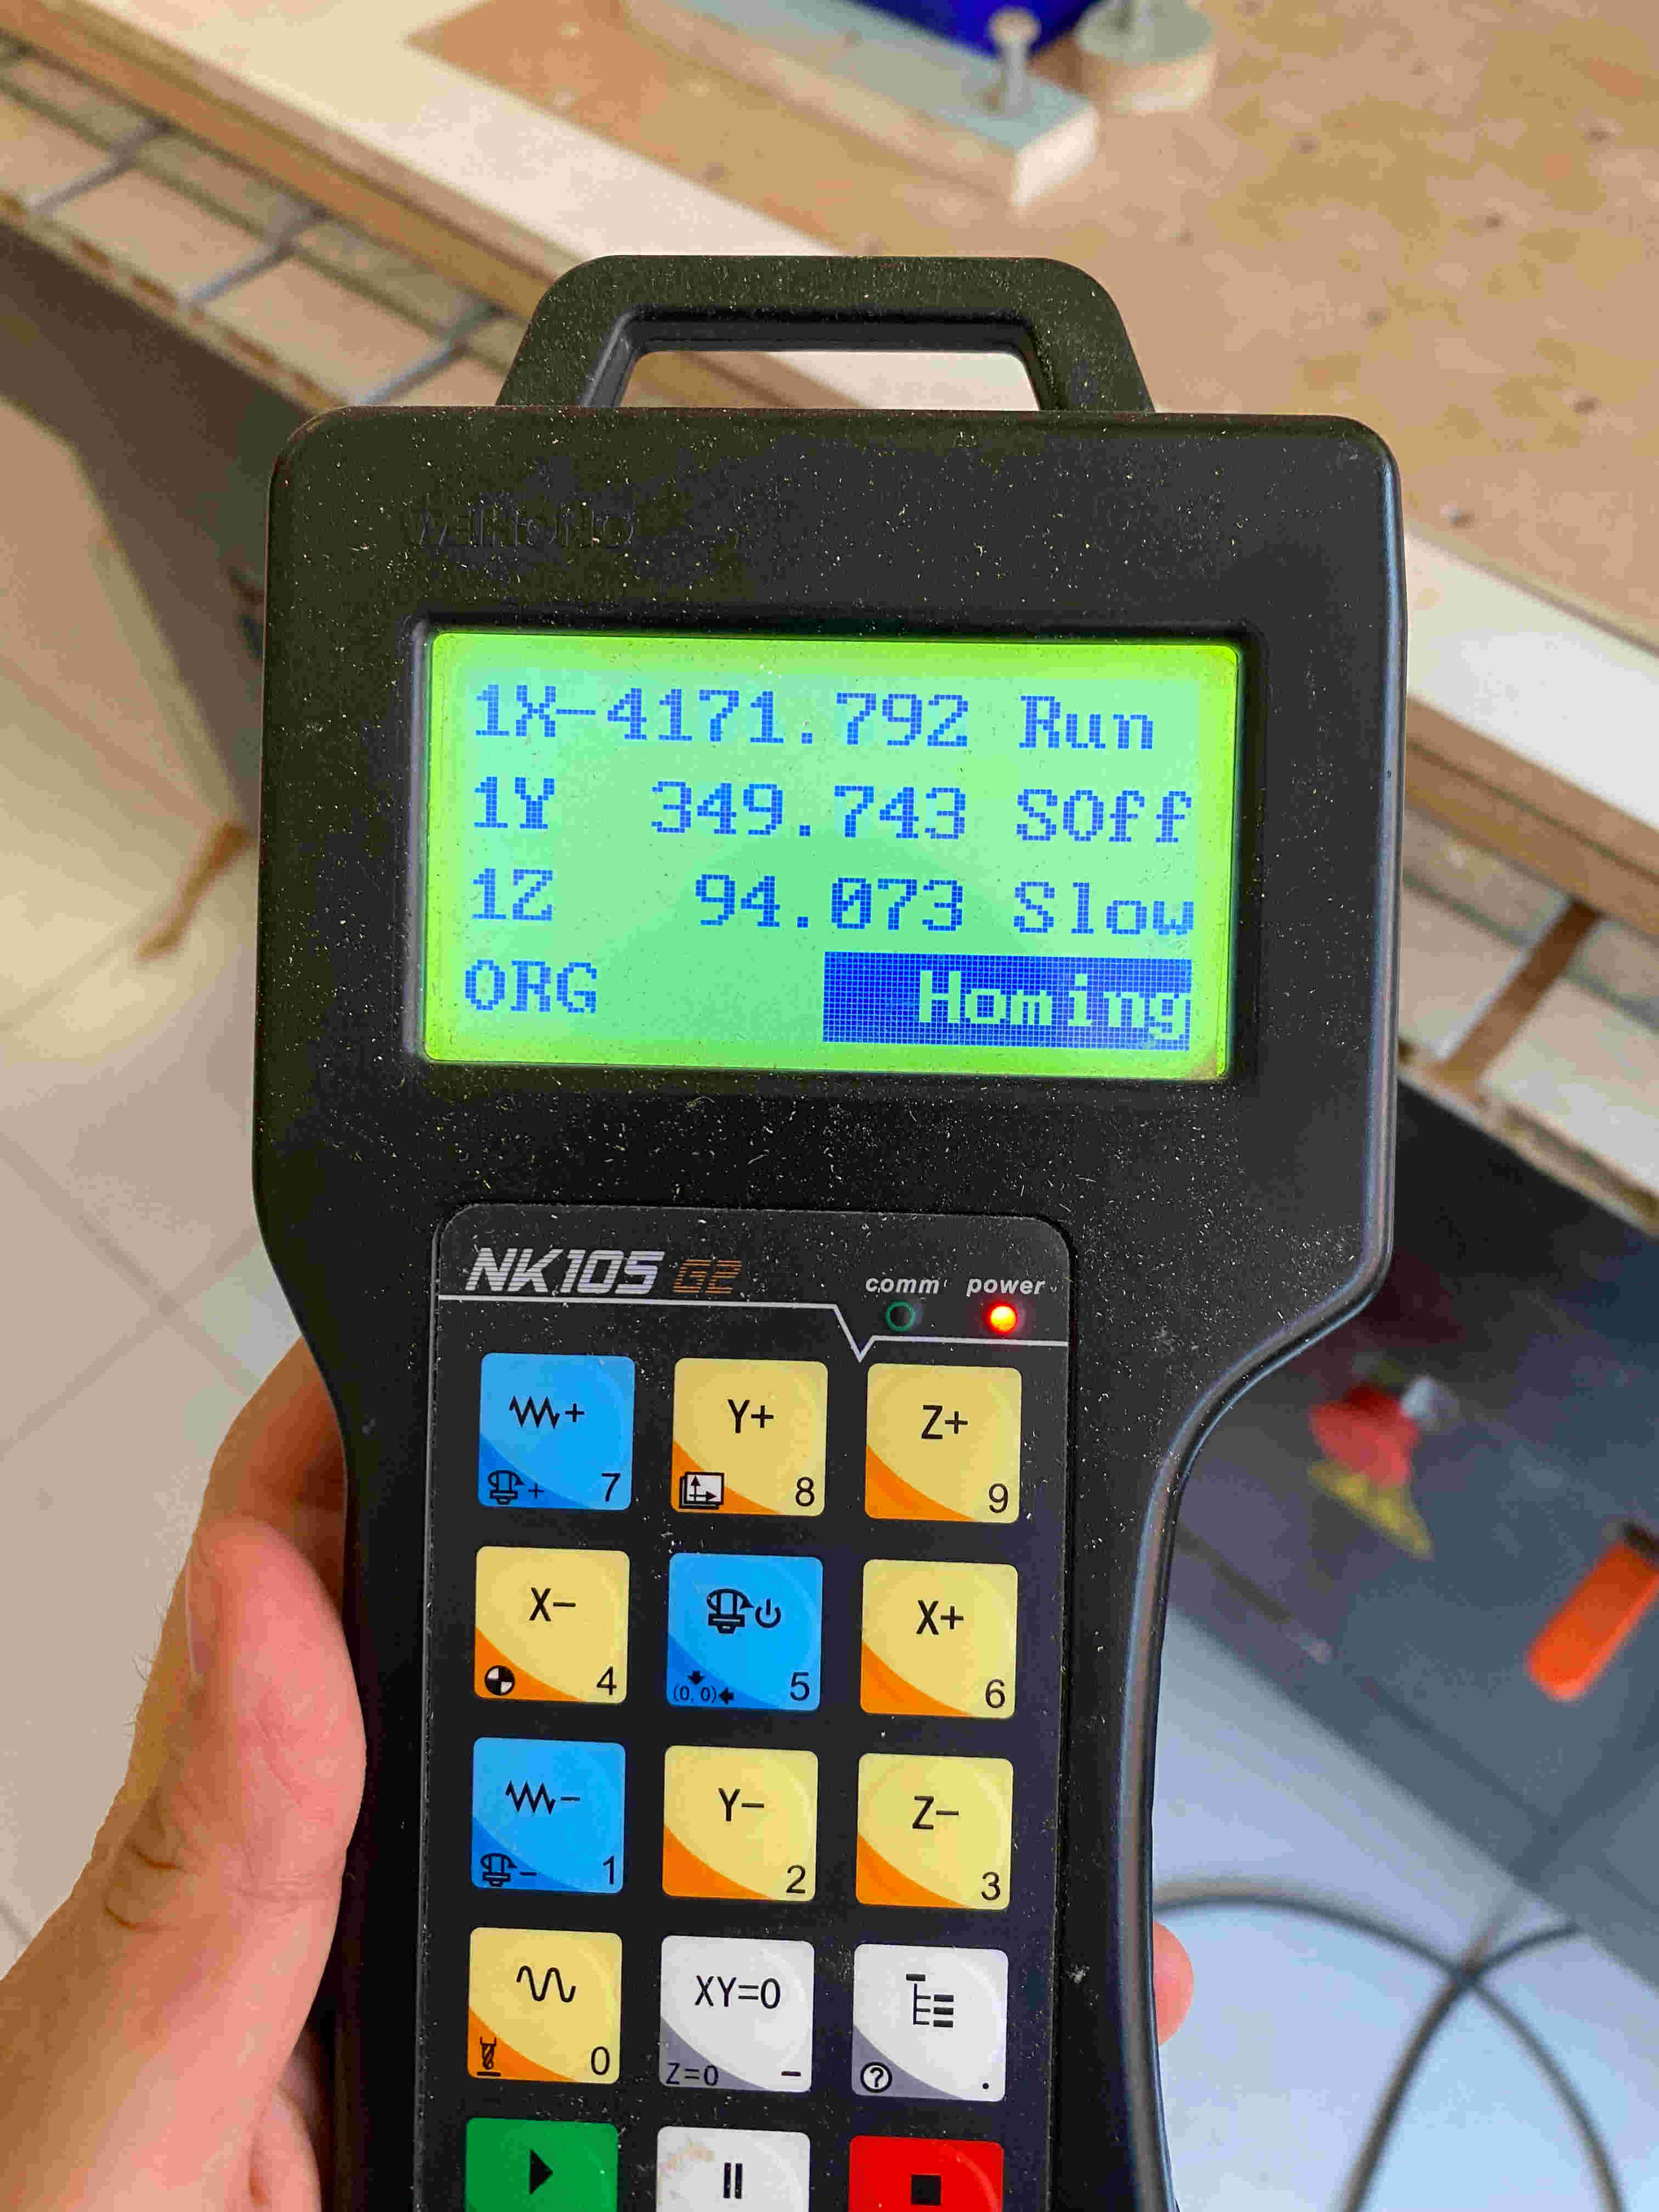
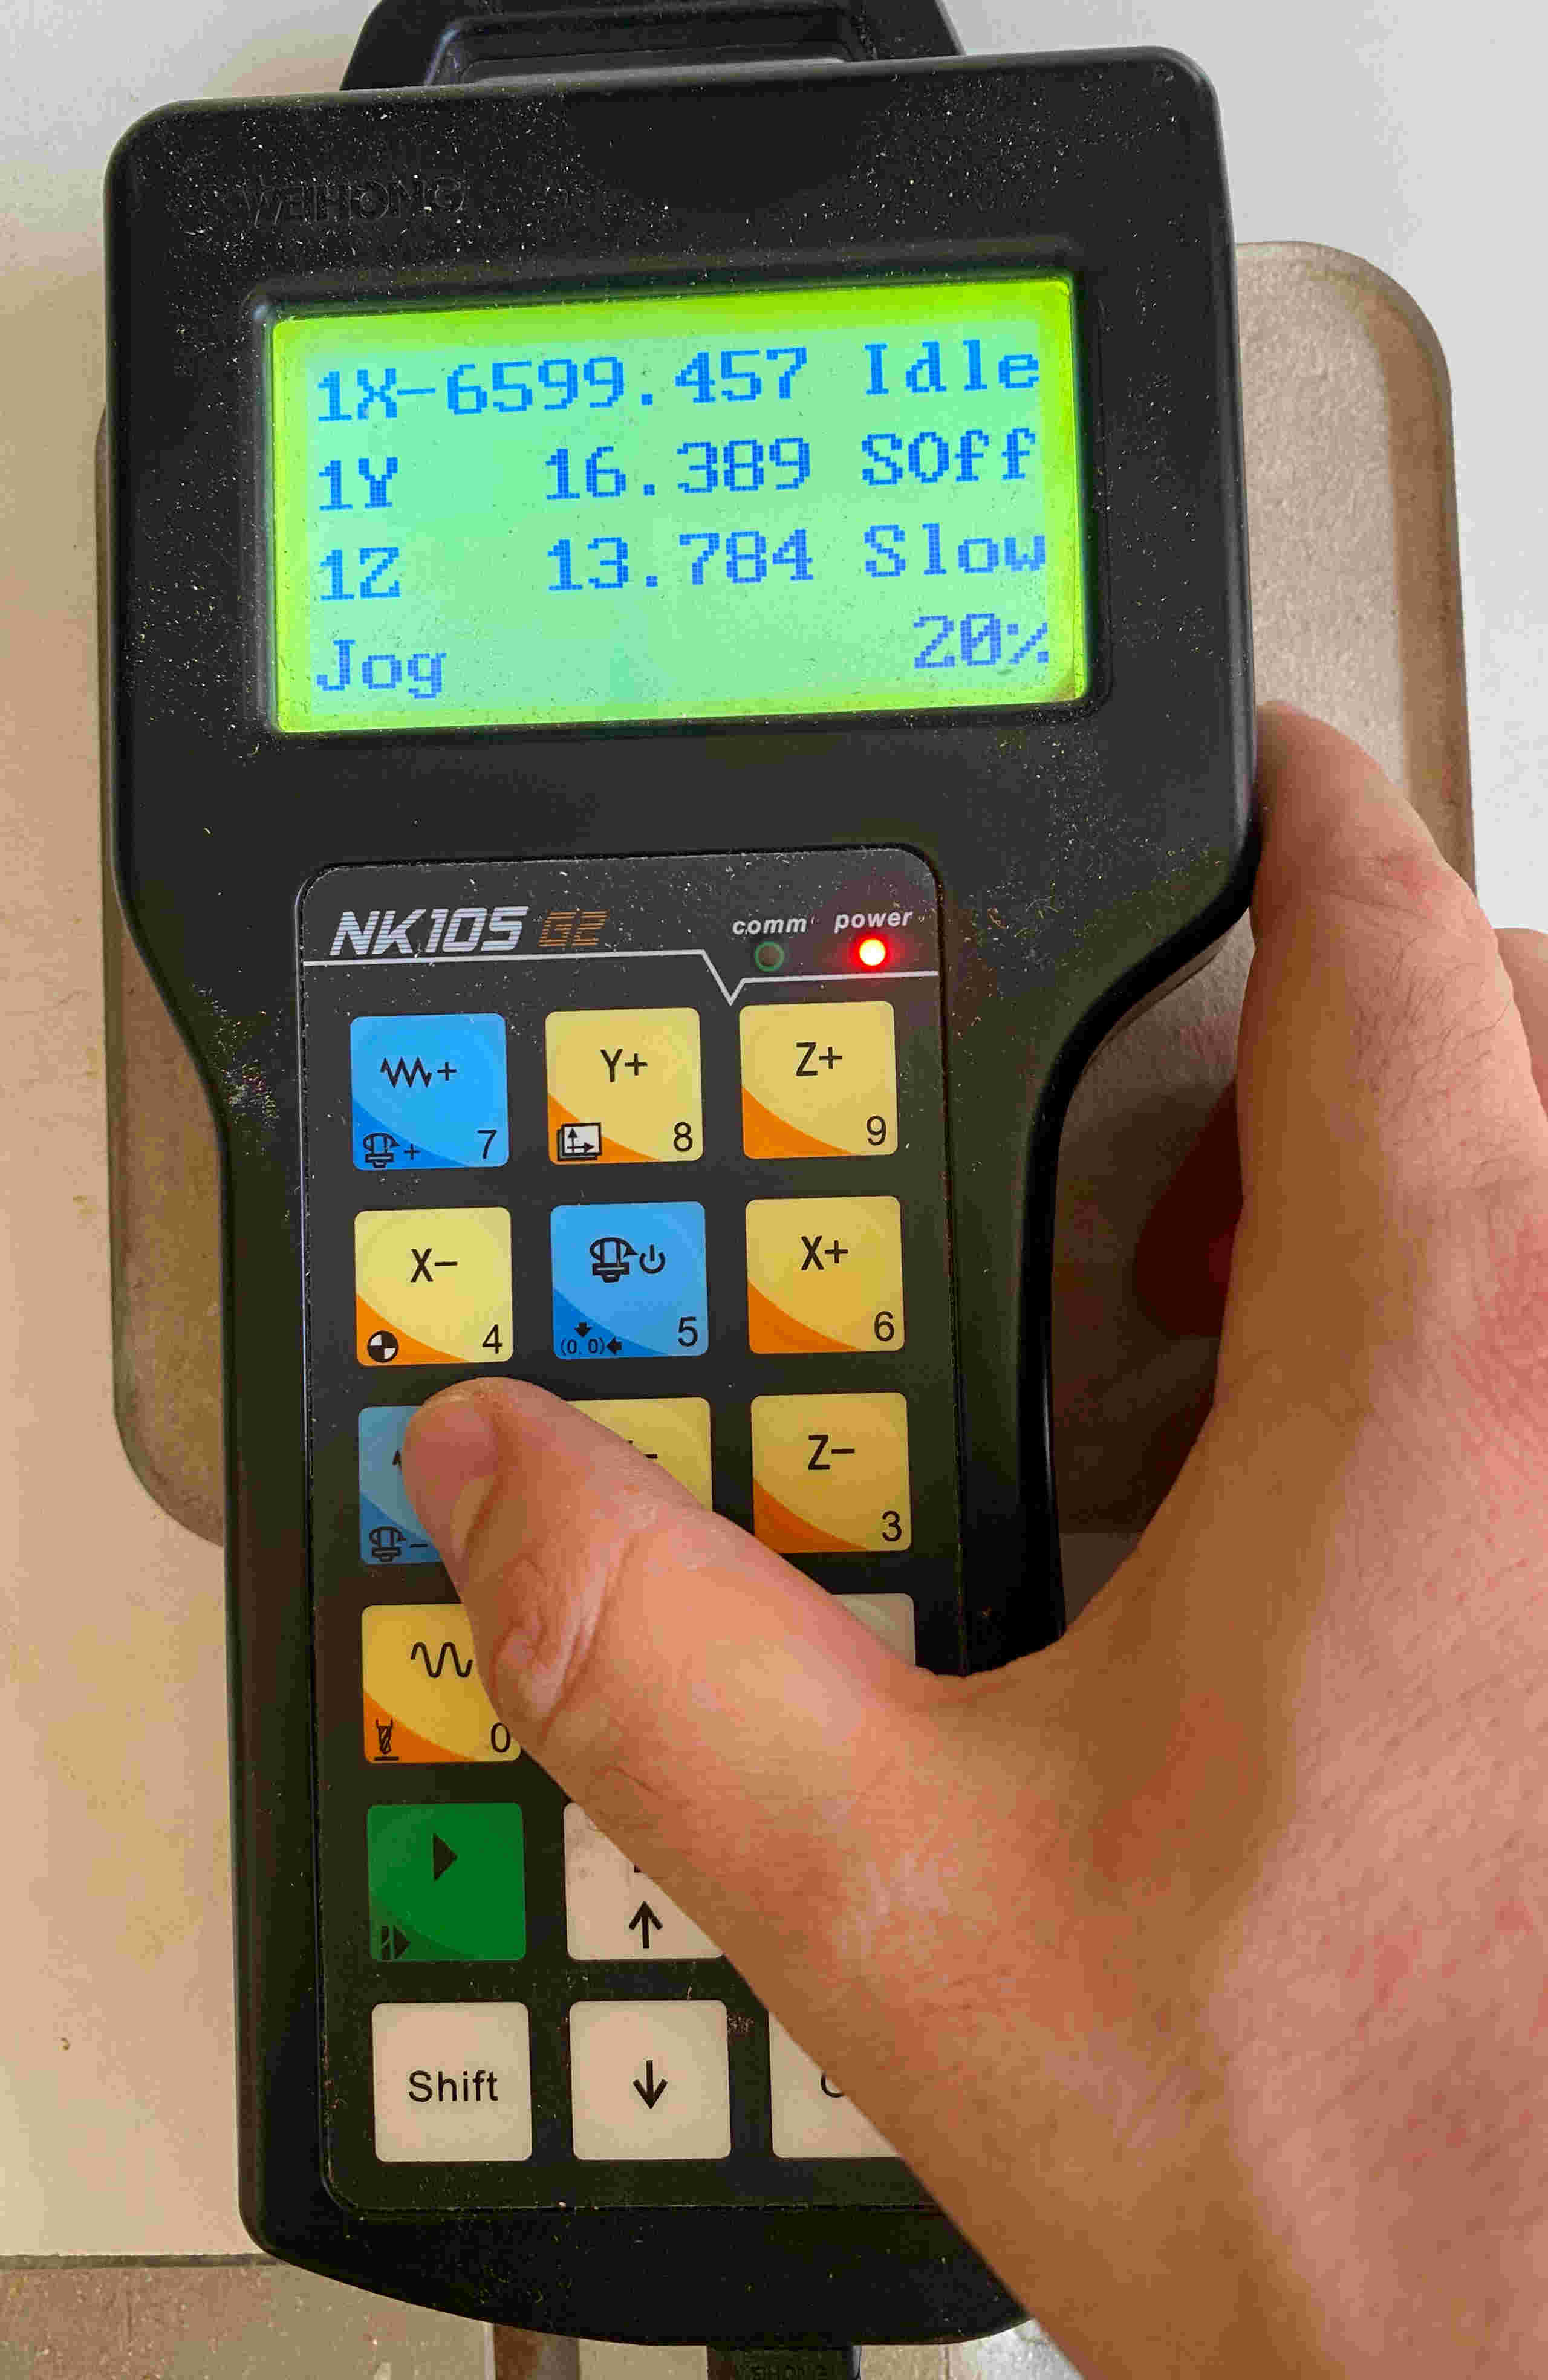
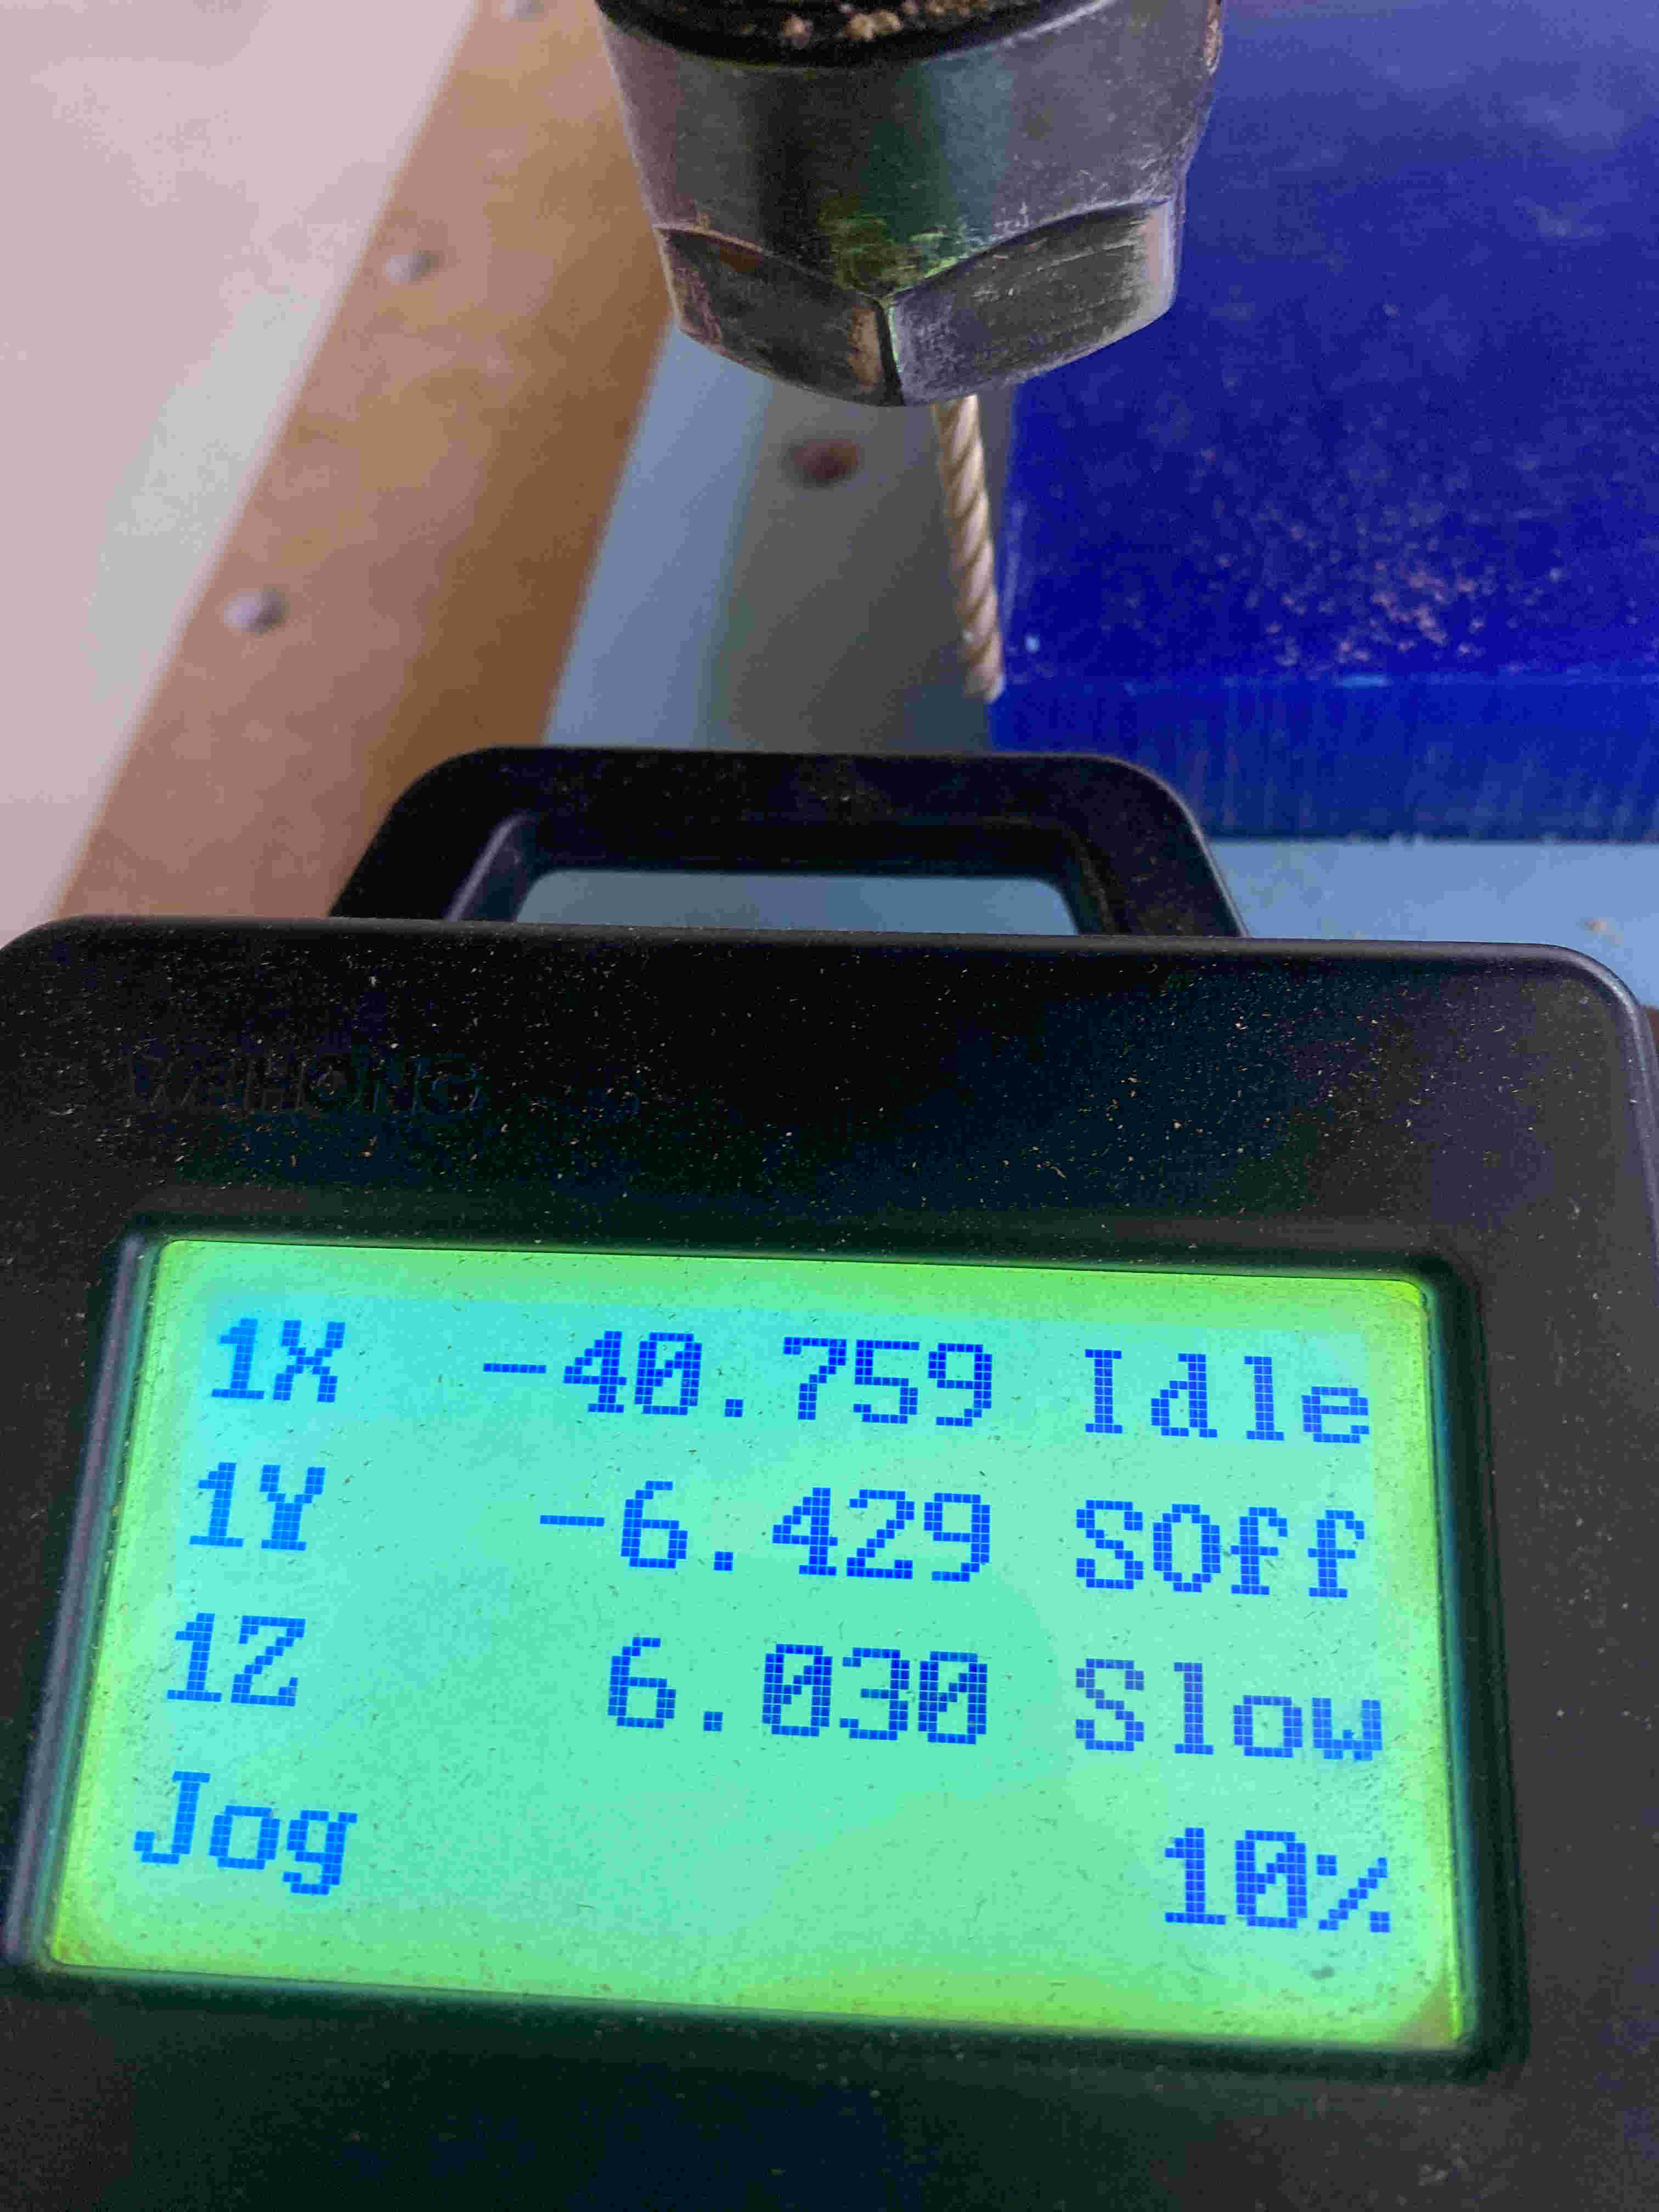
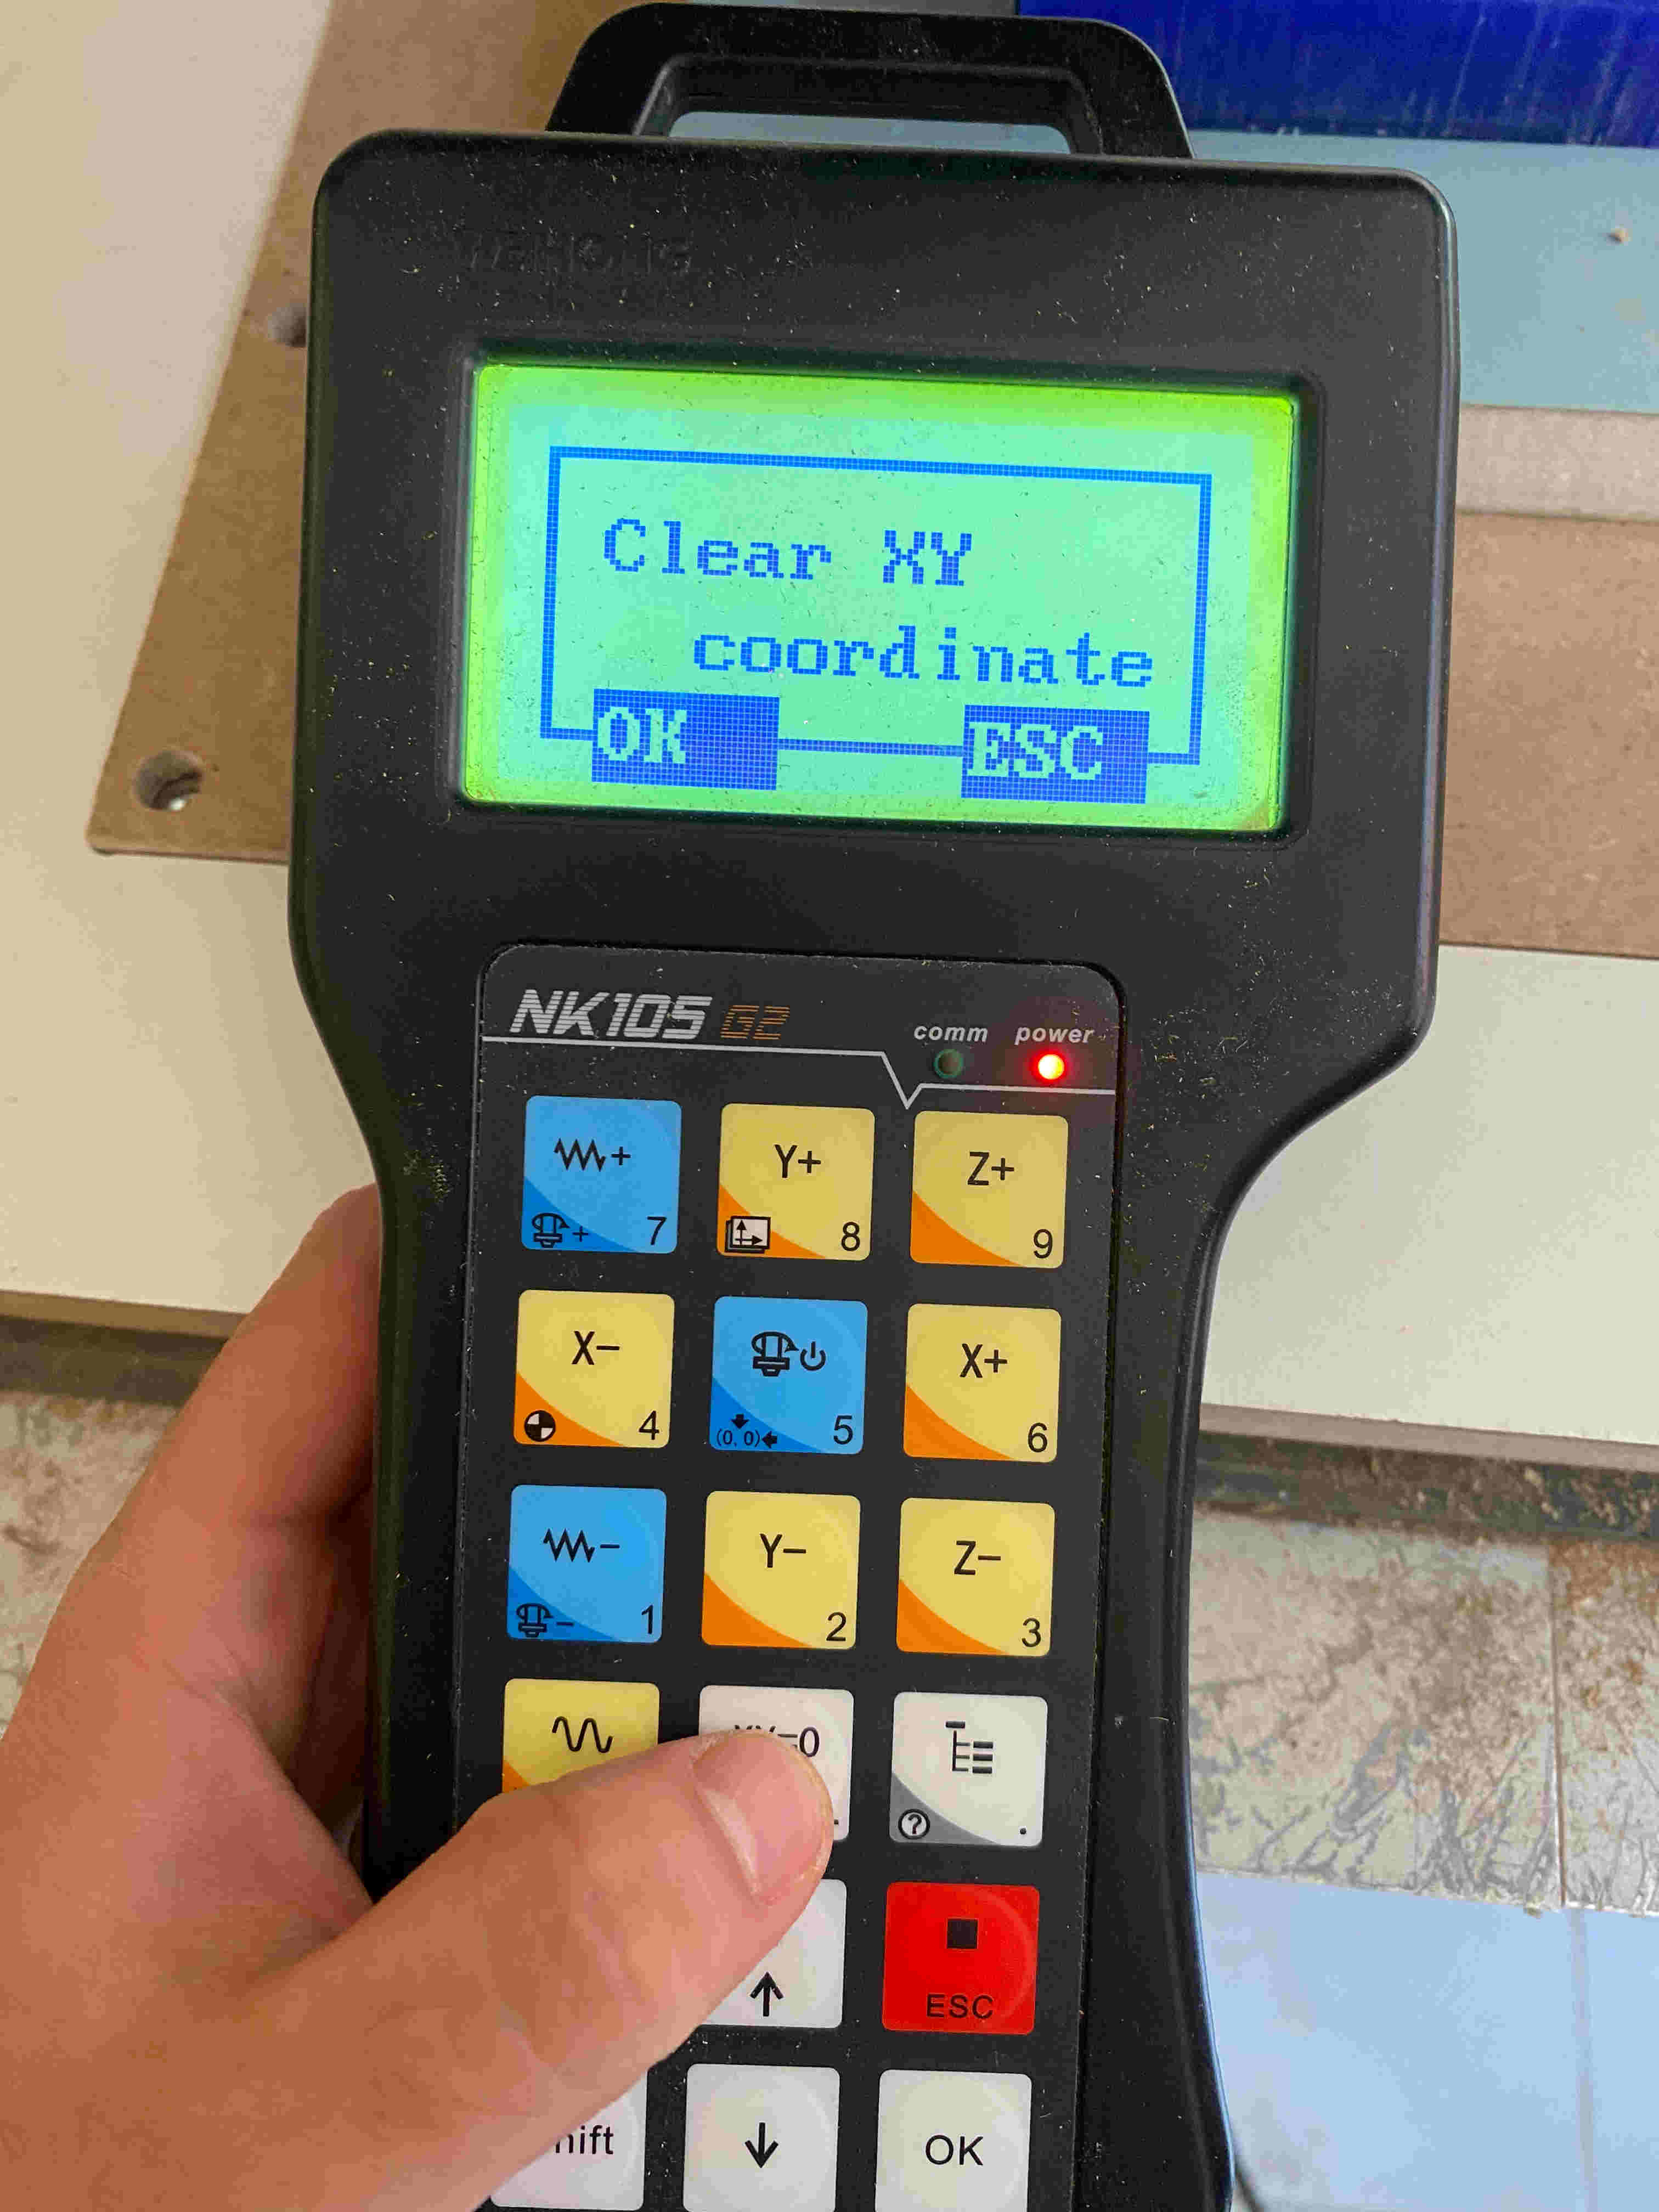
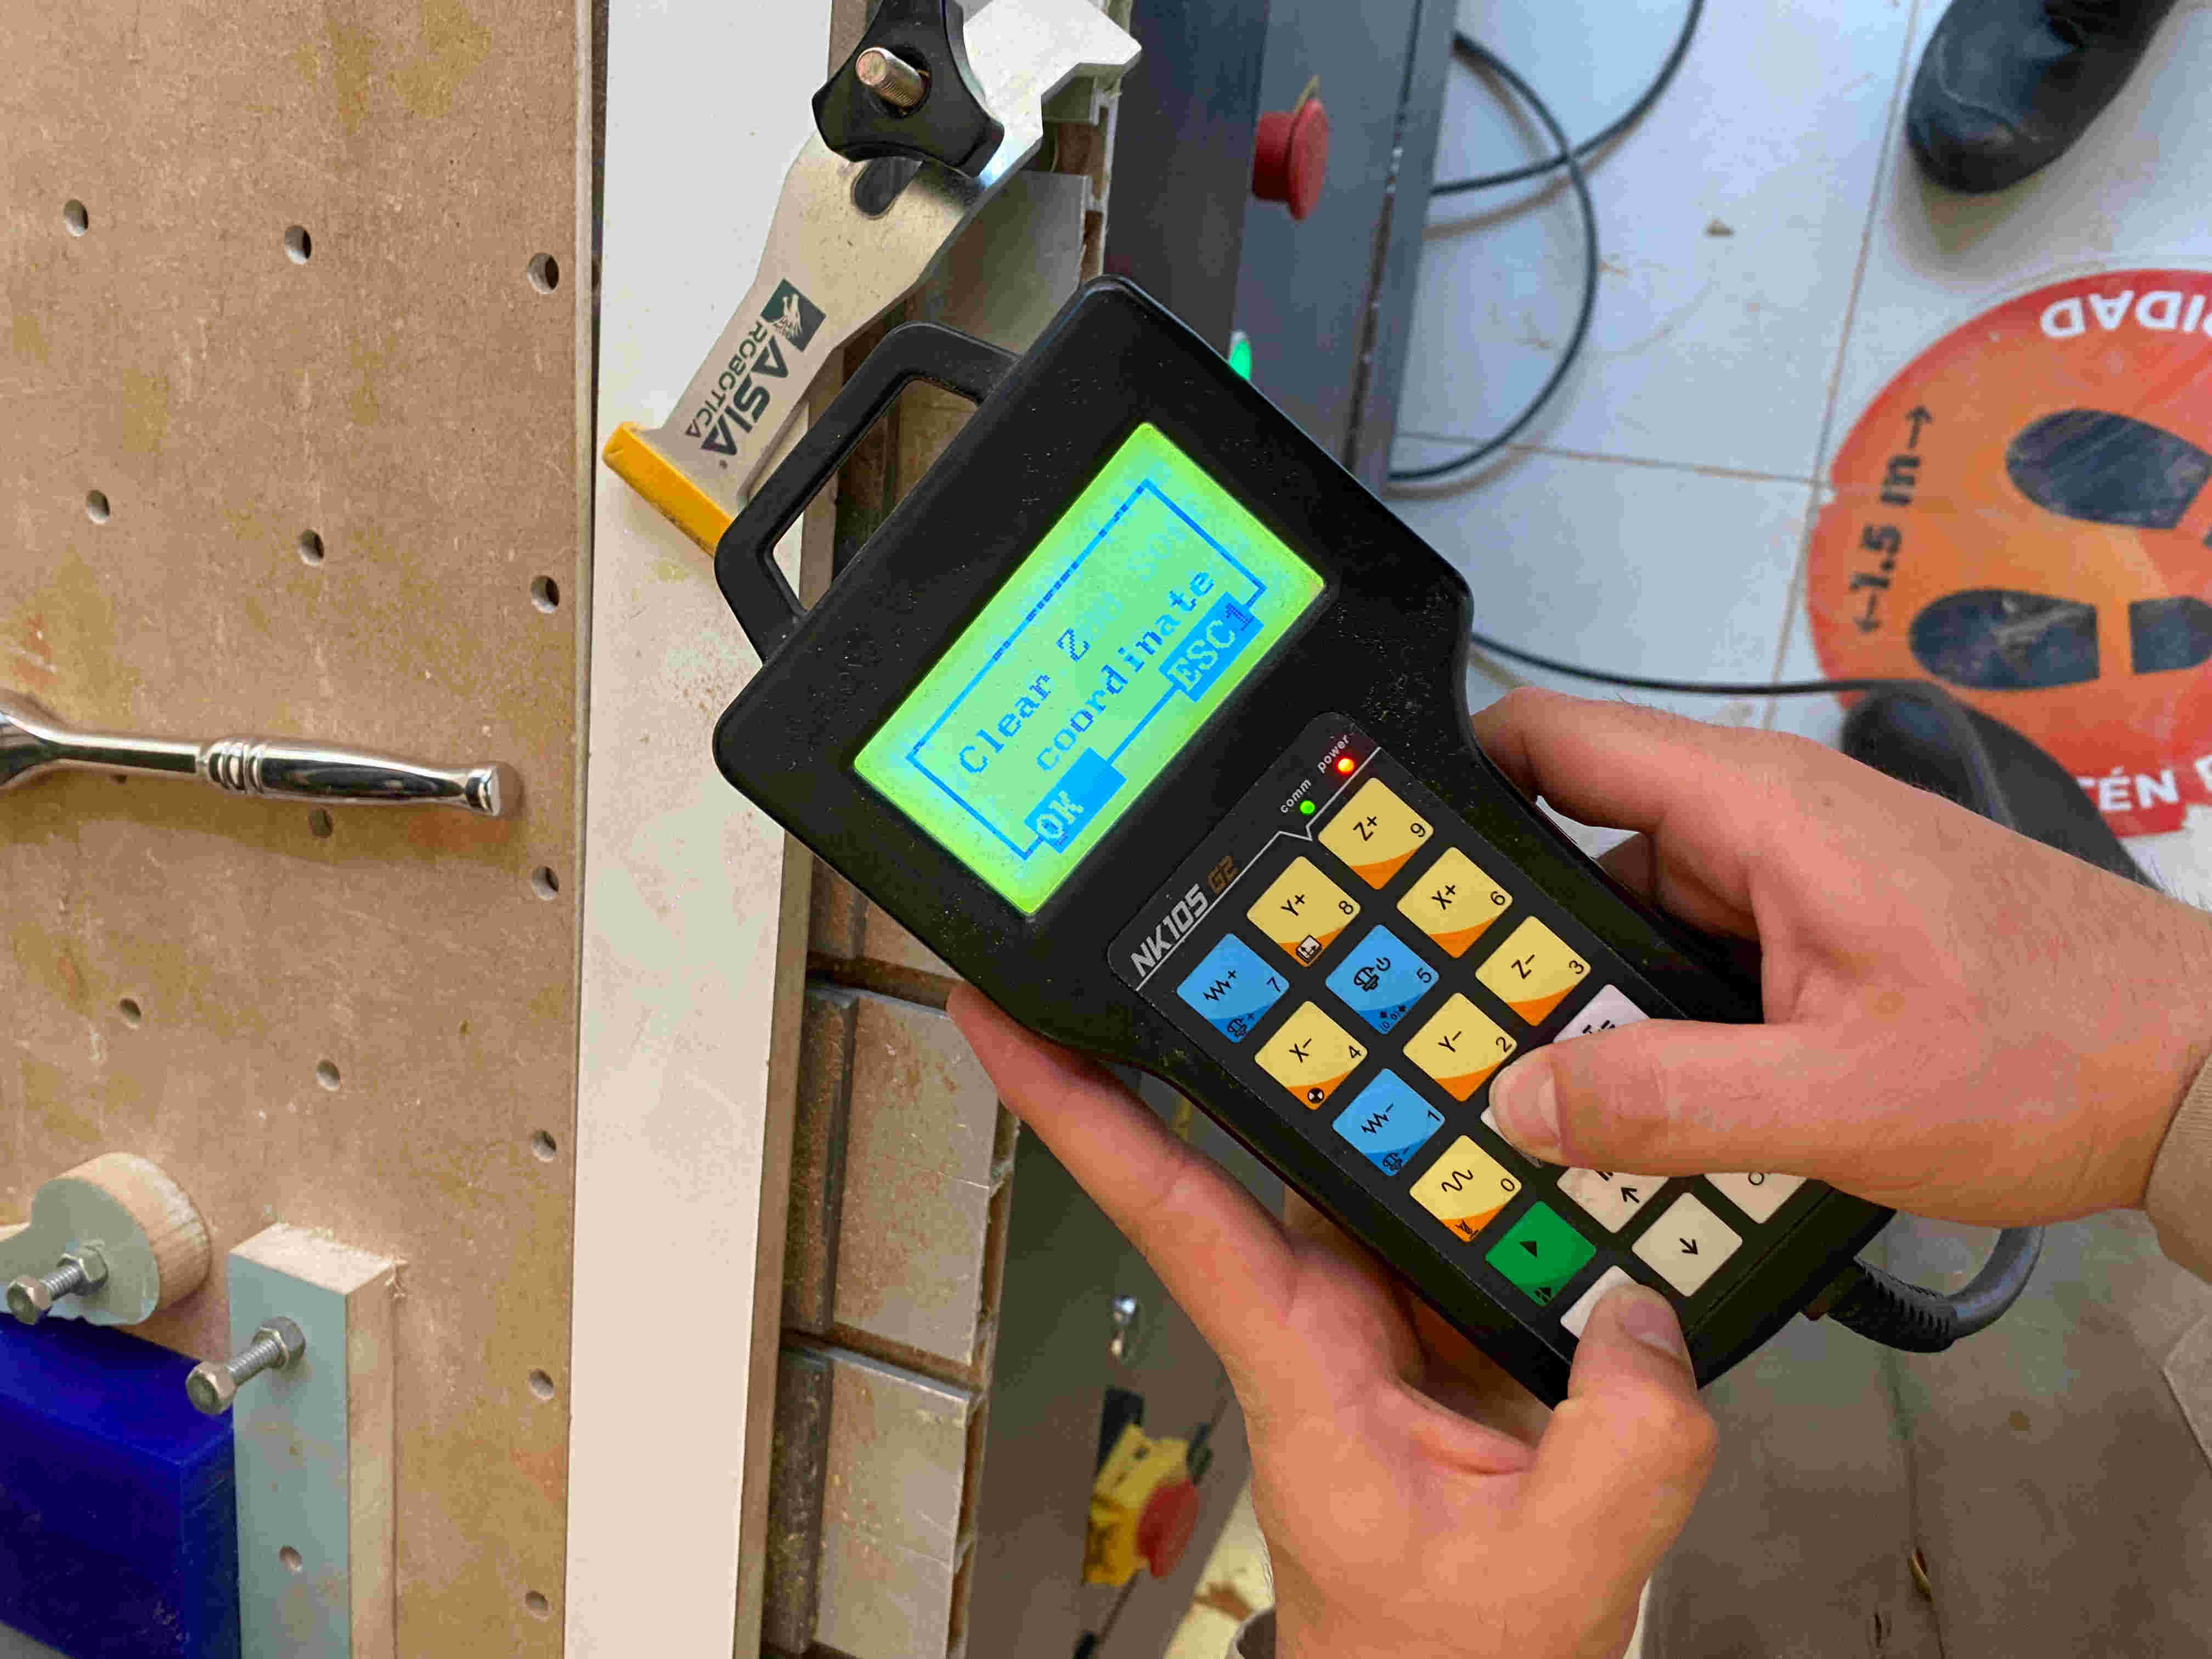
With The blue buttons(-, +) can raise and lower the speed of the router in X,Y and Z. With the yellow buttons {X(-, +), Y(-, +) and Z(- , +)} the steering axles can be moved. When you finish positioning where you want to start cutting, you will click on the option to save the XY coordinates and also the Z coordinate with the button that appears (OK)
After saving the coordinates i will go to the menu and click on USB Files>ISAAC, to be able to select the folder where my .nc file is located>When i go to my files folder i will click on button 1 to start cutting the router.
Having already cut my block of wax and turned it into a mold, thanks to the test i performed on liquid A & B i will base myself on that test to be able to pour the solution into this new mold
