Not quite like a blacksmith but as close as you can get
Moulding & Casting
For this week's assignment we take on the task of moulding and casting, basically we are making a shape and then crafting it out into a mould so it can be filled with a material like silicone and be used in order to create the shape in a repeated manner.
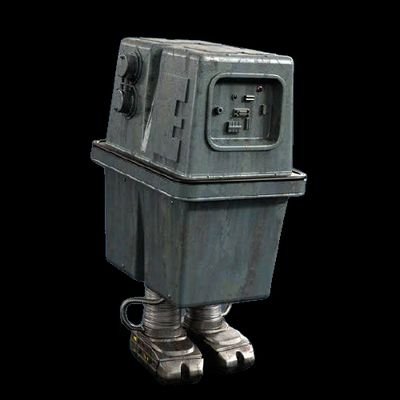
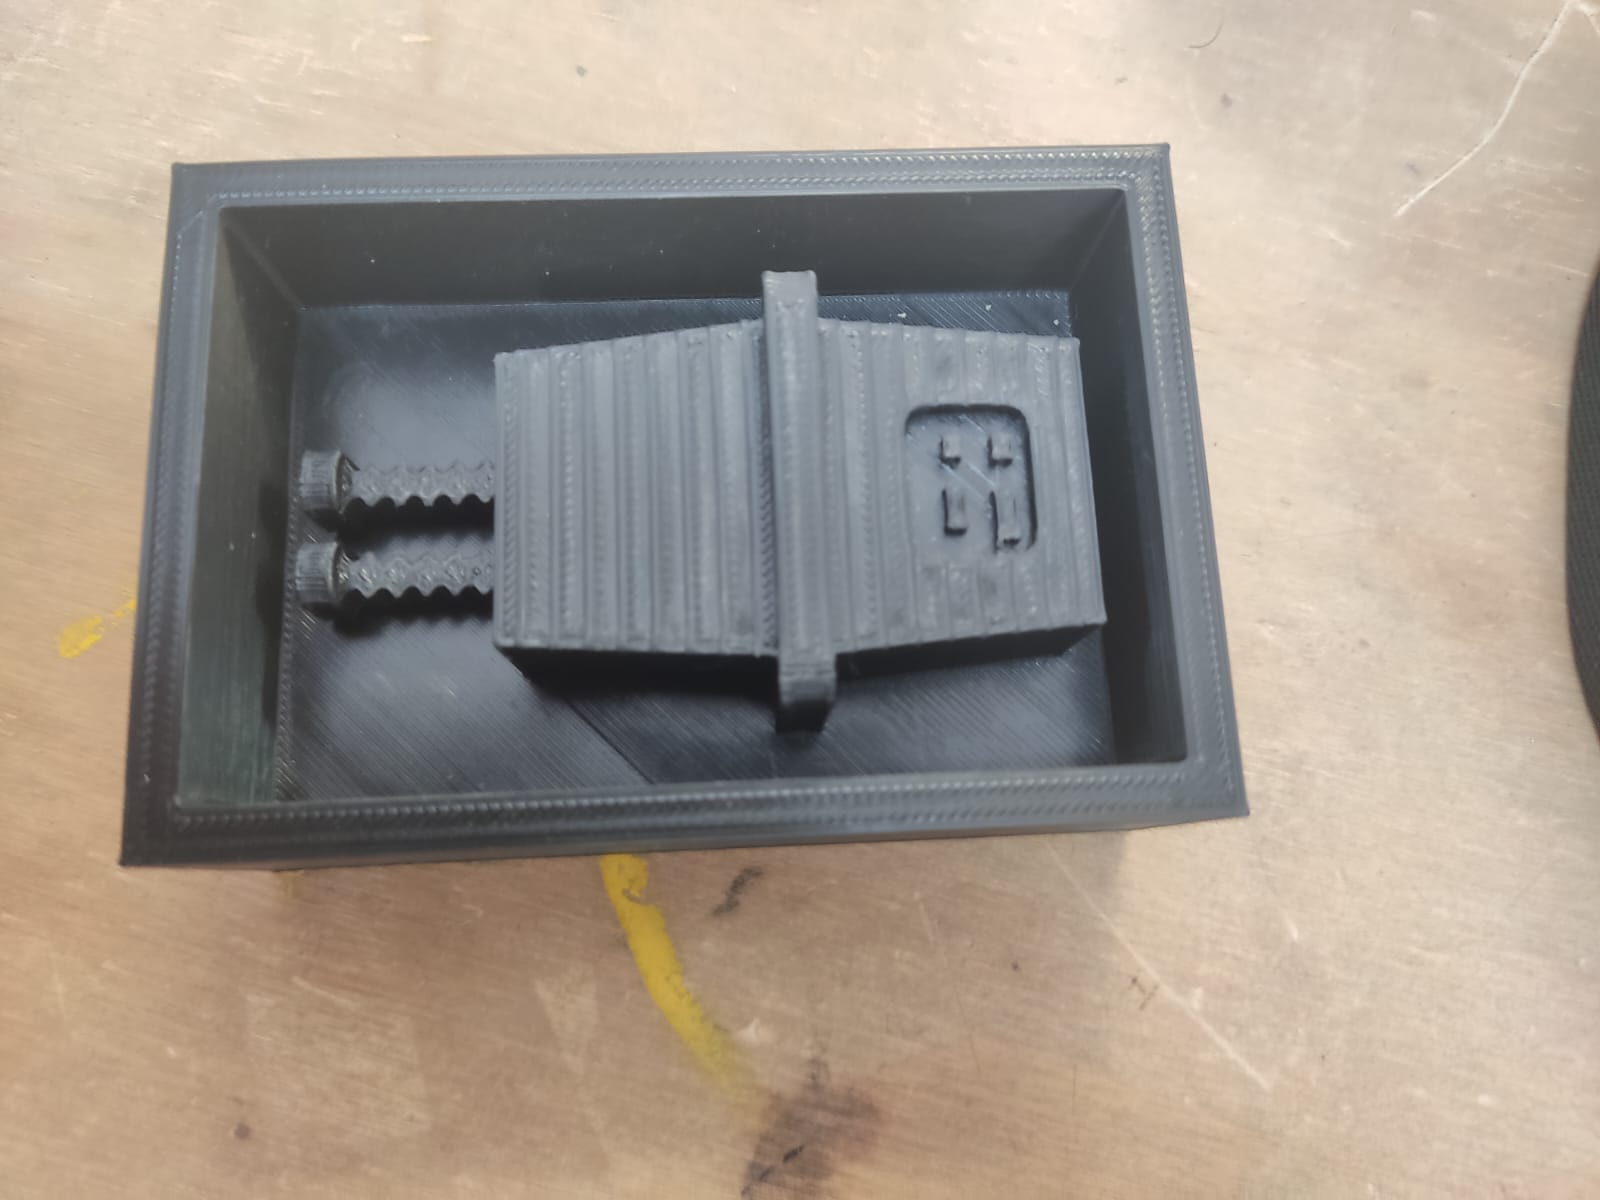
The first thing that is needed to create the mould is an idea, I went with the idea of recreating the famous Gonk droid from the Star Wars franchise.
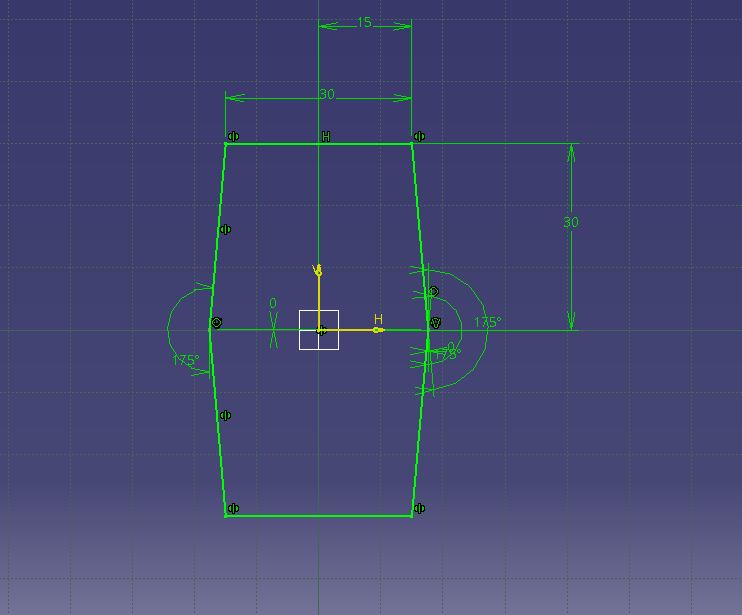
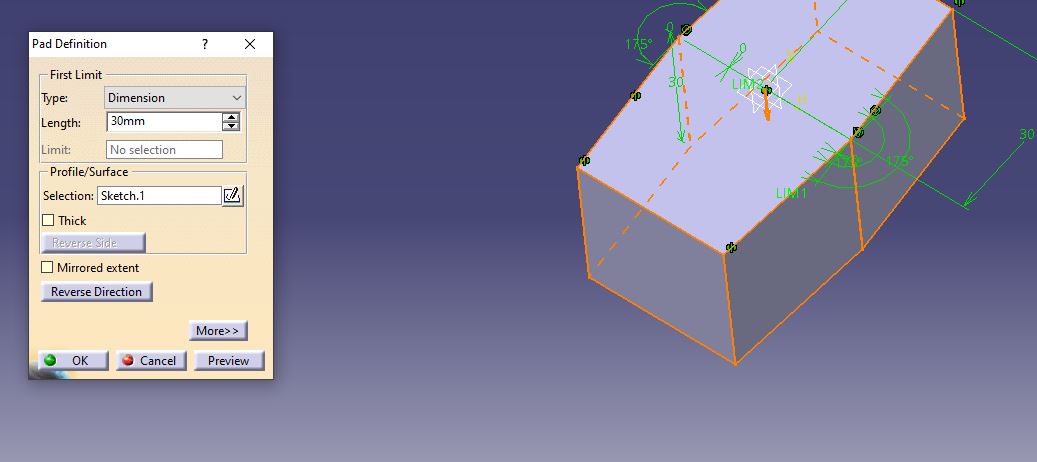
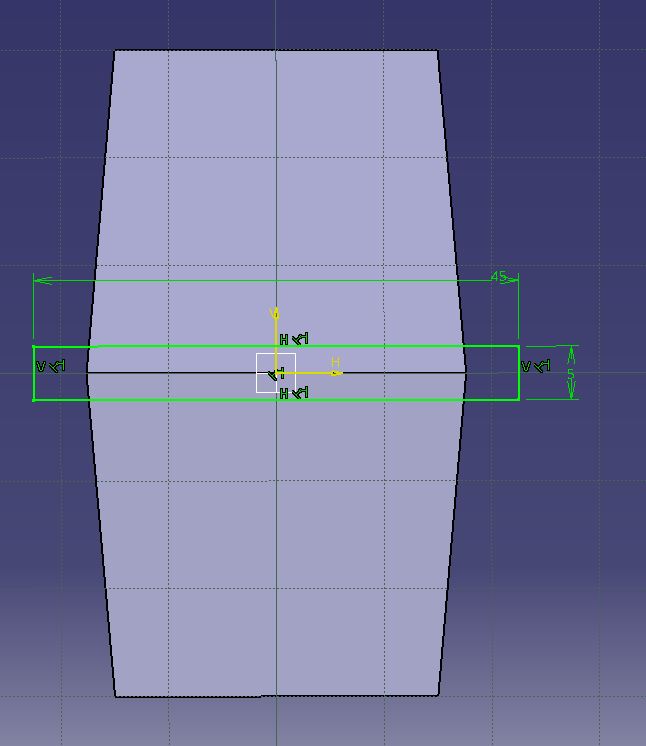
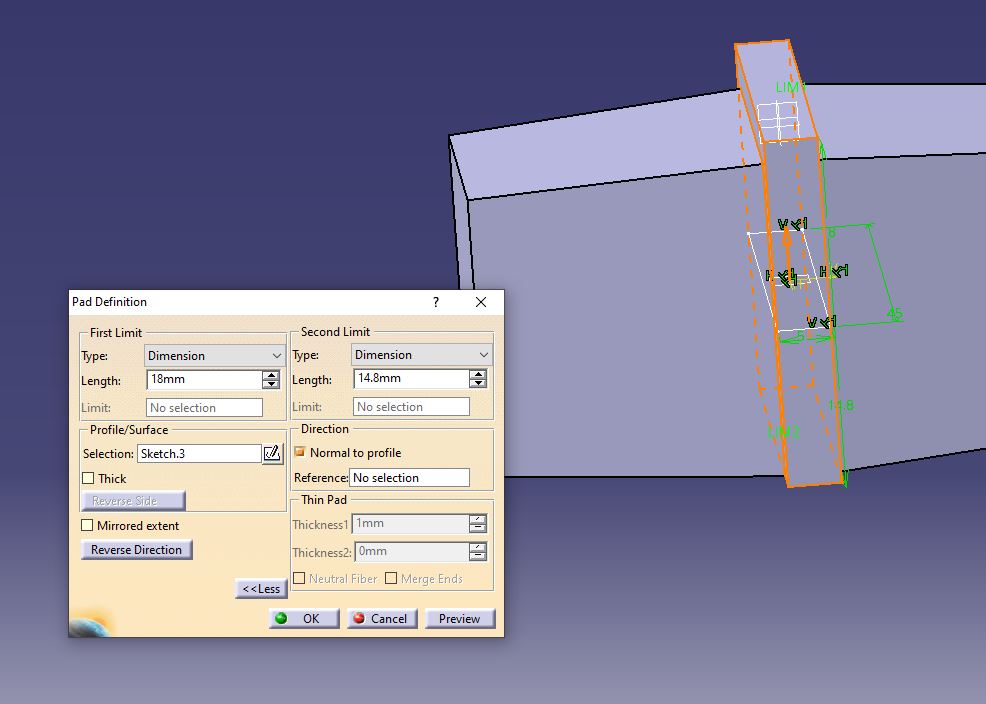
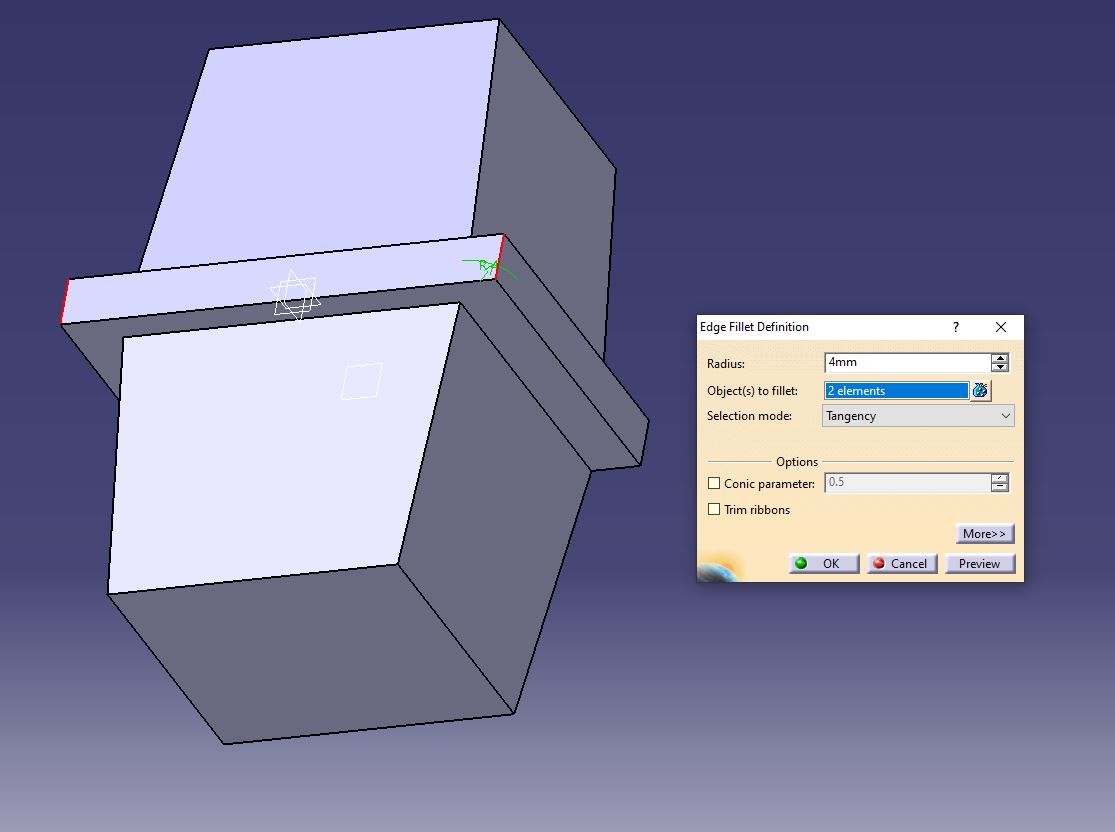
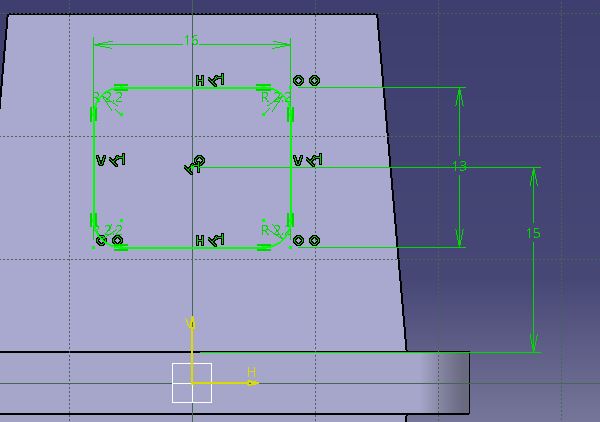
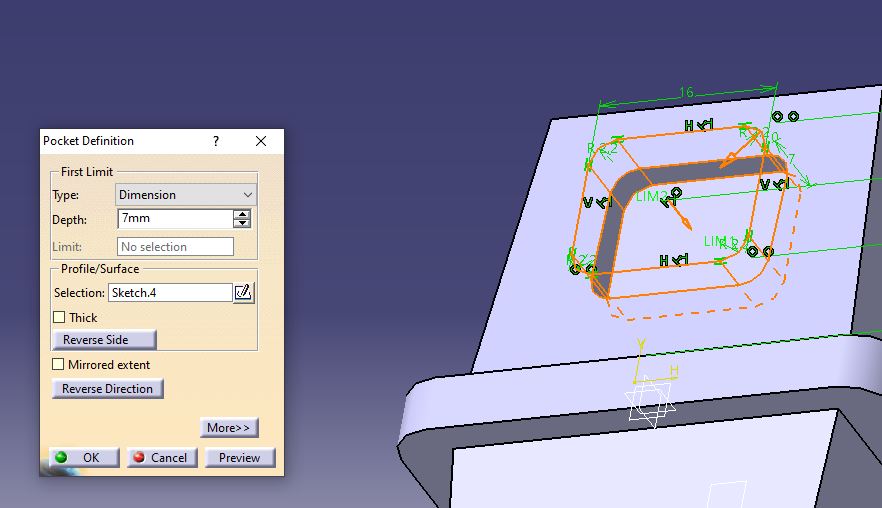
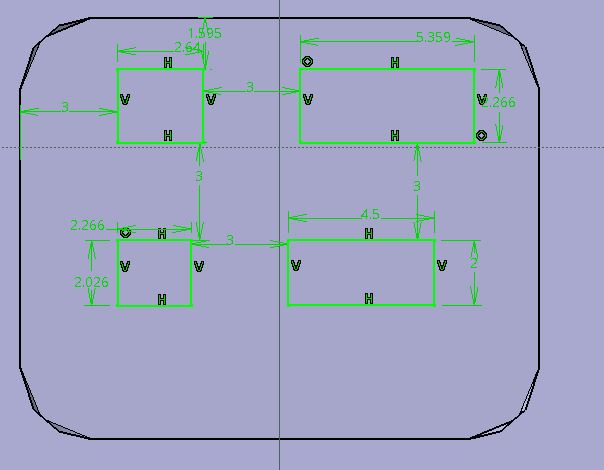
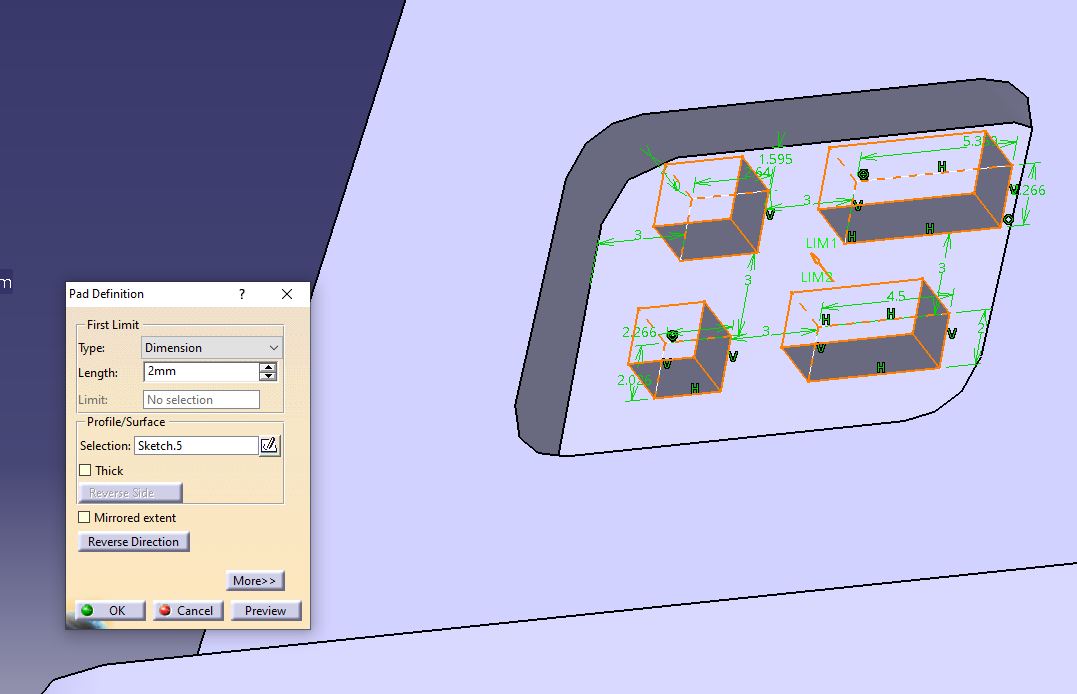
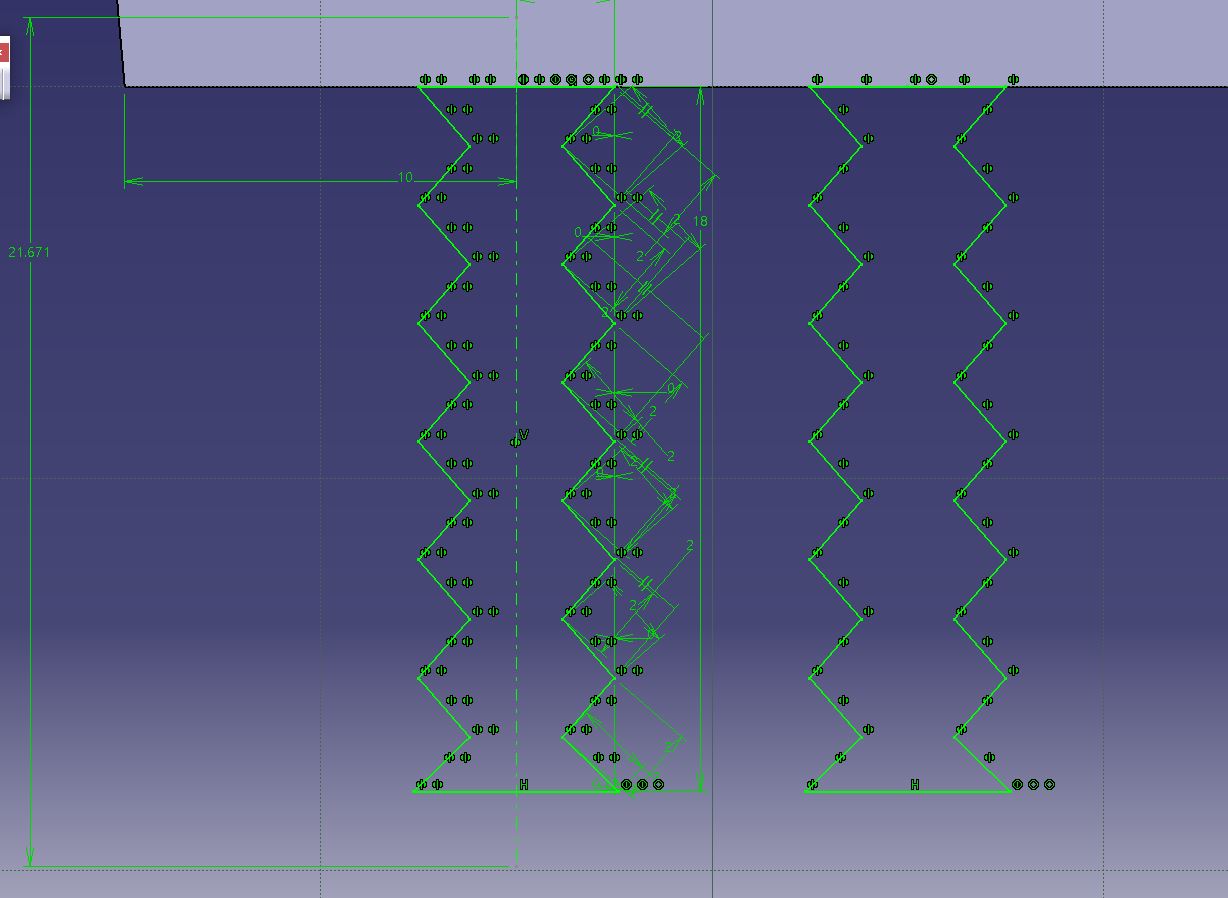
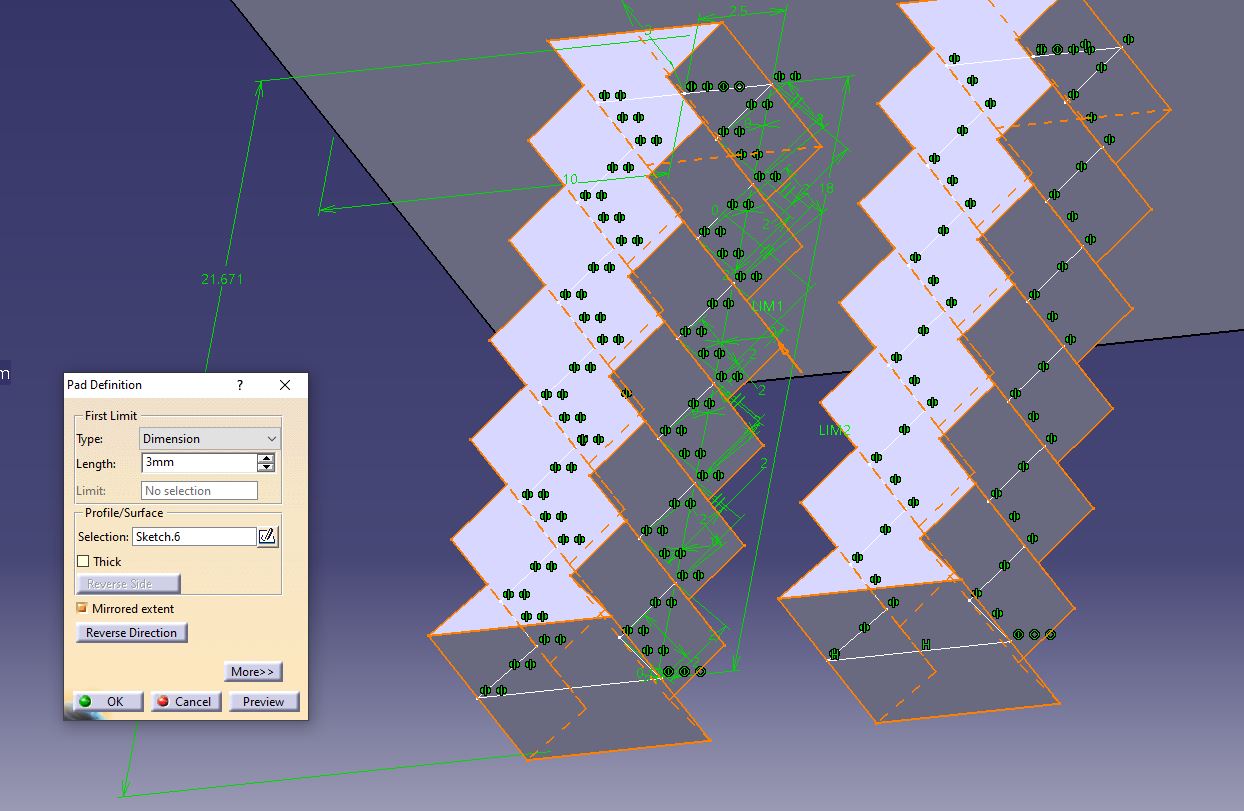
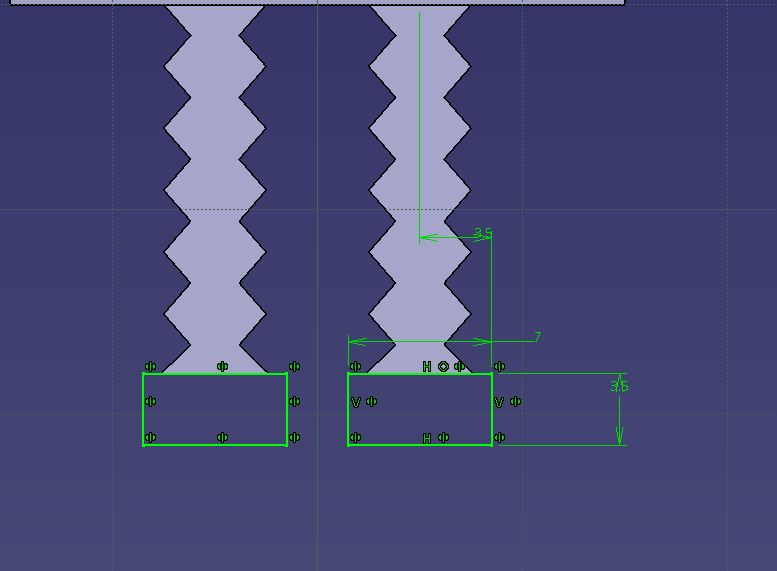
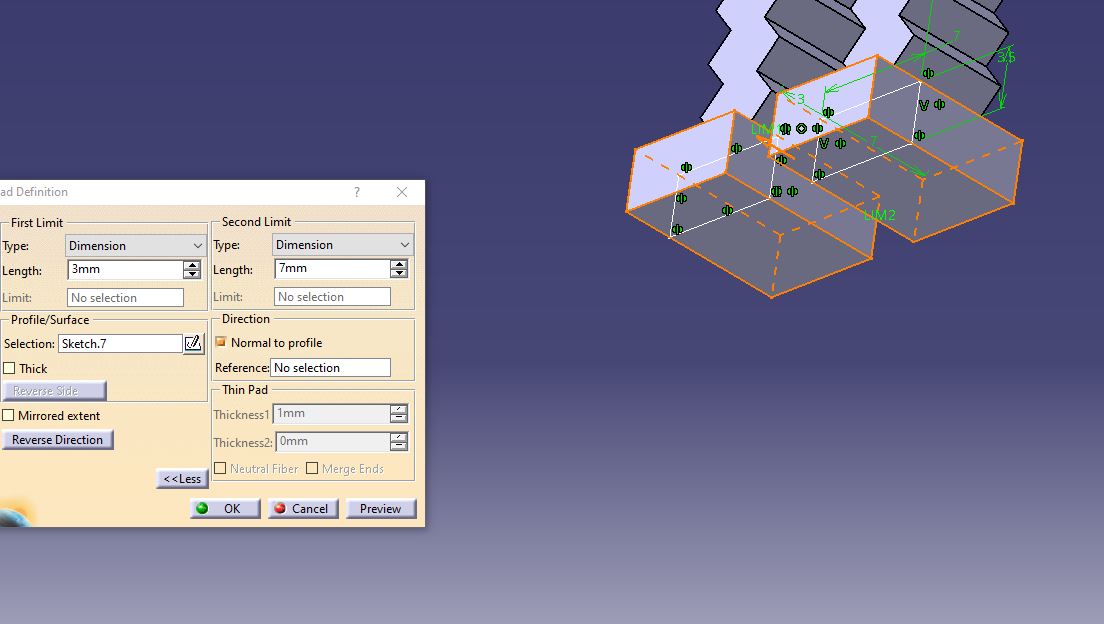
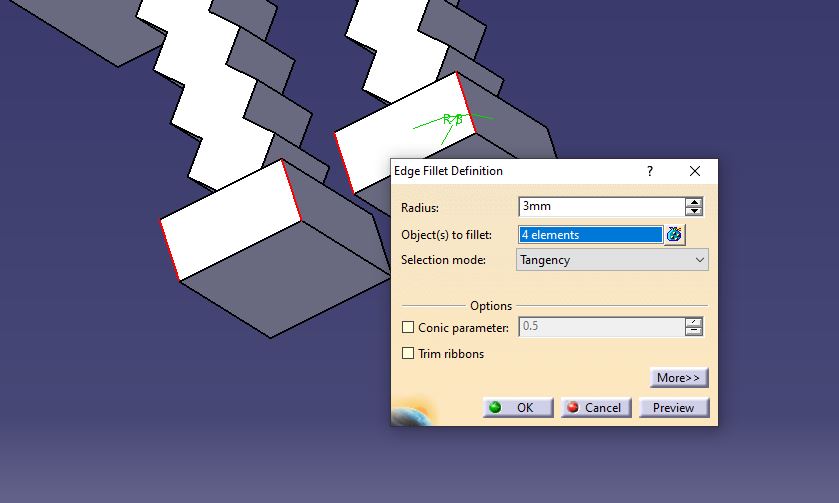
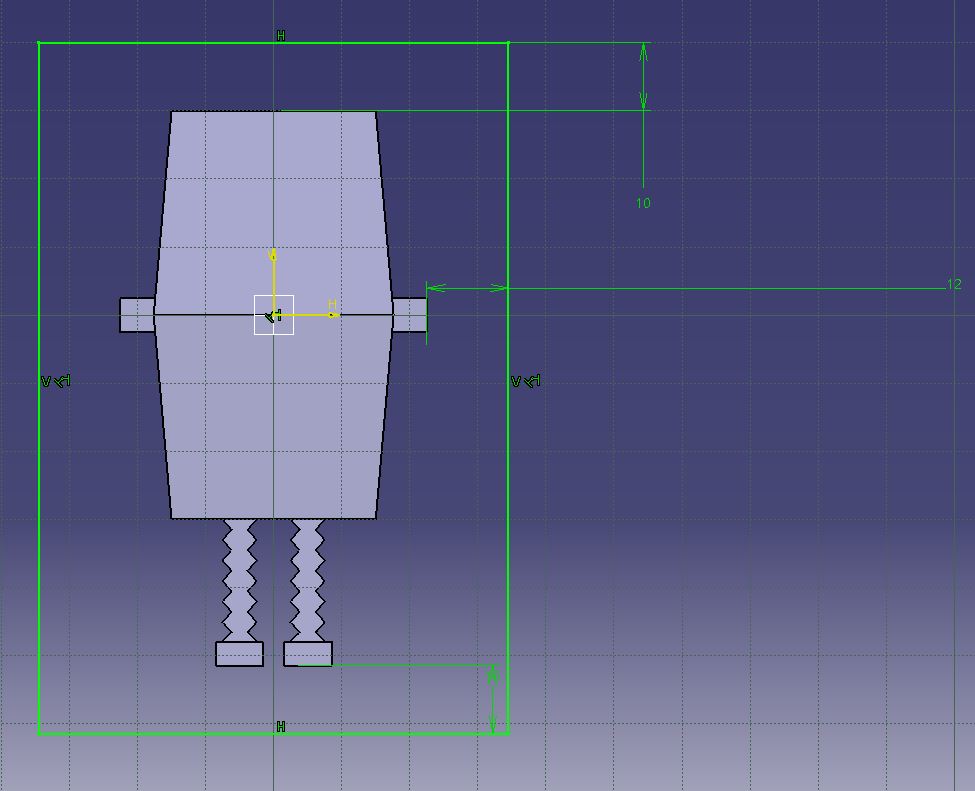
After getting the idea, I loaded up the 3D design software and began making schematics in order to end up with the mold required for when I get to the manufacturing part.
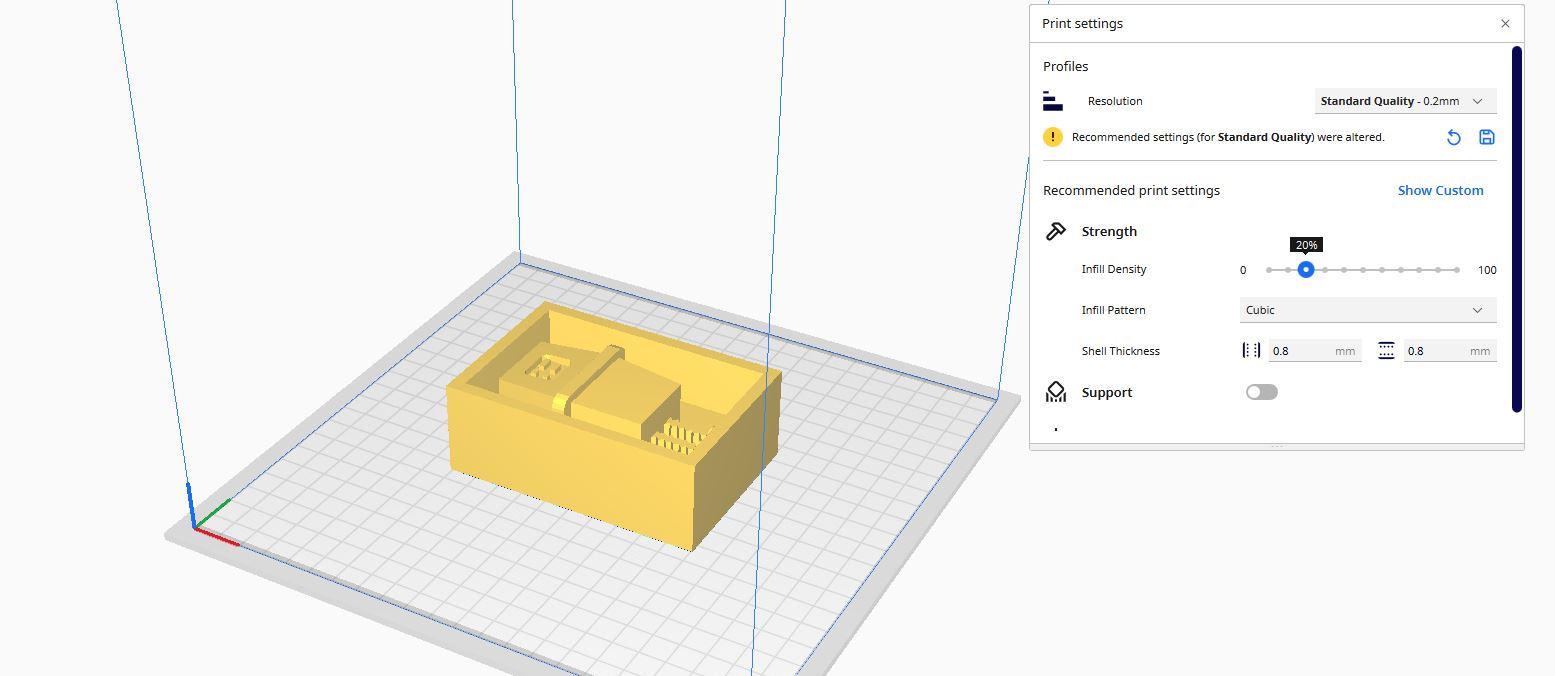
Once we get the correct .STL file pertaining our mould design we open up the Curia 3D software. In it we are going to select our file and we will be making sure that everything is placed correctly: A 20% infill density, with a normal print quality, and a solid structure in order to avoid any sort of discrepancies in the process of the printing. I chose to use 3D filament because that material is resistant enough against the heat generated by the silicone agent that it's going to be poured once the mould is done.
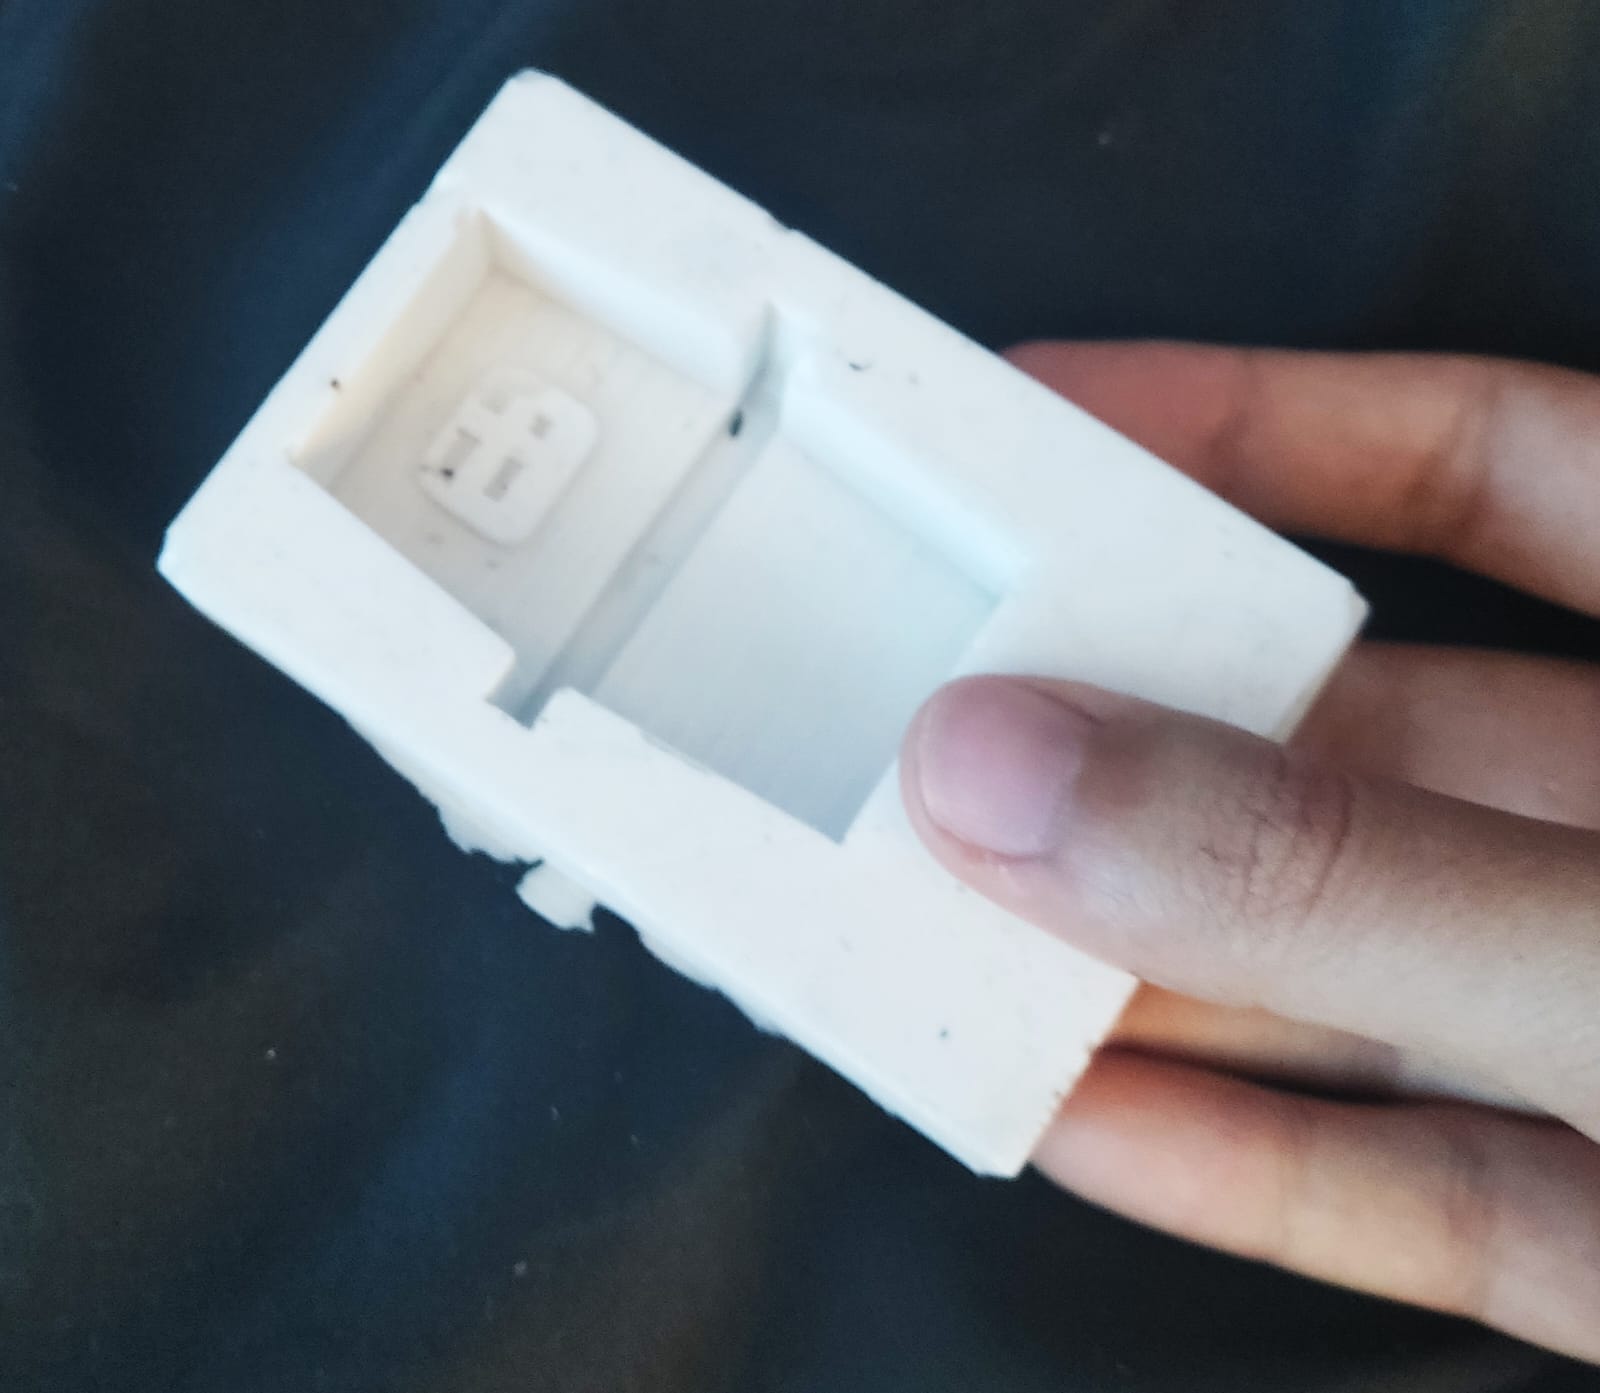
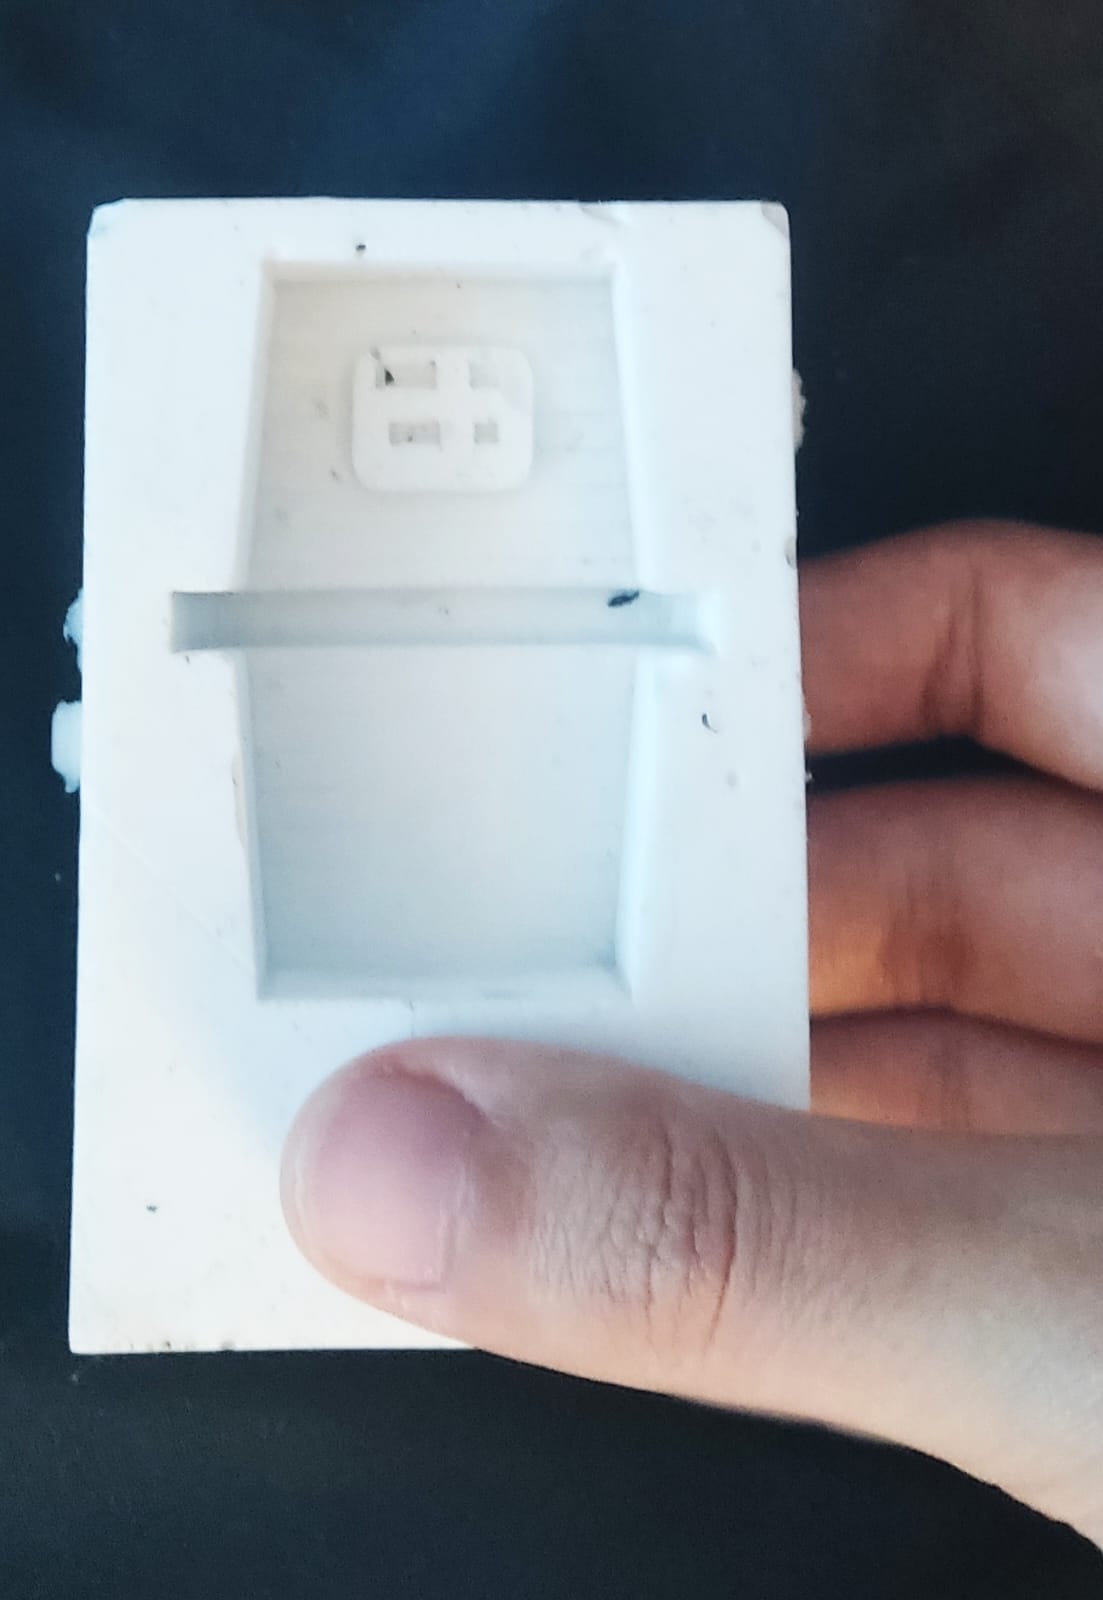
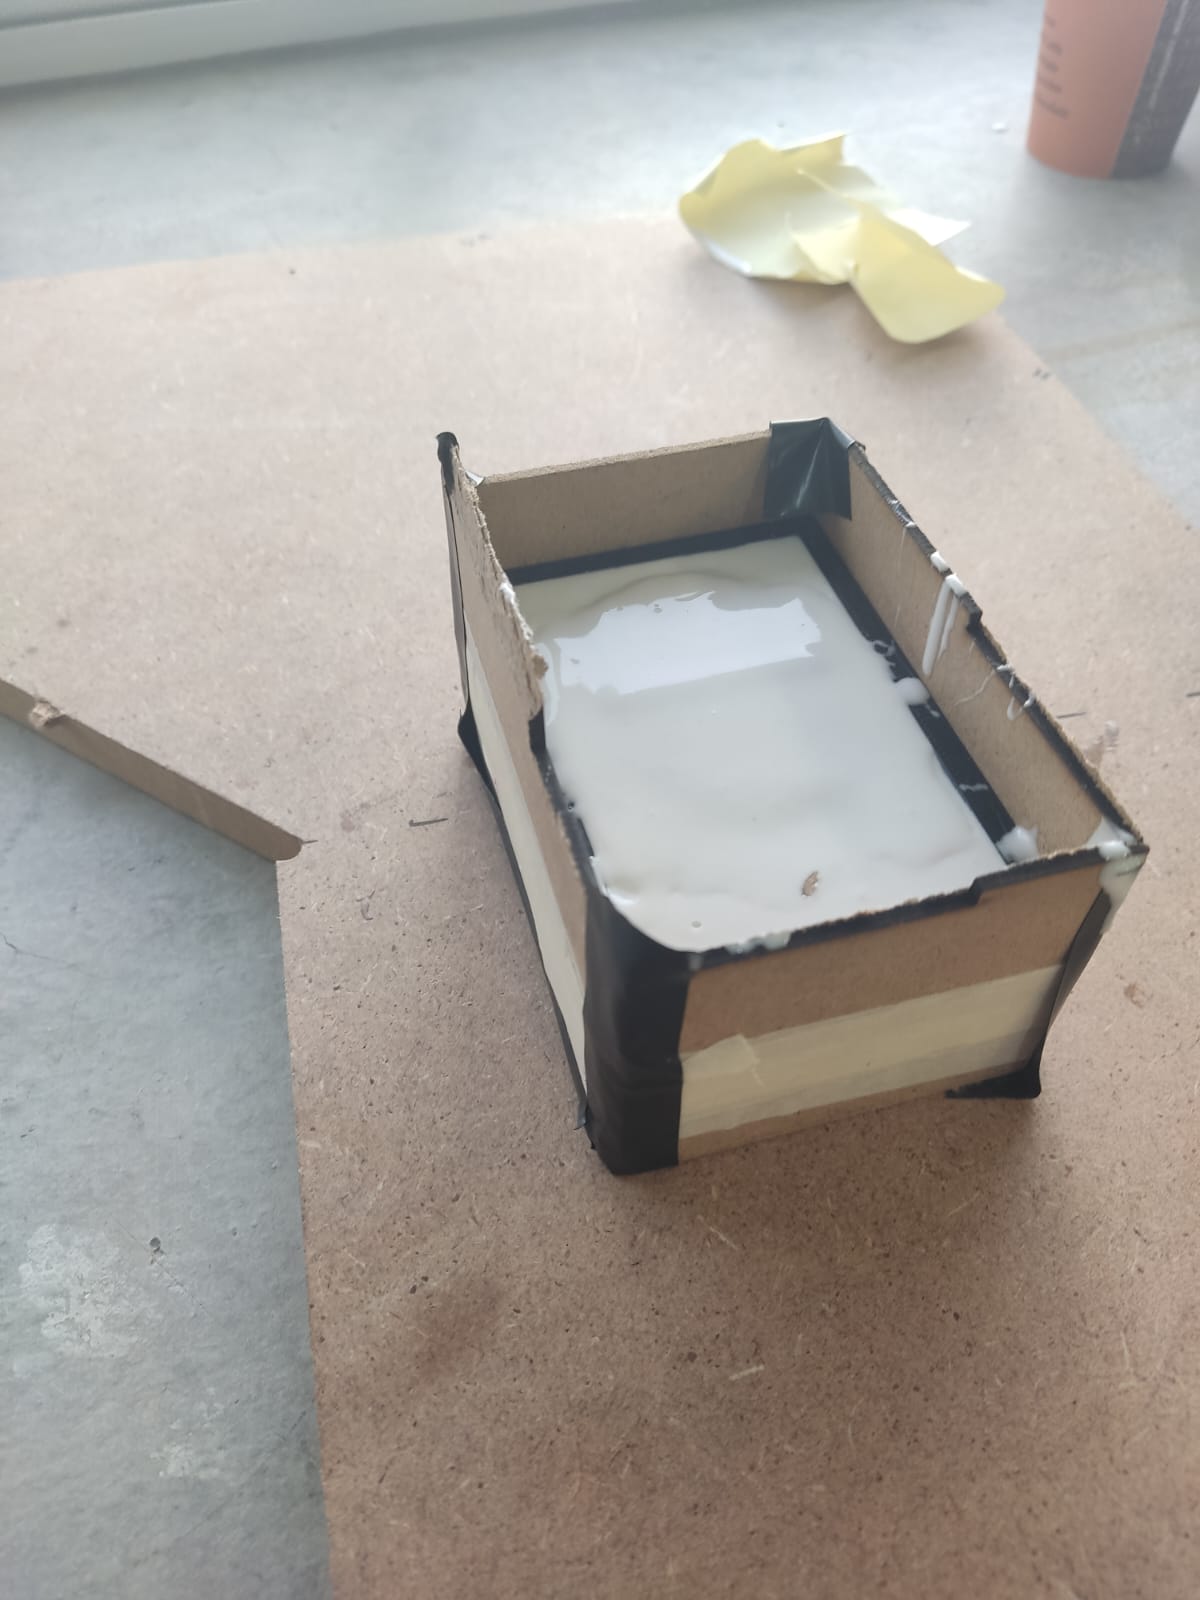
So, 8 hours later and a bit of using sandpaper to smooth out the surface, the piece was ready to begin the casting process. In this case I use some leftover MDF material to cover up the edges of my mold in order to guarantee cleanliness and not spilling over any chemical that might be harmful to any surface or person. Then we proceed to grab a cup of water in order to measure up how much actual liquid is going to be used to cover up the whole mould, it's a nice tip that I picked up from one of the Fab Lab professors that guarantees that there is no excessive use of chemical agents, you only use what you need, nothing else.
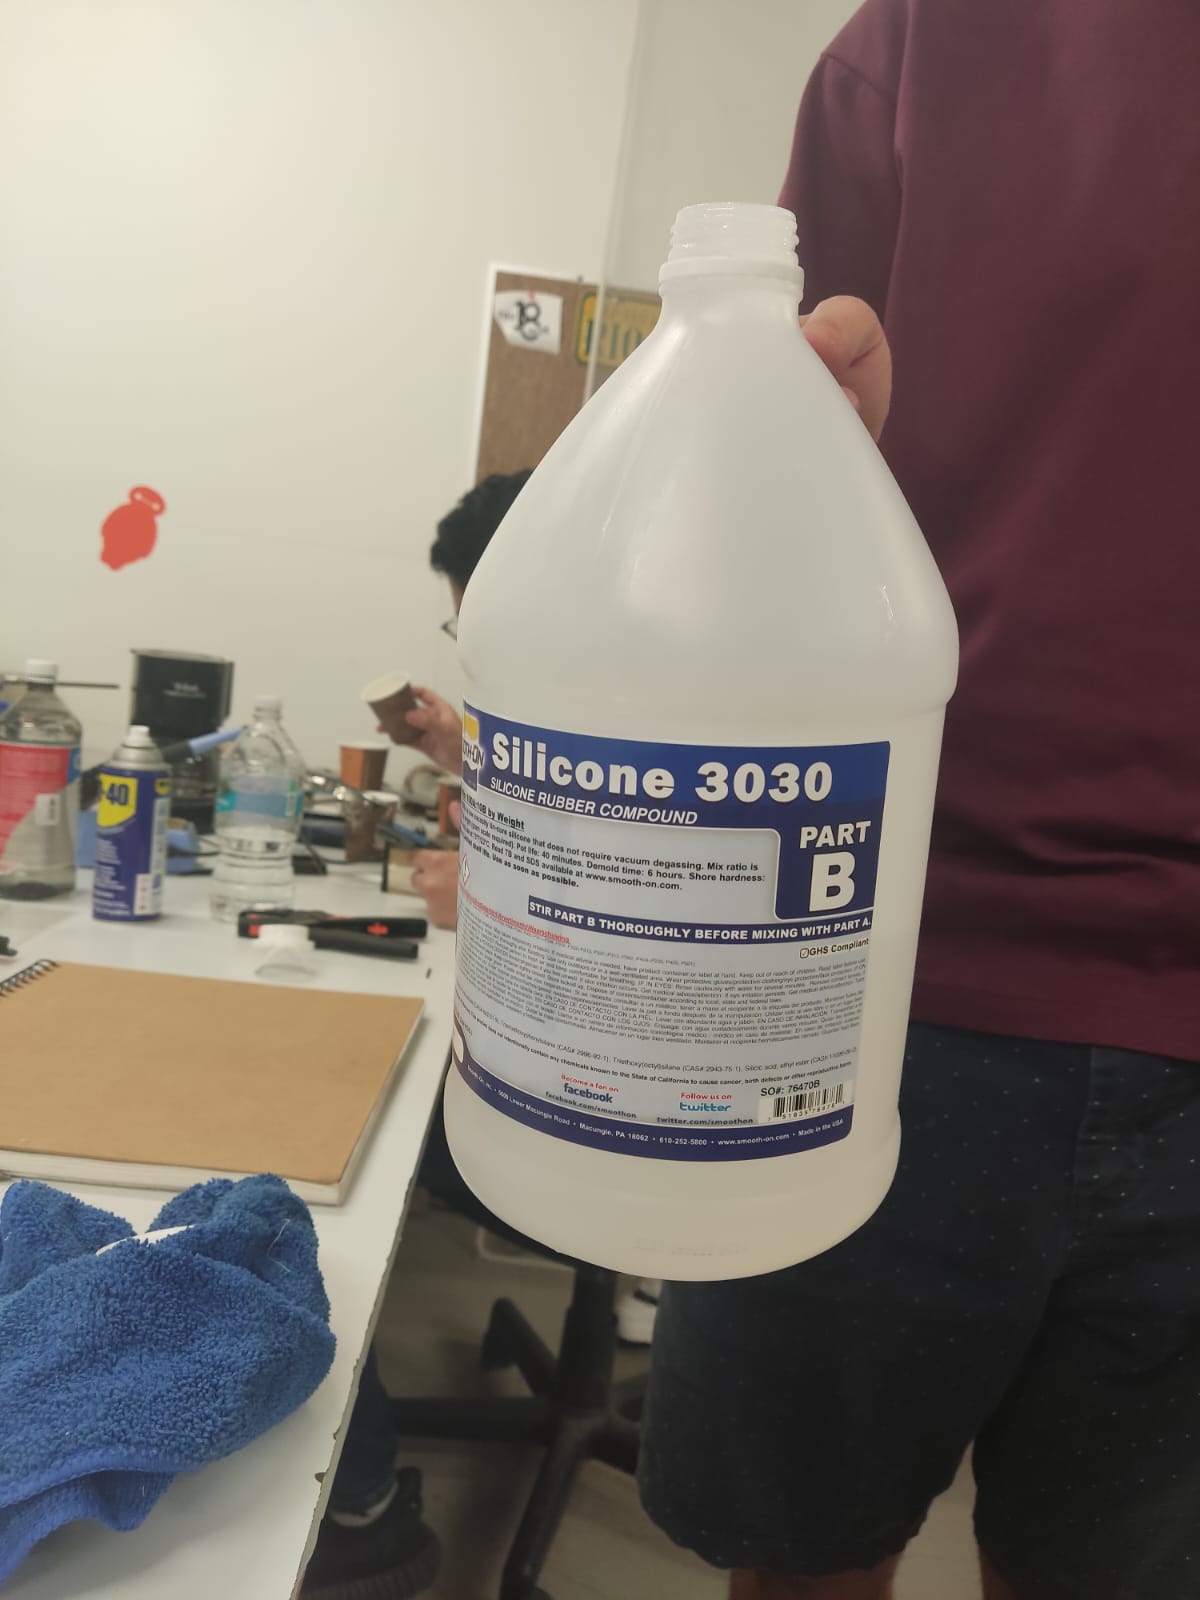
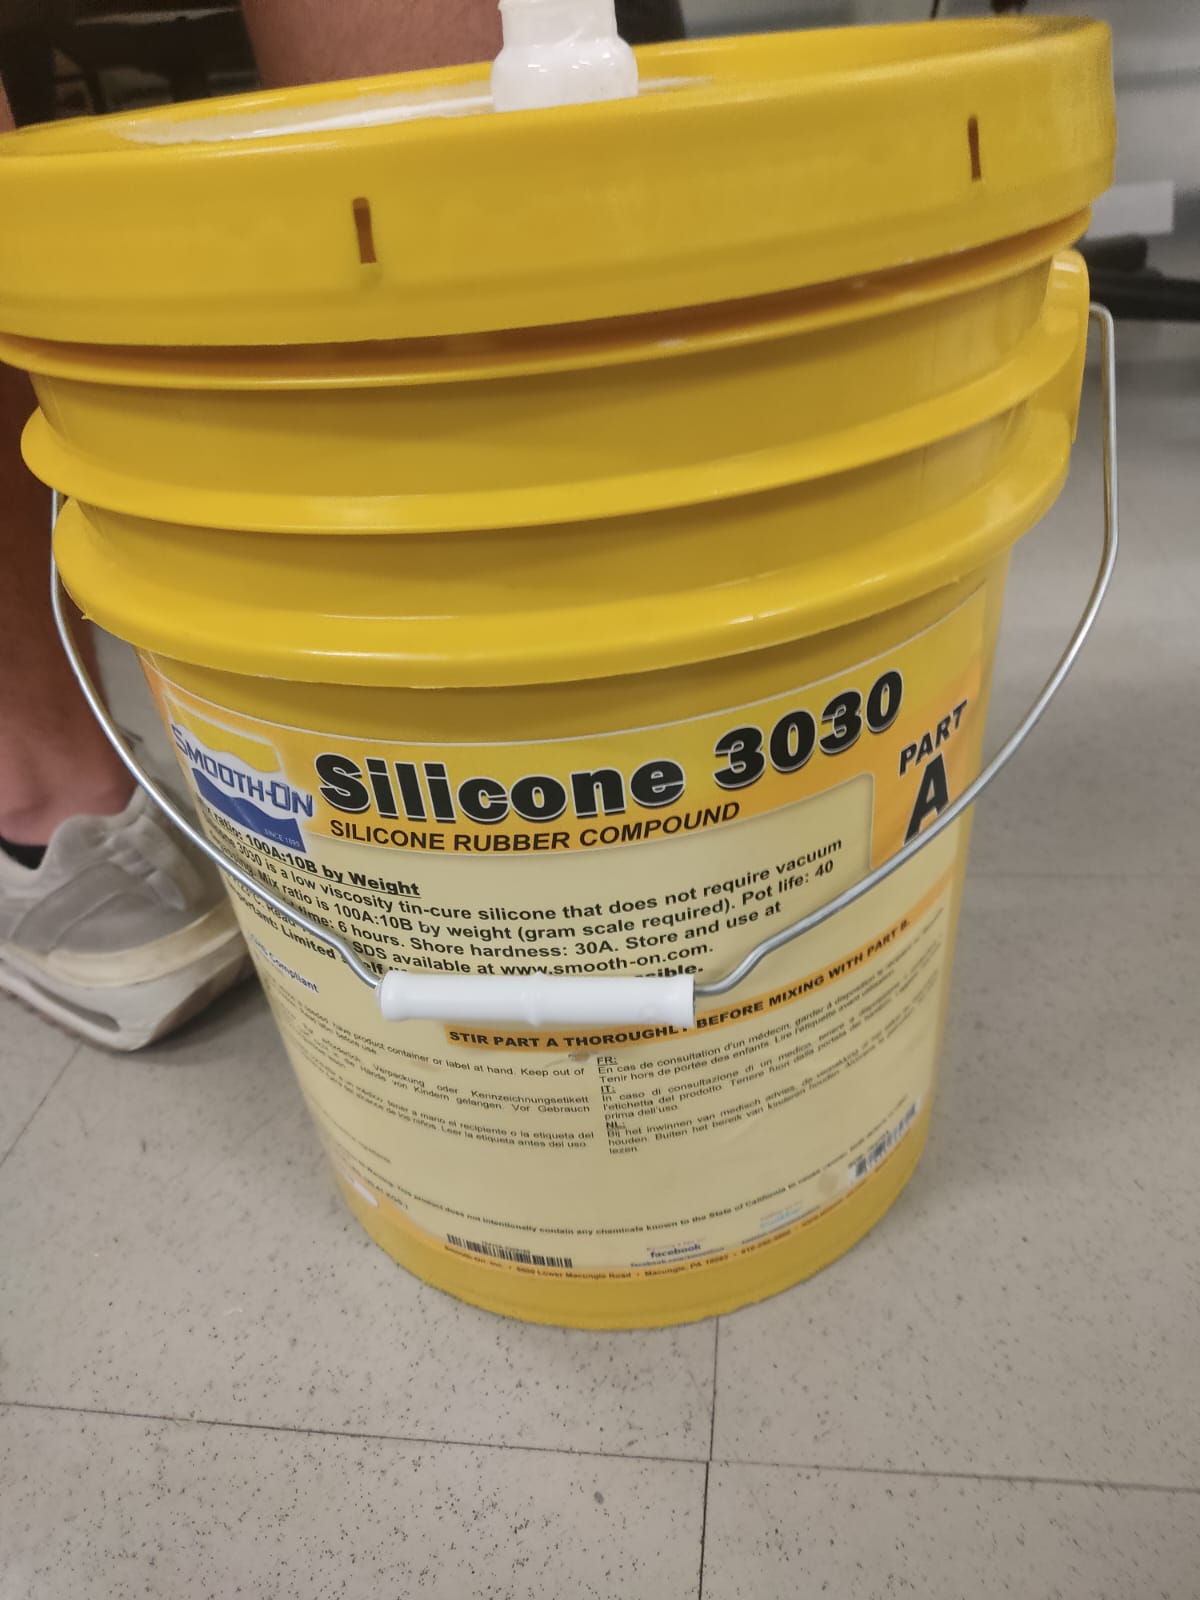
After the cup of water testing, I gathered the two chemical agents required in order to create the liquid that's going to be poured into the mould, both of them are based on silicone: Being the reactive agent, the catalyzer if you might, the other being the feeling material that's going to be used, one is transparent(catalyzer) and the other is white colored(filler). In order to guarantee the correct mixing of these chemicals, it to attain to the mixing proportions that are written in the package, this being a 100 to 10 ratio, meaning that for every 100 G of filler we use we need to put 10 G of catalyzer.
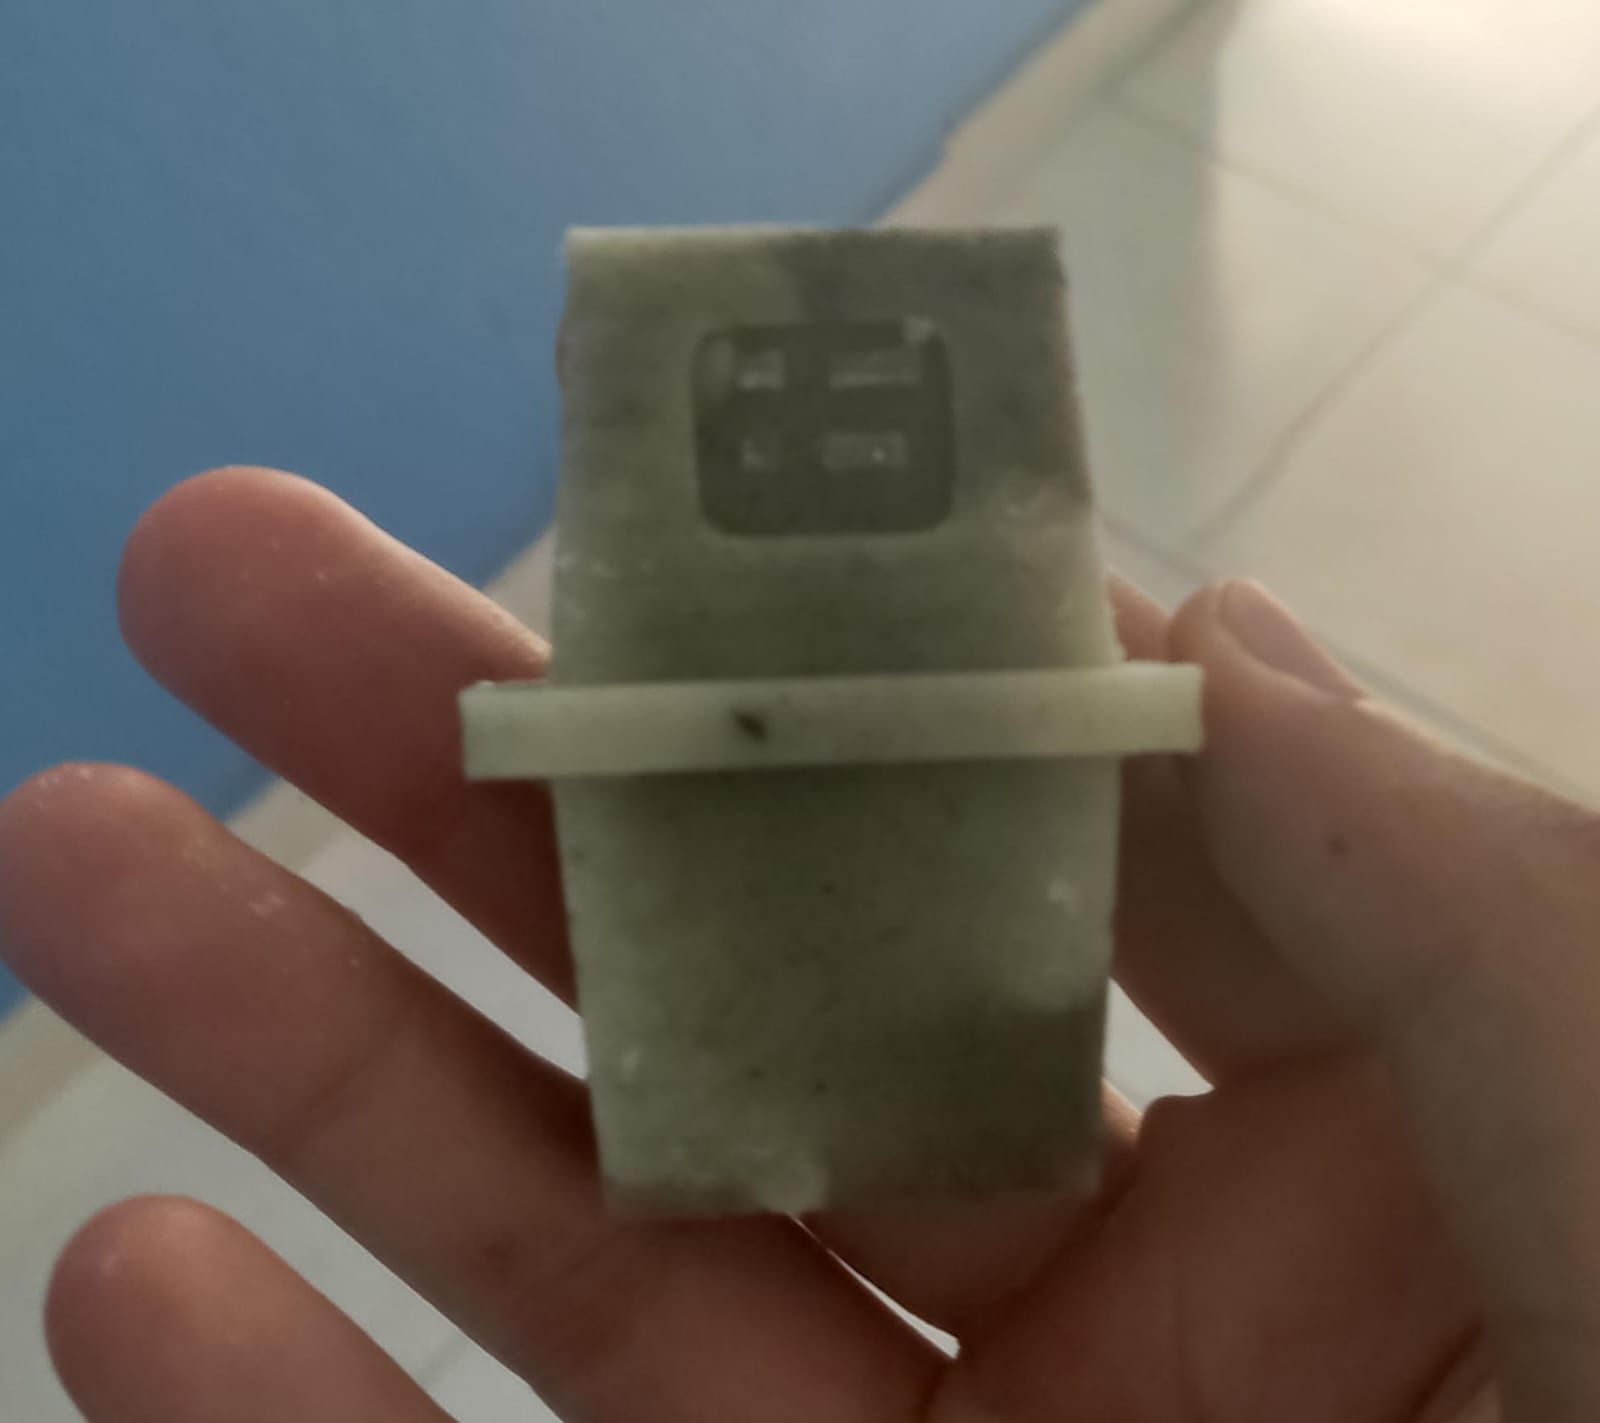
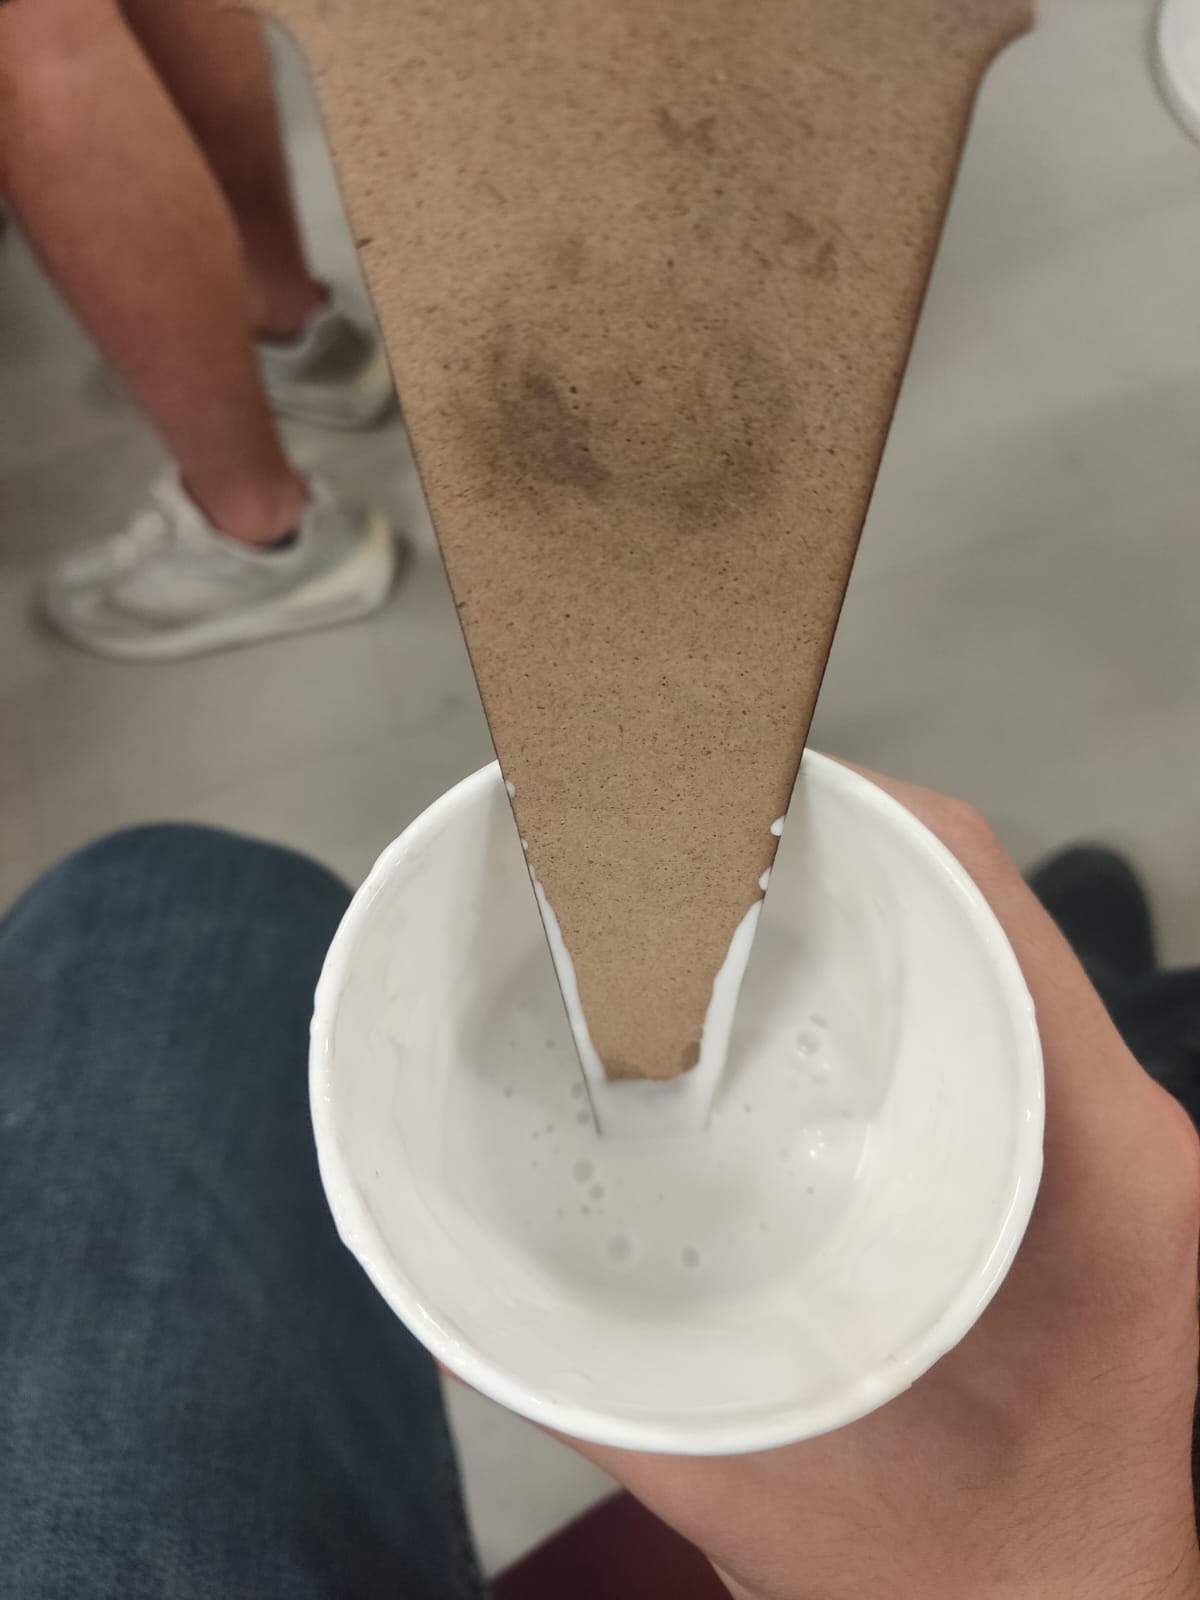
We mix them up well in a cup for about 5 minutes until we get a homogeneous not to viscous but not-too-liquidy substance that is then poured into the mould and left to rest for about 12 hours, another tip I picked up from the professors is hitting the table in which the mold with the chemical substance poured into it is located for about 30 seconds in order to have a vibrations that would activate the chemical agents and will start throwing out bubbles into the surface.
Once the chemicals are dried up, you should have a proper mold in which to recreate a comedic droid from one of the greatest sci-fi and Space Opera franchises ever made.
So here is the final result, and also some pics to when I poured some candlewax to form a scarred, worn, and sand-filled droid.