Assignment 7
Computer-Controlled Machining
A. Group assignment
The group worked in the process for Using a Computer Controlled Machine - Roland Shop Bot GS-24 Router to Make Furniture with 15 mm Phenolic Plywood:
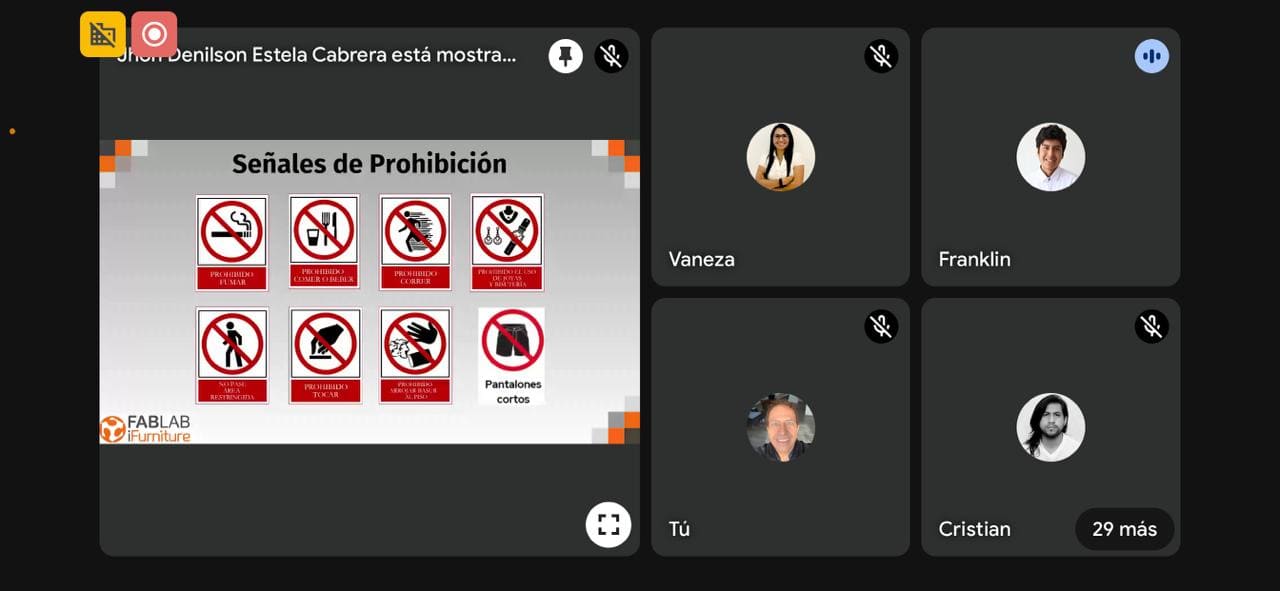
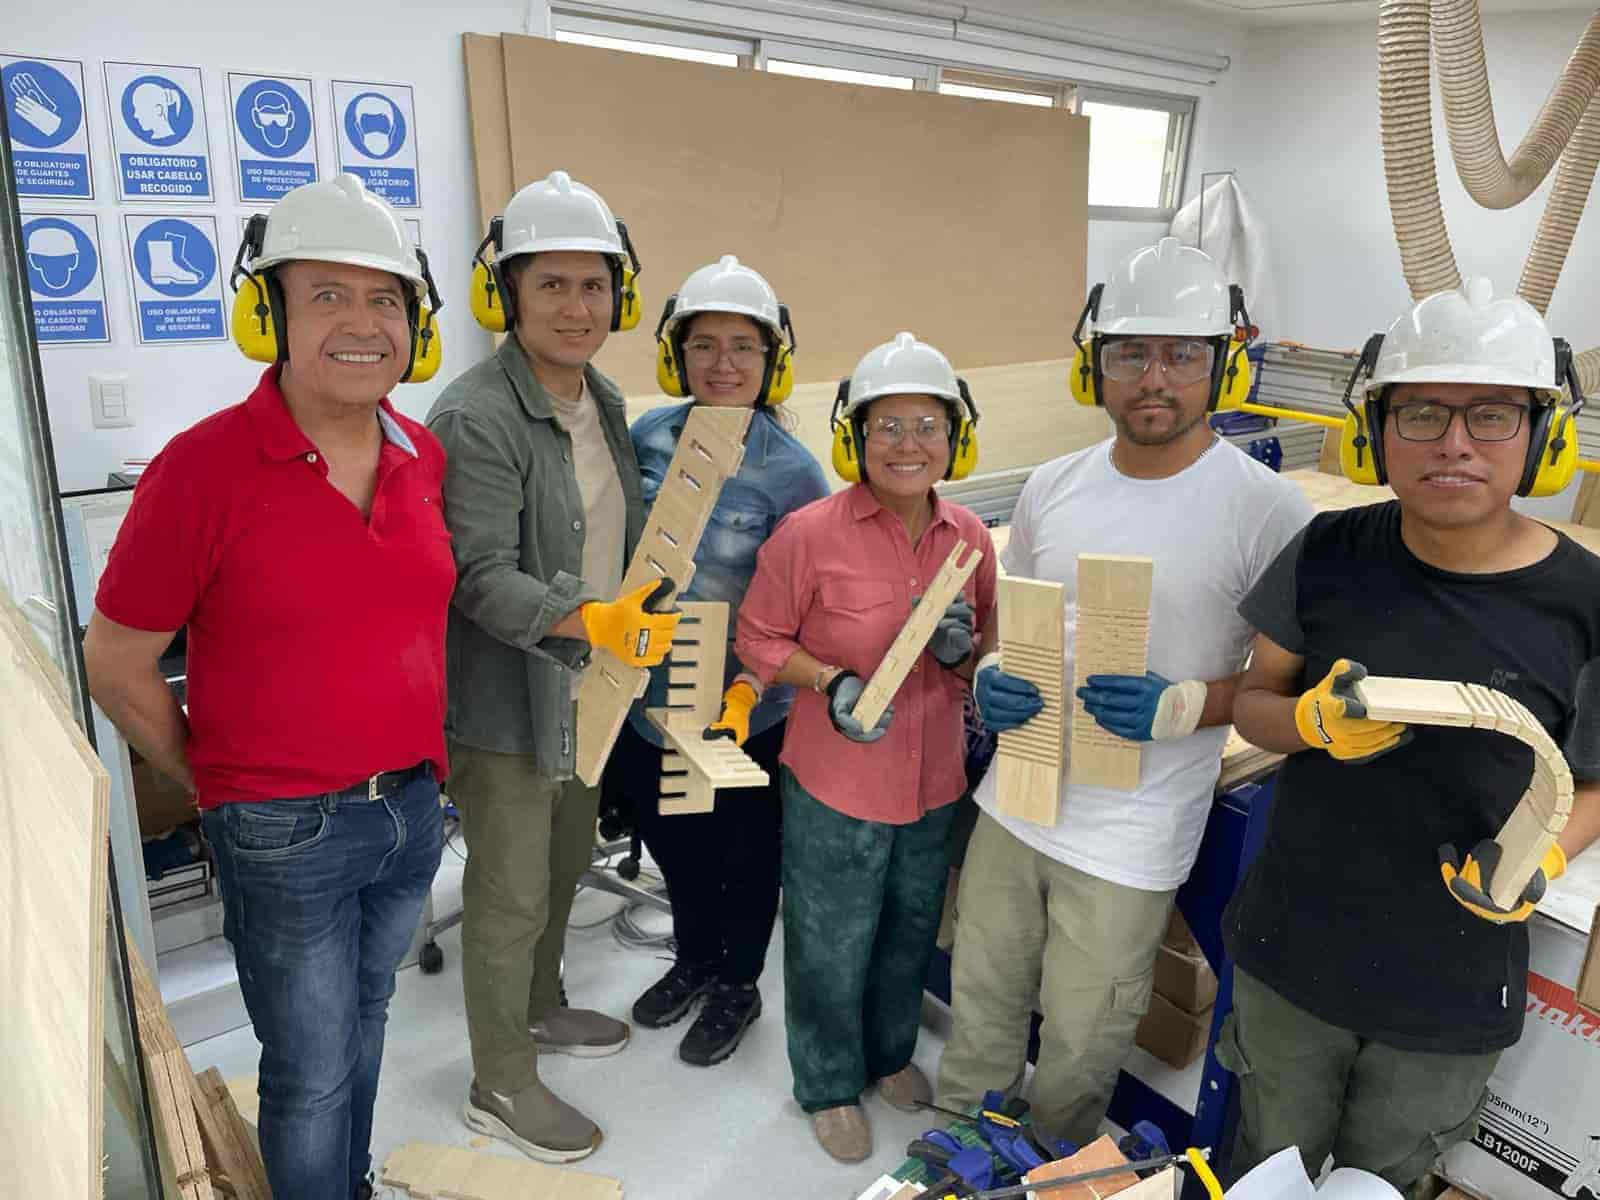
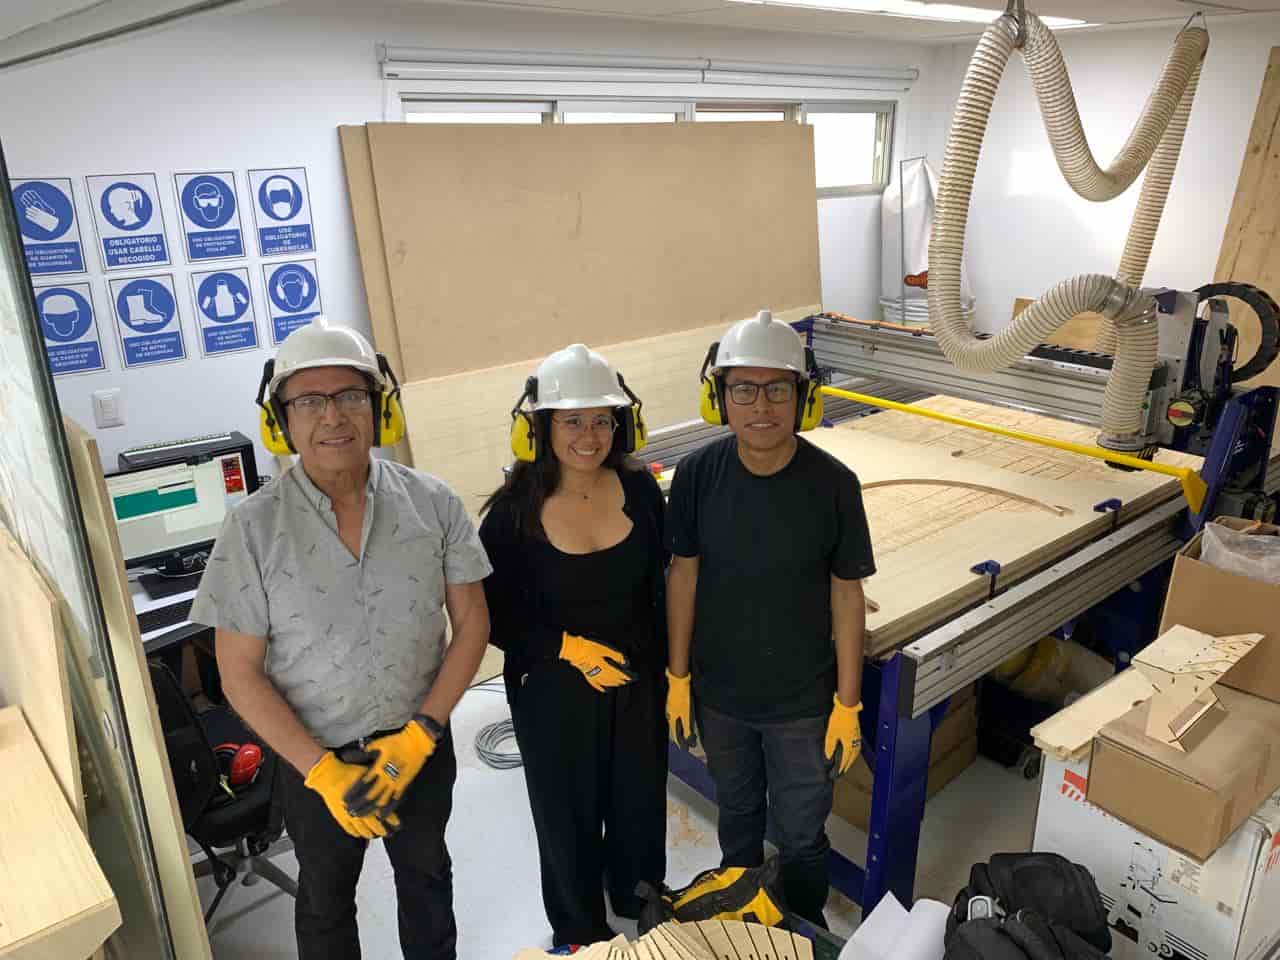
1. Laboratory Safety Training:
a. Before any activity, it is crucial to receive detailed laboratory safety training. b. Learn and understand the safety regulations specific to the Roland Shop Bot GS-24 machine. c. Become familiar with emergency procedures, location of safety equipment and first aid protocols.


2. Runout, Alignment, Fixation, Speeds, Feeds, Materials and Tool Paths Test for the Machine:
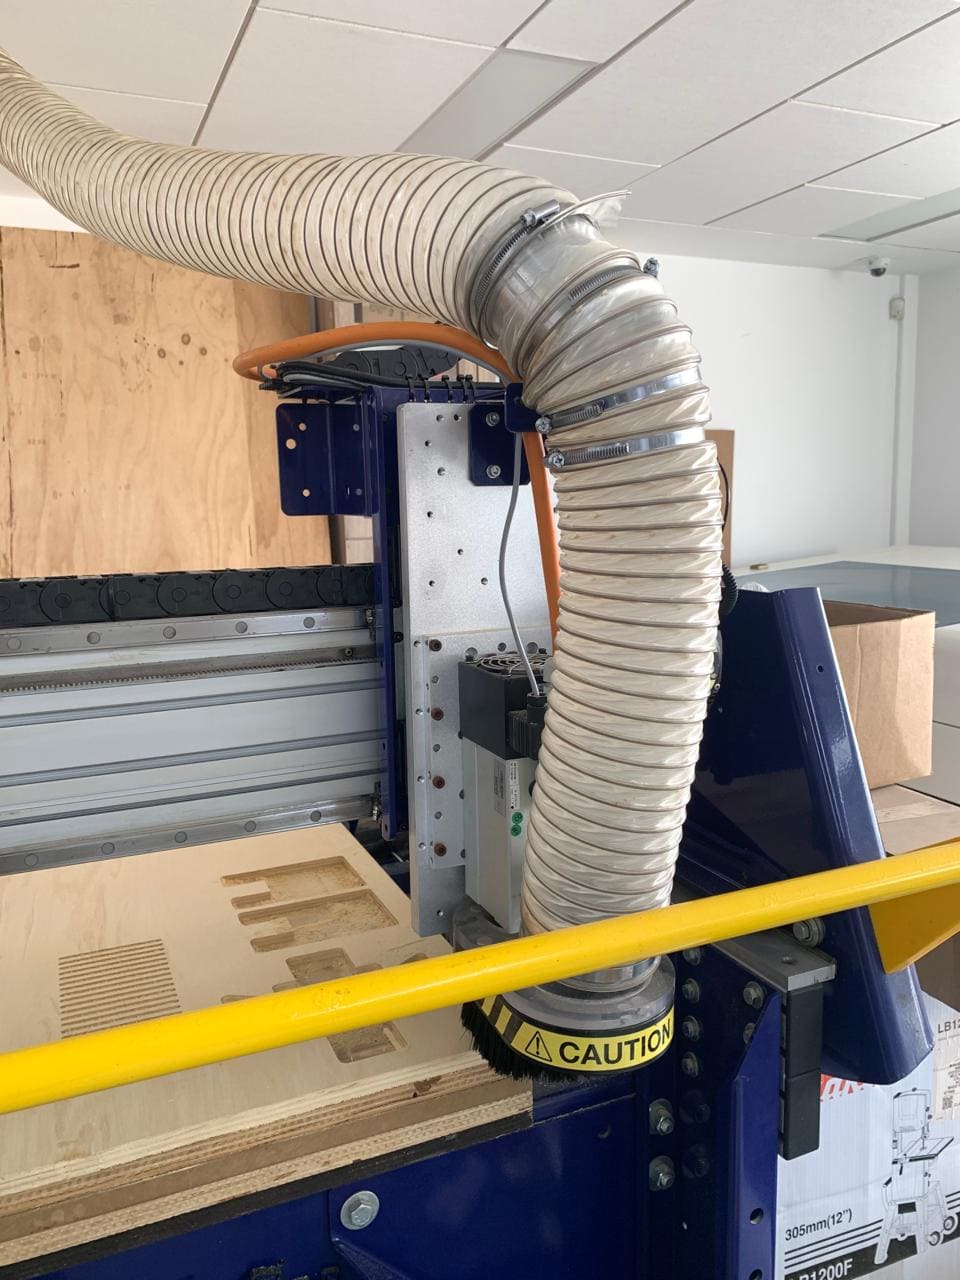
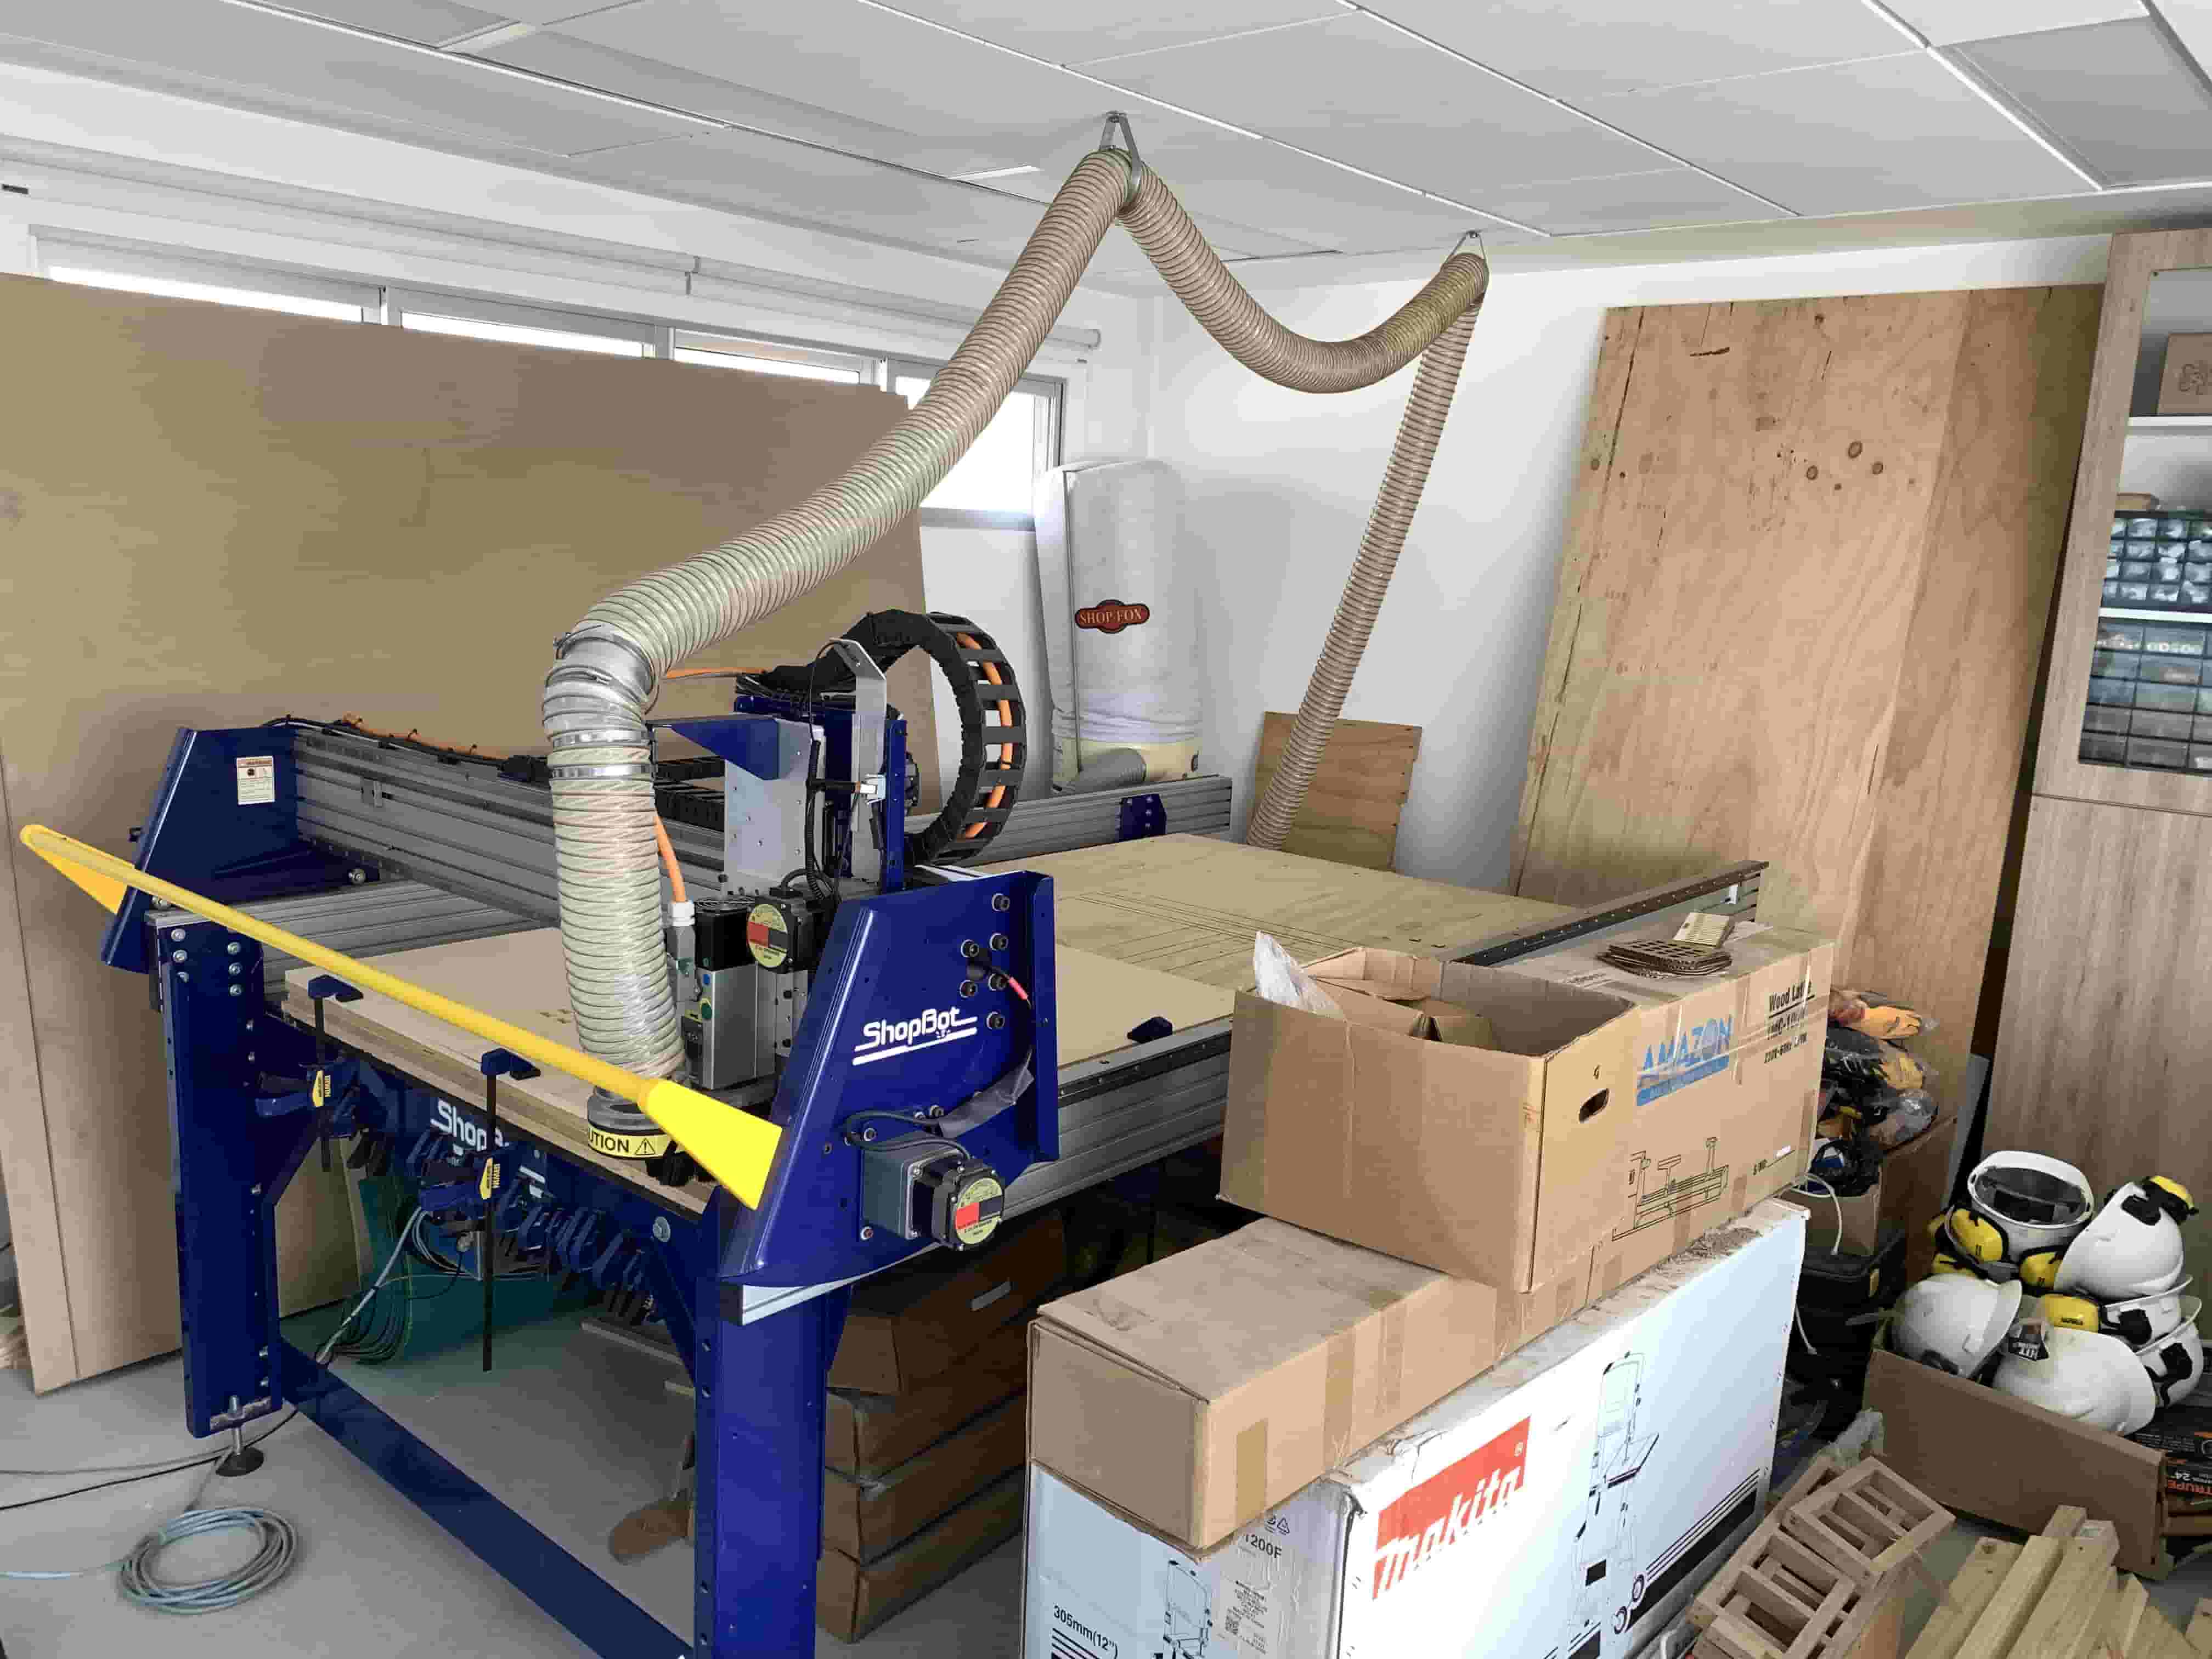
a. Offset and Alignment: - Make sure the machine is correctly aligned and level. - Perform runout tests to ensure the starting position is accurate. b. Fixation: - Learn how to safely fix the material (15 mm phenolic plywood) on the work platform. - Verify that the material is firmly secured and does not present unsafe movements during operation. c. Speeds and Advances: - Experiment with different speed and feed configurations to determine the optimal combination. - Adjust these parameters according to the type of cut and material used. d. Materials: - Identify and test the 15 mm phenolic plywood to evaluate its suitability for the project. - Adjust the machine settings based on the characteristics of the material. and. Tool Paths: - Load and verify the furniture design in the machine control software. - Perform tool path testing to ensure cuts and engravings are performed as designed. - Adjust trajectories as necessary to achieve the desired accuracy.
3. Project Execution:
a. Once testing and adjustments are complete, load the final furniture design into the machine. b. Start the machine and monitor the process to make sure everything is working as planned. c. Implement additional safety measures during operation, such as the use of personal protective equipment (PPE).
4. Verification and Adjustments:
a. After completing the process, check the quality of the cut and engraved pieces. b. Make fine adjustments to the machine or design as necessary. c. Repeat tests if necessary to ensure the quality and precision of the manufactured furniture.
5. Documentation:
a. Record all adjustments made and parameters used during testing. b. Document any problems or solutions found during the process. c. Maintain a detailed record for future reference and to share knowledge with other users.
By following this process, complete preparation, proper testing and safe execution are ensured when using the computer controlled machine to manufacture furniture from 15mm phenolic plywood.
B. Individual assignment
Manufacturing process of the furniture designed by the student
The following describes the Process of Manufacturing a Furniture with the Roland Shop Bot GS-24 Router Computer Controlled Machine:
1) Choice of Furniture:
The need for a cabinet to store implements and projects assigned by FabLab was identified and a functional and appropriate design was selected for the available space.
2) Design in SolidWorks:
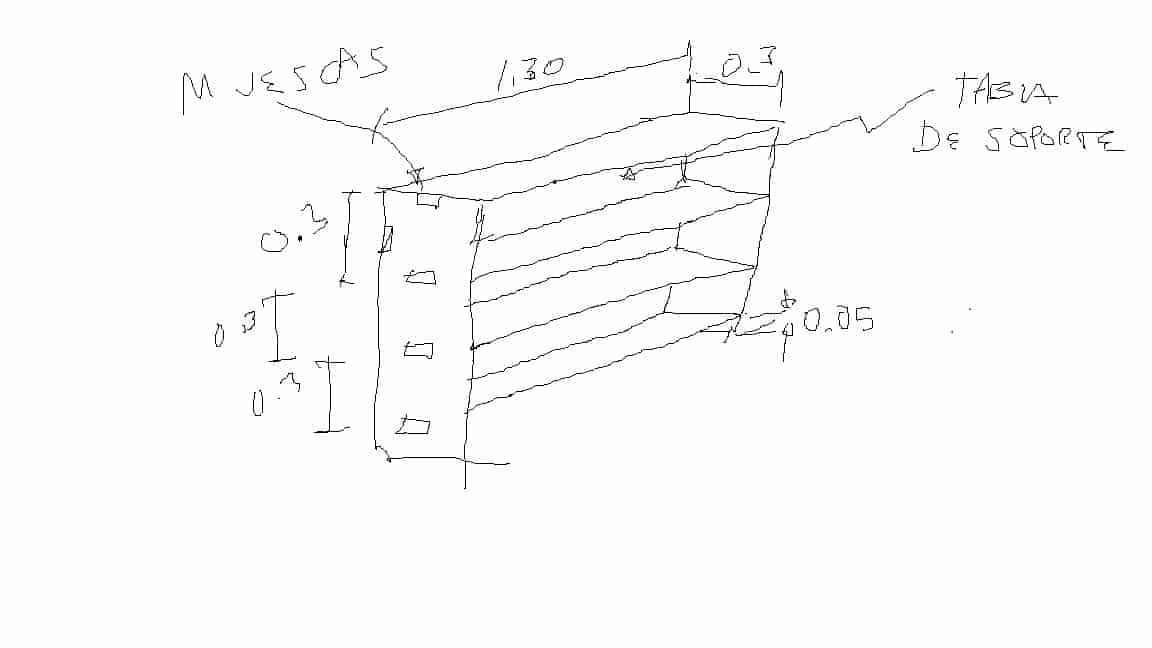
A hand sketch was made of the selected furniture, which is a utilitarian chest of drawers with dimensions of 1.00 m x 0.95 m x 0.30 m. SolidWorks software was used to design the furniture. The use of glue, screws or fasteners was excluded, focusing on precise fits for assembly. Although they gave us additional bonuses, curved surfaces were not implemented due to the little space available in the place where the furniture would be installed.
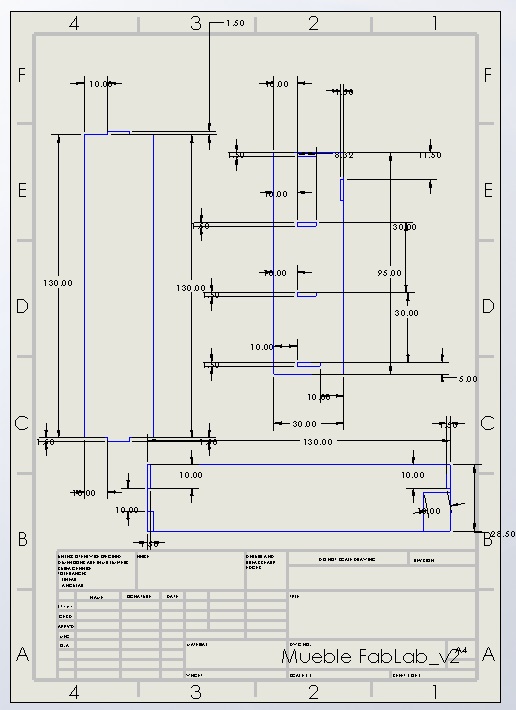
3) Export of the .DXF File:
The design was exported to the .DXF format needed for the Roland Shop Bot GS-24 CNC machine software.
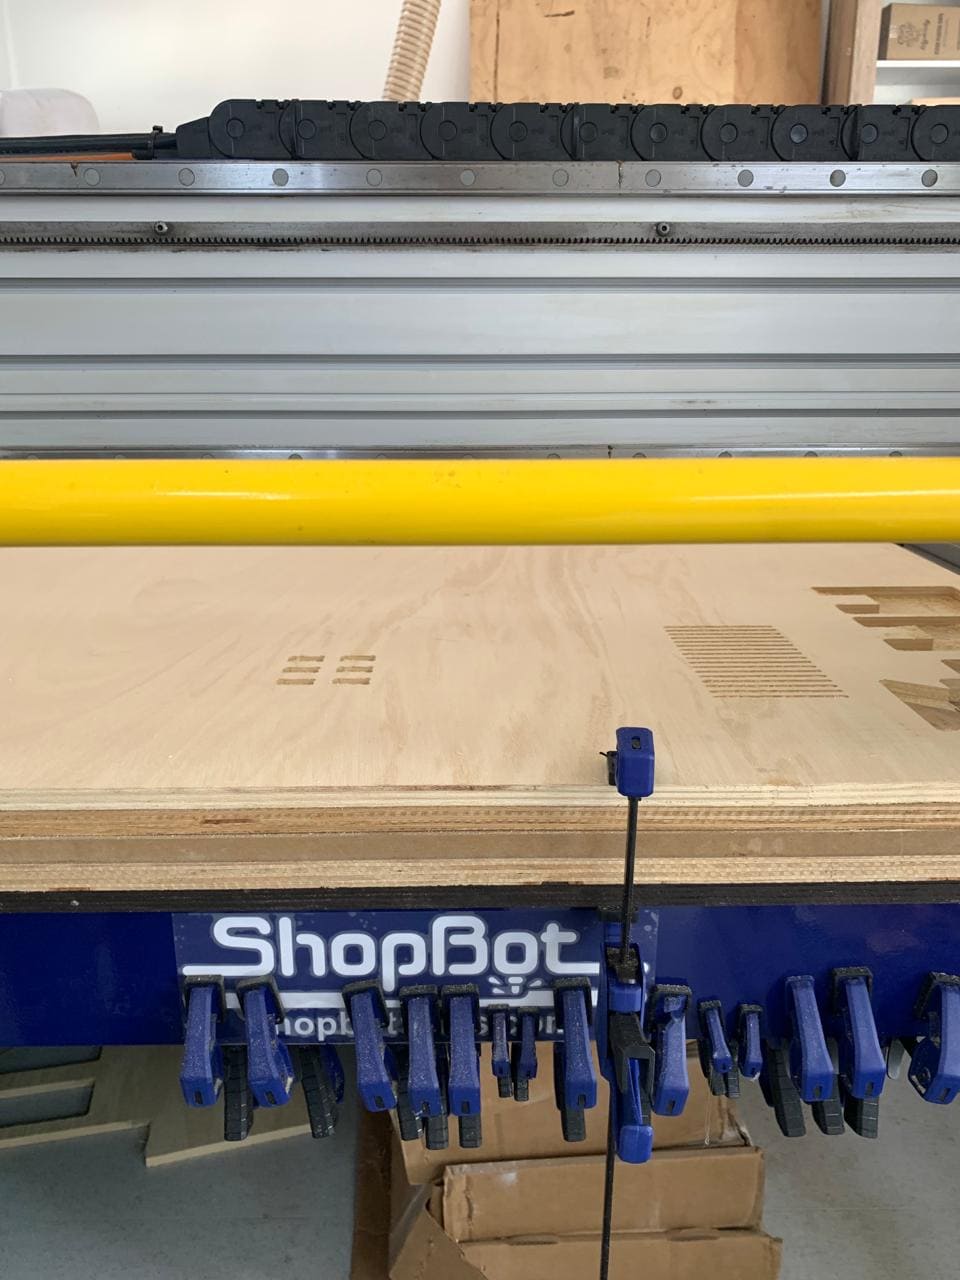
4) Automatic Milling Process:
The .DXF file was opened with the GS-24 machine driver located at the Scientific University of the South and the milling parameters were adjusted according to the specifications of the 15 mm phenolic plywood.
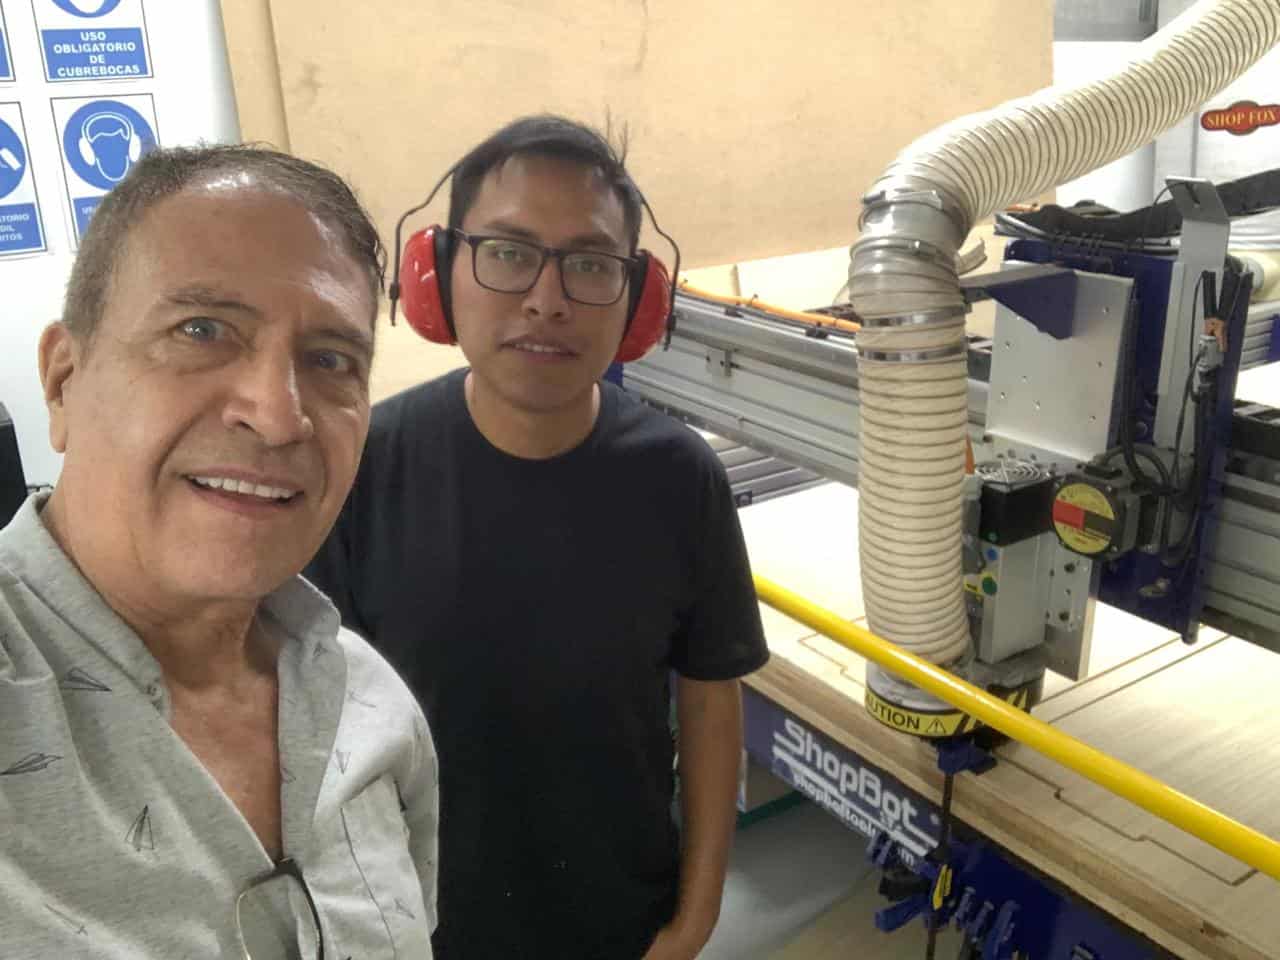
 Safety measures recommended by FabLab instructors were implemented during training.
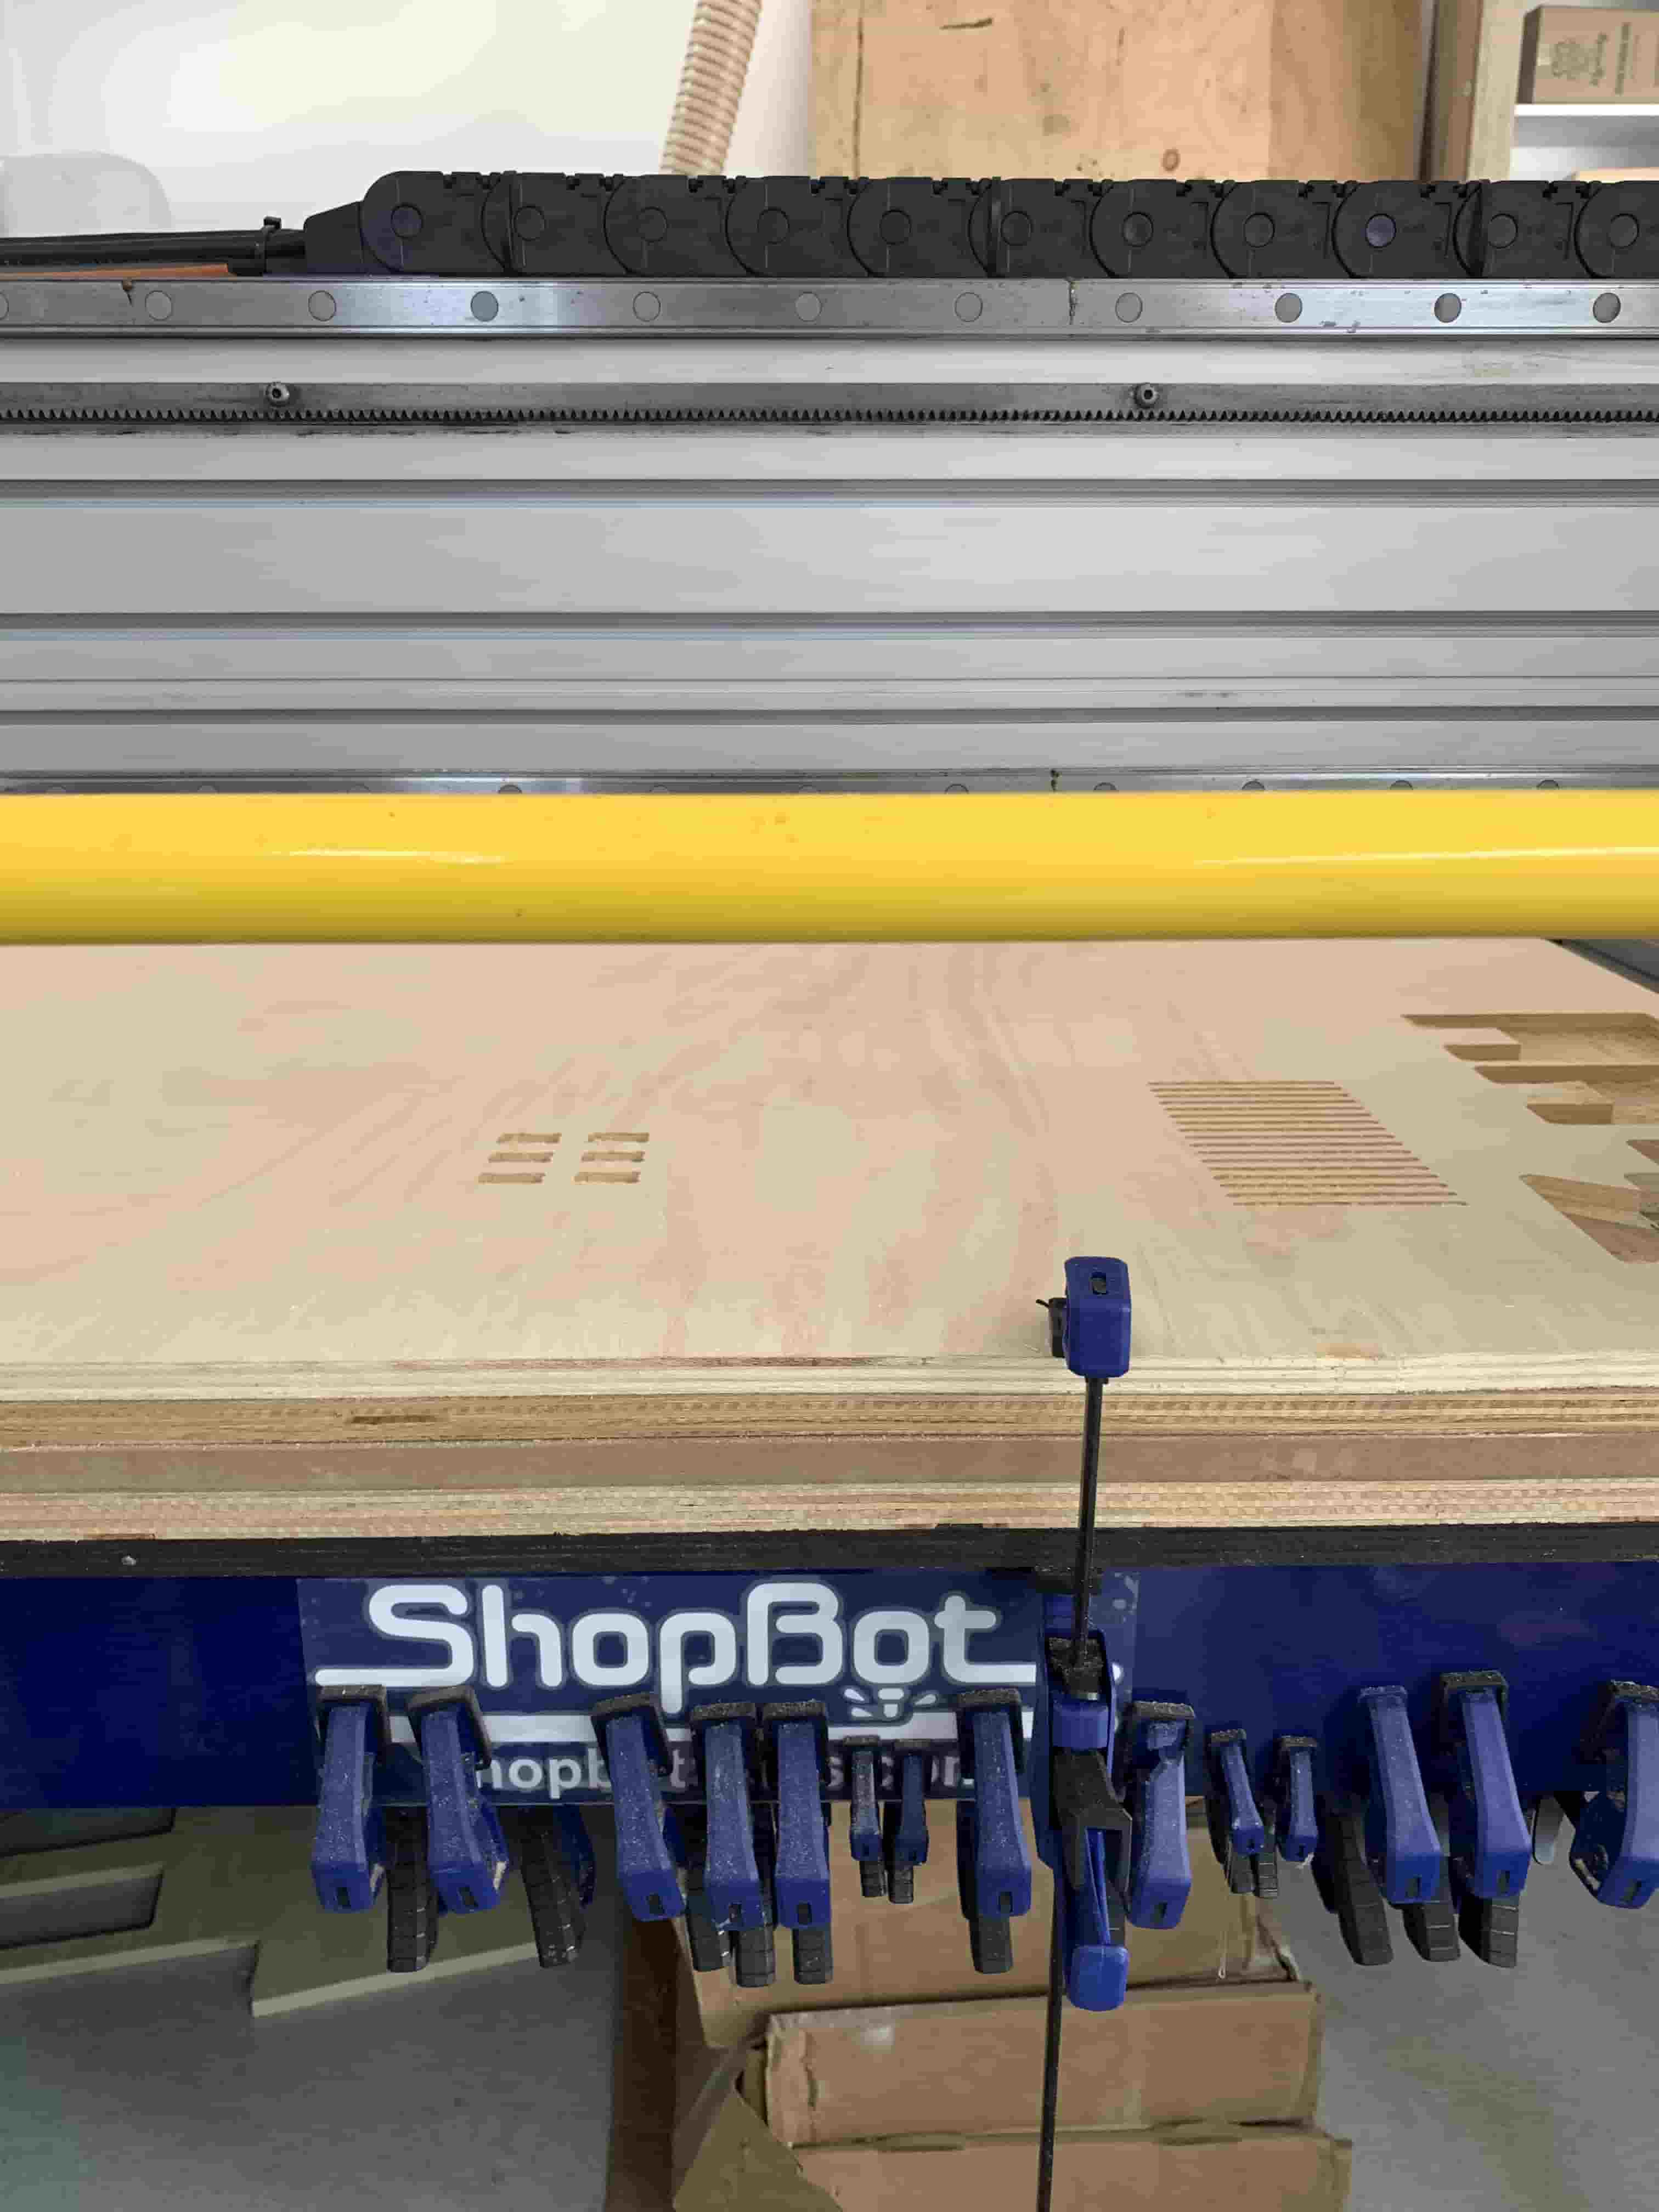
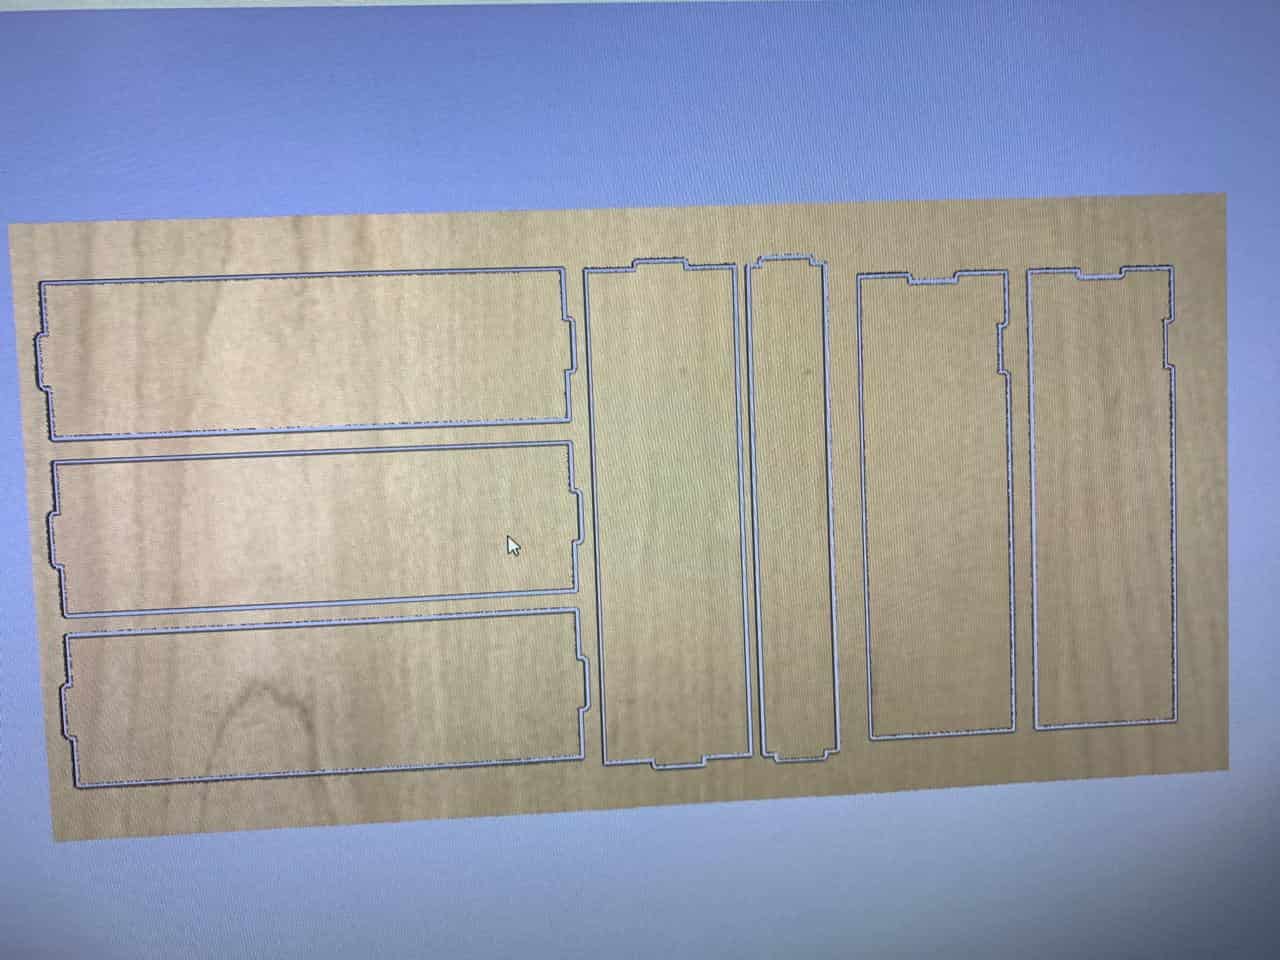
 The thickness of the 15 mm Phenolic Plawood material was calibrated according to the dimensions of the sheet used, which was 2.44 m x 1.22 m.
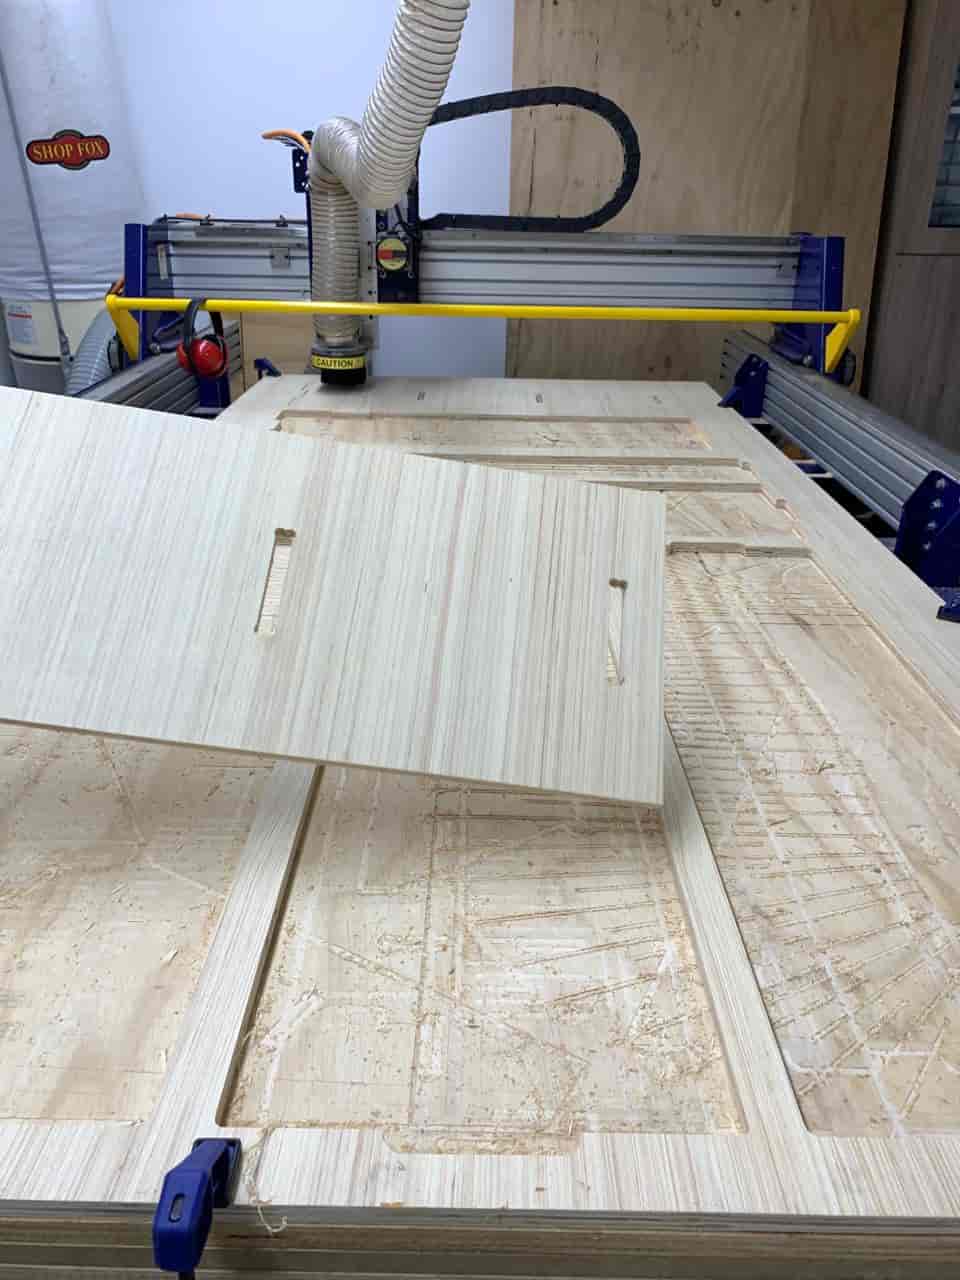
 The drill bits were heated for 10 min. The milling of the pieces began and it only took 17 min. to finish it.
 The entire milling process was supervised to guarantee the precision and quality of the cut in all 7 pieces of furniture: 4 shelves measuring 1.00 m x 0.30 m; two uprights measuring 0.95 m x 0.30 m. and a butt reinforcement board measuring 1.00 m x 0.20 m.
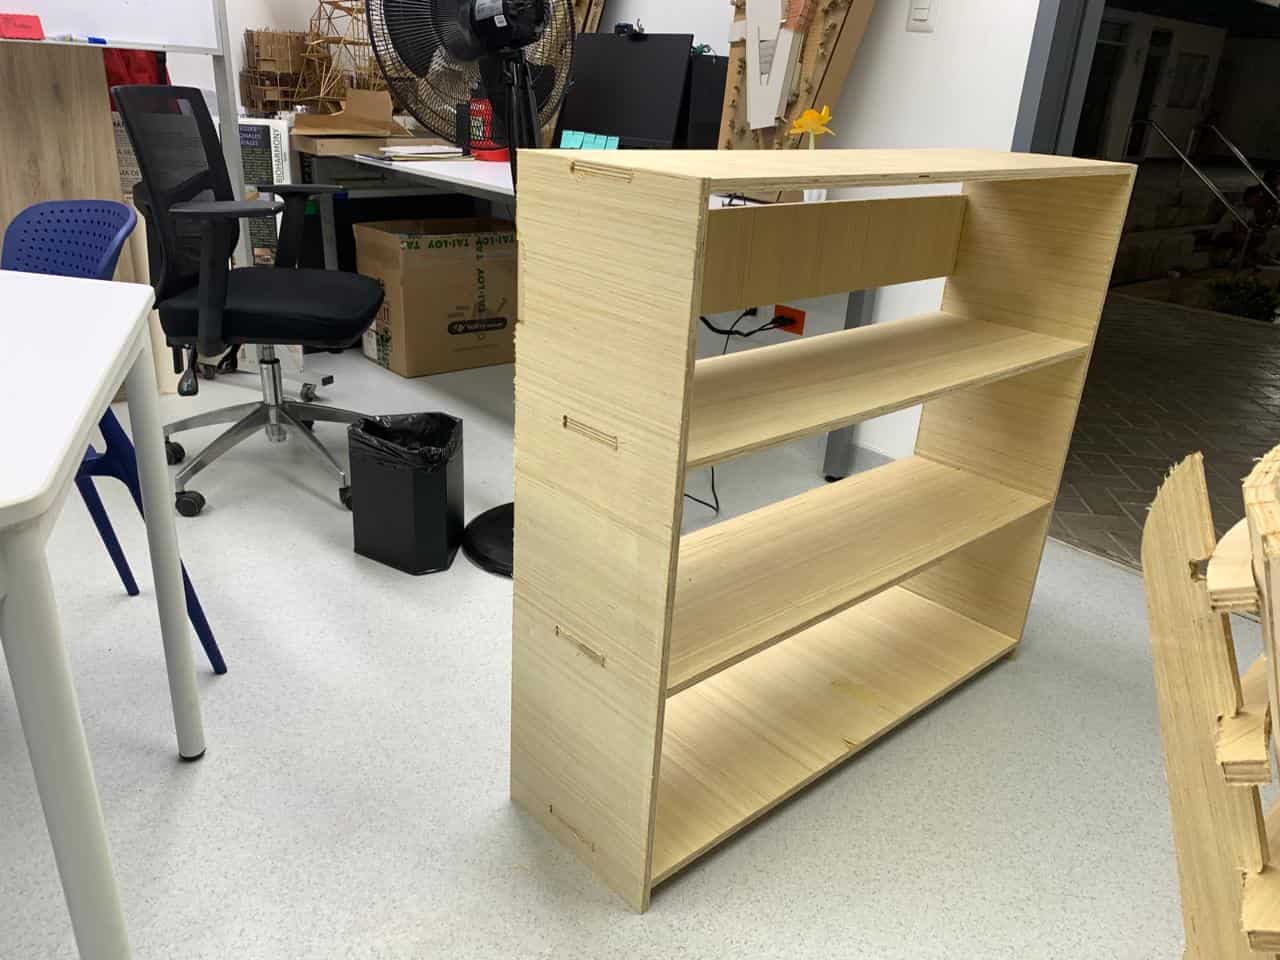
5) Assembly Process:
Once the milling was completed, the cut pieces were arranged according to the design and the alignment was checked to ensure that all the pieces fit together correctly without damaging the parts.
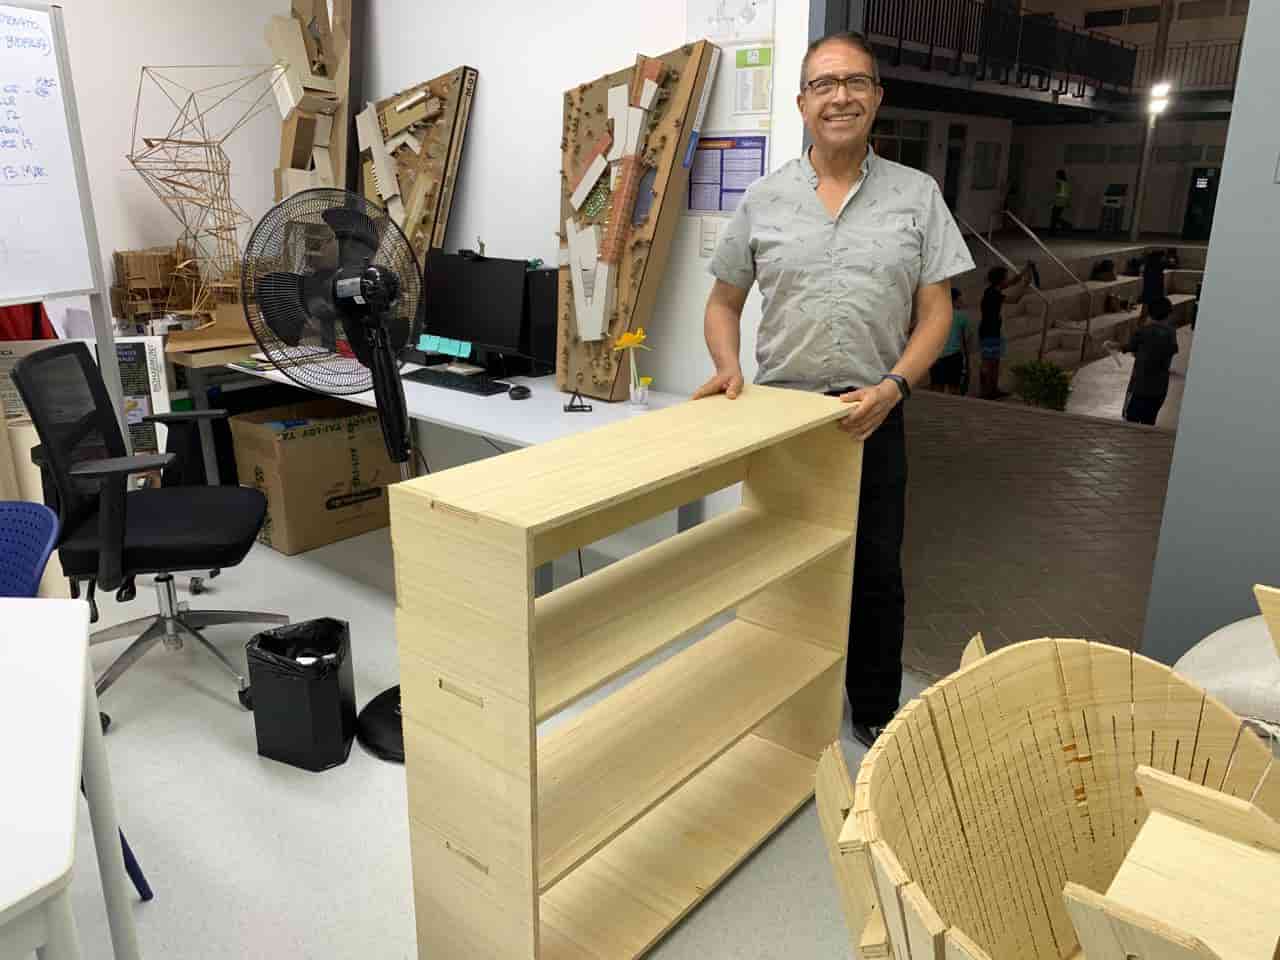
It was not necessary to use glue or fasteners, taking advantage of the perfect fit of the notches.
Stability and resistance tests of the assembled furniture were carried out.
I appreciate the support and collaboration of colleagues Maryori and Hans in the assembly and successful completion of the project by answering all the doubts presented.


