Review the safety data sheets for each of your molding and casting materials, then make and compare test molds with each of them, compare printing versus machining molds.
Design a mold based on the process you will use, produce it with a smooth surface finish, and use it to cast parts.
EXTRA CREDIT: Use more than two mold pieces.
The silicones to be used were OMMO 25, RTV F20 plus for objects, RTV 30-1 for food, Extraflex RTV, and F10 PLUS.
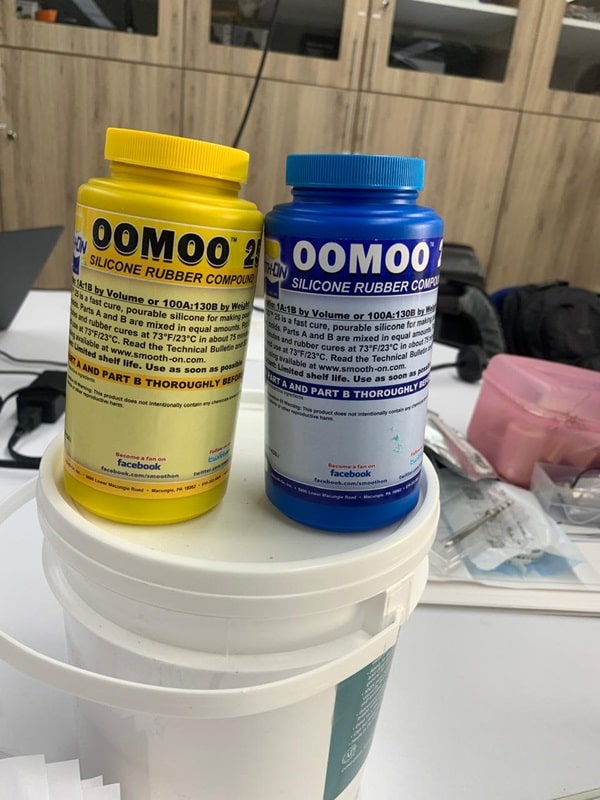
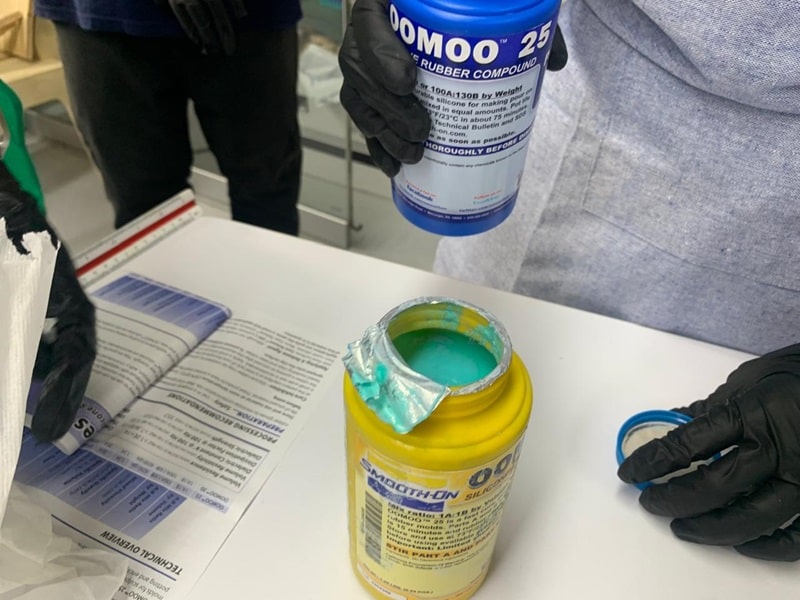
a. OMMO 25 SILICONE - SOFT
In the UCSUR FabLab we have the OMMO 25 silicone from SMOOTH ON; which could not be used because the products were expired.
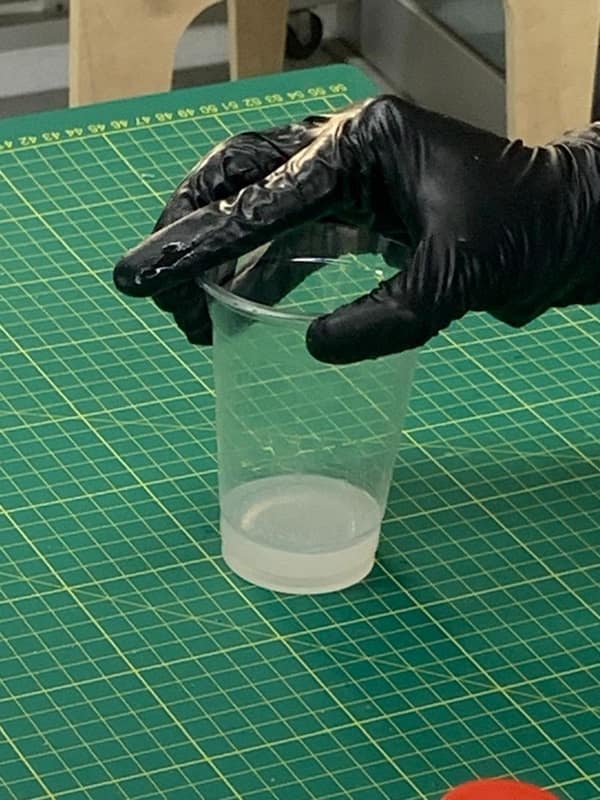
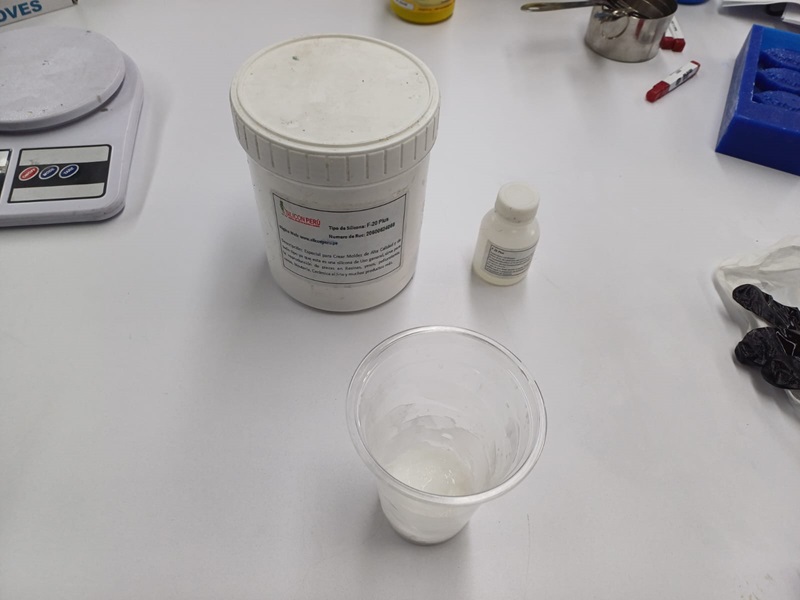
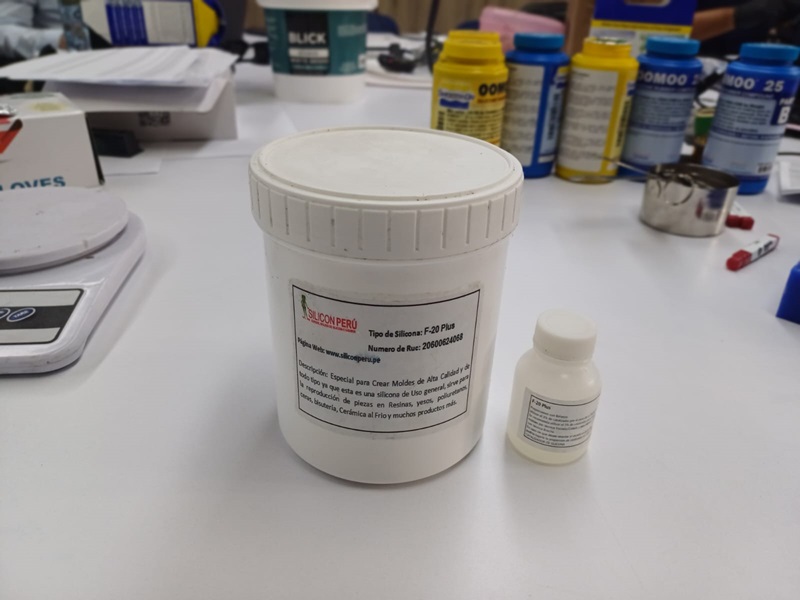
b. RTV F20 PLUS SILICONE
It consists of 2 parts, a white liquid that is silicone and the catalyst. Curing time is 4 to 8 hours. It has good tear resistance and excellent temperature resistance. Here the summary:
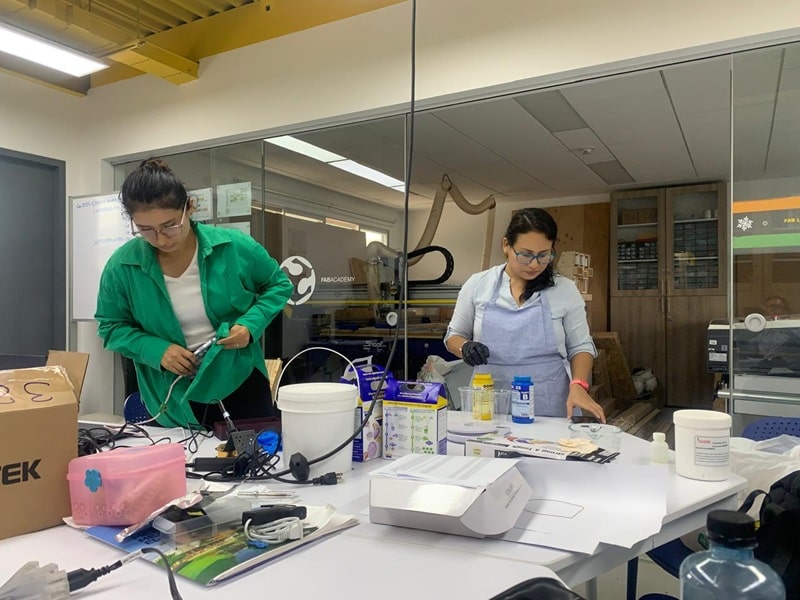
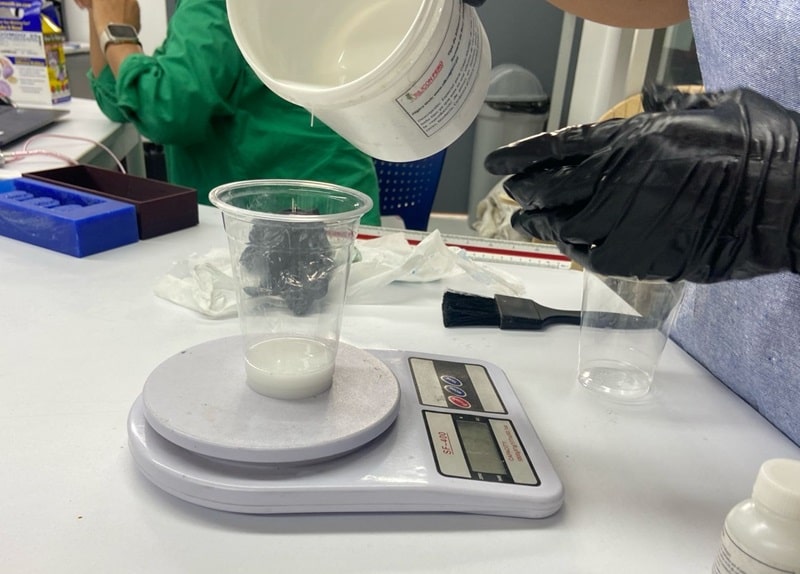
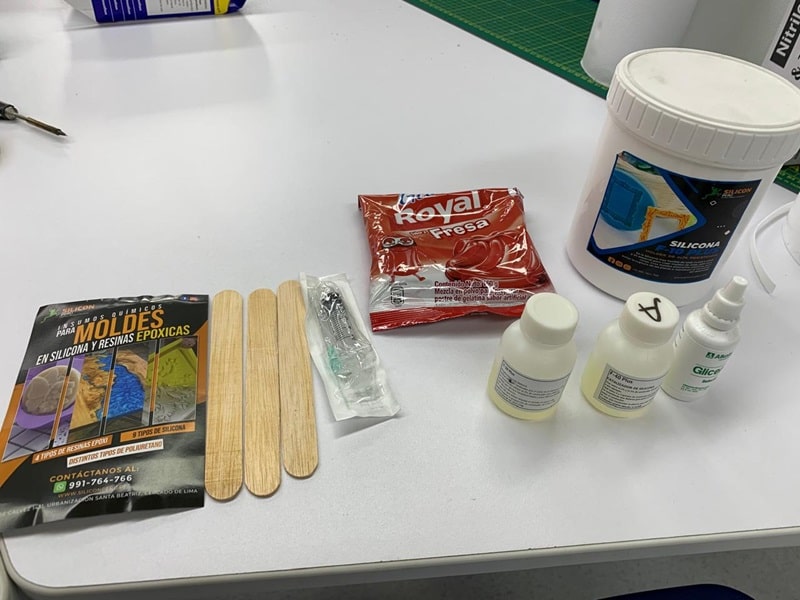
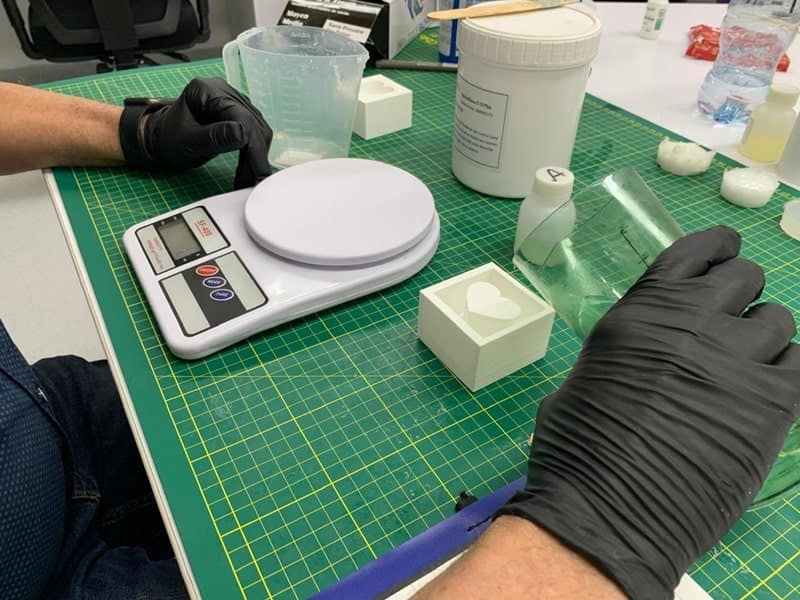
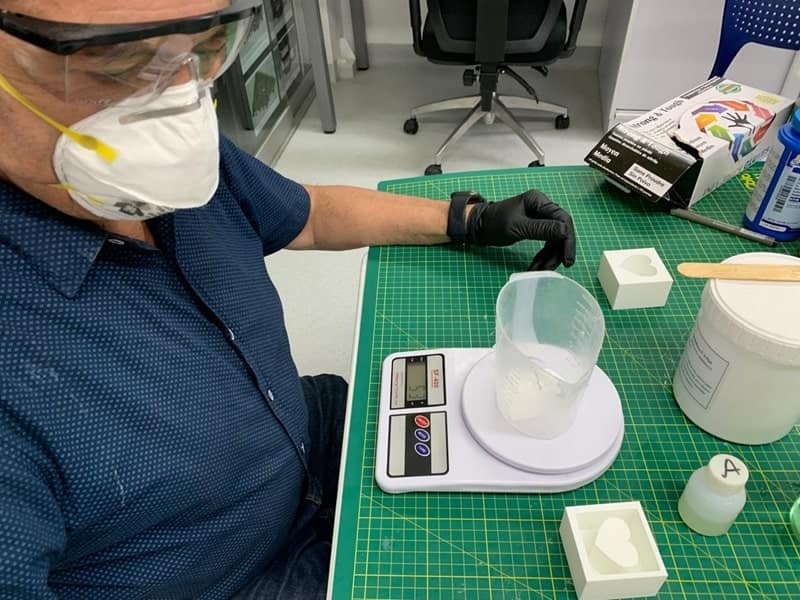
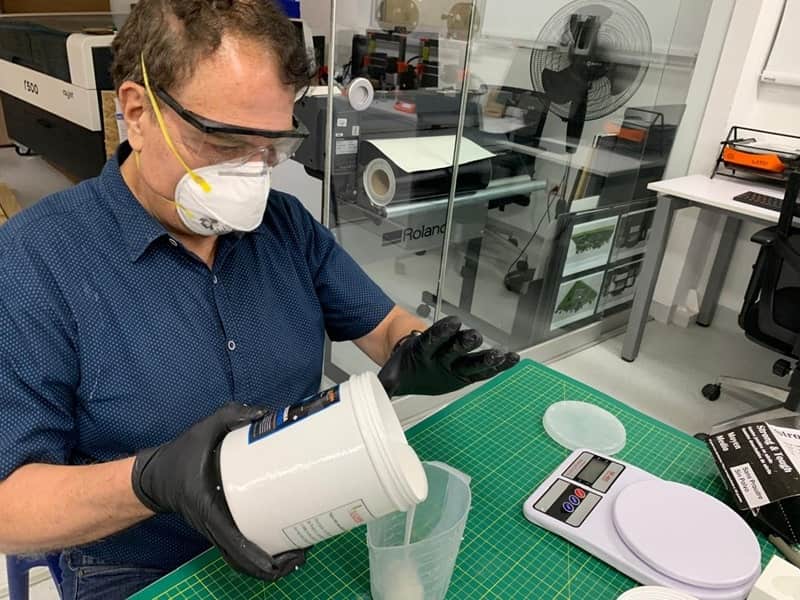
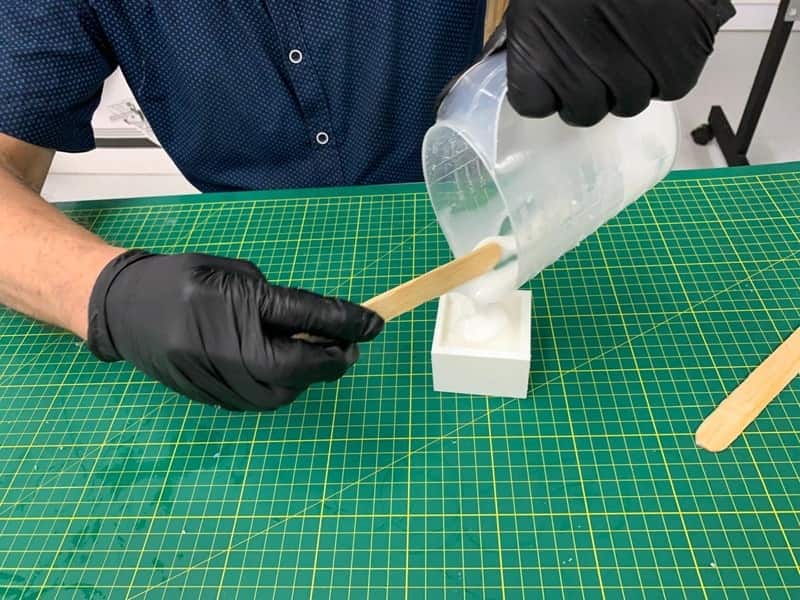
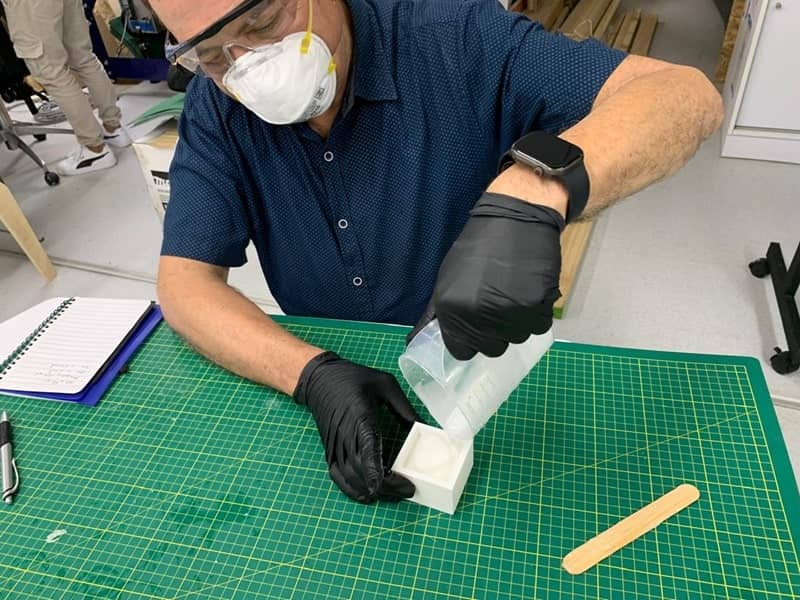
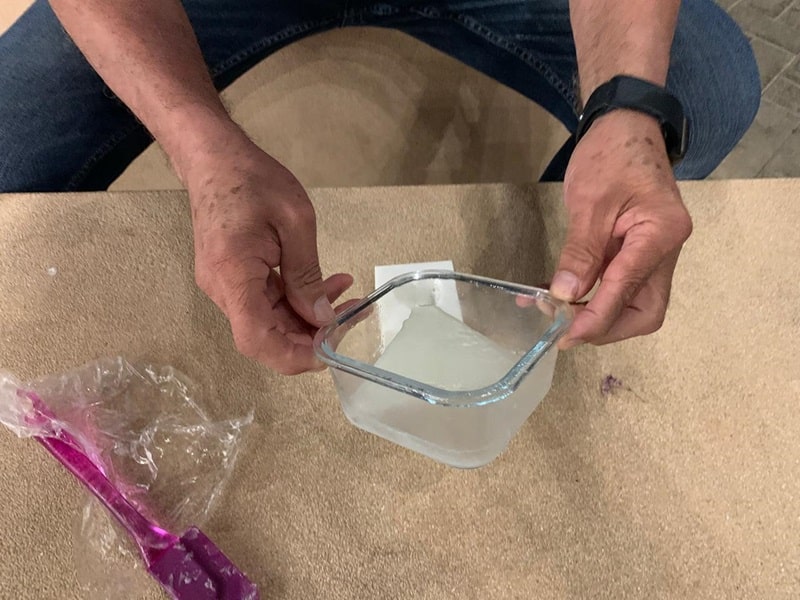
After reading the technical sheets, we put on safety equipment such as glasses, gloves, and apron and read the instructions.
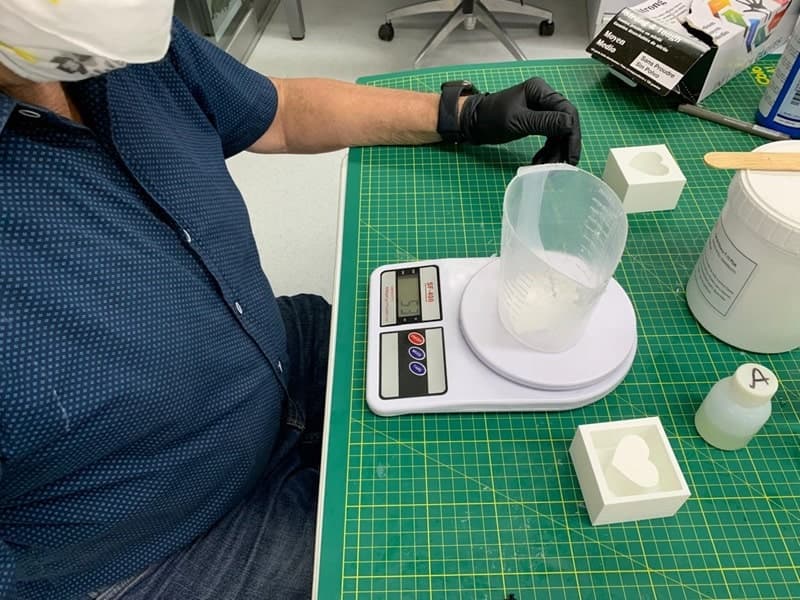
We then began weighing to achieve the proper silicone to catalyst ratio according to the data sheets.
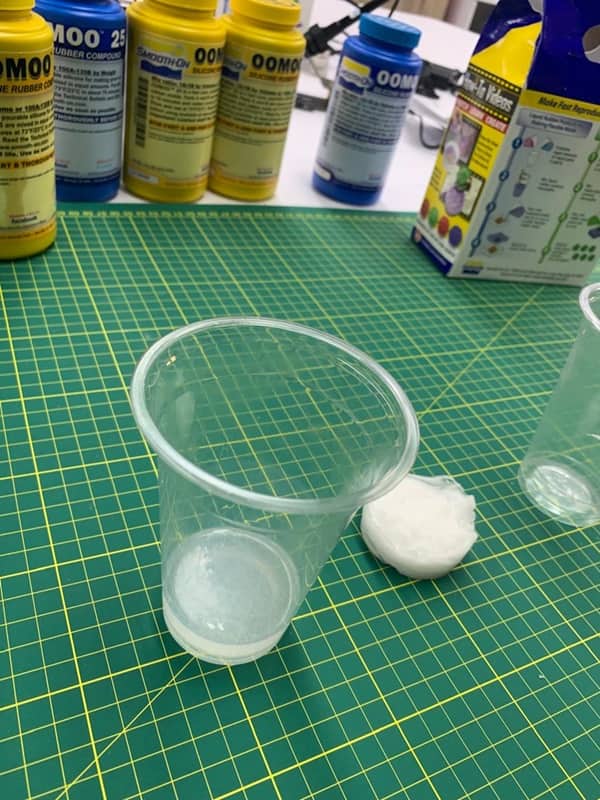
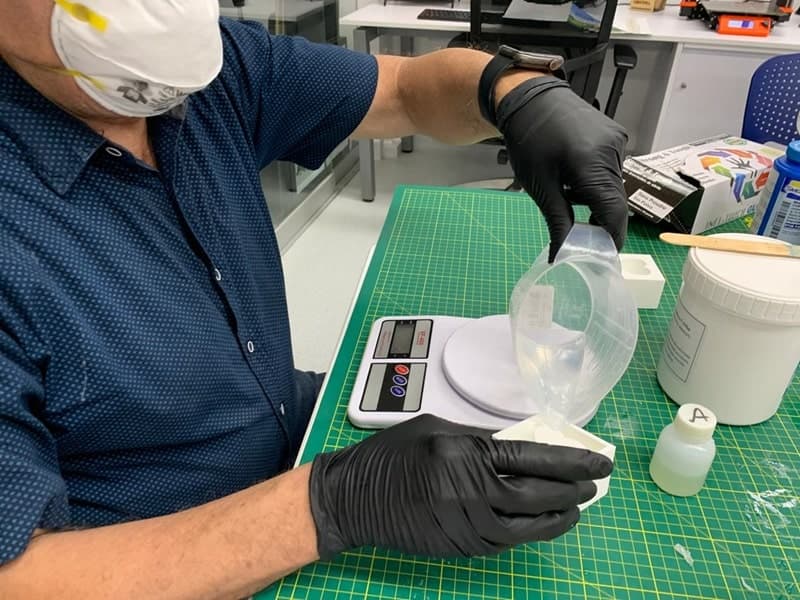
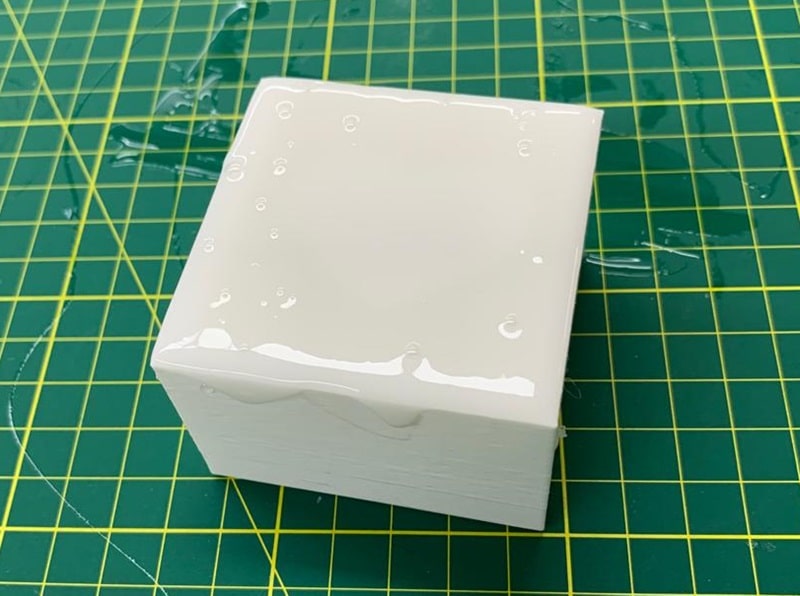
After combining both materials, we start moving the mixture to get a uniform liquid to get the silicone test result. Finally, after 8 hours, it solidified inside the glass that we used as a mold.
c. RTV SILICONE HARDNESS 30-1 FOR FOOD
It consists of 2 components and is food grade to be used for food molds. It has high resistance to high temperatures and tearing. Technical specifications.
Procedure:
We weighed our containers, then weighed the exact amount for our test and began mixing both components. We add the necessary amount according to the amount mentioned in the technical specifications and begin to mix for 3 to 5 seconds to pour into the glass that we will use as a container. After 10 hours the curing process was completed.
d. EXTRAFLEX RTV SILICONE RUBBER
The following silicone has extra flexibility that makes it easier to remove the inner mold; it is specifically intended for soaps, candles, among others.
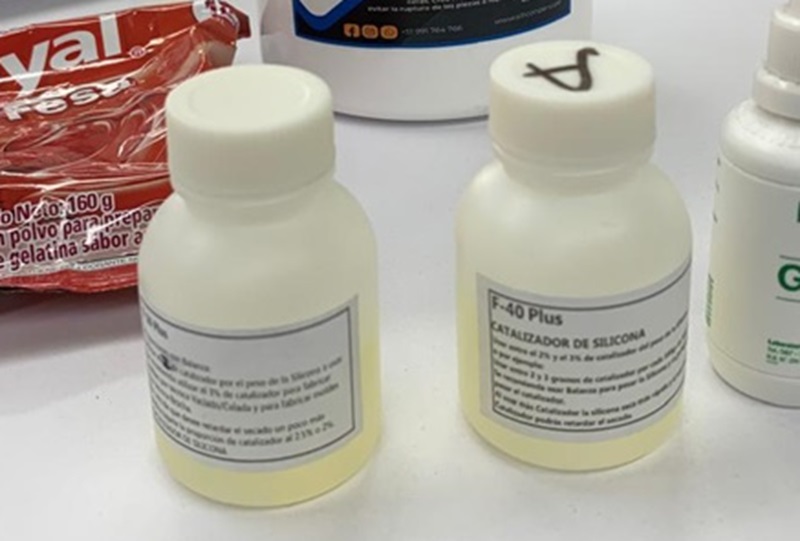
It is made up of 2 components: silicone and silicone catalyst. The technical sheet is as follows:
Procedure:
We implement ourselves with security devices.
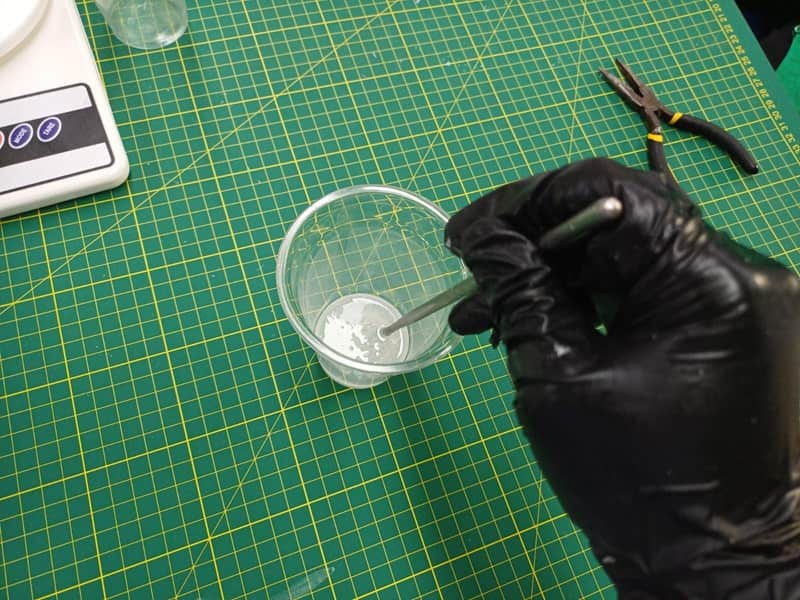
Our test container was weighed and then the components. We begin to mix the silicone with its catalyst. Then we begin to mix and move to have a uniform mixture so that it is contained in the mold and can enter all the details of the glass on that occasion. Finally after obtaining the mixture and waiting approximately 8 hours after making the mixture. We can unmold and obtain the result. The silicone is very flexible and took the exact details of the packaging.
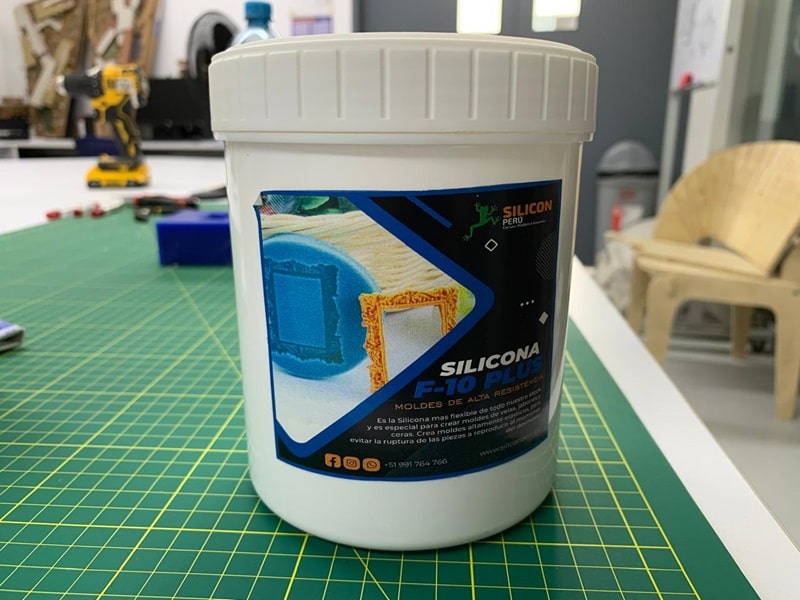
e. F10 PLUS SILICONE
RTV F-10 silicone is flexible, resistant to breakage and is used to produce molds for wax, soap, and candles. Here is a summary of its technical specifications:
Procedure:
We pour 100 ml of silicone and 3 ml of catalyst into a glass.
The mixing was done and we waited 24 hours to obtain results.
Platinium and Extraflex silicone have a shorter curing time and the product is ready to use. Regarding demolding, I would recommend using EXTRAFLEX and F10 PLUS because they are more flexible. The F10, Platinium, and Extraflex silicones present better detail of the mold we want to make. PLATINIUM silicone presents difficulties in removing the object because it is not flexible.
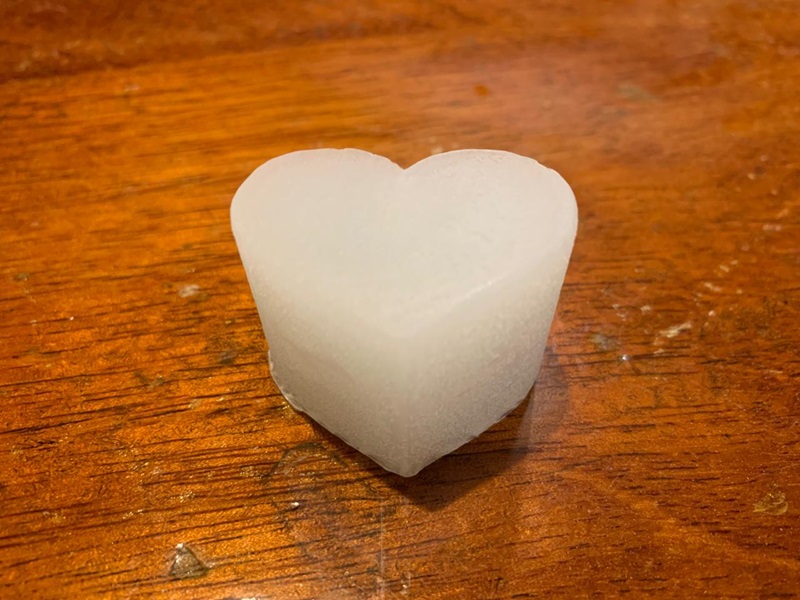
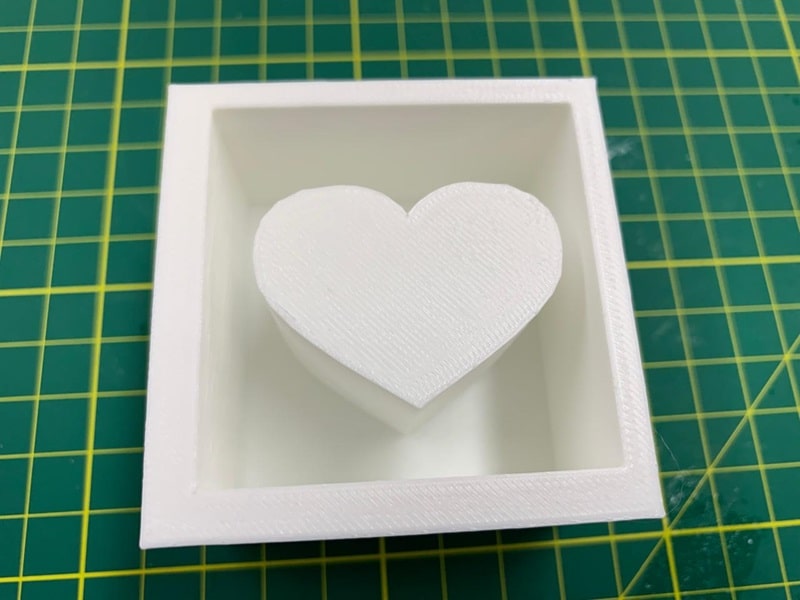
The object to be melted and formed in the mold was a heart-shaped soap. I developed the design of the mold negative with the SOLIDWORKS application.
The generated file was exported in STL format.
To check that the imported object is correct, I used the PRUSA SLICER program.

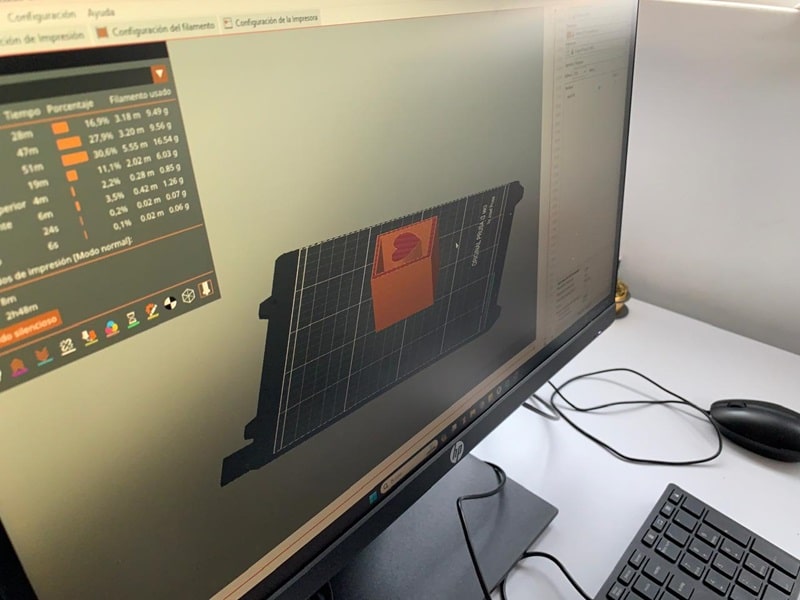
Once I checked that it was fine, I proceeded to set the nozzle temperature to 190° and the base to 60° on the 3D printer.
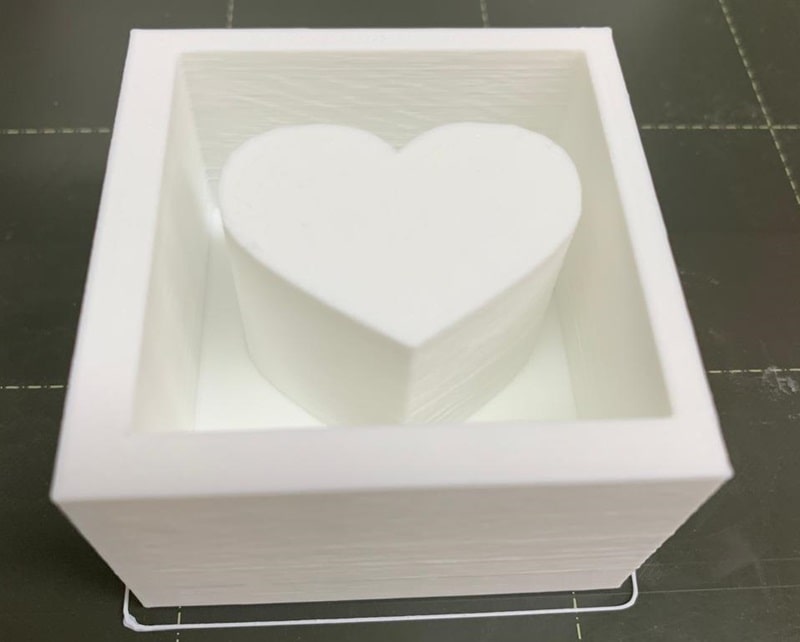
The material used for the mold negative was white plastic.

I set the printer retraction and reviewed the temperature and shrink details.

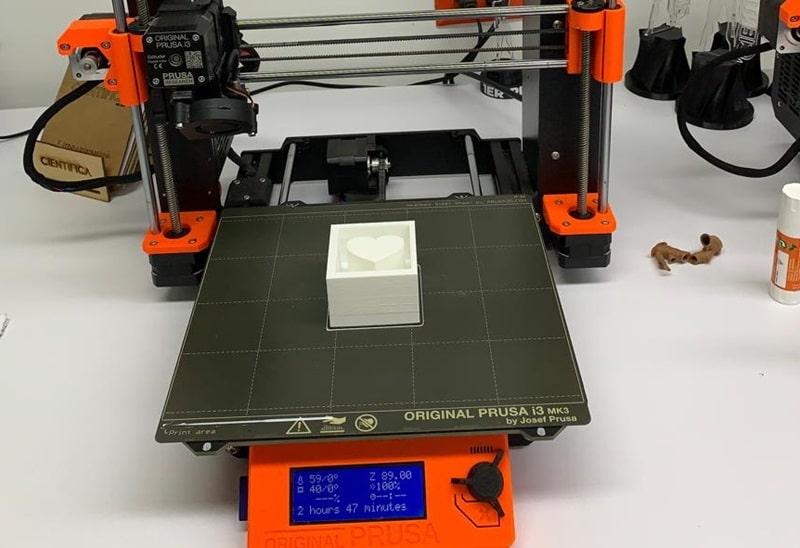
Next, I proceeded with 3D printing my mold, it is always good to check if everything is fine and the printer is making the model.
I protected it from the wind with cardboard to maintain the temperature and the printing lasted 2:45 hours.
The material I used for the mold was SILICONE F10 PLUS. To know the amount of silicone I was going to use, I poured water into the mold which gave 87 ml and I calculated 2% for the catalyst which gave 1.74 ml.
In order to have a surplus due to shrinkage, I used 100 ml of silicone and 2 ml of catalyst.
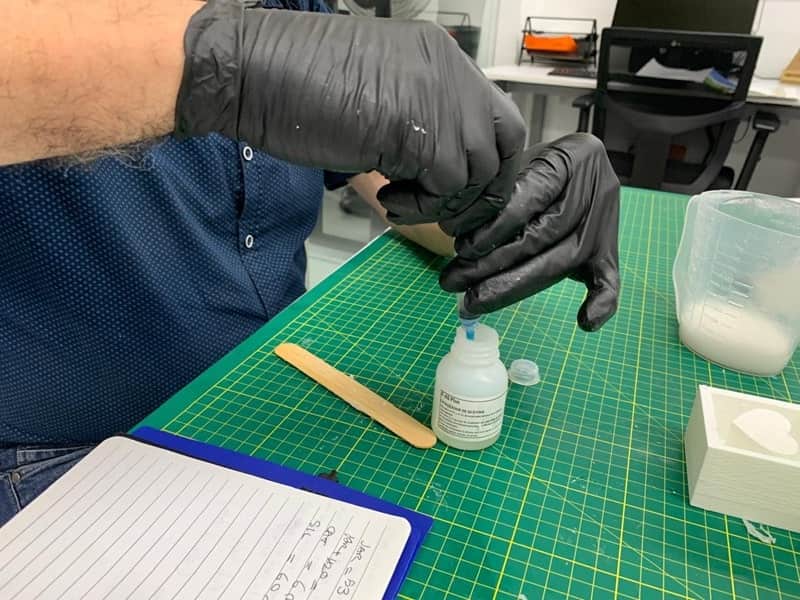
Mix both compounds in a container for two minutes, being careful to do it slowly so as not to create bubbles.
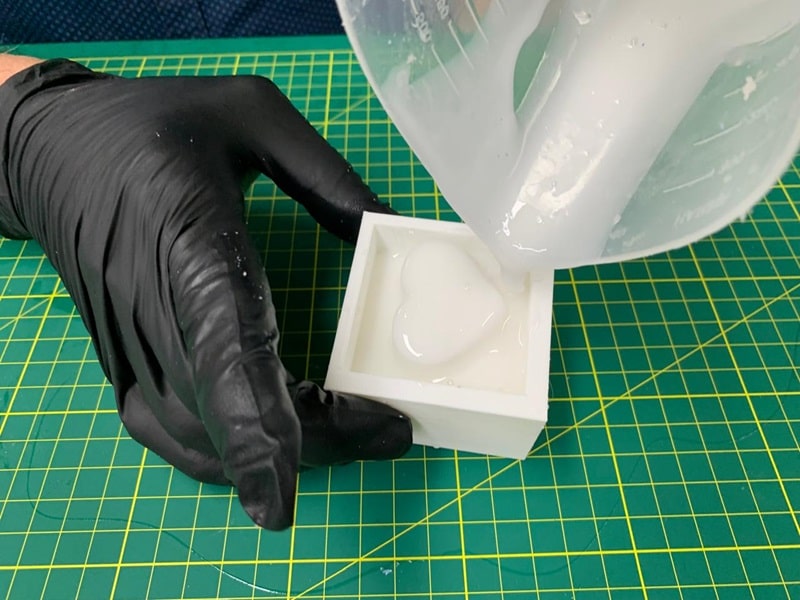
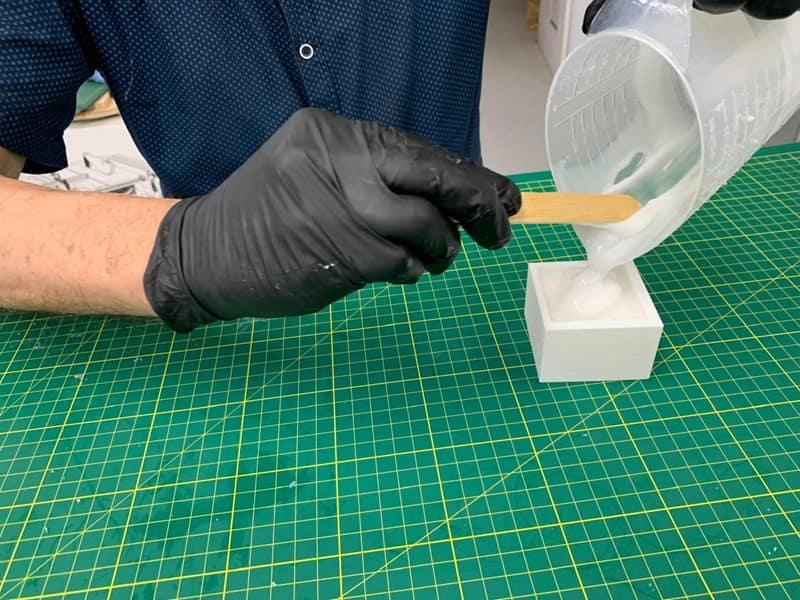
Immediately afterwards I poured the silicone compound into the negative of the mold.
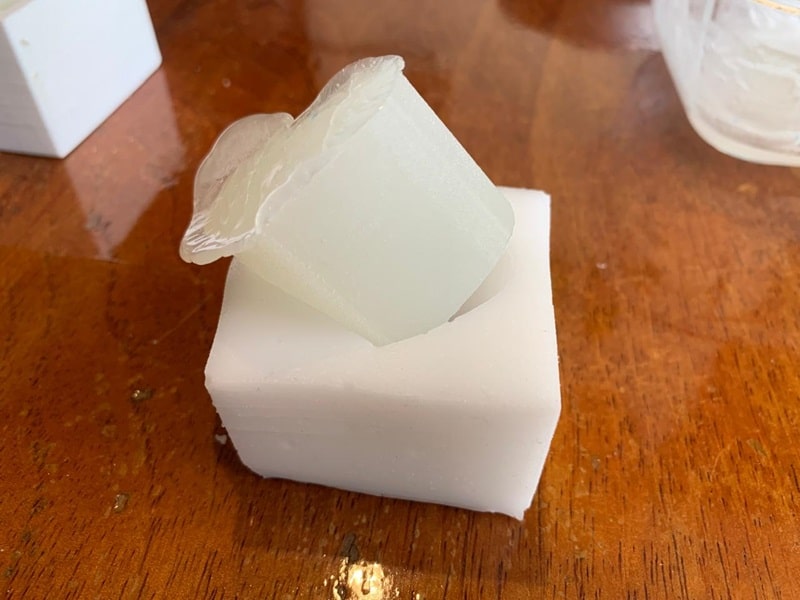
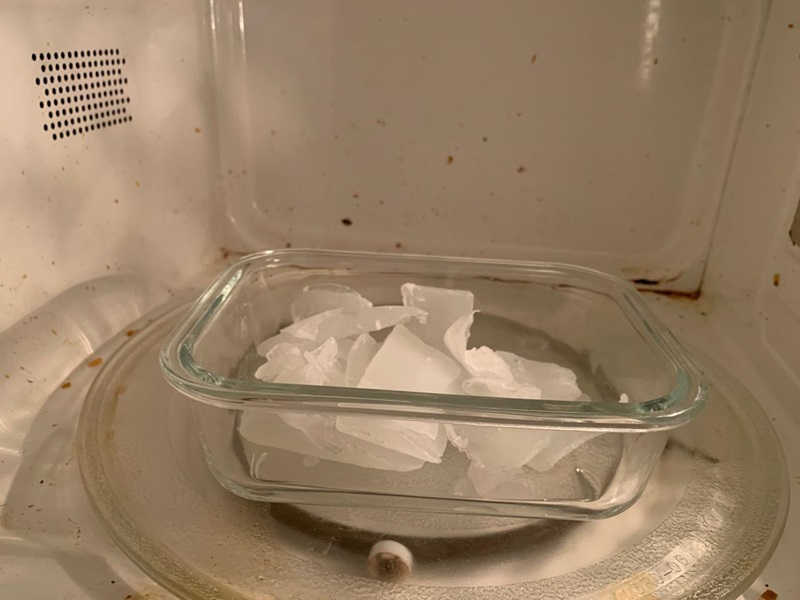
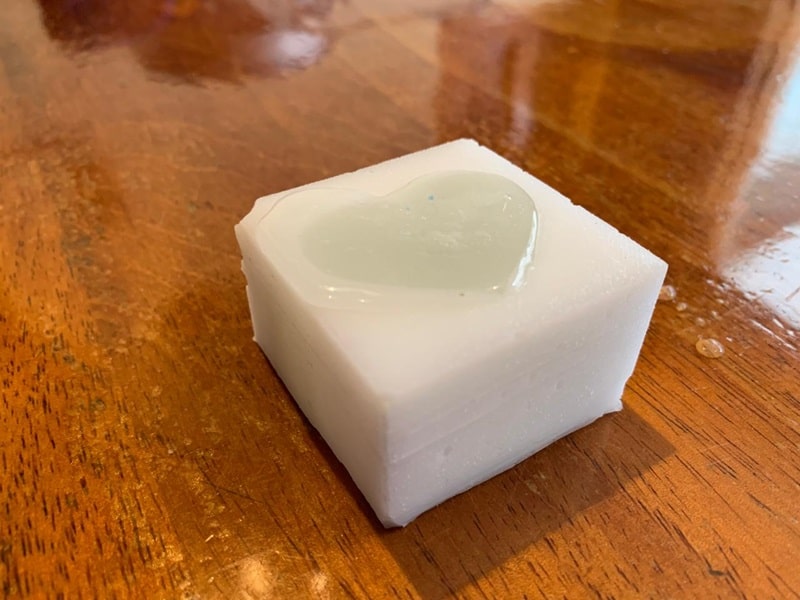
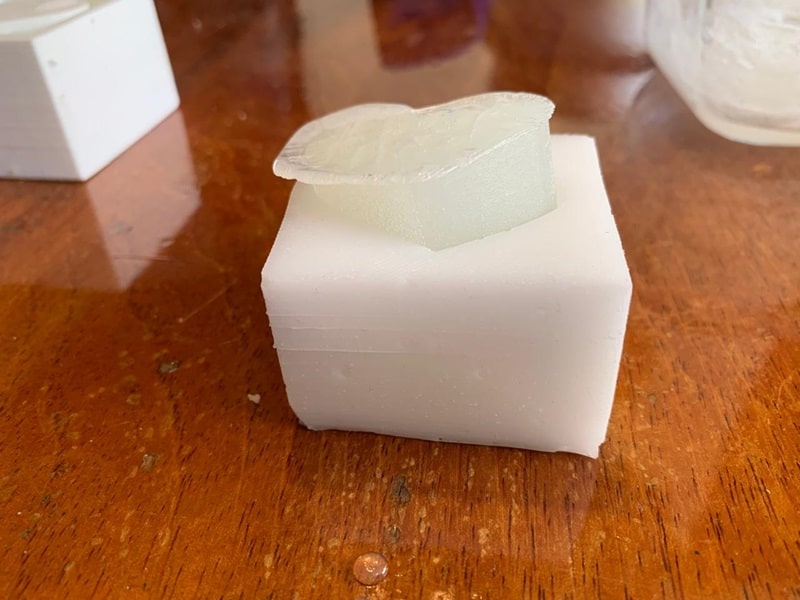
The next day and after 24 hours, remove the mold from your negative, I heated the soap in the microwave at home using a pyrex container.

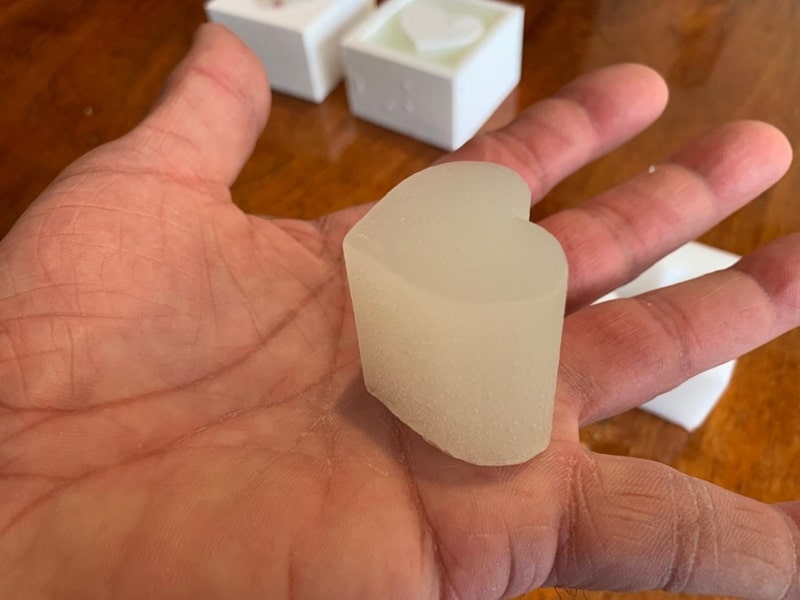
After 30 seconds, remove the container and pour the melted soap into the silicone mold. I waited an hour and was finally able to get the heart soap.
At the production level, it is much cheaper and faster to use molds instead of a 3D printer. On the other hand, it is interesting the large number of silicones that we can get and that each of them has an appropriate function for objects or foods.
The work was very interesting, I learned and was very scared but I hope to continue learning more about molds and achieve a "perfect" mold with a machine.
We must take into account the technical sheets of each silicone that we are going to use since it gives us a lot of information for the use, the proportion and most importantly, the safety of each of us.
Be careful to keep the material in its packaging so that it does not deteriorate.