Wildcard Week
This week we have a wild card, where we can develop something with digital processes incorporating computer-aided design and its manufacturing...
The assignment was:
individual assignment: Design and produce something with a digital process (incorporating computer-aided design and manufacturing) not covered in another assignment, documenting the requirements that your assignment meets, and including everything necessary to reproduce it.
Mugs sublimation
Sublimation is a digital printing process that allows you to transfer images and designs onto objects such as mugs.
The process is based on sublimation, which is the transition of a substance that goes directly from the solid state to the gaseous state without passing through the liquid state.
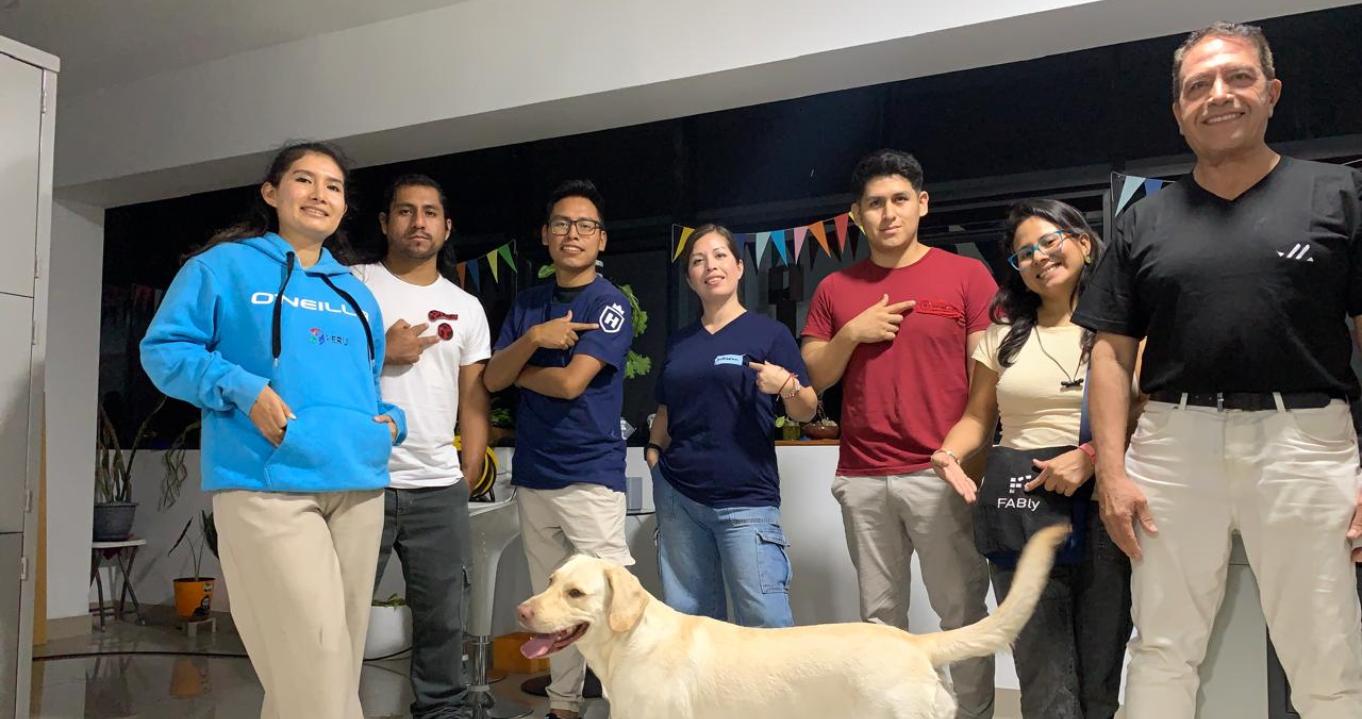
Here we all pose with the embroidery we made, it was an entertaining experience and a lot of learning.

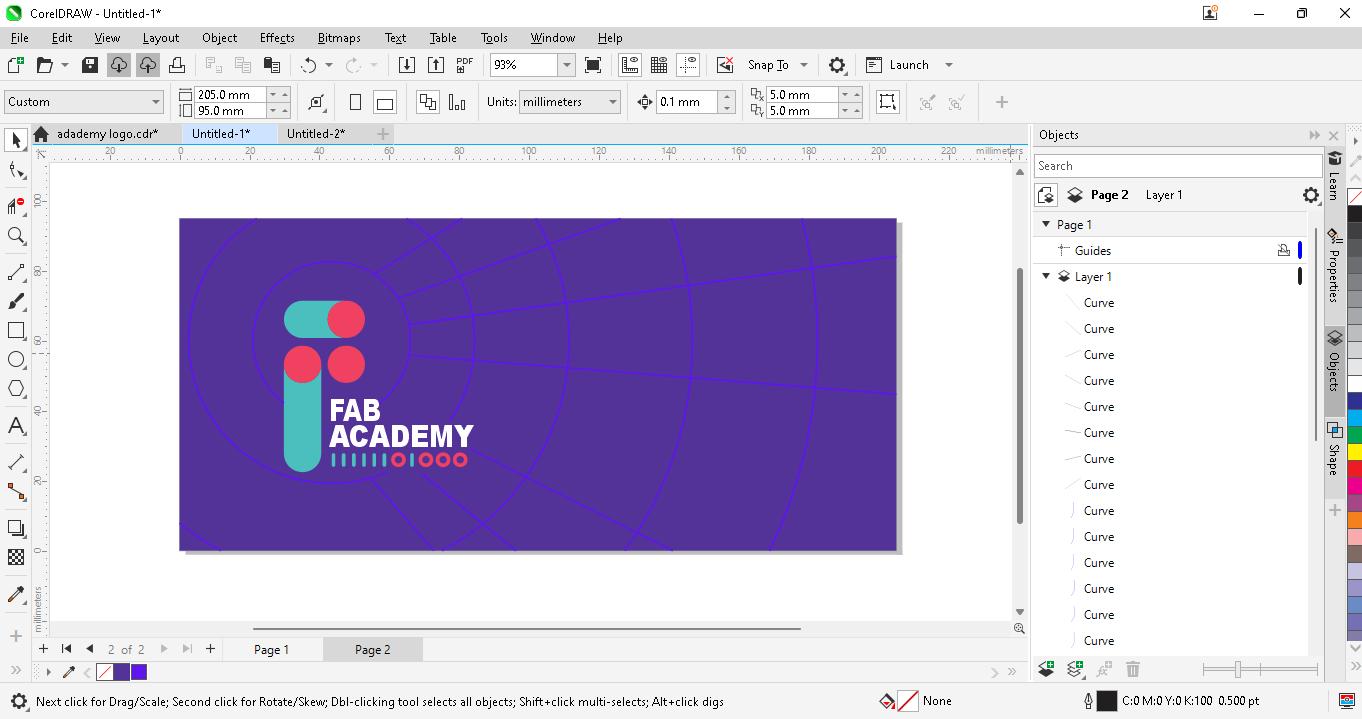
First we will design the logo in Corel Draw, we take the Fab Academy 2024 logo as a base.
The dimensions of the format for 11 Oz. cups are 205x95 mm.
clarify that it is not an image, they are vectors.
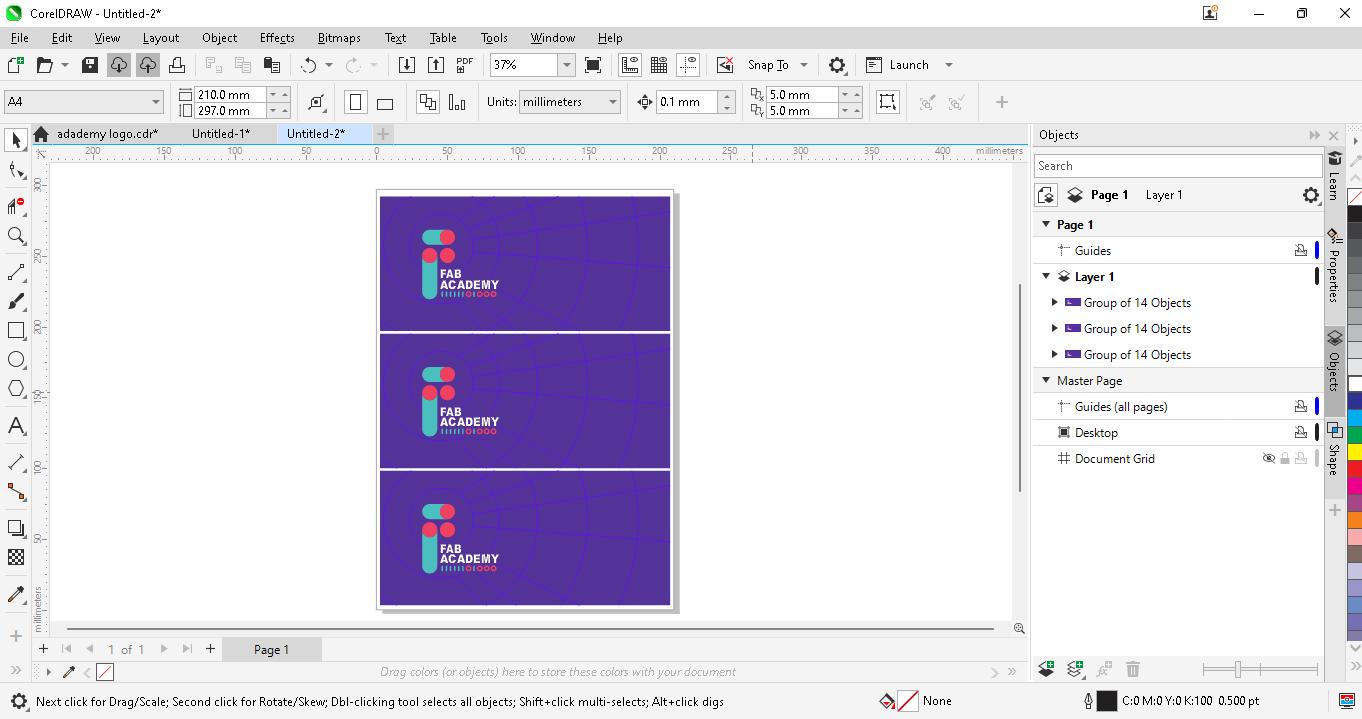
We edit in A4 format for printing.
There are 3 designs in the format and we send them to print.
We export it in .PDF format
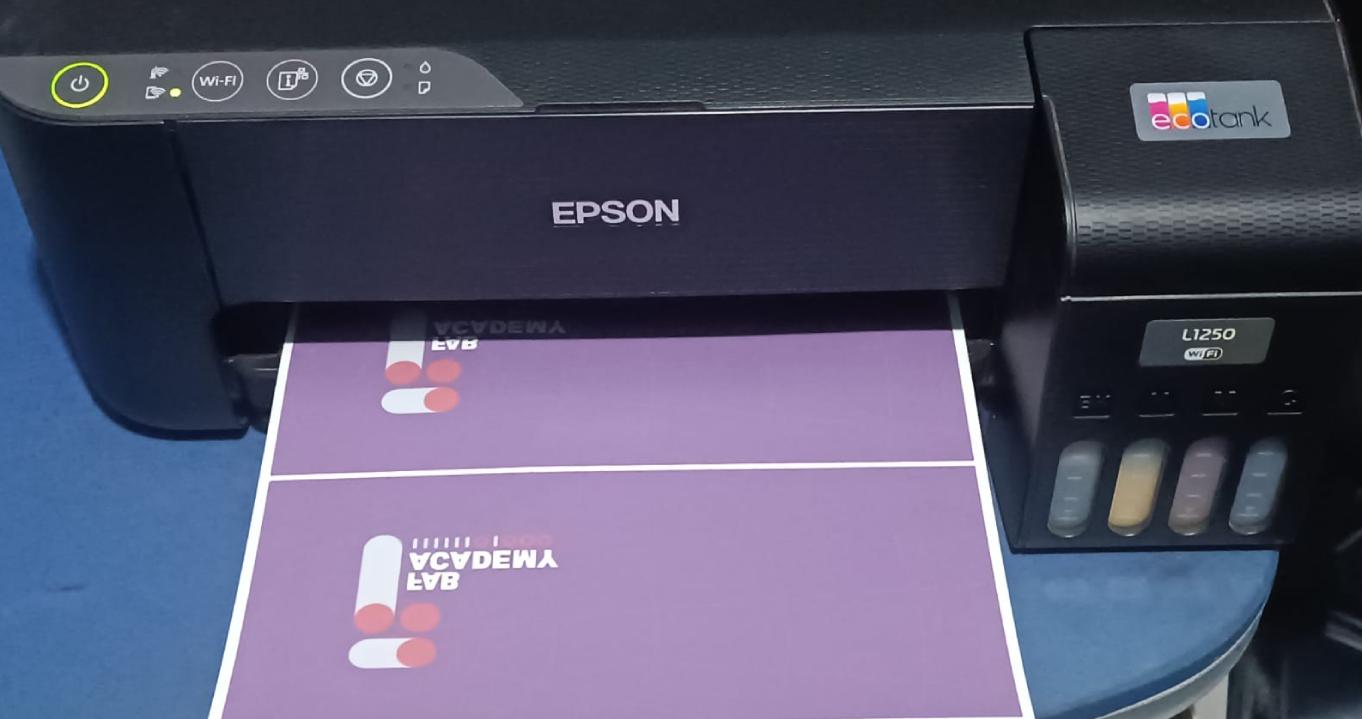
In Photoshop configure the printer and make sure to print in mirror.
The paper to use is "Premium sublimation heat transfer paper" A4.
CMYK inks are special for sublimation.

Printing process
We glue the printed art onto the cups with thermal tape.
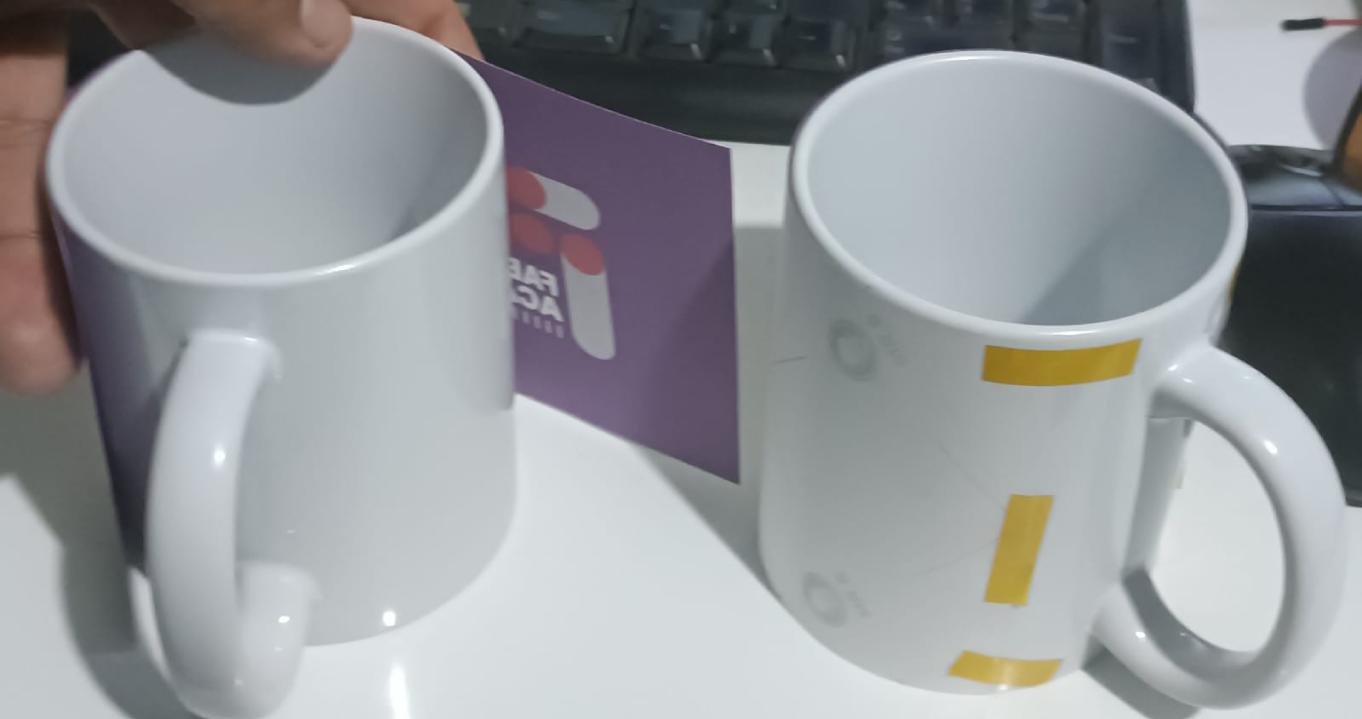
Setting the mug sublimation machine to 180° C and 60 min.

Sublimation process
We remove the art carefully because the cup is hot.
Final result, it works!!!
Computerized embroidery
For this assignment visit "Garage Lab" where they have a computerized embroidery machine.
We met as a group to test the machine since none of us had had that experience.
Here we all pose with the embroidery we made, it was an entertaining experience and a lot of learning.
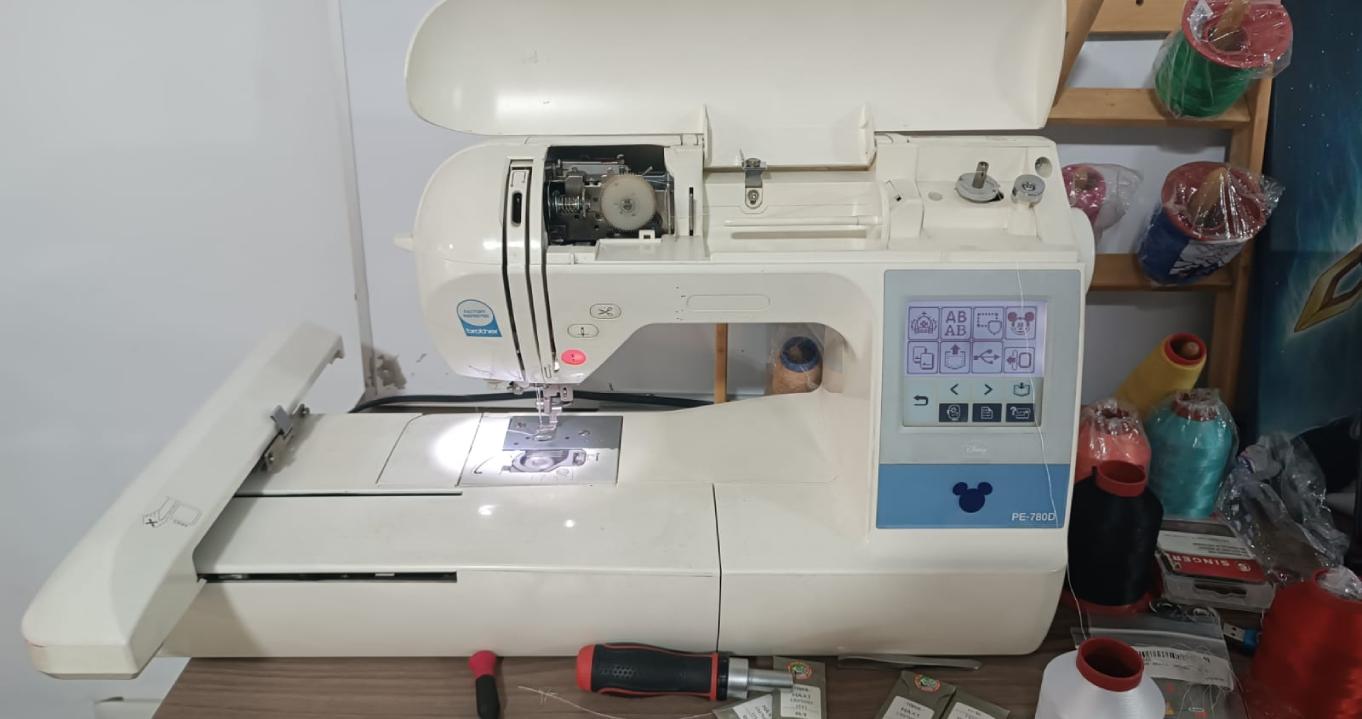
The computerized embroidery machine we used was Brother PE-780D
It's easy to learn and fun to use.
The machine has a maximum design area of 5" x 7"
It's perfect for embroidering on a variety of fabrics, including cotton, polyester, and silk.
Comes with a USB stick compatibility, making it easy to transfer designs and patterns.
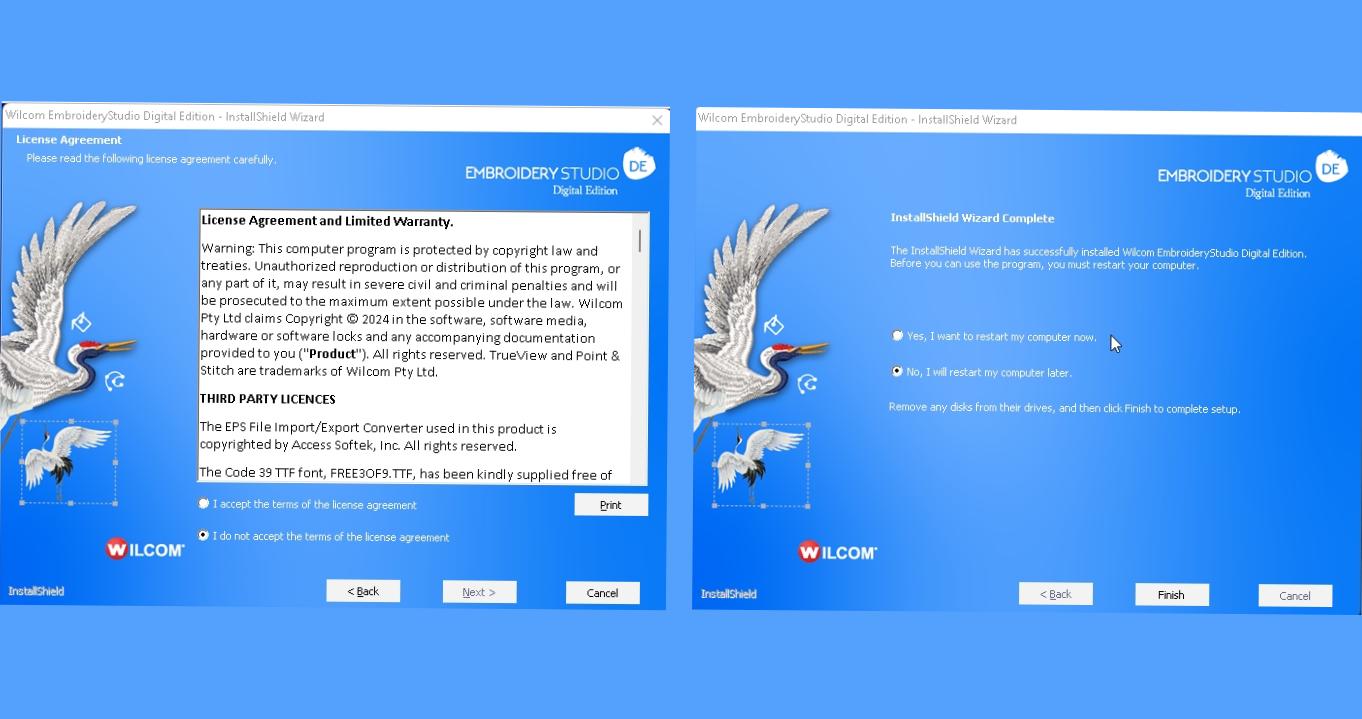
The first thing I did was install the 14-day free trial of the EmbroideryStudio Digital Edition software where we will make the designs and then export them.
You can visit the Wilcom website to download the software

Once the software is downloaded (by the way, it takes a long time to download) we install it and it is ready to try and have fun embroidering.
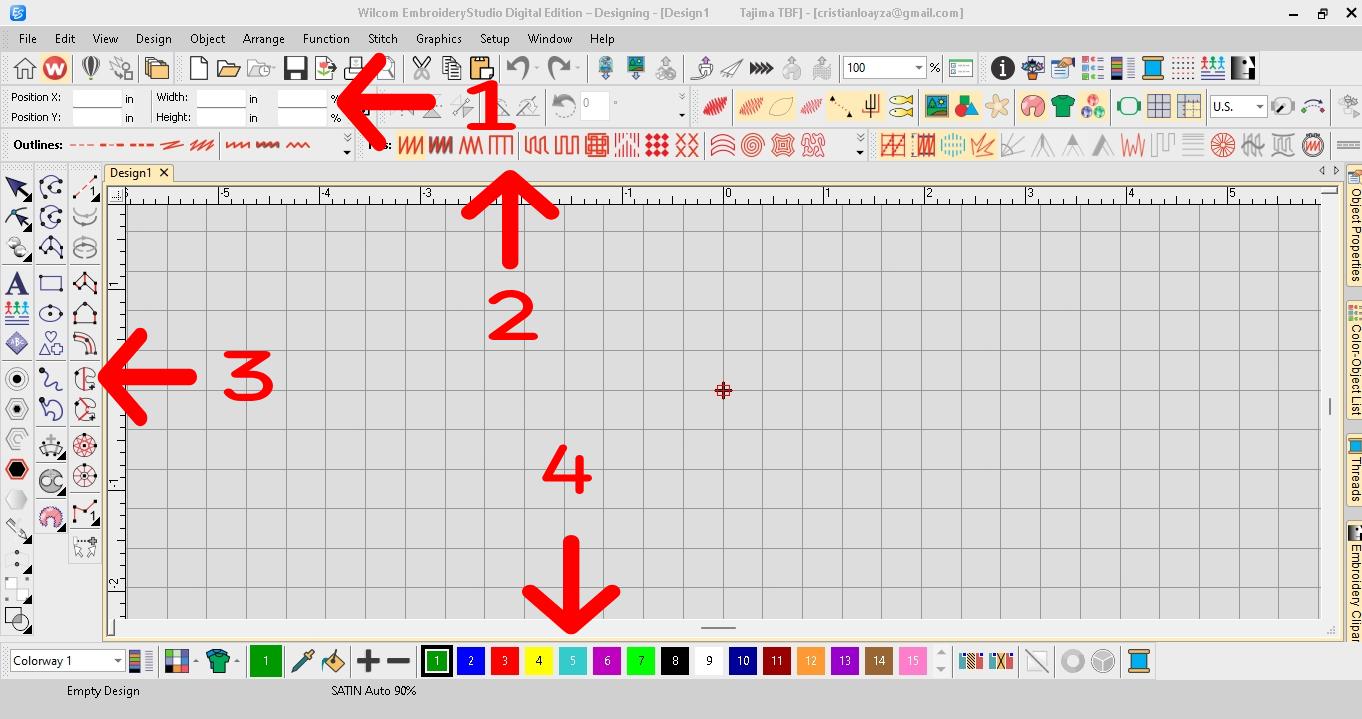
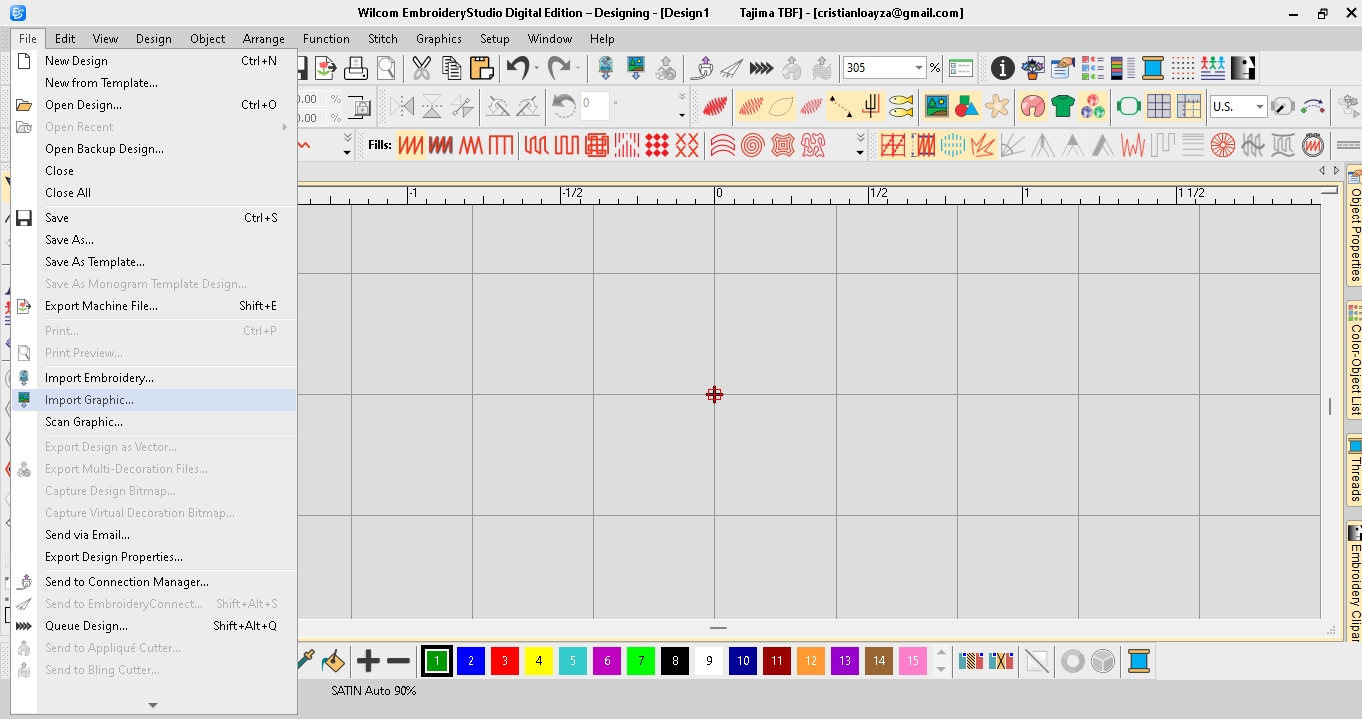
This is the software environment:
1. Position and dimensions
2. Fill stich types
3. Traditional digitizing tools
4. Colors
We import the image that we will work on, for this test I chose my personal architect logo.
File -> Import graphic -> select file -> Open
This is my architect logo, it is a minimalist design and has two colors.
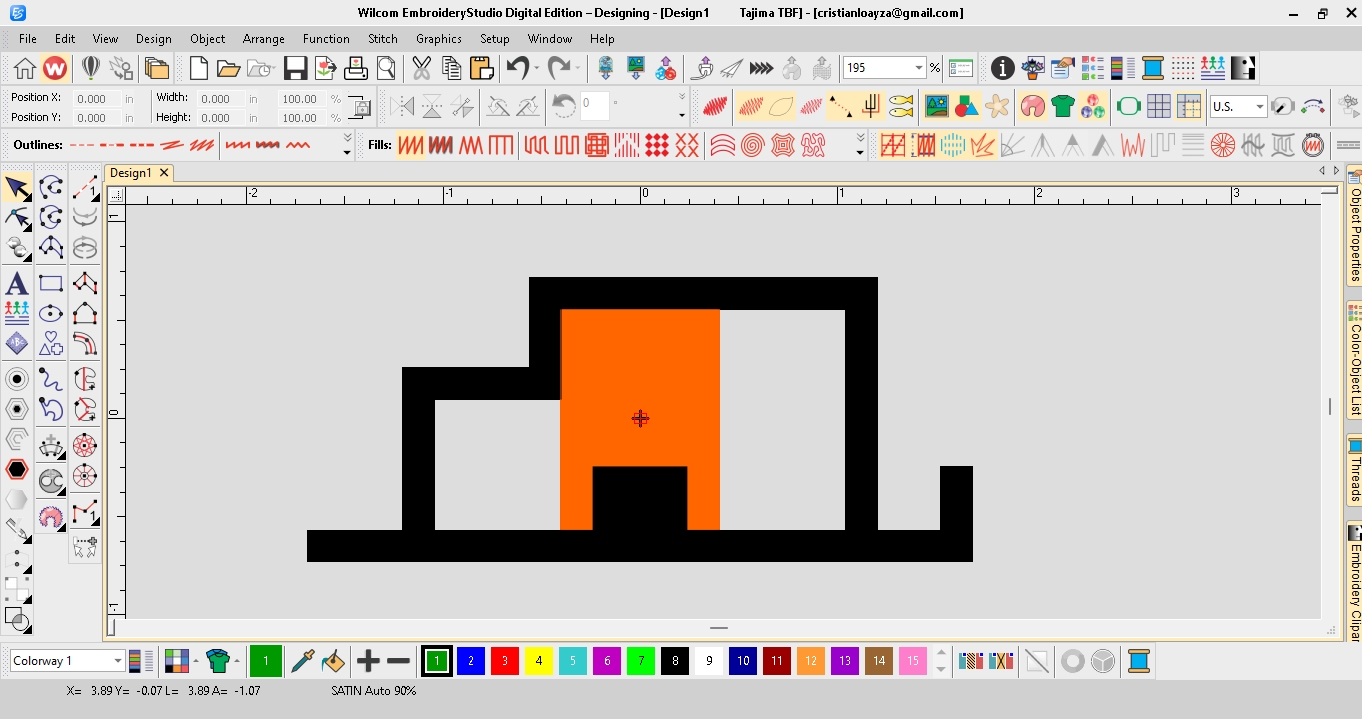
We are going to start digitizing the image, for this process we will use the complex fill tool.
This tool allows us to digitize filled shapes with a single stitch angle.

First we digitize all the black color:
1. We select the color.
2. We choose the true view.
3. We select the type of filling: Tatami.

Then we digitize all the orange color:
1. We select the color.
2. We choose the true view.
3. We select the type of filling: Tatami.

Now we generate a simulation to see the entire process.
We export the file in .PES format
PES file is a design file format used to generate embroidery designs and images for Brother, Babylock and Bernina embroidery machines.
File -> Export machine file -> Select .PES -> Save

We prepare the frame with the fabric, for this test the fabric we will use is thick black felt.
We place the frame in the embroidery machine
We begin the embroidery process.
Final result logo embroidered with two colors on black felt.
