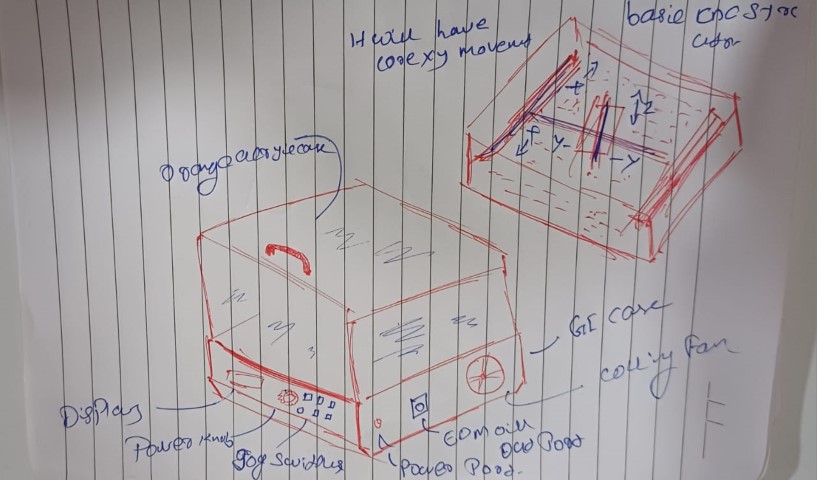
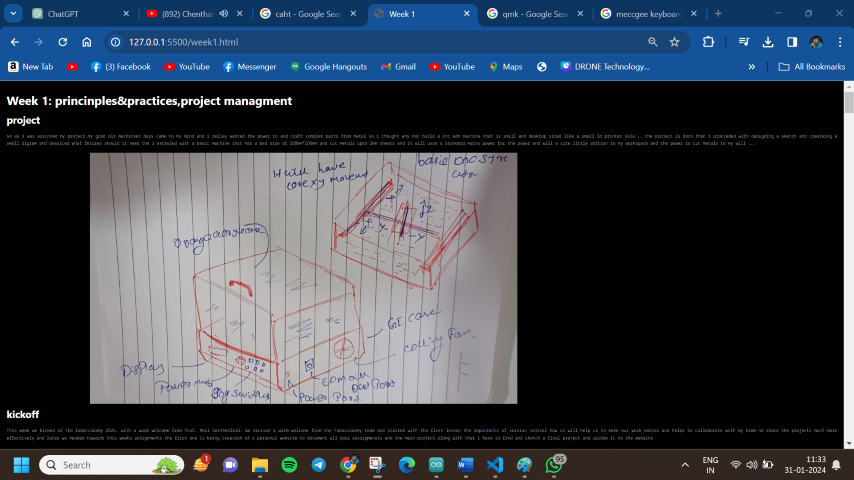
So as I was assigned my project, my good old machinist days came to my mind and I really wanted the power to craft complete parts from metal. So I thought why not build a CNC EDM machine that is small and desktop-sized like a small 3D printer. Voila, the project is born! Then I proceeded with designing a sketch and creating a small diagram and decided what features it should need. I settled with a basic machine that has a bed size of 100mm x 100mm and can cut metals up to 2mm sheets. It will use standard mains power and will be a cute little addition to my workspace, giving me the power to cut metals to my will...
This week we kicked off the Fab Academy 2024 with a warm welcome from Prof. Neil Gershenfeld. We received a warm welcome from the Fab Academy team and started with the first lesson on the importance of version control, how it will help us to make our work easier, and how it helps to collaborate with my team and share projects much more effectively. Later, we headed towards this week's assignments. The first one is the creation of a personal website to document all your assignments and the main project. Along with that, I have to find and sketch a final project and upload it to the website.
In the first class, we learned the basics of HTML: how it works, what all the syntaxes are used for, and how each part works. I started with the Phoenix code editor to edit the basic HTML code and created my first webpage, created multiple texts, and also brought an image from the code to the webpage. Shown below is the content for Week 1. You can add various elements like text, images, and more to showcase your work or progress in this week's assignment.
After mastering the basics of HTML, I began studying CSS to improve the design and layout of my website. I experimented with different styles, colors, and fonts, and learned how to make my website more user-friendly and visually appealing.
We used different types of CSS like inline, internal, and external. Each type offers a different level of flexibility and control over the page's design, allowing us to optimize our website according to our specific needs.
Following our exploration of HTML and CSS, we were introduced to Visual Studio Code. This is a powerful and user-friendly code editor that will assist us in writing, debugging, and executing our code. We also learned how to utilize its various features and extensions to streamline our coding process and increase productivity. We started off with downloading and setting up VS Code and setting the first 2 extensions: Live Server and Save Type.
After setting up Visual Studio Code, the next step was to create our first folder. This was to organize our files and keep our workspace tidy. We learned how to create directories, save files, and navigate through our project structure effectively.

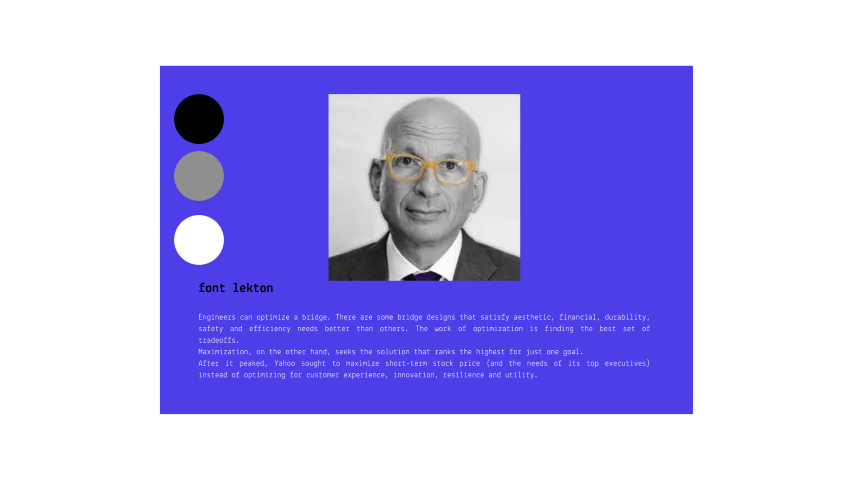
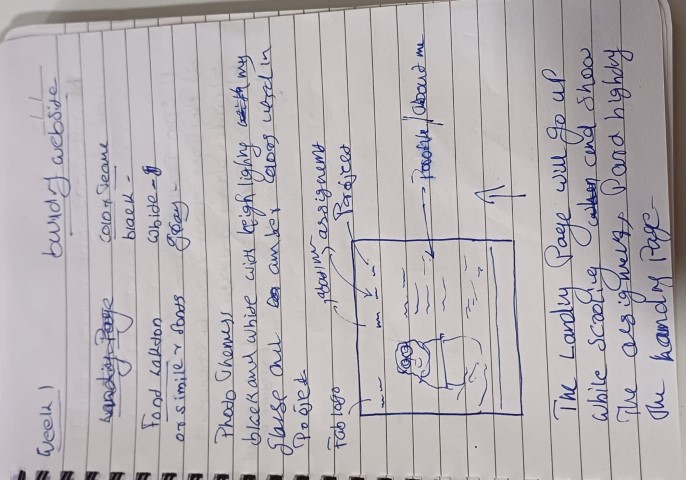
After setting up the function, I decided to create a theme board for my website. I started by researching various design inspirations and color schemes. Then I sketched out a rough layout for the website, including the placement of text, images, and navigation elements along with the design.
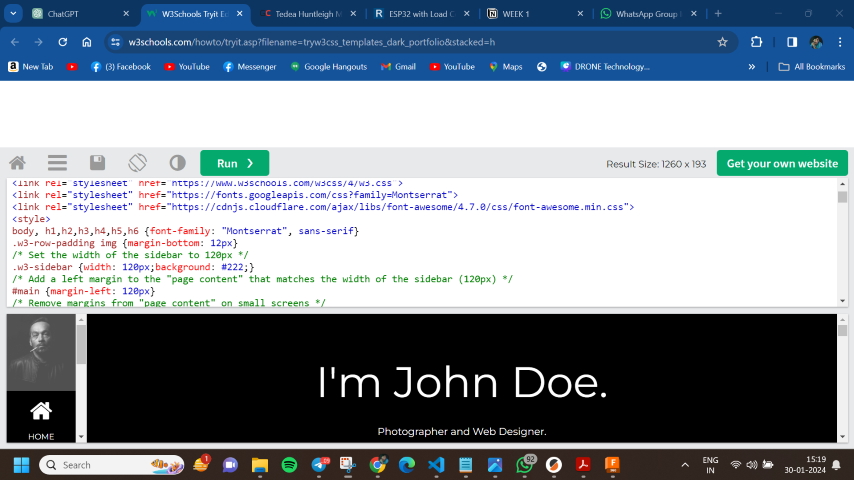
Even though I understood the basics, creating a full-fledged development was way ahead of my skill sets, so I was stuck at the starting step. To overcome this obstacle, I started taking additional online tutorials and revisiting the class notes. I also reached out to my peers for advice and guidance, which helped me to progress further in the development process. I started with YouTube, then stumbled upon W3Schools.
I got a simple template from W3Schools and started to test around on it, changing the fonts and colors. Gradually, I became more comfortable with the process and started to understand the logic behind the code. This allowed me to personalize the template to match my initial vision for the website.
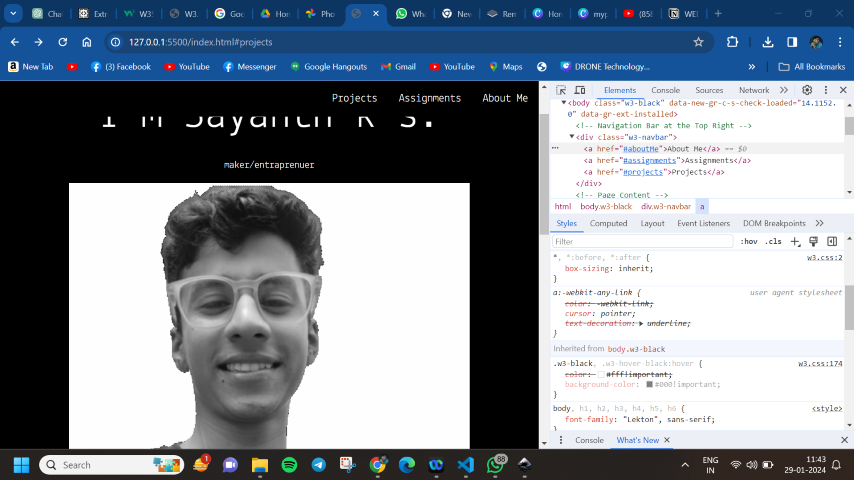
As I began editing the template to suit my needs, I discovered the usefulness of the Inspect tool in web browsers. This tool allows you to see the code behind the webpage elements and understand how they are structured. With the help of the Inspect tool, I was able to see the changes in real time as I modified the code, which significantly enhanced my learning process.
When I did not know about some syntax or code part, I used OpenAI's GPT-3 model. This AI chatbot was incredibly helpful in explaining complex coding concepts and providing solutions to issues I encountered. It was like having a personal tutor.
Then I started publishing the needed content into the website and started to develop more parts of the web by creating multiple HTML pages for different weeks.
Another valuable tool I utilized was Notion. This all-in-one workspace allowed me to manage and update my website content efficiently. I created separate pages for each section of my website content, making it easier to organize and keep track of all the updates.
And finally, I have a working website that is ready to be hosted. Sadly, I haven't received the GitLab account to host the website yet.
After getting familiar with the basics of website development, I was introduced to Git for version control. This tool helps in tracking and managing changes to my project files, facilitating efficient collaboration with my team. I learned how to initialize a repository, make commits, and push changes to GitLab.
I started off with downloading Git Bash and setting it up.
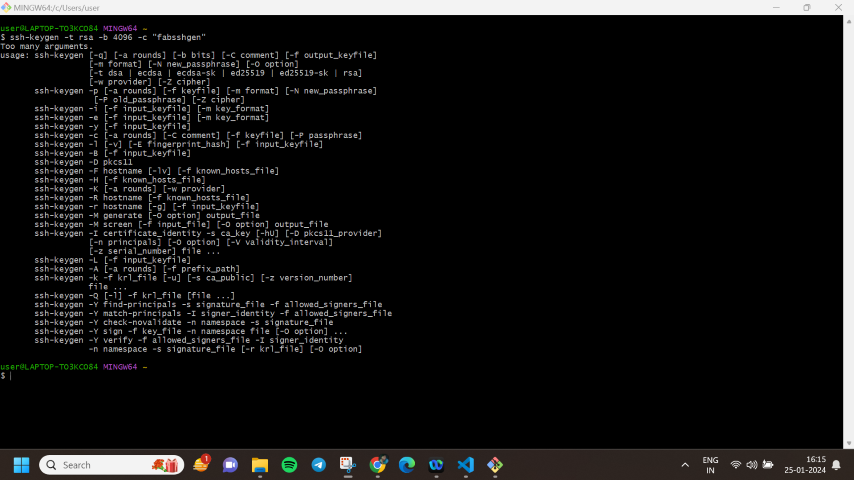
Then I moved on to creating the keys: public and private keys.
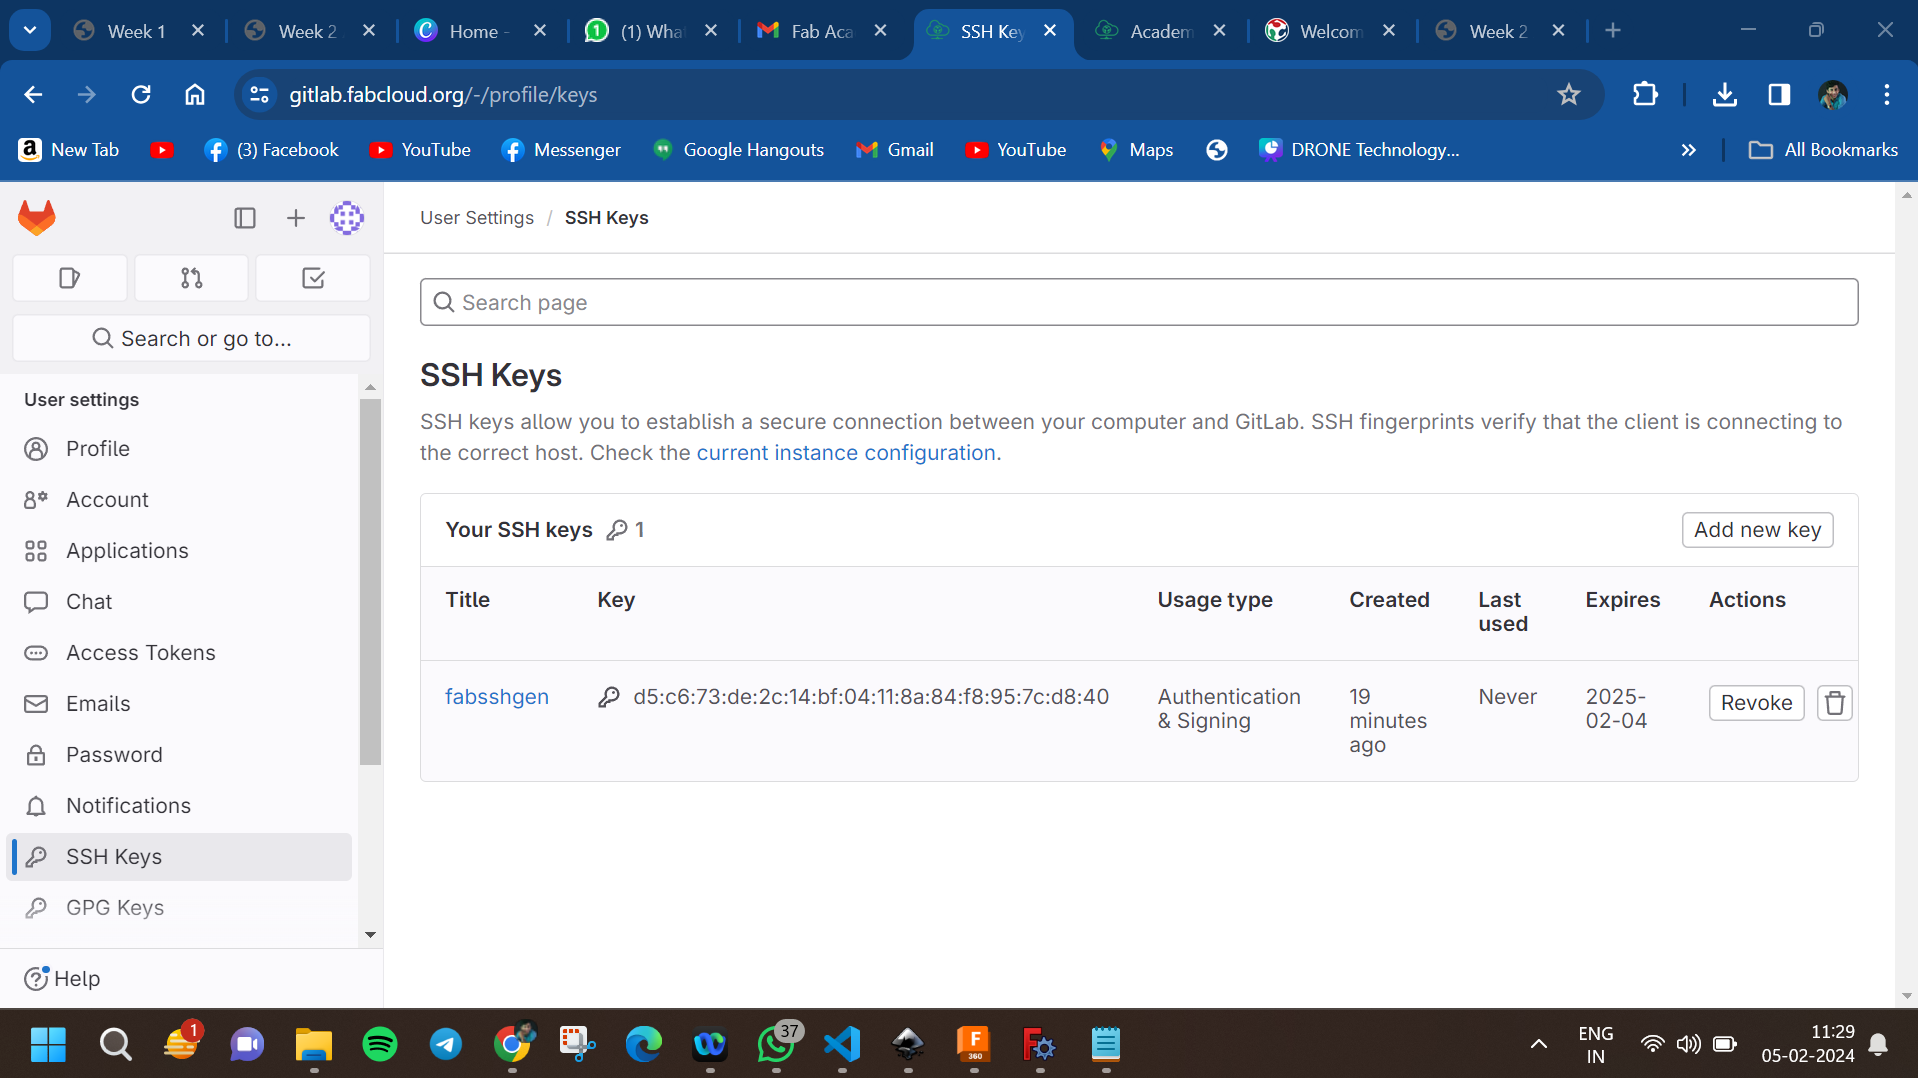
Then I moved on to my GitLab repo and proceeded to paste it there.
To use the SSH key, you need to start the SSH agent. Run the following commands in Git Bash:
Then I proceeded to clone my repo to my local machine and then moved on to edit the files and add my files into it.
Then I proceeded to add the files using git add commands.
After that, I proceeded with the git commit command and then pushed the files to my GitLab space using the git push command. I also used git diff to understand what changes I have created over time.
Then I recorded everything and documented the details to my personal blog.
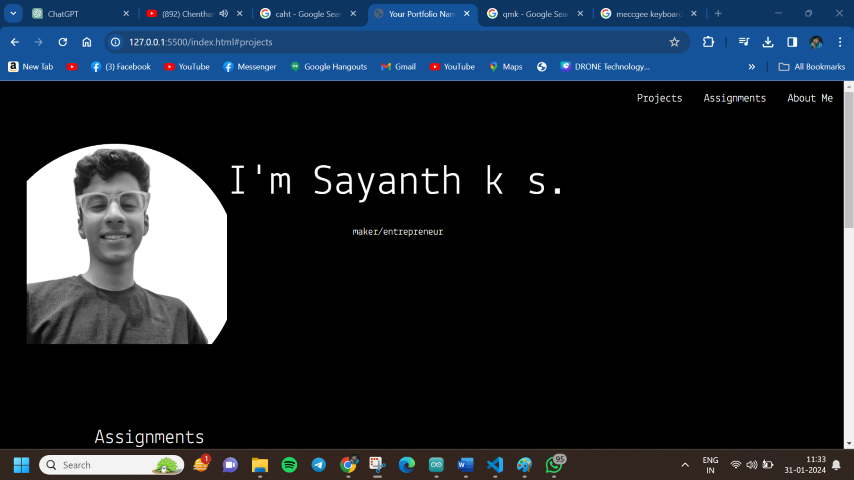
This is the final output of my website the first 2pages