CAD
Week 2 assignment:
- Model a potential final project (raster, vector, 2D, 3D).
- Perform actions like rendering, animating, or simulating on the model.
- Compress images and videos.
- Upload compressed files along with a description to the class page.
Raster and vector
learned about raster and vector
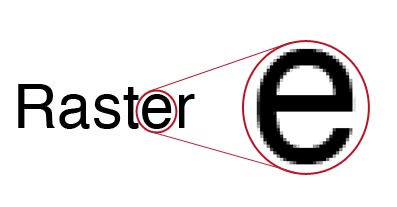
Raster image
- A raster image is composed of a grid of pixels, each with its own color value.
Vector image
- Vector Image: A vector image is composed of mathematical shapes and lines, allowing for scalability without loss of quality.

let’s start with image editors
Image editors are incredibly useful tools for editing photos, creating vectors, and drawing pictures. These software programs are mainly categorized into two types: Raster and Vector editors
Gimp
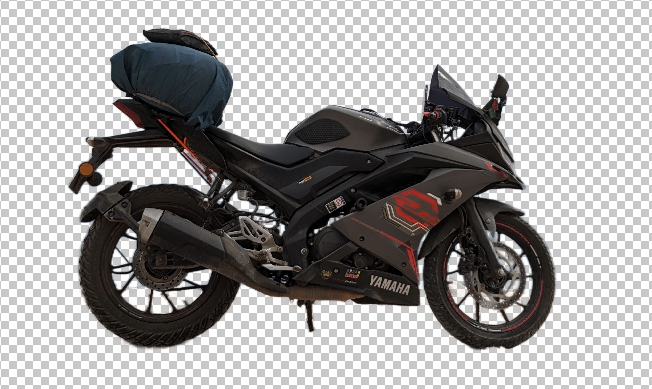
I began by using the GIMP software to eliminate the background from an image.
.png)
I employed the fuzzy tool to eliminate the background.
Photopea
Photopea is a versatile online image editing tool akin to Adobe Photoshop, allowing users to edit images and create designs directly within a web browser interface, eliminating the need for software downloads.
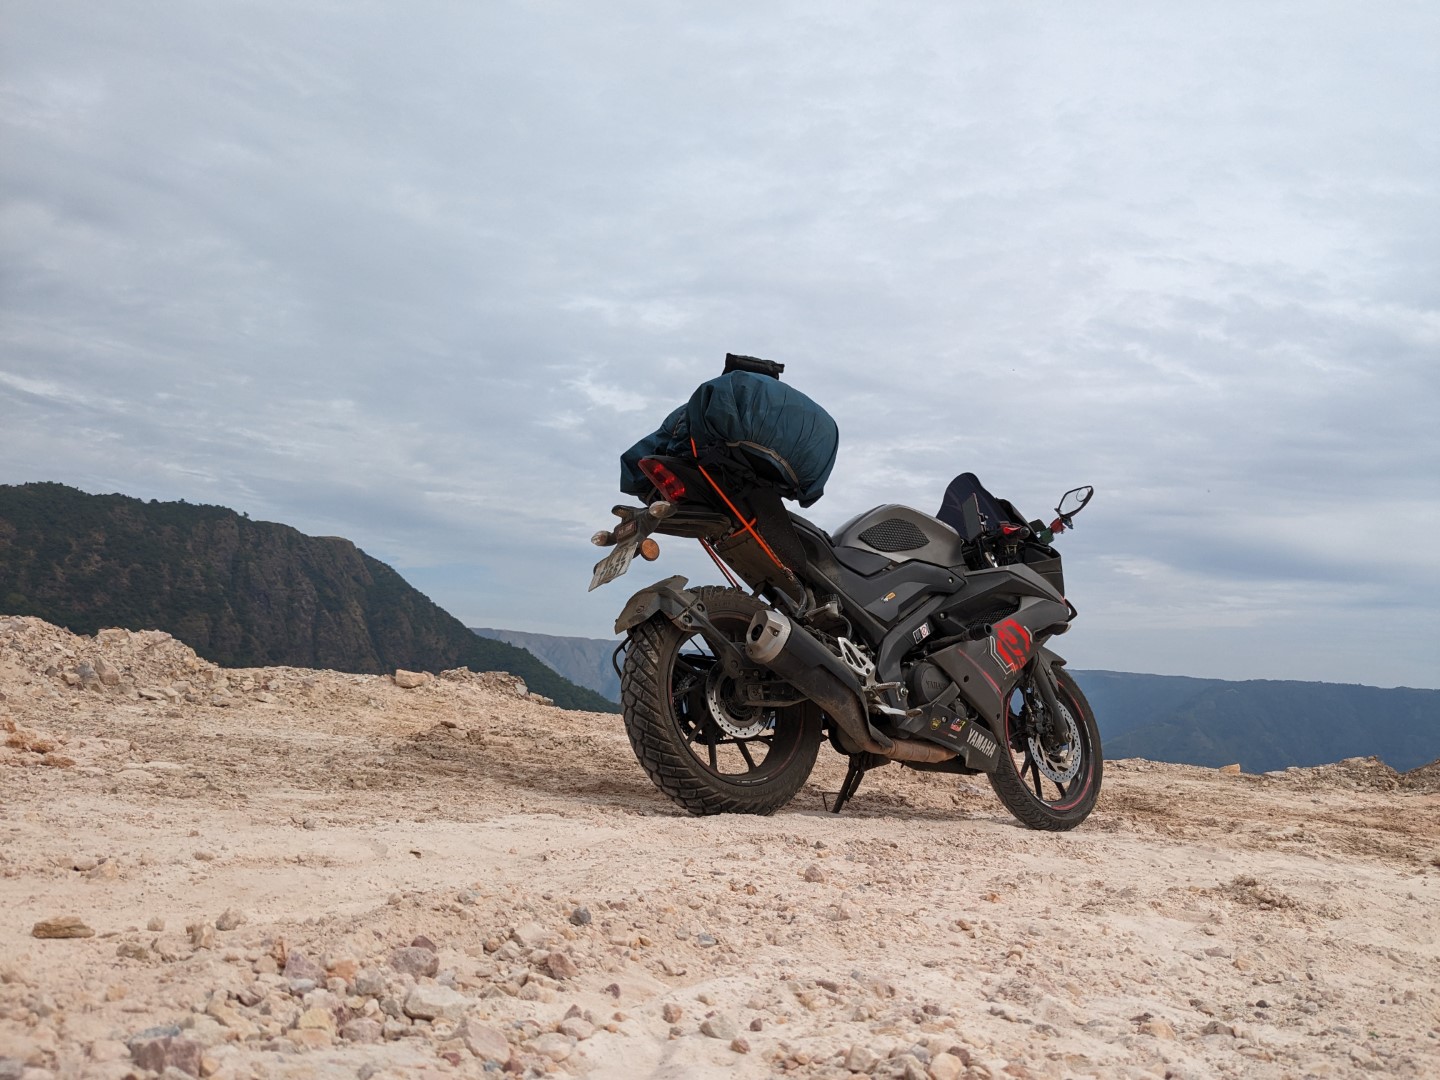
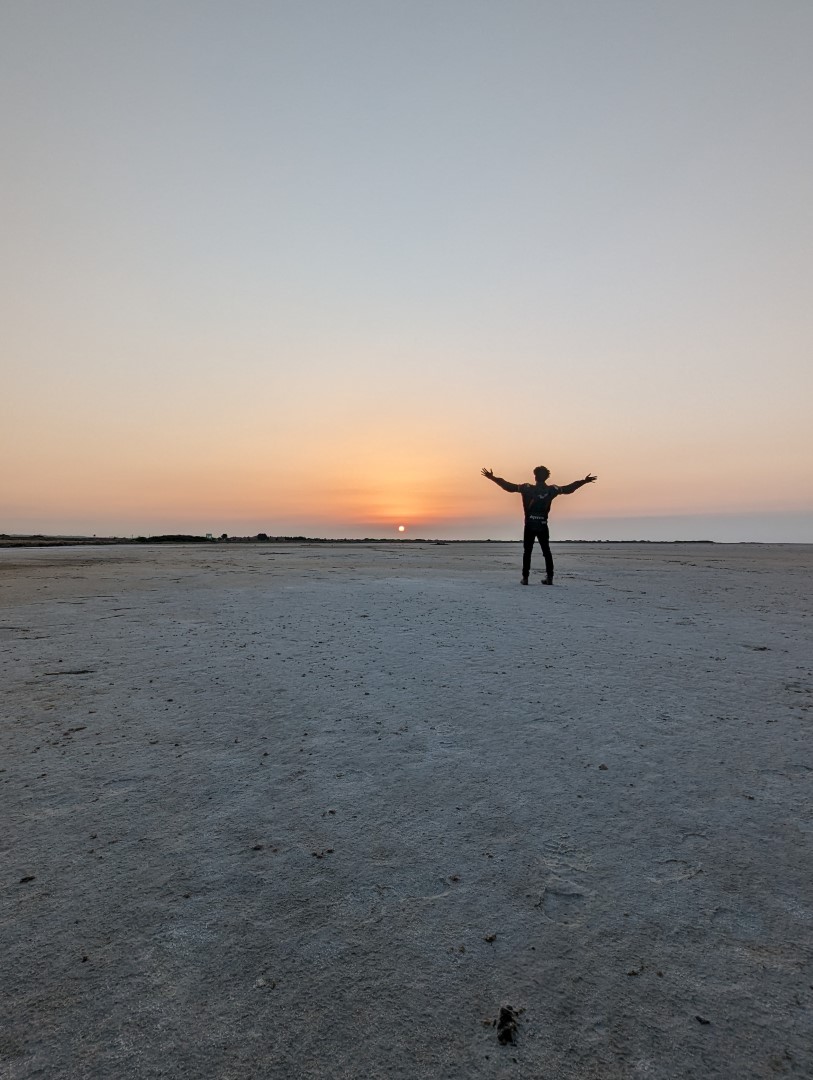
I am attempting to merge two photos using Photopea. and these are two images i choose
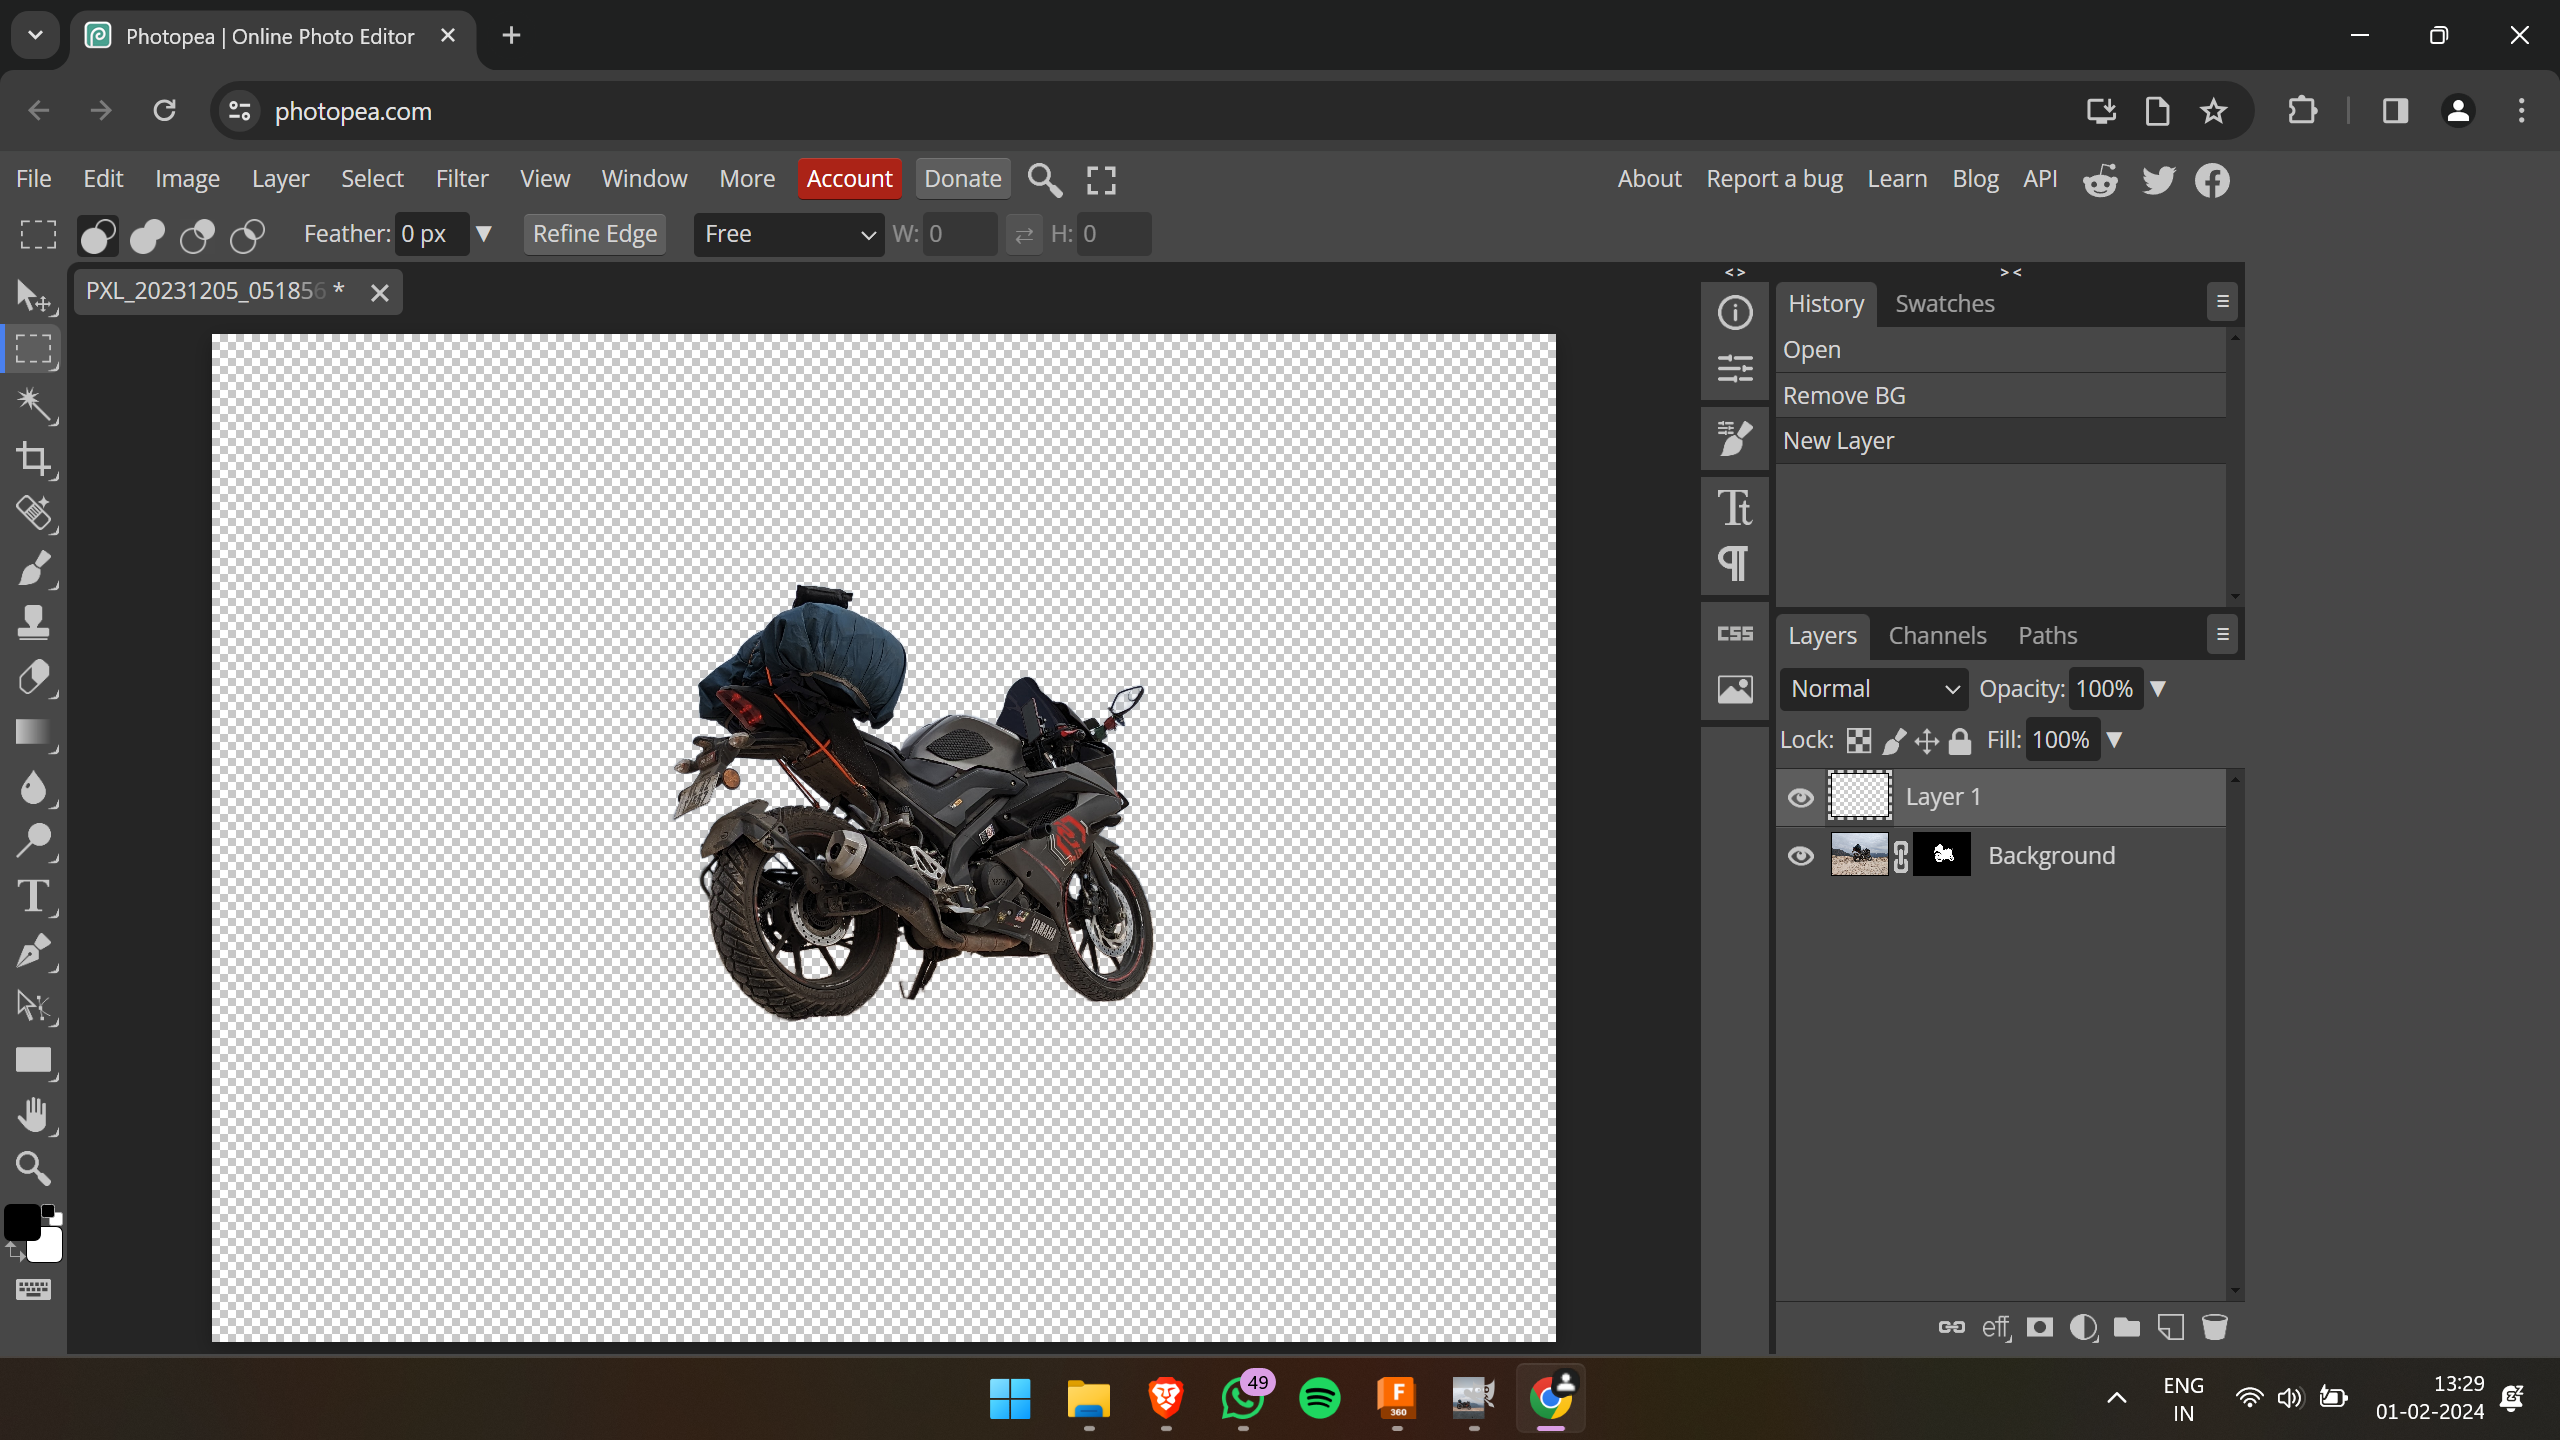
Initially, I removed the background of the first image by right-clicking the mouse and selecting the option to remove the background
Next, I dragged and dropped the second image, then positioned the first layer on top of it.
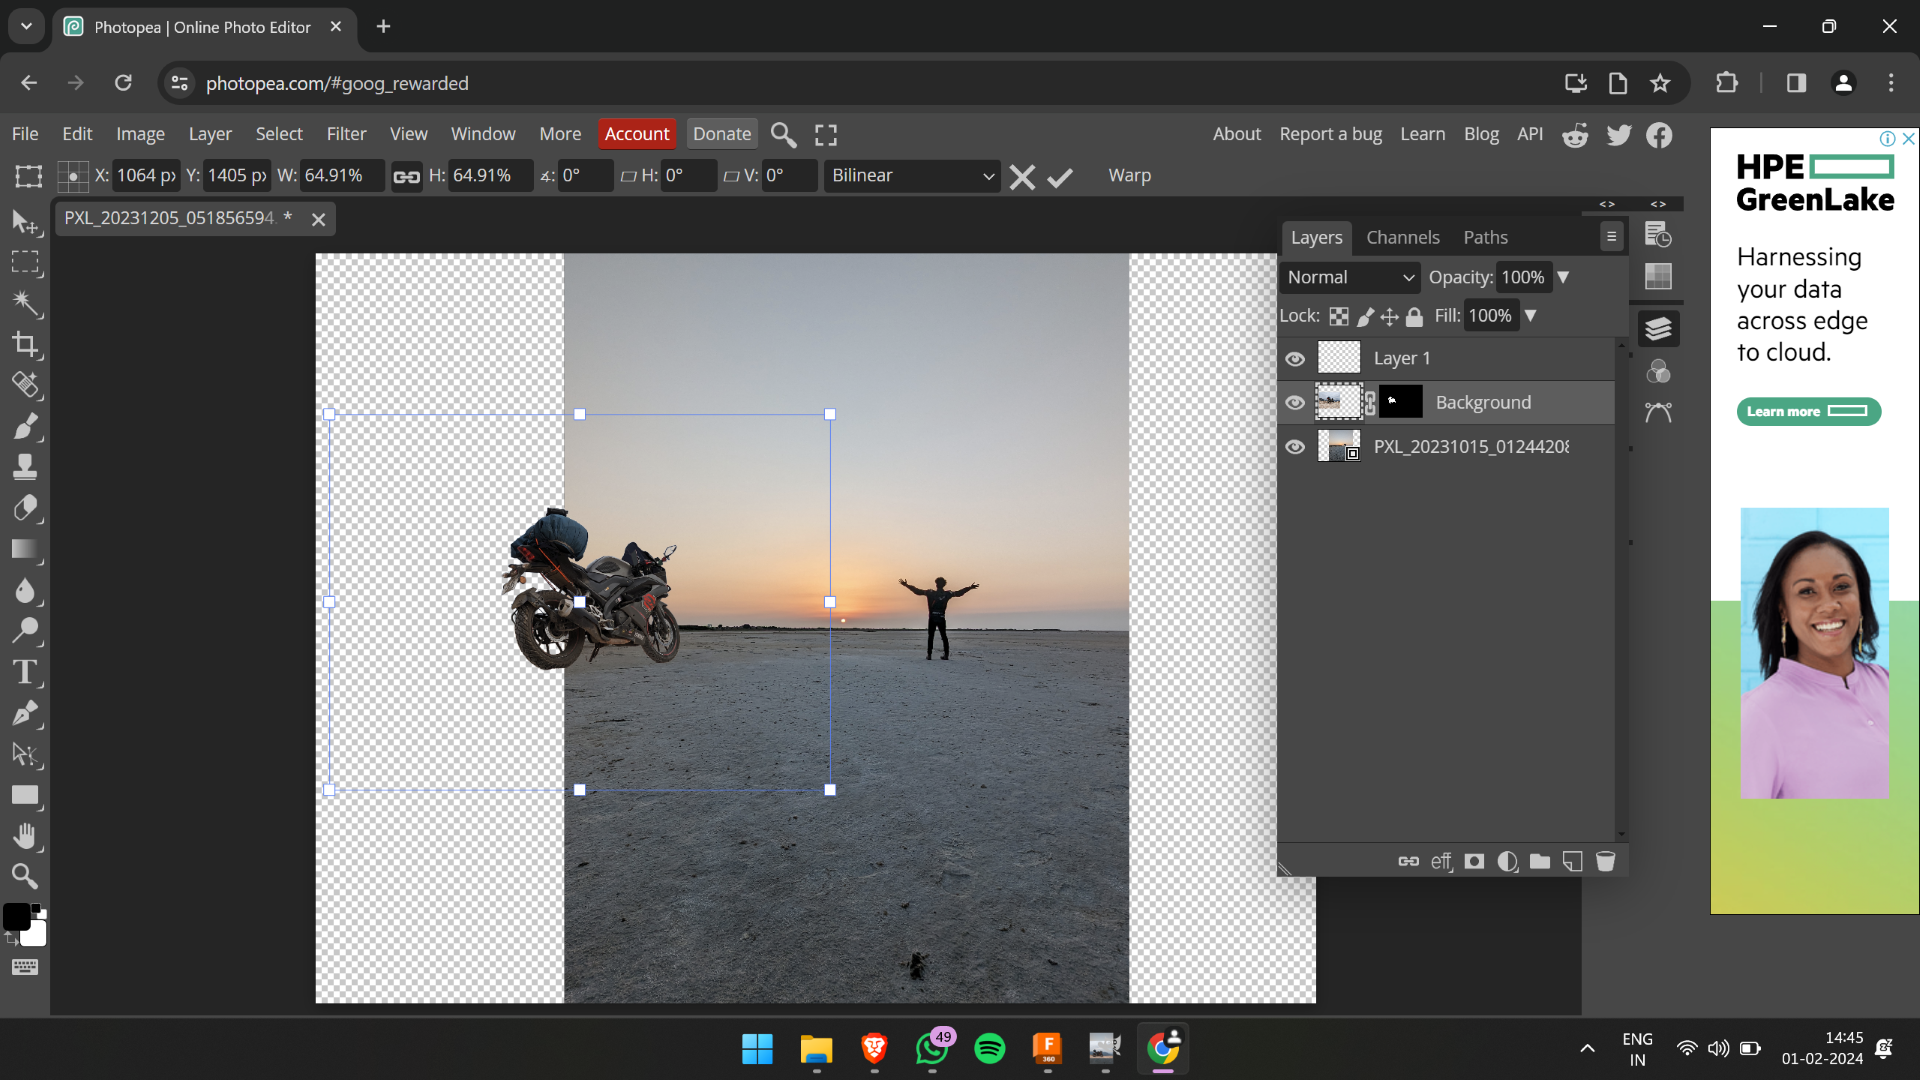
Next, I rearranged the image positions, resulting in the final output.
Inkscape
Inkscape is a powerful open-source vector graphics editor, offering a comprehensive set of tools for creating and editing scalable vector graphics (SVG) and supporting various file formats, making it a versatile tool for graphic design and illustration tasks.
Starting with Inkscape, I initiated the process by utilizing the "Trace Bitmap" feature to convert the raster image into a vector format. This tool serves to seamlessly transform raster images into vector graphics, enhancing their scalability and editing flexibility.
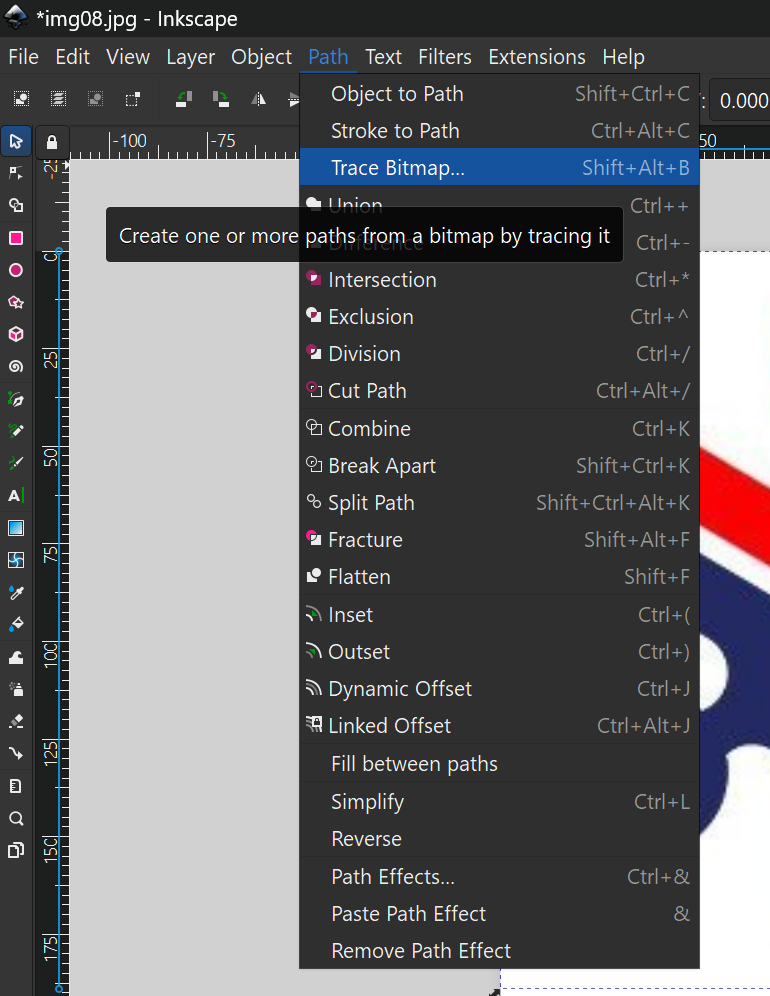
I began by using the bitmap function to trace the FabLab logo.

This is the path for bitmap tracing.
or you can use the shortcut key trace (alt+shift+b)
This is the image after bitmap tracing (or vectorization).
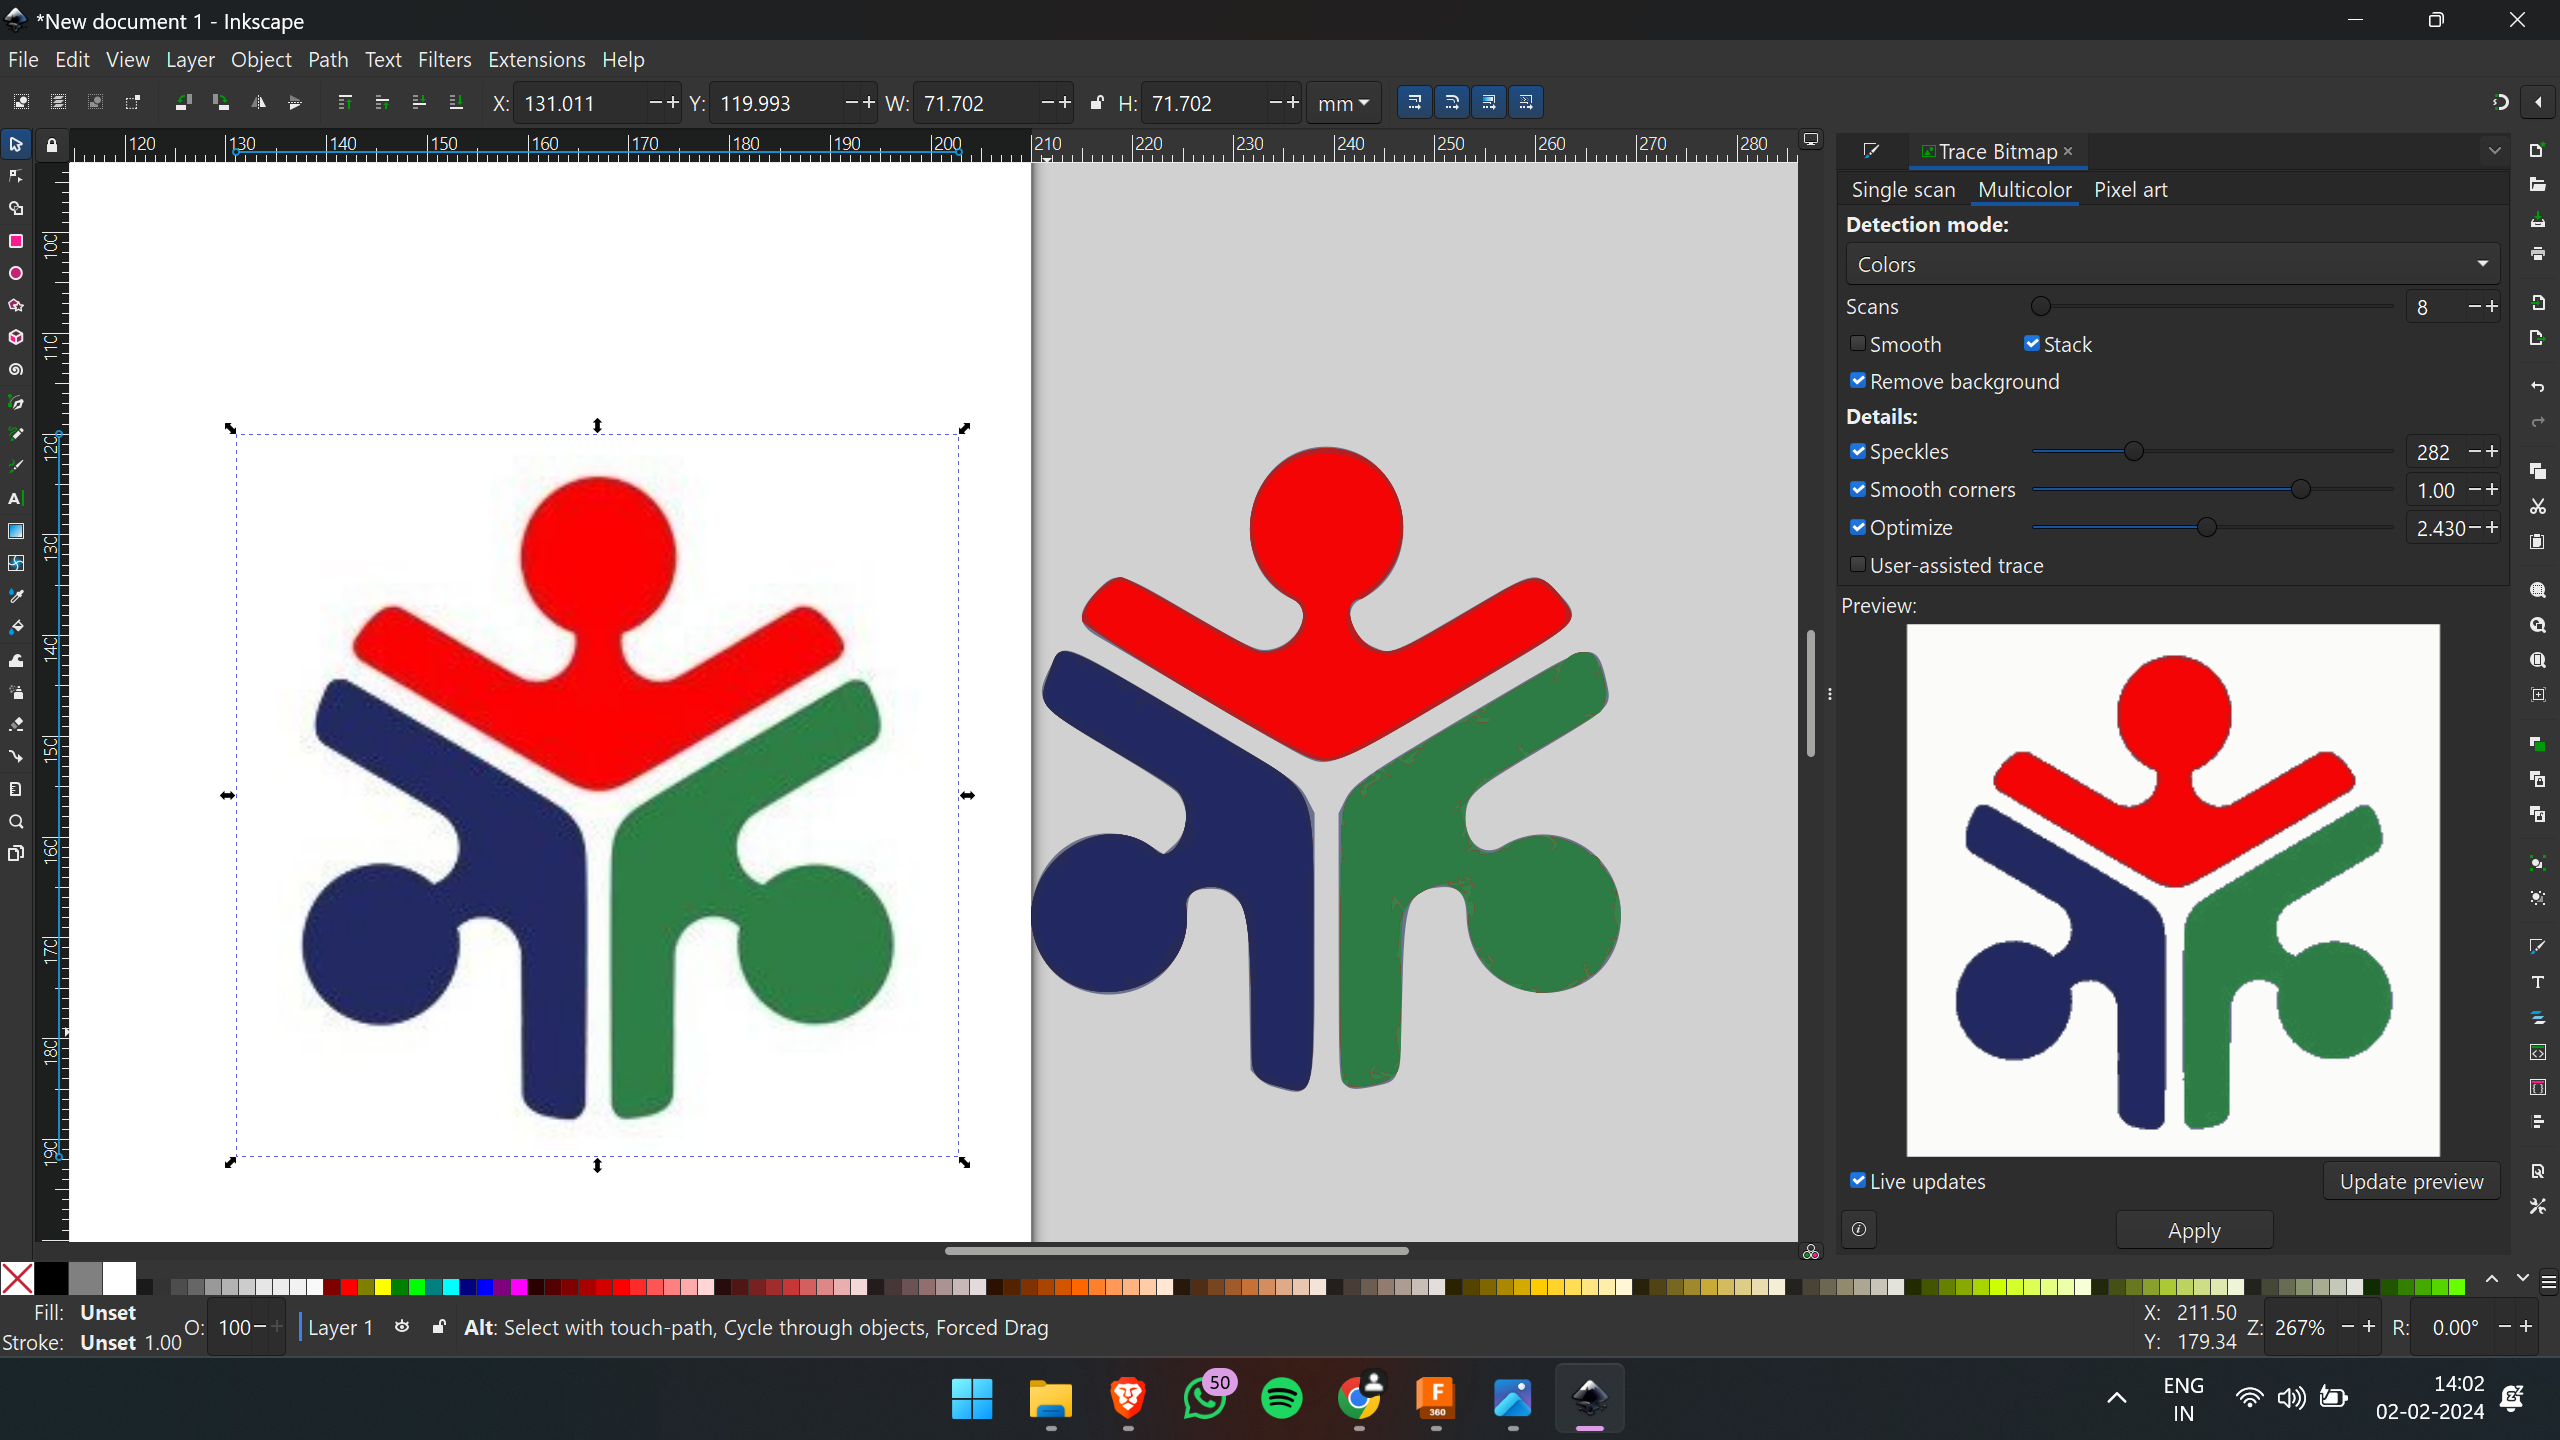
This can be exported in our desired format.
Now I'm about to create a logo using Inkscape
Initially, I added text to create a logo, incorporating the letters "M" and "J". Then, I applied the desired font style and resized it according to my requirements
Next, I proceeded to split the letters. To accomplish this, I utilized the "Path" menu and selected "Split Path.”

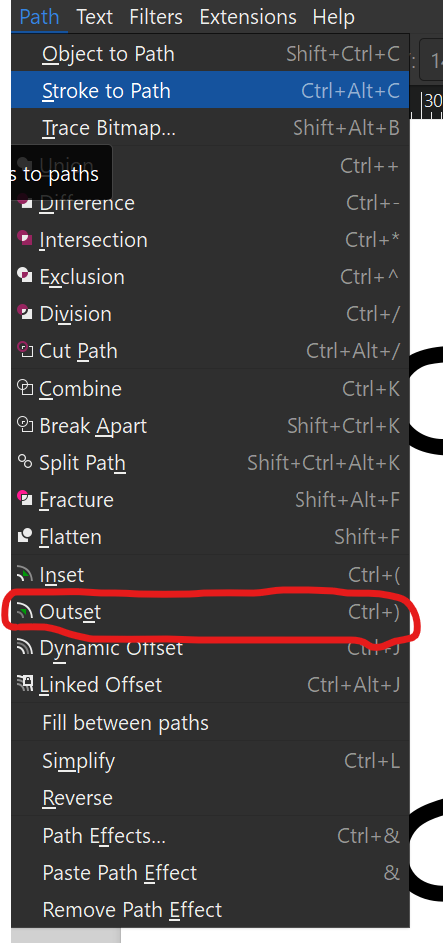
Then, I positioned the letters overlapping according to my needs and duplicated them. Subsequently, I applied the "Outset" effect from the Path menu.
Afterward, I selected all the text elements and chose the "Shape Builder" tool from the toolbox.
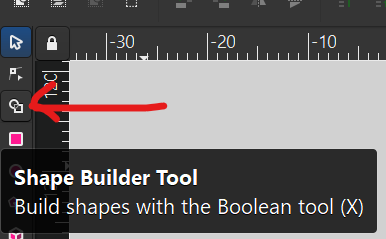
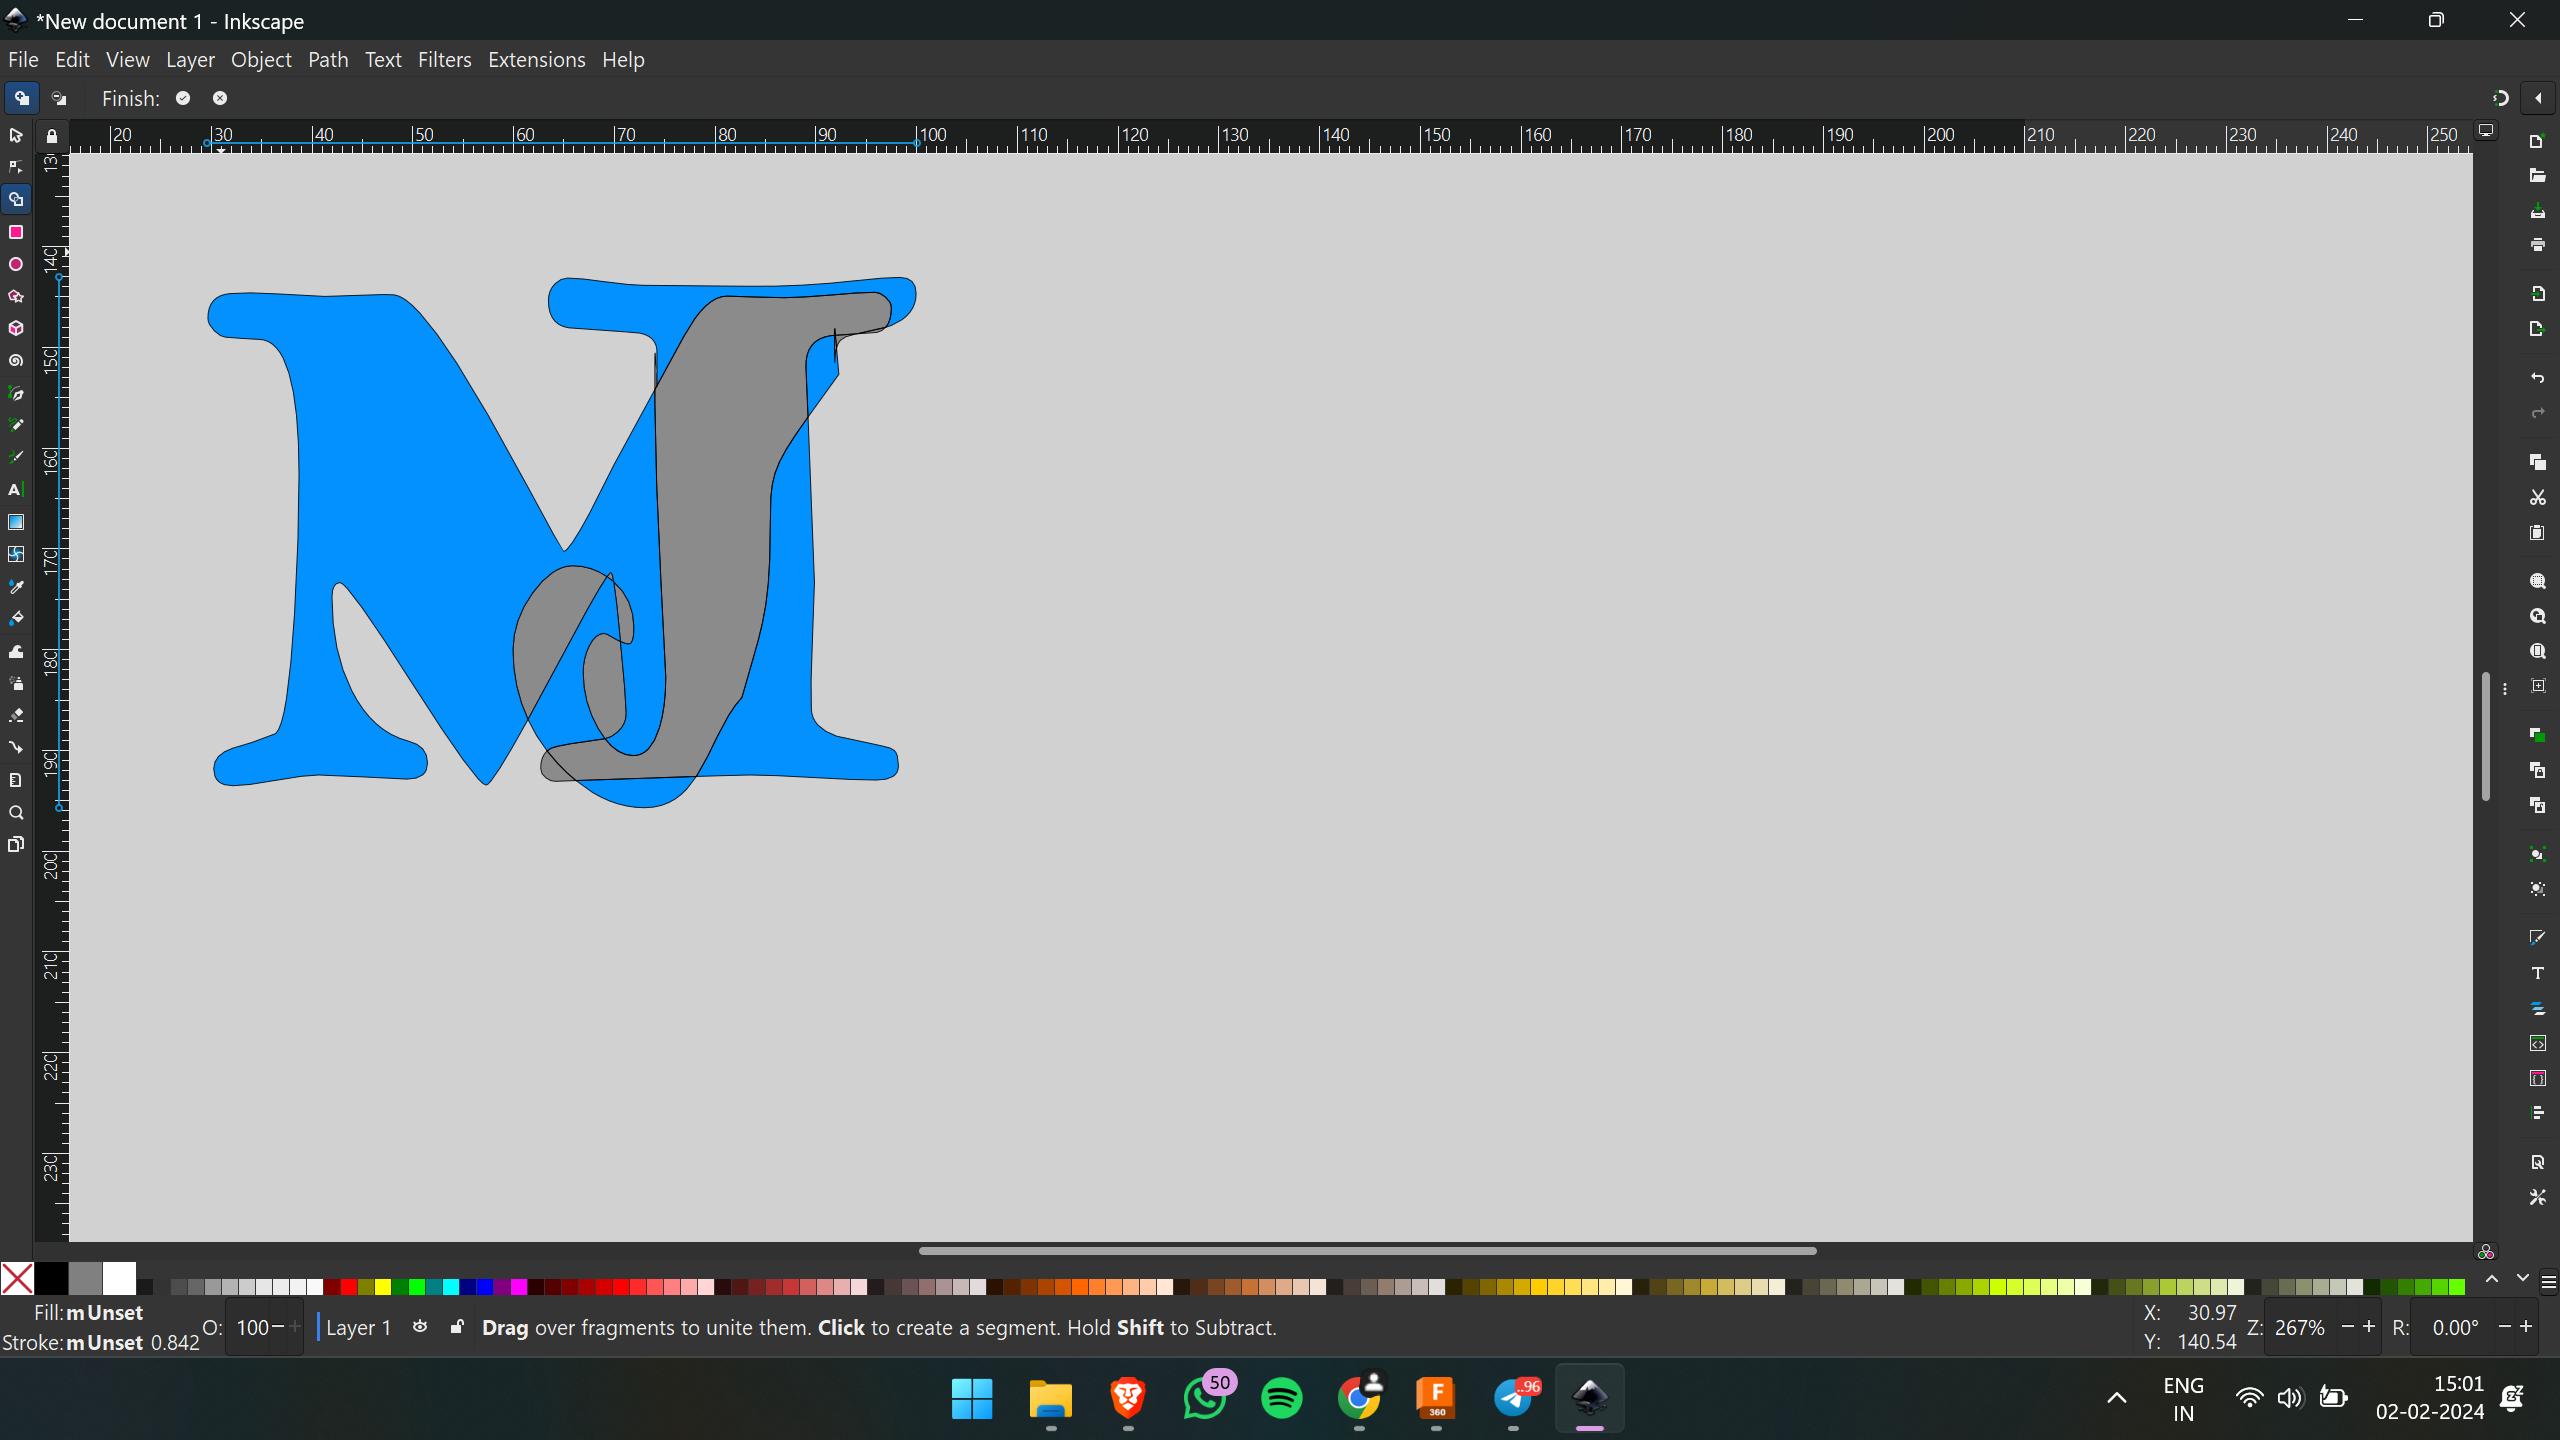
Then, I selected the desired parts and clicked the "Finish" button. Initially, the result didn't meet my expectations, but after repeating the procedure, I finally achieved the desired logo.
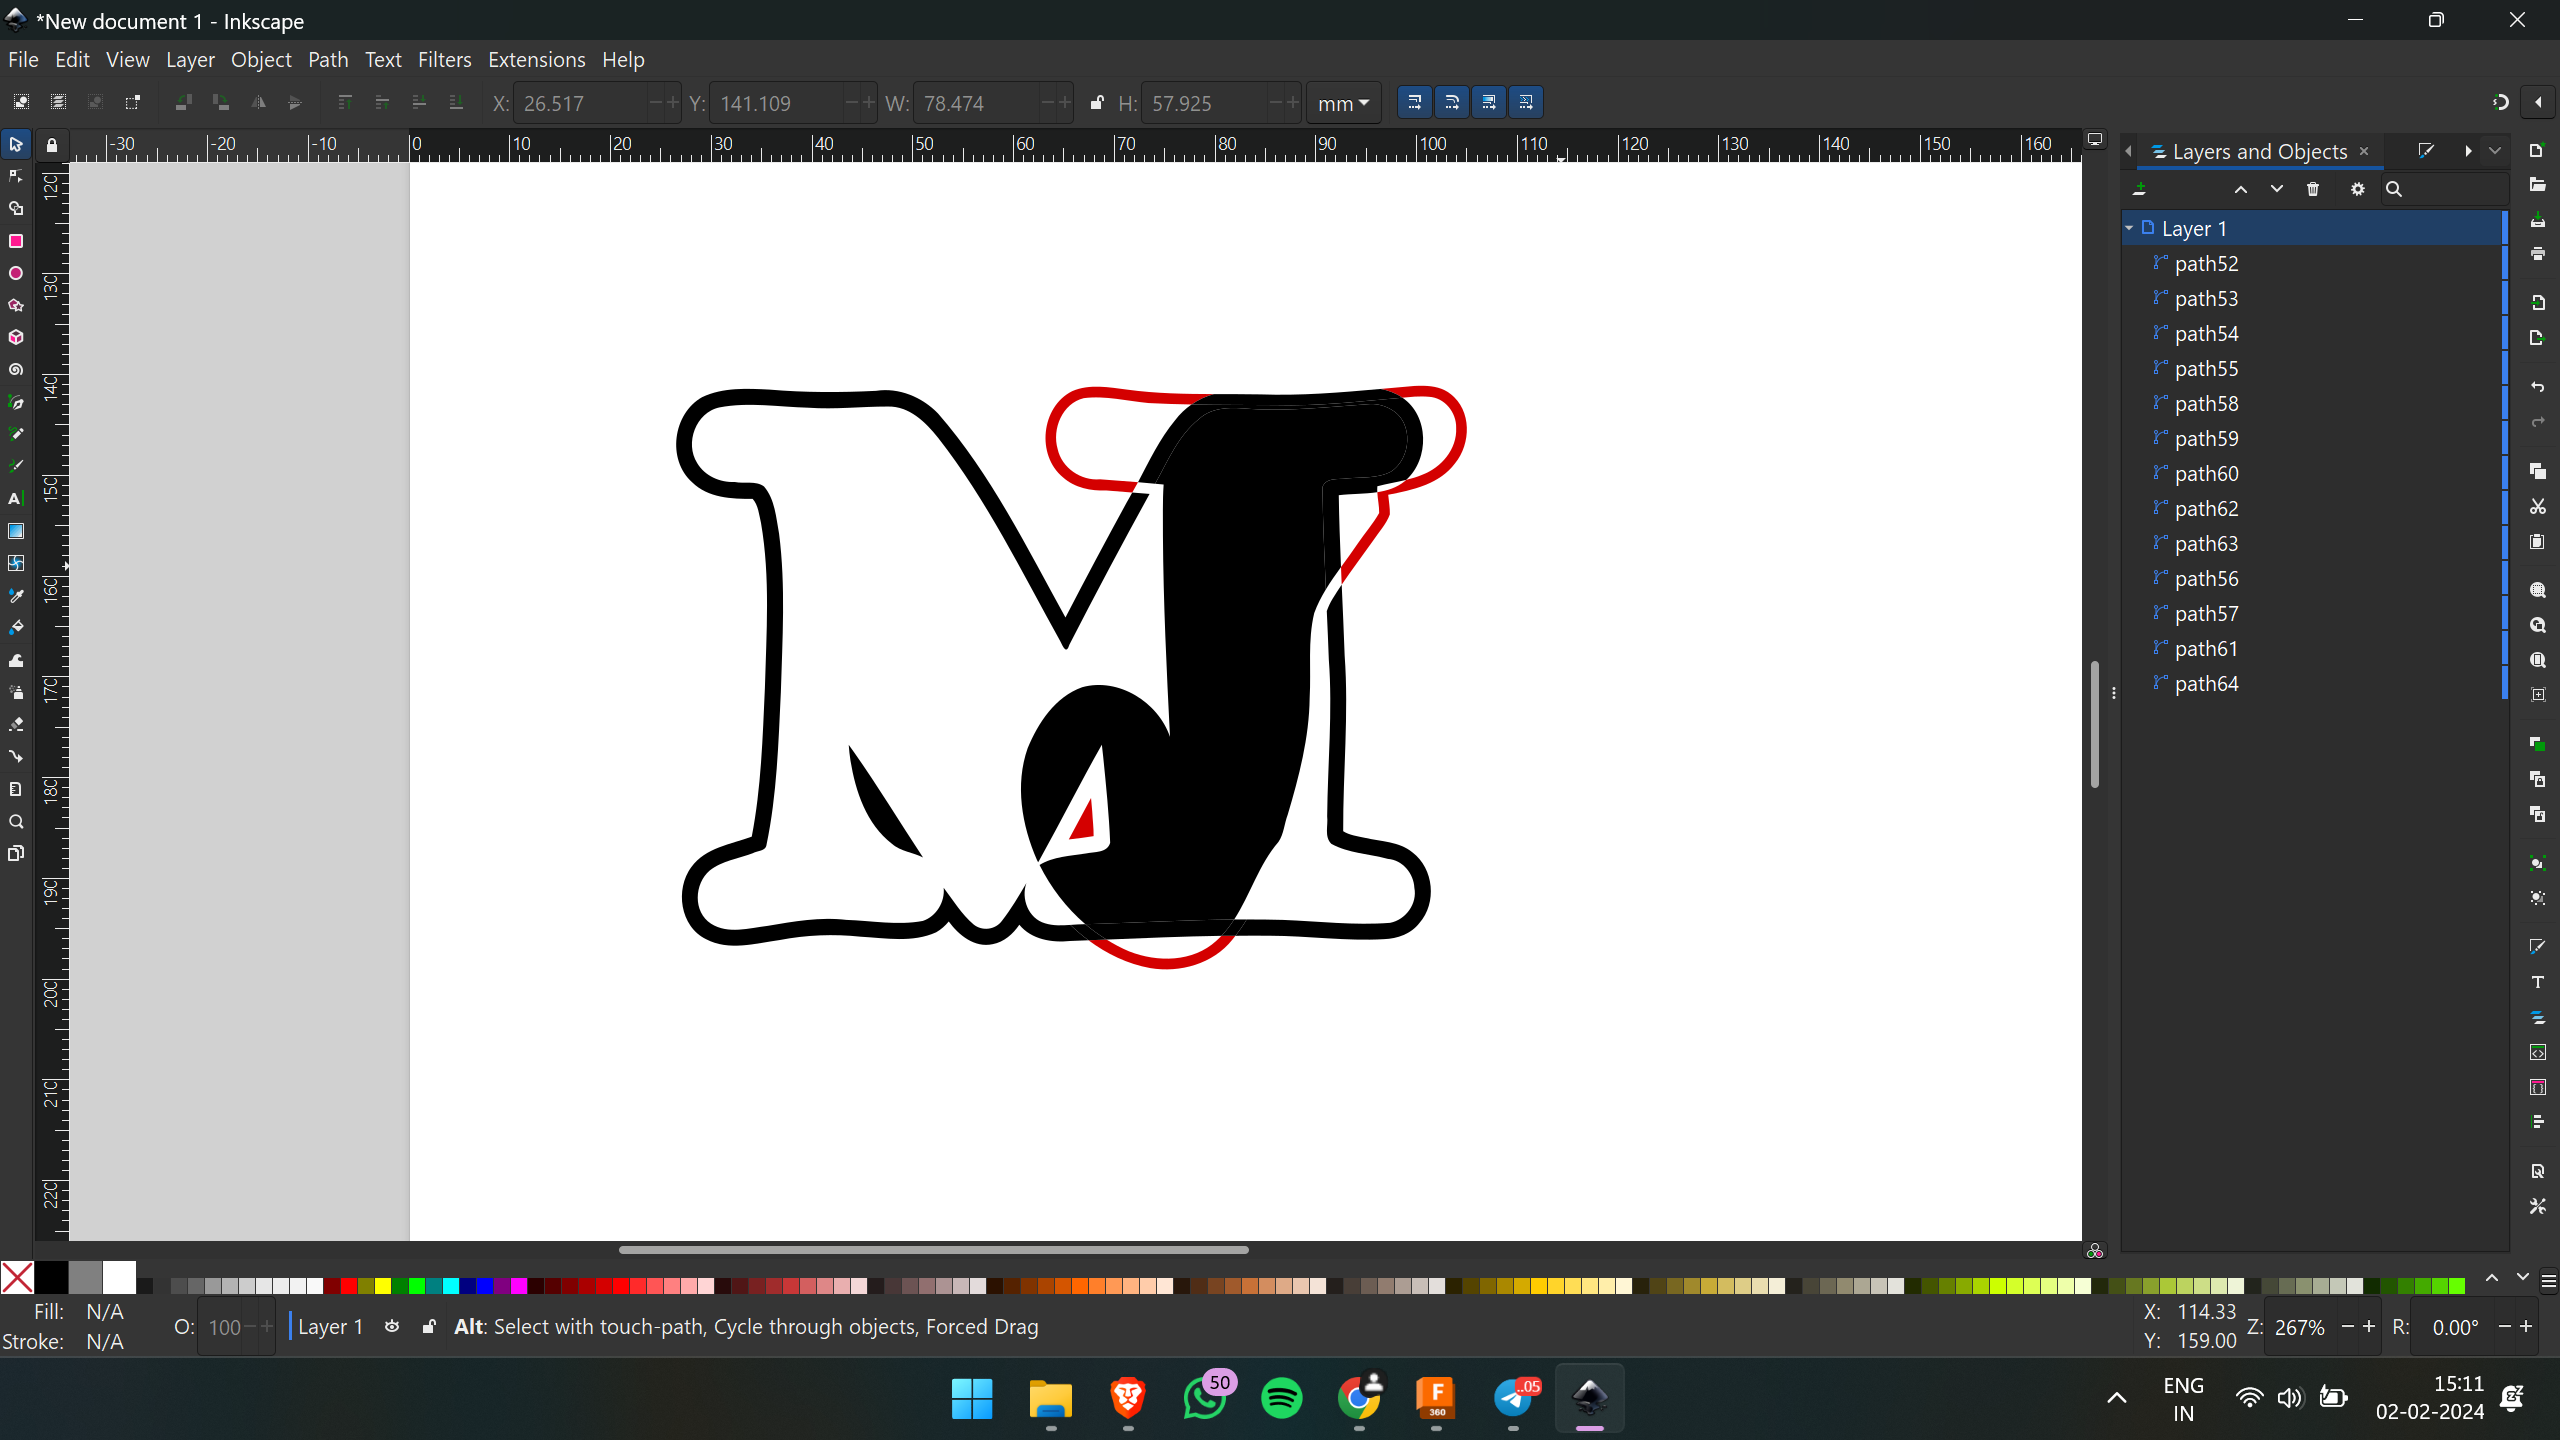
Through the process of tracing the bitmap and creating the logo, I gained a better understanding of the interface of Inkscape.
3D CAD SOFTWARES
Onshape
Onshape is a cloud-based CAD (Computer-Aided Design) software that enables collaborative 3D modeling and product development.
The initial interface of Onshape is displayed below,
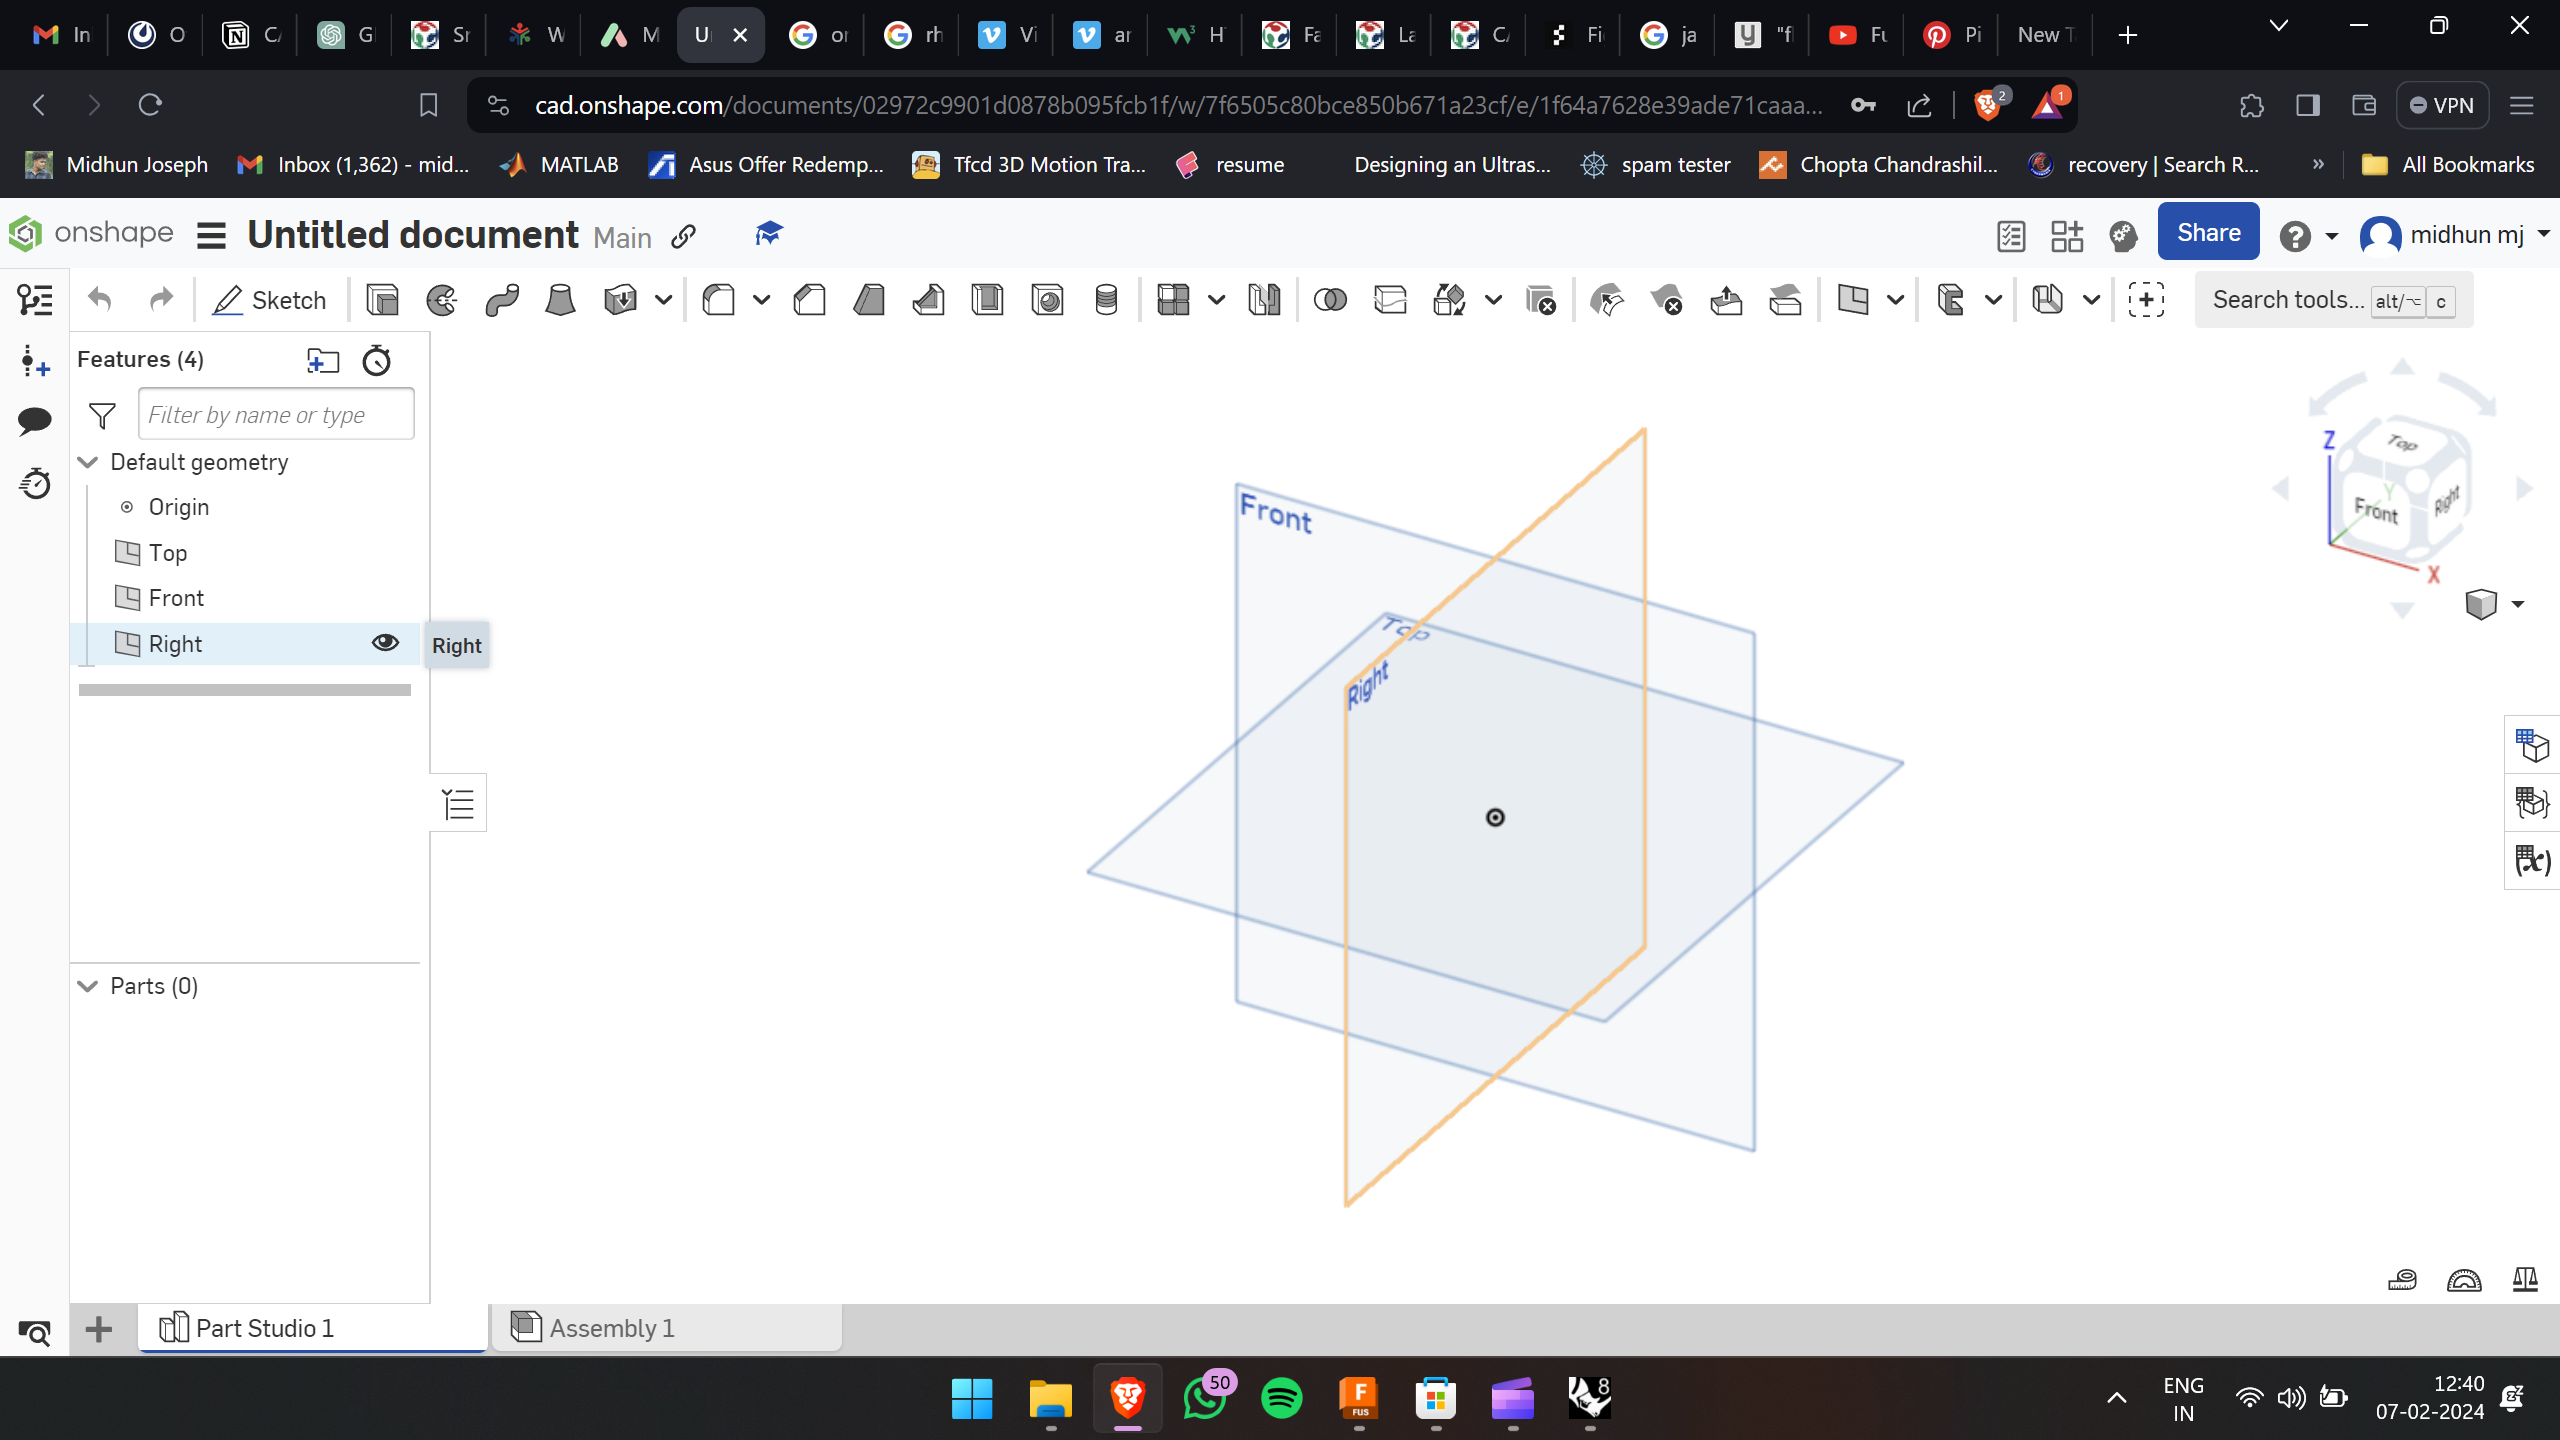
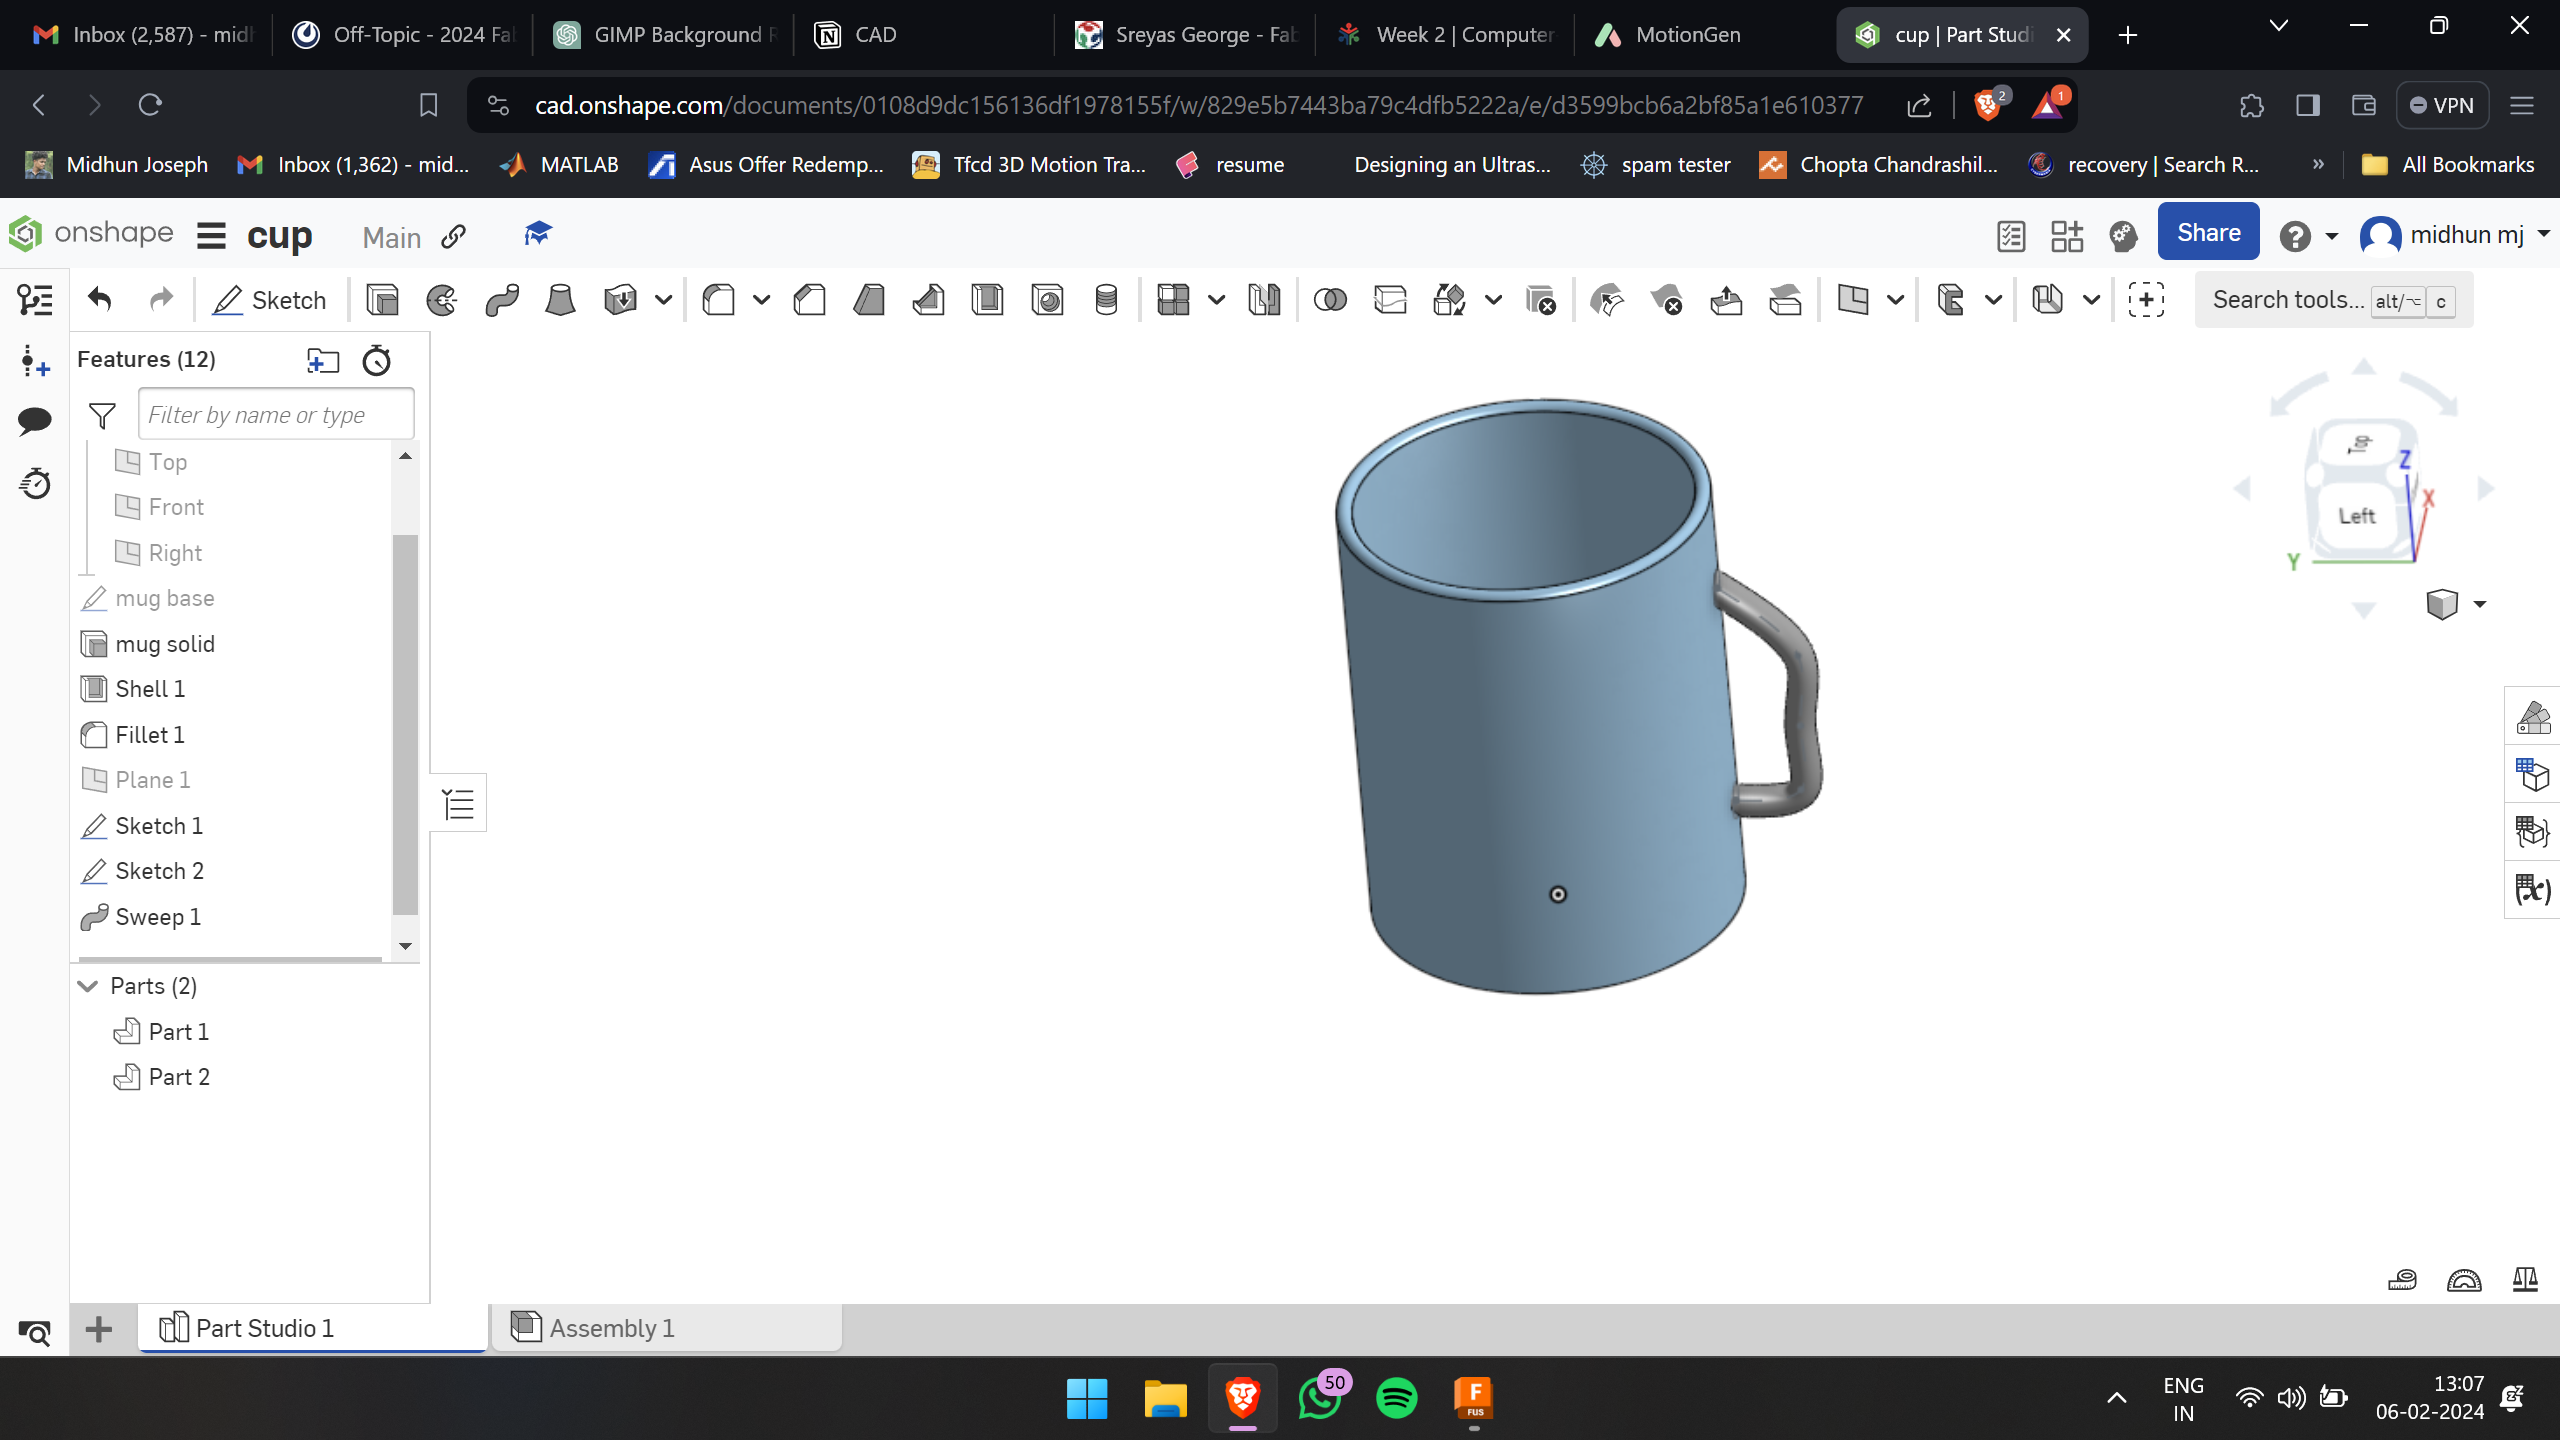
Upon familiarizing myself with the Onshape design platform, I began crafting a simple cup. As I delved into the design process, I gained insights into the capabilities of this platform. Below is a sample picture of the cup I constructed.
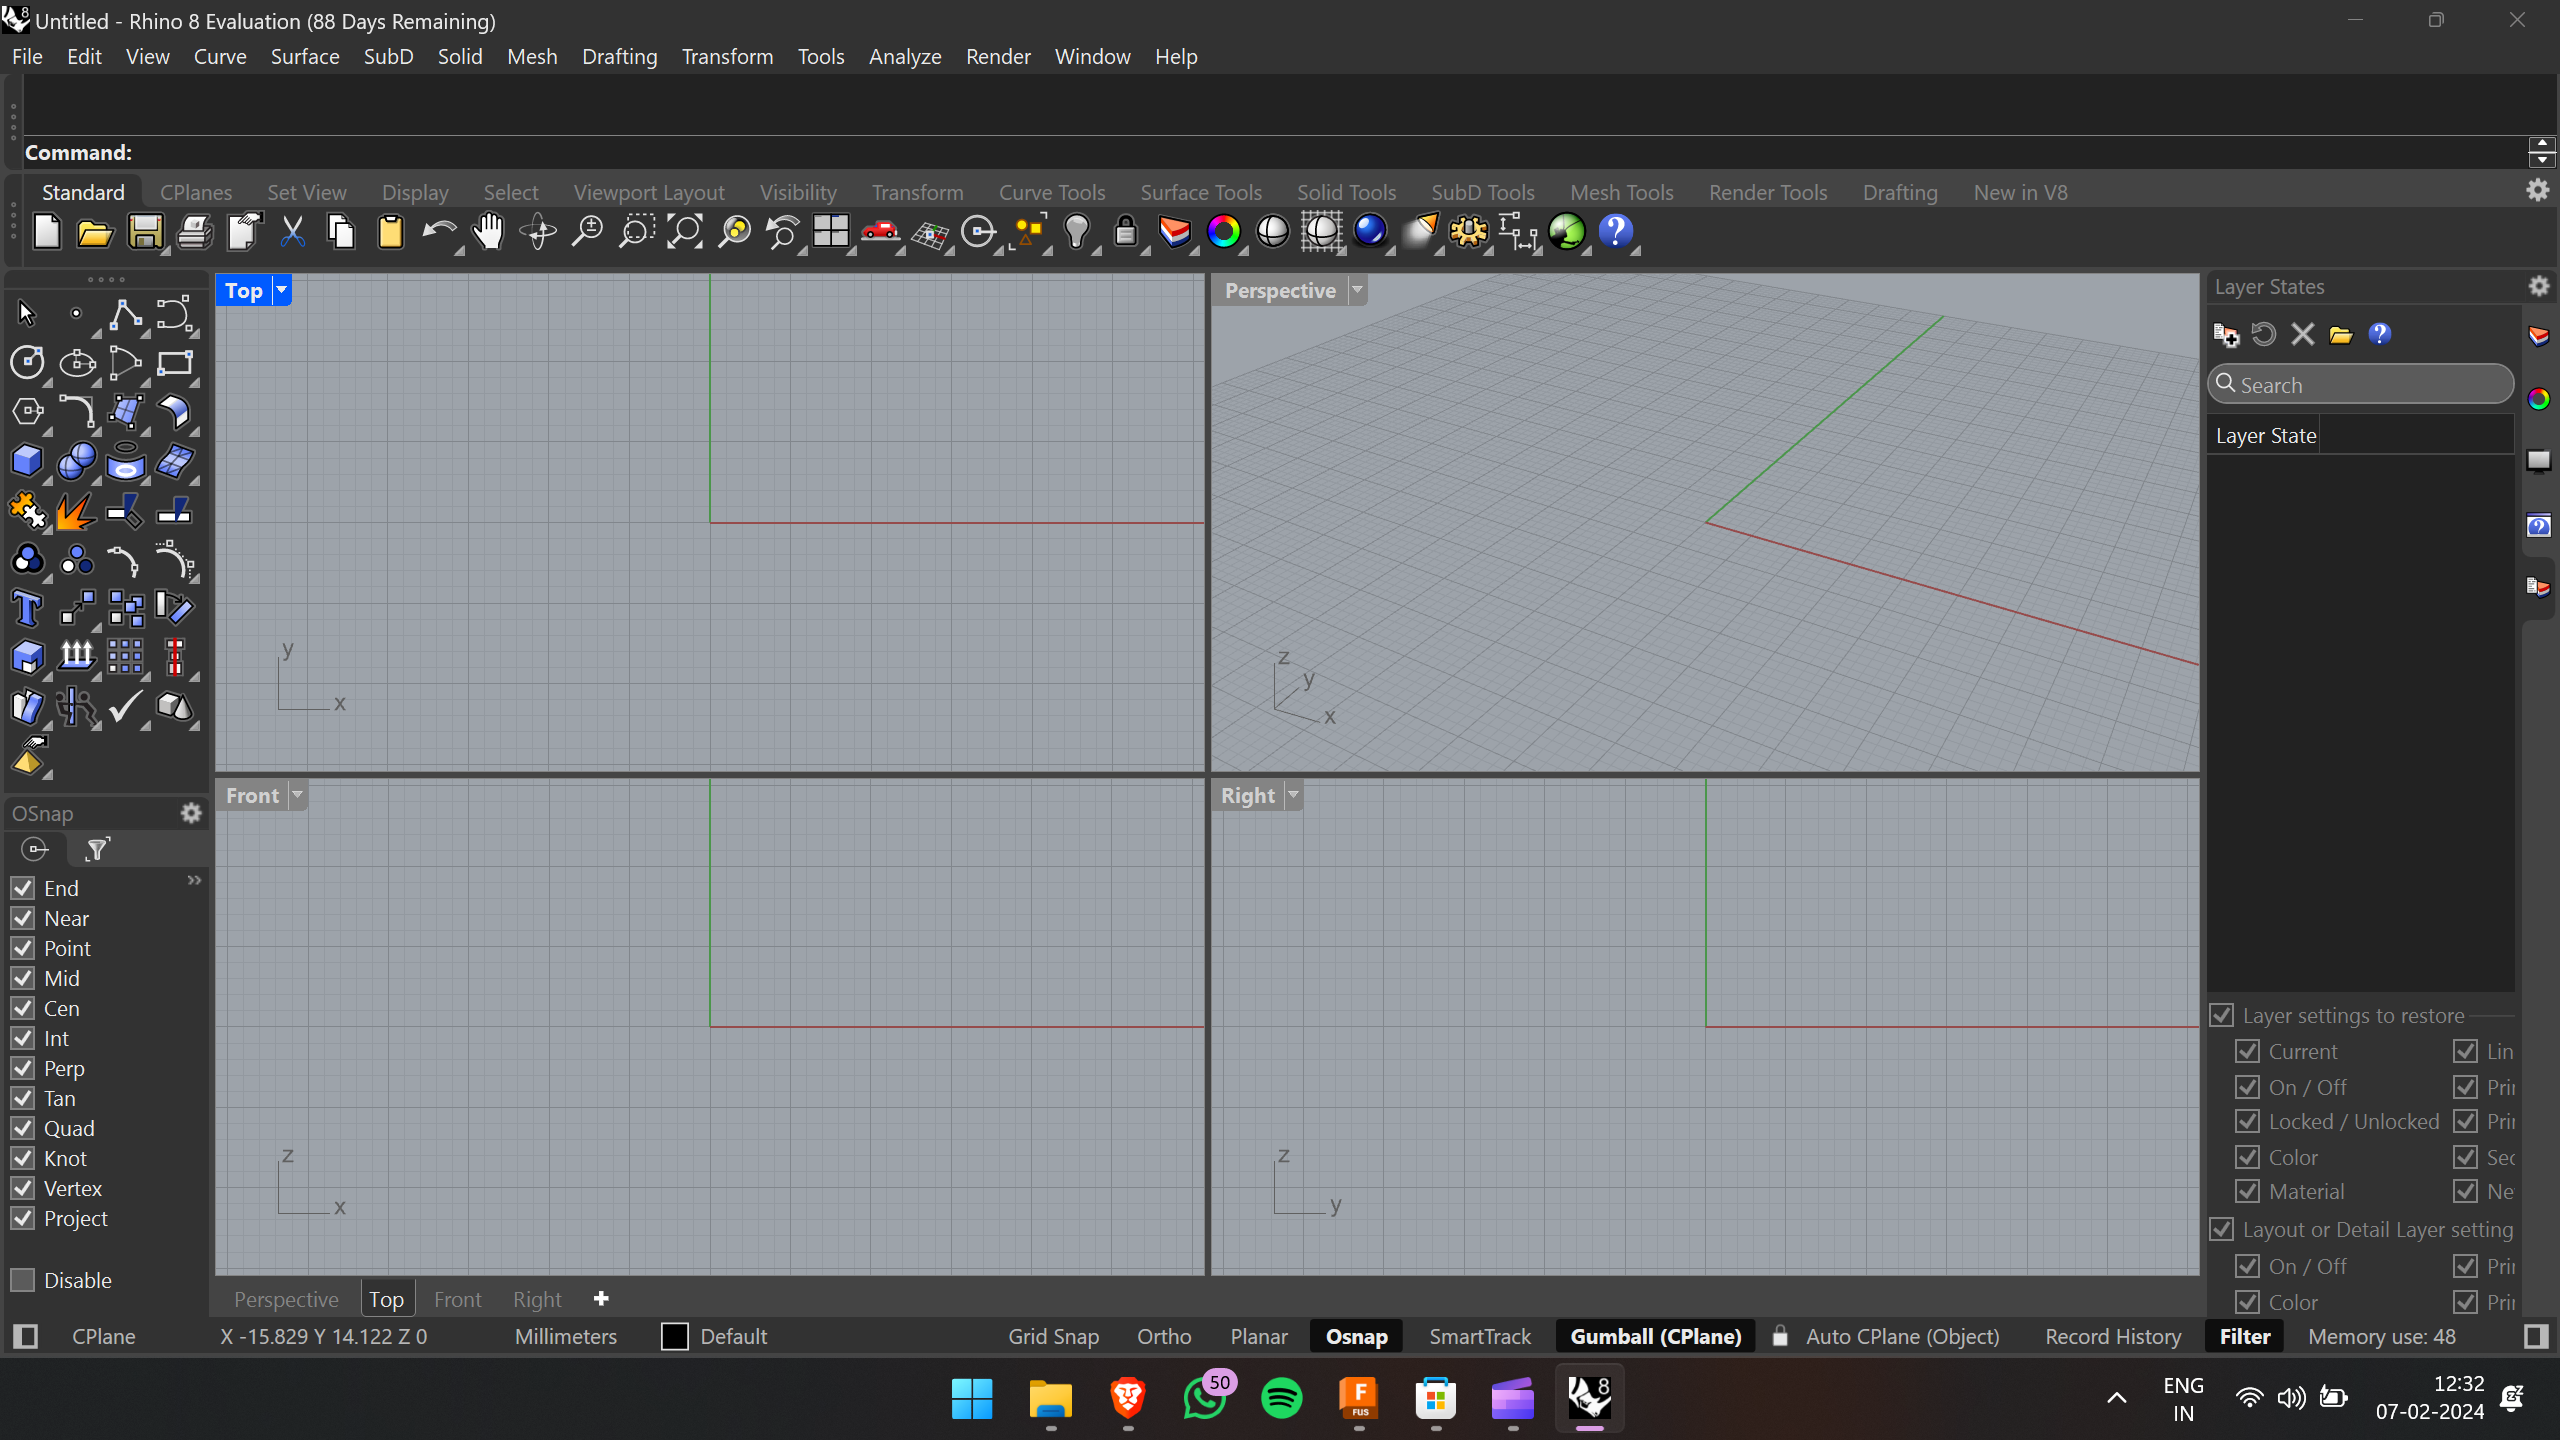
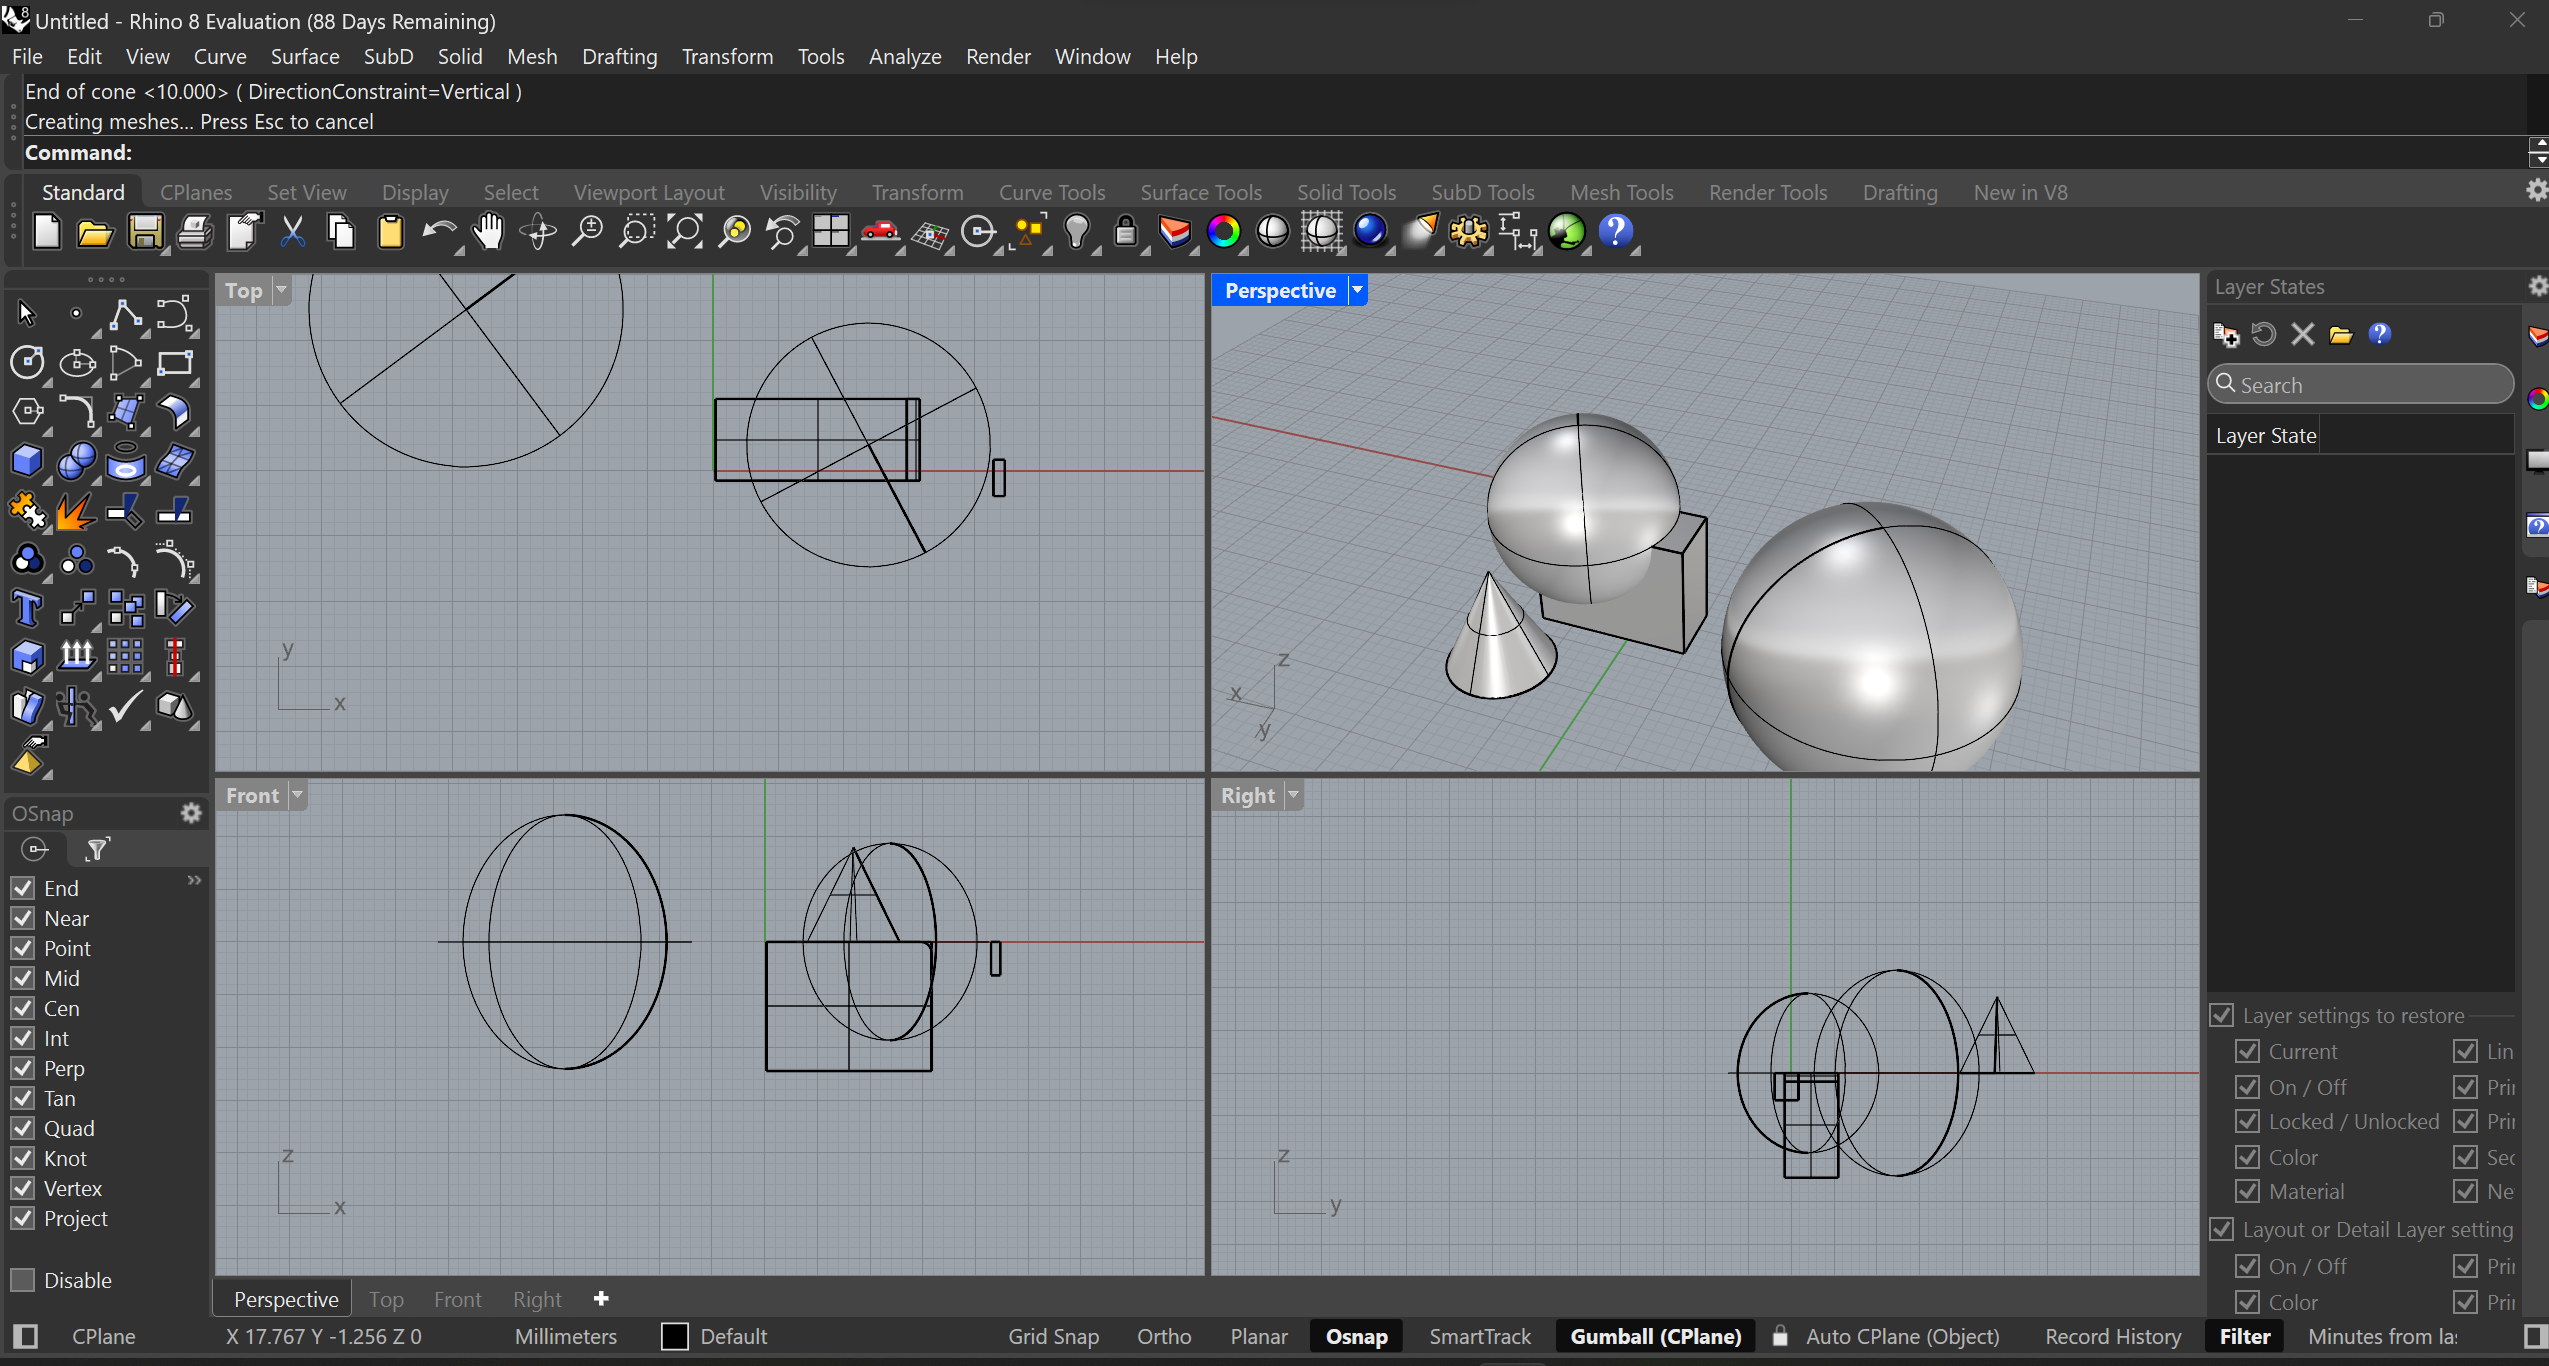
Rhino_3D
The initial interface of Rhino is presented as follows, marking the starting point of my design journey.
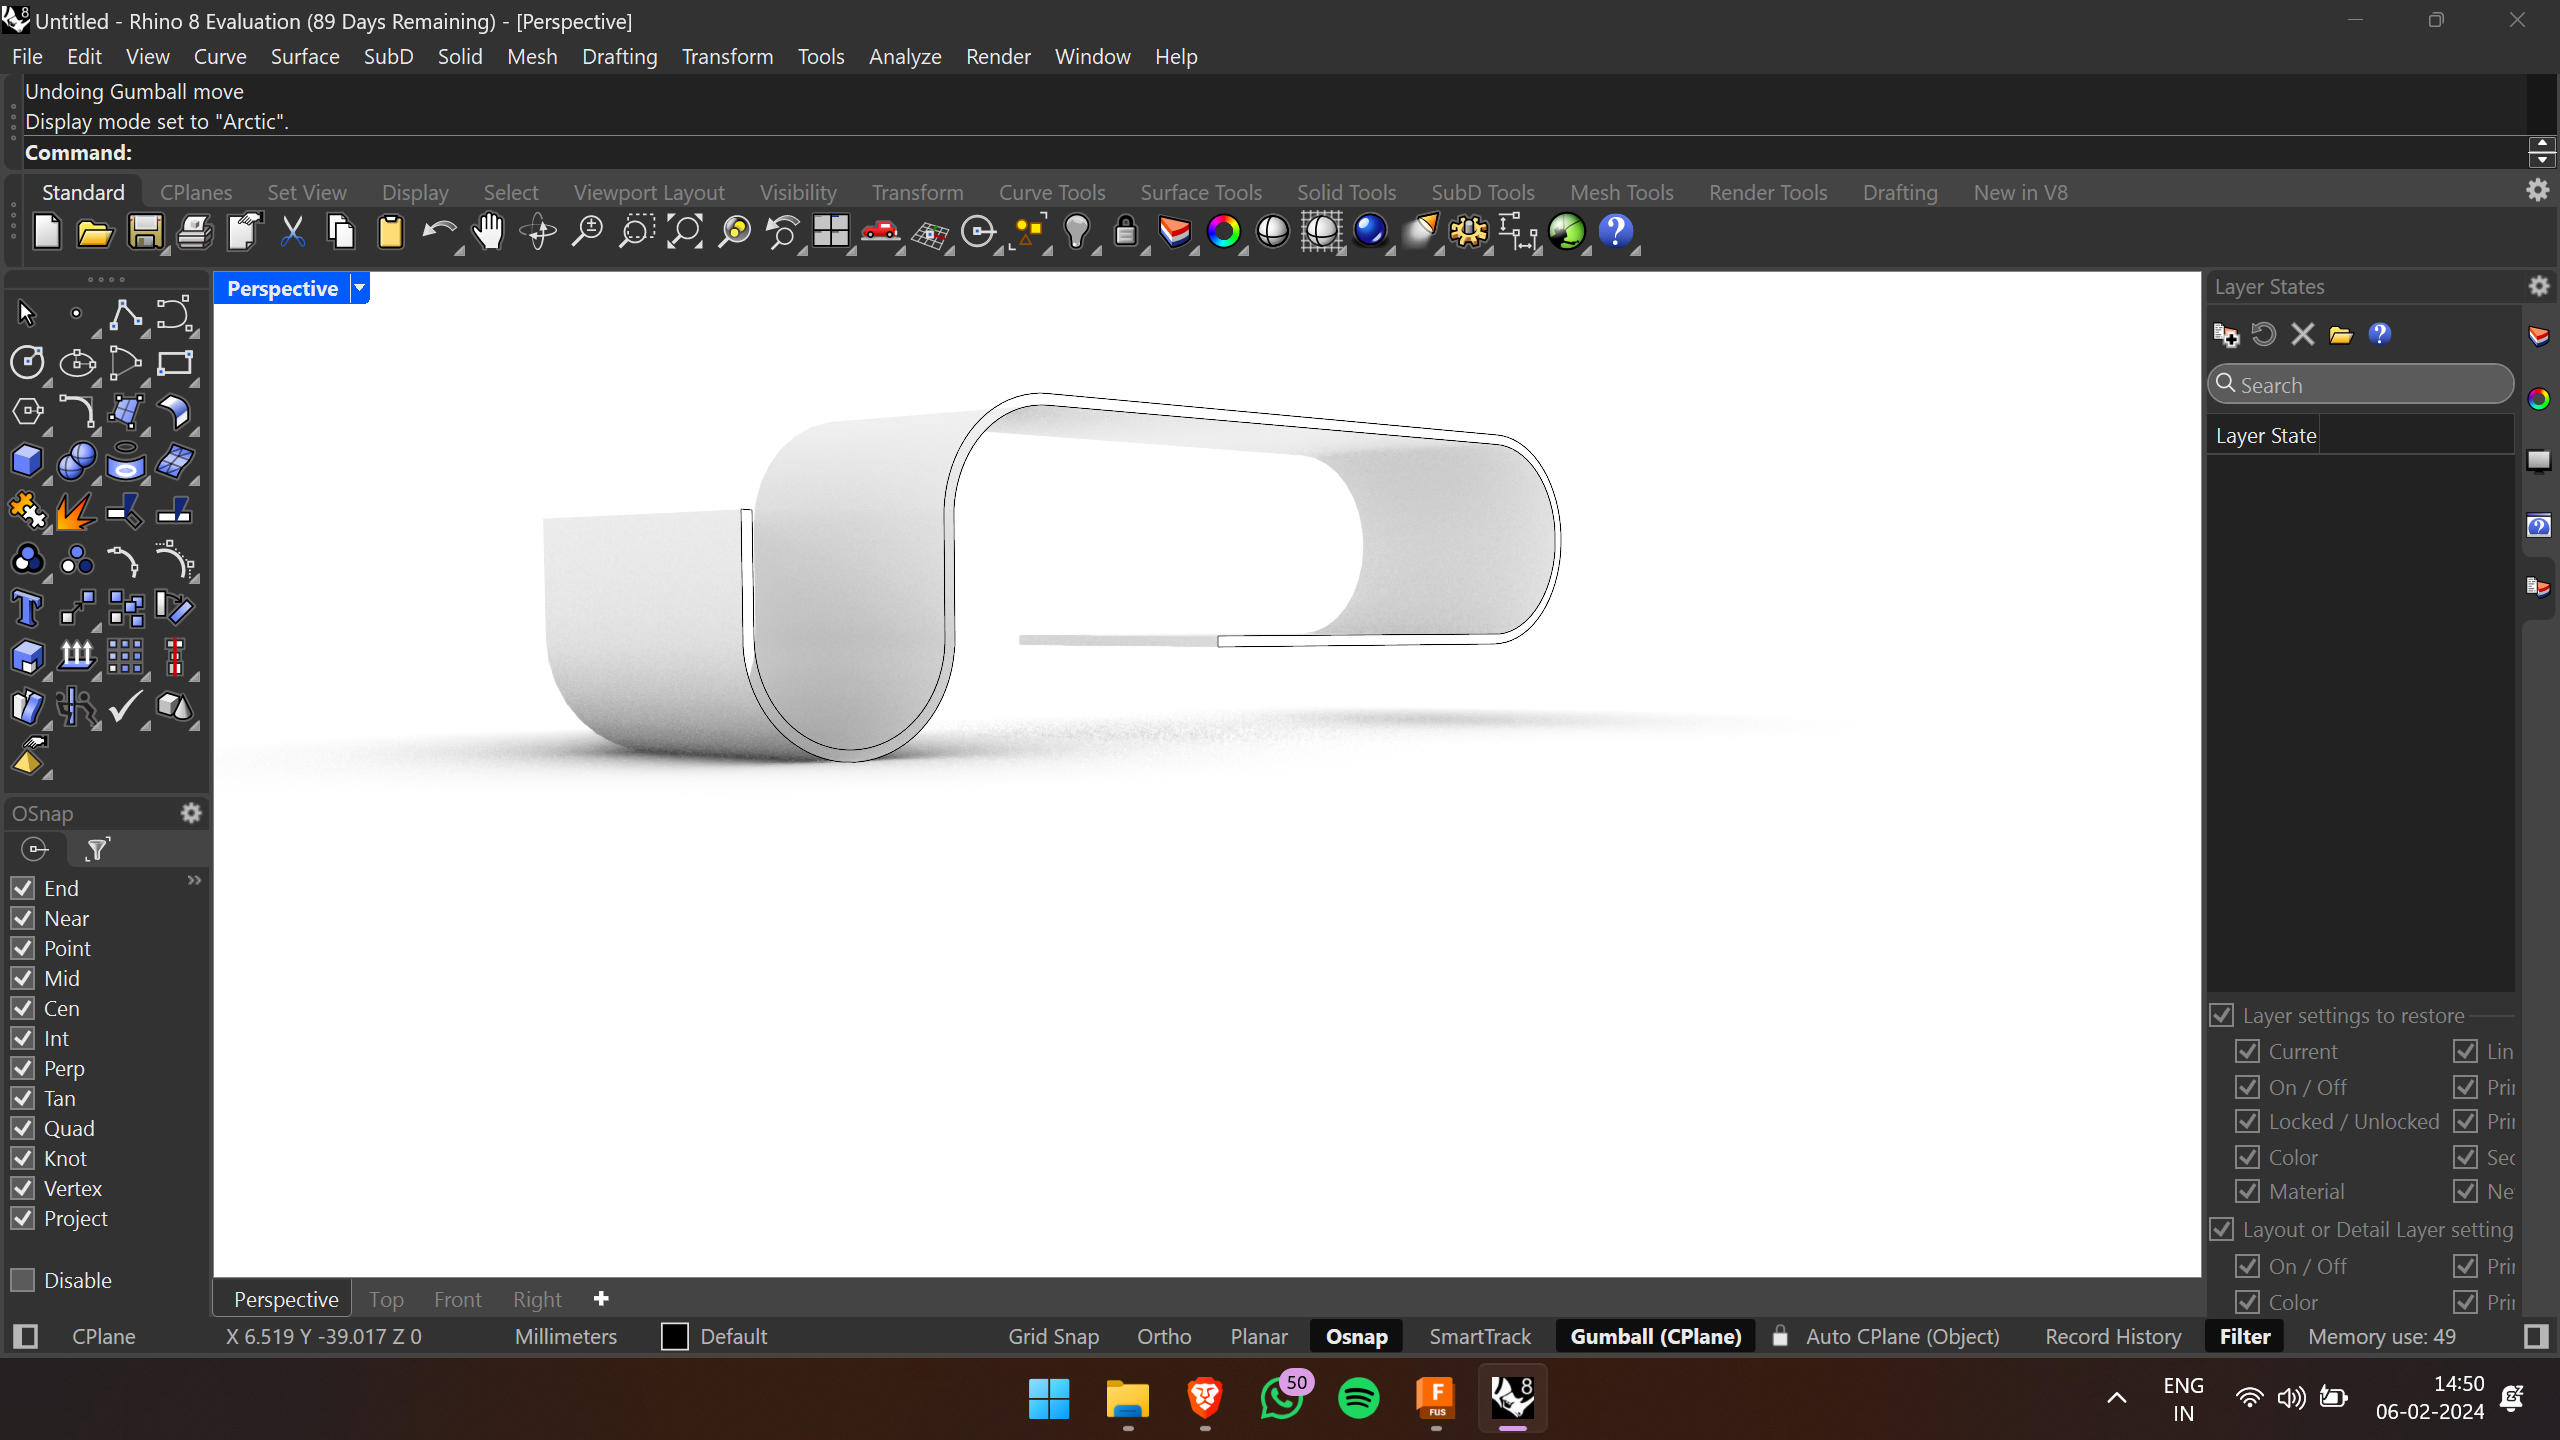
In Rhino 3D software, I endeavored to create a TV stand and acquainted myself with its tools. Here's the TV stand I crafted during this process.
Autodesk Fusion 360 software offers a comprehensive suite of tools for 3D modeling, simulation, and collaboration, making it a versatile solution for product design and engineering. With its cloud-based platform, Fusion 360 enables seamless collaboration among team members, facilitating efficient project workflows
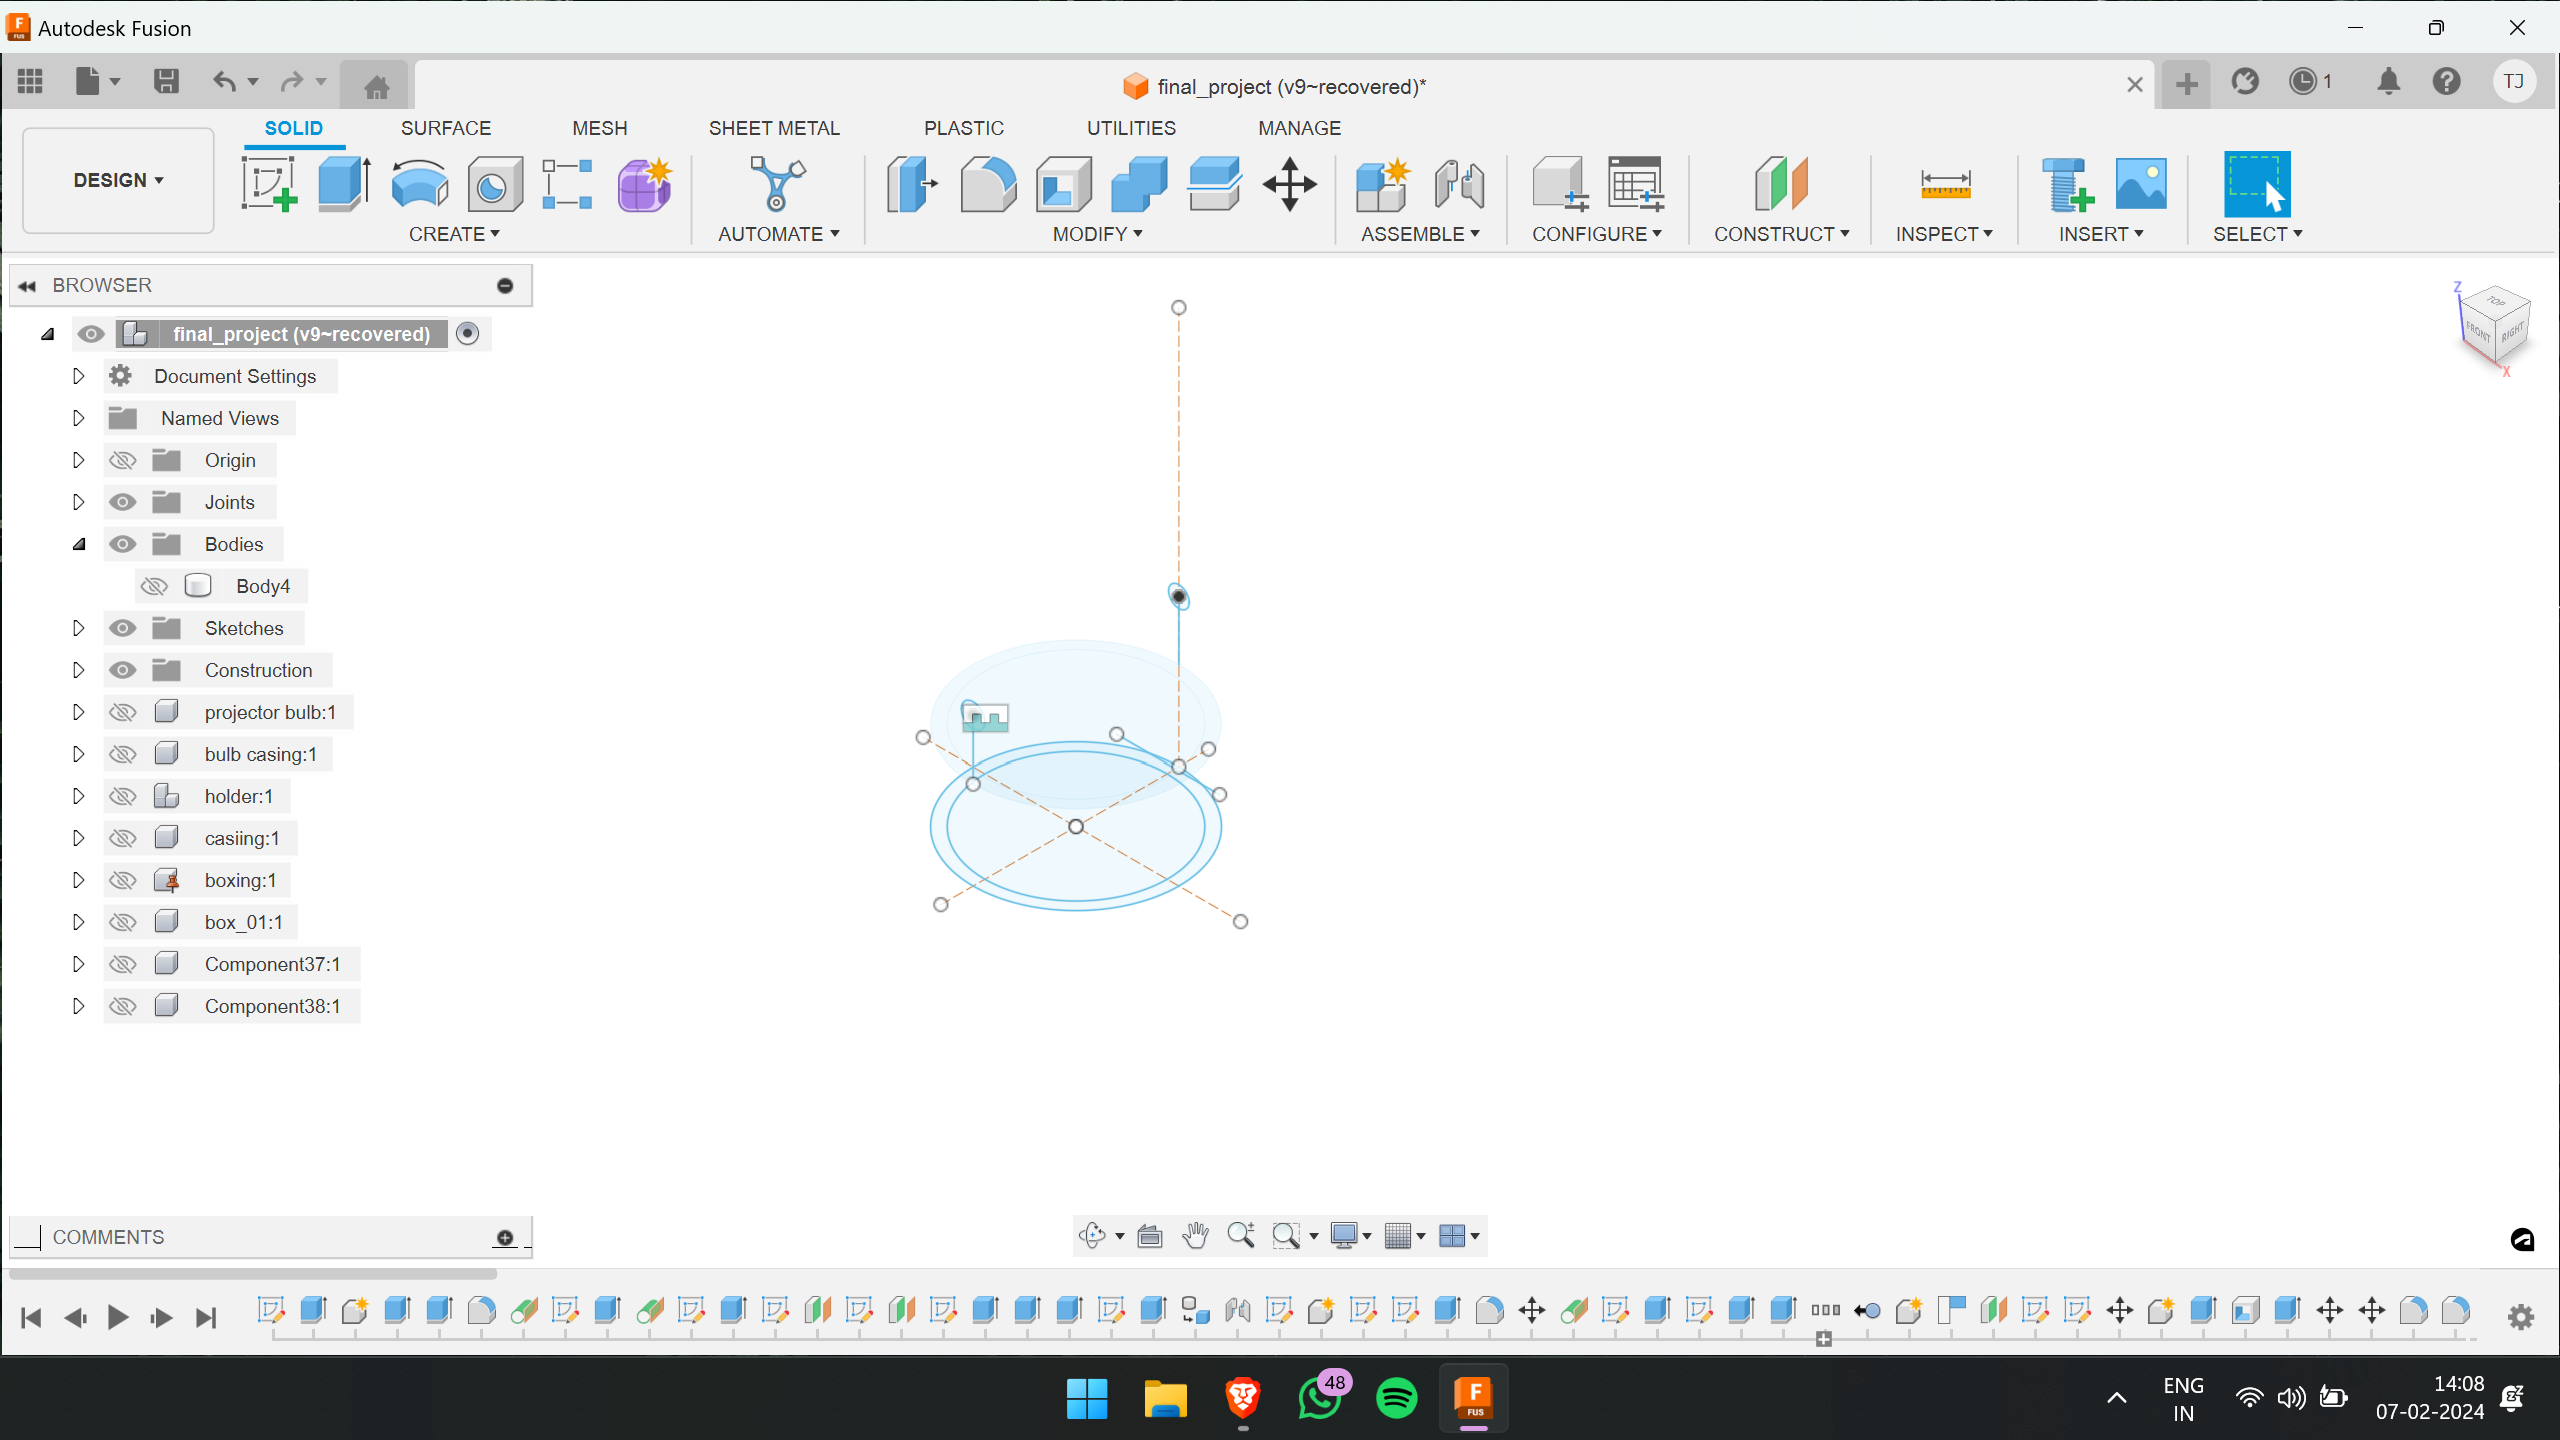
In Fusion 360, I attempted to design, render, and animate my final project idea.
This is the landing page of Fusion 360. Initially, I began by sketching the design and then proceeded to extrude it.
.png)
.png)
.png)
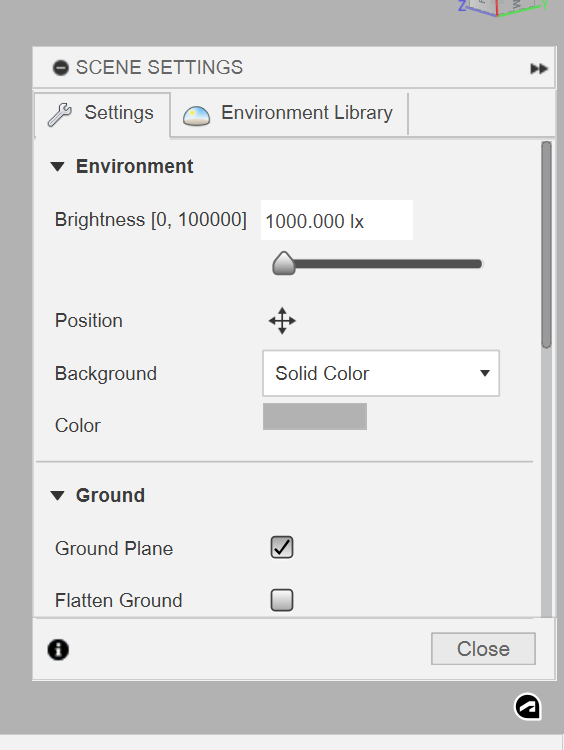
To enhance the visual appearance, I applied specific materials from the Appearance menu. Opening the Appearance menu is as simple as clicking the "A button.”
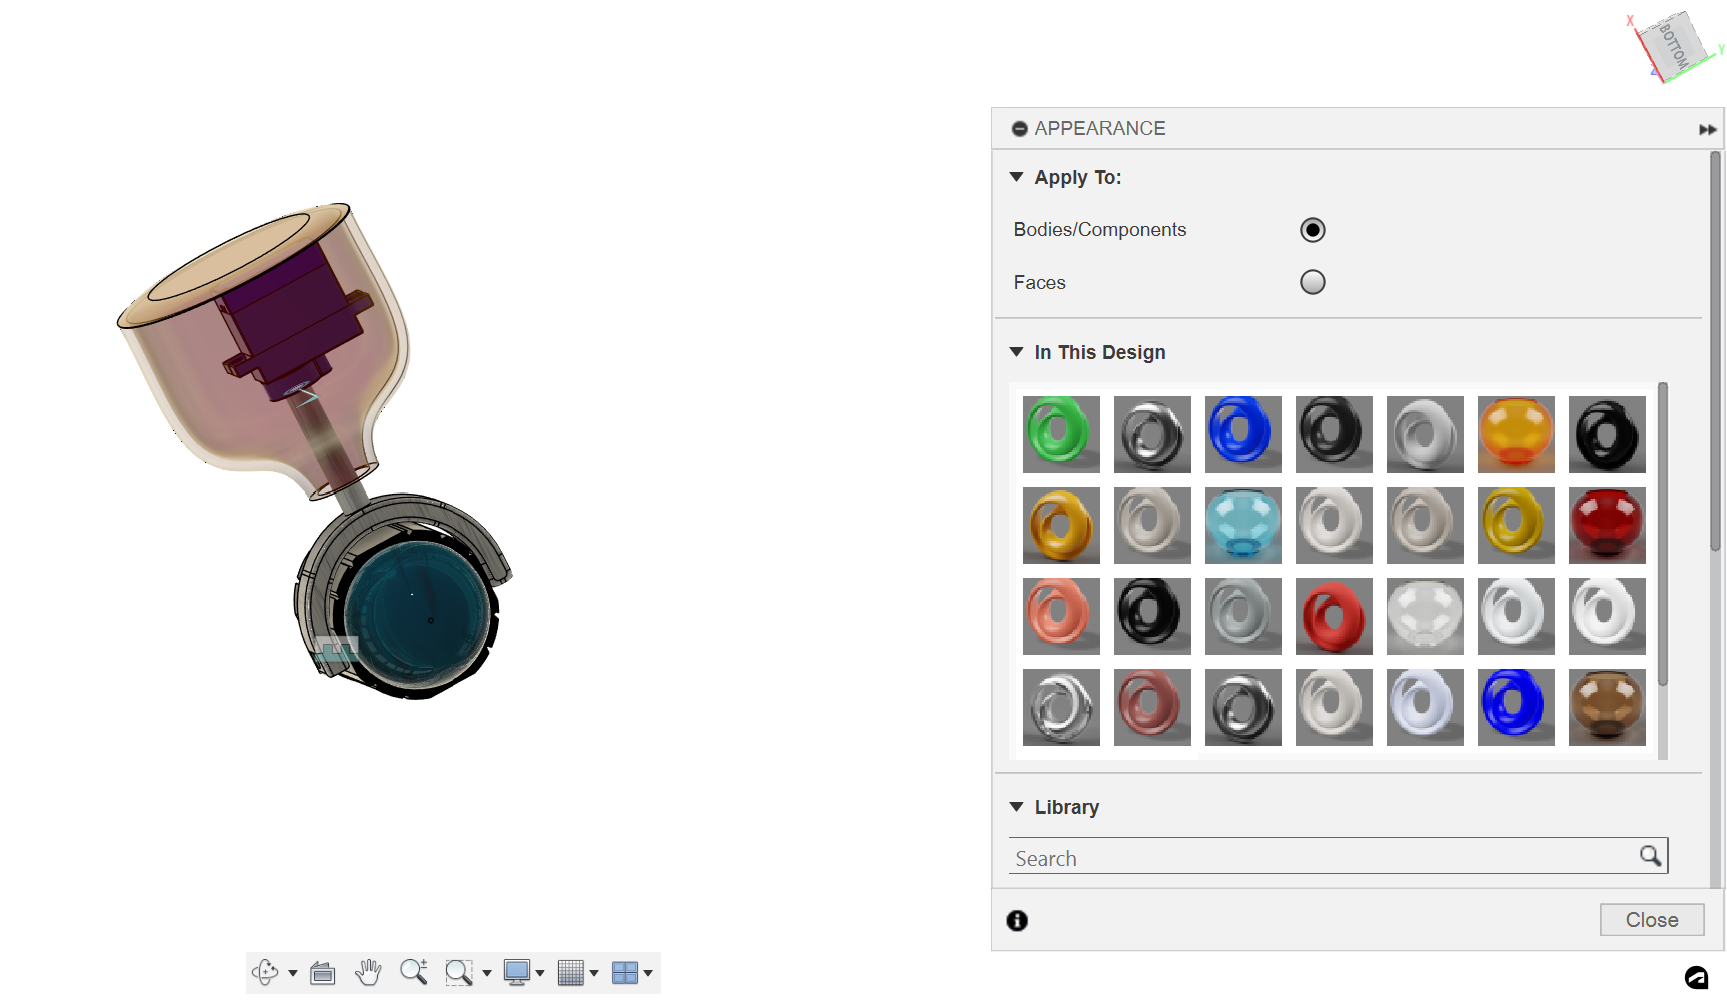
This is my concept for the final project
.png)
Next, I proceeded to render the image by toggling the rendering mode from the design view, and once rendered, I saved the image by clicking the capture image icon.
Rendering

And here is the rendered image.
.png)
Now, transitioning to animating the design, I switched the mode to animation. In the timeline, I set the time instances, and by utilizing the transform component tool, I adjusted the position of the design according to the timeline.
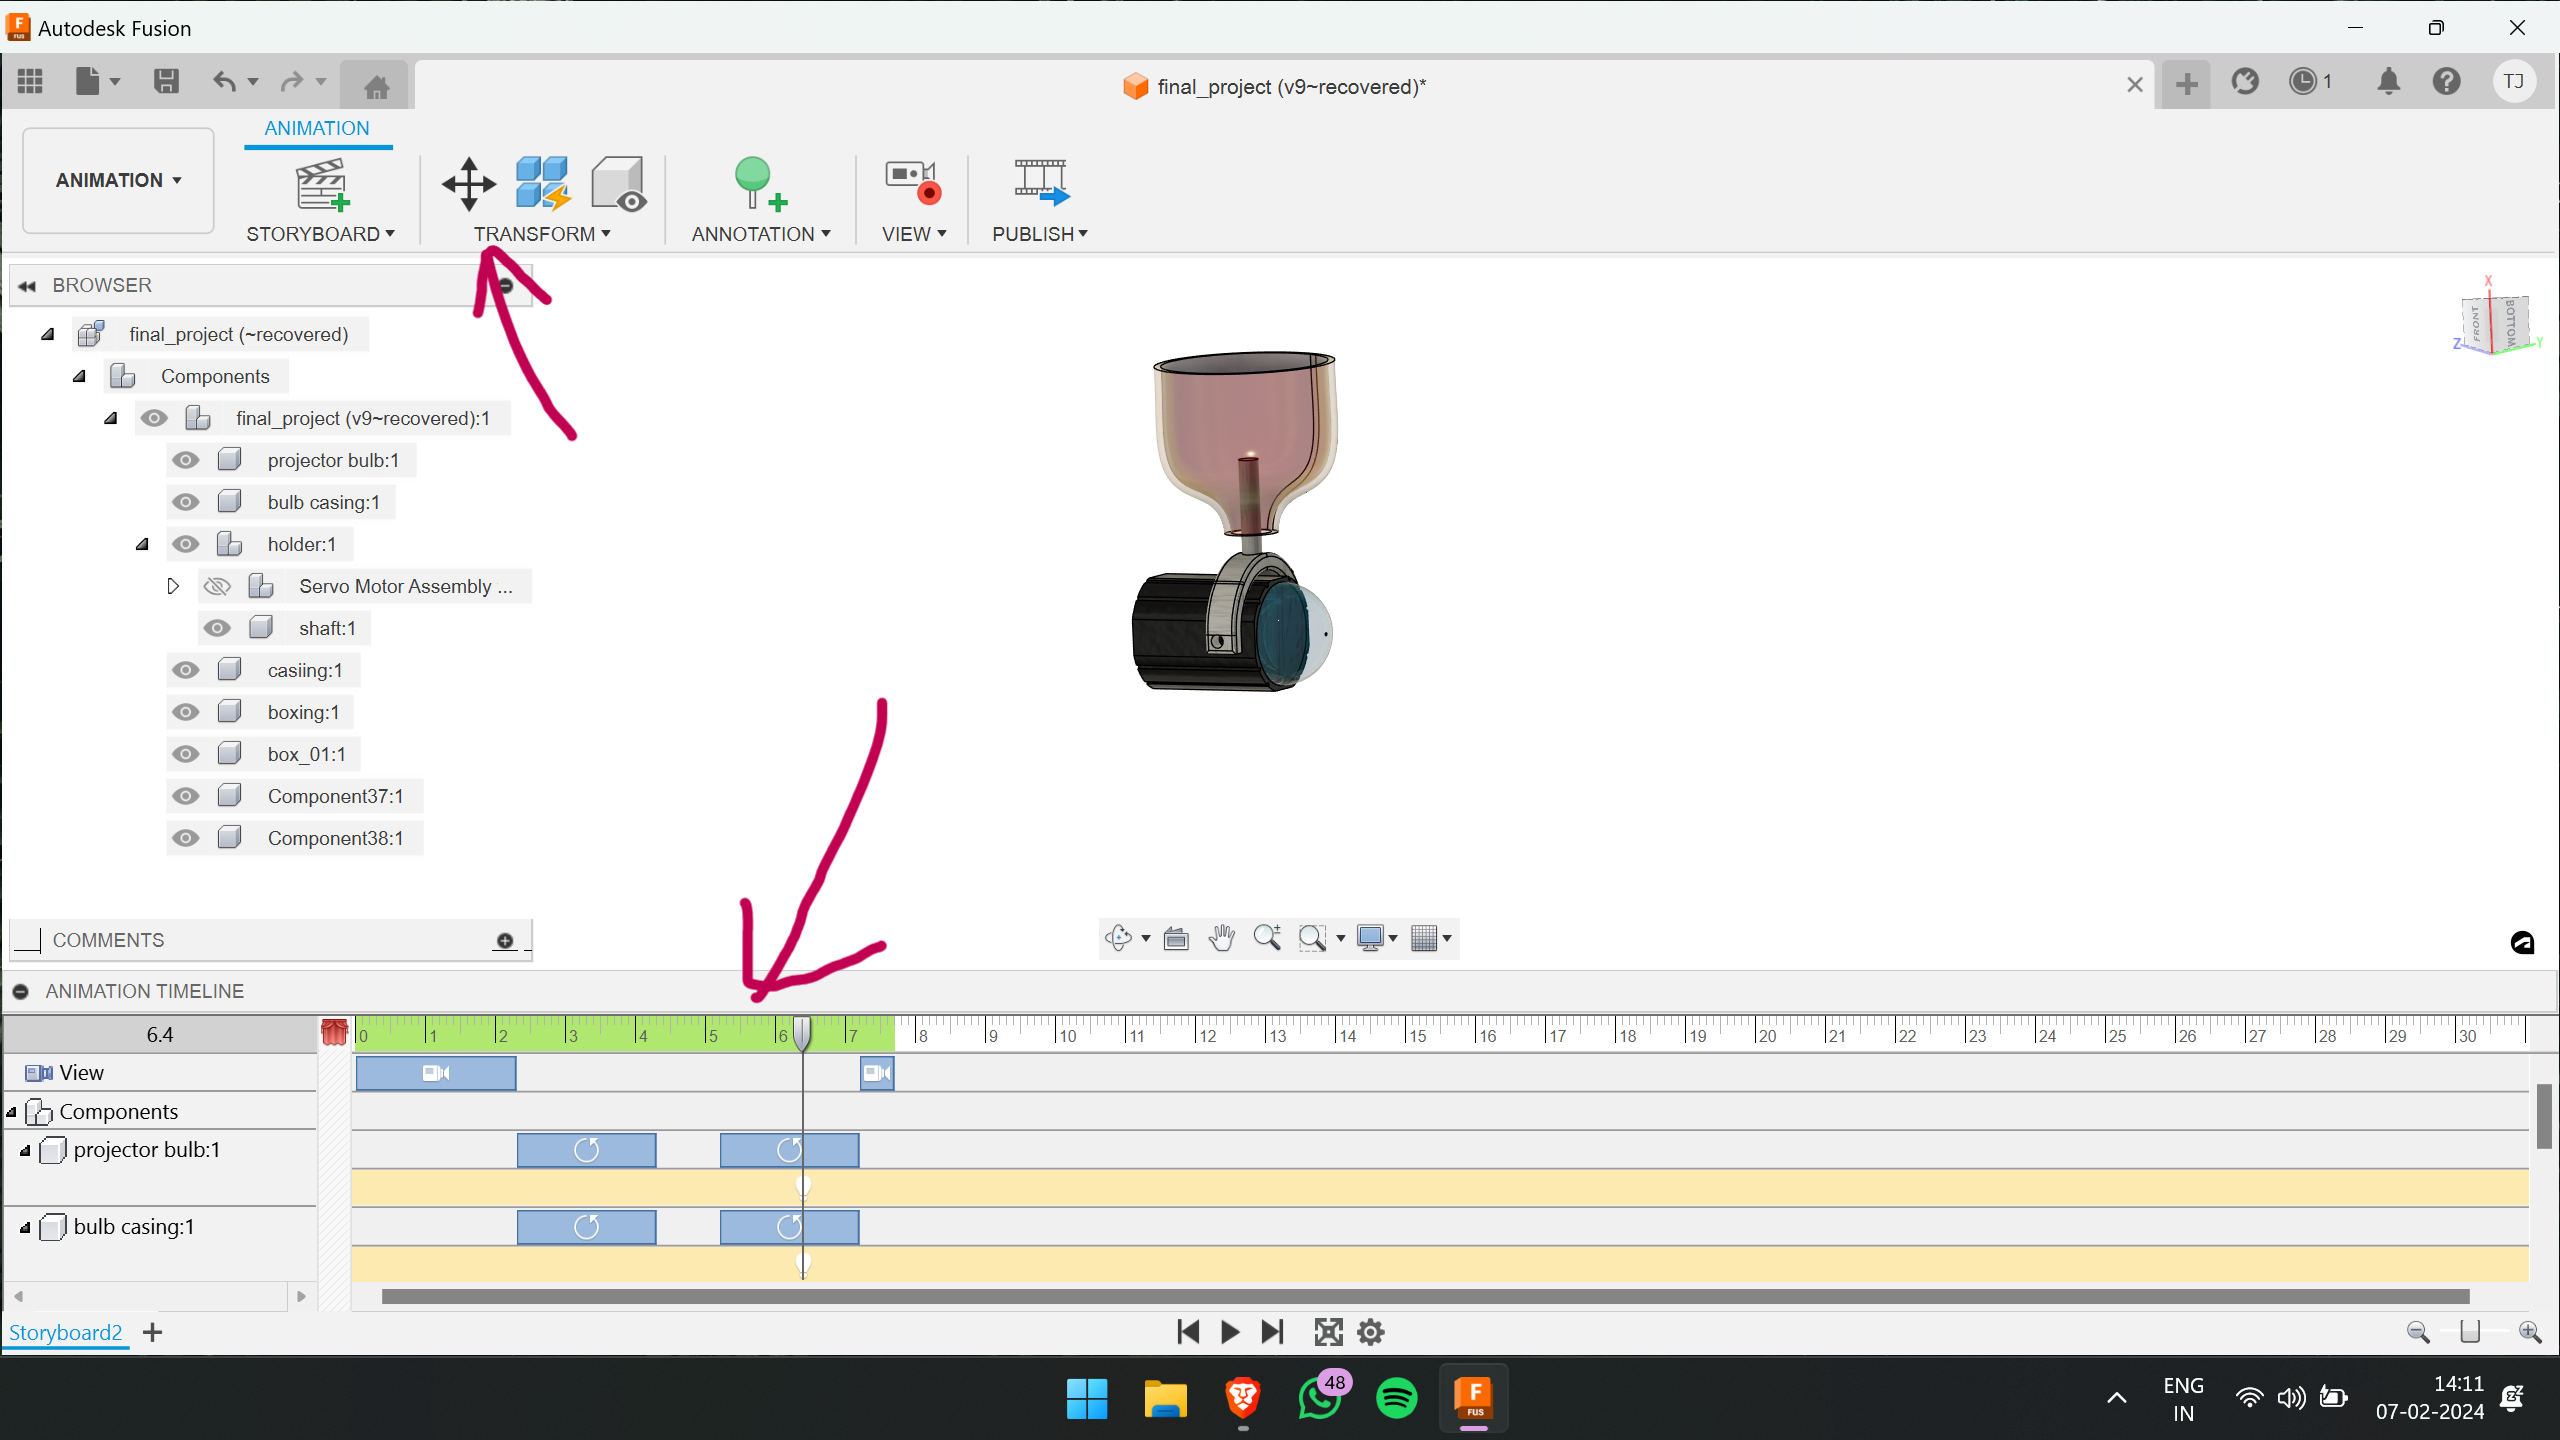
And now, presenting the animation of the concept
Compressing images and videos
Power Toys is a collection of utilities tailored for Microsoft Windows, aimed at boosting productivity and customization. Easily downloadable from the Microsoft Store, it provides a Resize Pictures option accessible by right-clicking on images, streamlining the resizing process.
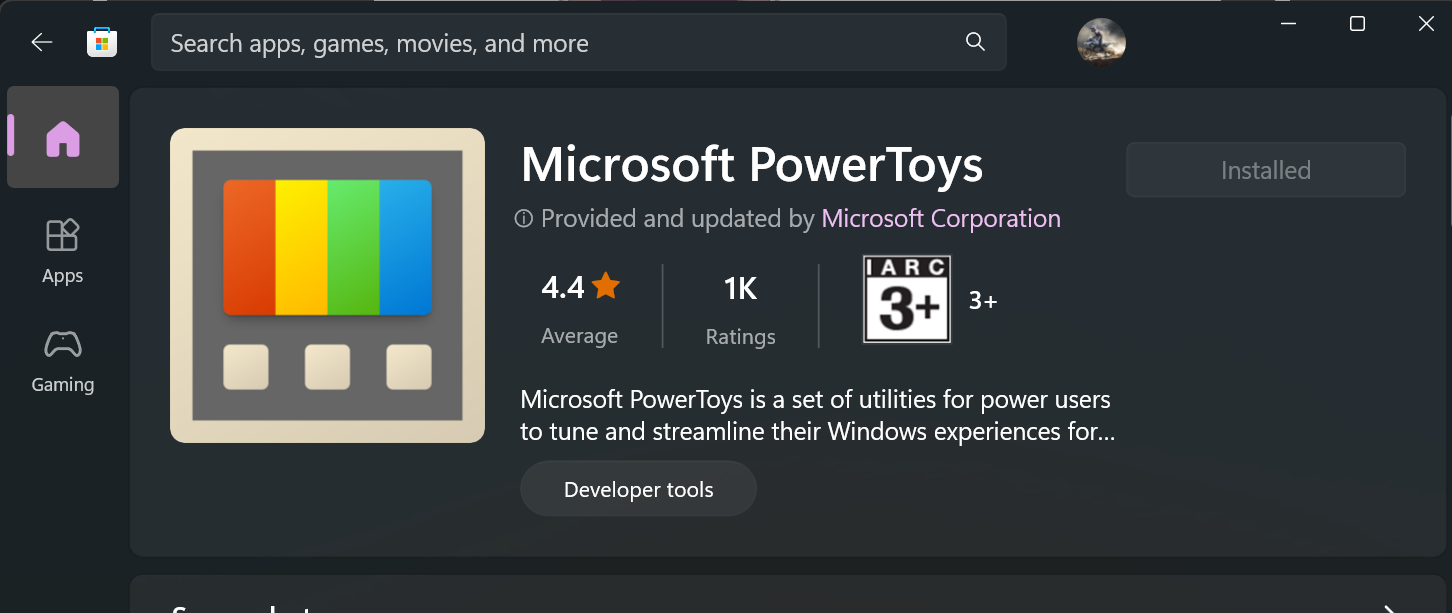
To activate Power Toys, simply press Alt and Spacebar simultaneously. This action will prompt a window to appear, allowing you to search for the operation you wish to perform.
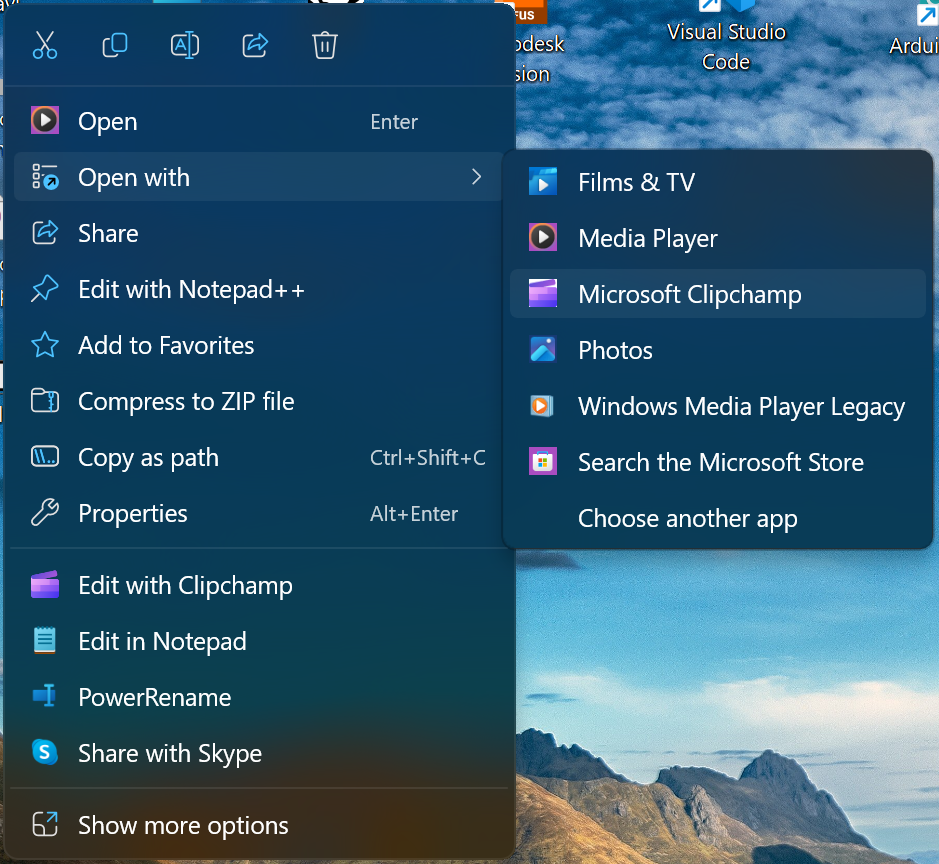
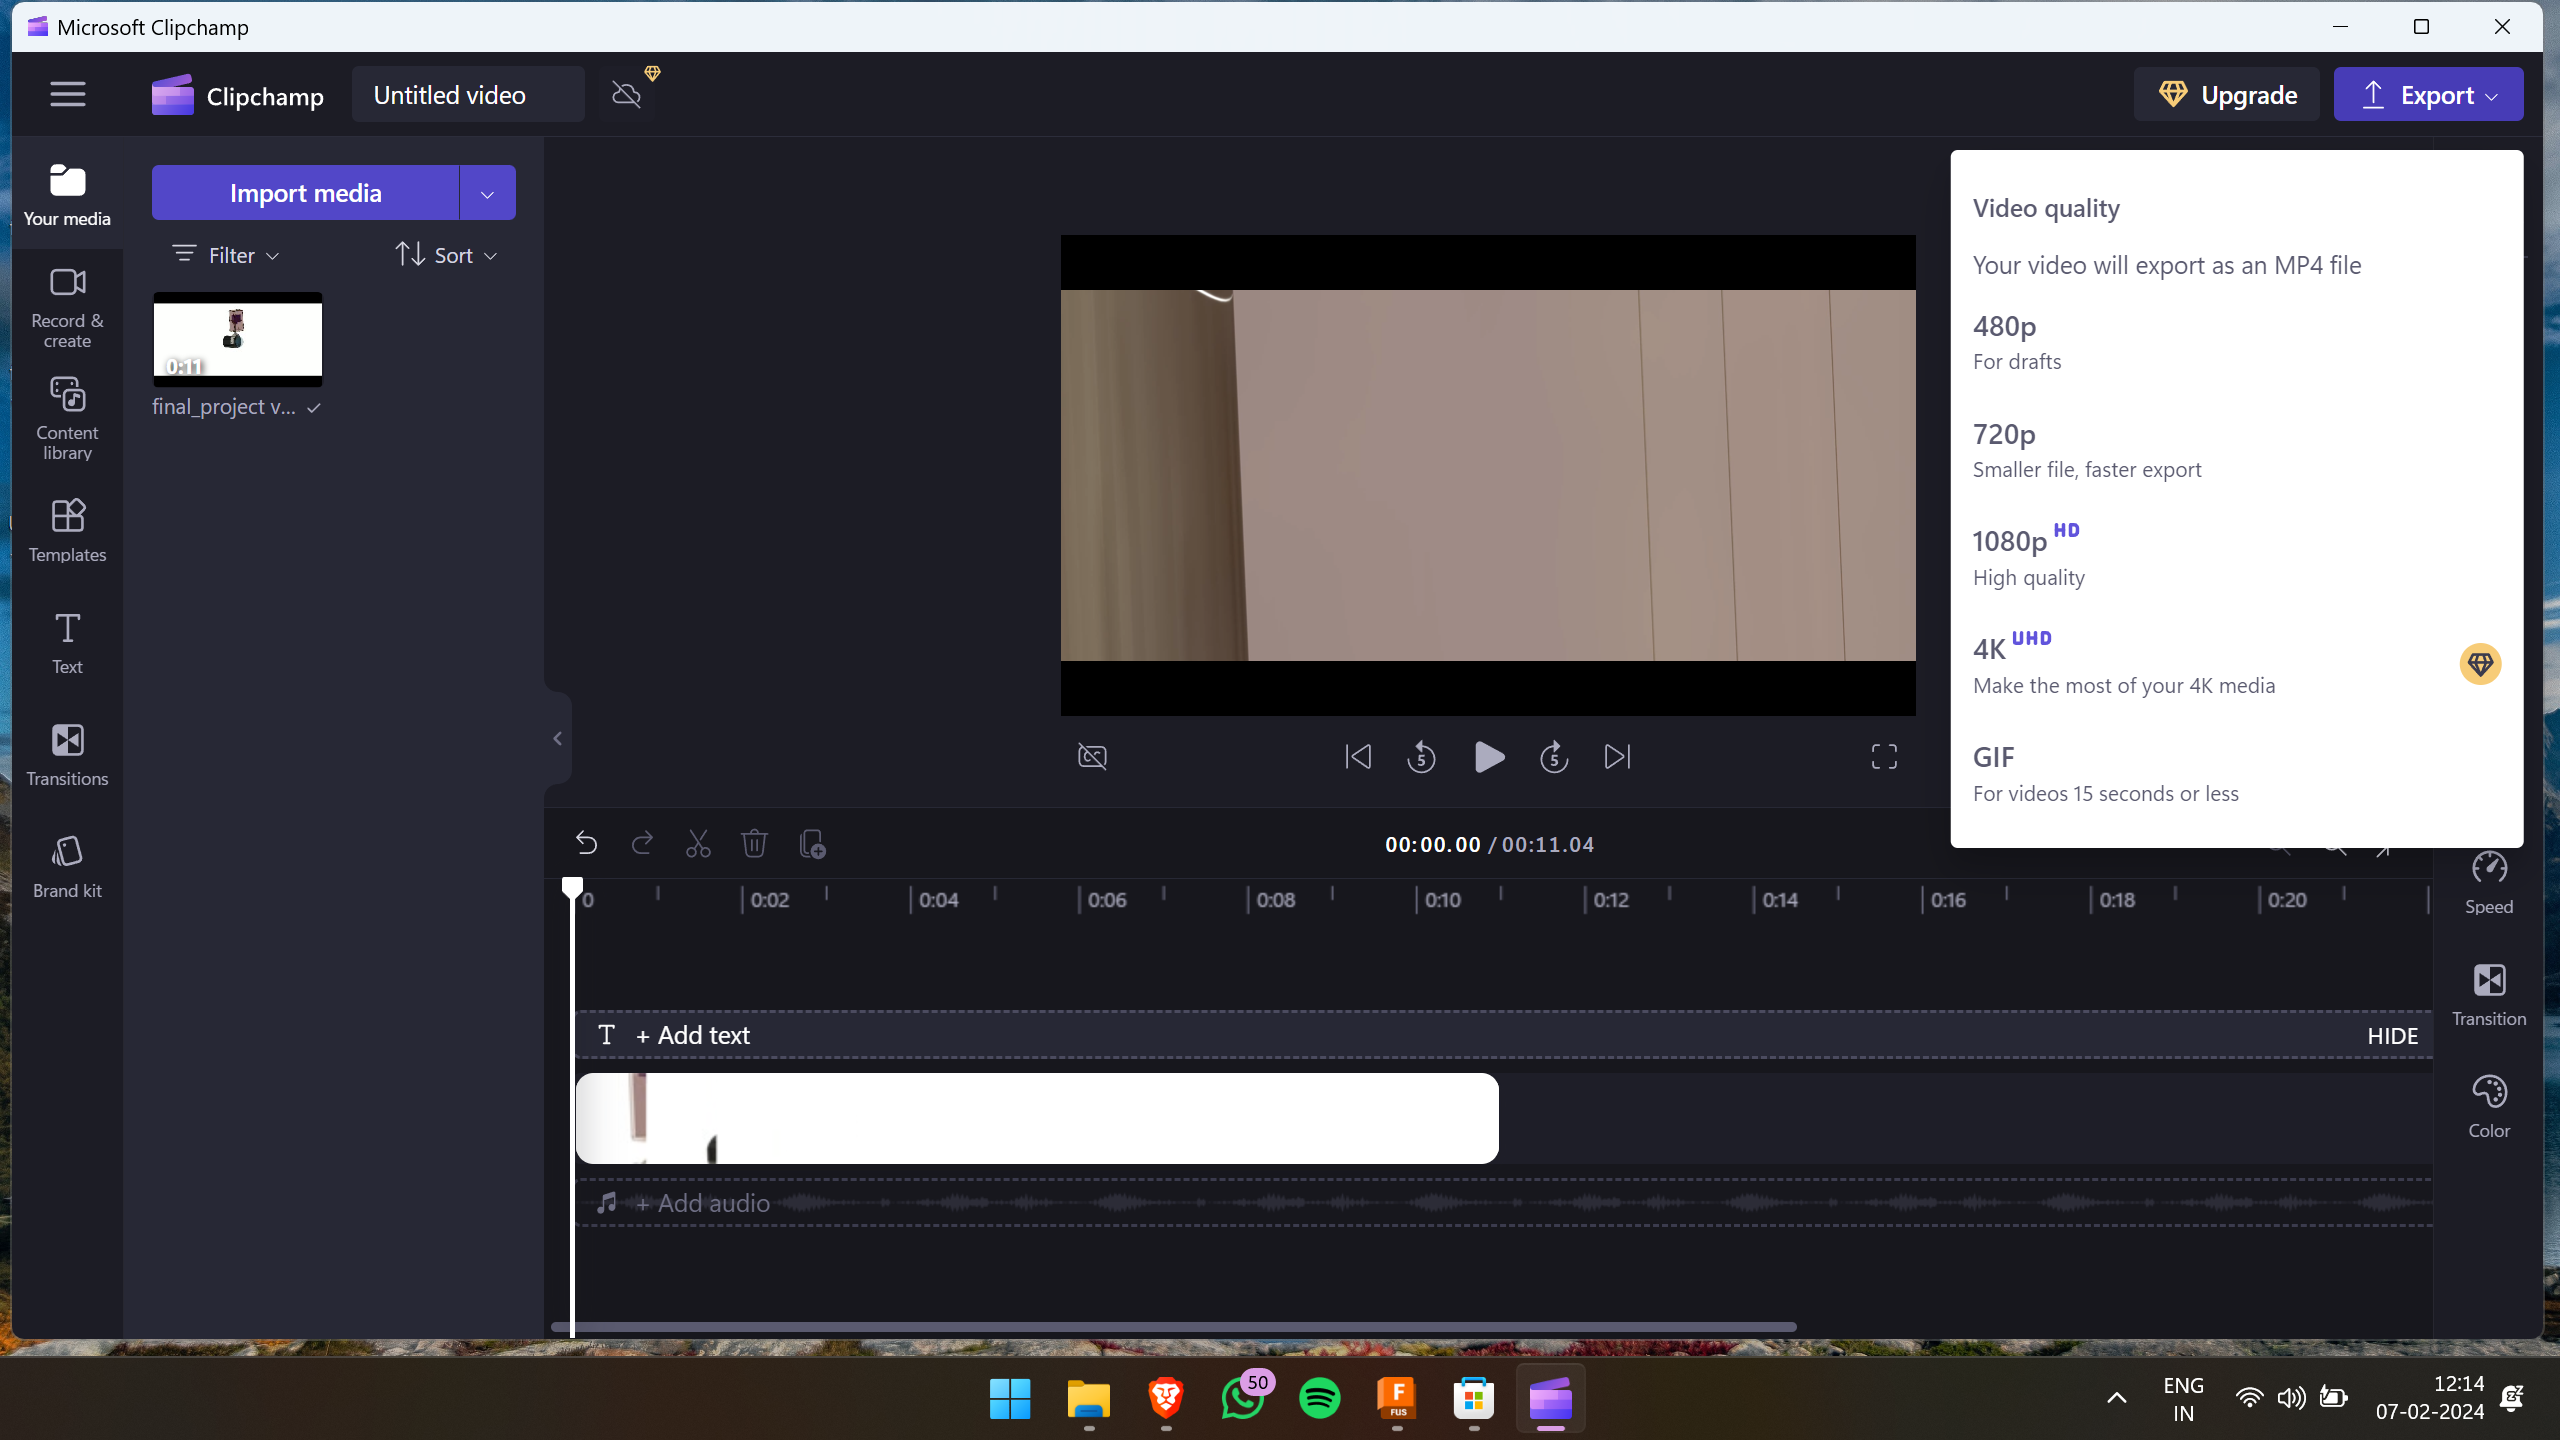
Microsoft Clipchamp is a web-based video editing platform, enables users to create, edit, and export videos directly from their browsers, eliminating the need for software installation. With its user-friendly interface and diverse editing features,
Simply right-clicking on a video offers the option to edit it in Clipchamp, where users can easily export files in 720p resolution, significantly reducing file sizes.