Mechanical design & Machine design
Tasks for this Week
Group Assignment:
1. Design a machine that includes mechanism + actuation + automation + application
Build the mechanical parts and operate it manually
Actuate and automate the machine
2.Document individual contribution
Cakerator 200
This week, our assignment is to build a machine. Since there are 10 students in our class this year, we were divided into 2 groups of 5 members each.
The Cakerator 2000 is a machine that takes cake decorating to the next level. It utilizes user-provided SVG files to automate cake decorating, drawing, and writing, allowing for precise and creative designs.
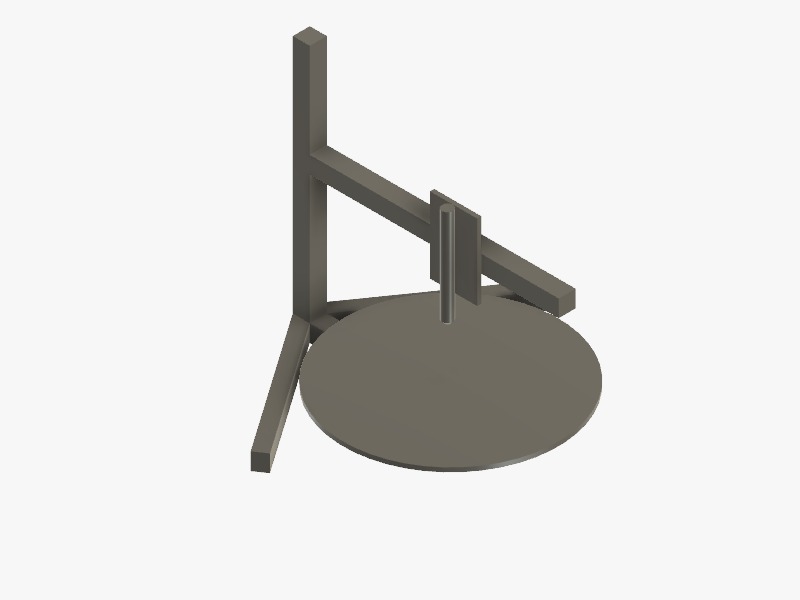
This was the initial design
My Contributions
Project Management
In the initial phase of our project, our first step involved brainstorming sessions to explore various concepts and ideas. We then proceeded to create a preliminary design based on these brainstorming sessions. Following this, we entered the planning phase, during which we meticulously outlined our schedule. This included breaking down tasks, allocating resources, and ensuring we had a comprehensive plan in place. Concurrently, we finalized our project timeline, identifying key milestones and setting deadlines to keep us on track.

Then we have split the tasks , allocating the tasks to subgroups and individual
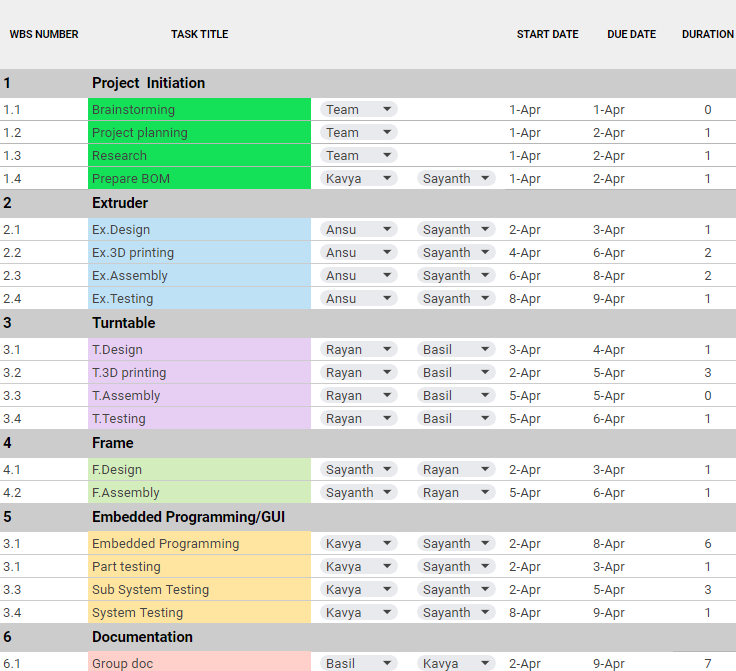
My tasks was focused on Group documentation, Procurement , Turn table manufacturing & Assembly
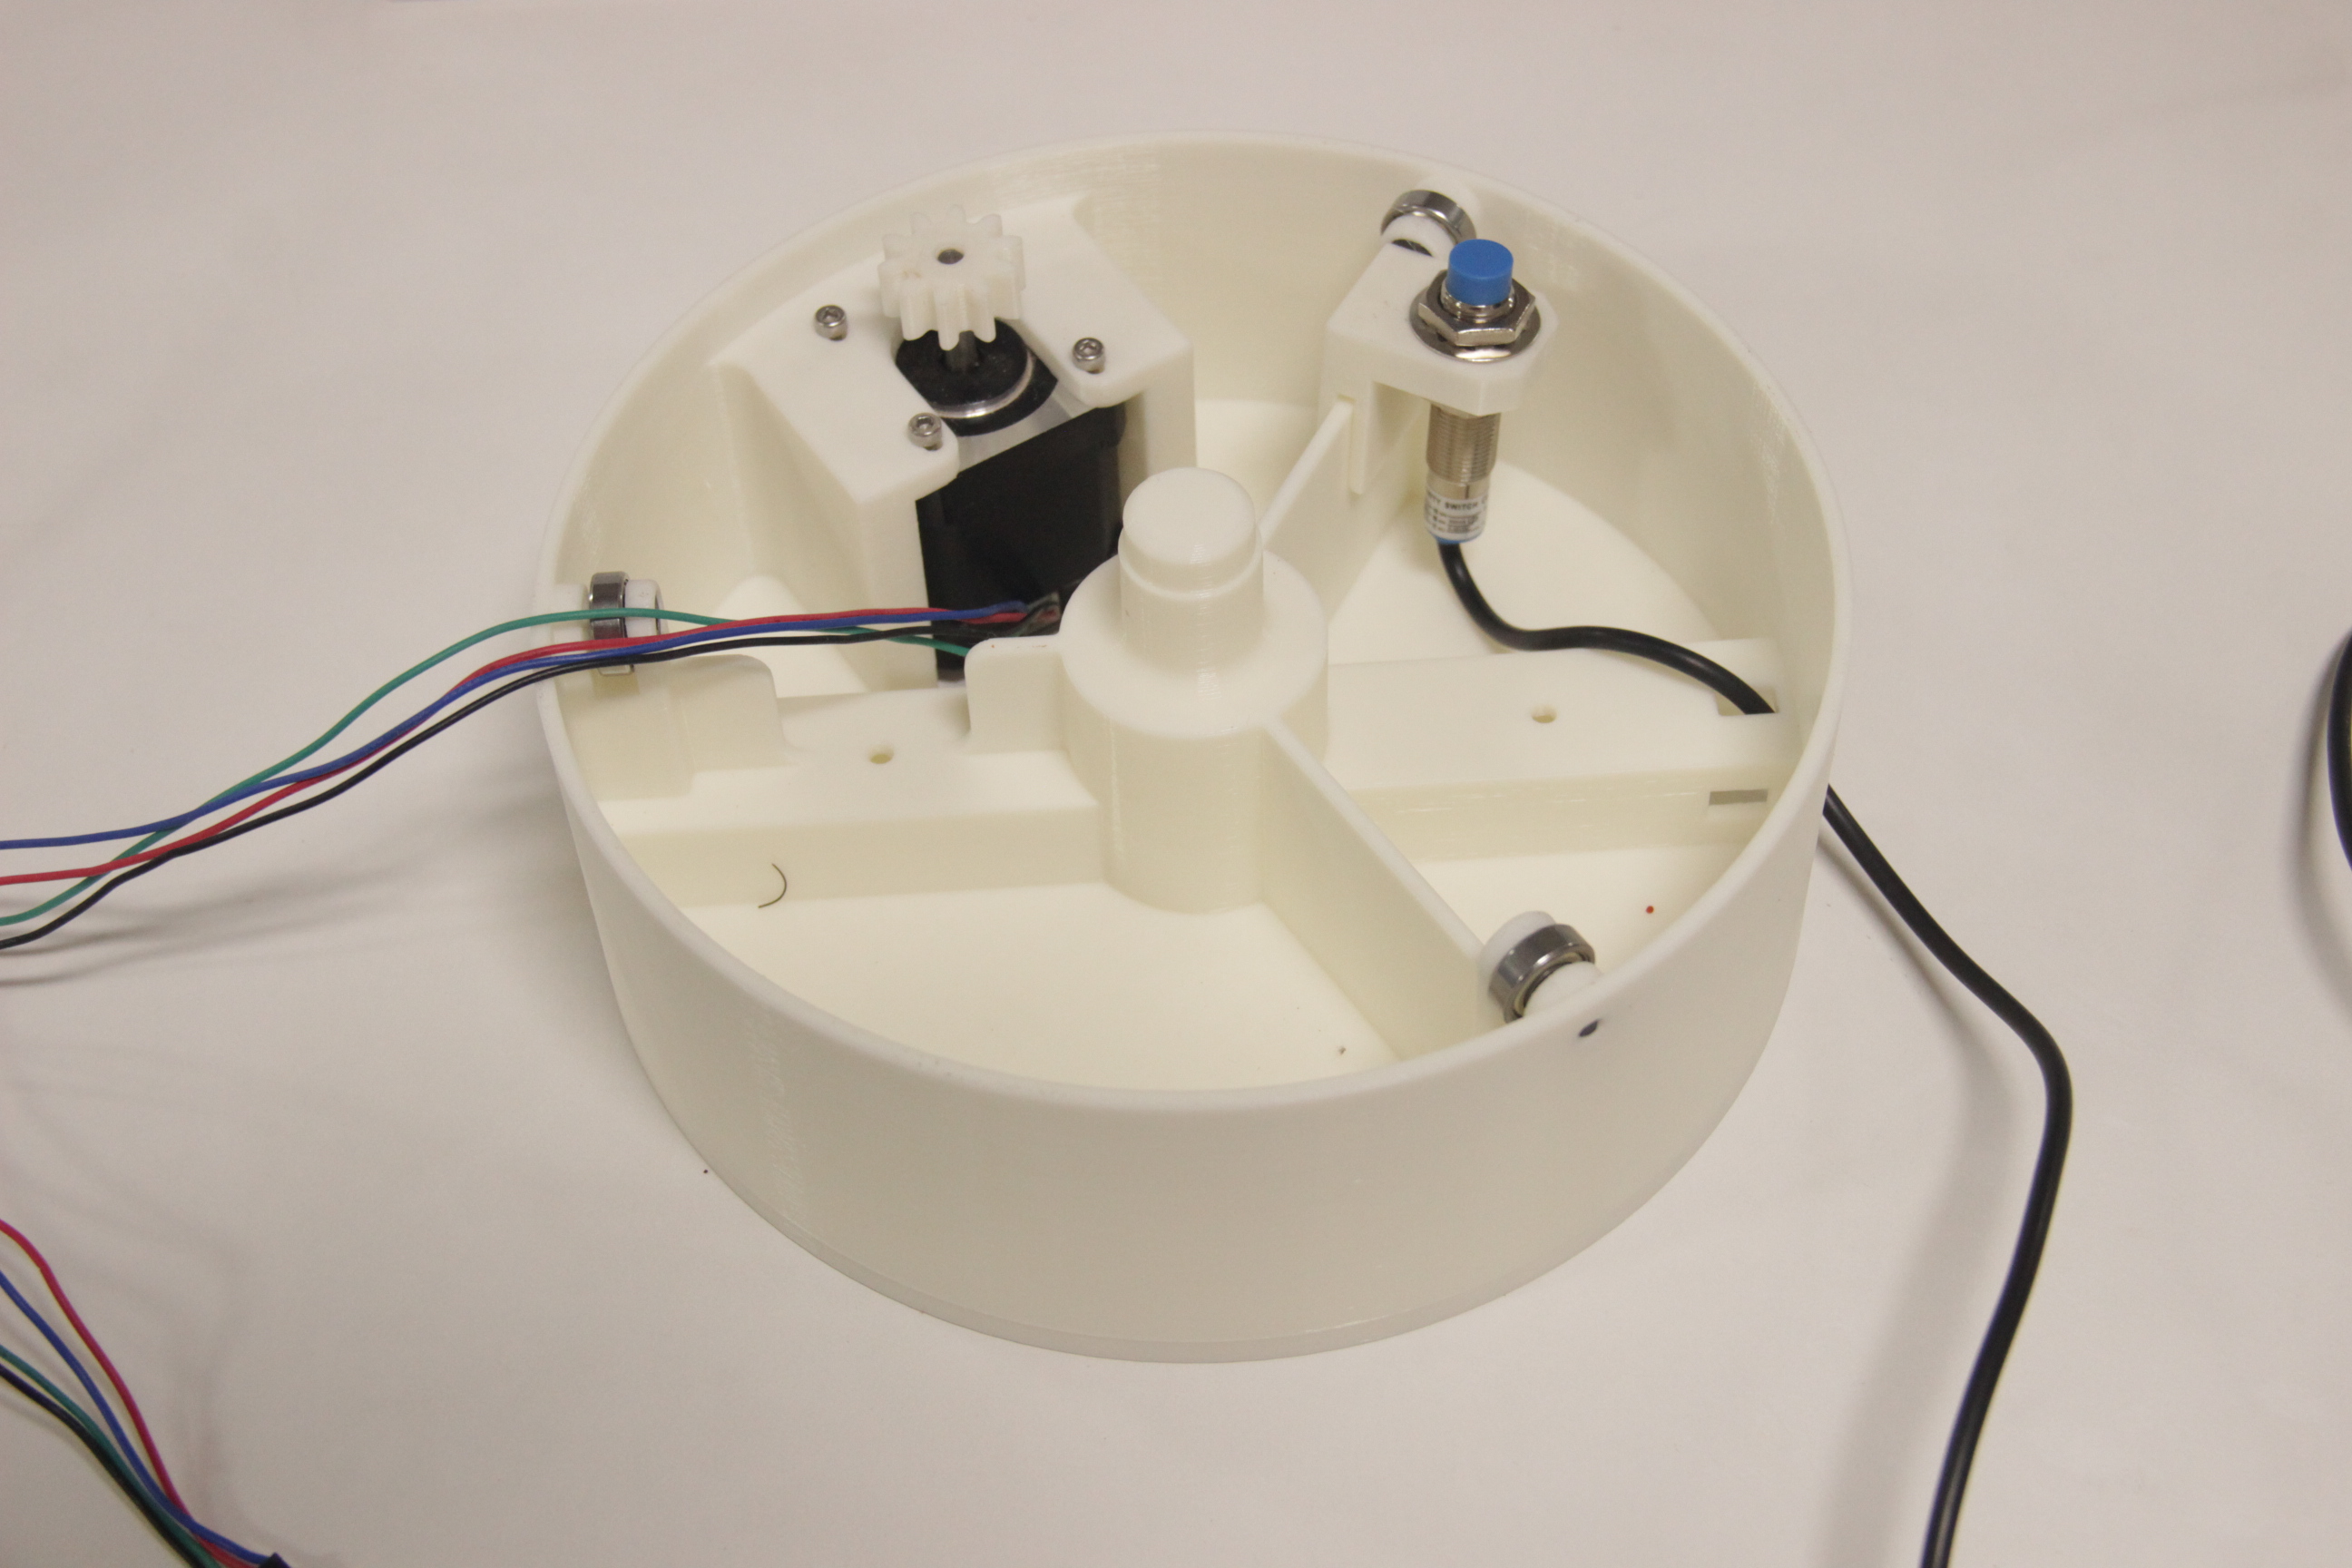
Turn Table
A manual cake turntable is a baker's best friend for decorating. This rotating platform, usually with a non-slip base, allows you to effortlessly turn your cake with one hand while you ice, pipe, smooth frosting, or add decorative elements with the other. This complete rotation makes it easy to reach every part of the cake without having to awkwardly maneuver it yourself, resulting in professional-looking and beautifully decorated cakes.
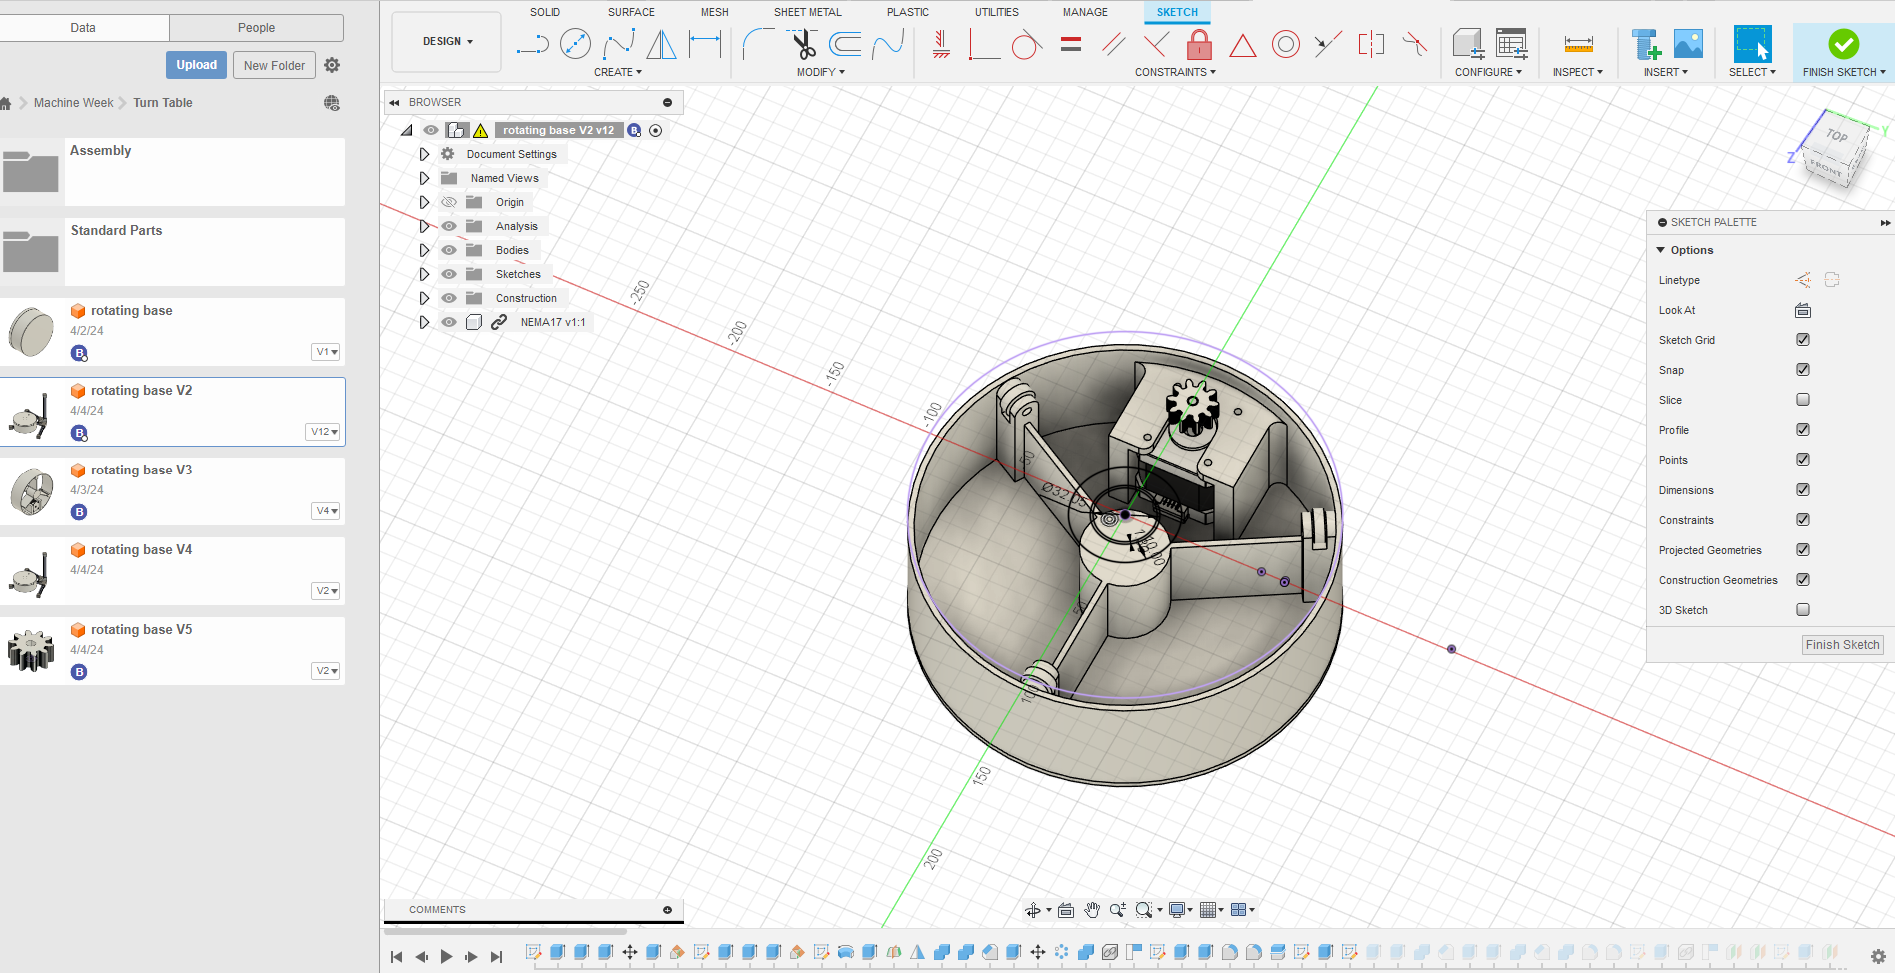
Turn Table was designed by Rayan and i helped him manufacturing and assembling
Once the design is completed , we convert it into .stl format for 3D Printing
After removing the supports , I have assembled the Motor, Bearings , Proximity Sensor in the turntable.
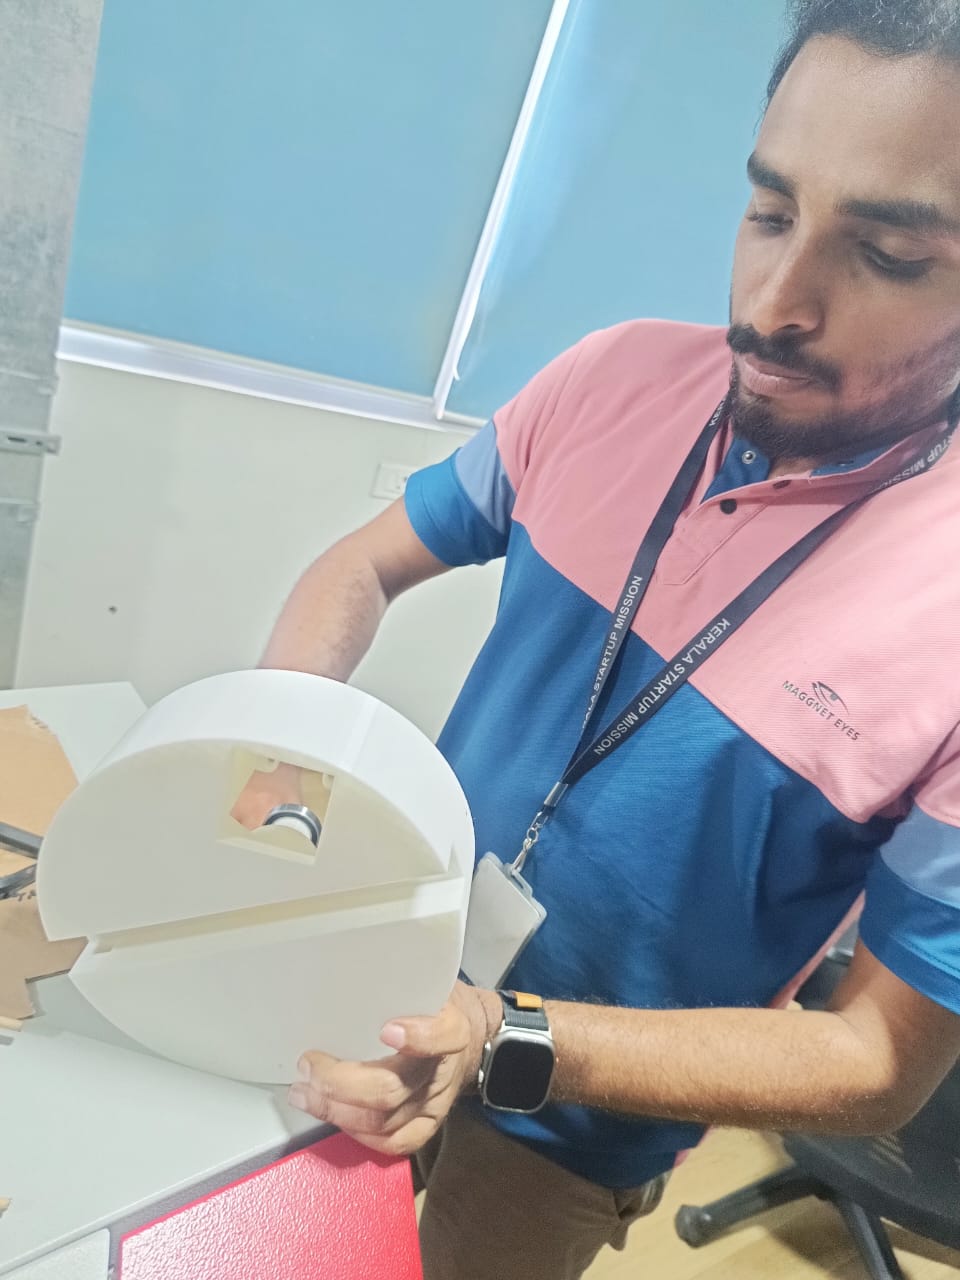
After Assembly

Then I tested the turn table, and it was successfully functioned.
Final Assembly
I was leaded the final assembly of the project
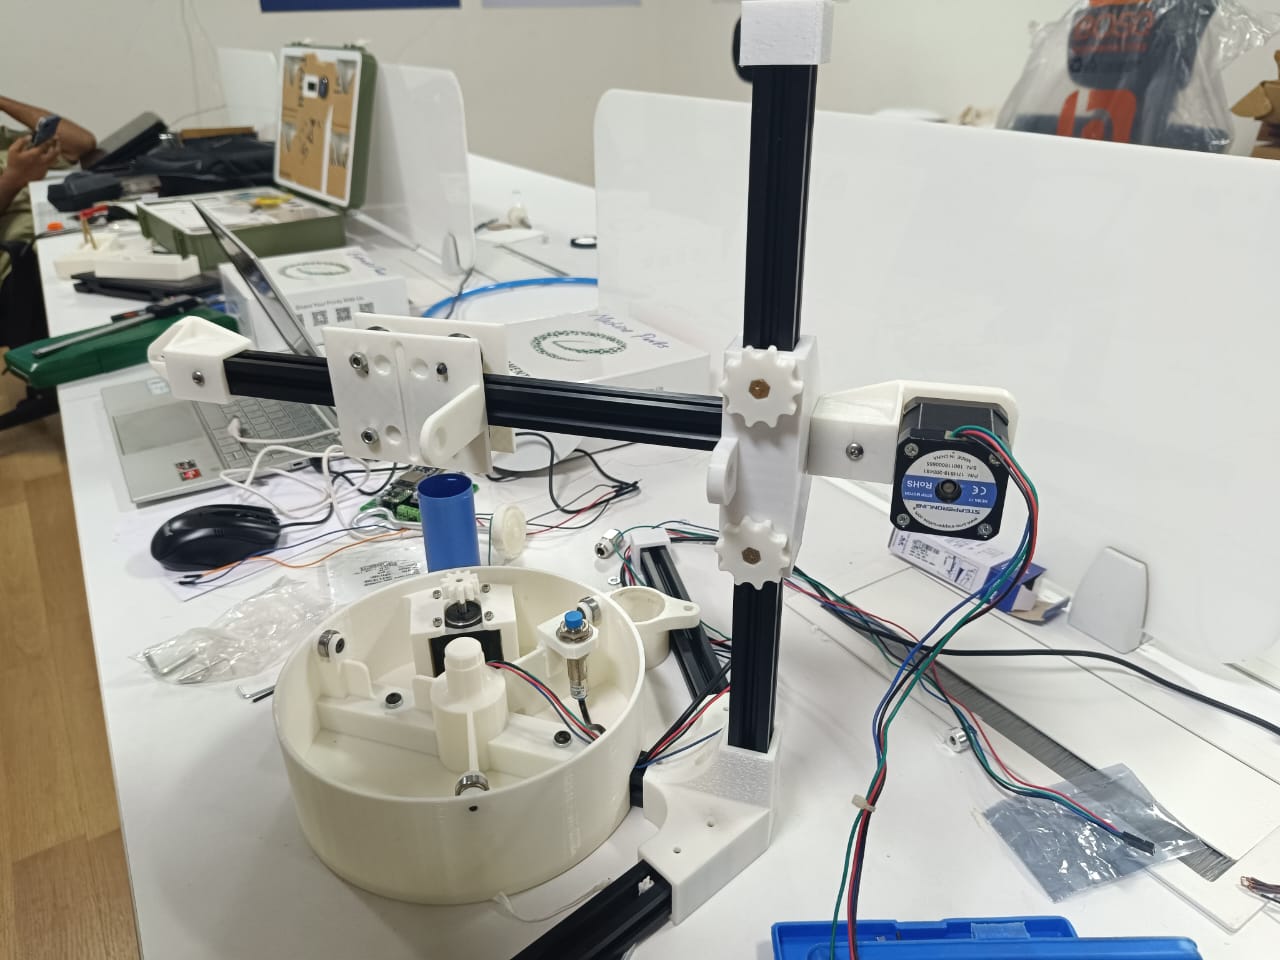
So, After all we have successfully built the machine
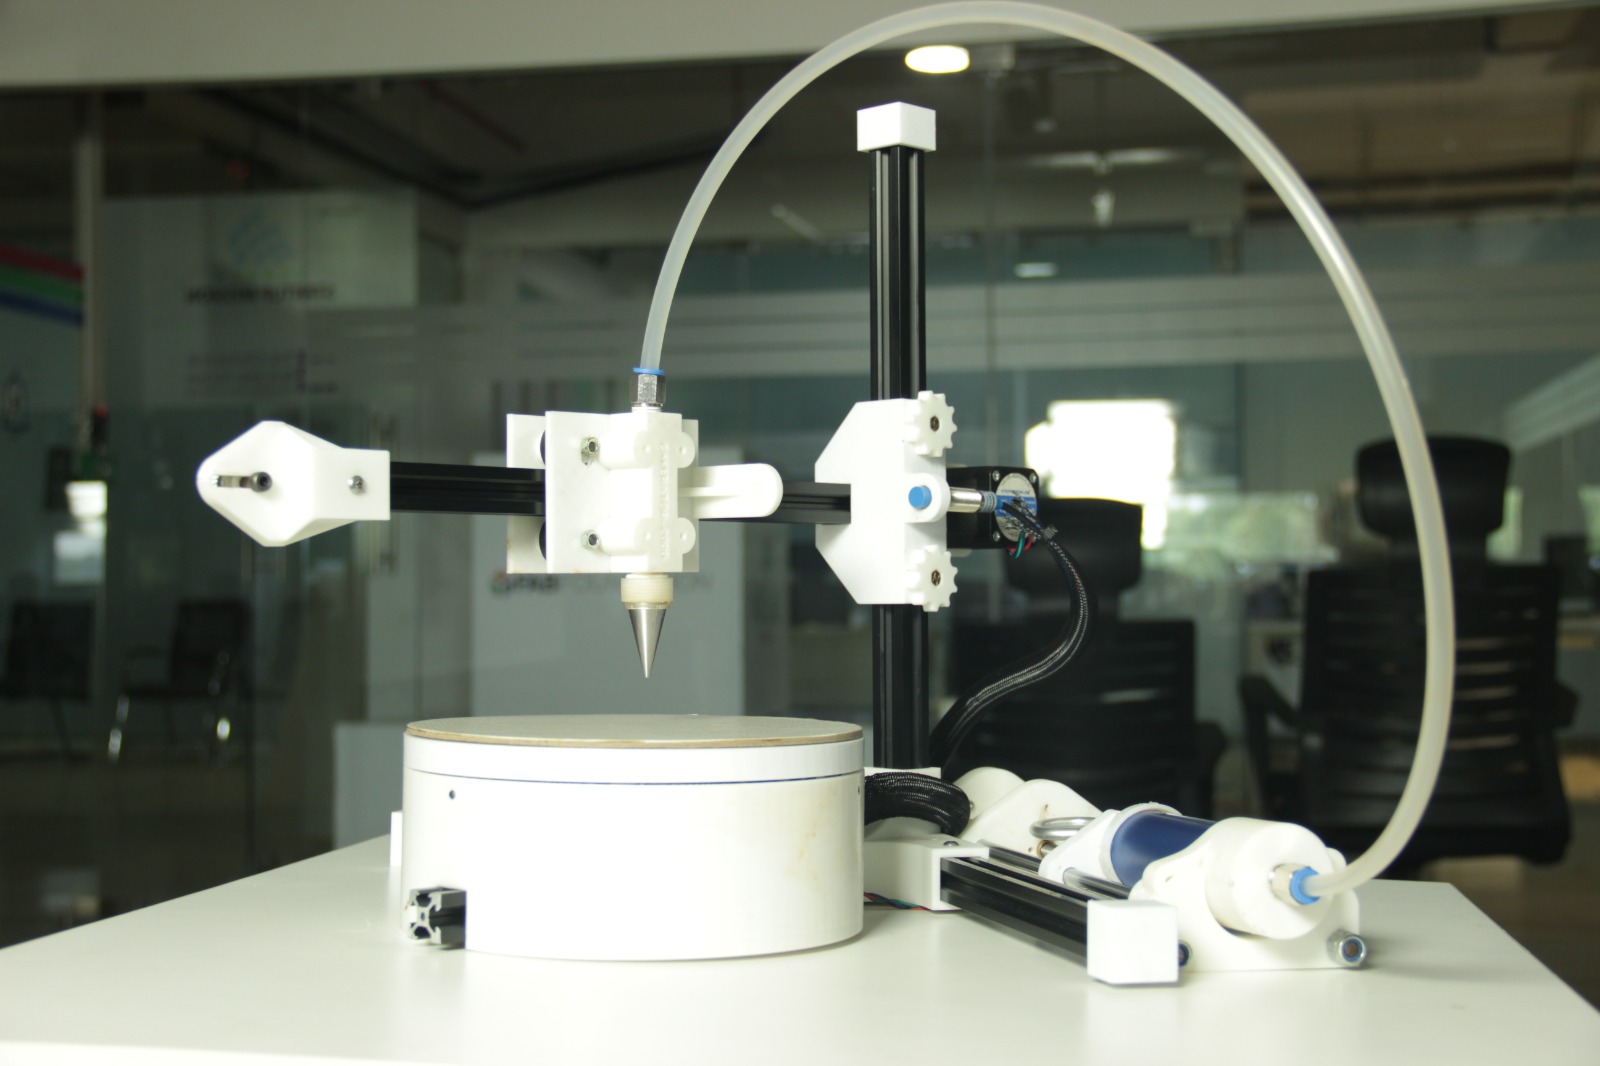

Testing
We tested the machine sucessfully
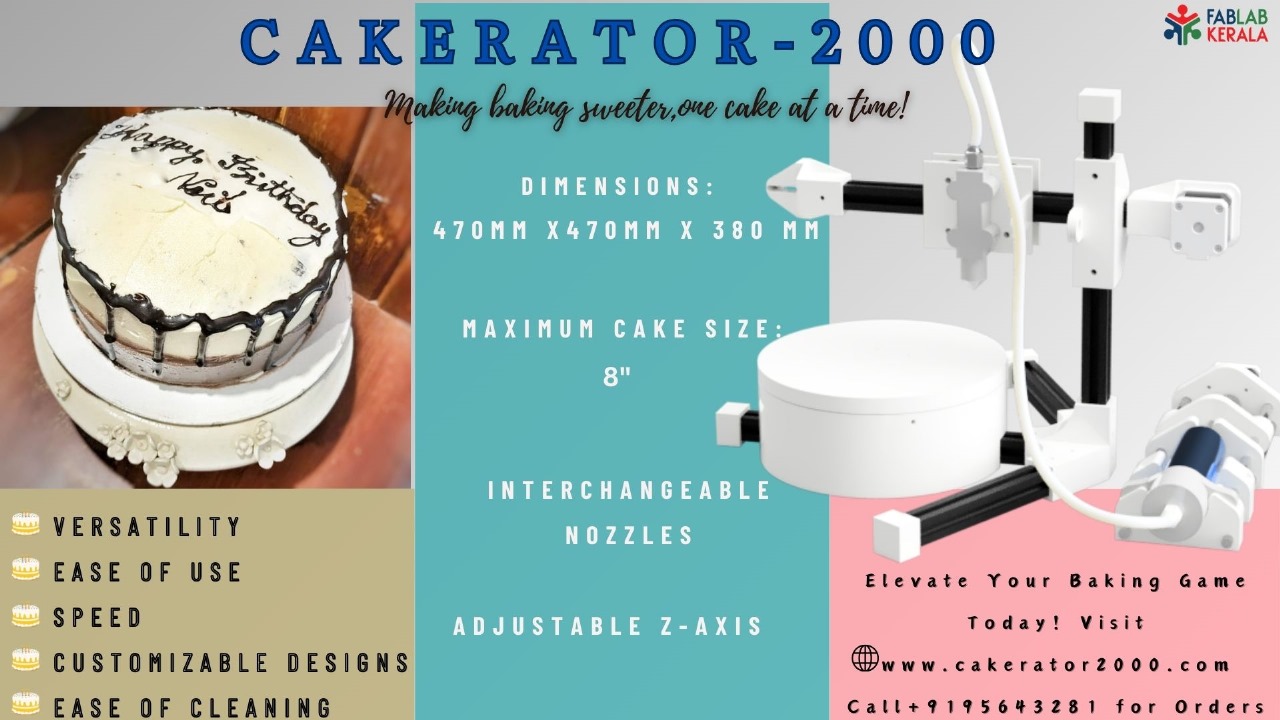
Group Documentation
I used canva.com for the poster design
.png)
For the group documentation page click here.