Principles,Practices and Project Management
This week’s assignments are:
- Familiarizing ourselves with GitLab, a version control platform used for documenting assignments.
- Exploring the fundamentals of web development, including HTML (Hypertext Markup Language), CSS (Cascading Style Sheets), JS (JavaScript), and other relevant technologies.
- Conceptualizing and sketching ideas for our upcoming Final Project.
What is version control ?
Specifically, version control enables teams of developers to collaborate on the same software from various locations by tracking modifications, preserving a complete history of the project, and creating branches that can be integrated into the main project.
Initial Set Up and Prerequisites
Follow the below link to download VScode
https://code.visualstudio.com/docs/setup/windows

Live Server

Live Server is a Visual Studio Code extension that allows you to quickly launch a local development web server with live reload feature for static and dynamic pages. It's useful for testing and previewing your web projects during the development
Setting up Git:
Git is a widely used distributed version control and source code management system. It effectively tracks changes to source code, enabling effortless branching, merging, and versioning.
If you’re looking for a Git tutorial for beginners, then you’ve ended up at the right place. In this Git and GitHub tutorial, you will learn GitHub fundamentals and advanced concepts like branches, pushing merge conflicts, and many useful Git Commands.
I have gone through the link https://www.geeksforgeeks.org/git-tutorial/ to config the Git.
Configure Git:
To begin using Git on your computer, i need to input your credentials to identify yourself as the author of your work.
To add your full name in your shell:
git config --global user.name "user.name"
Added my email address:
git config --global user.email "your_email_address@example.com"
For verify the configuration, execute:
git config --global --list
Note: The --global option ensures that Git uses this information for all your activities on your system. If you prefer to set configurations locally, omit --global or use --local, which applies only to the current repository.
For further details on Git configurations, refer to the Git configuration documentation.
Setting up GitLab and SSH keys
SSH is a technology that enables secure communication between computers by creating a virtual tunnel over the internet. One way to establish this secure connection is by using an encryption technique called SSH keys. These keys can be generated through terminal commands in Git, and the GitLab platform supports several types of keys, including RSA, DSA, ECDSA, and ED25519. In my case, I generated an RSA key for my GitLab account.
Install Git follow the below link download git and follow the setup sequence .
- Generate SSH Key:
Run the following command, replacing "your_email@example.com" with the email associated with your GitHub account:
ssh-keygen -t rsa -b 4096 -C "your_email@example.com"
This command creates a new RSA SSH key with a bit size of 4096, associating it with your provided email.

Add SSH Key to GitLab:
- Open your GitLab account home page.
- Go to "Preferences" > "SSH Keys."
- Paste the copied key into the provided text box and save the changes.

Create a New Folder for Fab Academy:
-Create a new folder to store all the files for Fab Academy.
Open Git Bash:
-Inside the Fab Academy folder, right-click to open Git Bash.
-Clone Repository with SSH:
Visit the GitLab repository for Fab Academy.
- Click the "Clone" button and select "Clone with SSH."

- Copy the SSH URL provided.
Paste the url in the code below on git bash to clone the repository git clone (ssh url)

After making the necessary modifications to the code, proceed to a fresh terminal and execute the following commands to upload the files to GitLab:
git add --all
git commit -m "Your descriptive message here"
git push

These commands will stage all changes, commit them with a specified message, and then push the changes to the GitLab repository.
Building a website
HTML vs CSS vs Java Script
Following is what I understood from my instructor ,
HTML (Hypertext Markup Language) is the standard markup language for creating web pages. It gives structure to the content on a web page, defining headings, paragraphs, images, and links.
CSS (Cascading Style Sheets) is a stylesheet language that allows you to apply styles to your HTML content. It gives a web page its visual appearance, specifying font styles, colors, and layout.
JavaScript is a scripting language that enables you to make a web page dynamic and interactive. It allows you to add interactivity, like form validation, responsive pop-ups, and animations, to a web page.
In simple terms, HTML gives structure to a web page, CSS adds visual styling to it, and JavaScript makes it interactive.
process.
I have learned some HTML codes later for simplification i know about Tailwind CSS
Installation
Installing Tailwind CLI
The simplest and fastest way to get up and running with Tailwind CSS from scratch is with the Tailwind CLI tool. The CLI is also available as a standalone executable if you want to use it without installing Node.js.
- Install Tailwind CSS
Install
tailwindcssvia npm, and create yourtailwind.config.jsfile.Terminal
npm install -D tailwindcssnpx tailwindcss init
- Configure your template paths
Add the paths to all of your template files in your
tailwind.config.jsfile.tailwind.config.js
/** @type {import('tailwindcss').Config} */
module.exports = {
 content: ["./src/**/*.{html,js}"],
 theme: {
 extend: {},
 },
 plugins: [],
}
- Add the Tailwind directives to your CSS
Add the
@tailwinddirectives for each of Tailwind’s layers to your main CSS file.src/input.css
@tailwind base;@tailwind components;@tailwind utilities;
- Start the Tailwind CLI build process
Run the CLI tool to scan your template files for classes and build your CSS.
Terminal
npx tailwindcss -i ./src/input.css -o ./src/output.css --watch
- Start using Tailwind in your HTML
Add your compiled CSS file to the
<head>and start using Tailwind’s utility classes to style your content.src/index.html
<!doctype html>
<html>
<head>
 <meta charset="UTF-8">
 <meta name="viewport" content="width=device-width, initial-scale=1.0">
 <link href="./output.css" rel="stylesheet">
</head>
<body>
 <h1 class="text-3xl font-bold underline">
 Hello world!
 </h1>
</body>
</html>
Write codes (Credit : https://tailwindcss.com/docs/typography-plugin)
Some important codes
- Text Color:
- Change text color to red:
text-red-500
- Change text color to red:
- Background Color:
- Set background color to blue:
bg-blue-400
- Set background color to blue:
- Font Size:
- Set font size to large:
text-lg
- Set font size to large:
- Padding:
- Add padding on all sides:
p-4
- Add padding on all sides:
- Margin:
- Add margin on the top:
mt-2
- Add margin on the top:
- Width and Height:
- Set width to half the screen:
w-1/2
- Set height to 100 pixels:
h-100
- Set width to half the screen:
- Flexbox:
- Create a flex container:
flex
- Center items horizontally and vertically:
justify-center items-center
- Create a flex container:
- Border:
- Add a border with rounded corners:
border rounded
- Add a border with rounded corners:
- Hover Effects:
- Change text color on hover:
hover:text-green-500
- Add a shadow on hover:
hover:shadow-md
- Change text color on hover:
- Display:
- Hide an element:
hidden
- Show an element on large screens:
lg:block
- Hide an element:
- Responsive Design:
- Set padding to 4 on small screens and 8 on large screens:
p-4 lg:p-8
- Set padding to 4 on small screens and 8 on large screens:
- Grid System:
- Create a three-column grid:
grid grid-cols-3
- Create a three-column grid:

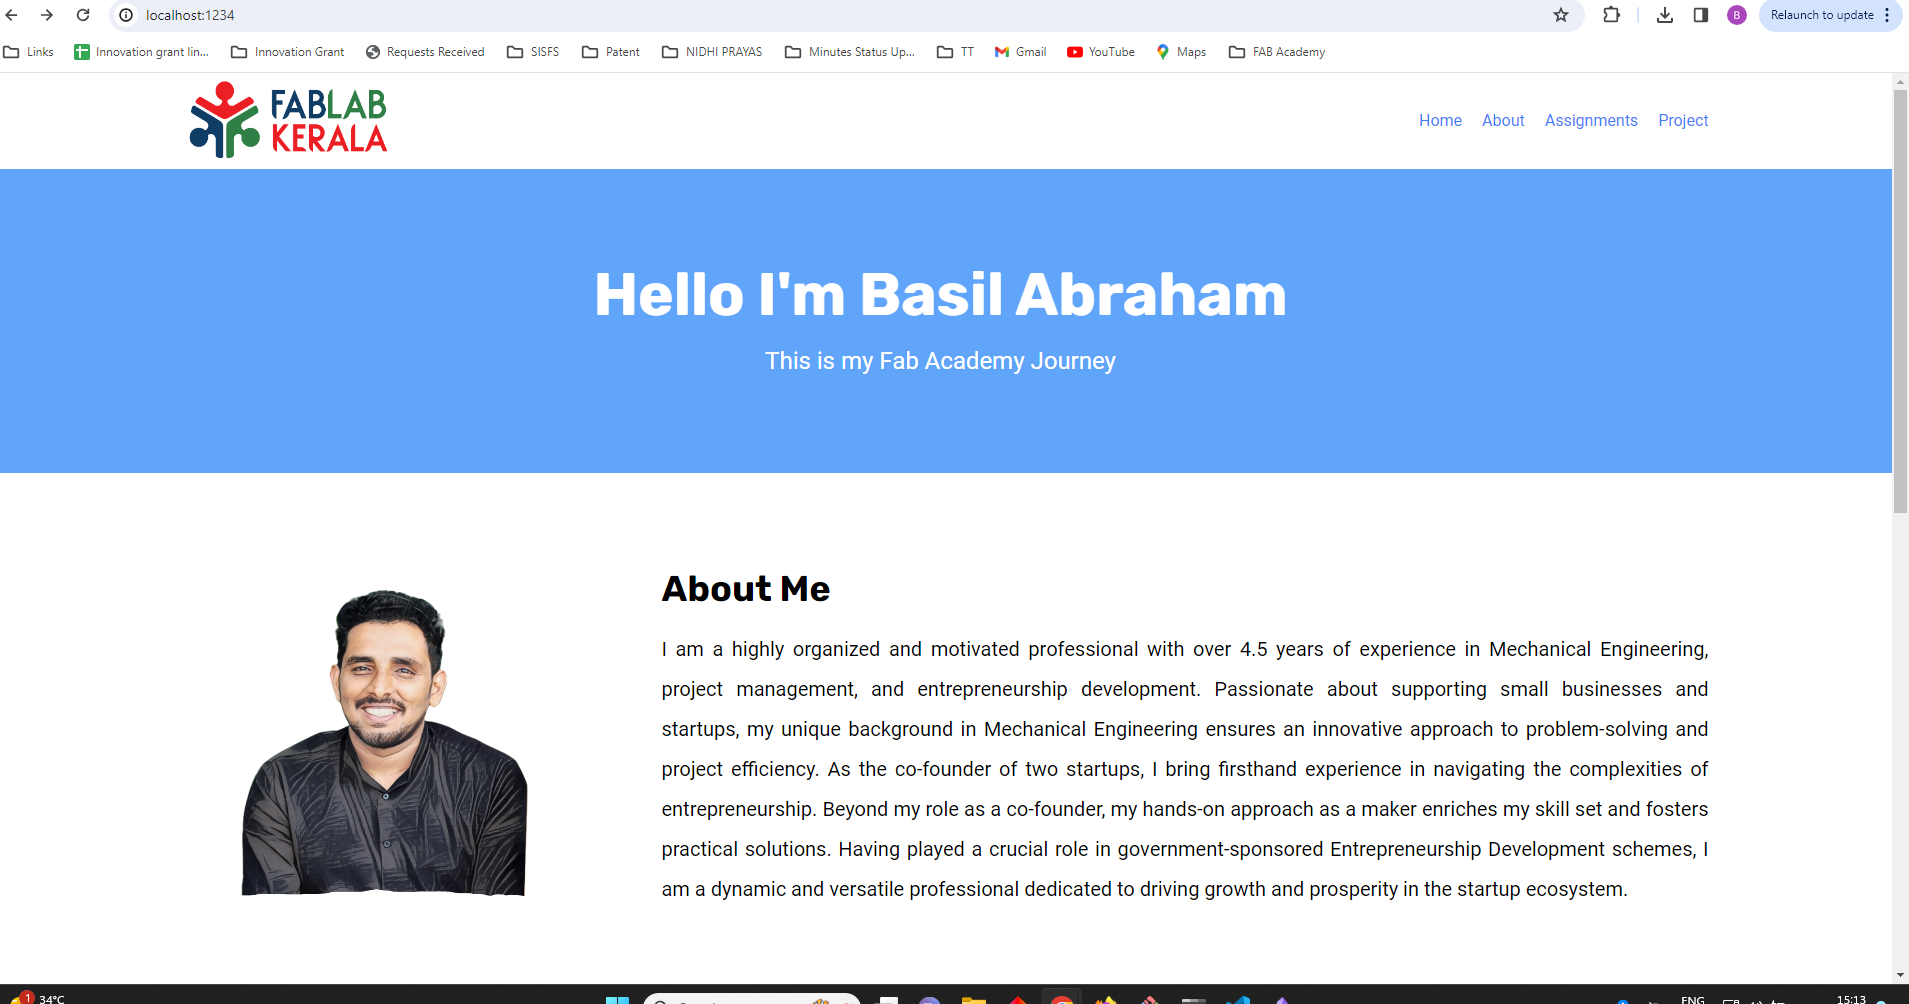
Final Website
Credits: Tailwind CSS,Power Toys, Notion
FInal Project
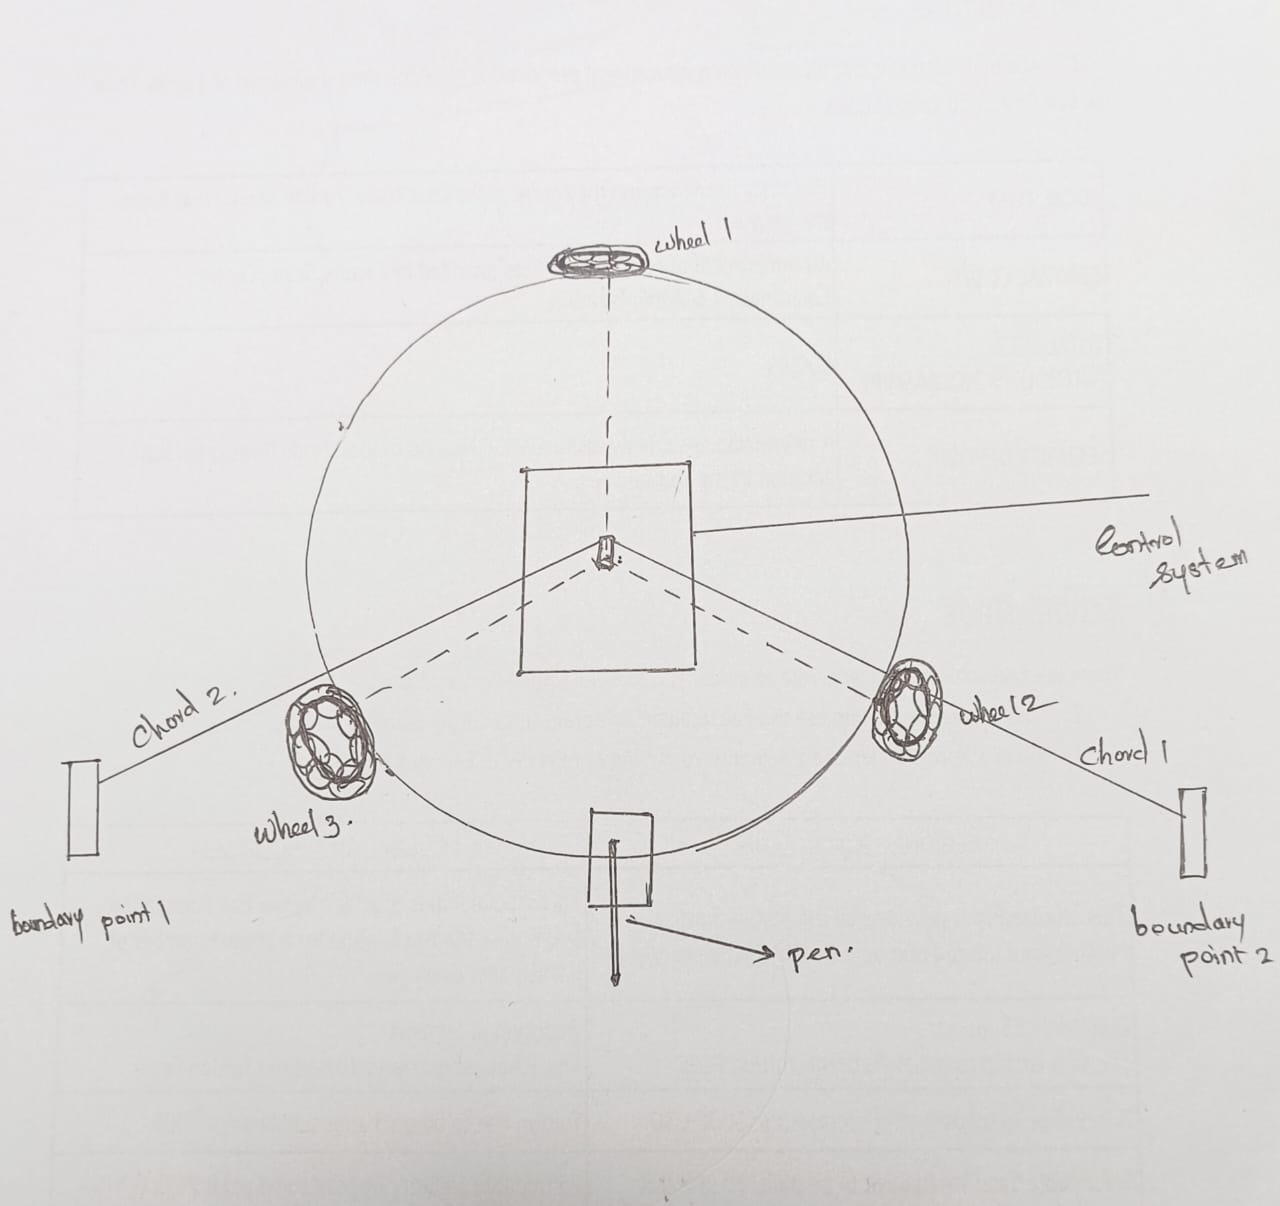
1.CNC Art Plotter
The " CNC Art Plotter" is an innovative project that combines the precision of CNC technology with the creativity of artistry. This plotter is designed to draw intricate designs and images directly onto expansive canvases such as walls and floors. With its CNC capabilities, it offers a high level of precision, allowing for the creation of detailed and captivating artworks on a larger scale. Whether transforming a blank wall into a vibrant mural or enhancing the aesthetics of a floor space, the CNC Art Plotter opens up new possibilities for large-scale artistic expression. It's a fusion of technology and artistry, making it a unique and versatile tool for creative endeavors.
2.InventBOT
The project involves the development of an innovative inventory robot equipped with advanced features such as mecanum wheels and a robotic arm. This sophisticated robotic system is designed to navigate through a predefined path with precision. Its primary function is to autonomously locate and collect inventory from specified locations and efficiently deliver it to the designated departments within a facility.
The mecanum wheels, known for their omnidirectional movement capabilities, enable the robot to move seamlessly in any direction, allowing it to navigate through tight spaces and follow a predetermined route with remarkable agility. The inclusion of a robotic arm further enhances the robot's capabilities, enabling it to pick up items from shelves or designated storage areas.
The robot operates in a systematic manner, following a preprogrammed path that optimizes efficiency and minimizes the risk of collisions. Through sensors and advanced algorithms, the robot can identify and reach the desired inventory locations, retrieve items with precision using its robotic arm, and transport them to the specified departments. This automation not only streamlines the inventory management process but also reduces the need for human intervention in routine and repetitive tasks.
- Text Color: