
Week 1: Principles & Practices
This week was an interesting blend of remembering basic HTML coding skills I hadn't excercised since I was in high school, while delightfully discovering new tools that helped transform my approach. As a designer, I have always utilized a "learn by doing" methodology, so while reading through tutorials and watching youtube walk-throughs of specific tasks was helpful, it was the intuitive features of 'suggestions' in the IDE and the framework of ai that helped me experiment my way toward building my intended web layout.
Setting Up Visual Studio Code and Connecting To Fabcloud GITLAB
Step 1: Install VS Code and Git
First things first, make sure you have Visual Studio Code installed on your machine. You can download it from the official website.
Next, you'll need Git installed, as VS Code uses Git to interact with repositories. Download and install Git from here.
Step 2: Install the GitLab Extension for VS Code
To make things smoother, let's add a GitLab extension to VS Code. Here's how:
Open VSCode.
Go to the Extensions view by clicking on the Extensions icon in the Activity Bar on the side of the window or pressing Ctrl+Shift+X.
Search for "GitLab Workflow" and install it. This extension helps with a lot of GitLab-related tasks right inside VS Code.
Step 3: Set Up GitLab Authentication
Now, you need to authenticate with GitLab. This involves creating a Personal Access Token (PAT) on GitLab and configuring VS Code to use it.
Generate a Personal Access Token:
Go to GitLab and log in.
Click on your profile picture in the upper-right corner and select Settings.
In the left sidebar, click Access Tokens.
Give your token a name and select the scopes you need. Typically, api, read_user, read_repository, and write_repository are good to have.
Click Create personal access token and copy the token (keep it secure!).
Configure the Token in VS Code:
Open VS Code.
Press Ctrl+Shift+P to open the Command Palette.
Type “GitLab: Set Personal Access Token” and select it.
Paste your token and hit Enter.
Step 4: Clone Your GitLab Repository
Now, let's get your code into VS Code:
In GitLab, go to the repository you want to clone.
Click the Clone button and copy the URL (either HTTPS or SSH, depending on your setup).
In VS Code, open the Command Palette again (Ctrl+Shift+P), and type Git: Clone.
Paste the repository URL and choose a local directory to clone to.
Step 5: Start Working!
With the repository cloned, you can now start working on your project:
Open the cloned repository folder in VS Code.
Make changes, commit them, and push them back to GitLab using the built-in Git support.
To commit and push:
Make your changes.
Go to the Source Control view by clicking the Source Control icon or pressing Ctrl+Shift+G.
Stage your changes by clicking the + icon next to the files.
Write a commit message in the text box and click the checkmark to commit.
Click the ellipsis (...) in the Source Control view and select Push to push your changes to GitLab.
File System
I created a file system to store all of the images, content, and html code inside my repository. An assignments folder houses the html files for each week, a files folder houses all of the design files created for the projects, and an images folder has all of the video, photos, and screenshots to describe the process.
Designing the Website
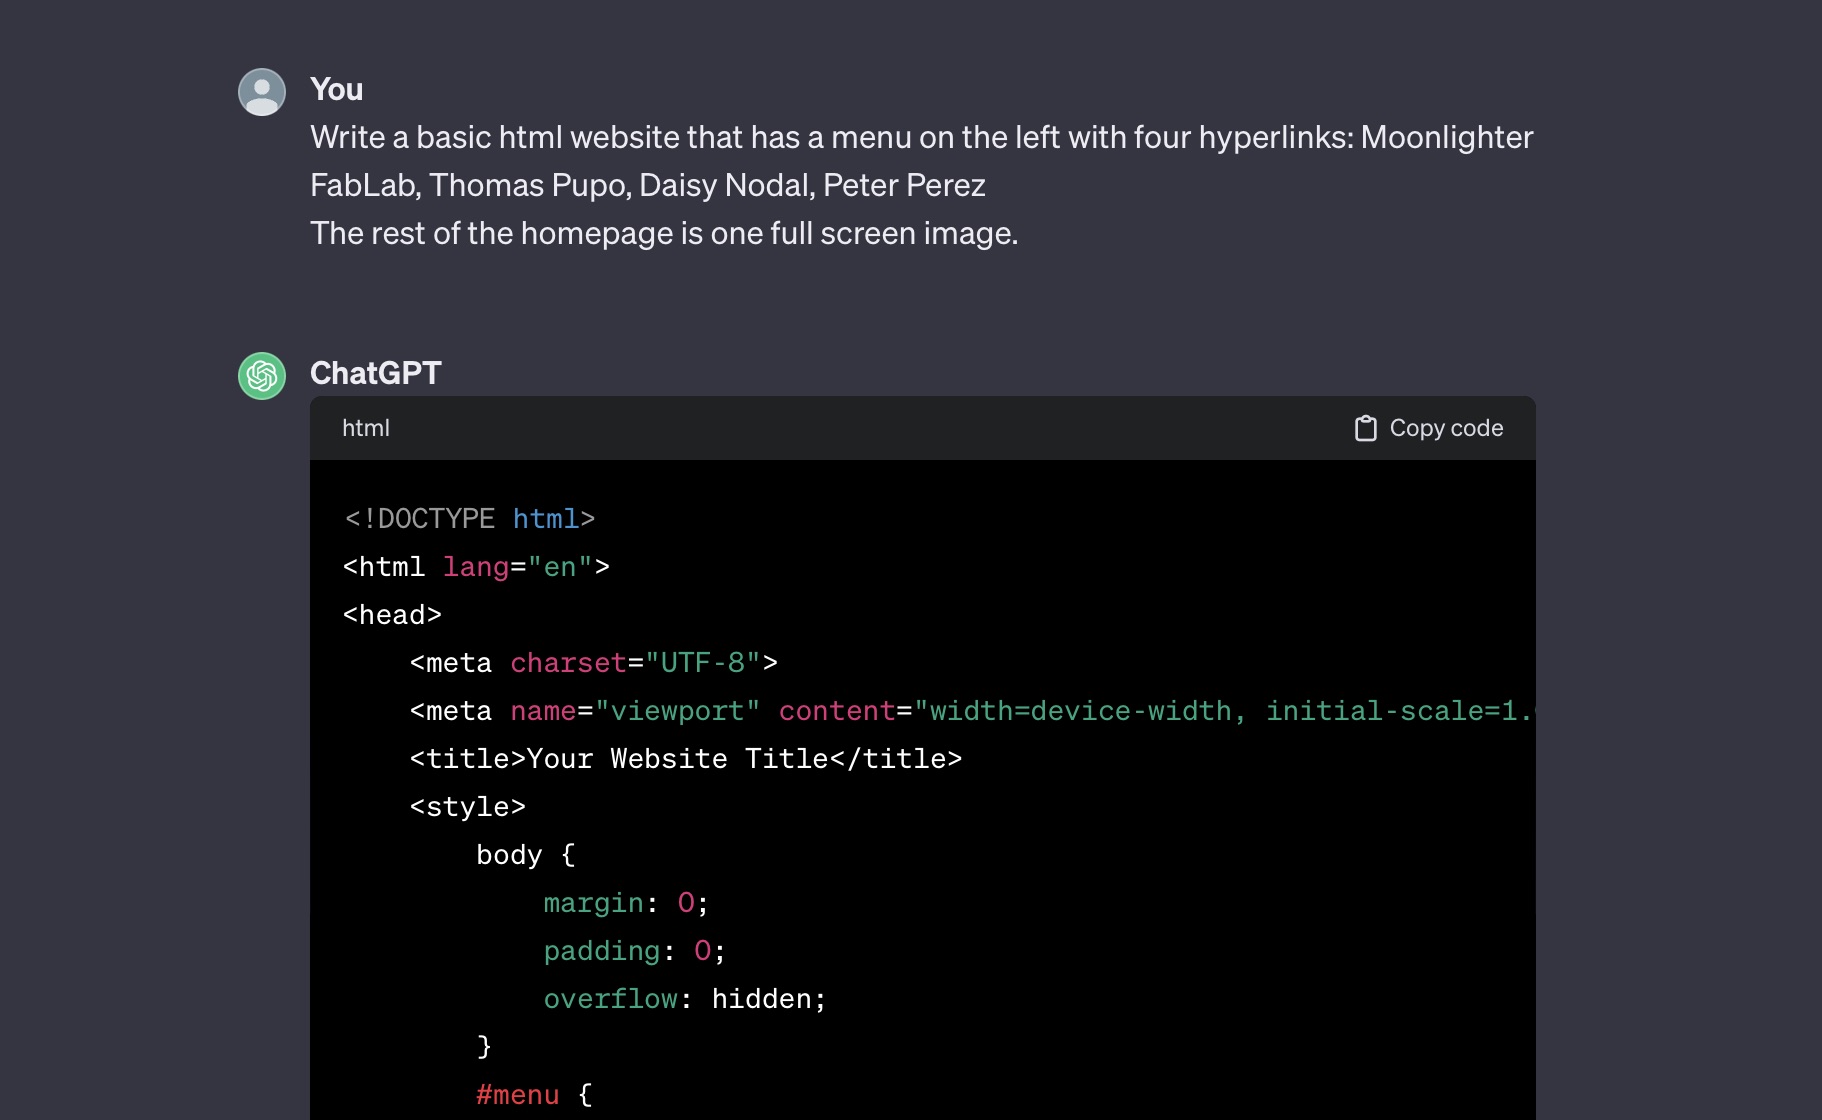
After an exhaustive search for "basic html website templates" yielded poor results with complicated (and heavy) code, I resorted to asking Chat GPT 3.5 to help me generate a standard layout. A verticle menu column along the left, with a plain scrollable content area on the right. The prompts I used were simple and consice.
For the FabLab homepage:
Write a basic html website that has a menu on the left with four hyperlinks: Moonlighter FabLab, Thomas Pupo, Daisy Nodal, Peter PerezThe rest of the homepage is one full screen image.
For my student index page:
Now create the same web page except for the Content Area, instead of a full screen image,create a grid of 20 clickable images made up of three columns and 7 rows.
After using the IDE suggestions to understand the different parameters possible within each style and code block, I was able to achieve the overall layout. The biggest issue was my content area not scrolling but I found out how to change the overflow parameter to "scroll".There was a lot of trial and error... and google searching things like "how to indent text in html" and "resizing an image in html".
Once I had everything made in Visual Studio, I created some graphics for each of the week image links on illustrator and uploaded the jpgs. My biggest issue was trying to get Visual Studio to push to the FabCloud. I had cloned the repository using the "open in visual studio" button. Everything seemed like it was synced but there was an error message that I needed a user name linked.
After trying numerous things from various tutorials on gitlab, I resorted to copying and pasting all the code directly into the web IDE. To my surprise, it looked just like Visual Studio so it felt familiar - but it lacked the preview function which was frustrating. This lead to some confusing sessions where I'd commit changes and refresh the page expeecting to see the update and after pushing too many commits at a time it starting glitching the page render. Luckily, I was able to learn some key things I was missing - like setting up an SSH certificate, which I had read about in a tutorial but didn't know how to implement until Julian walked us through it. I plan on following those steps to finally connect my desktop Visual Studio app so I can continue the rest of the program with local access (and the critical ability to preview before commits!)
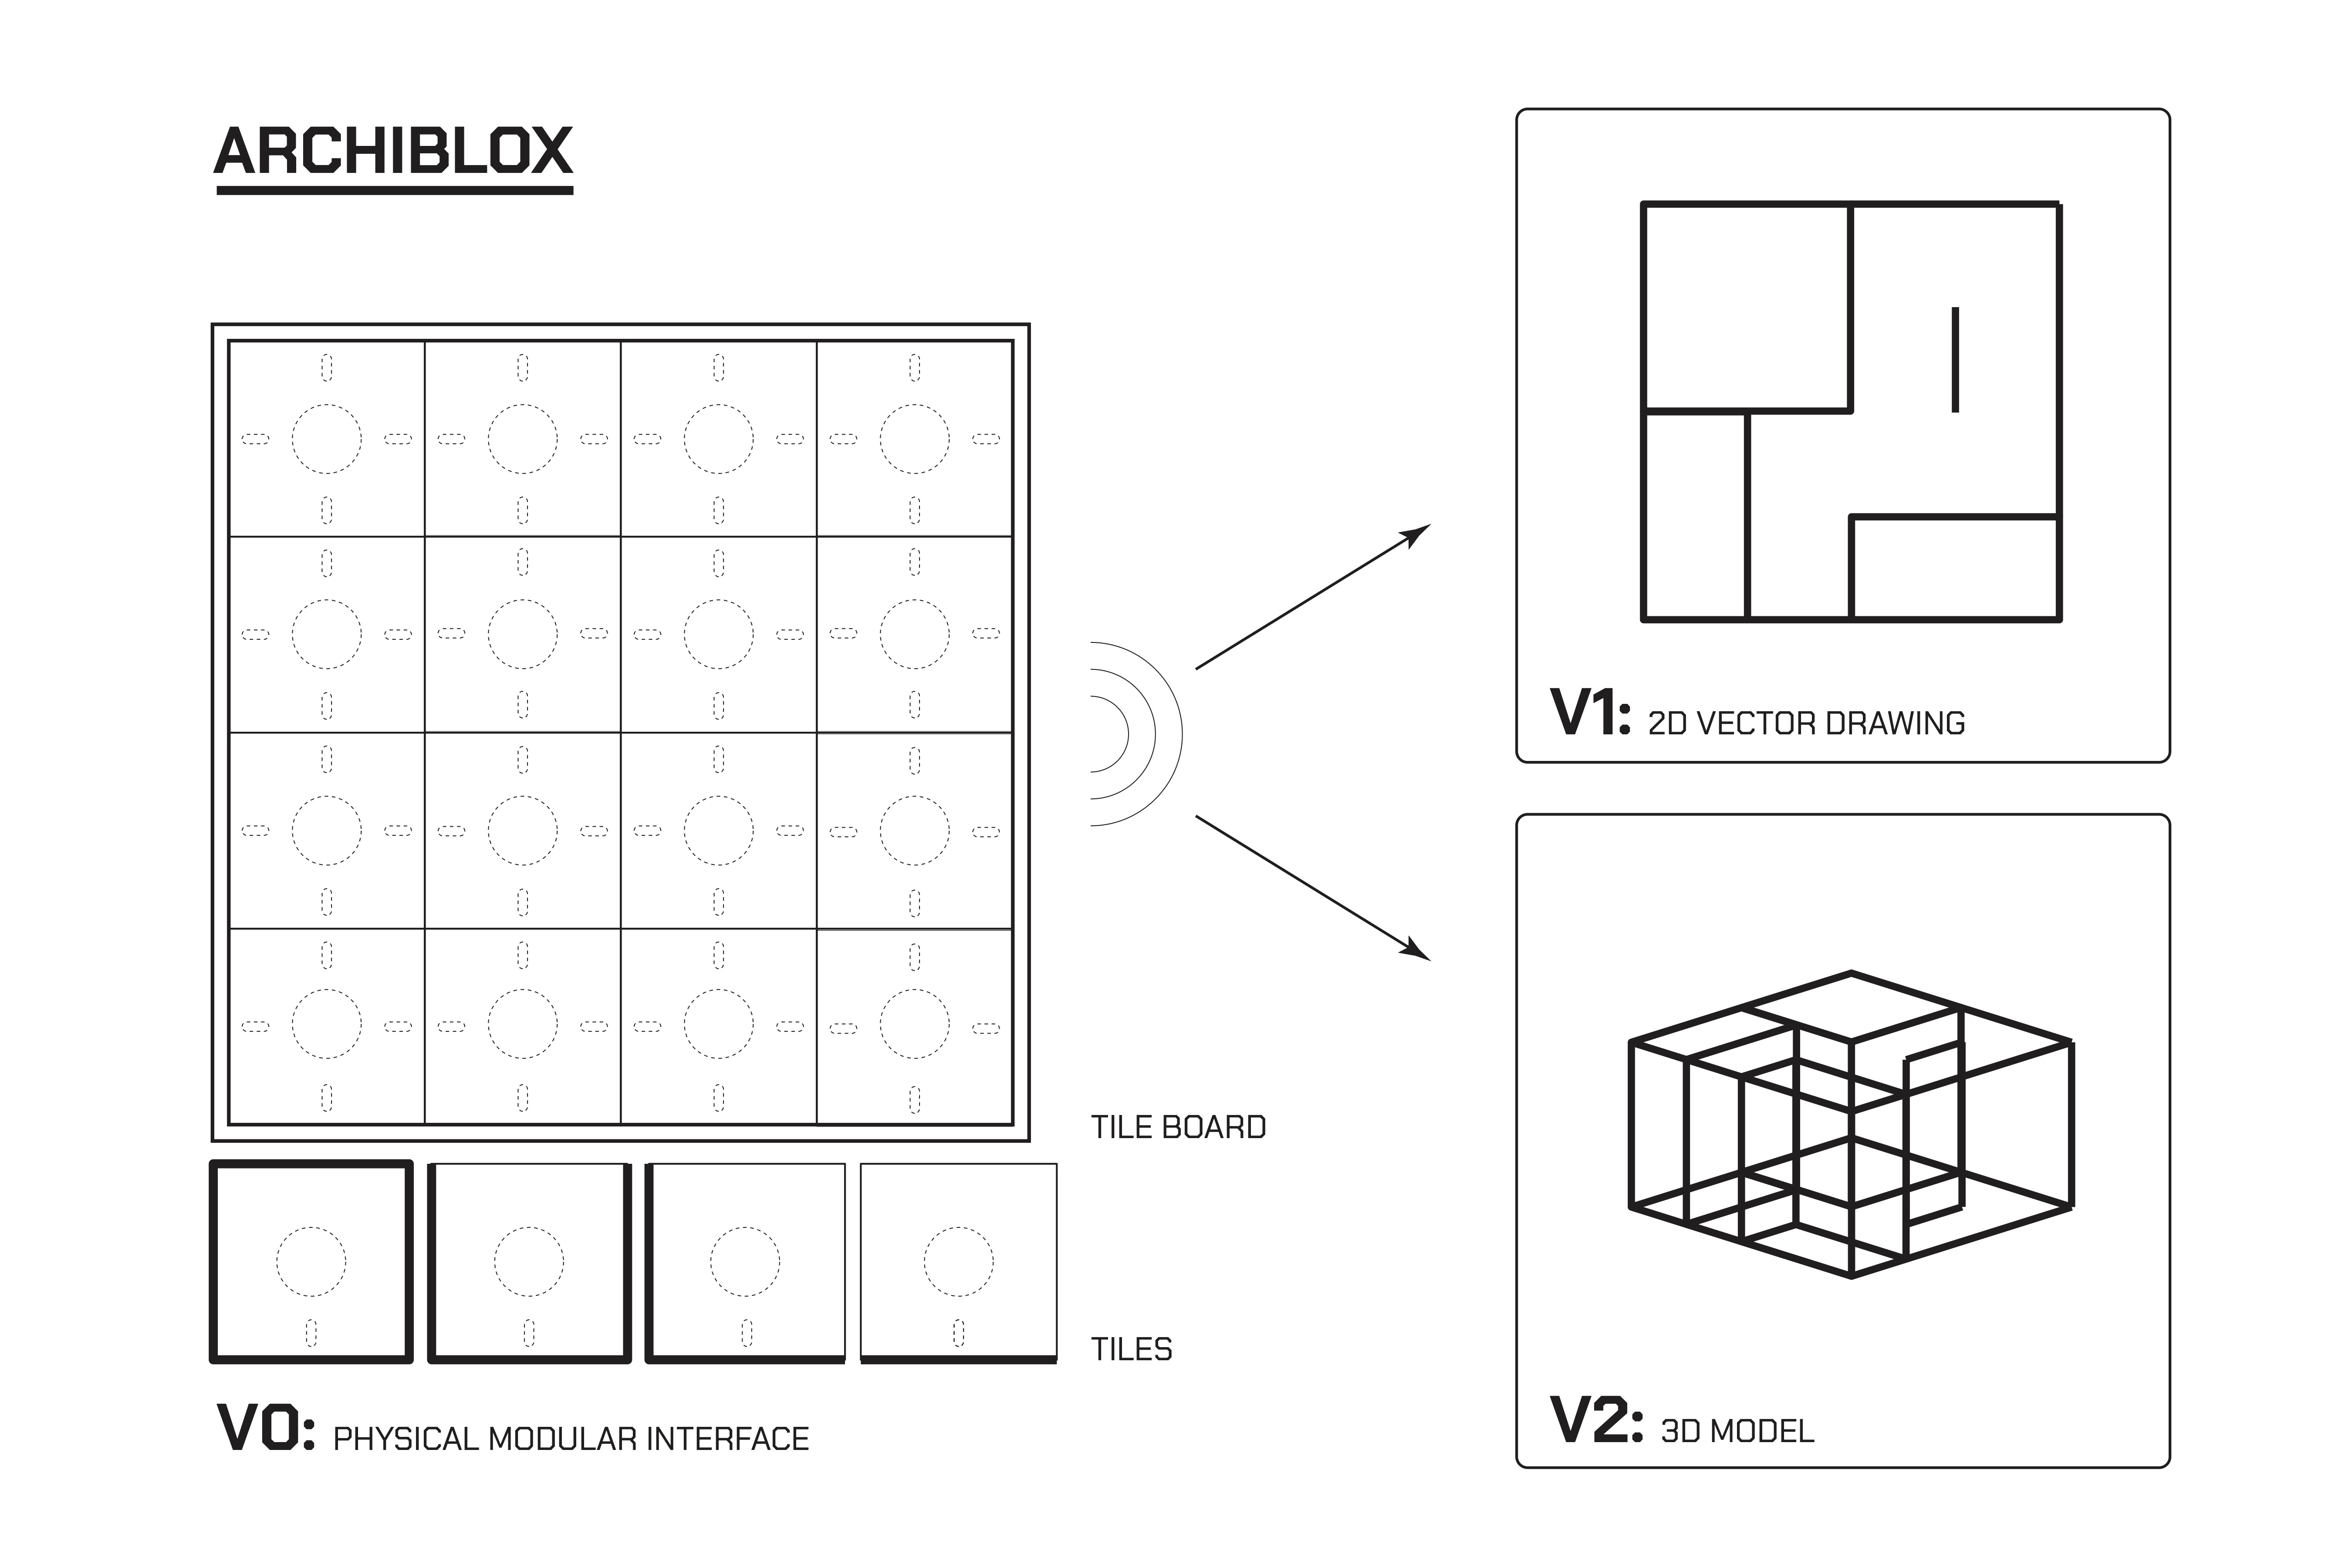
I also began drawing up ideas for my final project as I intend to use as many of the weekly assignments to help get the components I need for it built. The basic concept is to build a modular educational platform that allows young designers to create with a physical and digital interface in real time. It would consist of a board with sensors that can identify which 3D (pyhsical) design tile is placed and in what rotational orientation it is in and then render it two dimensionally in a virtual workspace. This will help young people understand the relationship of the physical space and the floorplan, scale, and modular design.
While I have a pretty good understanding of how I can build the physical components, and how I want the digital interface to work - I will need to learn which electronic components I need to complete these tasks and the code to get the virtual interface to work properly. We are hoping to build something scalable that we can use in the STEAM enrichment programs we facilitate at partnered public schools in Miami Beach and across Miami-Dade County.
Copyright 2024 Thomas Pupo - Creative Commons Attribution Non Commercial.
Source code hosted at fabcloud/fabacademy/2024/thomas-pupo