Intro
This weeks assignment is to generate different molds. For this I am making the molds for a chess set
Objectives
- Create concrete molds from 3D-printed parts.
Process
First, I printed the chess pieces on my low-cost Creality resin 3D printer.
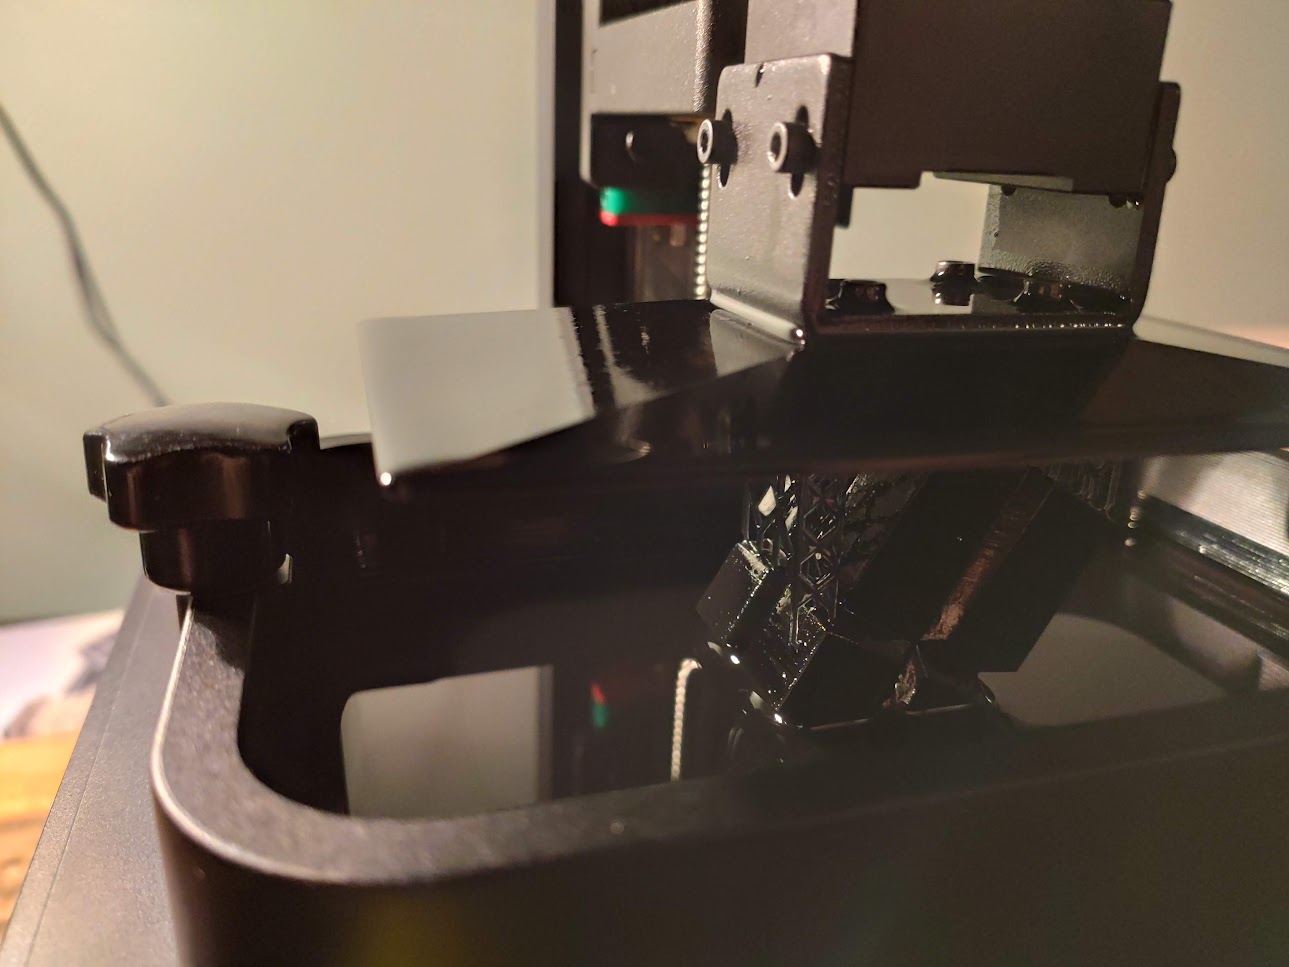
After sanding the pieces and applying a coat of Polycrylic, I was ready to make the mold. I used plastic sheets typically used for notebook covers and hot-glued the resin prints to the bottom of the mold, leaving about 2 cm on each side and the top:
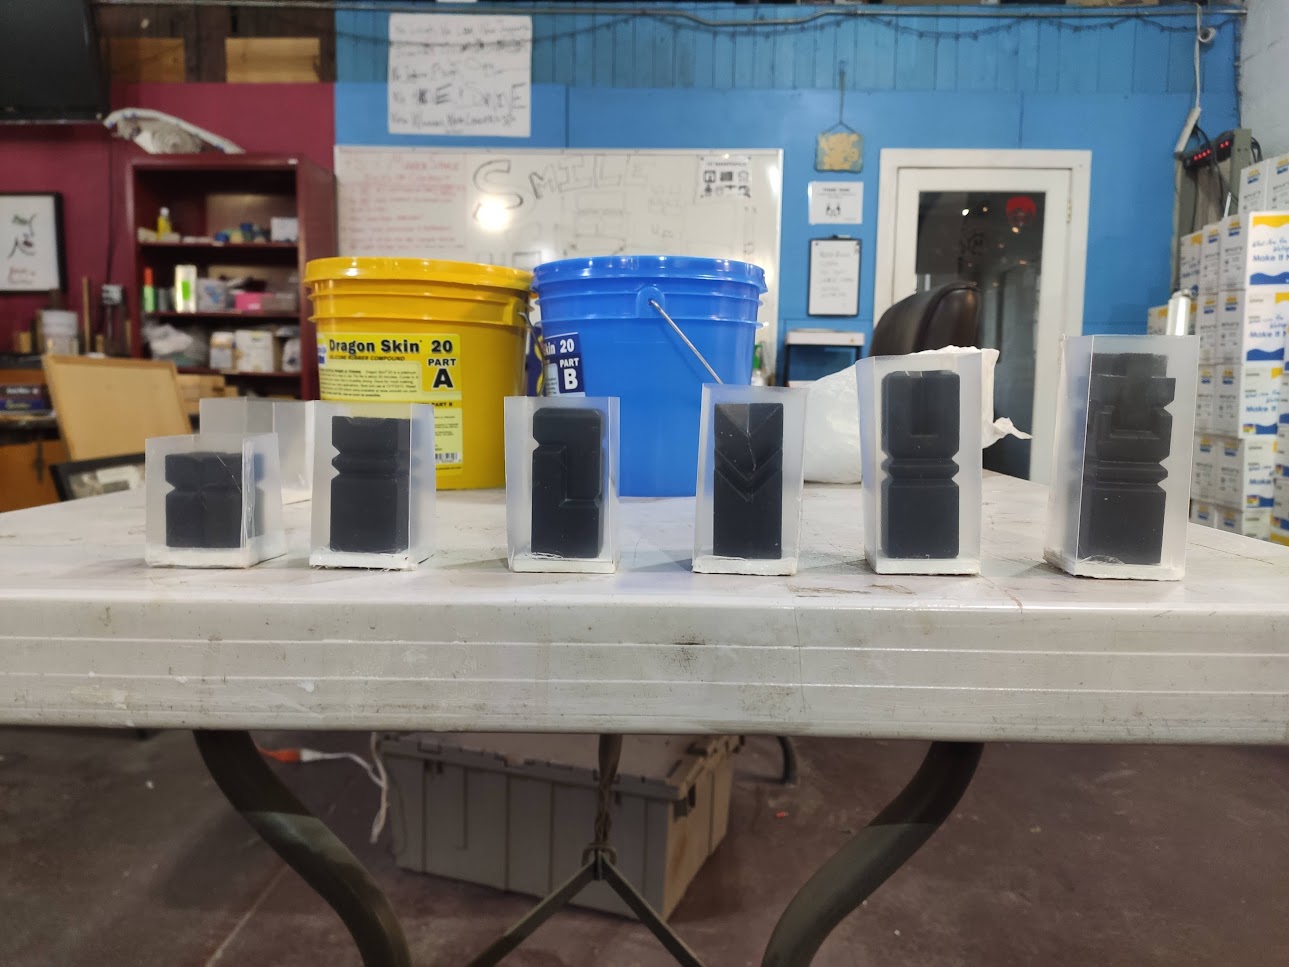
Next, I mixed the Dragon Skin silicone in a 1:1 ratio and poured it into the molds.
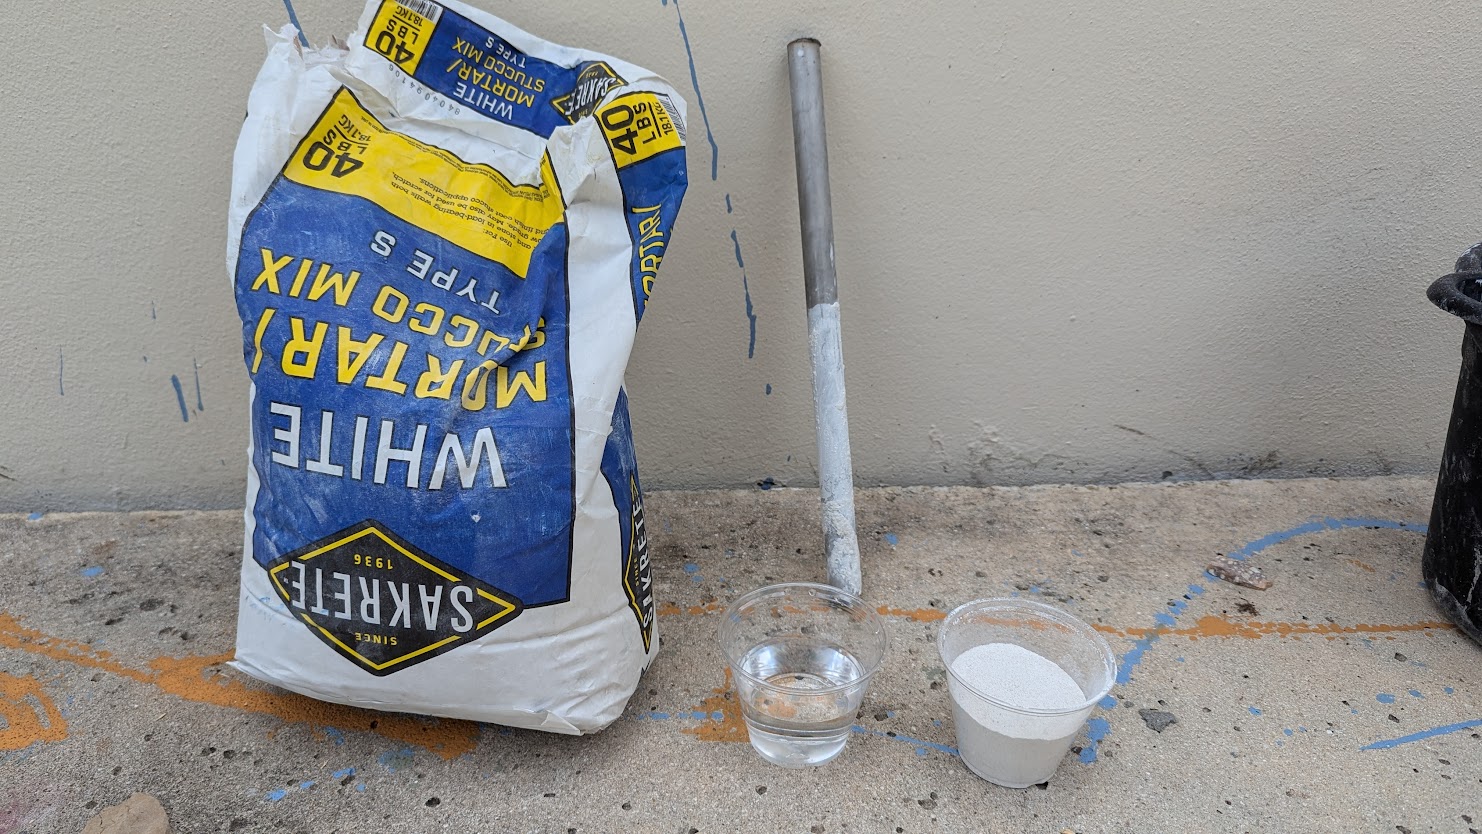
Once the molds were done, I mixed the concrete with water (1/10) . Since this concrete cures faster than normal concrete, I used a small bucket and a concrete mixer paddle on a drill to achieve a more homogeneous mix. Polymer additives can also be added here for stronger parts, but for now I just used as is.
After pouring the cement into the molds, I let it dry for 3 hours, then removed the pieces from the molds and applied a coat of concrete sealer.
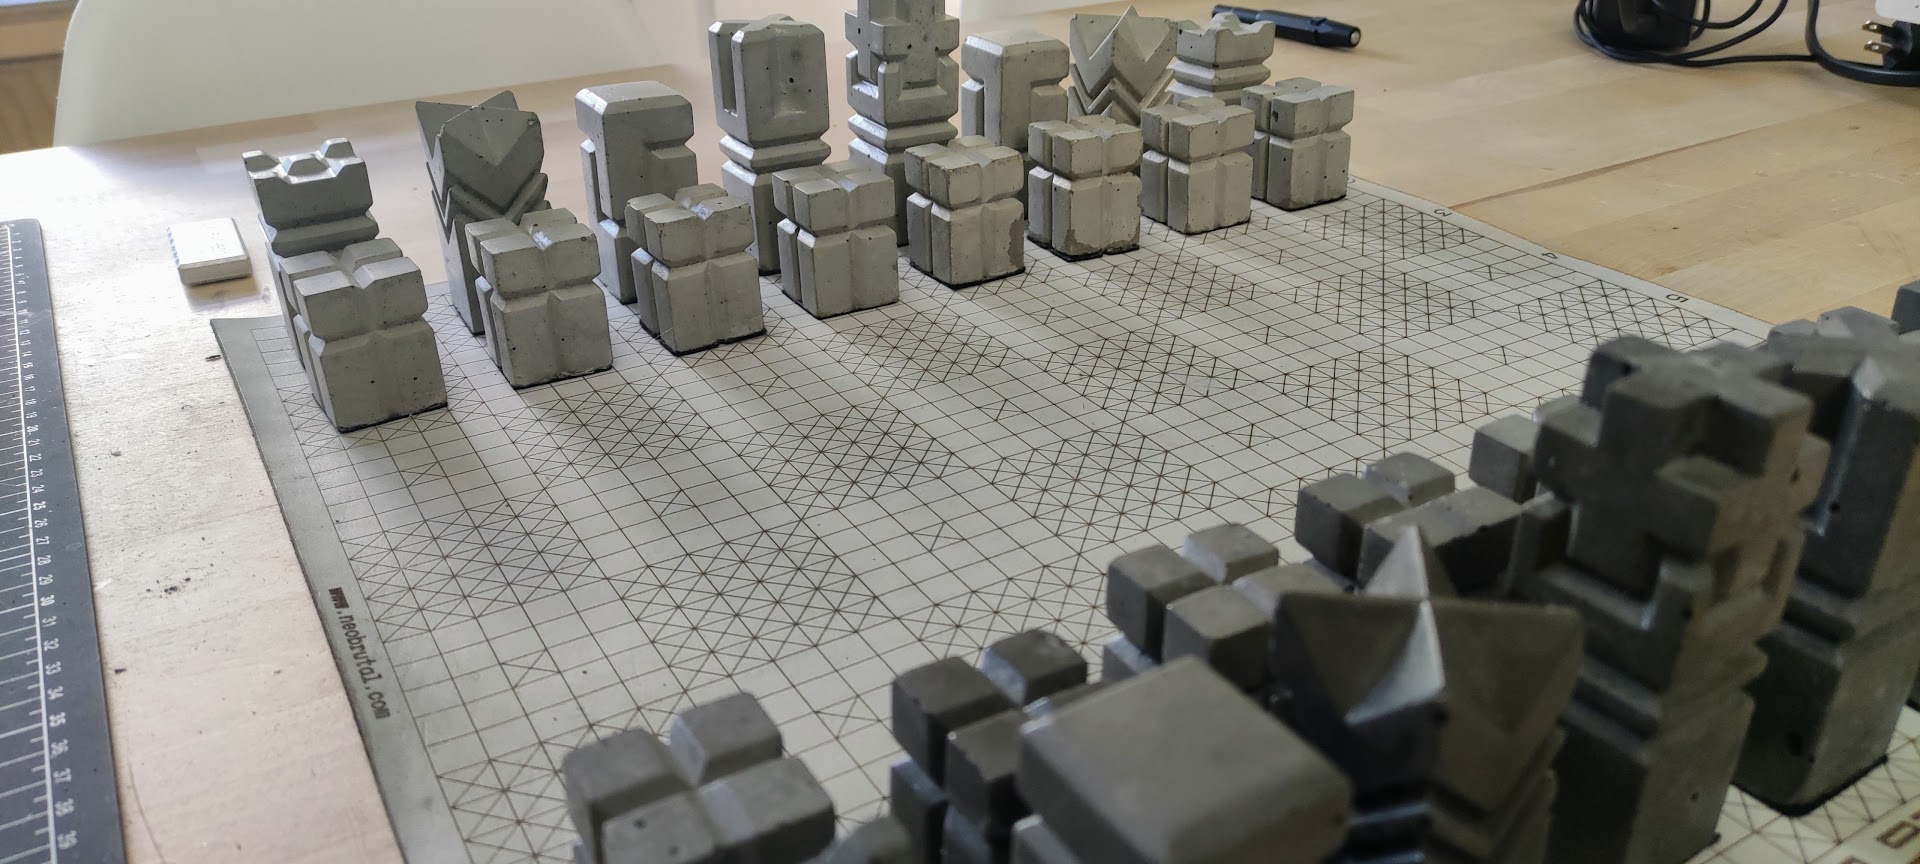
And the concrete pieces are done!
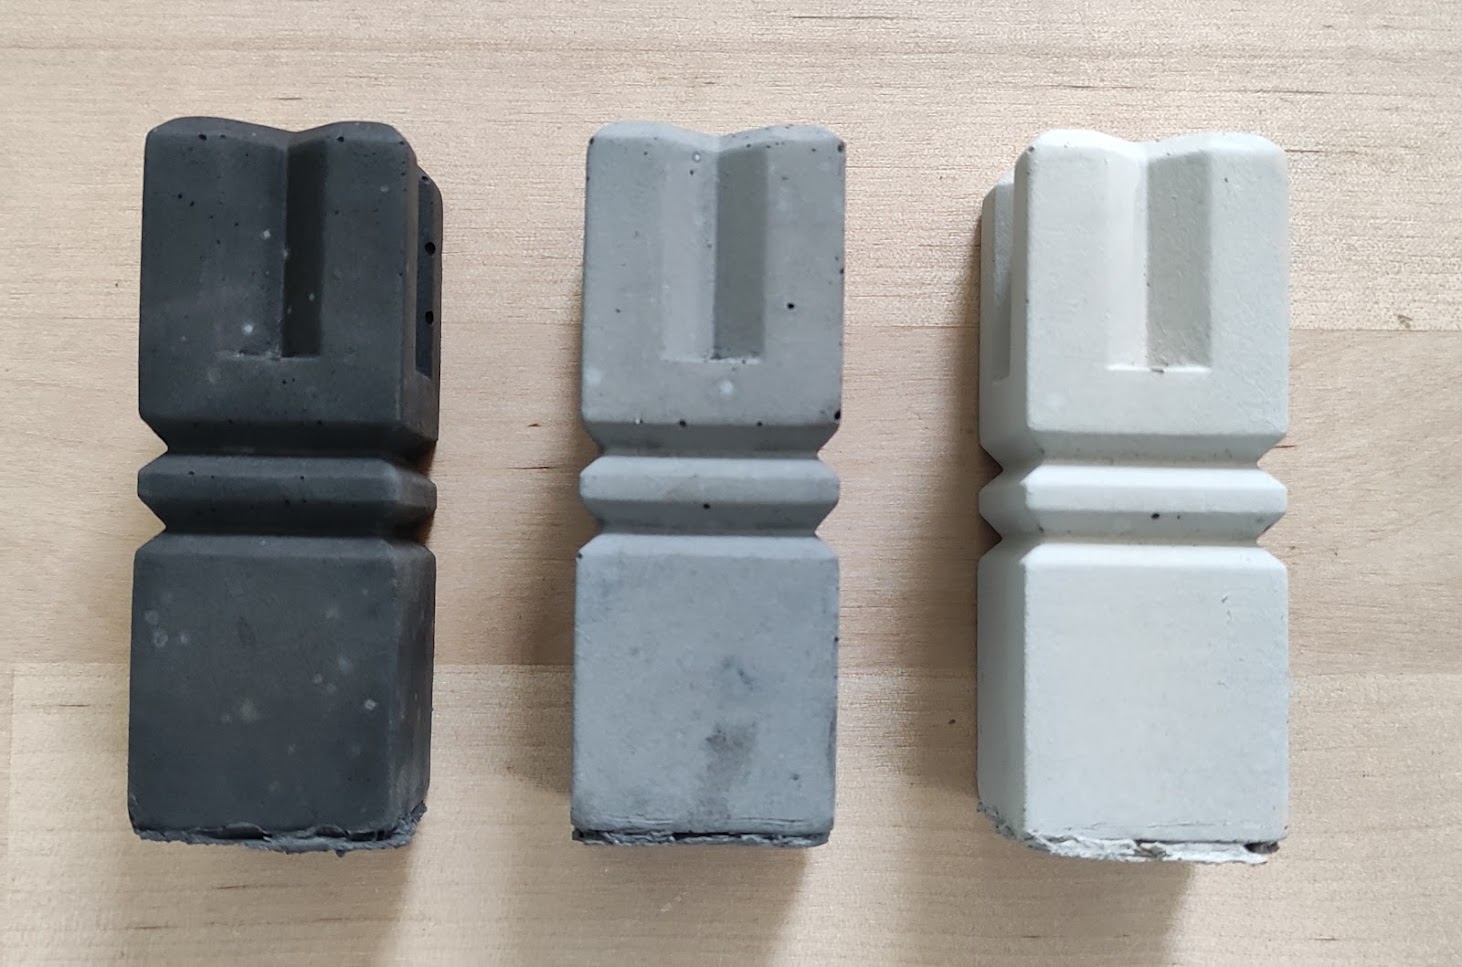
For color I am using concrete pigment with different ratios to the concrete mix, in this case each from left to right the ratios are 1:25 1:50 0
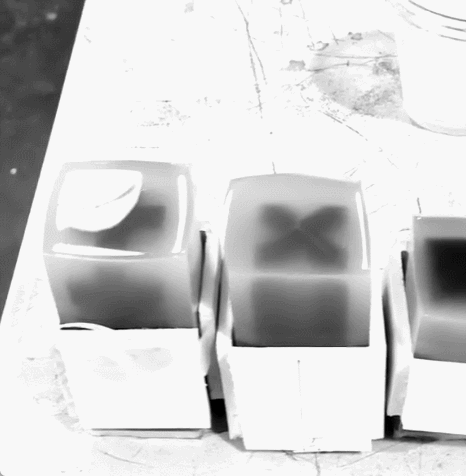
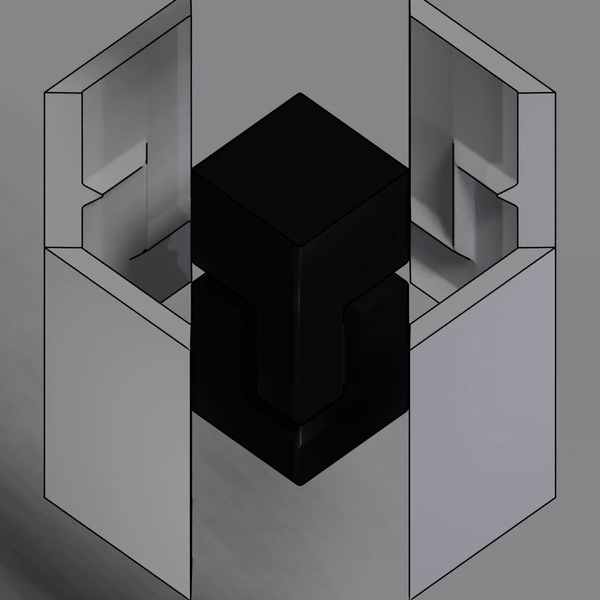
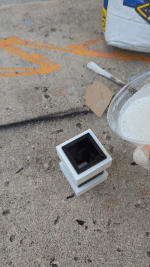
Now in order to make a 3d printed mold I will boolean diference the knight from a cube, after that I split it in 4 different “faces”, to hold each face in place I will generate 2 parts that will hold it together one for the top and one for the bottom one, the bottom one also serves to close the mold from the bottom, efectively making a 4 part mold. this allows for the demoulding process to avoid anu locks.
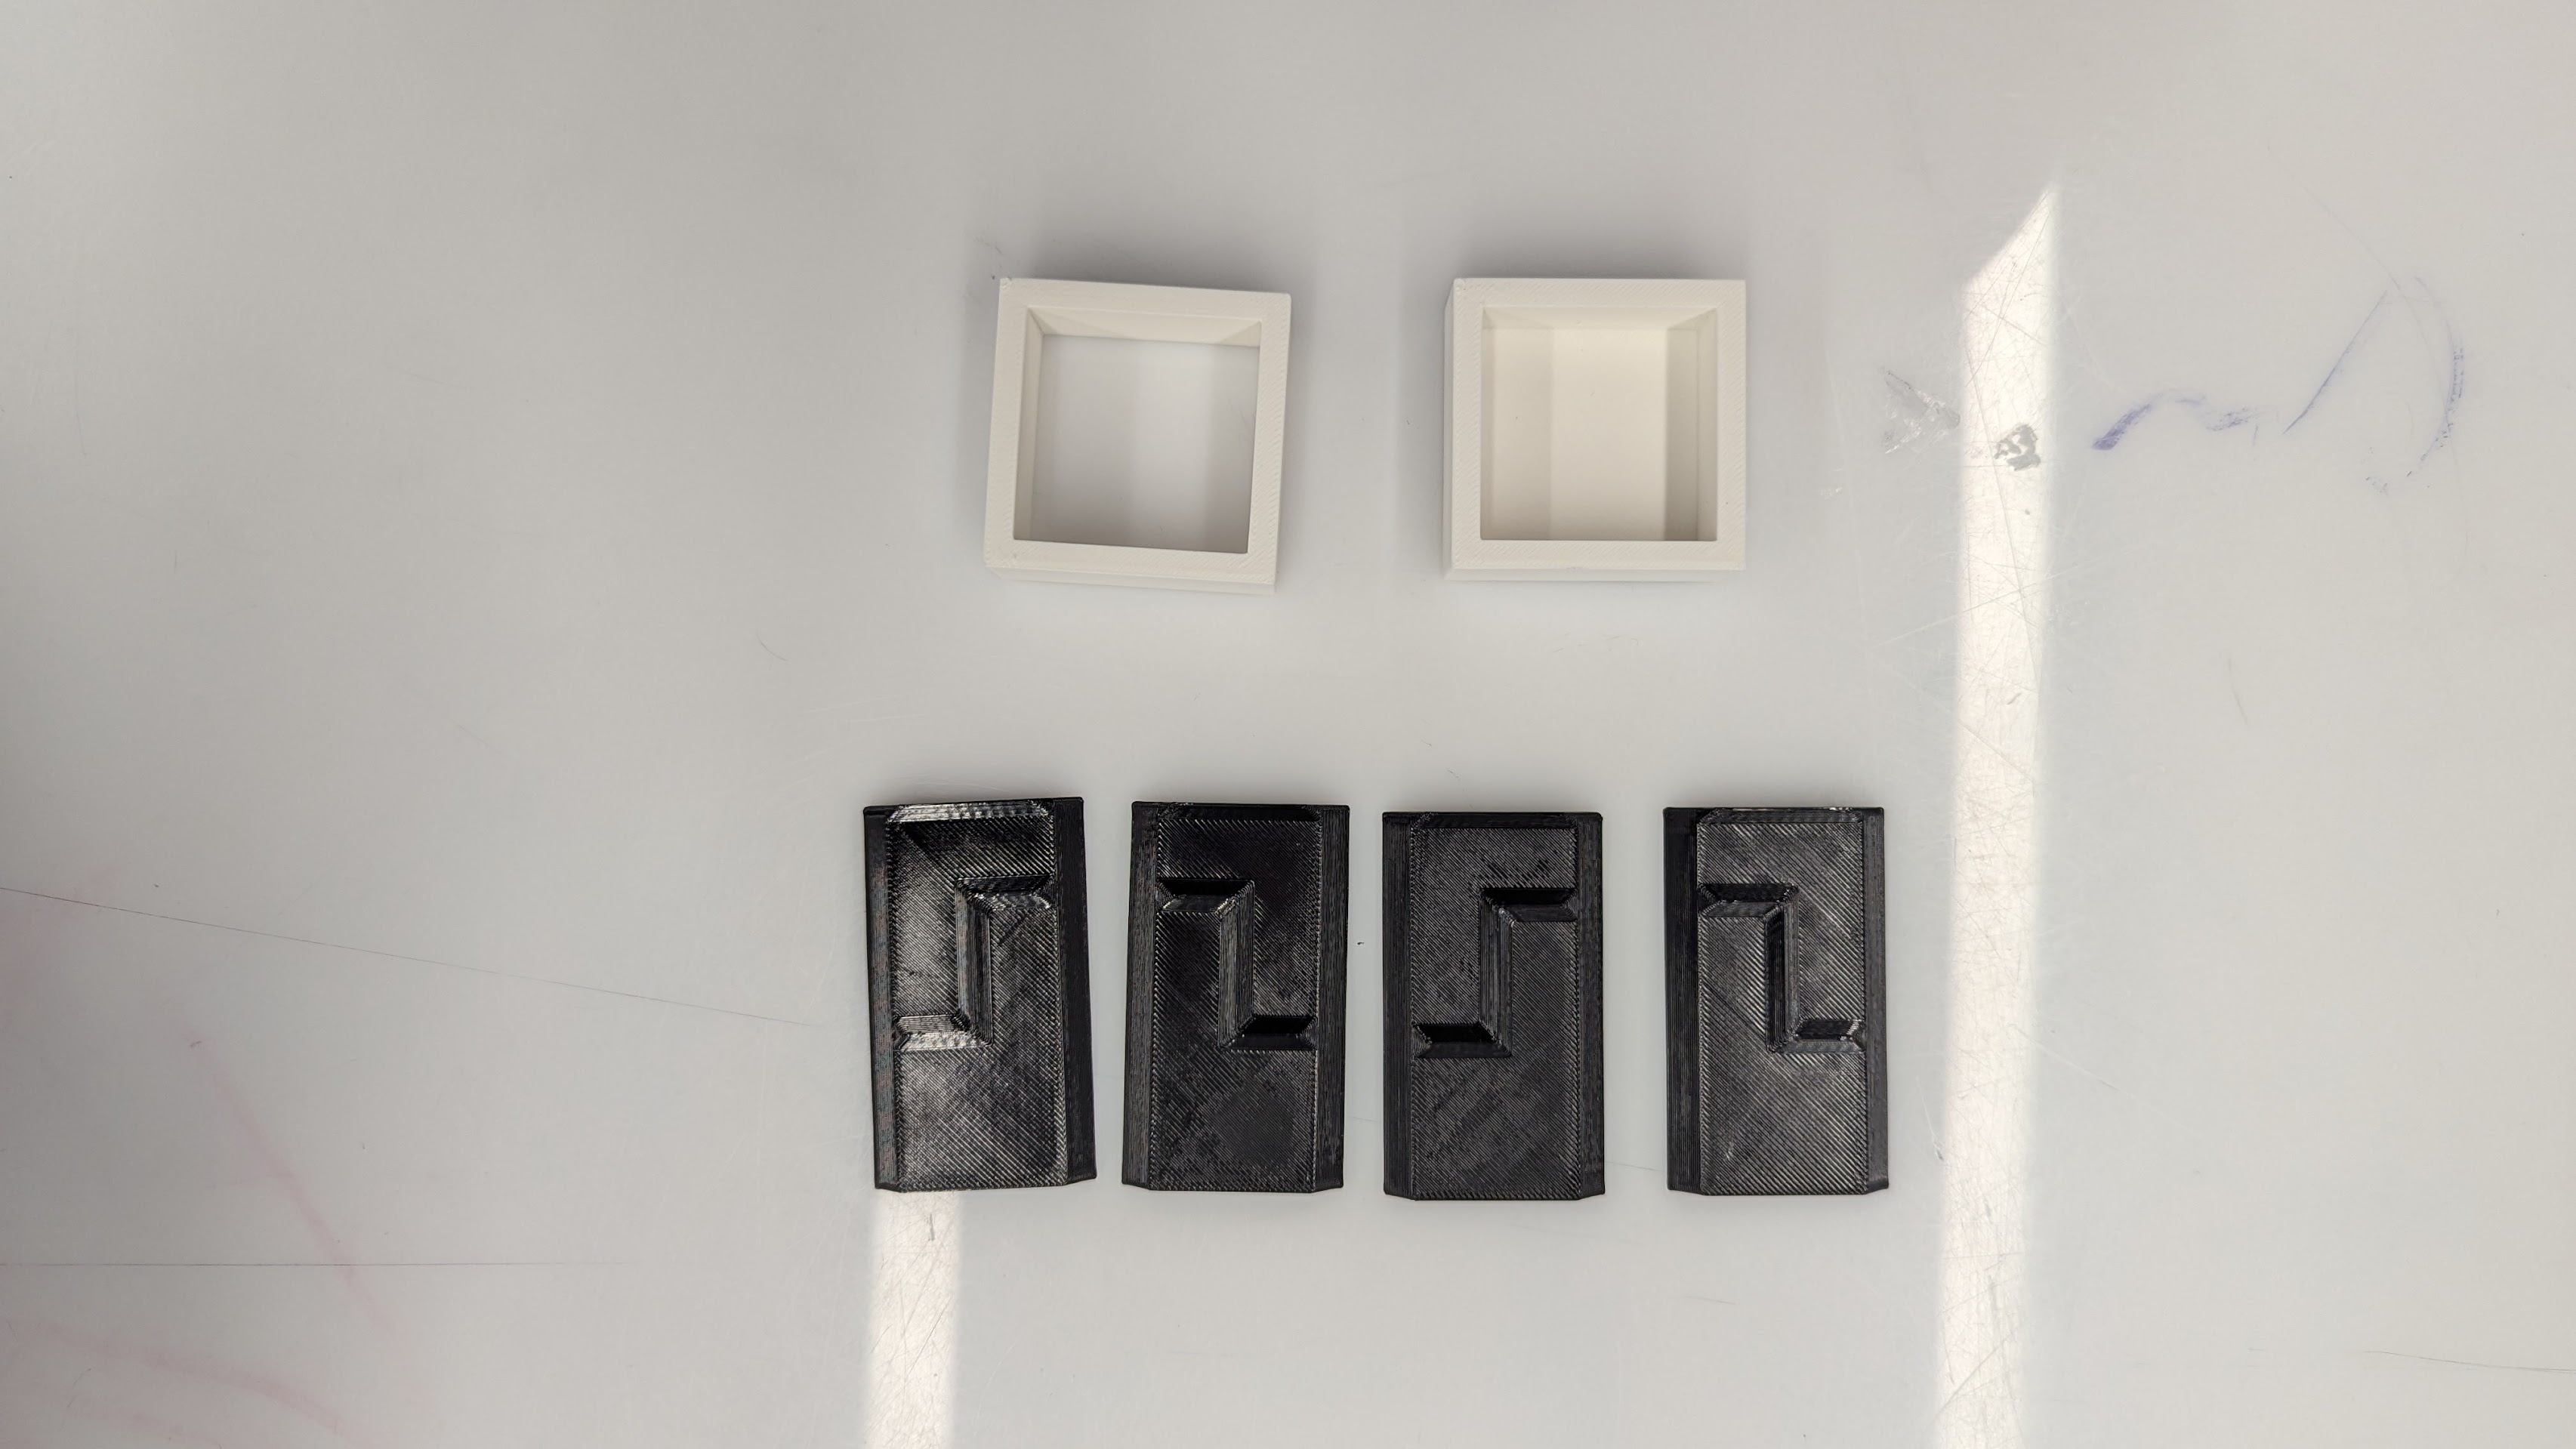
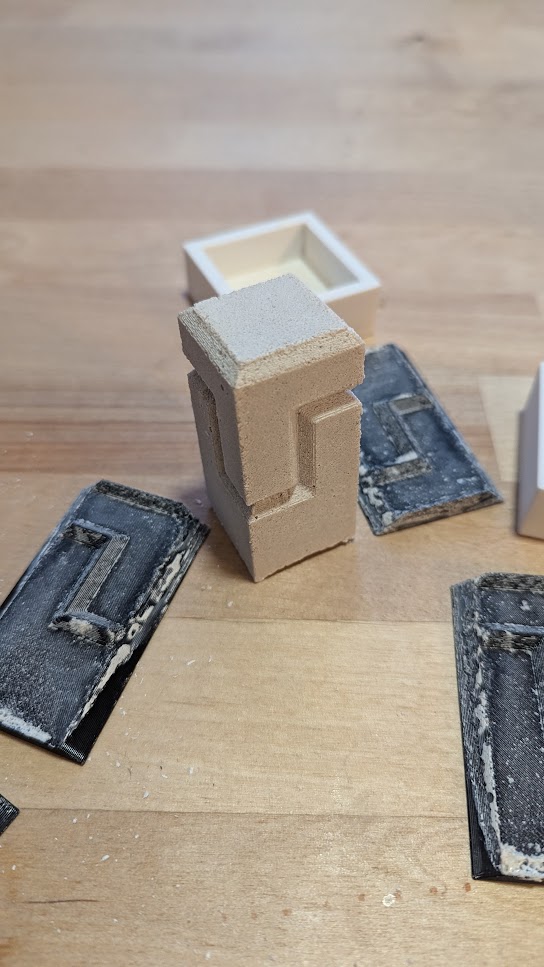
After printing all 4 sides and the bracket pieces I can assemble the mold and test for casting:

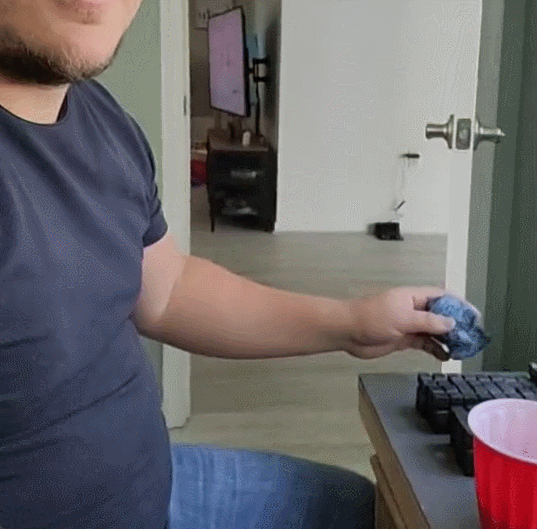
and then mixed mortar with water (1/10) and poured into the mold to check if this molding system works:
mail
Files