3D Printing and Scanning
For this week we are required to 3D model and print something small that cannot be made with another process.
I want to 3D print a ring that is made of a hexagonal grid, where some hexagons are solid and other hexagons are hollow making it look like a chain. This would make this kind of ring very difficult for casting. Also, by making it parametric, every ring can be a bit different, and being able to personalize the look is a big advantage of using 3D printers.
Objectives
- Fully parametric hexagon grid ring
- Some solid, some hollow hexagons (variable instances for personalization)
- 3D printable in Resin or Metal (Shapeways)
- No manual modeling (just geometry nodes)
- Blender
- Geometry Nodes
- Creality SLA printer
- Shapeways metal 3D printing service
- chitubox slicer
Process
3D modeling
- After starting Blender, select the default cube
- Change the timeline to a geometry nodes node editor
- Click on + New at the top to create a new geometry node tree
- To add a node, press SHIFT + A, this will pop up a menu.
- Now you can use the search function to add and copy the following node tree:
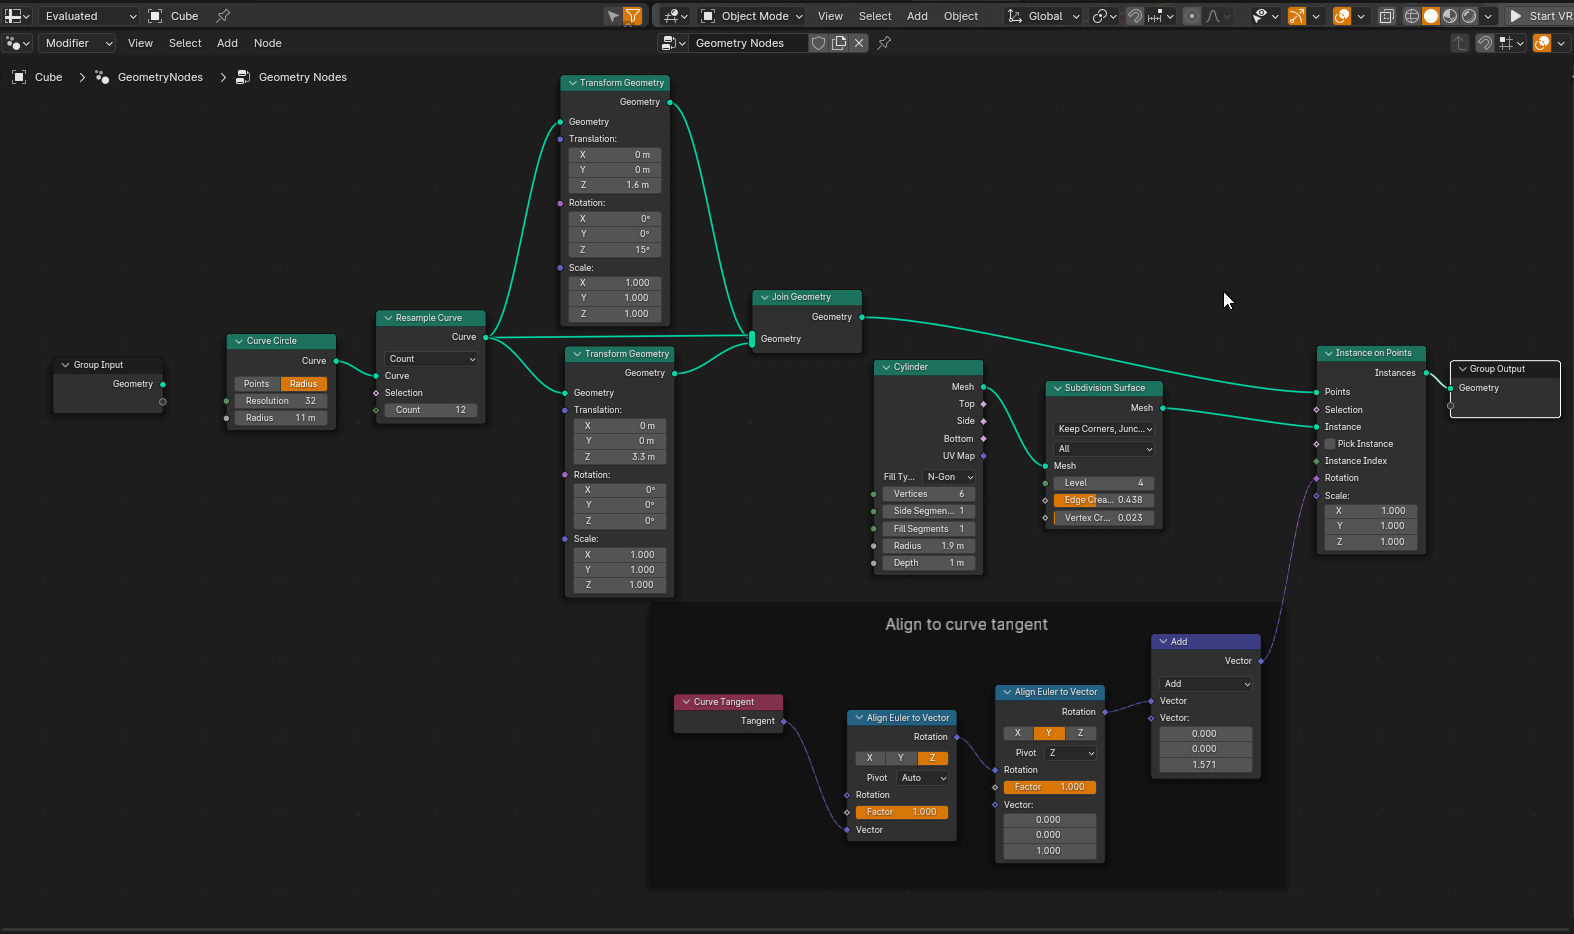
Now we can add the second thickness layer or not; in this case, we will use a switch to toggle both options.
Here we will change the instanced object so that it chooses a different one based on the distance to our driver object.
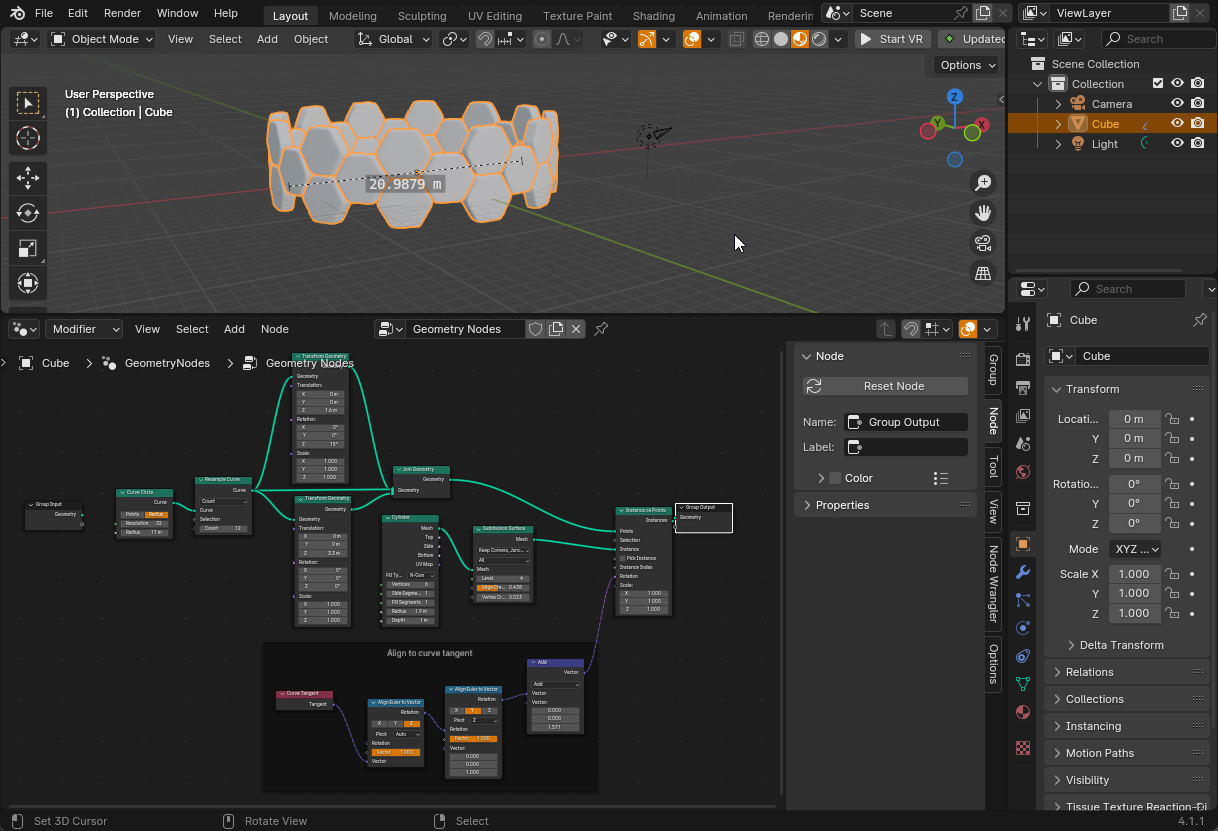
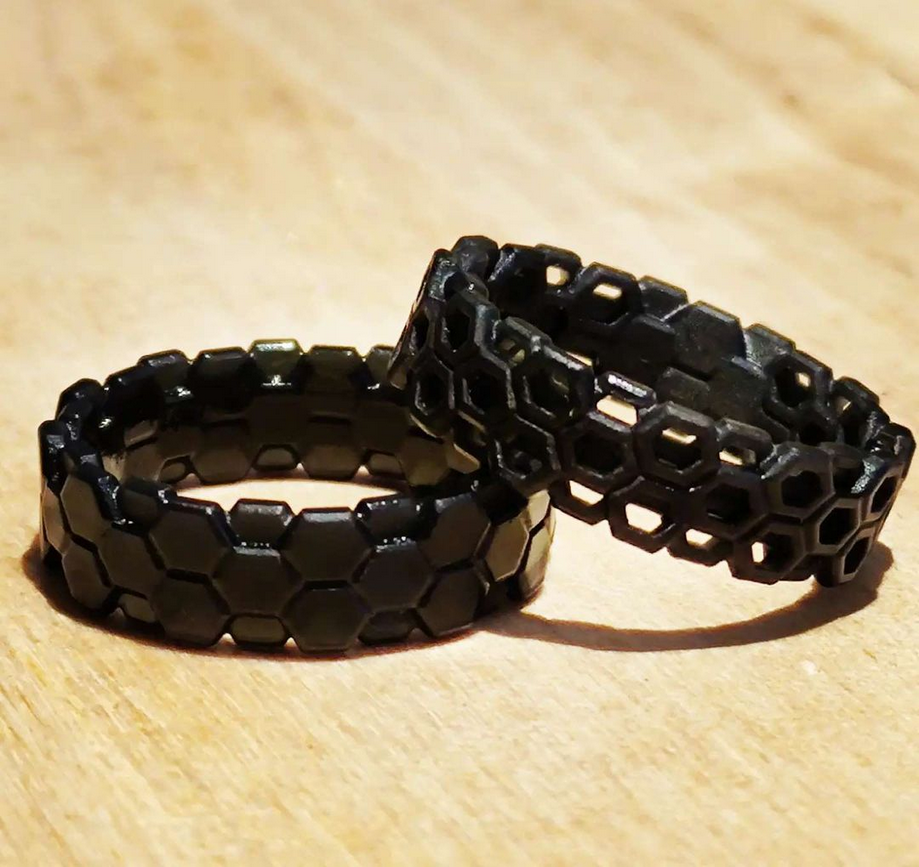
And here is the result. Move the driver around to change how solid or hollow you want your ring.
Export as .STL
3D Printing
Import the file into the slicer and scale. Add supports:
Slice the file:
Enjoy your new ring:
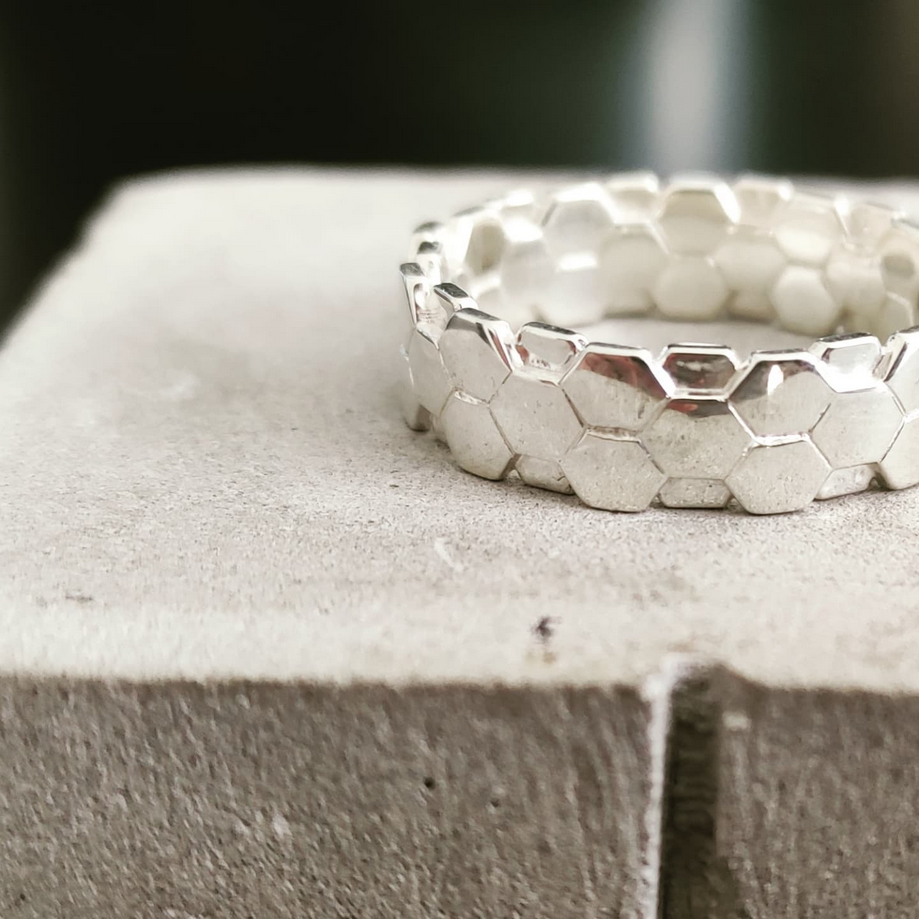
Also, you can use a service like Shapeways or i.materialise to get your ring printed in metal. In my case, I chose silver:
3DP conclusion
3D printing has many advantages when you require to generate multiple version of the same object in this case , being able to parametrically change the ring allows each person to generate a unique version for the ring, other methods like casting would be prohibitely more expensive as each iteration would require a mold. So 3D printing is a great way to make small batches of something.
Also 3D printing allows for generally more complex geometries that are either more difficult, expensive or even impossible with other fabrication methods. For our case the intricate design of the chain can be a difficult thing to achieve using other methods.
One key disadvantage is when making many identical things 3DP can be slower than other methods , compared to casted plastics that can generate thousands of objects a day a 3D printer might be able to make decens or even hundred units but more than that would is not common.
Finally designing for 3D printing might bring some design constraints that are unique for this fabrication method mainly considering overhand, support and wall thickness.
Gallery
3D Scanning
- 3D Sense scanner
- 3D Systems Sense software
Process
This is a very old 3D scanner I have,
for this I connected the 3D sense scanner and opened their software
It is a very straight forward method to 3D scan something with just press the start scanning button and keep the scanner about 40 cm away from the scanned person / object.
In my case I made a 3D scan of my face. Here is the process:
Now I imported that into Blender where we can manipulate the mesh.
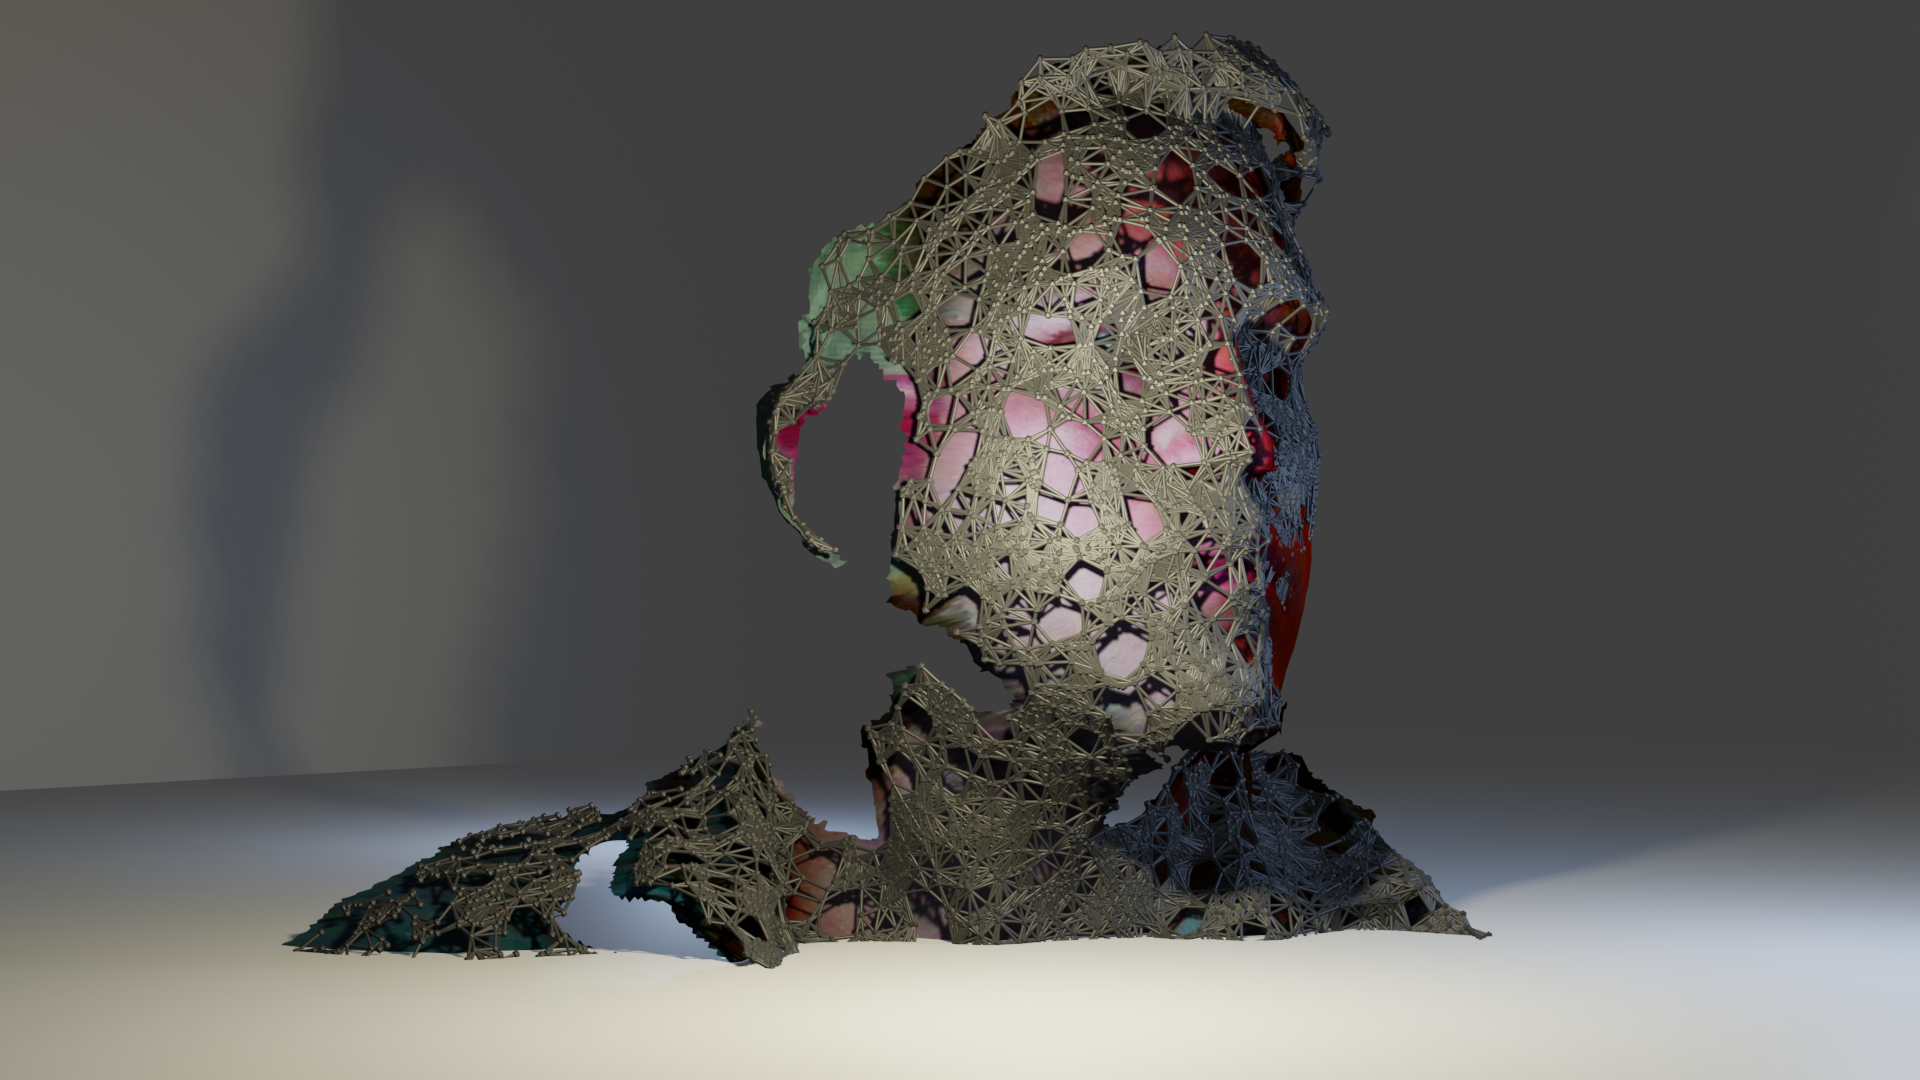
I want to generate a Midge “Mantissa” style portrait using a plexus effect algorithm in geometry nodes:
Here is the result:
Conclusion
I think I need a better 3D scanner … the resolution is terrible and any movement makes it loose its tracking generating very weird results.
Files