logo-em


Elodie MOULIN
(about me)

Projet management & Principles and Practices

OBJECTIFS


Projet management (part 1 of 2)
Work trought a git tutorial
Build a personal website describing me and my final project.
Upload parts 1 and 2, to the class archive

Principles and practices (part 2 of 2)
Sketched my final project idea(s)
Described briefly what it will do and who will use it


1. Project management


During this first week, I was able to discover the notion of "versioning" and a tool for implementing it: "GIT".
The aim of this approach is to be able to follow (and modify) the evolution of the site telling the story of my journey at Fabacademy.

No more multiple files for different versions of the same project, and hello versonning!


A. First step: install "GIT" and "Visual studio code".


First of all, you'll need to install GIT. You can find the installation file on the official website by following this link: https://git-scm.com/.
I use "visual studio code" as a text editor (to write my HTML, CSS and JQuery code). This program is free and can be downloaded at the following address: https://code.visualstudio.com/.


B. Working with GIT: starting from a blank page or from an existing GITLAB folder?


B.1. Starting from a blank page


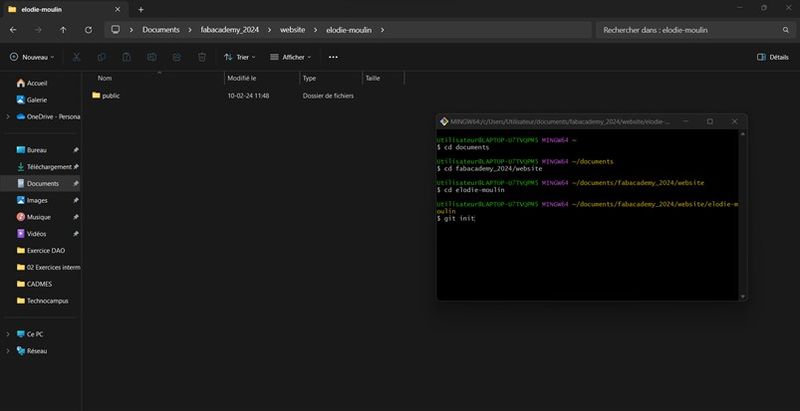
I open the "GIT BASH" application. To use the terminal, I had to learn a few basic commands:
- cd (to move through the various folders)
- "dir" (to view existing folders)
- "mkdir" (to create a folder)

To initialize GIT and start versioning my folder, I use the command: "Git init".
A "git" folder is then created in my folder (to view it, make sure your hidden files are displayed).


B.2. "Git clone": strating from an existing folder


To start building my site from the basic template provided by fabacademy, I use the "git clone" command followed by the "https address" of my files on giblab (to copy it, go to the "code" tab on your page).


Time for HTML code - HTML basics

I modified a few HTML tags to create a basic template.
During this week, I only modified the basic elements of the site (footers, headers and body text).
Later, I'll modify the CSS code to make my site's design more attractive. I've identified a few inspiring templates. In particular, I'll be taking inspiration from the following template: "https://retrina.com/demo/arshia/arshia-plus/webdesigner-dark.html".

Versionning - the essential functions of GIT:

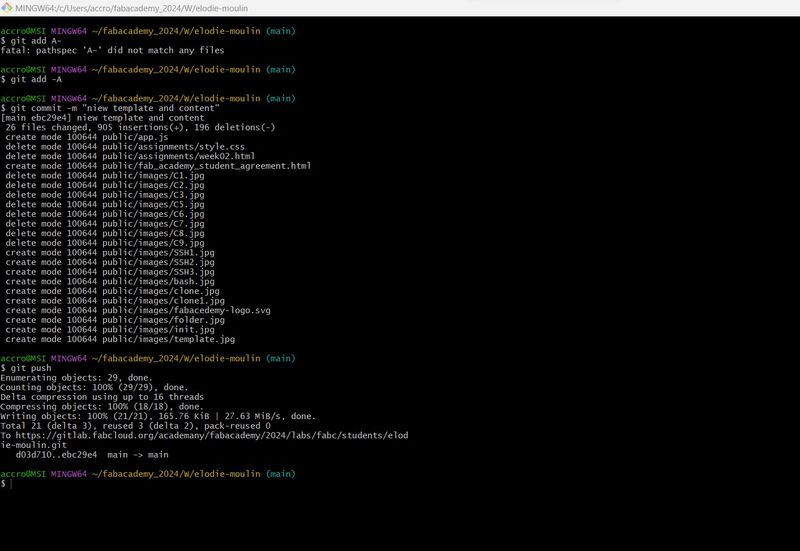
I've discovered the basic functions of GIT:
- Git status
- Git add
- Git commit
- Git push


Share locally created files on gitlab.


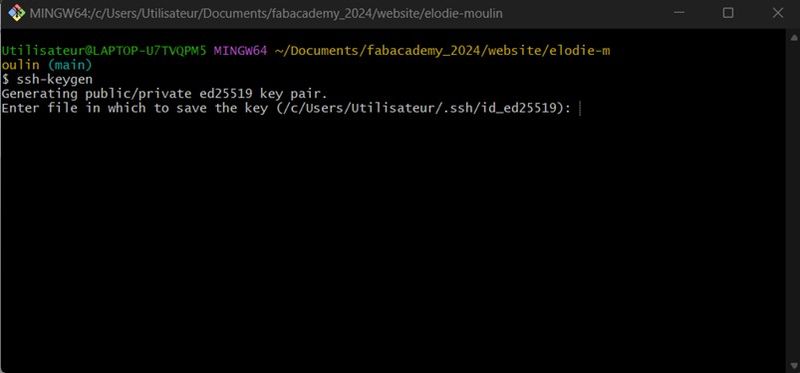
To share my files, I first need to create an SSH key. To do this, I use the "ssh-keygen" command.


This command generates an SSH key: to find it, go to the folder containing the pc user's name
(in my case: c:-->users -->user -->.ssh -->id_ed25519).
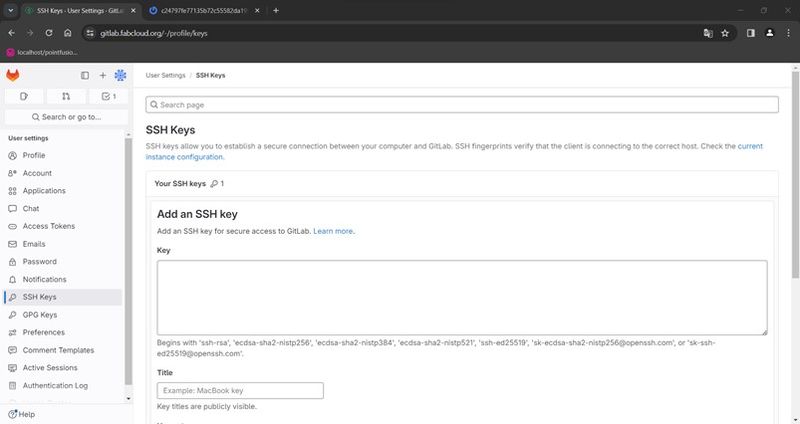
Once I've retrieved the SSH key, I can add it to my gitlab space (go to your account icon --> "edit profile" --> SSH Keys and add an SSH key).


Finally, I transfer my website with the "git push" command.


2. Principles and Practices

Draft : starting idea


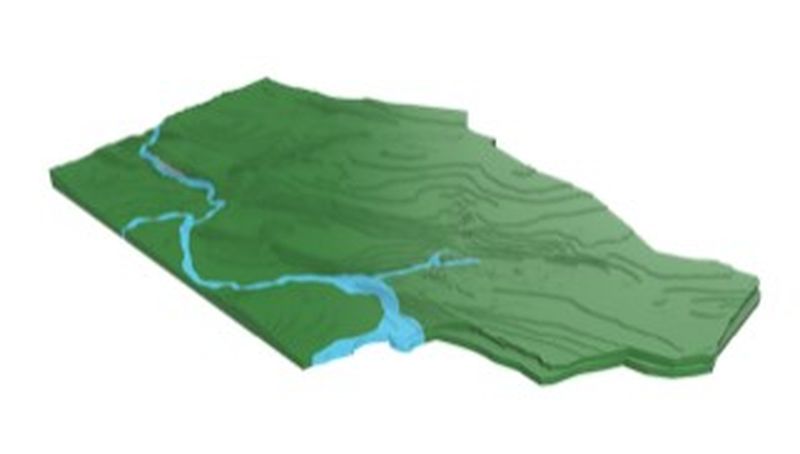
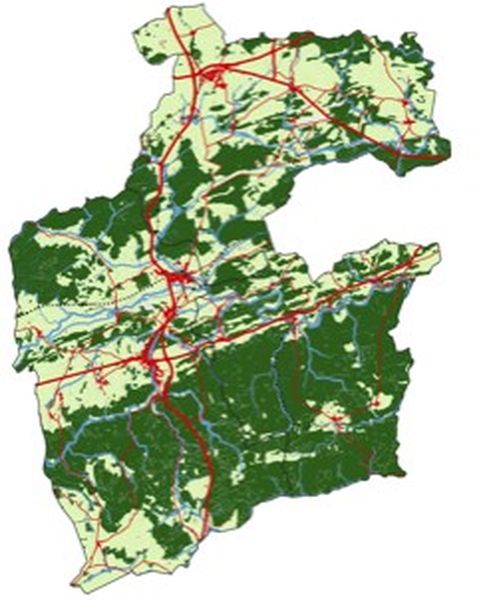
I'd like to make a model for educational purposes.
The idea is to explain :
- the water cycle (by visualizing the different watercourses);
- identify cities (LEDs)
- geological zones


Computer-Aided Design (CAD)

OBJECTIFS


Model a possible project, compress my images and videos,
and post it on my class page


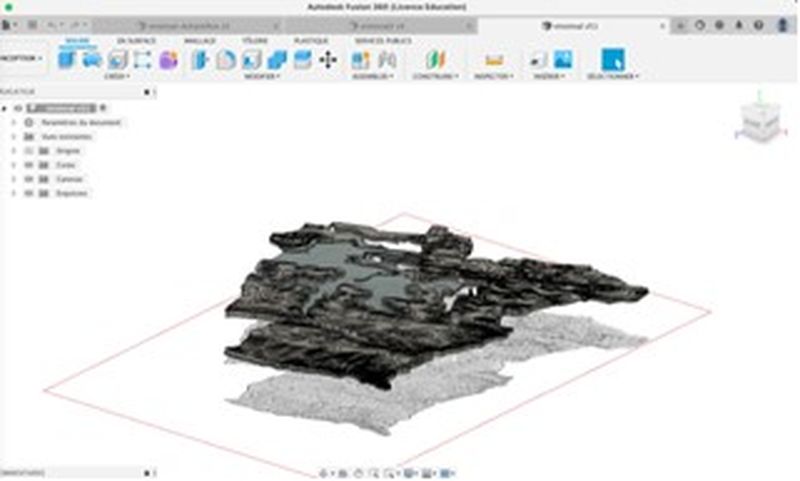
Modelled experimental objects/part of a possible project in 2D and 3D software
Shown how I did it with words/images/screenshots
Included my original design file(s)
Computer-Controlled Cutting

OBJECTIFS


group assignment:
do your lab's safety training
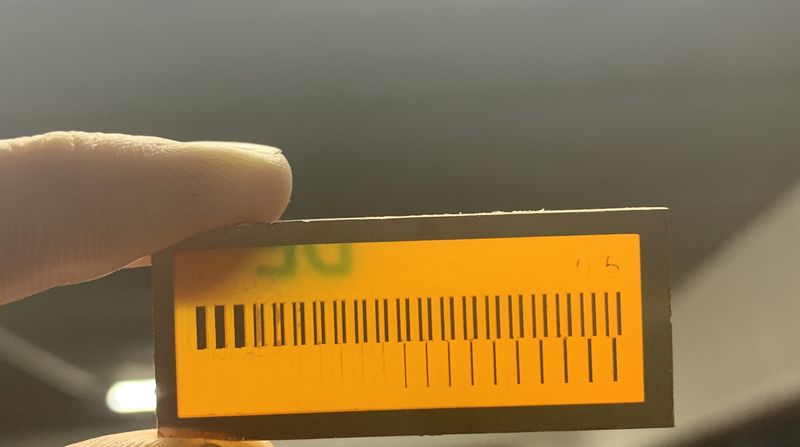
characterize your lasercutter's focus, power, speed, rate, kerf, joint clearance and types

group assignment:
cut something on the vinylcutter design, lasercut, and document a parametric construction kit,
accounting for the lasercutter kerf,
which can be assembled in multiple ways, and for extra credit include elements that aren't flat

Electronics Production

OBJECTIFS


group assignment:
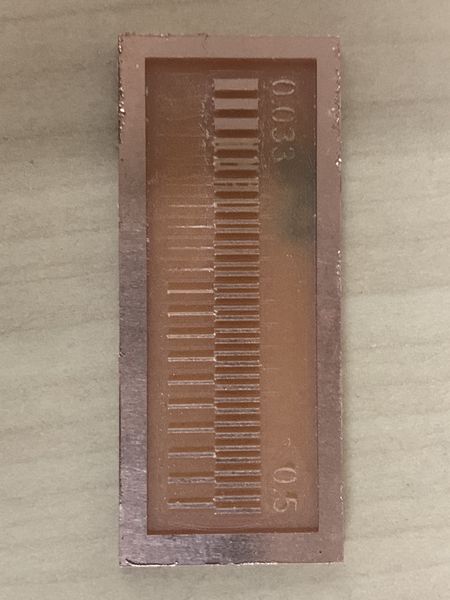
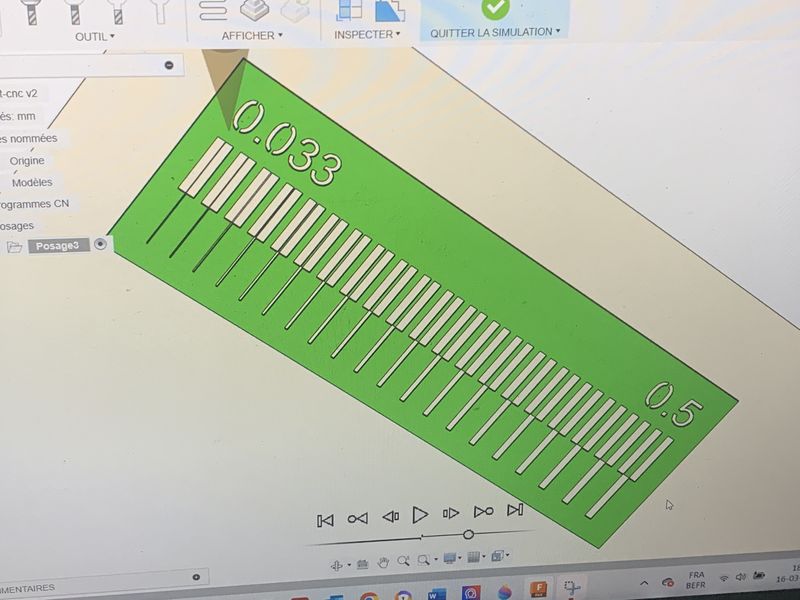
characterize the design rules for your in-house PCB production process
individual assignment

make and test a microcontroller development board
extra credit: personalize the board
extra credit: make it with another process

3D Scanning and Printing

OBJECTIFS


group assignment
test the design rules for your 3D printer(s)

individual assignment
design and 3D print an object (small, few cm3, limited by printer time) that could not be made subtractively
3D scan an object (and optionally print it)

Embedded Programming

OBJECTIFS


Group assignment
Browse through the data sheet for your microcontroller
Compare the performance and development workflows for other architectures


individual assignment:
write a program for a microcontroller development board that you made,
to interact (with local input &/or output devices)
and communicate (with remote wired or wireless devices)

extra credit: use different languages &/or development environments
extra credit: connect external components to the board

Computer-Controlled Machining

OBJECTIFS


Group assignment
Complete your lab's safety training
Test runout, alignment, fixturing, speeds, feeds, materials and tool paths for your machine
Document your work to the group work page and reflect on your individual page what you learned


Individual assignment
Make (design + mill + assemble) something big

Electronics Design

OBJECTIFS


Group assignment
Une the test equipment in your lab to observe the operation of a microcontroller circuit board (as a minimum, you should demonstrate the use of a multimeter and oscilloscope)
Document your work on the group work page and reflect on your individual page what you learned


Individual assignment
Use an EDA tool to design a development board to interact and communicate with an embedded microcontroller

Output Devices

OBJECTIFS


Group assignment
Measure the power of an output device
Document your work on the group work page and reflect on your individual page what you learned


Individual assignment
Add an output device to a microcontroller board you've designed and program it to do something

Mechanical Design

OBJECTIFS


Mechanical Design (part 1 of 2 )

Group assignment
Design a machine that includes mechanism + actuation + automation + application
Build the mechanical parts and operate it manually
Document the group project

Individual assigment
Document your individual contribution


Mechanical Design (part 2 of 2 )

Group assignment
Actuate and automate your machine
Document the group project

Individual assigment
Document your individual contribution


BREAK - midterm

OBJECTIFS


On your final project site post :
a system diagram for your project
list the tasks to be completed, make a schedule for doing them,
meet with your local instructor to review these and your weekly assignments

Input devices

OBJECTIFS


Group assignment
Probe an input device(s)'s analog levels and digital signals
Document your work on the group work page and reflect on your individual page what you learned


Individual assignment
Measure somethings : add a sensor to a microcontroller board that you have designed and read it
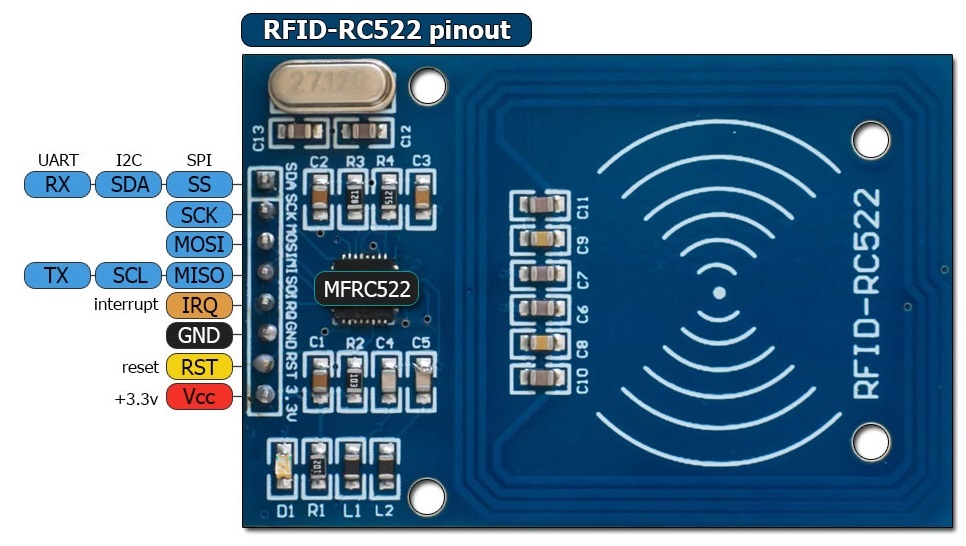

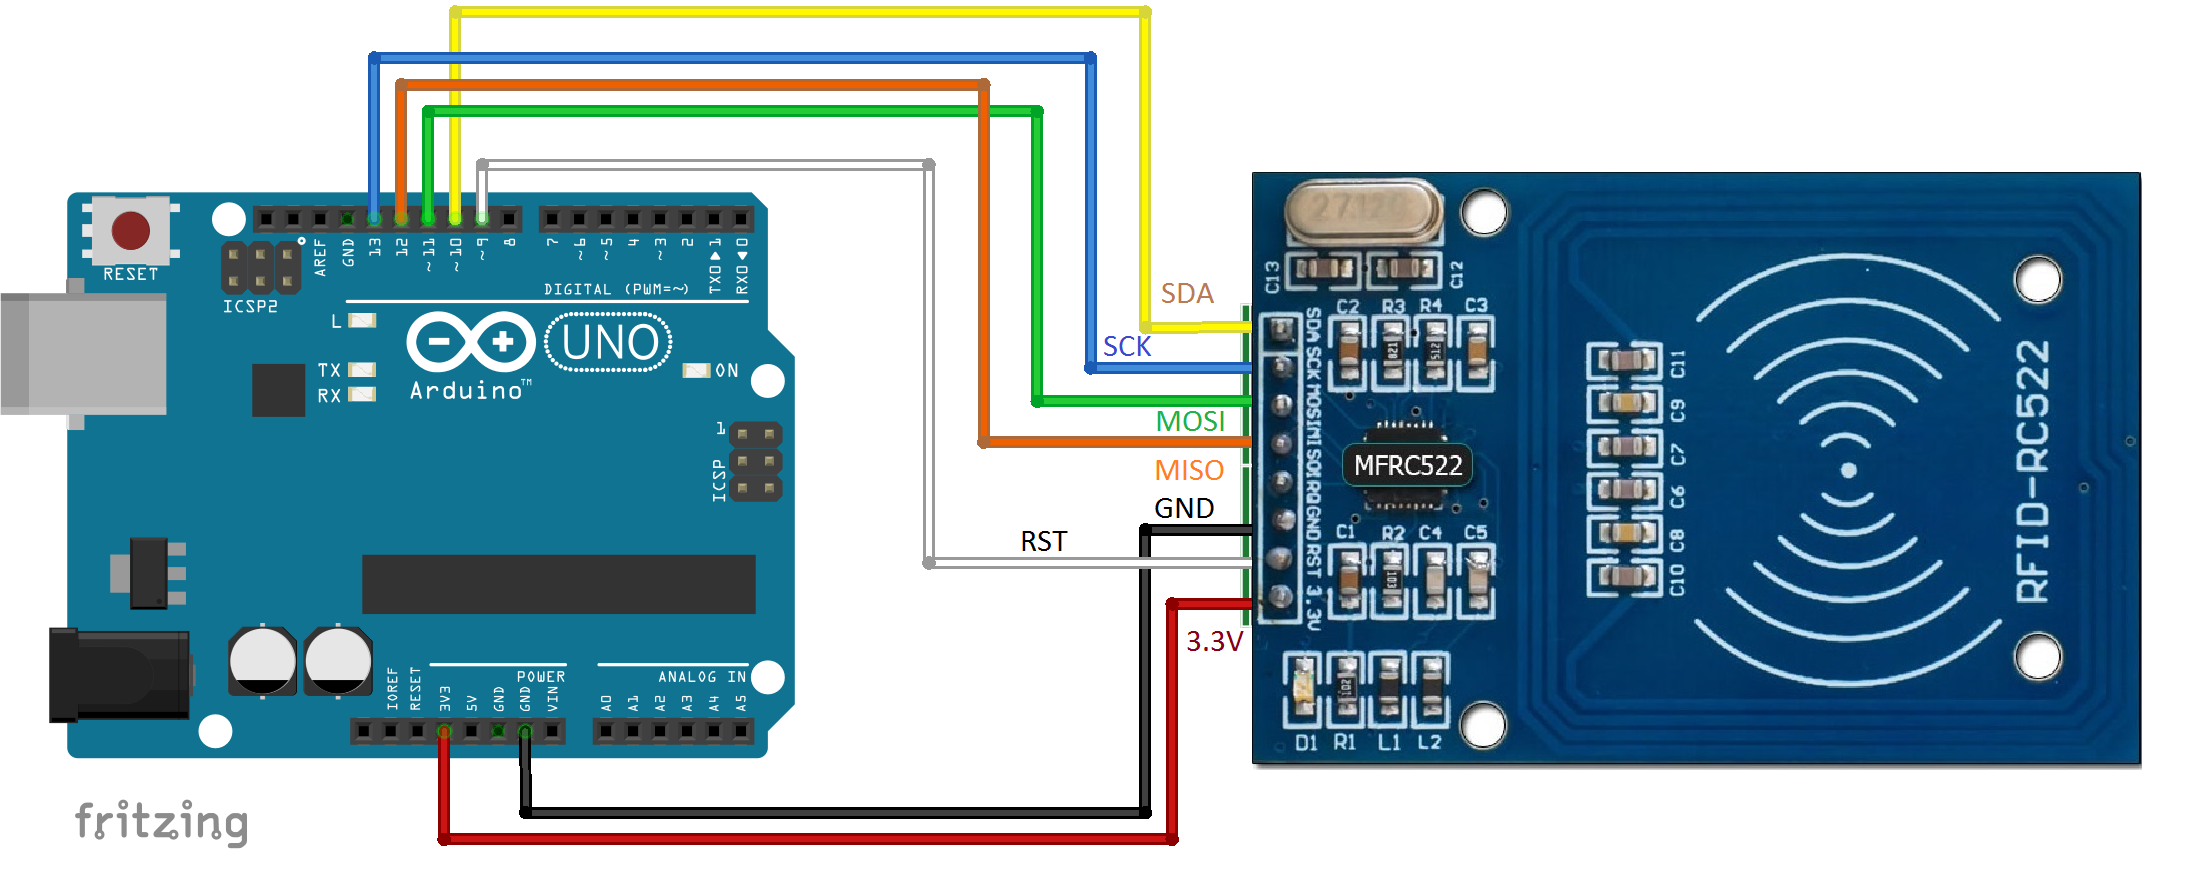
This week, I am using an RFID-RC522 reader as "input".

patillaje externo

Modulo RC522 Arduino
SDA D10
SCK D13
MOSI D11
MISO D12
IRQ —-
GND GND
RST D9
3.3V 3.3V
sesion 170_bb
source: https://www.prometec.net/arduino-rfid/

I used this "input" to create a lock triggered using a badge with a set access code.
For this I used: an arduino nano, a small moetur, a lock operating using a 3D printed gear, led,...
file: serrue.F3d


Hello , I’m Elodie MOULIN
Welcome to my World.


Follow my Fabacademy journey week by week ---------- >


About me

I work in a training center for adults.
The center trains trainees as "welders" and "digital machine operators".
I love learning and I've always had a passion for new technologies.
WEEK 01
WEEK 02
WEEK 03
WEEK 04
WEEK 05
WEEK 06
WEEK 07
WEEK 08
WEEK 09
WEEK 10
WEEK 11
WEEK 12
WEEK 13
travail de la semaine