Wildcard Week

hero shot !!!
For this week, we have to design and produce something with a digital process that hasn’t been done in a previous assignment. Our group decided to try out stencil printing on t-shirts !!!
Stencil Printing
- seekpng.com
Stencil printing involves placing a stencil on a fine mesh screen and then sliding ink across it. This ink passes through the open areas of the stencil, transferring the design onto the surface below. This method is effective for creating custom prints on various materials.
Printing Process
- Cut out your design on the Vinyl Machine. Make sure that the stencil material is durable enough to be used multiple times. If you’re unfamiliar with the Vinyl Machine, you can visit my week 3 page here.

- Once you’ve chosen your screen, peel the sticky side of the ENTIRE design off, and put it on the small side of the screen. Then, peel off the parts of the design which you want to be on the shirt, and prepare your printing surface. Secure the material you want to print on (such as fabric or paper) in place on a flat surface.

in this image, we’re adding masking tape on the sides because the vinyl didn’t match the size of the frame !!!
- Place your screen with the stencil side down onto the material. Pour a line of ink horizontally across the top of the screen, then hold the screen down with one hand to keep it in place. With the other hand, use a squeegee to pull the ink evenly across the screen, from top to bottom.

- Lift the screen off carefully to reveal your printed design on the material, and depending on the type of ink used, cure the printed design by heat setting or allowing it to air dry completely.

- Clean the screen thoroughly using water and a gentle brush or sponge to remove any remaining ink. Store the screen for future use !!!
Safety Measures
Here’s a couple of safety measures EVERYBODY in the process should follow !!!
-
Make sure your workspace is well ventilated. Screen printing often involves using inks and chemicals that can emit fumes.
-
Wear appropriate personal protective equipment (PPE) such as gloves and aprons to protect your skin from ink and chemicals.
-
Use safety goggles or a face shield to protect your eyes from splashes or airborne particles.
-
Follow the manufacturer’s instructions when handling chemicals such as emulsions, cleaners, and ink thinner.
-
Dispose of waste materials such as used emulsion and cleaning solvents according to local regulations.
-
Clean screens and tools promptly after use to prevent chemical buildup and ensure they are ready for future use.
-
Have emergency supplies readily available, such as eyewash stations and a chemical spill kit.
2D Design
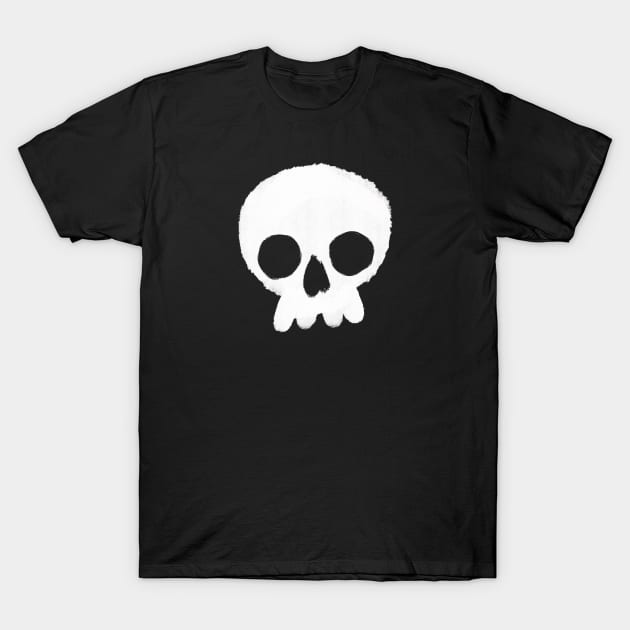
I really wanted to make a skate shirt this week, and I decided to use the this image as a reference.

Canva
I decided to try out Canva this week !!!

Canva is a user-friendly graphic design platform that allows users to create a wide range of visuals, from social media graphics to presentations and more, using intuitive tools and templates.
Signing up
-
Go to the Canva website.
-
Click on the “Sign up” button located at the top right corner of the homepage.
-
You can sign up using your Google account, Facebook account, Apple ID (if using iOS), or by entering your email address and creating a password.
-
Follow the prompts to complete the registration process. If signing up with email, you’ll need to verify your email address.
-
Click on
Create a designin the top right, and start !!!
I started off by opening the “draw” panel on the left, and making my tool white.

Then, I selected the marker tool, and started outlining my design !!!

Then, I filled it in, and this is the final result !!!

Then, I took a screenshot of the file to a square aspect ratio.
Printing
Now, it’s time to actually print !
I documented the process earlier, so you can refer to that for more details, but this is a short explanation of my process. We used non-toxic ink, so we decided not to wear gloves (bad idea).
- I got the screen ready by pasting my vinyl on. My design was a bit too small for the screen, so we added masking tape to the excess on the side to prevent the ink from leaking.

- Layed out the shirt I was going to use.

- We used the screen for the practice print (the photos in the tutorial), so I had to get my location right on the first try.

- Then, I used the squeegee to slide the ink up and down.

- This is how it came out (the smudge was on purpose !!!)


hero shot !!!
Reflection
We couldn’t do the wildcard week assignment on the actual week because we all had Nature Retreats to go on. We were planning on customizing t-shirts for a while and I’m happy that all of use actually got to finally do it !!! I learned a lot about screen printing today, as well as the processes involved. We’ll definitely be doing this again in the near future.
-wozer
The Mentioned Files
(tap the file to download it)
This website was created using a template provided by Mr. Anith Ghalley and was used with his permission.*

