Individual assignments
Learning outcomes:
Demonstrate workflows used in the chosen process
Select and apply suitable processes (and materials) to do your assignment.
Requirements for the assignment:
Documented the workflow(s) and process(es) you used
Described problems encountered (if any) and how you fixed them
Included original design files and source code
Included ‘hero shot’ of the result

What is Screen Printing?
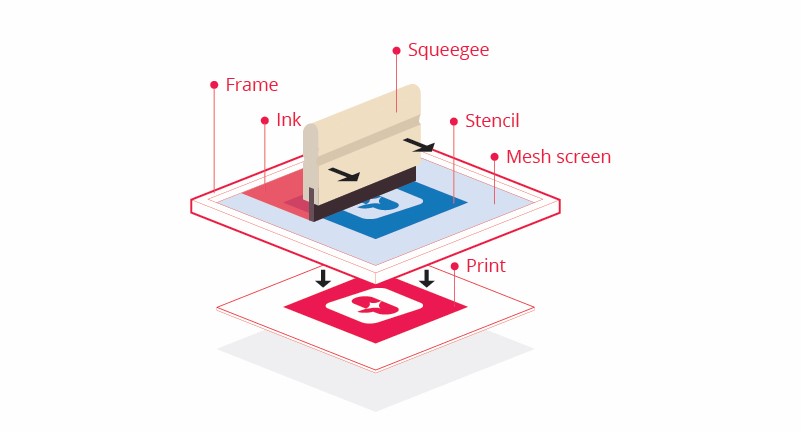
Screenprinting is a process where ink is forced through a mesh screen onto a surface. Making certain areas of the screen impervious to printing ink creates a stencil, which blocks the printing ink from passing through the screen. The ink that passes through forms the printed image.
We are using vinyl as our stencil.
So for the design, I am collaborating Starbuck and FabAcademy.
Firstly I had to use 'trace bitmap' tool for the Starbucks logo. I have documented the detailed process for my 2nd week assignment but here is a very brief process:
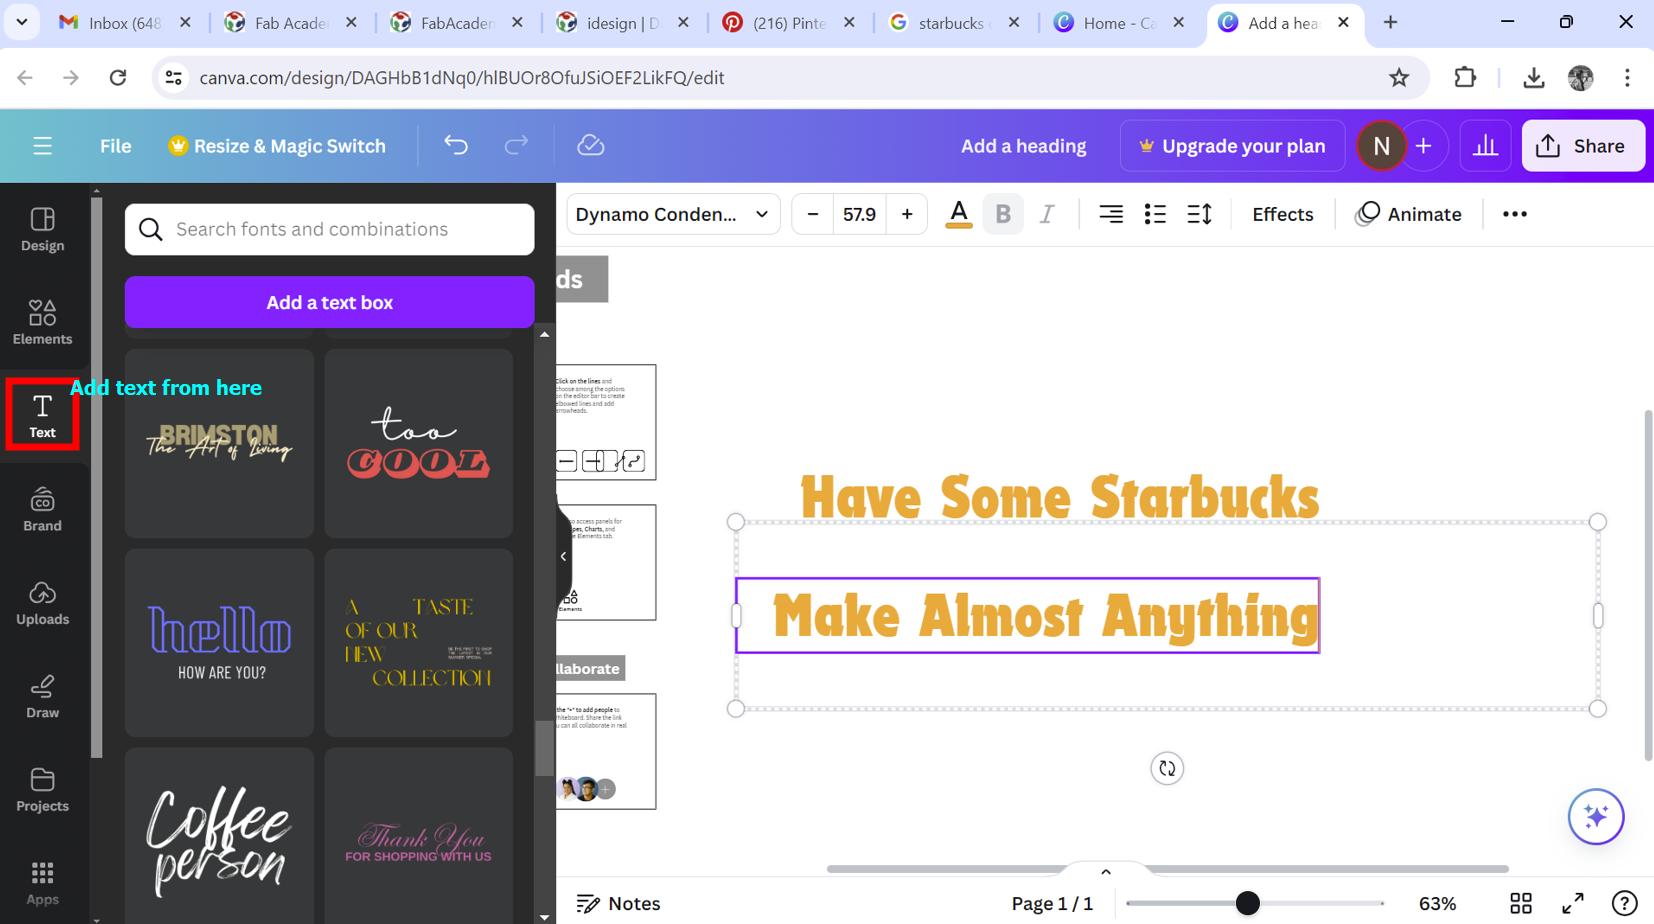
Then I used Canva to write some texts for my design because I found a really pretty font which was unfortunately unavailable in Inkscape.
Here is the final result after the using the "trace bitmap tool" for the entire design!!
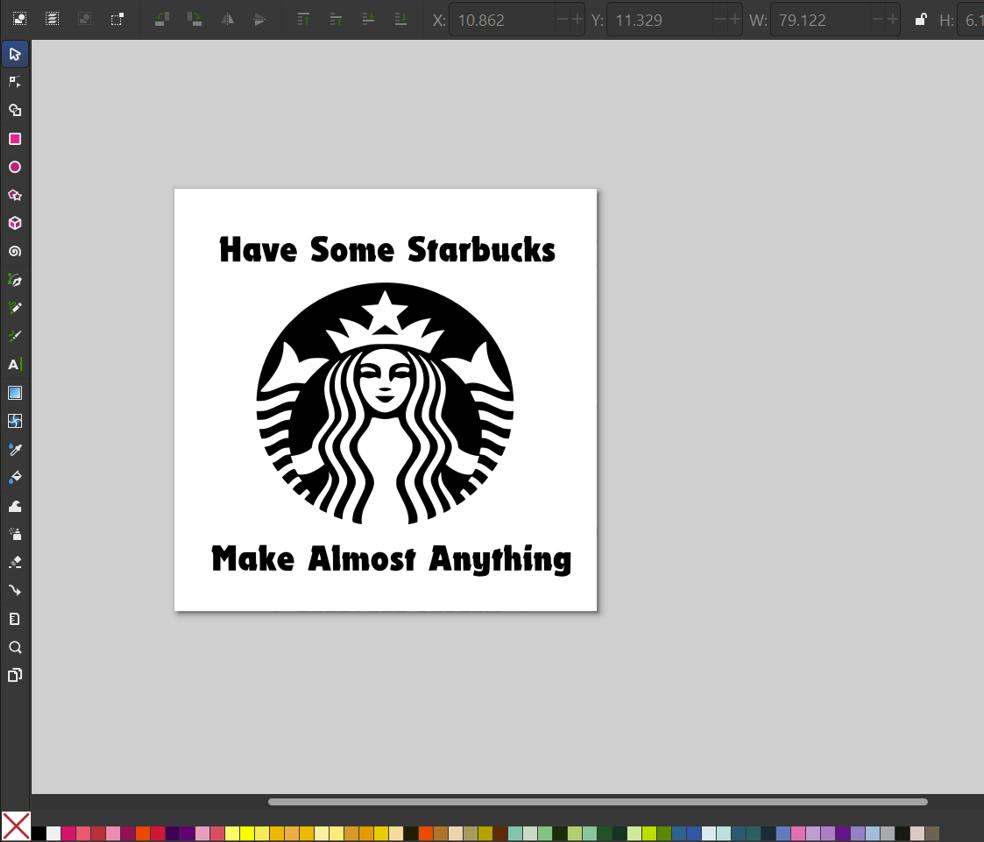
I exported the file in SVG format and sent it to the Vinyl Cutter!!
Import Design: Import your design into the cutting software. Ensure that the design is correctly scaled and positioned within the cutting area.
Configure Cutting Settings: Set the cutting parameters such as blade depth, speed, and pressure based on the type and thickness of the vinyl material you're using.
Here, don't forget to mirror your design for the vinyl cutting to have the correct side printed on your shirt.
For my cut, I used the pre-filled value using the material selector : - Force : 10 - Speed : 5
Perform Test Cut: Before cutting your entire design, it's a good idea to perform a test cut on a small piece of vinyl to ensure that the settings are correct.
Send Design to Cutter: Once you're satisfied with the test cut, send the design to the vinyl cutter for cutting. Make sure the cutter is set to "cut" mode.
Monitor Cutting Process: Keep an eye on the cutting process to ensure that the vinyl is being cut correctly and there are no issues.
For the screen printing process,
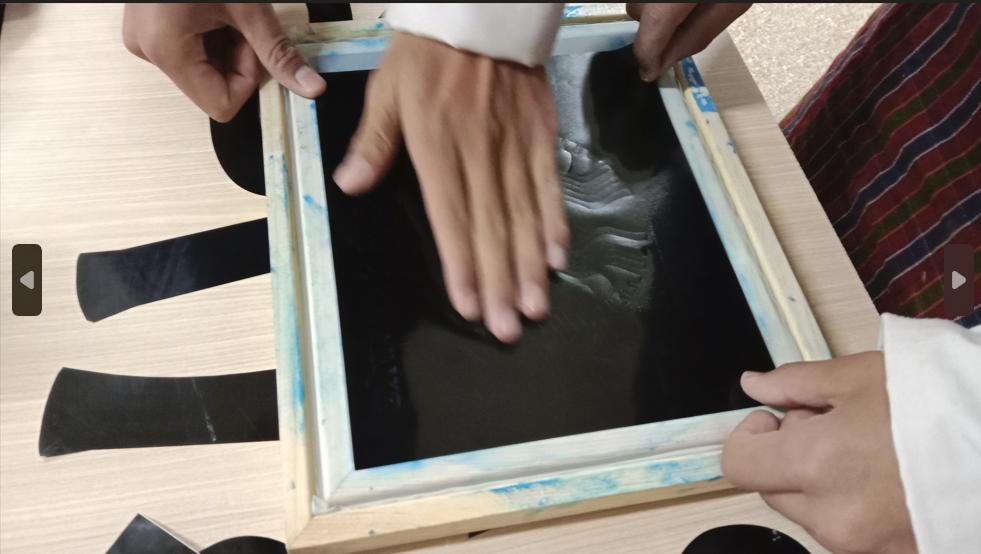
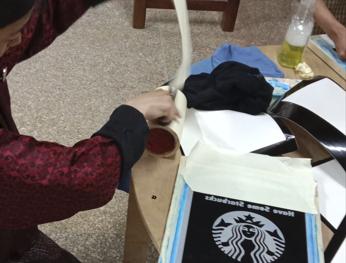
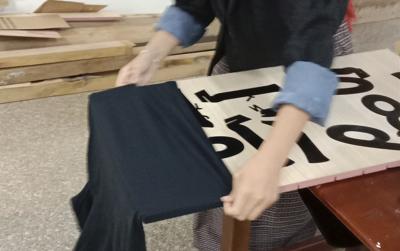
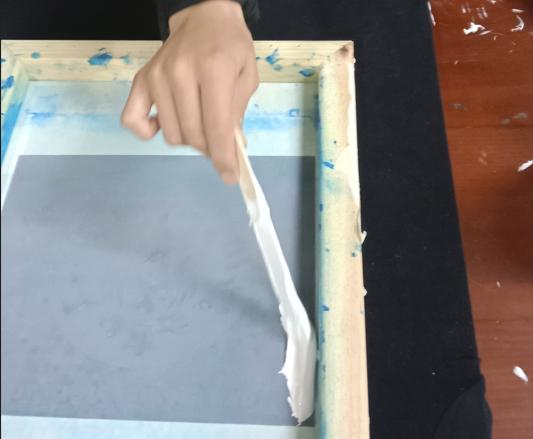
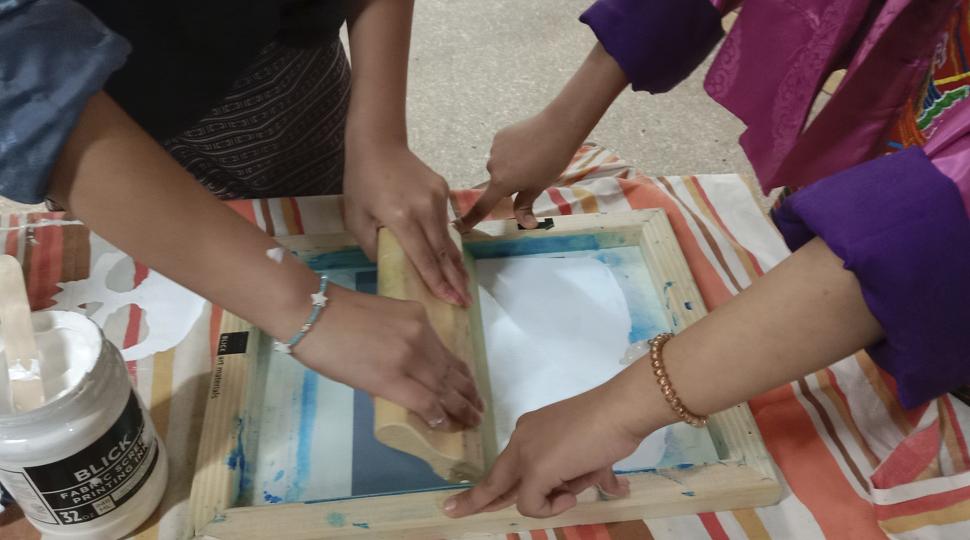
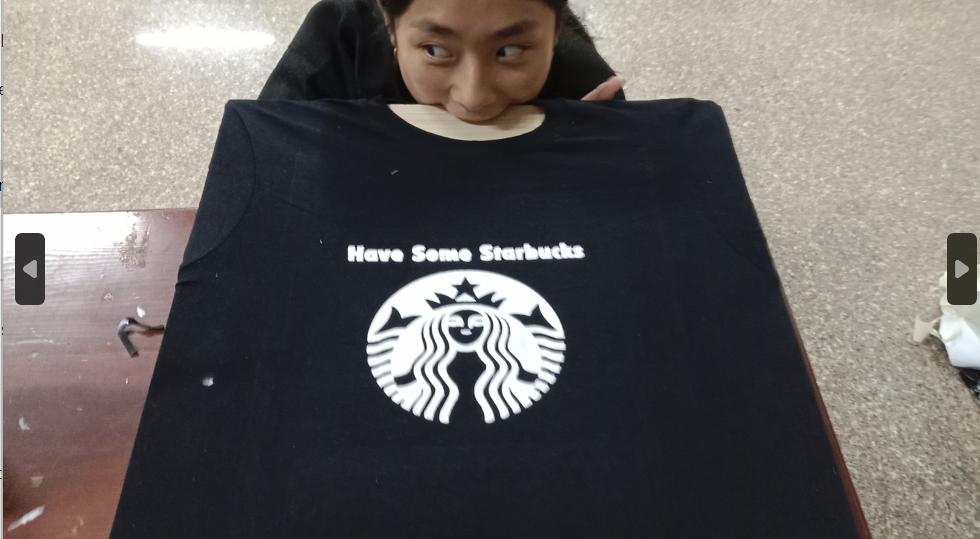
Here's Minee!!

That girl is my friend Damzang!
I mistakenly cut off the "How to Make Almost Anything" while cutting the sticker😭
Remove the vinyl stencil from the screen.
Clean the screen thoroughly with water and a screen cleaning solution to remove any residual ink.
I will add a picture of me with the T-shirt soon!
Design Files
| Completed Tasks | Remaining Tasks |
|---|---|
| Jan 1 - Project planning | May 23 - Programming with XIAO |
| Jan 2 - Research | May 24 - PCB printing |
| Jan 3 - Concept development | May 25 - Copper water level sensor |
| Feb 12 - Created pseudocode | May 26 - Laser cutting |
| Feb 22 - Cardboard prototype | May 27 - New water level sensor |
| Mar 2 - Circuit diagram | Jun 1 - Programming with new board |
| Apr 3 - Mid-term review | Jun 4 - Design door for power cable |
| Apr 5 - First board draft | Jun 6 - Assembled final components |
| May 1 - Flowchart and pot design | |
| May 10 - Personalized pot design | |
| May 18 - Moisture sensor testing | |
| May 19 - Switched to XIAO-ESP-C3 | |
| May 20 - ESP programming | |
| May 21 - Enclosure redesign |