Laser and Vinyl Cutting
This week I worked on laser cutting using my fablab's Epilog. I also made an adorable sticker of my cat using the vinyl cutter.
The Process of Laser Cutting
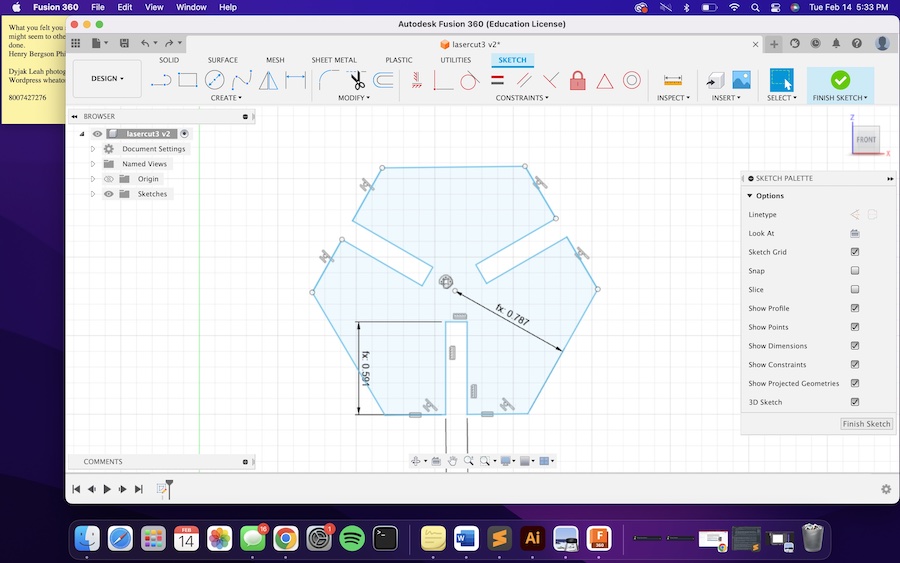
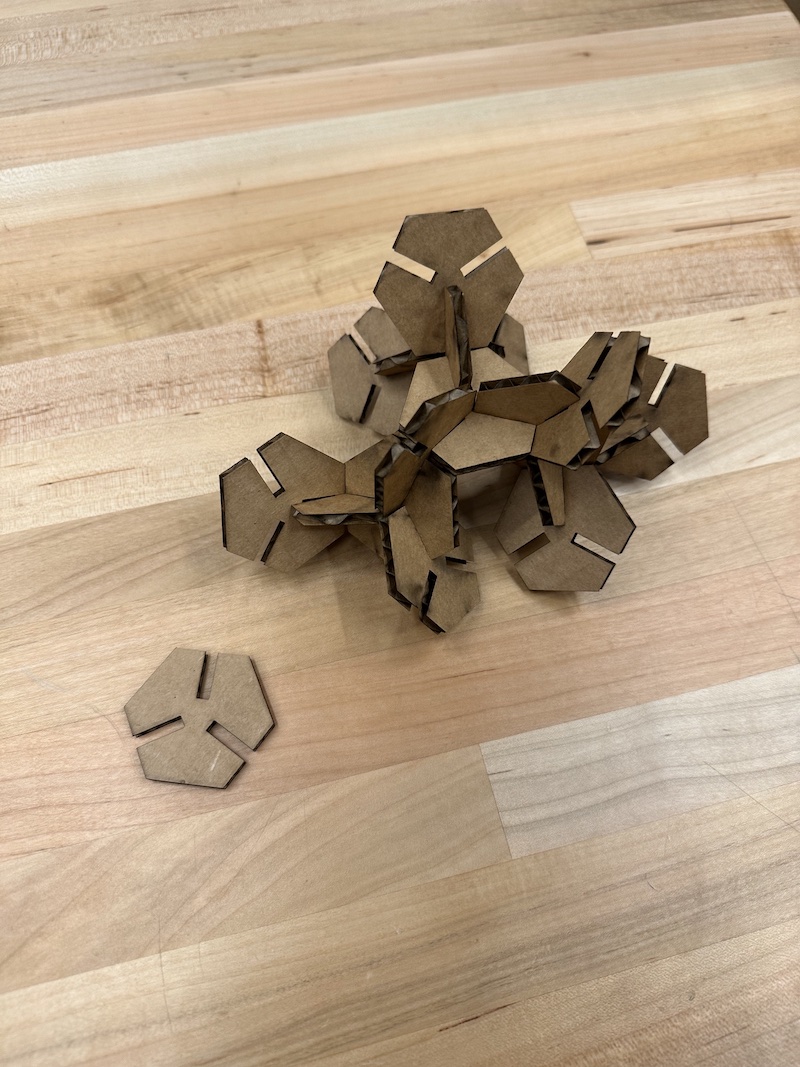
I made a hexagon using the circumscribed polygon tool in Fusion, with the radius of the circle being the parameter I previously created, polygonRadius . I then created a rectangle anchored to one of the sides of the hexagon usuing two parameters, gapWidth and gapDepth. I then trimed the edges of the rectangle and hexagon that overlaped to create an opening. I restrained the angles and intersection of the two shapes using the coinsident restraint and made the edges on either side of the gap equal using the equal constraint. Then I used the cirular pattern tool to repeat this design three times around the hexagon.

To export the Fusion design into Adobe Illustrator, under the create tab, and selecting Project/Include,I chose to project the design. Using the default settings, I projected the front face of the design.
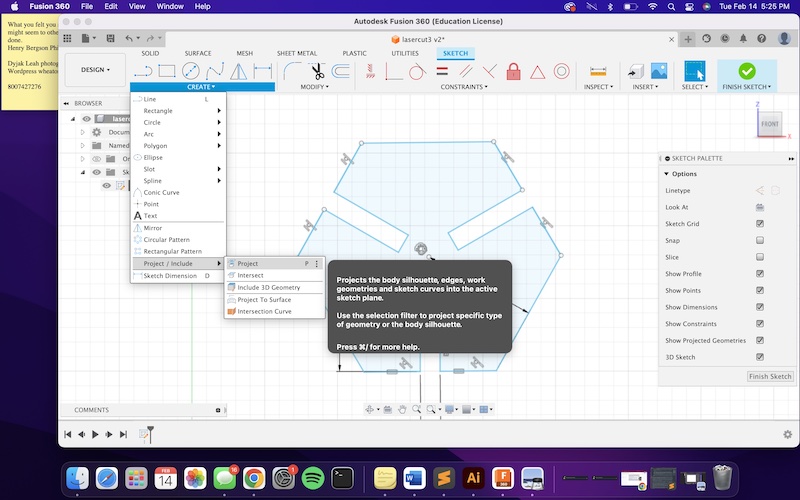
Once that was finished, I right-clicked the sketch tab under the dashboard in order to export as a DXF file.
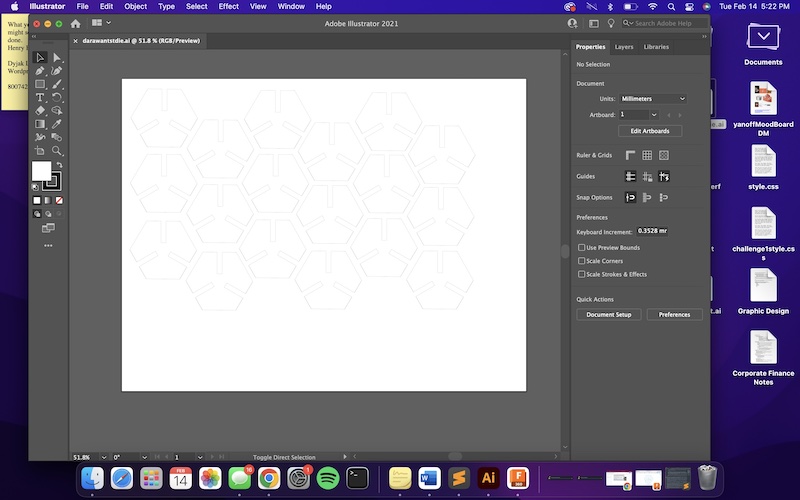
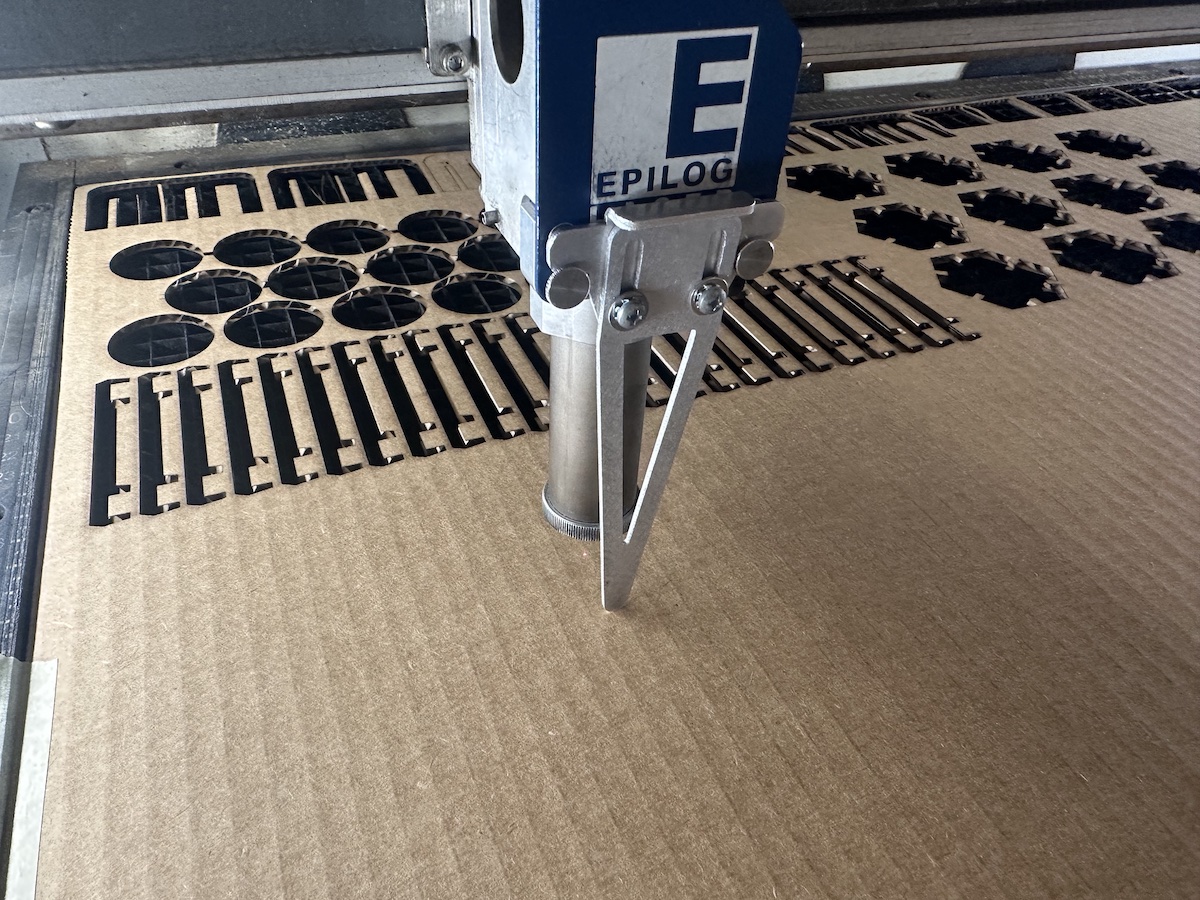
I opened the new DXF file with Adobe Illustrator, and highlighted the whole design to set the stroke to .01mm, or .028pts. (The Epilog software will vector-cut any line this thin or thinner.) I then copied and pasted the design 18 times and arranged them tightly on the artboard.
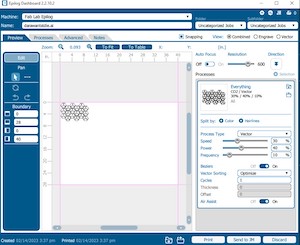
From Illustrator, I prompted the software to print the file. By selecting the Epilog Laser Cutter and pressing print, it automatically opens Epilog Dashboard. Before doing this I make sure to deselect auto-rotate and select do not scale.
In Epilog Dashboard I was able to position the design on the layout grid, as well as set the engraving and vector properties such as frequency, speed, and power. For this specific cut of cardboard material, I set the cut (Vector) properties to a speed of 30, power of 40, and a frequency (rate) of 10. There were not engraving cuts. Also, within the Epilog Dashboard I was sure to turn on air assist.
To start using the laser cutter, I turned on the machine itself, plus the building’s ventilation system to clear out harmful gasses. It’s also important to turn on the separate “air assist” air compressor, which helps the laser cutter blow away smoke and fumes from the beam path.
Now moving to the settings on Epilog itself, the first step of preparing the printer for cutting was to set the focus. The focus is the height of the bed. Using the focus tool, we are able to measure the exact height needed by slowly moving the joystick on the Epilog until it reaches the head of the focus tool. Pressing the joystick down ensures that the position of the bed is secured.
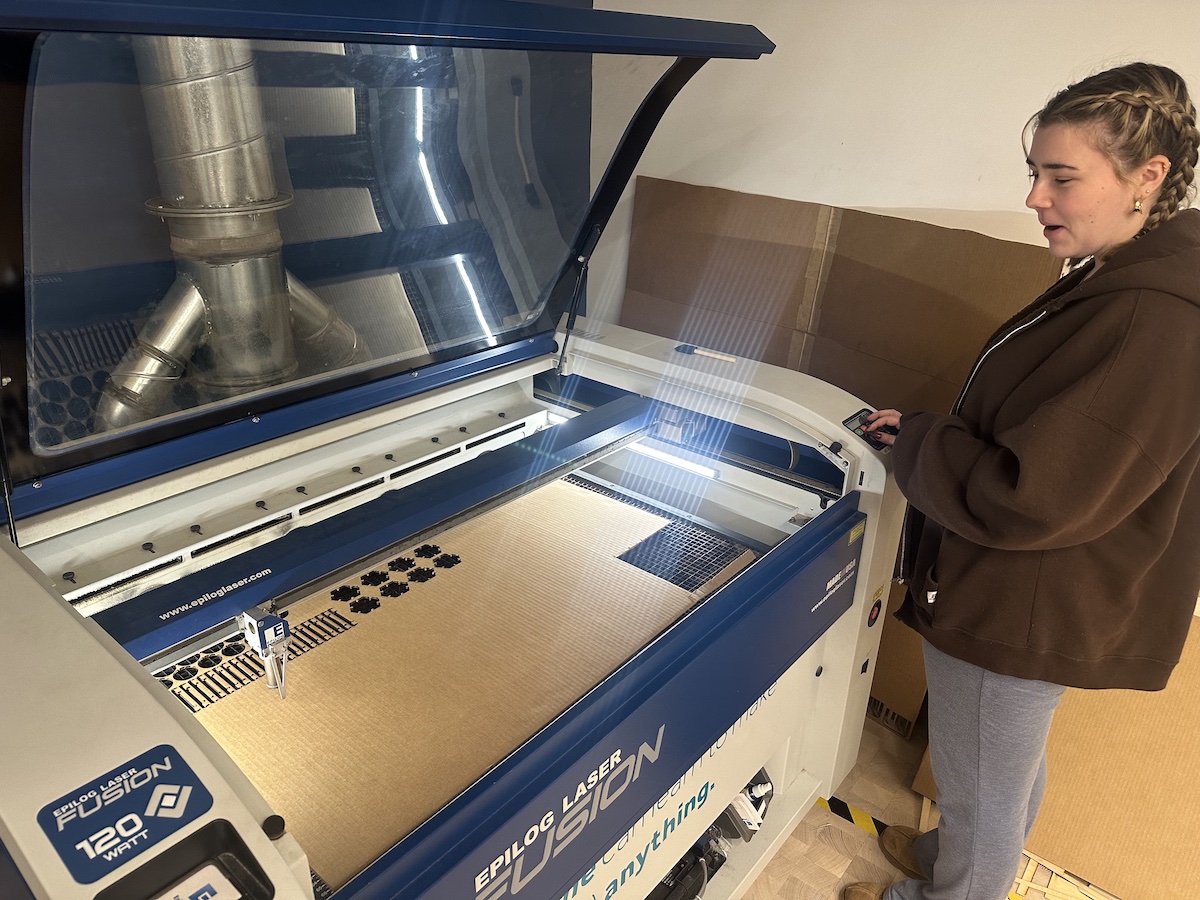
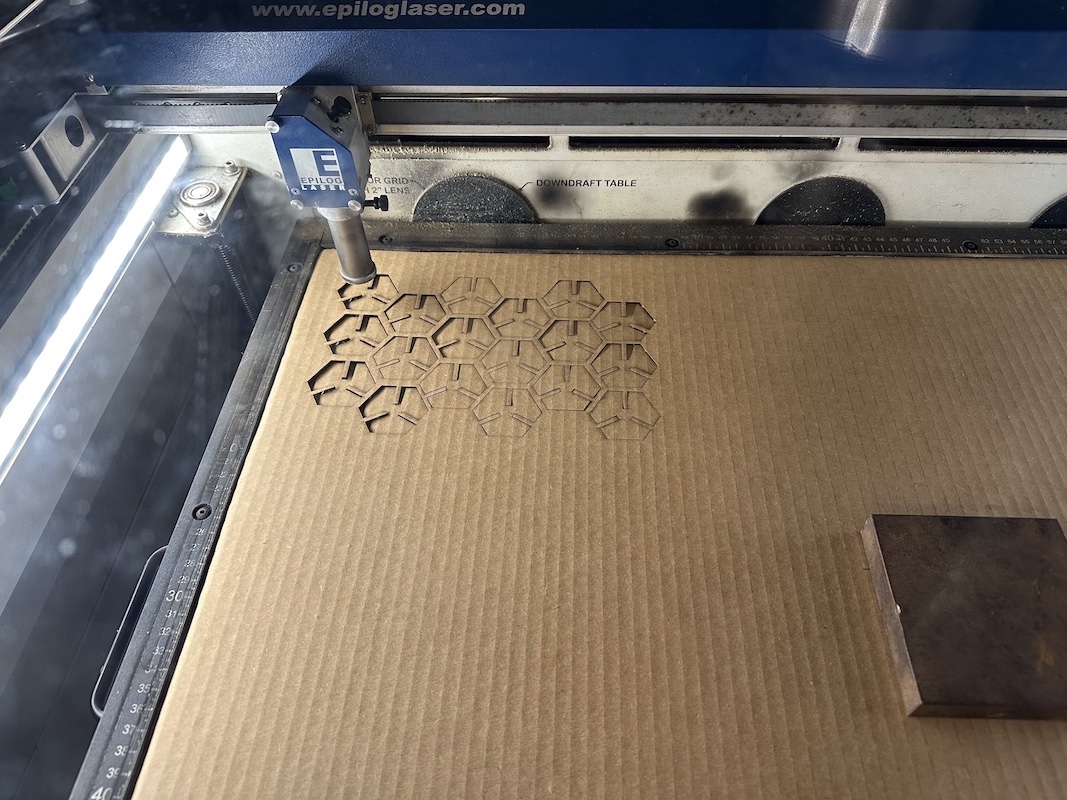
The Epilog gives the user a red light beam to indicate where the laser will land with the first initial cut, so with this indicator we are able to set the jog, or the starting position of the laser. Using the joystick I set the laser to start in the top left corner of the material in order to reduce waste. Pressing the joystick inward secures the position of the laser head. Once this process is completed, I close the cover to the Epilog.
Back in the Epilog Dashboard on the computer, I can now press print! This sends the design to the Epilog for cutting. Using the joystick to navigate to the job settings, we chose our file for print. Once I was sure that everything is secure including the lid, ventilation, and positioning of the laser head I pressed “go” to start the laser cut.
I am sure to keep an eye on the laser cutter, but like our instructor says, “keep your eyes on it, not in it.” Which means to keep an eye on the printer during the process, however do not continuously look into the laser to avoid eye damage.
I am very happy with my final result! It feels like a variation of legos or lincoln logs, but with hexagons and cardboard!

The Process of Vinyl Cutting
I previously designed the sketch of my cat in illustrator using the pen tool. I decided this would be the perfect file for a sticker.
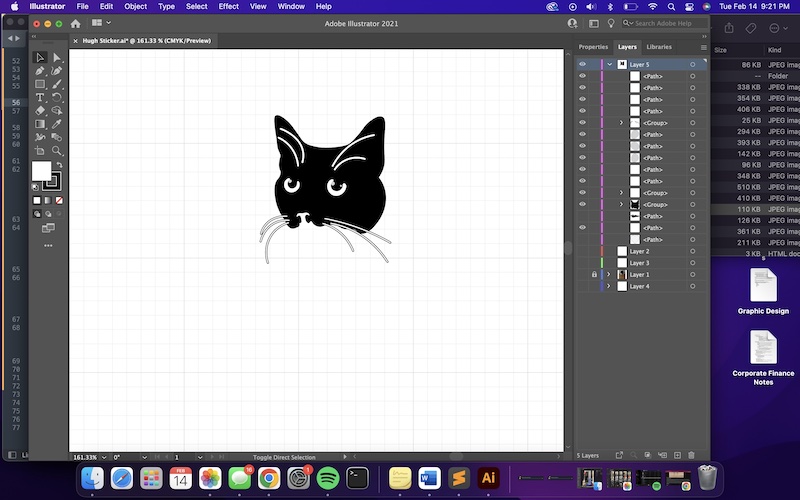
The first step was to import the file to Sircutsalot, which is the software that connects to my fablabs vinyl cutter. The file must be an SVG, so I exported it from Adobe Illustrator. Then I imported the file into Sircutsalot to scale and position it for cutting. I scaled the design height by 3, from 1.033 inches to 3.099 inches. The program autoscales the width for me. I then positioned the design to be in the bottom right corner for cutting.
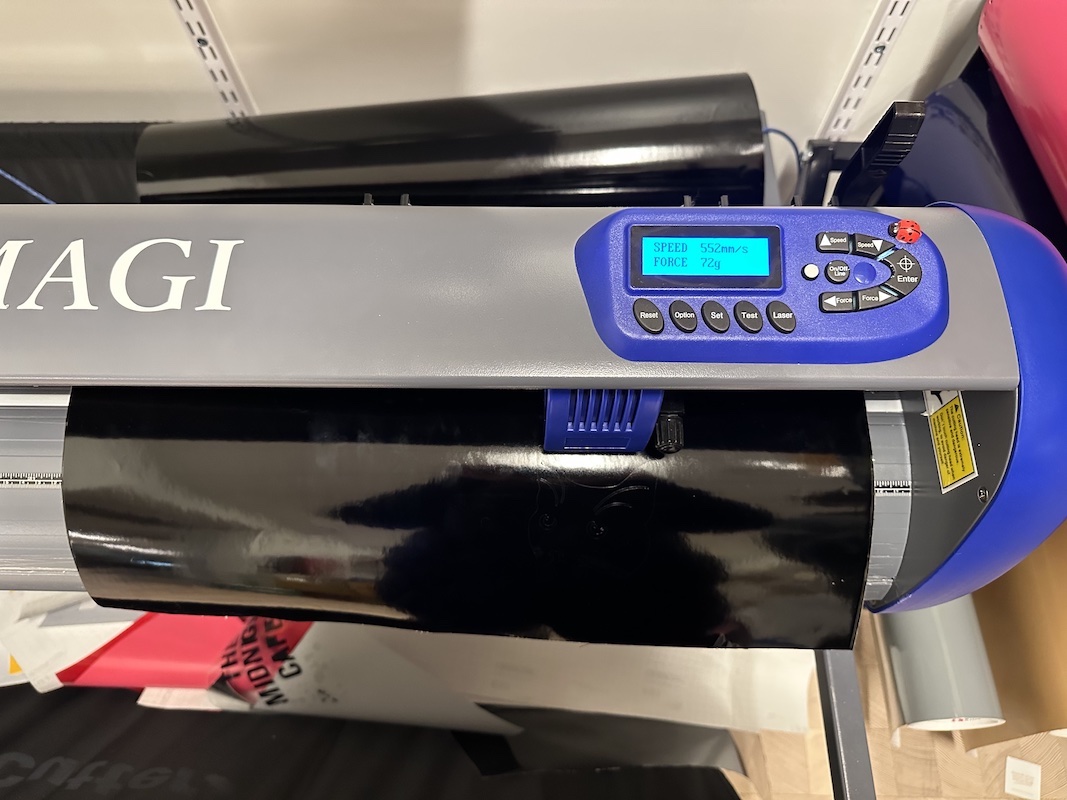
On the Vinyl cutter itself, I ran the black sign vinyl into the machine and secured it in place with the latch. I set the speed to 552mm/s and the force to 72g. I then set the starting point using the on/off line button, and pressed enter to secure the position. Once these steps were done, on the computer I pressed the cut button, and the vinyl cutter followed through.
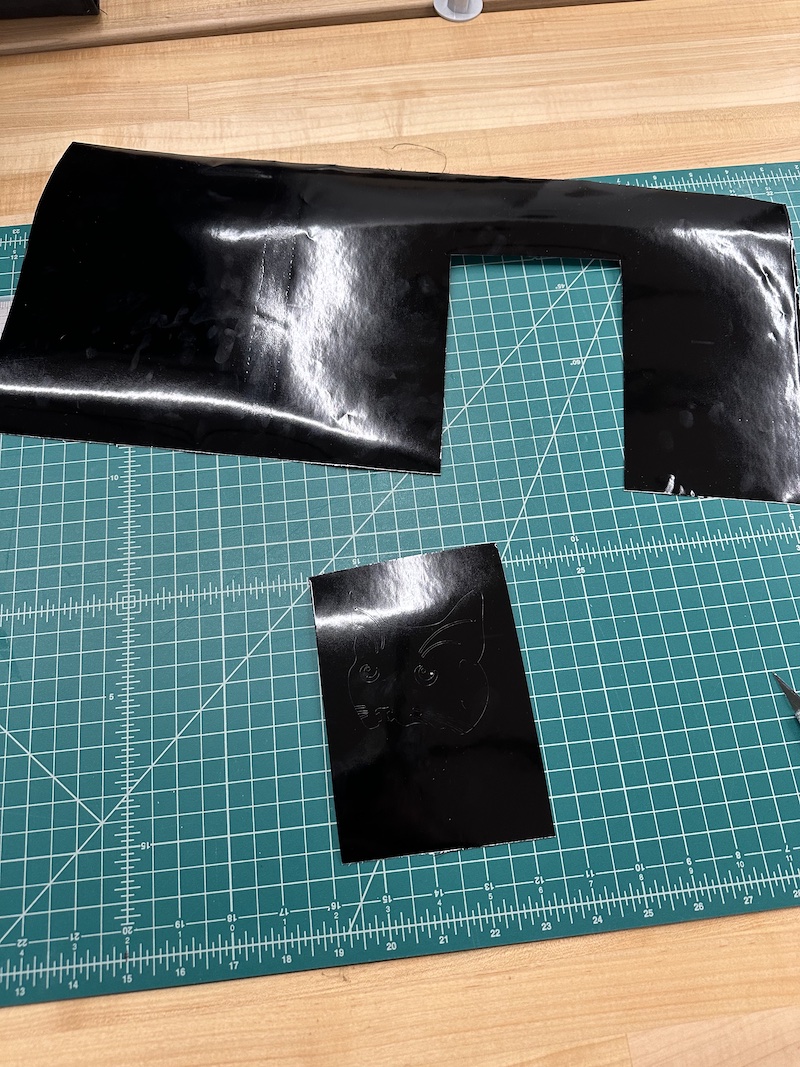
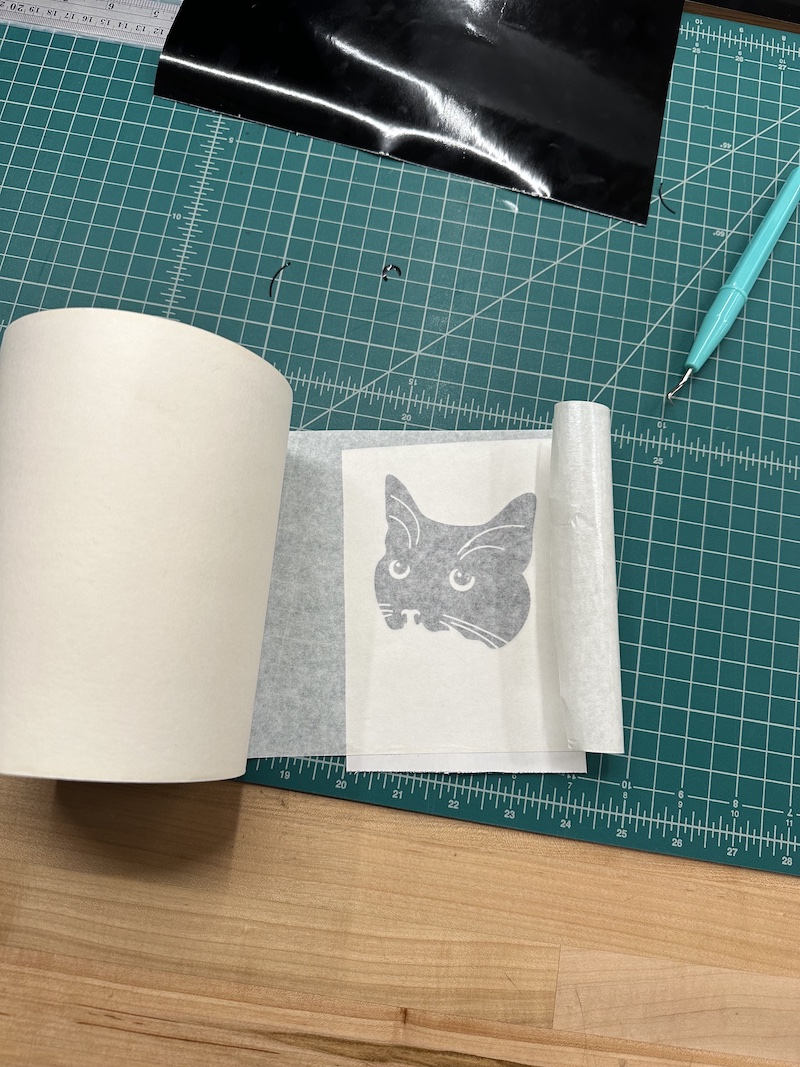
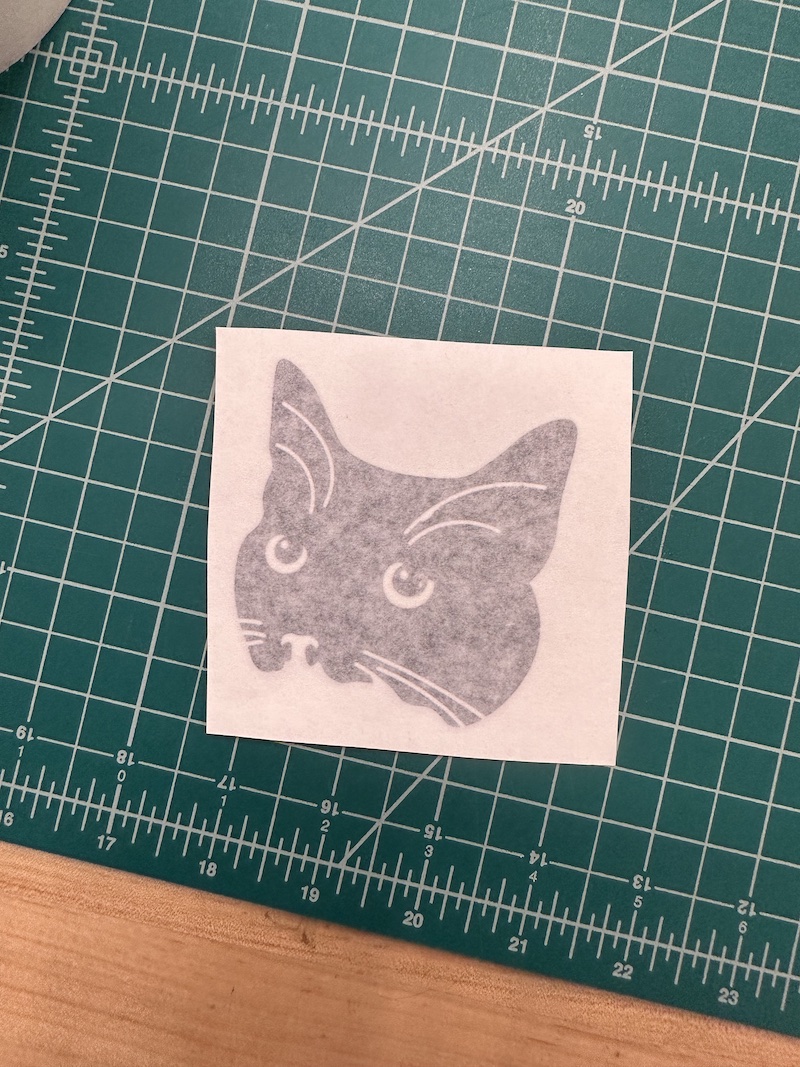
Once the vinyl cutting machine was through, I took the finished cut to the rotary mat with an x-acto knife and a picker tool. I used the x-acto knife to cut around the design, leaving a margin to peel the excess black vinyl off. Using the picker tool, I carefully picked off the vinyl around the design itself, to reveal my adorable kitty.
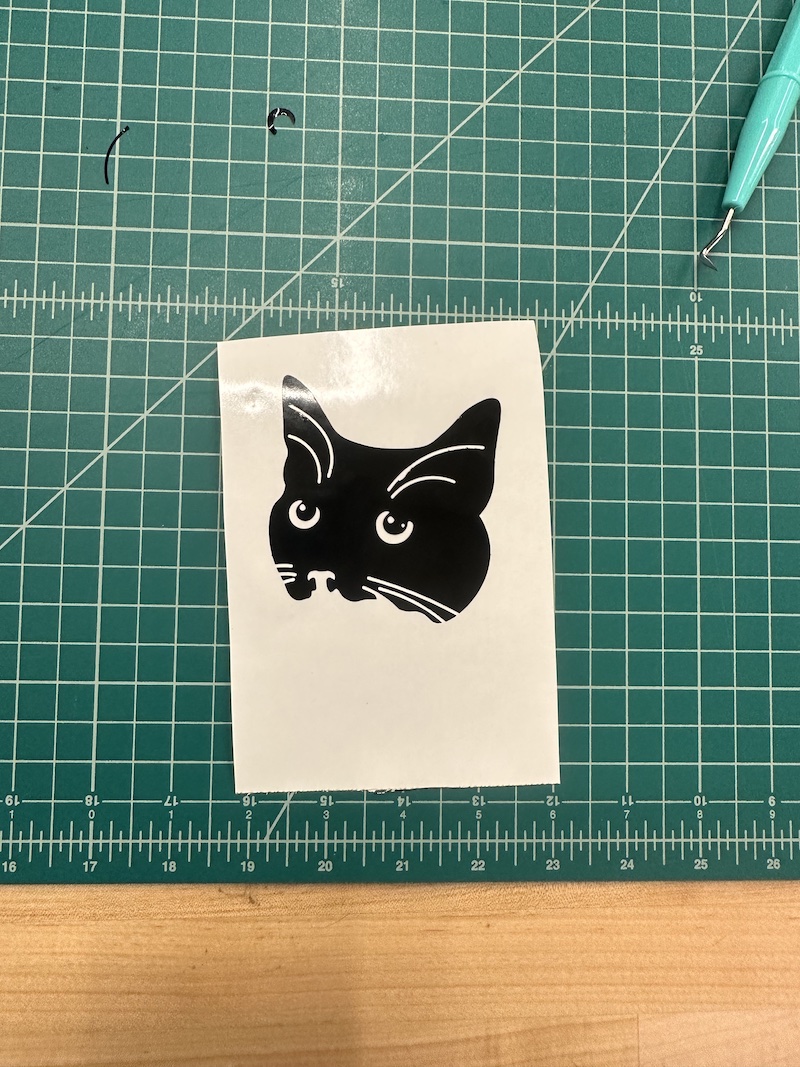
The last step is to apply the transfer tape to allow the sticker to be applied to a place of my choosing. I applied the tape over the design, and smoothed it out using a ruler to make sure there were no air bubbles. I cut off the excess transfer tape with the knife to reveal a clean and neat sticker, ready to apply when I am.
As an extented part of this week's assignment, we had groupd work to figure out the Kerf of the laser cutter in order to make the most accurate design possible. You can find the link to the group work here: