Molding and Casting
Goal
Design a mold around the stock and tooling that you'll be using, mill it (rough cut + (at least) three-axis finish cut), and use it to cast parts.
For the group assignment, we learned and practiced the process of molding and casting. We explored topics such as milling and designing the mold, how to mix the solutions, cure time, the right way to pour, and extracting the molds.
Designing the Mold
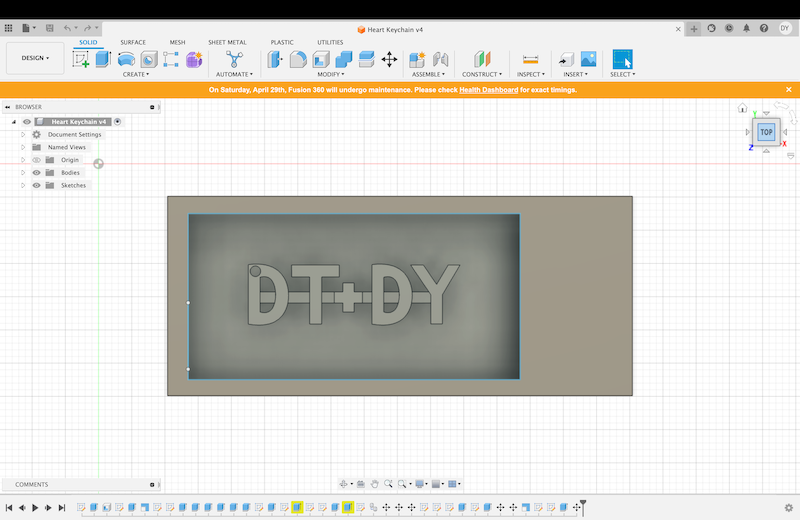
I used Fusion 360 to design my mold for a keychain. Using various tools such as the rectangle tool, pen tool, and extrude, I modeled the keychain inside a 7in*3in*1.5in wax block.
Milling the Wax BLock
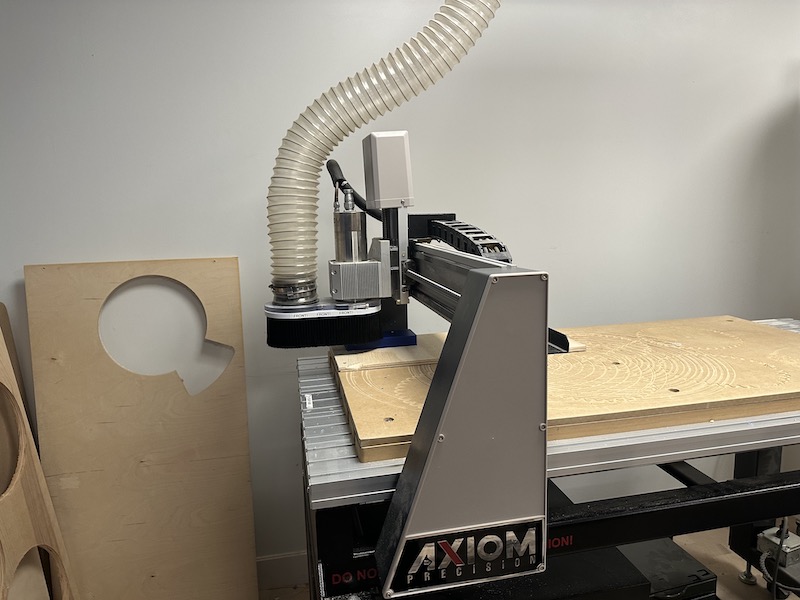
Using the CNC machine, and its designated software, I applied the settings to complete the mill. The first cut was a rough cut, then the smooth cut. I also set the designated cut area so that the CNC did mill the outside of the wax block. Moving to the machine with the USB, I set the X,Y, and Z origin. The endmill used was an upcut mill, and for the rough cut we used a 1/4 inch, and for the smooth 1/8th. I changed these at the end of the first rough cut.
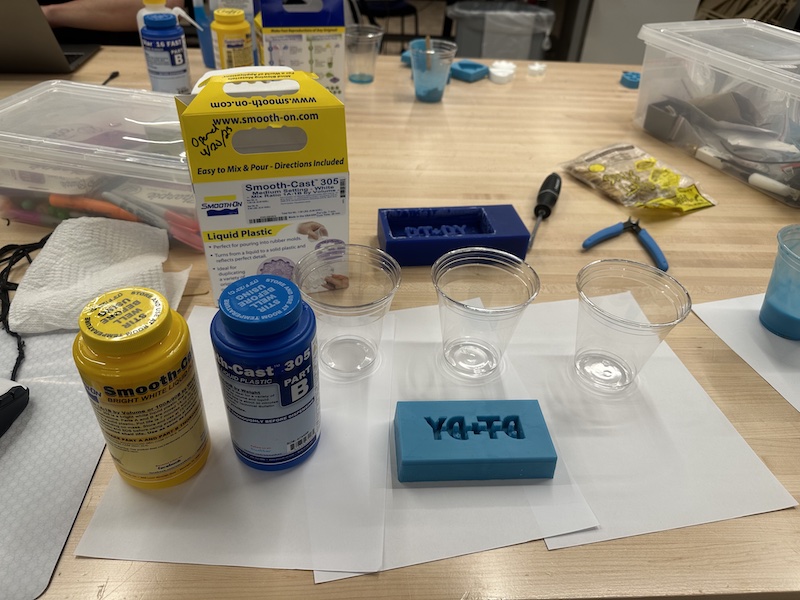
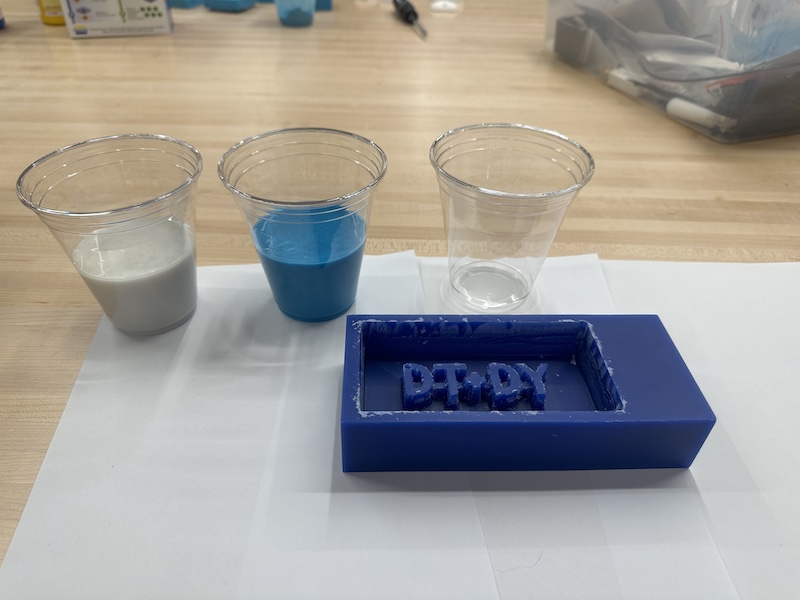
Molding
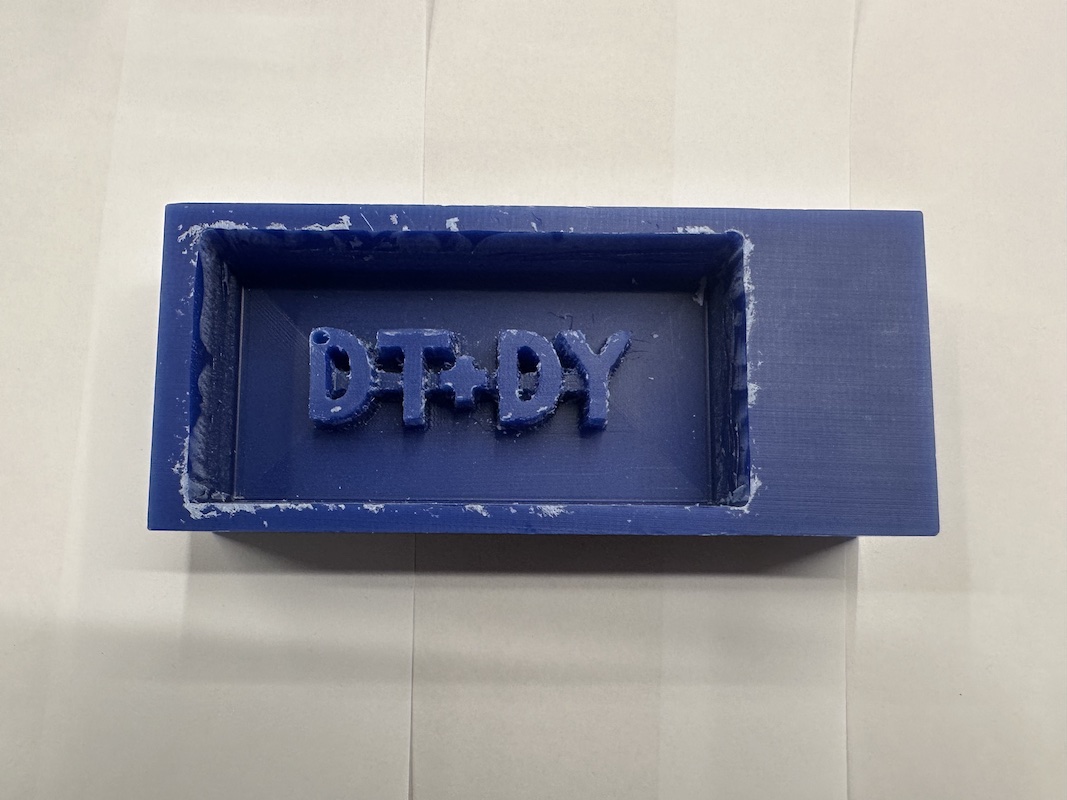
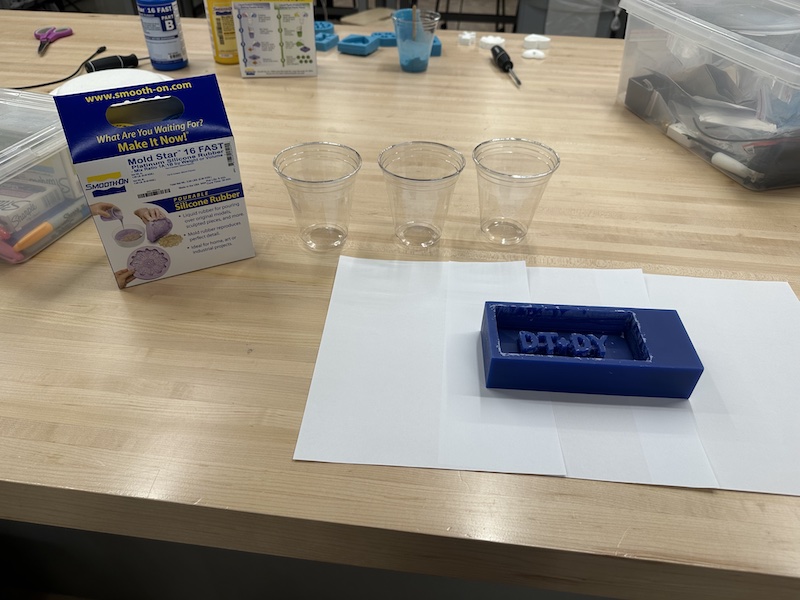
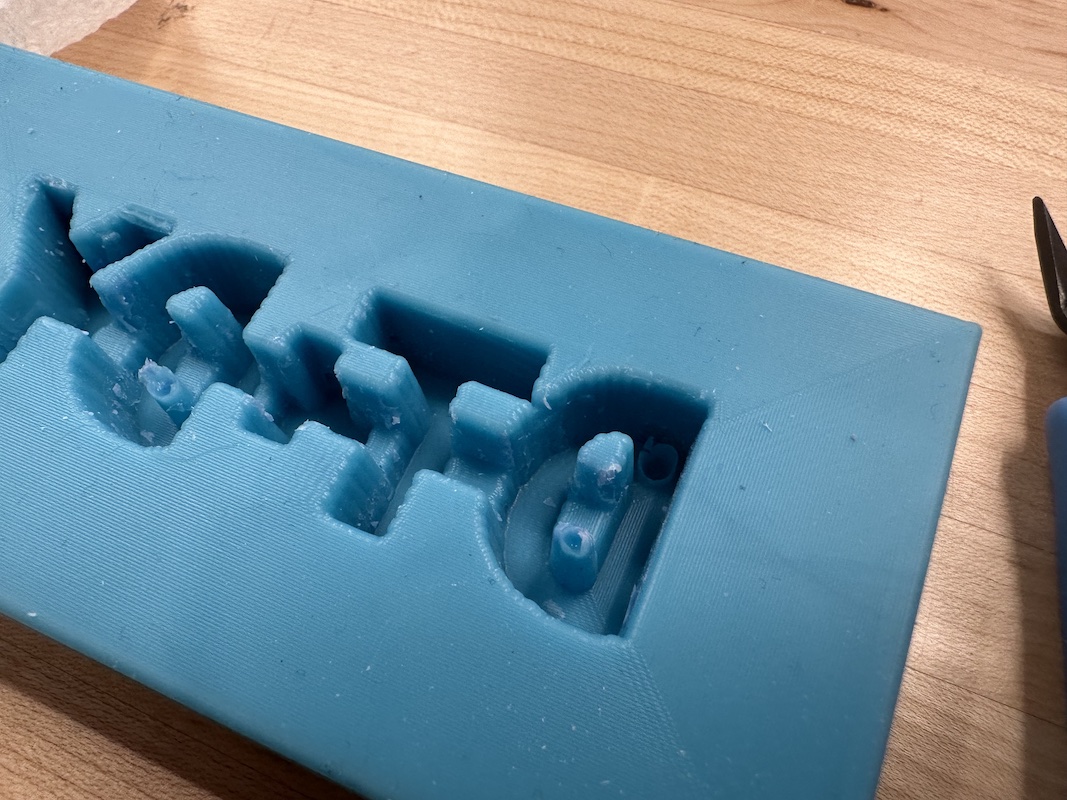
Using the Mold Star 16, I mixed equal parts of part A and part B together. I then poured the mixture into the wax block, filling it to the top. The cure time was 30 minutes, so I waited. I then used a screwdriver to pry the mold from the wax block. The liqud used was very thick, so even though I tapped the table with the blcok a few times, air bubles remained within the keyhole. Sadly this resulted in the mold not having a hole for a keychain. This is okay though, because I am happy to have a desk trinket. I claned up the mold a little bit using needle nose pliers and picking out the imperfect material.

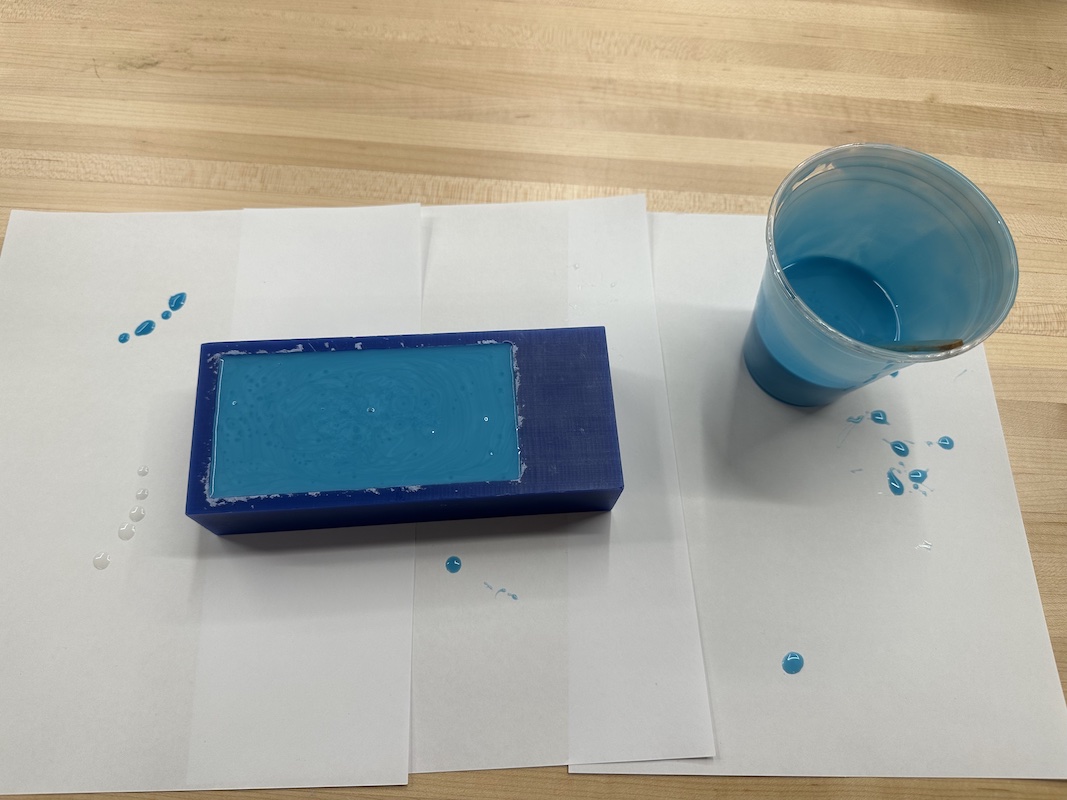
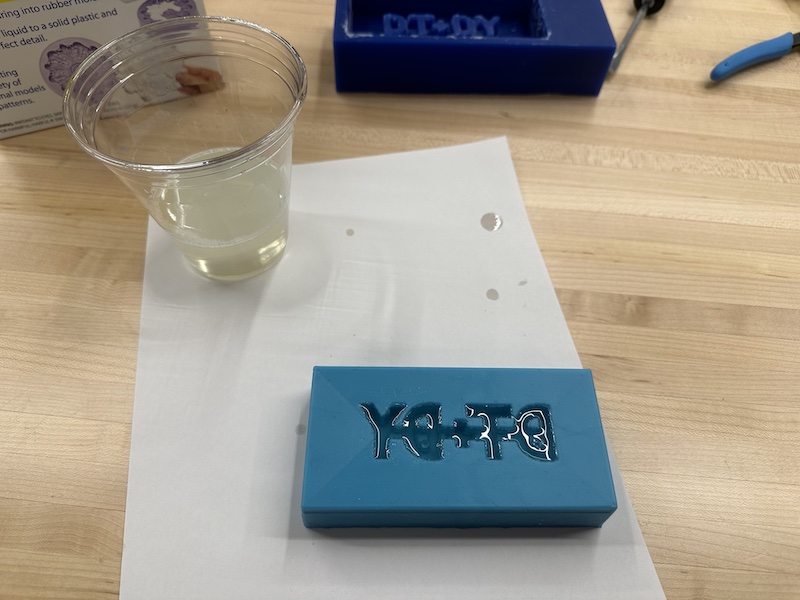
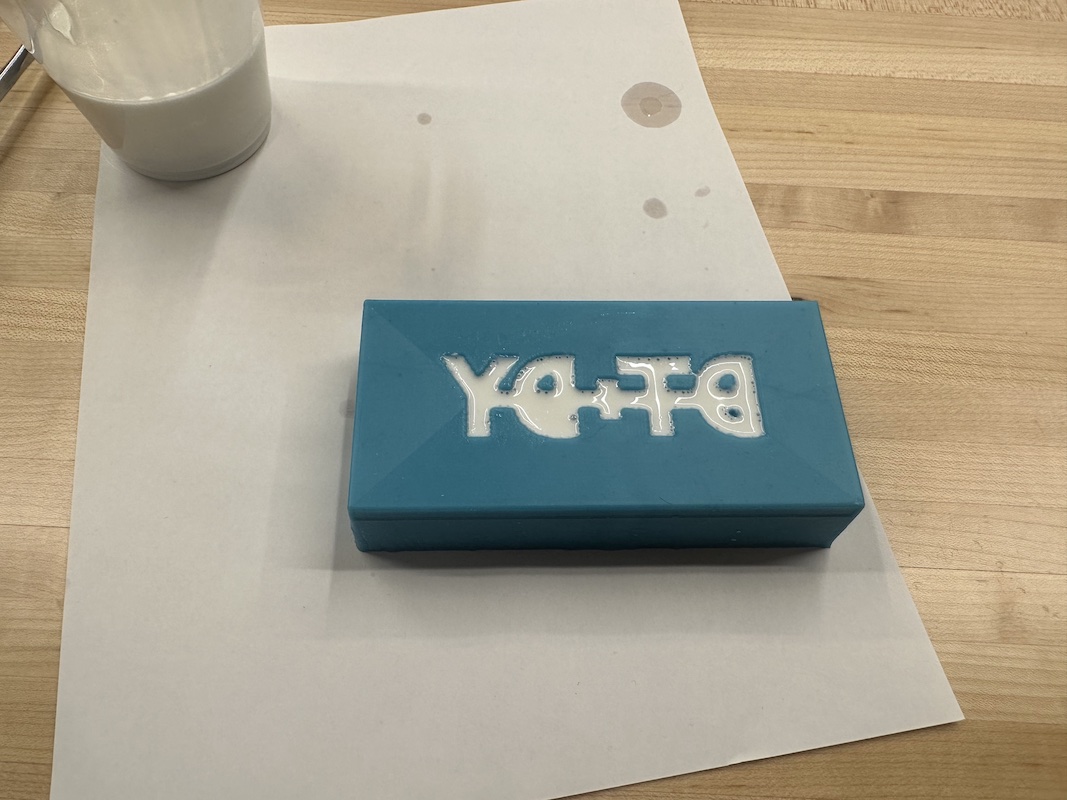
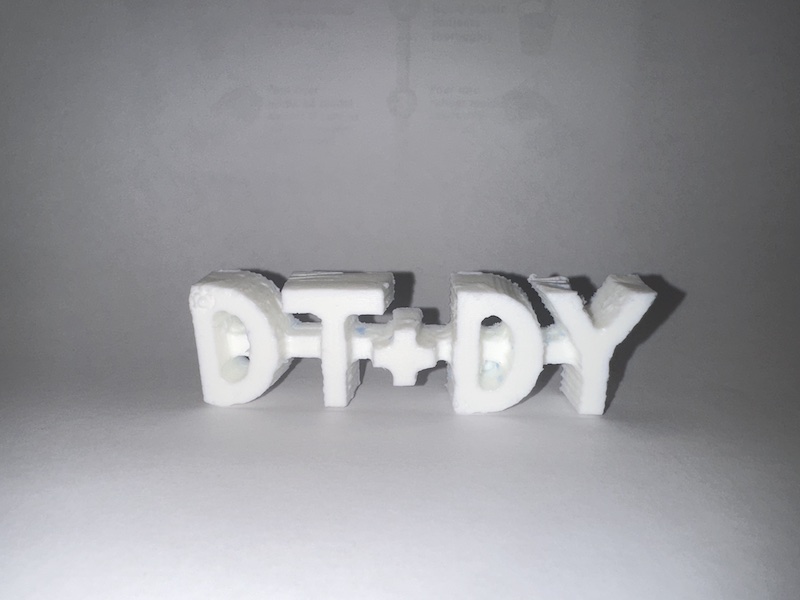
Casting
Using Smooth-Cast 305, I mixed equal parts of part A and Part B together. I did this quickly to avoid the cast from curing prematurely. I then poured it into the mold, making sure to hold a steady pour in the same spot. I then waited 30 minutes for the cure time. When I took the cast out of the mold, it was still flexible but it was solid. I left it to lay flat on the table for about 20 more minutes, and after that it was much more rigid. Voila! A table trinket!