Moulding and casting
Week Assignment summary
For this week 12,In this week, I designed a mold cavity. Able to machine it with SRM 20 and I have gone through different materials for mold-making.
Here i have documented all of my works including group assignement, modelling, milling, molding & casting etc.
Objective Of the Week
For the group assignment, we need to go through different materials along with their data sheet, safety precaution, and many other specifications in order to select and use appropriate materials for mold making without harm.
For the Individual Assignment, I designed and machined a mold to learn and understand molding and casting manufacturing procedures.
What is molding and Casting Manufacturing Proess.
Casting will typically involve metal, while molding focuses on plastics. In both cases, the melted material goes into a die or mold to create the final form. However, some other key differences in the process will change the final product. In molding, the material is injected into a form typically made of metal.
Advantages of Moulding and casting MP.
Molding and casting offer several advantages such as the ability to replicate complex shapes accurately, produce large quantities of identical parts, and use a variety of materials including metals, plastics, and rubber. They also allow for the creation of intricate details and can be cost-effective for small-scale production runs.
Group Assignment
1) Study of Different materials for molding and casting
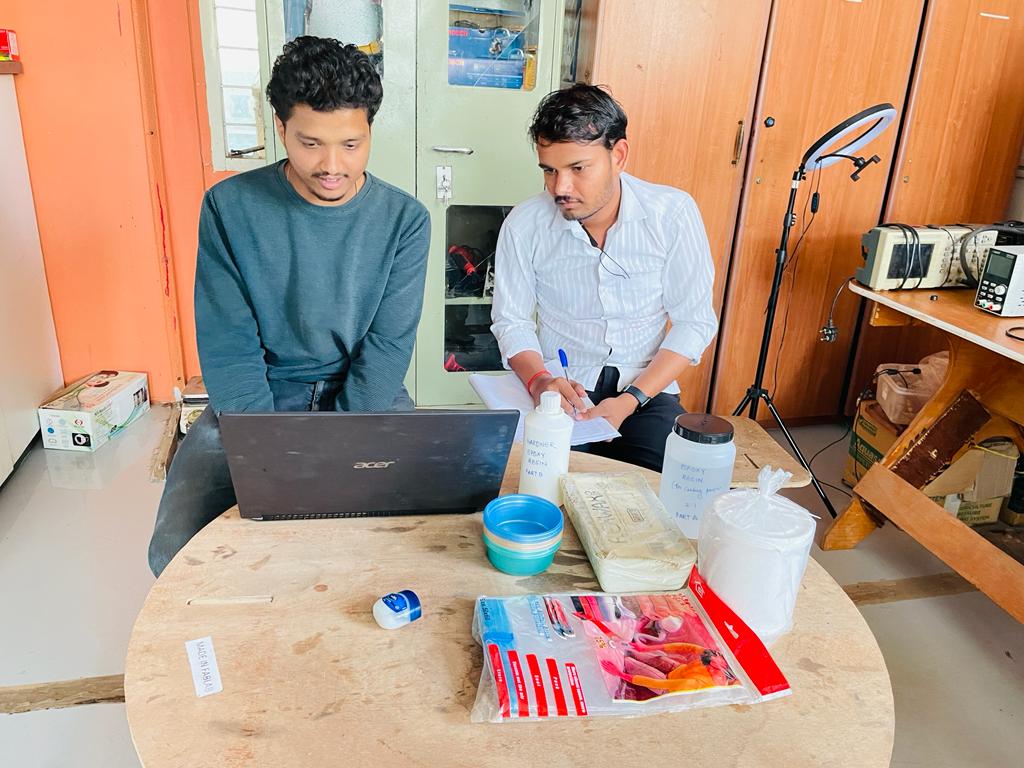
We have a variety of materials at our Fab lab Vigyan ashram, we have gone through almost all the materials available and studied their datasheet to understand their mixing concentration, curing time etc.
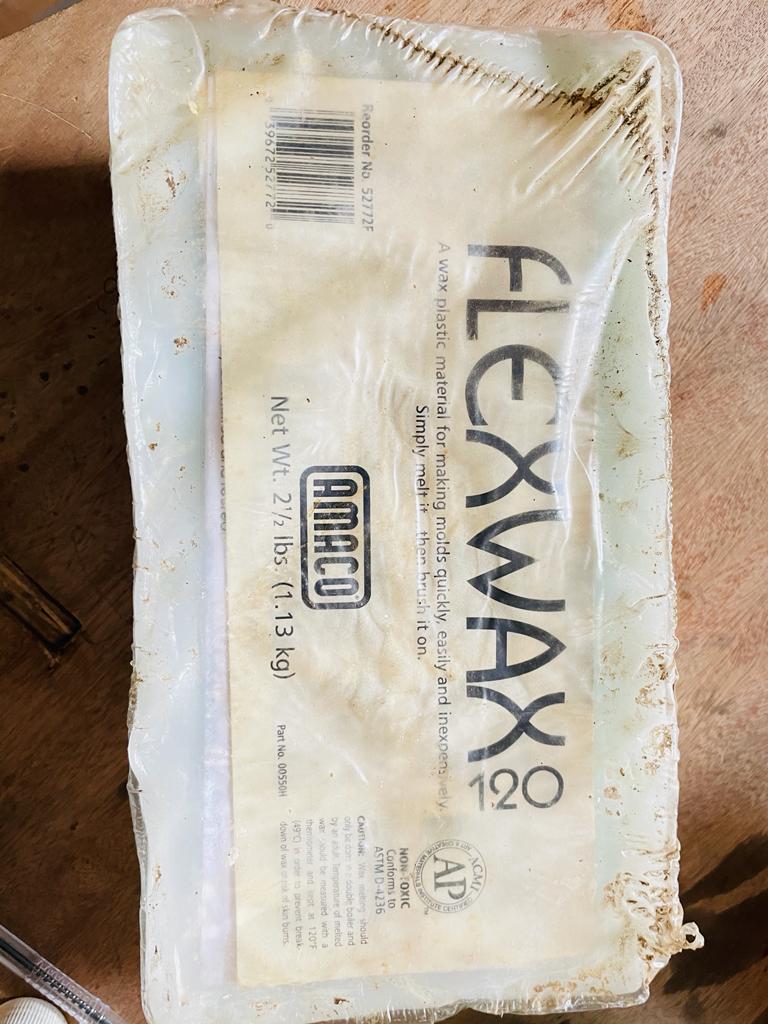

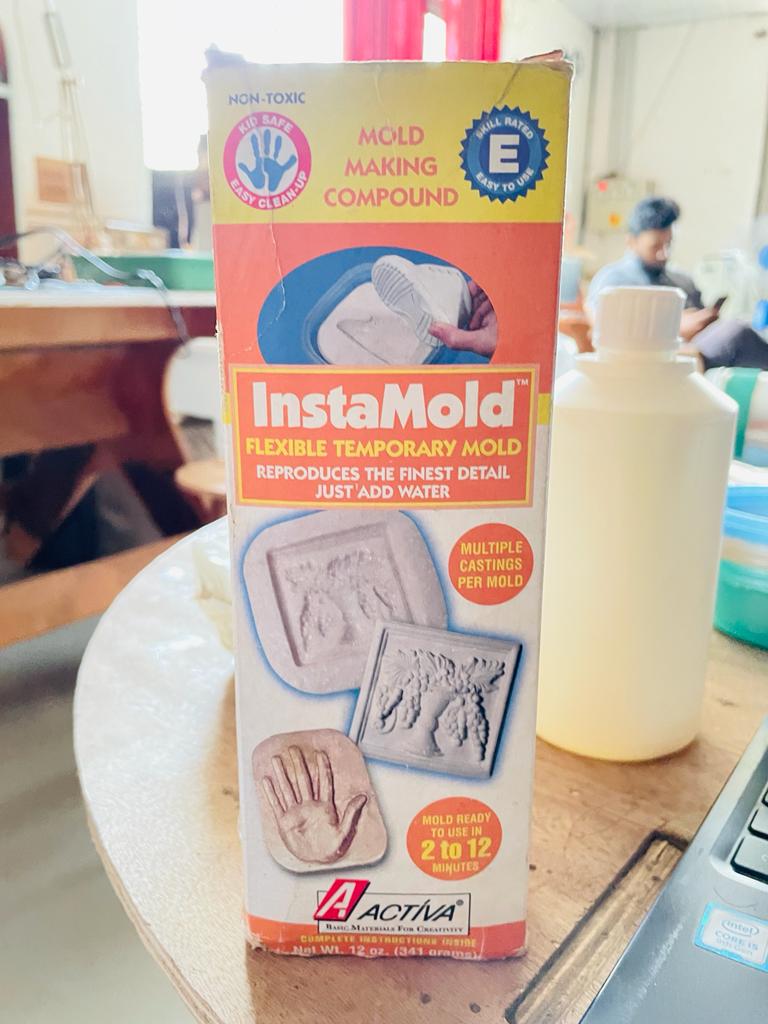
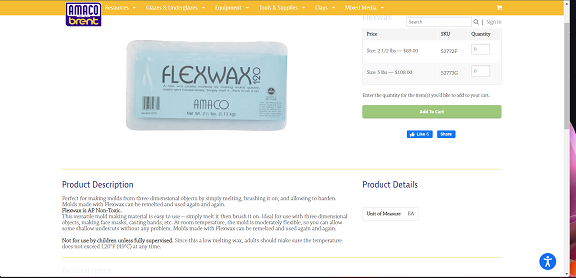
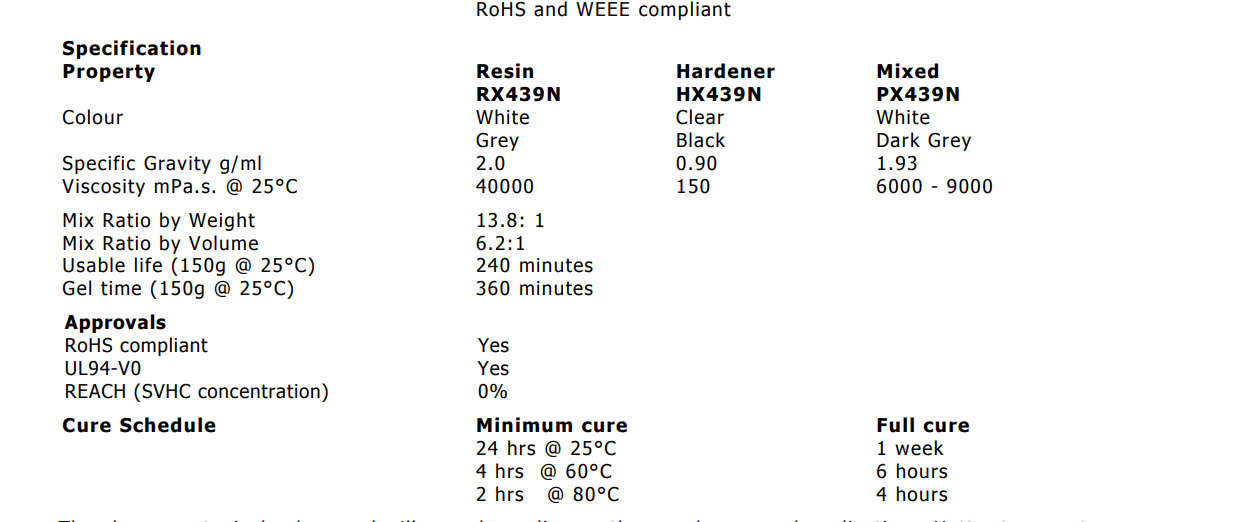
Studied data sheet and safety information for Low temp vax, Epoxy resin, silicon rubber, and any other materials.
Datasheet of low tempreture wax material.
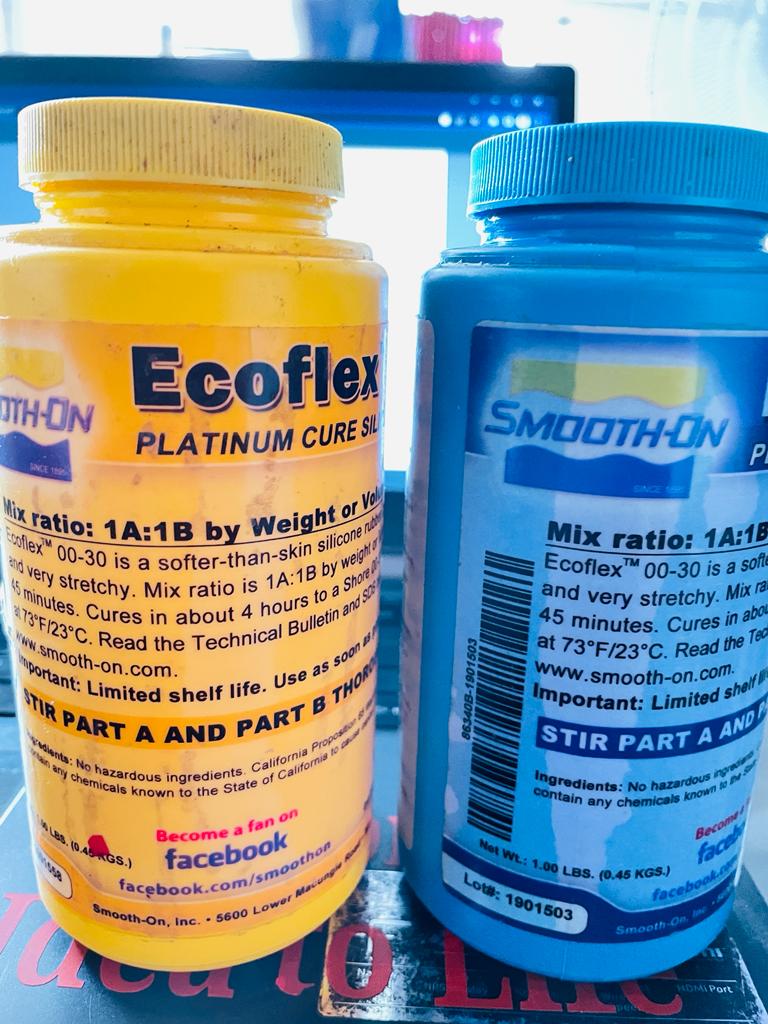
Data sheet of Smoothon epoxy resin material with mixing ration of 1:1
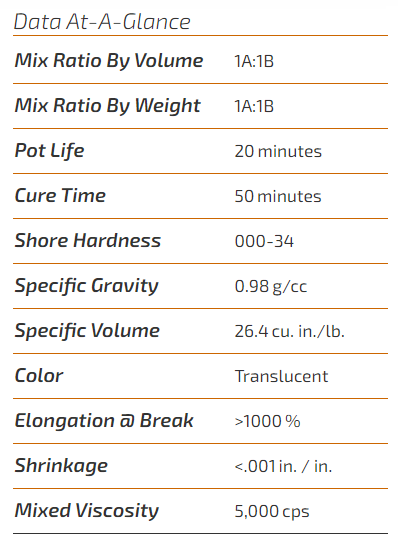
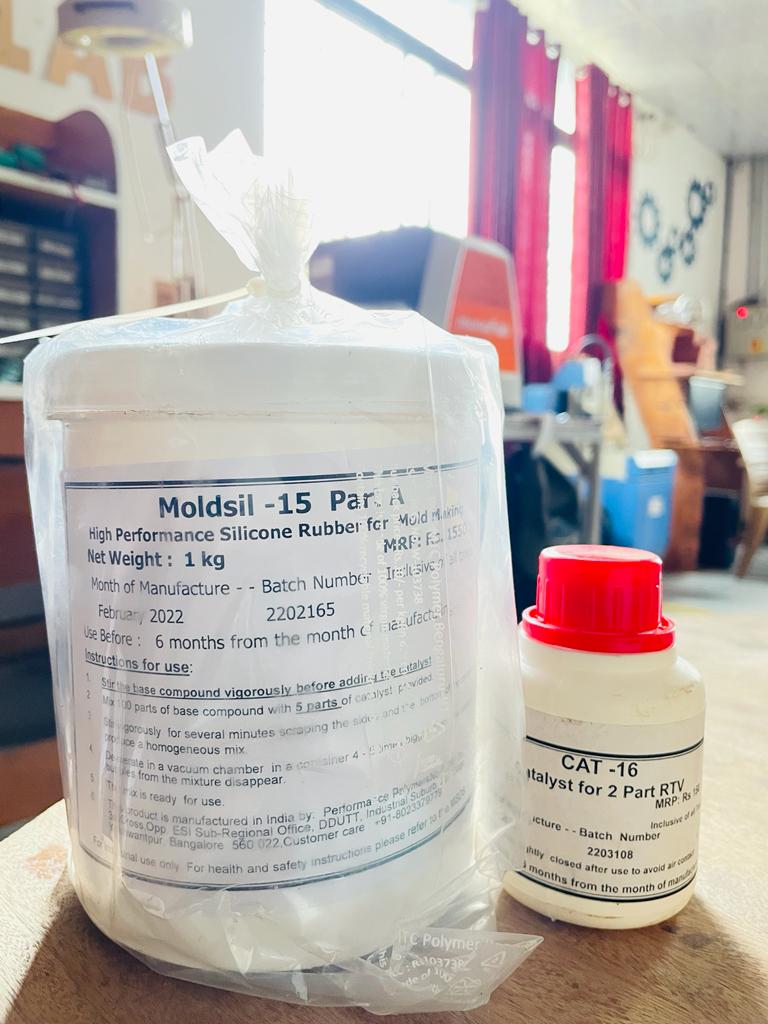
Data sheet of epoxy resin with mixing ratio of 2:1
2) Tested Curing time of Materials.
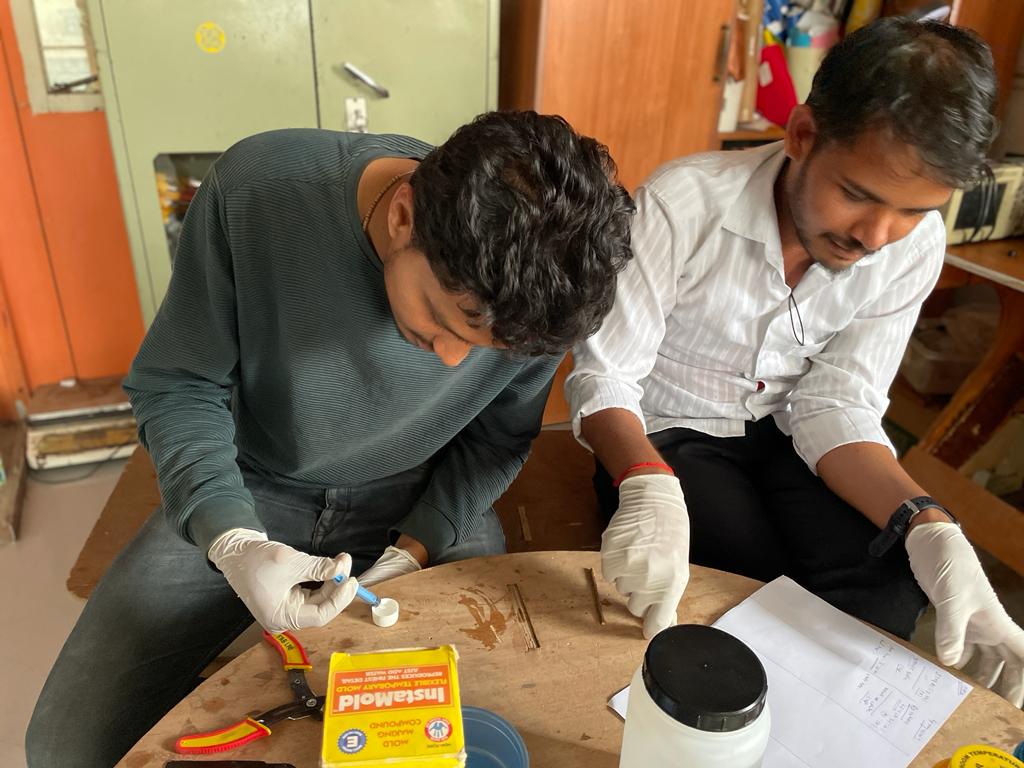
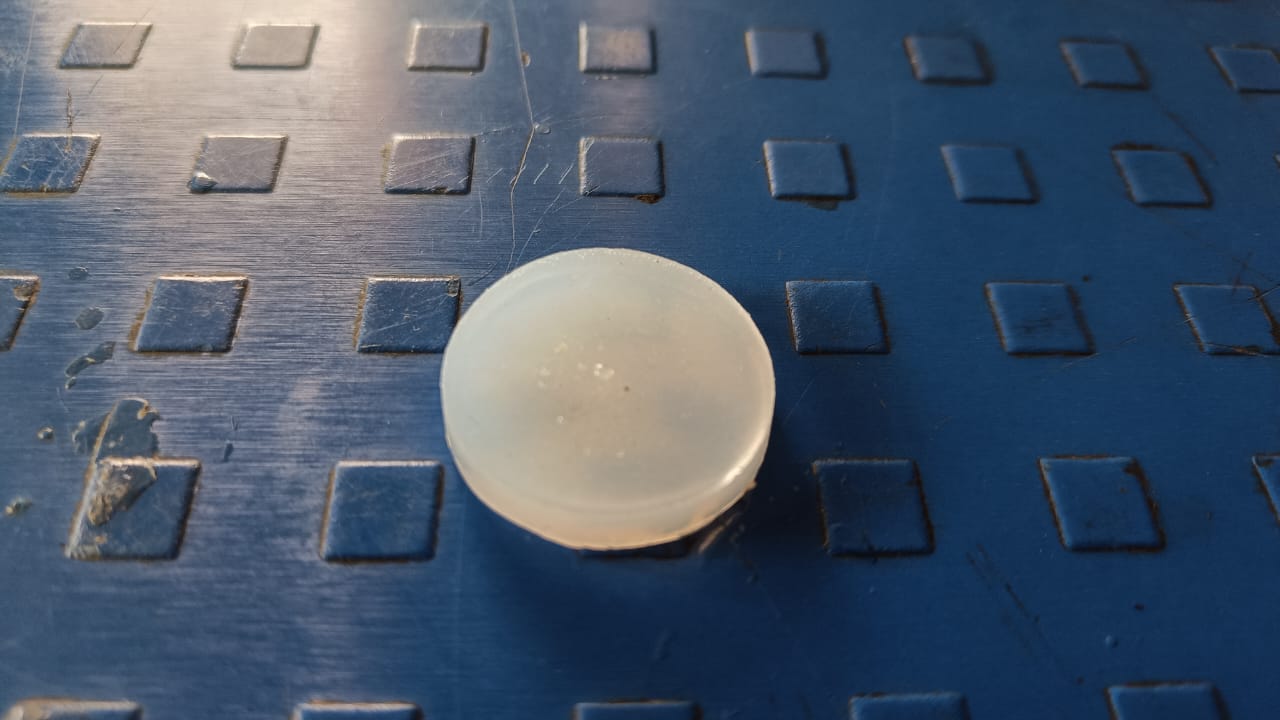
By maintaining all the safety instructions and by understanding the mixing concentration of each material we pour it to the bottle caps of different shapes and calculated the curing time of each material.

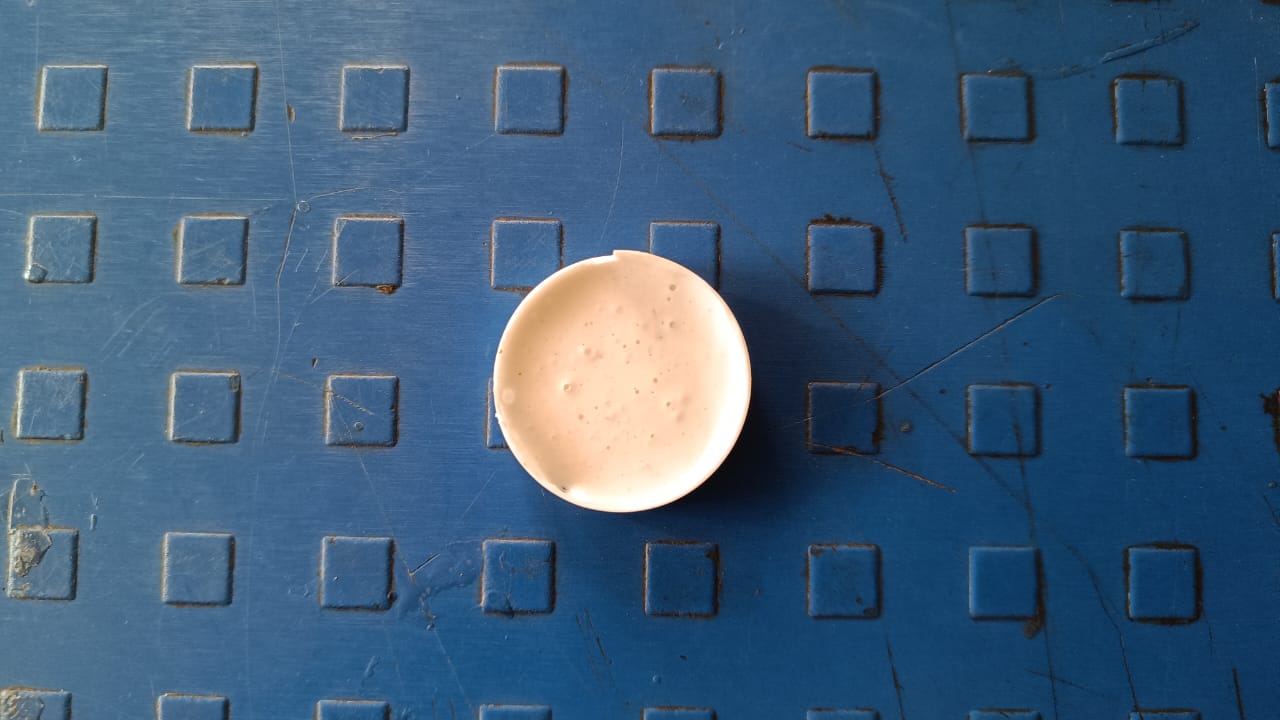
We got final ouput of testing mold without any bubble formation issues and noted down curing time of material at different temperatures.
After mixing we did inserted it into caps of unused bottle with different sizes.
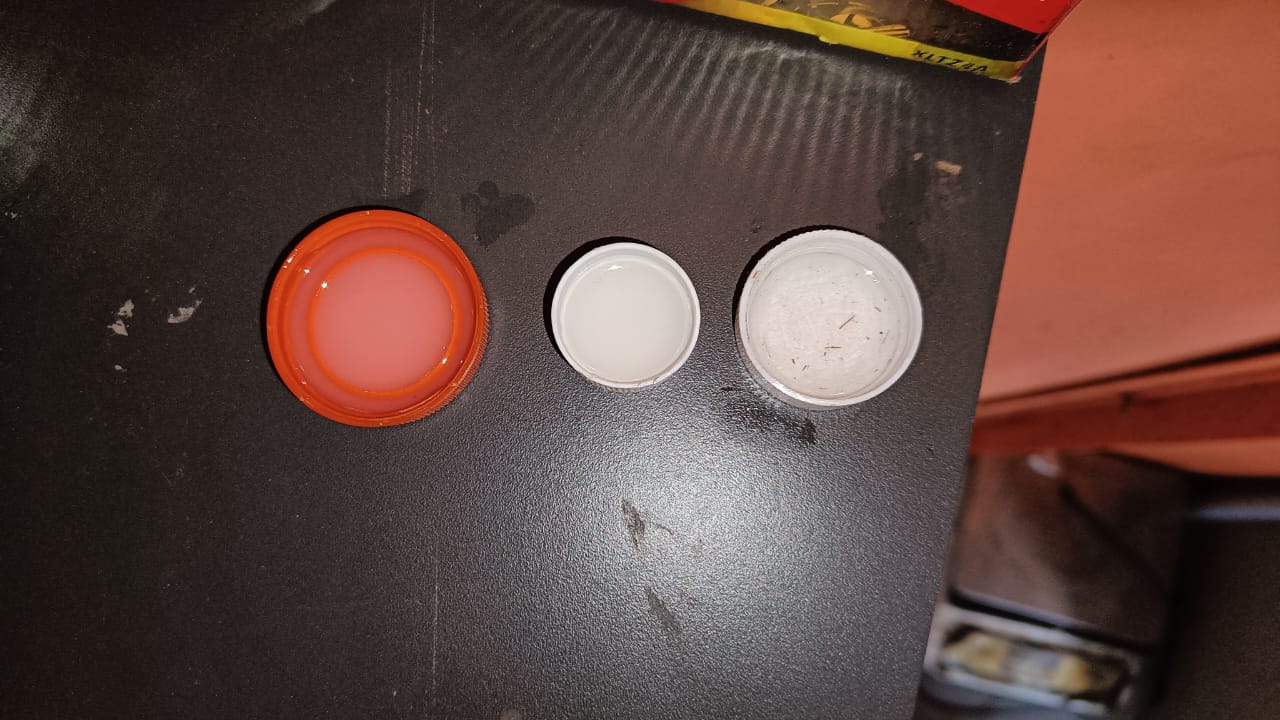
Results after Curing.
3) Recycle and reuse Machinable Epoxy resin.
We had lots of blocks of used machinable epoxy resin at our lab, so decided to reuse those.
Initially we broken those used block into small parts.

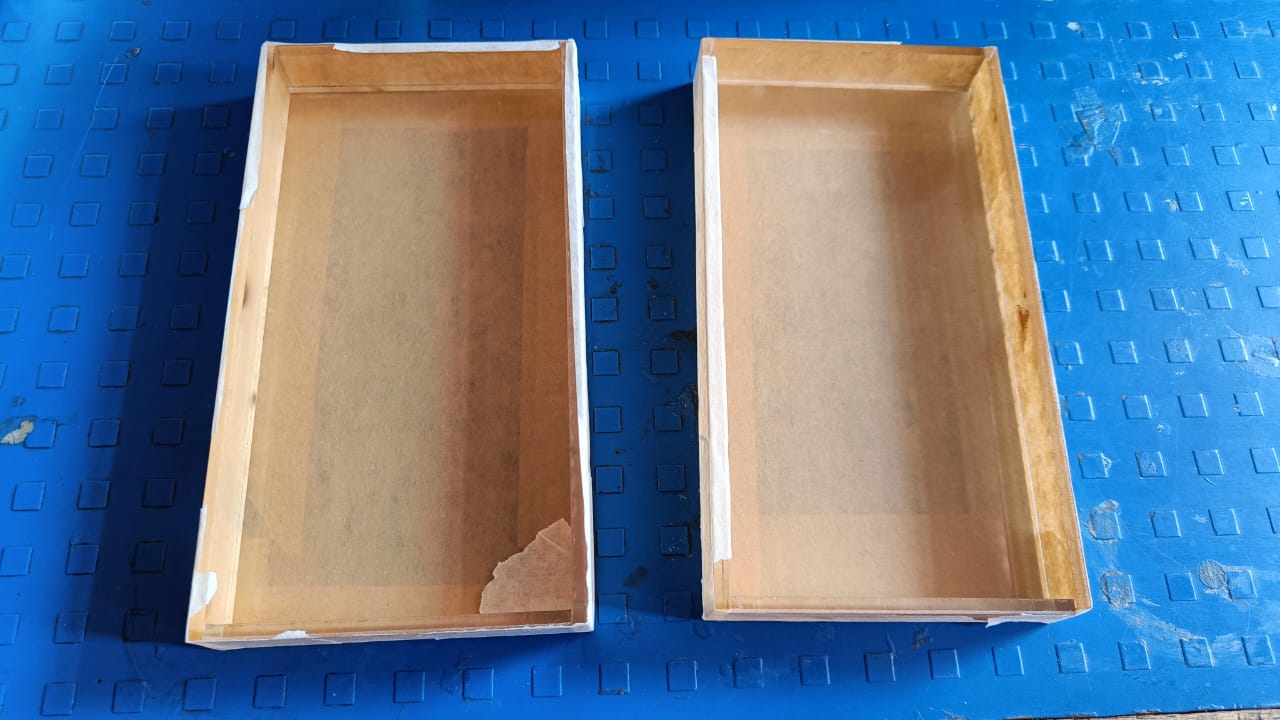
Meanwhile fabricated molds of rectangular shape using laser cutting as per our requirement.
Melted those small parts of epoxy at 250 degree and poured it into the molds.
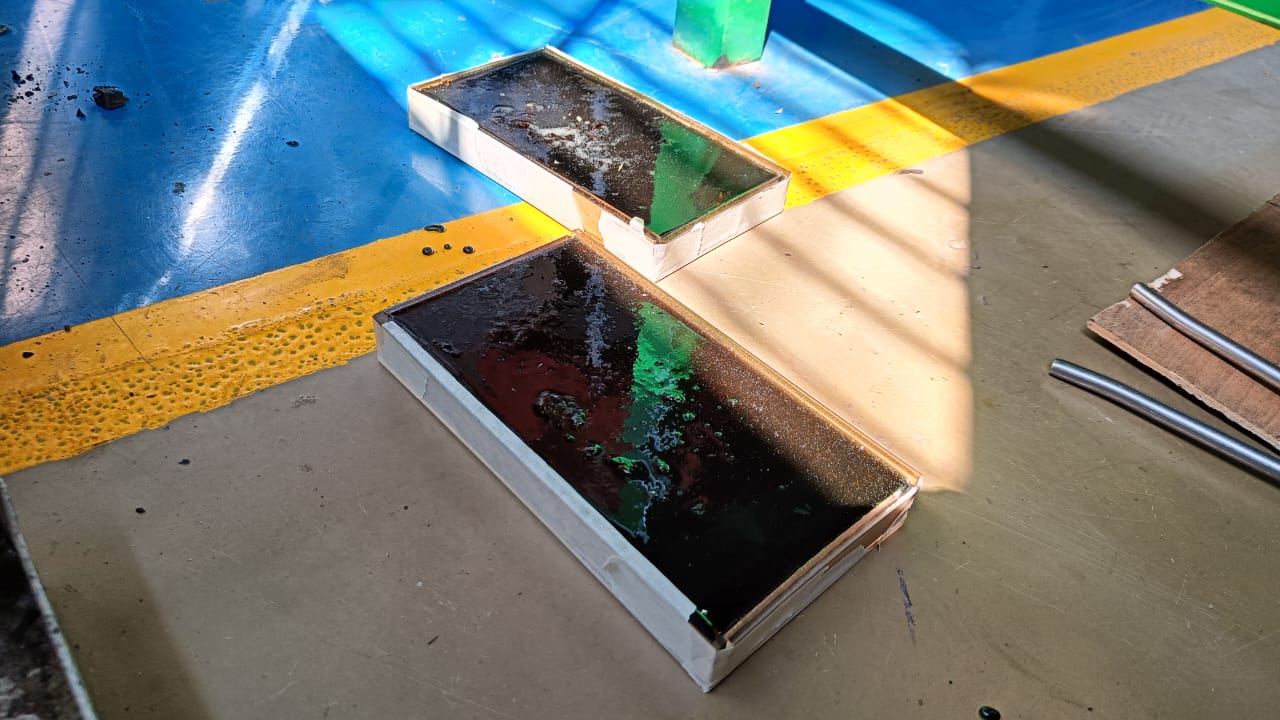
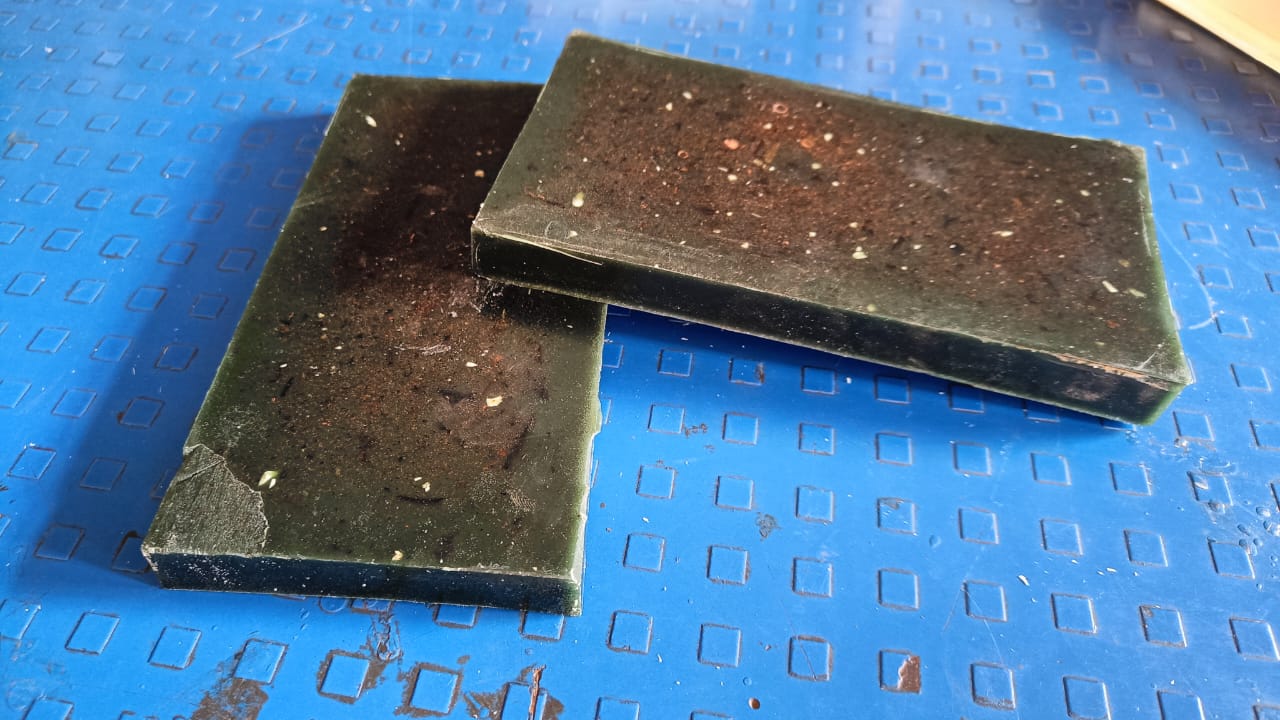
After colling it removed those blocks from the mold.
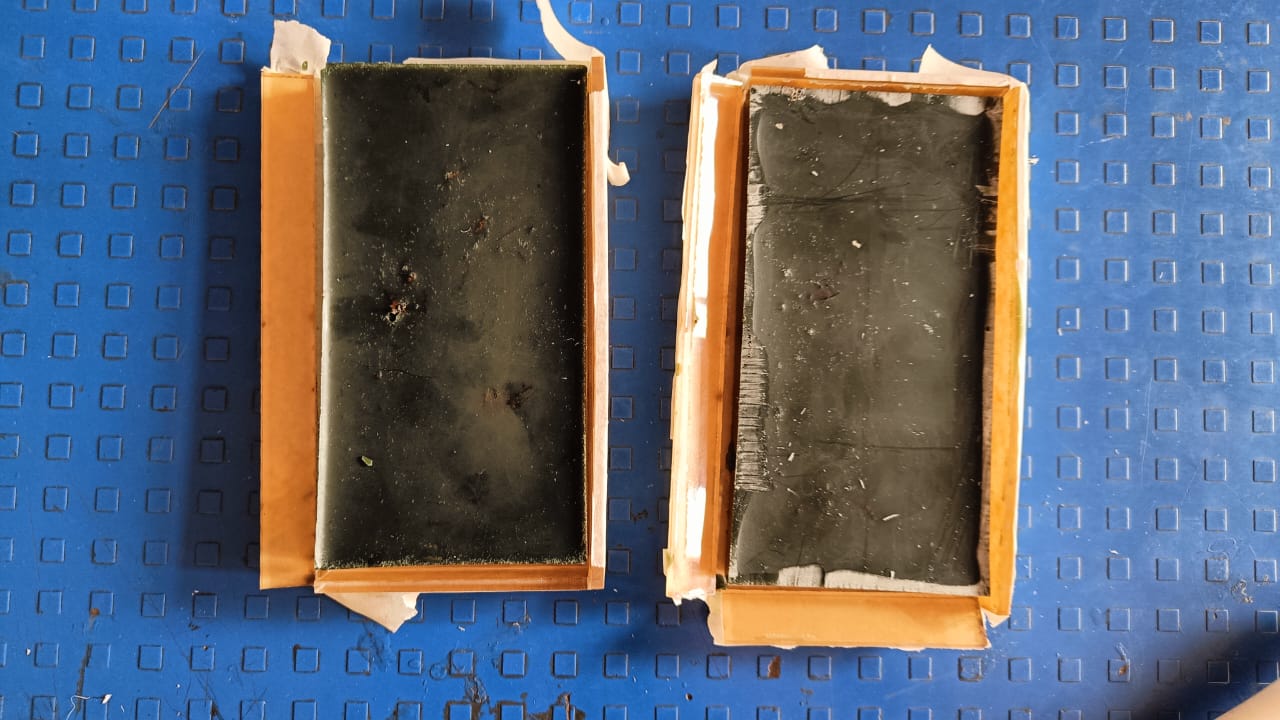
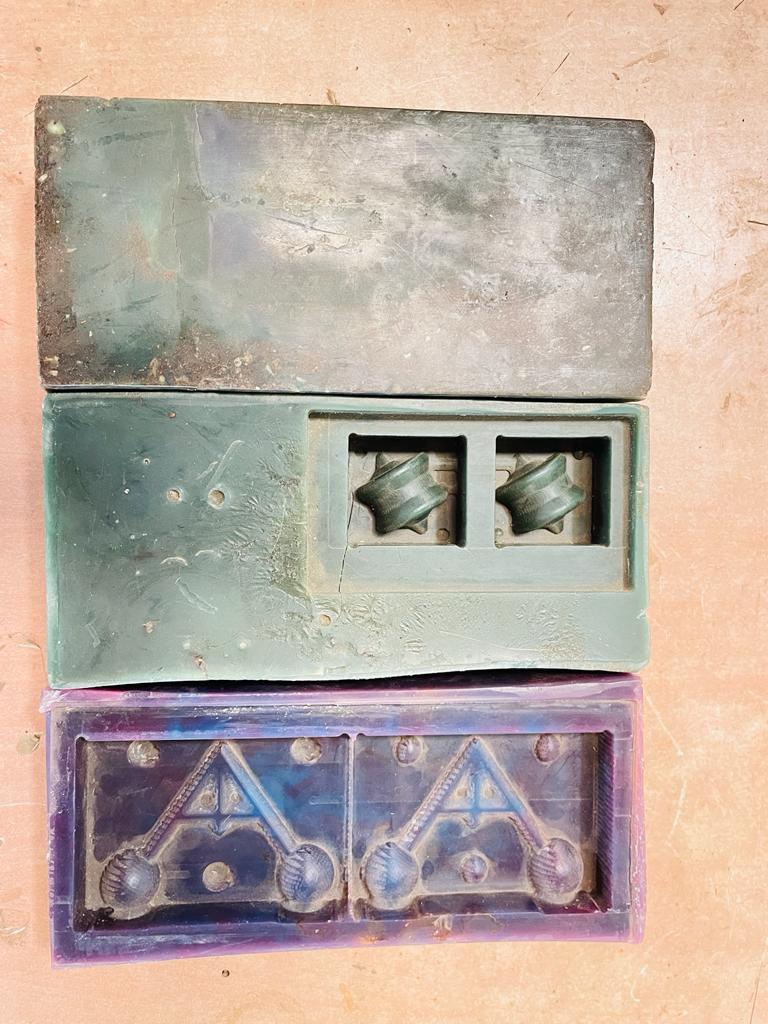
And these are the final results. We used these block for making positive mold in our SRM 20 milling machine.
Individual Assignment
Positive Mold Design
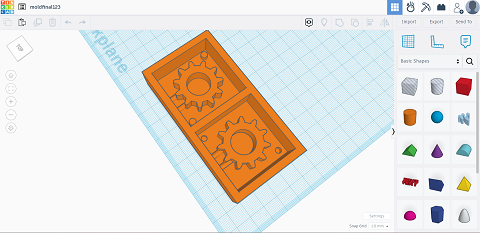
For Positive Mold design i have used Tinkercad modelling software, as i have heard for mold deisgn Tinkercad is very easy to use.
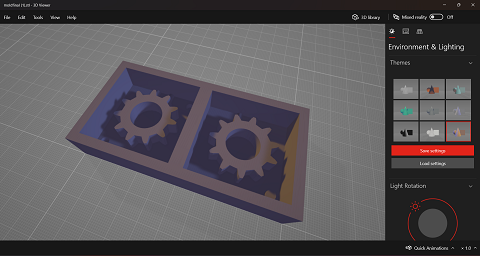
I have also tried a negative mold using Fusion 360, and will fabricate this using 3D Printer to generate a comparative statement of mold making process through 3D printing and traditional manufacturing process.
Decided to prepare a mold cavity for donut shape. Downloaded a .f3d file of donut from internet and used it as referance.
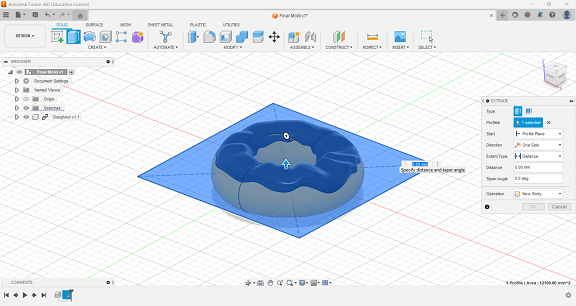
Then by using few basic commands of fusion 360 desig a sided mold cavity.
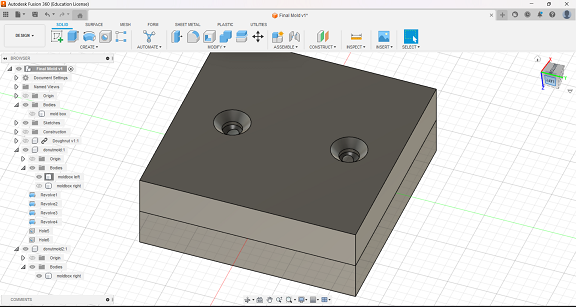
Bottom Side of mold.
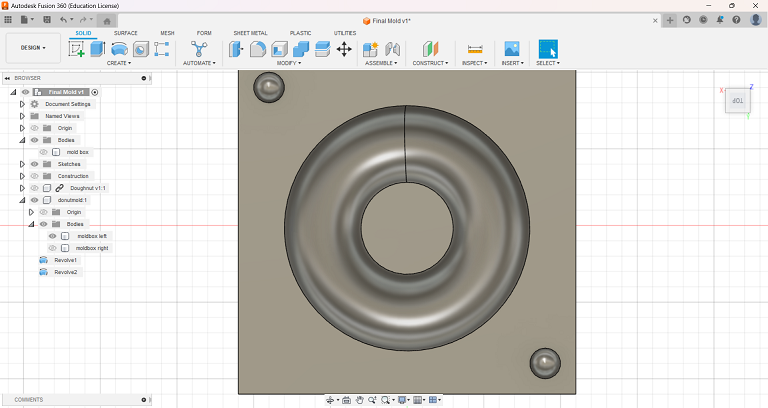
top side of a mold.

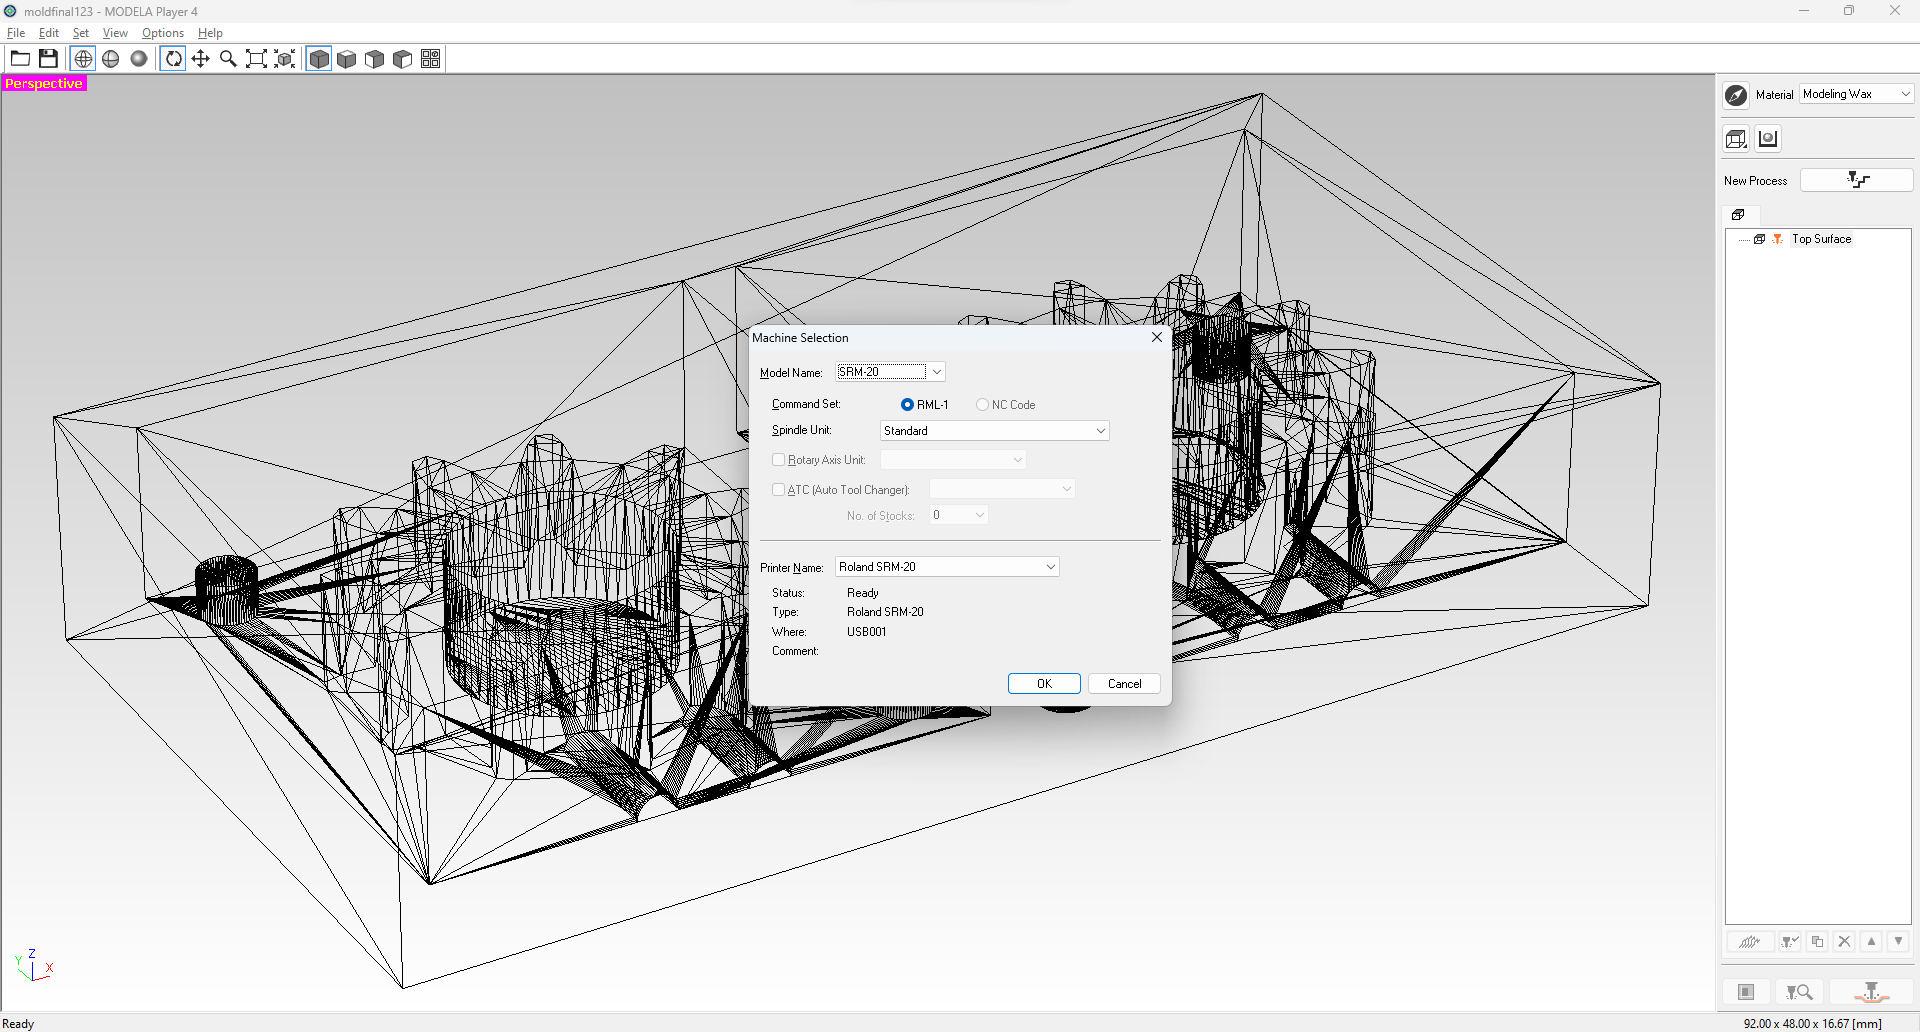
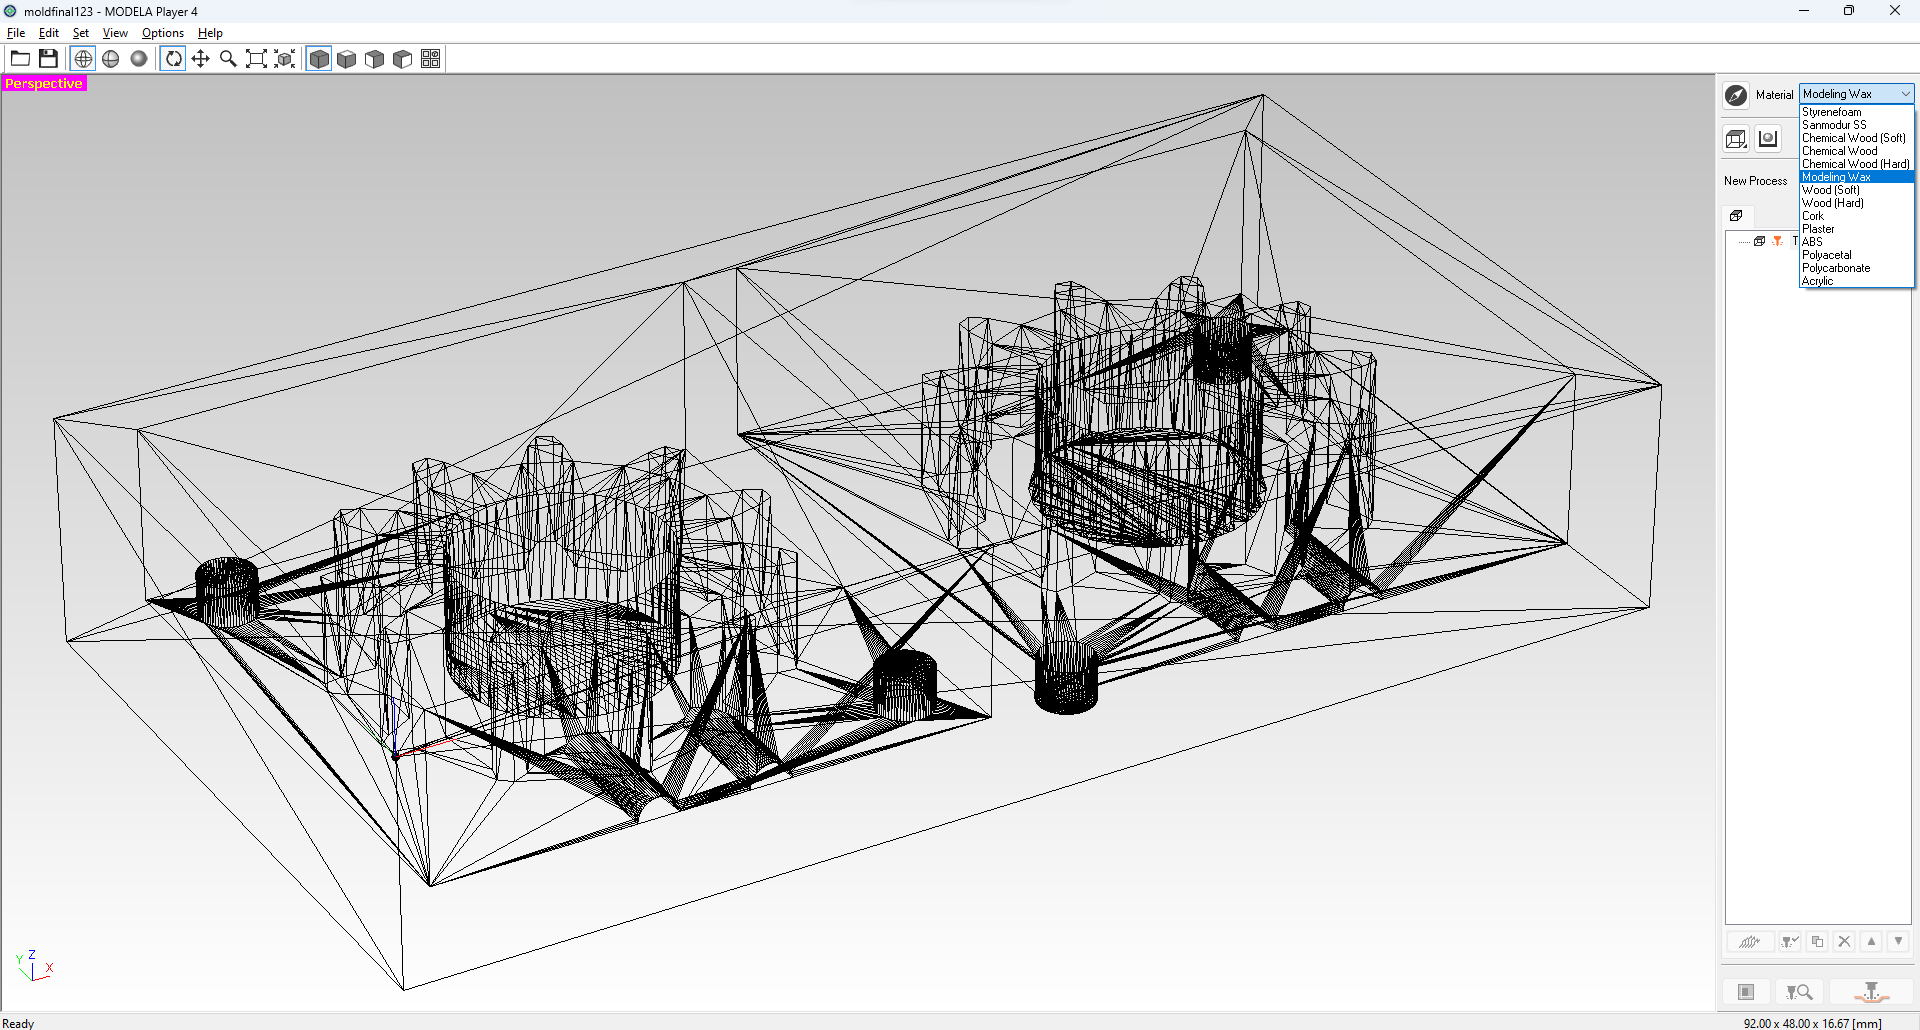
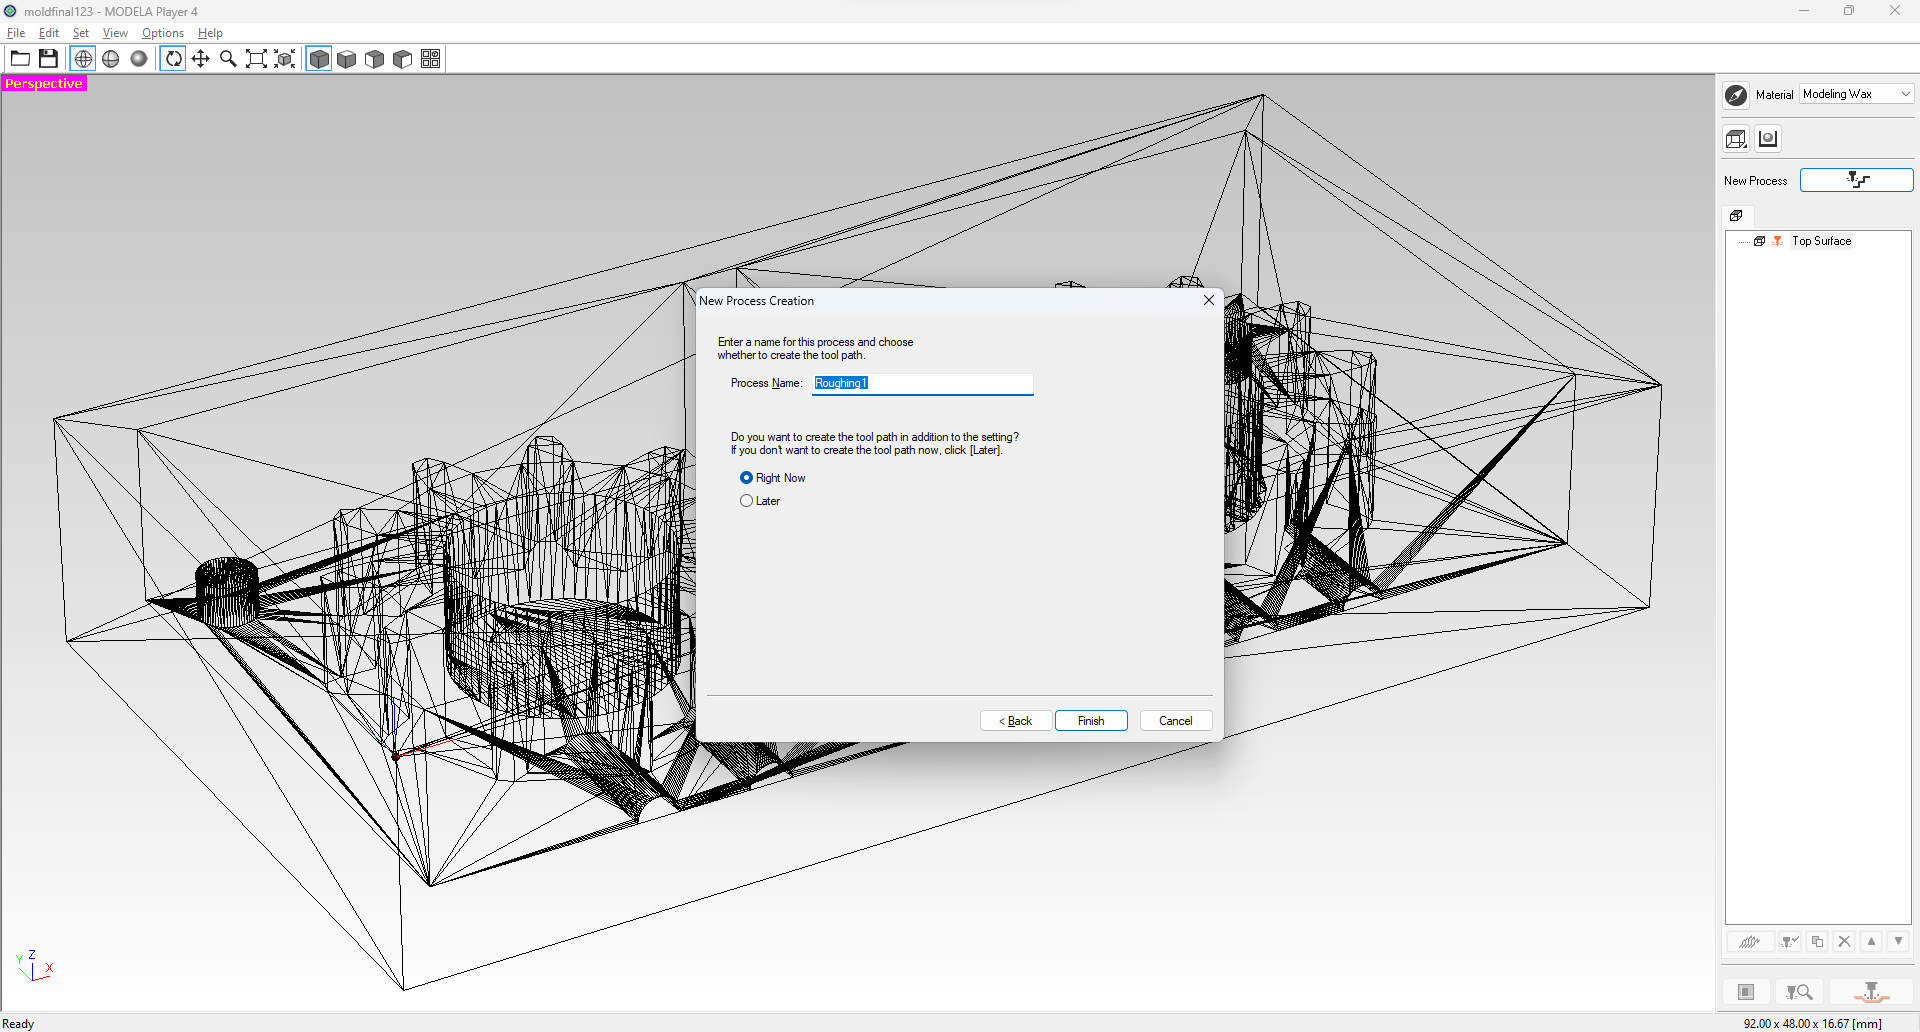
After completing all the design work, i have generated tool path for milling, and for that i have used Modela player 4 cam software by roland.
Selected a machine inside Modela Player cam software. i.e SRM20 by roland
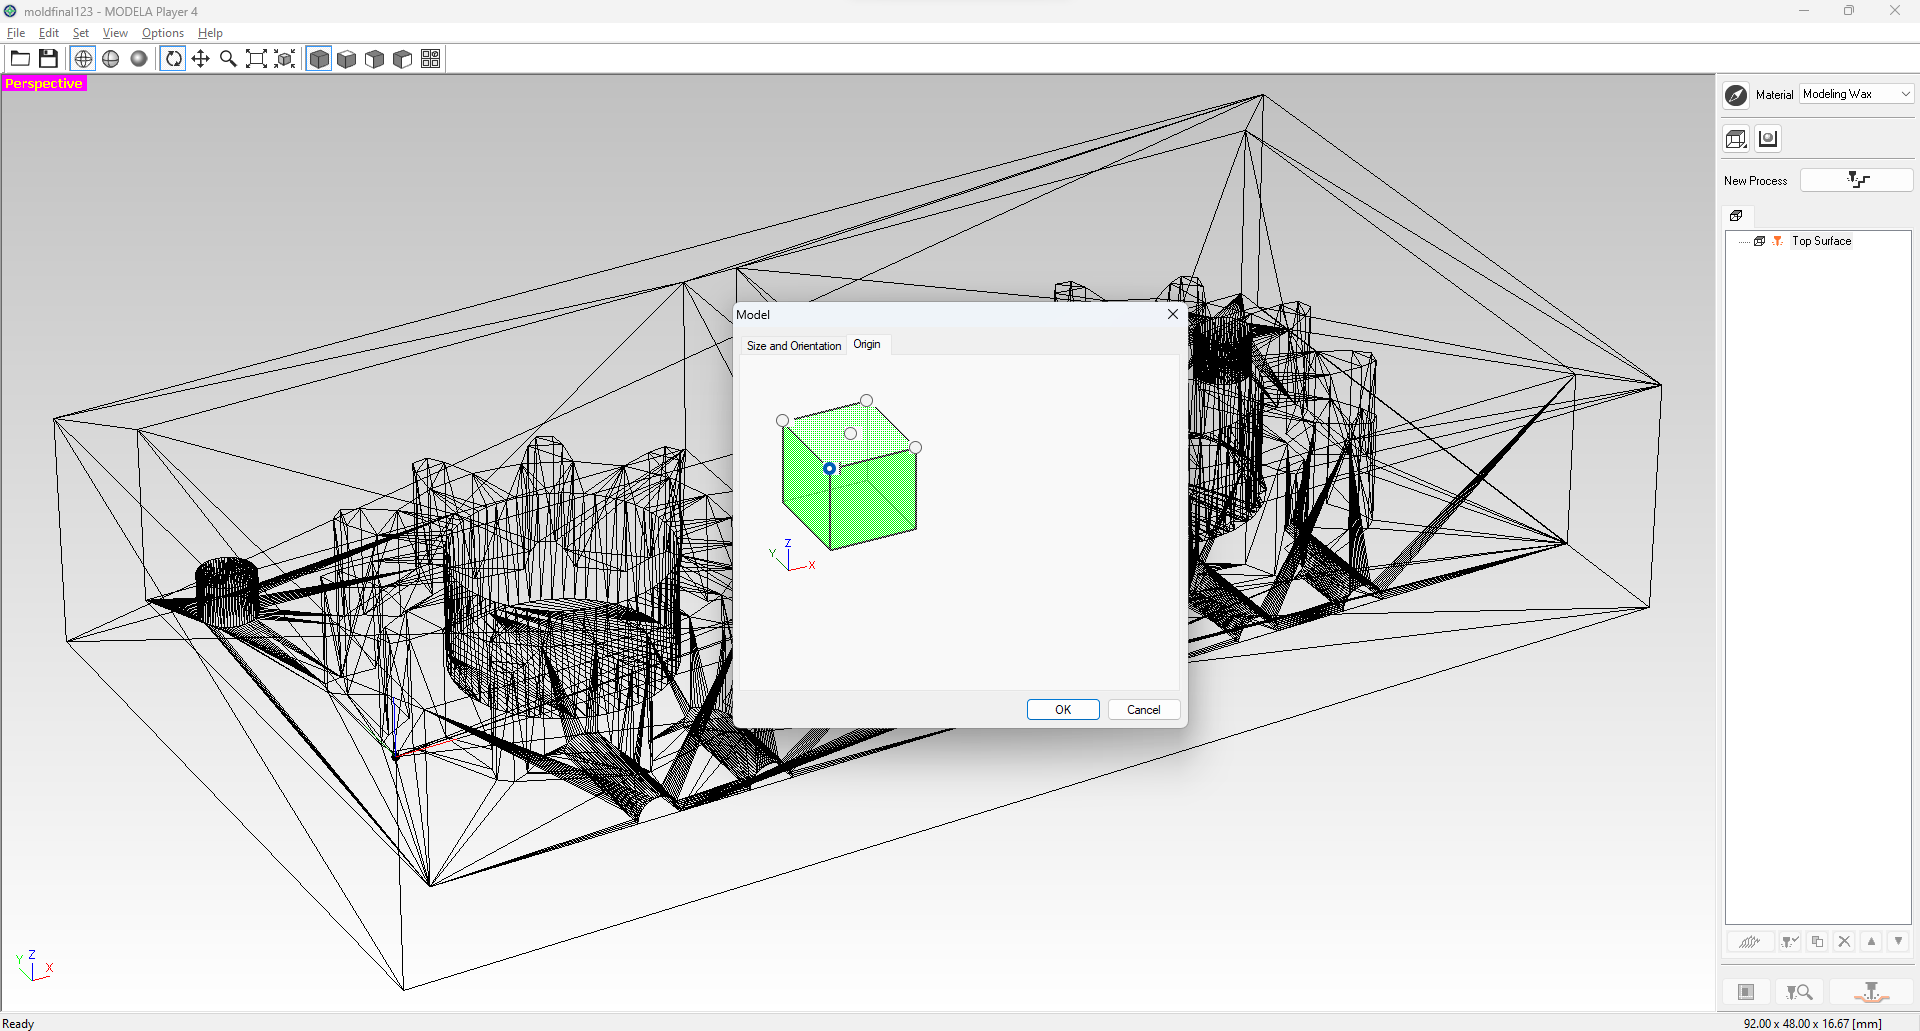
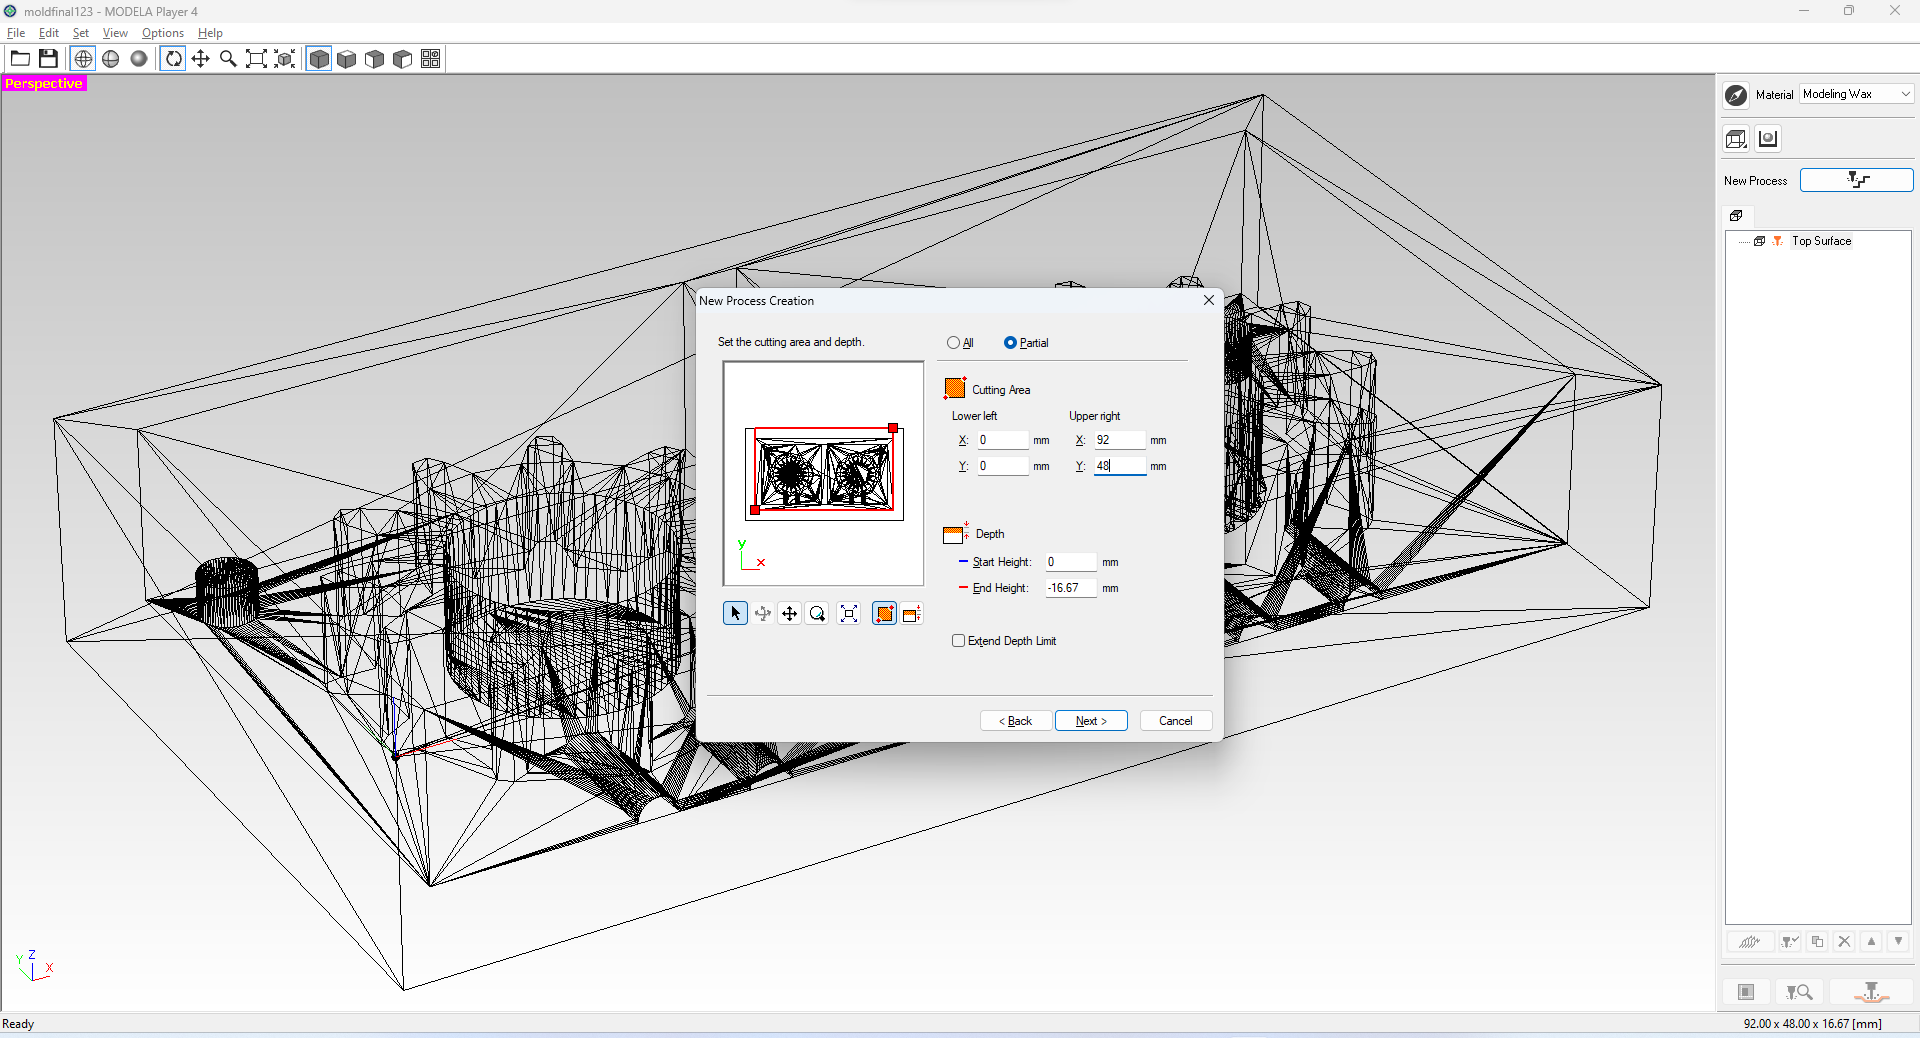
Did selected origin to left-front side
Selected appropriate material
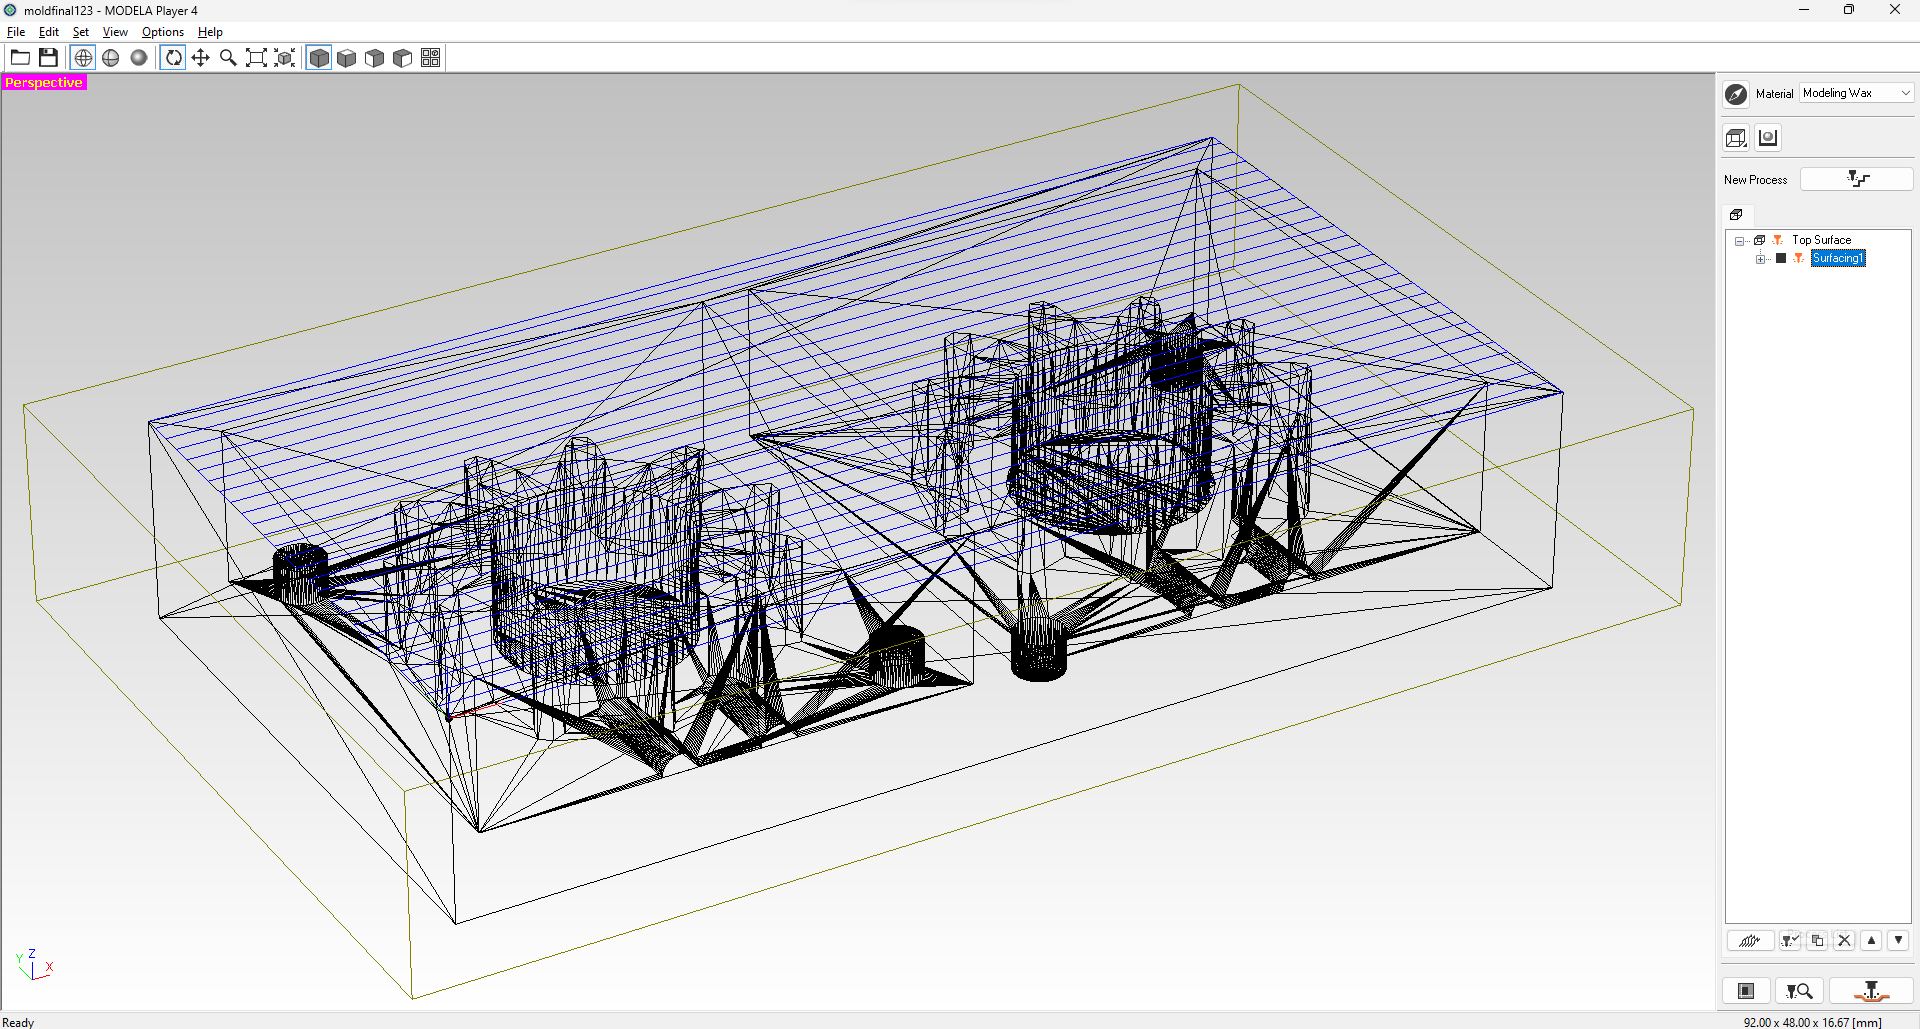
Then selected require process inside software

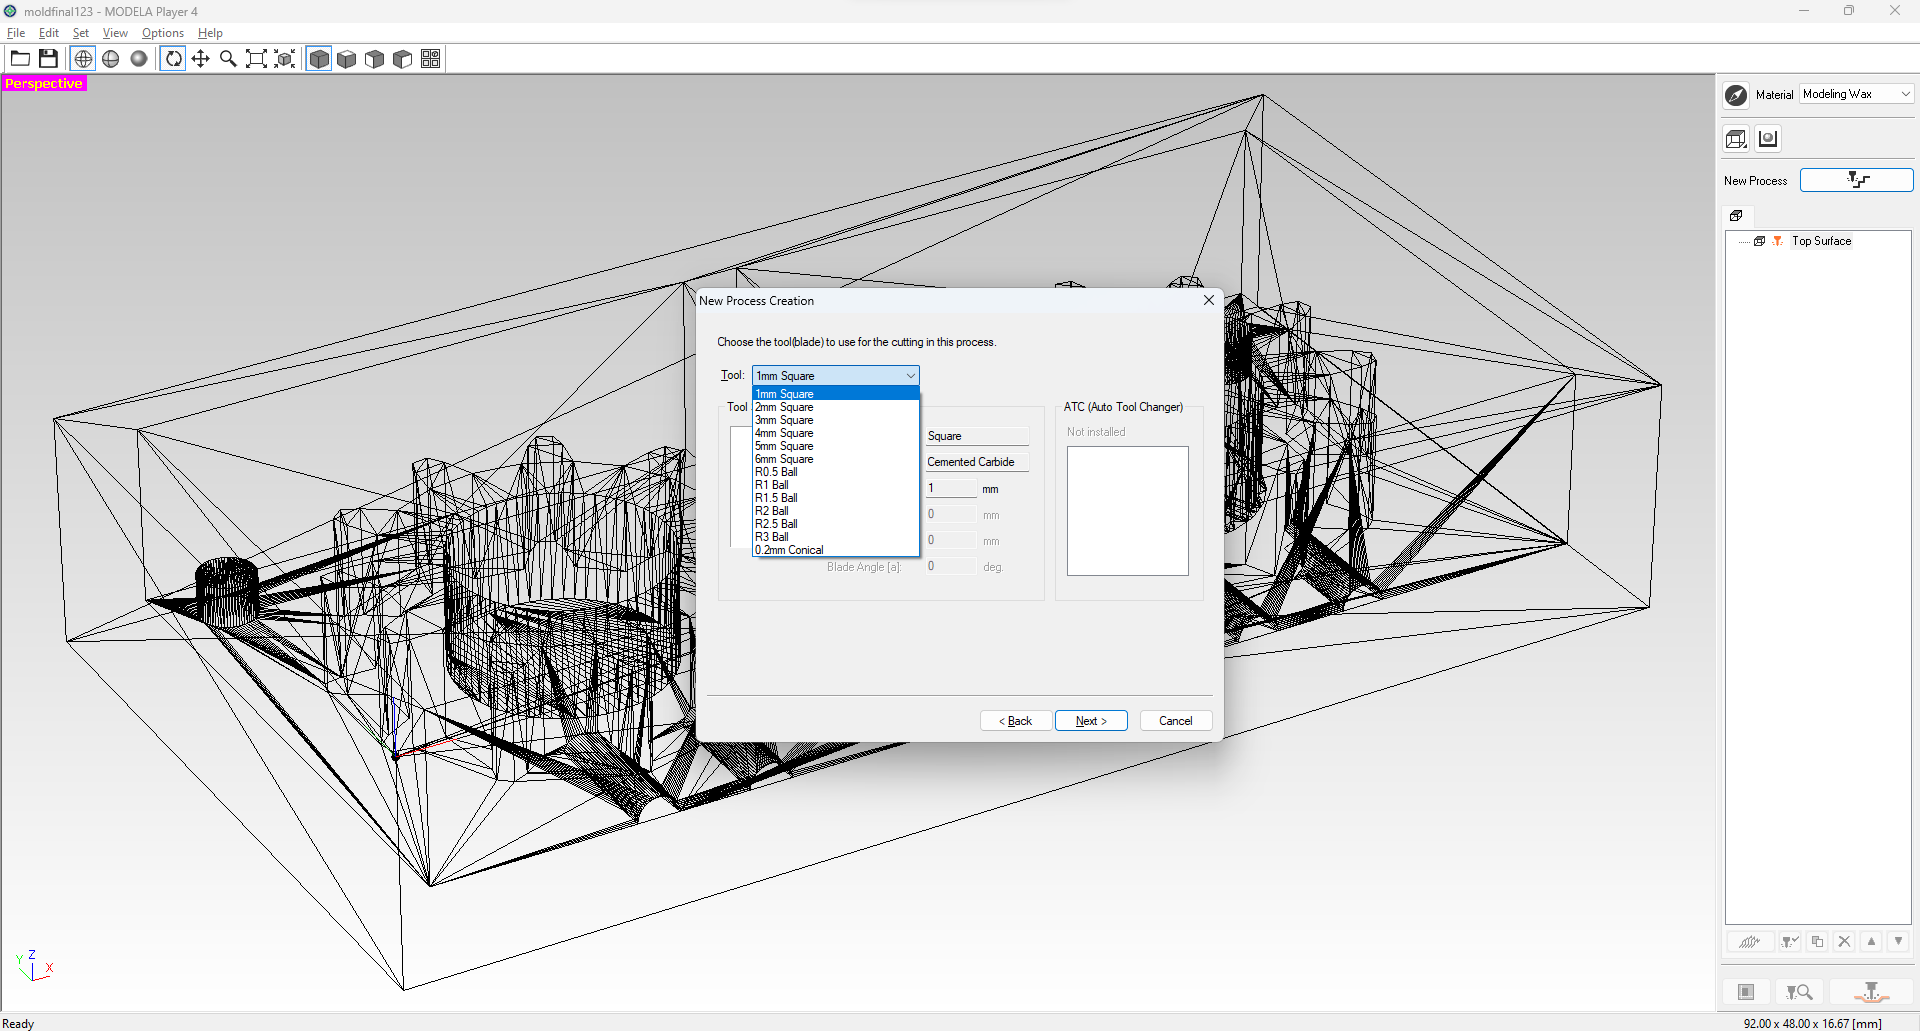
selected multiple tools for different operations
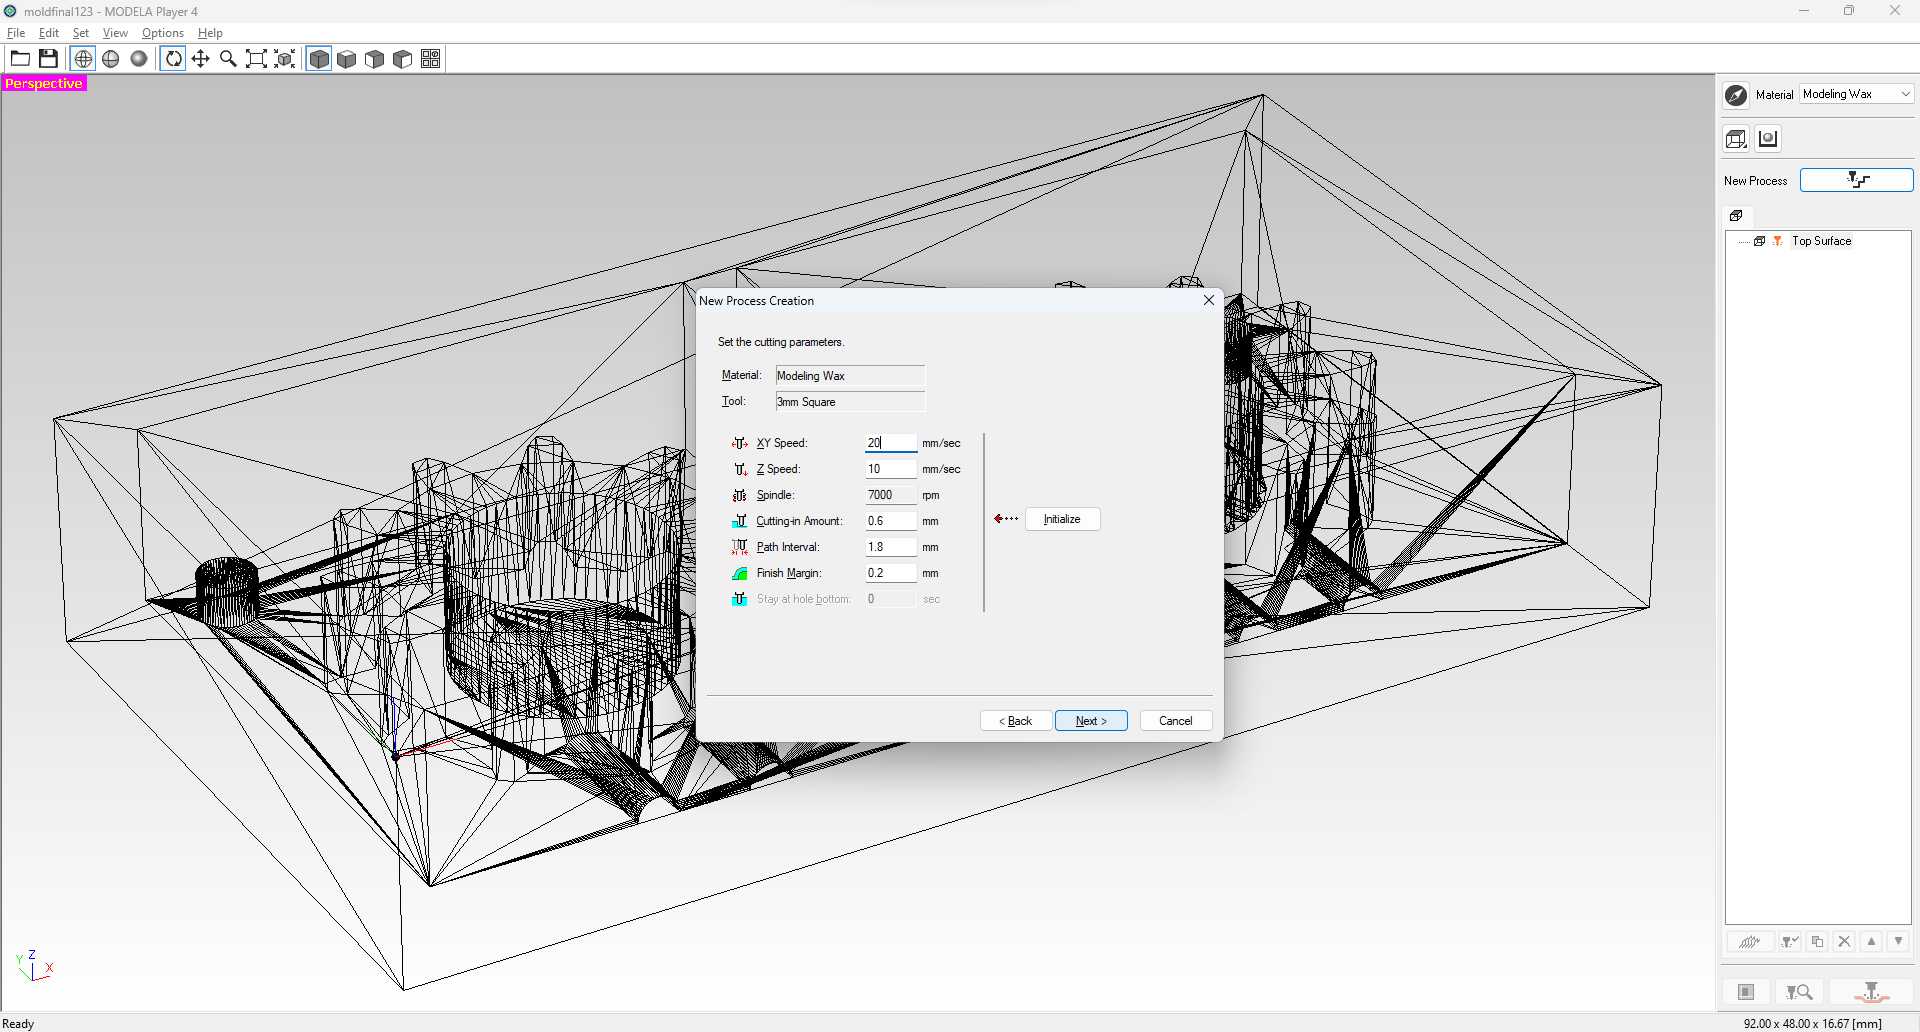
Machine RPM and feed can be modified from here.
Generated file can used used at same time or we can download it as ouput and used through V Panel.
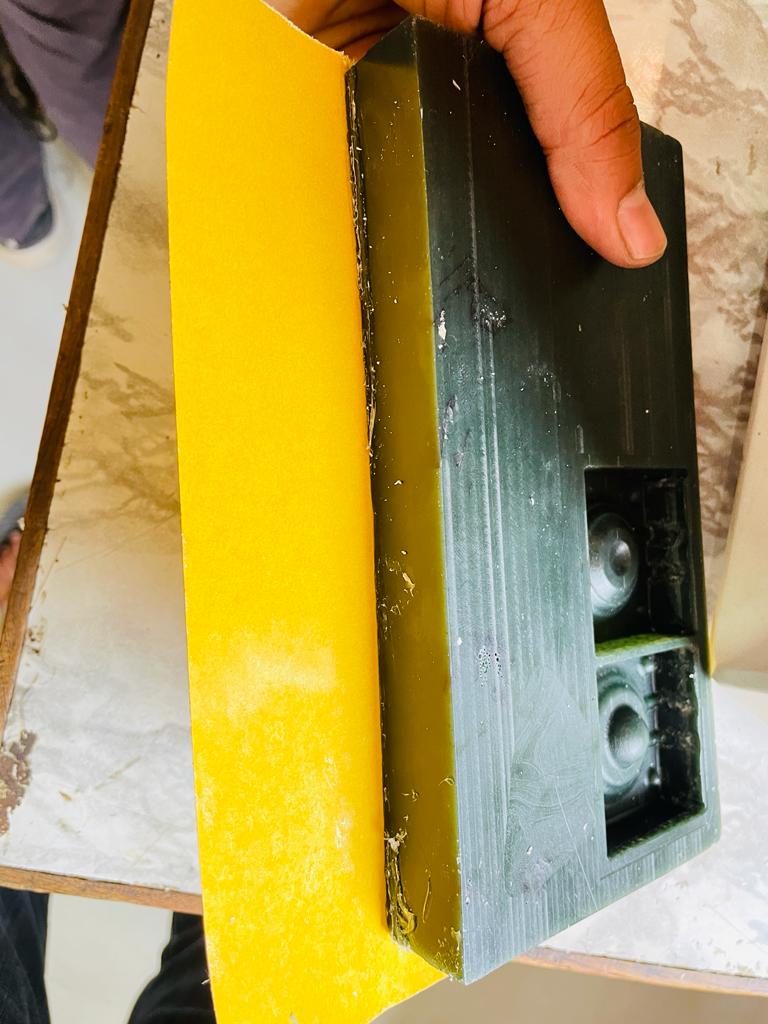
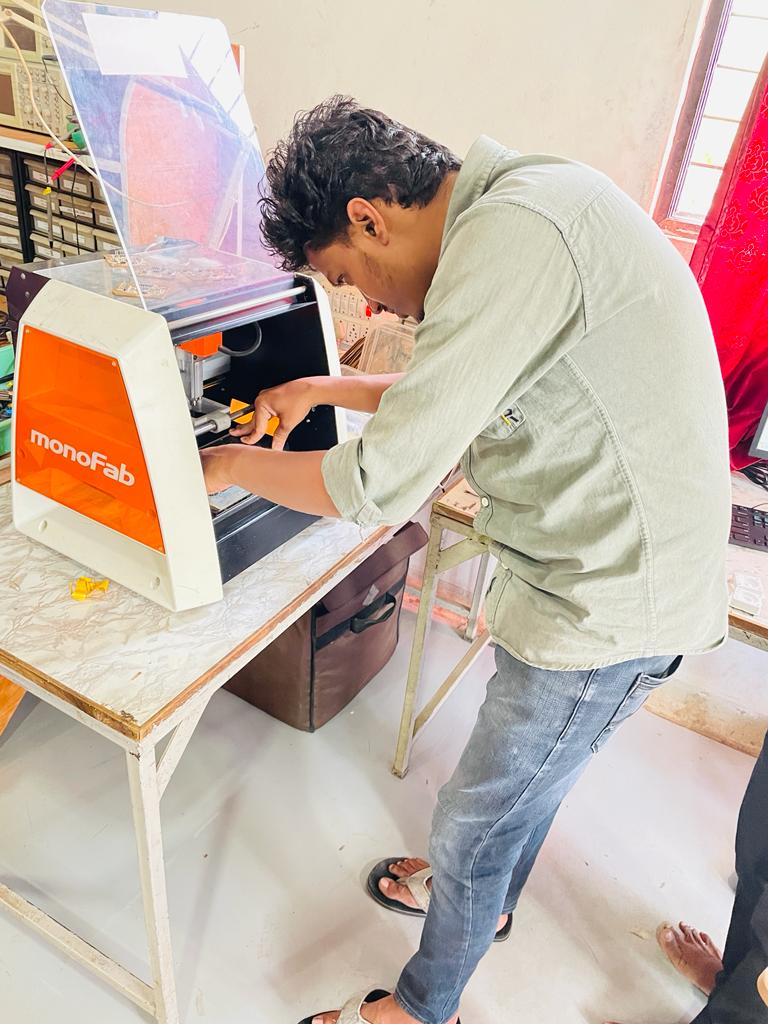
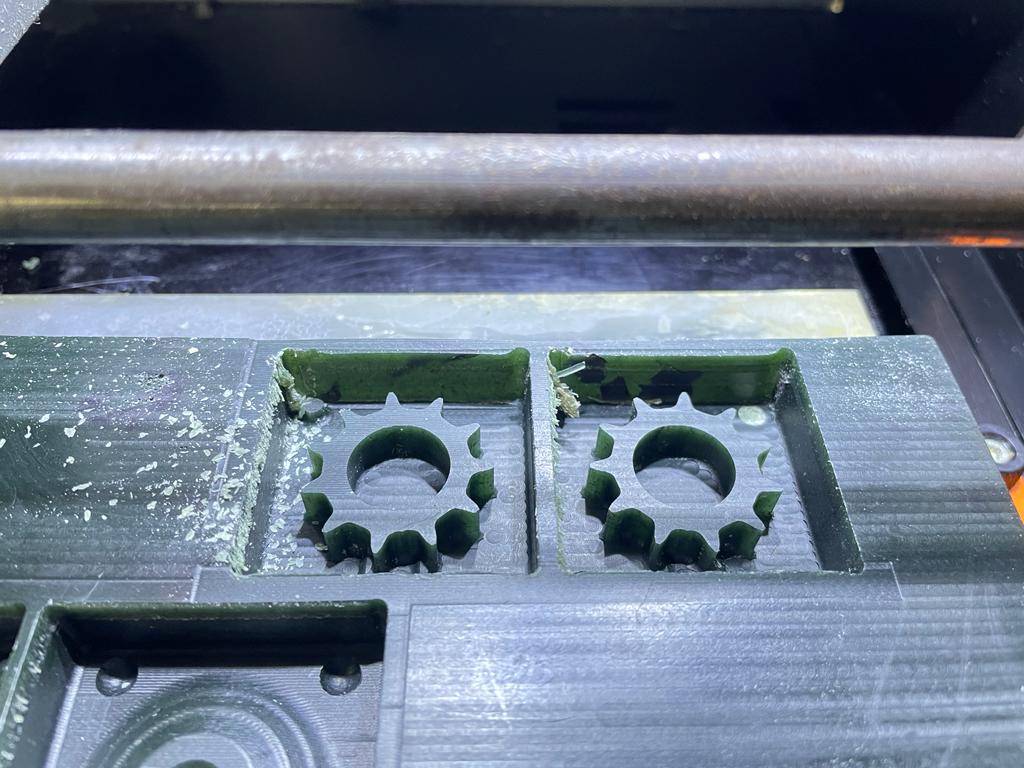
Used Machinable Epoxy material to mill a mold, and used SRM 20 milling machine.used 2sided tape to fix block on the surface of machine.
Fixed that block to the bed of the SRM 20 machine.
Along with dual-sided tape I have also used glue gun to stick that epoxy block to the surface of a machine.
After two cuts first one is rough milling and second is for finishing purposes used 2 different milling bits for these operations
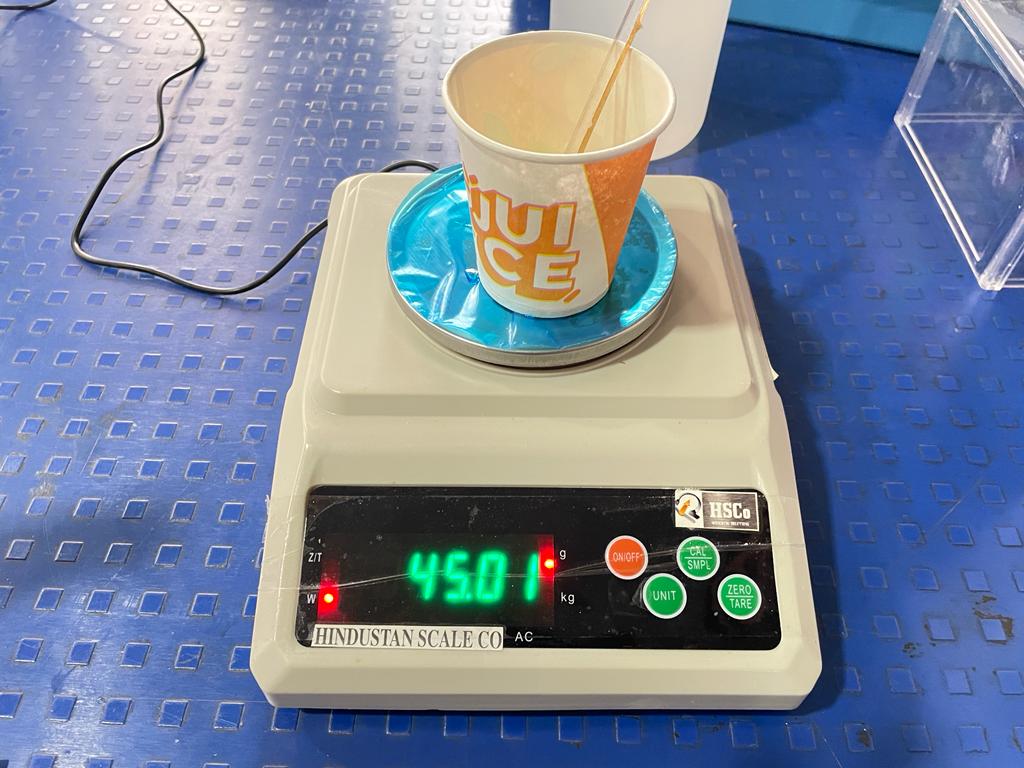
I am using silicon rubber for negative mold making and the mixing composition of silicon and Hardner material is 1:2 and for that I have used weighing machine.
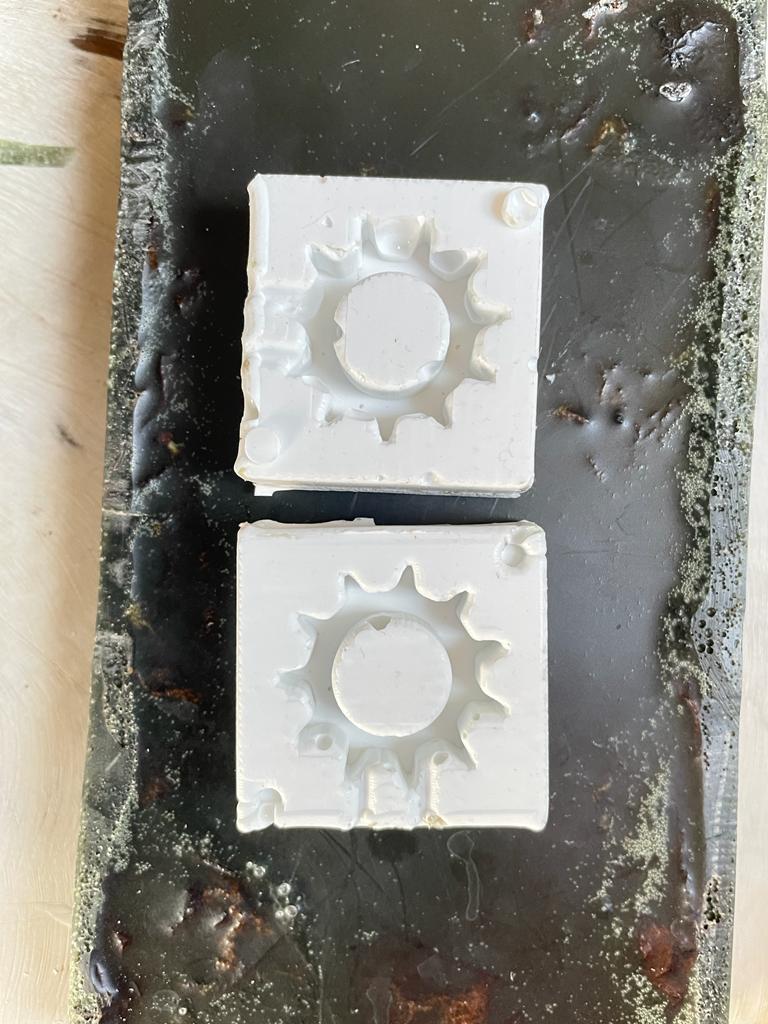
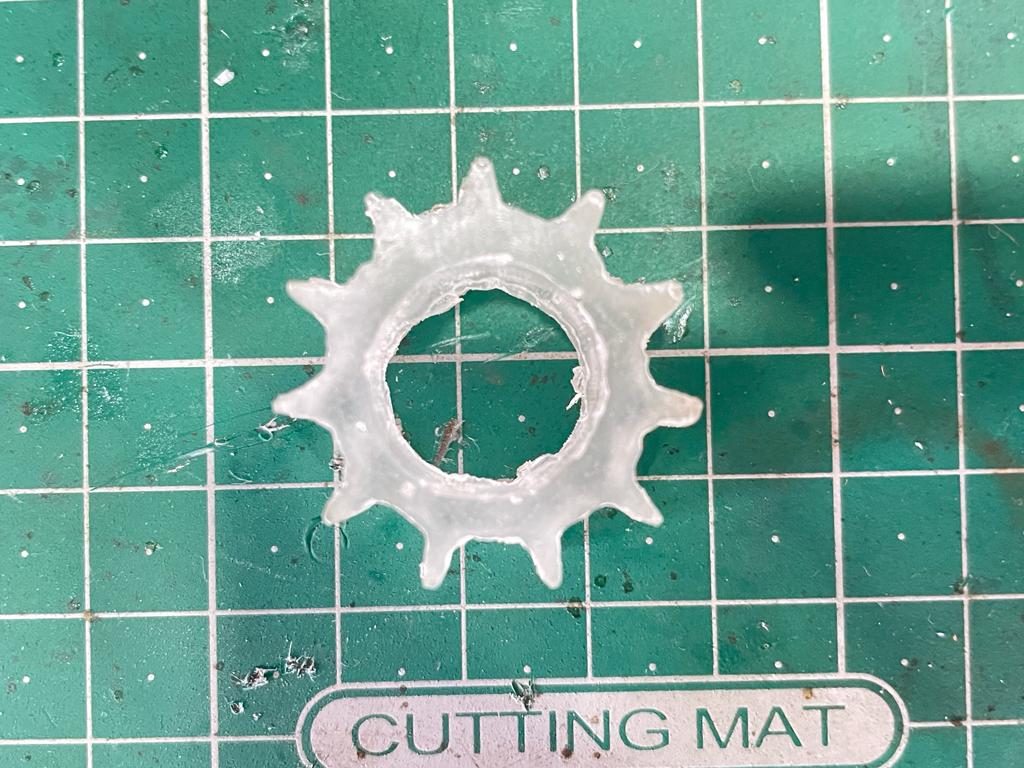
Silicon rubber has different curing times with different surrounding temp. so after filling the mold with silicon rubber I have kept it under constant temp of 65 degree for 10 hrs and got this negtive mold.
I think I did a mistake while mixing silicon rubber and didn’t able to get a uniform mixture. Due to this, my negtive mold contains lots of bubbles.
I have fixed silicon rubber mold with glue gun and sealed it from all the sides.
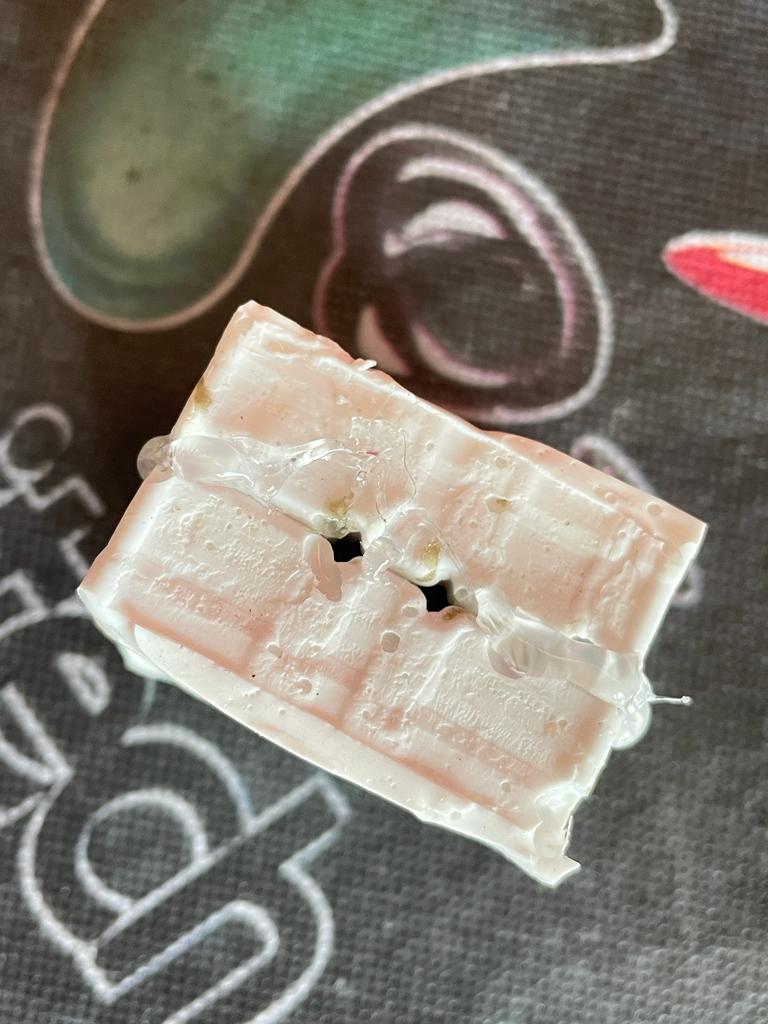
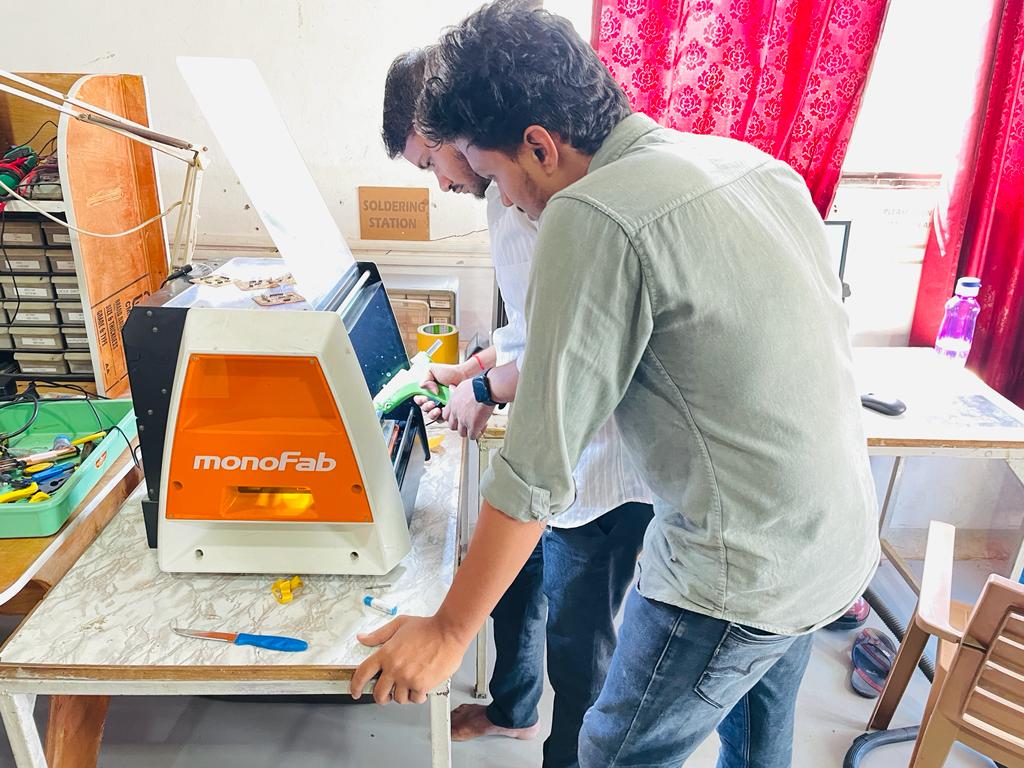
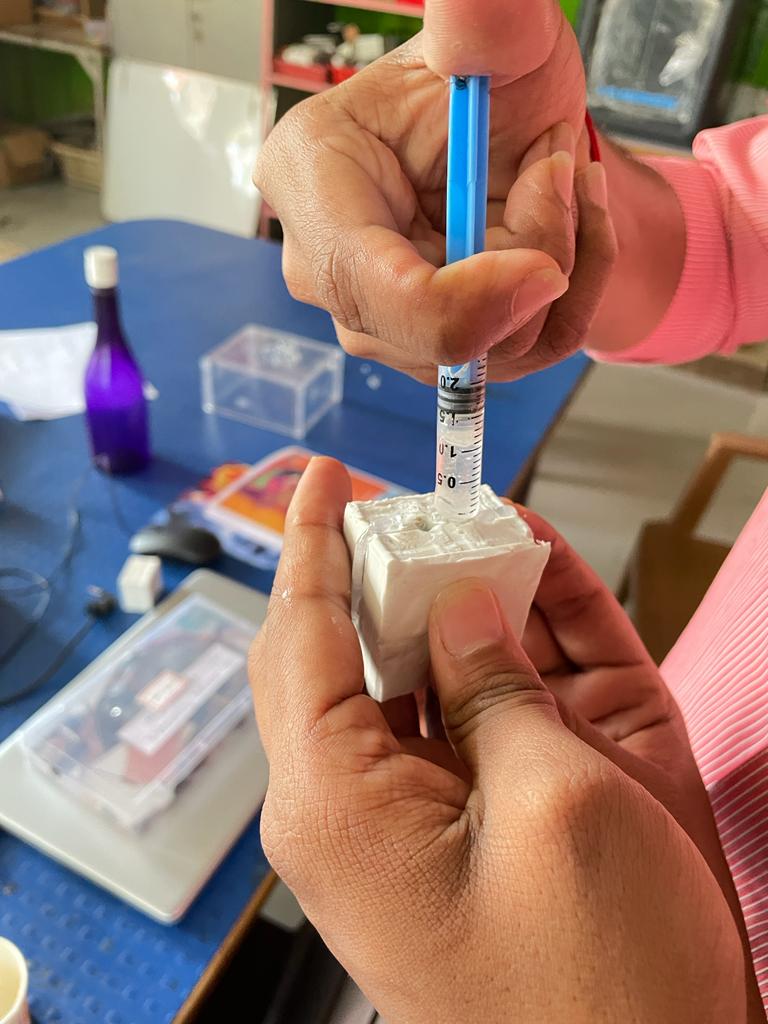
Used epoxy resin as a casting material, by taking an equivalent amount of mixture of epoxy resin and injecting it into the mold using a syringe.
After curing of epoxy resin my first moleded product is looking like this.
What went well
1) Able to design Positive mold by imagining its structure.
2) Used SRM 20 machine for another excellent purpose.
3) Able to understand different types of material used for molding and casting.
Went went worng
1) Lots of bubbles got formed in the cavity.
2) Faced issue with mixing and pouring of material inside the cavity.