Embedded Programming.
Week 4 Assignement summary
This week I have learned Embedded Programming with using a Microcontroller. I have also learned different types of microcontroller and Arduino IDE for programming a microcontroller, here I am documenting all my learning this week.
What are Microcontrollers?
A microcontroller is a small and low-cost microcomputer designed to perform the specific tasks of embedded systems like displaying microwave information, receiving remote signals, etc.
The general microcontroller consists of the processor, the memory (RAM, ROM, EPROM), Serial ports, peripherals (timers, counters), etc.
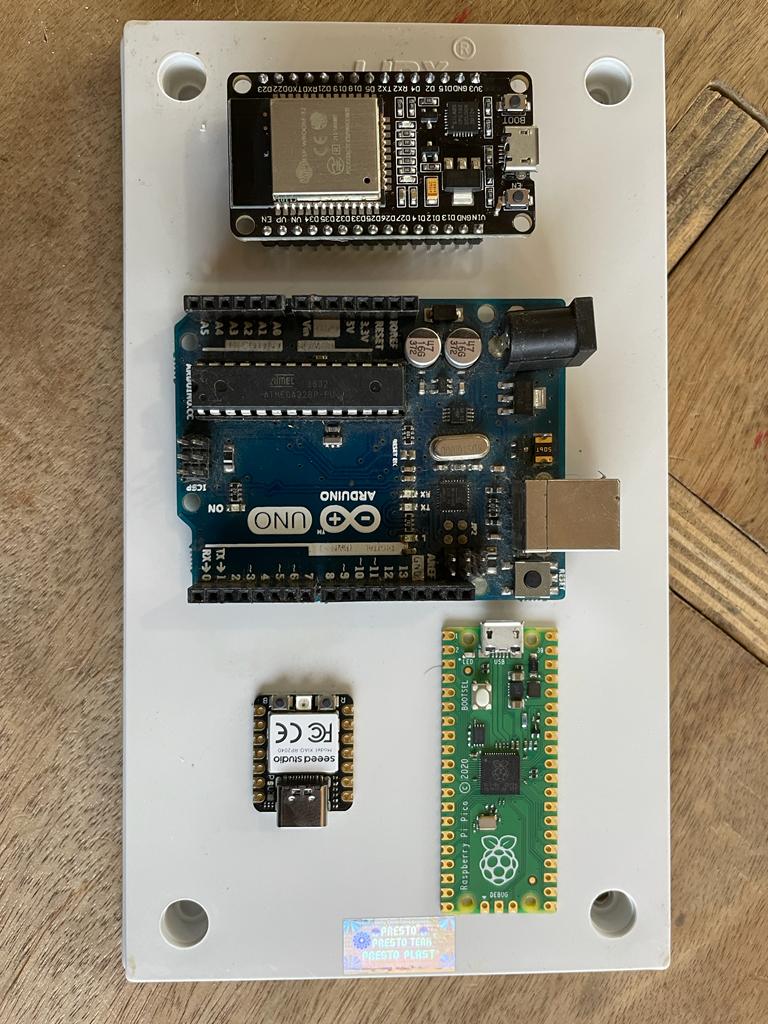
Microcontrollers @FAB LAB Vigyan Ashram
In our Fab Lab, we have different types of microcontrollers like Arduino (nano, Uno Mega ), ESP32, XIAO rp2040, Raspberry pie, etc.
difference Between Microcontrollers & Microprocessor.
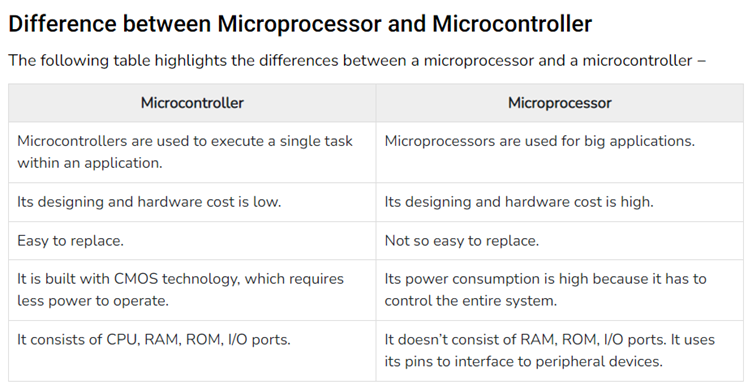
Images referance from Wikipedia
About ESP32 Microcontroller
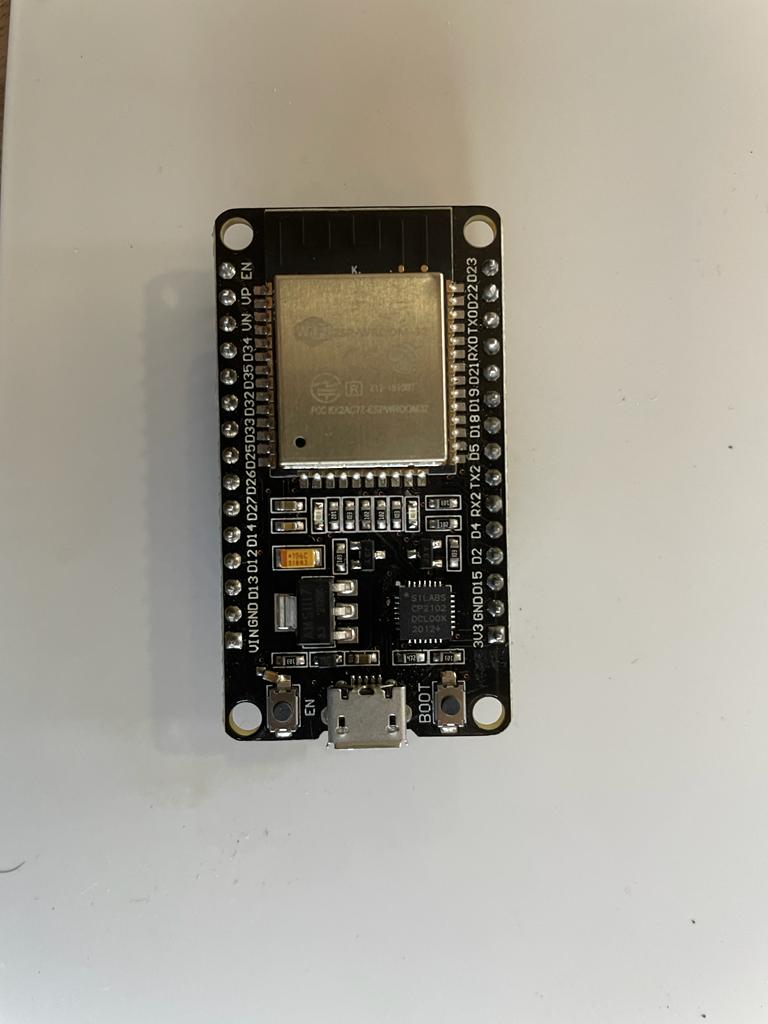
ESP32 is a microcontroller that is the successor of ESP8266 load with many new features.The ESP32 is a series of low-cost and low-power Systems on a Chip (SoC) microcontrollers developed by Espressif. It is a dual-core processor having inbuilt Wi-Fi & Bluetooth facilities.
ESP32 Data Sheet
ESP32 is a single-chip 2.4 GHz Wi-Fi and Bluetooth combo chip designed with TSMC ultra low power 40 nm technology. It is designed and optimized for the best power performance, RF performance, robustness, versatility, features, and reliability, for a wide variety of applications, and different power profiles.
A) Basic Protocol
1) Wifi: - 802.11 n (2.4 GHz), up to 150 Mbps
2) Bluetooth: - Compliant with Bluetooth v4.2 BR/EDR and BLE specification
B) MCU and Advanced Features
1) CPU and Memory: - Xtensa® Dual-Core 32-bit LX6 microprocessors, up to 600 DMIPS
2) Clocks and Timers: - Internal 8 MHz oscillator with calibration
3) Advanced Peripheral Interfaces: - 12-bit SAR ADC up to 18 channels, 2 × 8-bit D/A converters
4) Security: - IEEE 802.11 standard security features are all supported, including WFA, WPA/WPA2 and WAPI
5) Development Support: - SDK Firmware for fast online programming, Open-source toolchains based on GCC
6) Application: - Generic low-power IoT sensor hub, Generic low-power IoT loggers, Video streaming from the camera.
Few Features of ESP32
SESP32 microcontroller is easily accessible for general people as the cost of this microcontroller is much lower than other equivalent microcontrollers.
ESP32 microcontroller has inbuilt Bluetooth and Wi-Fi but still, it consumes less power than other microcontrollers. It also supports low-power mode states like deep sleep to save power.
ESP32 can easily connect to a Wi-Fi network to connect to the internet or create its own Wi-Fi wireless network so other devices can connect to it.
ESP32 supports Bluetooth classic and Bluetooth Low Energy, which is useful for a wide variety of IoT applications.
ESP32 are dual-core and come with 32-bit LX6 microprocessors.
Compatible with the Arduino programming language that can help Arduino users to use this microcontroller effectively.
Compatible with Micro Python you can program the ESP32 with Micro Python firmware.
Pinout Structure of ESP32
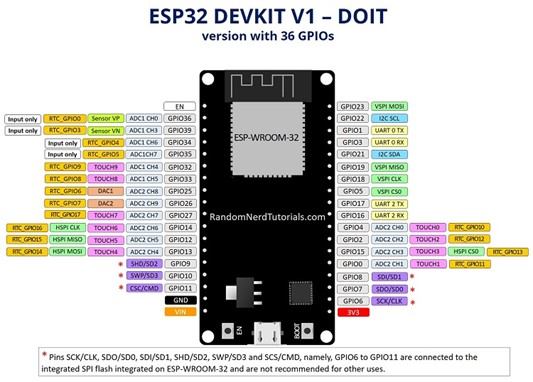
Input-only pins: - GPIO 34 GPIO 35 GPIO 36 GPIO 39
Capacitive touch GPIOs: - T0 (GPIO 4) T1 (GPIO 0) T2 (GPIO 2) T3 (GPIO 15) T4 (GPIO 13) T5 (GPIO 12) T6 (GPIO 14) T7 (GPIO 27) T8 (GPIO 33) T9 (GPIO 32)
Analog to Digital Converter (ADC): - ADC1_CH0 (GPIO 36) ADC1_CH1 (GPIO 37) ADC1_CH2 (GPIO 38) ADC1_CH3 (GPIO 39) ADC1_CH4 (GPIO 32) ADC1_CH5 (GPIO 33) ADC1_CH6 (GPIO 34) ADC1_CH7 (GPIO 35) ADC2_CH0 (GPIO 4) ADC2_CH1 (GPIO 0) ADC2_CH2 (GPIO 2) ADC2_CH3 (GPIO 15) ADC2_CH4 (GPIO 13) ADC2_CH5 (GPIO 12) ADC2_CH6 (GPIO 14) ADC2_CH7 (GPIO 27) ADC2_CH8 (GPIO 25) ADC2_CH9 (GPIO 26)
Digital to Analog Converter (DAC): - DAC1 (GPIO25) DAC2 (GPIO26)
RTC GPIOs: - RTC_GPIO0 (GPIO36) RTC_GPIO3 (GPIO39) RTC_GPIO4 (GPIO34) RTC_GPIO5 (GPIO35) RTC_GPIO6 (GPIO25) RTC_GPIO7 (GPIO26) RTC_GPIO8 (GPIO33) RTC_GPIO9 (GPIO32) RTC_GPIO10 (GPIO4) RTC_GPIO11 (GPIO0) RTC_GPIO12 (GPIO2) RTC_GPIO13 (GPIO15) RTC_GPIO14 (GPIO13) RTC_GPIO15 (GPIO12) RTC_GPIO16 (GPIO14) RTC_GPIO17 (GPIO27)
Arduino IDE
Installing Arduino IDE
ESP32 Microcontroller perfectly runs on c & c++ using Arduino IDE. So, I downloaded the latest version of Arduino IDE from the official website of Arduino & I also installed the required libraries for programming the ESP32 microcontroller.
About Arduino IDE
The Arduino Integrated Development Environment - or Arduino Software (IDE) - contains a text editor for writing code, a message area, a text console, a toolbar with buttons for common functions, and a series of menus. It connects to the Arduino hardware to upload programs and communicate with them.
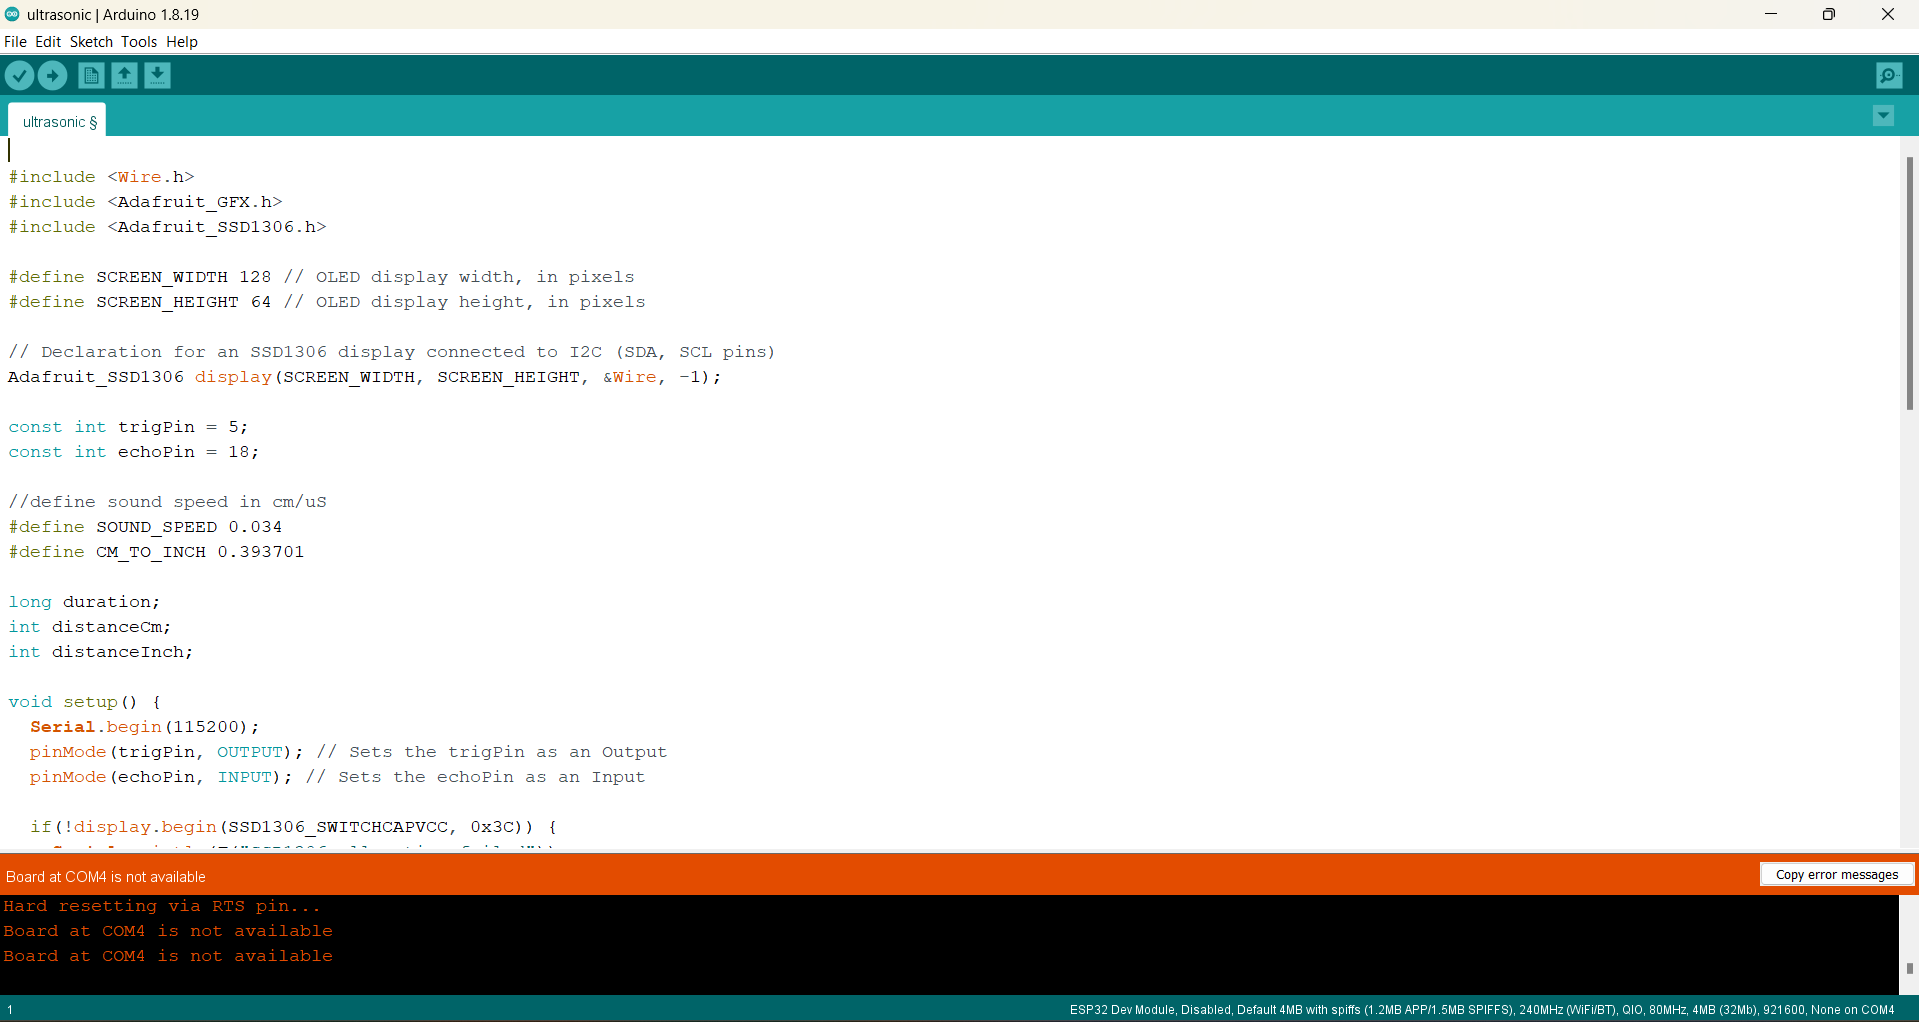
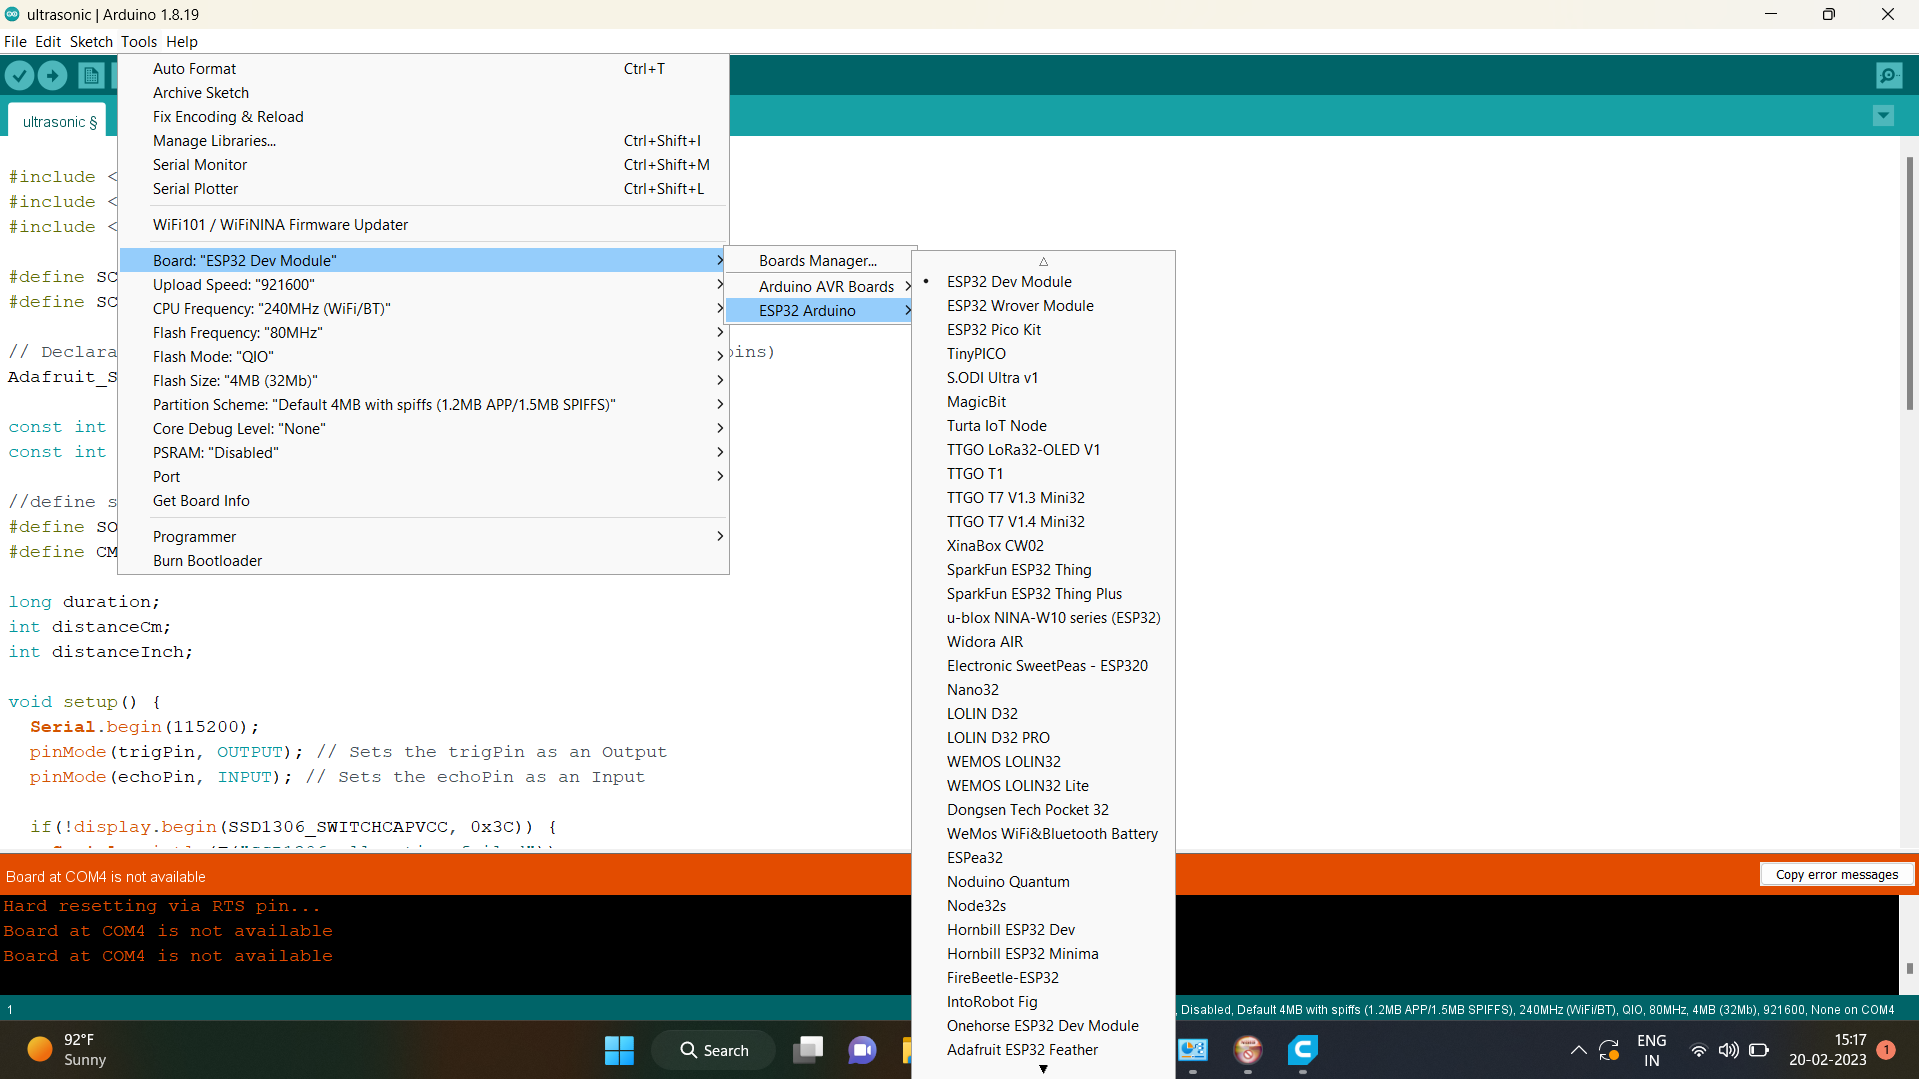
Board Port Selection
This is one of the major steps while working with Arduino IDE, as Arduino has different types of boards and supports other types of boards. So, In order to work with them efficiently, we must aware of Arduino IDE with our board and the port from which we will transfer the code to the microcontroller.
Program Uploading
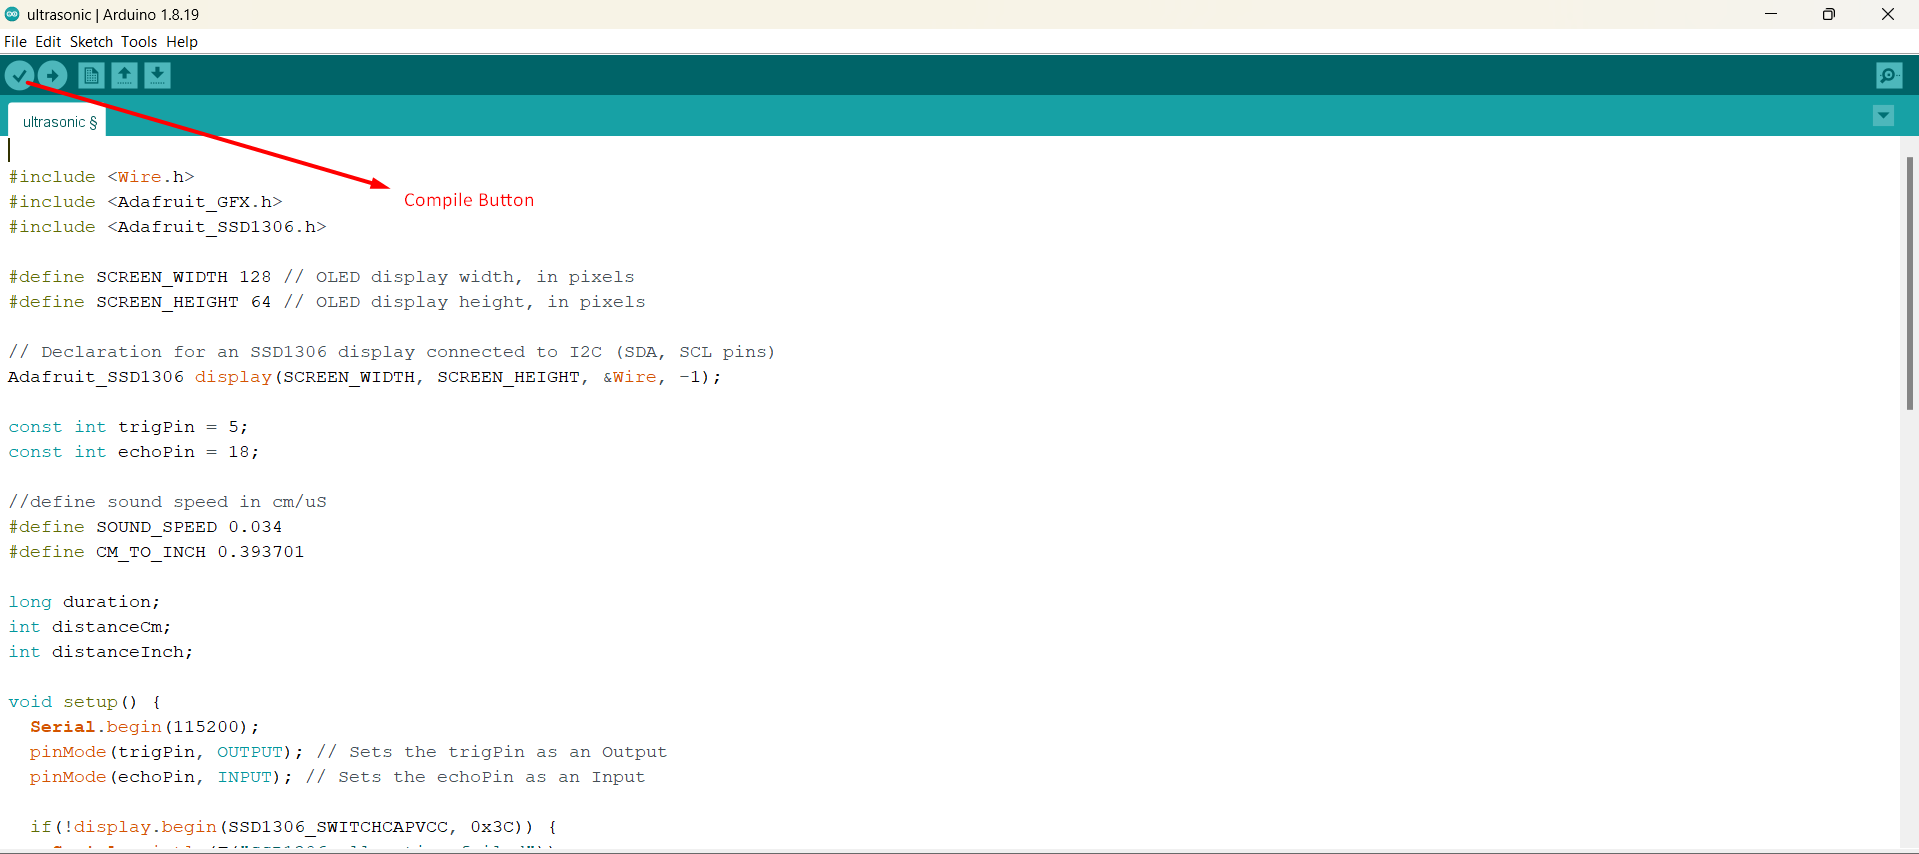
1) Compile the code: - After writing the code we need to compile that code for checking errors in it, this process can help us to evaluate and remove errors in our code before uploading it into the microcontroller.
2) Upload the code: - After successful code compilation we must connect our microcontroller to one of the ports of our local server.
3) Monitor the output: - Arduino IDE supports a monitoring function where we can view and monitor the output achieved by sensors and microcontrollers.
Embedded Programming
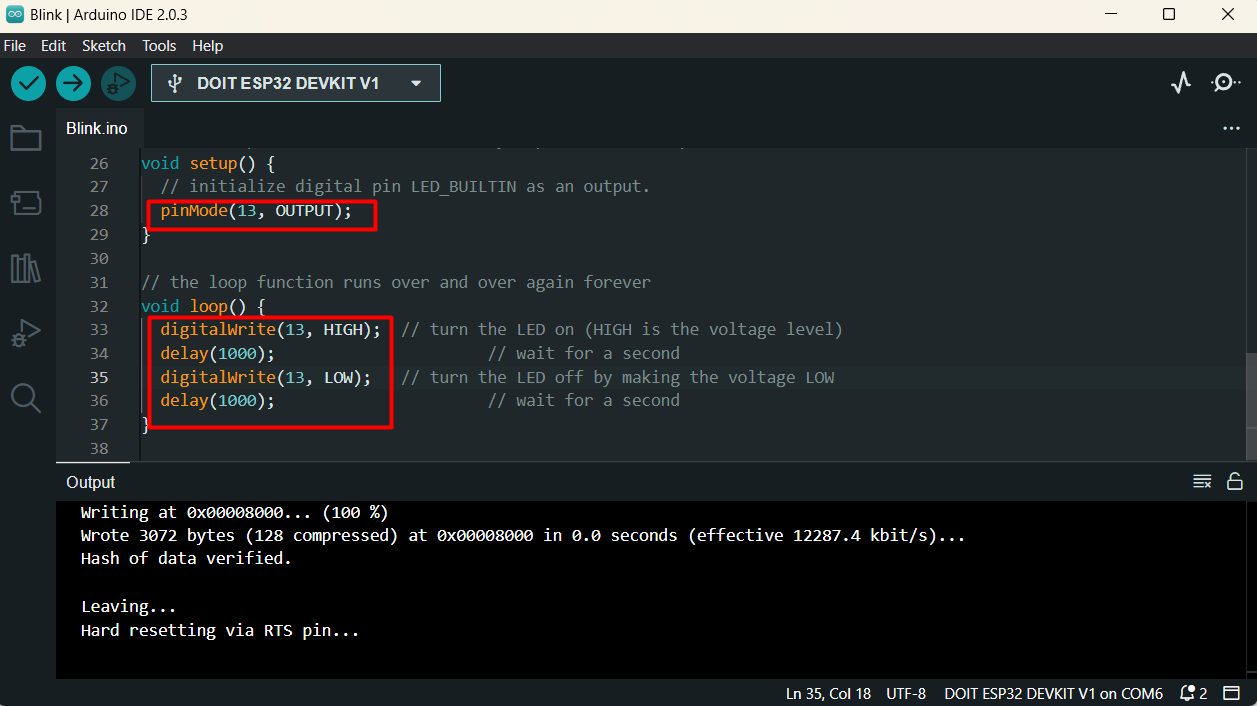
LED Blinking Using ESP32
ESP32 has a built-in LED on pin no. 2, I have programmed ESP32 to blink its LED at a certain time internally using Void setup, Void Loop, and delay functions. I have also used small LEDs instead of built-in LEDs.
Equipment used
ESP32, Breadboard, LED, Data Transfer cable, etc.
Methodology
1) Arduino IDE has an inbuilt program as an example, I modified that program by changing input & output pin locations.
2) I also modified the delay time for LED high and low.
3) ESP32 has Built-in LED located at pin no.
4) Connected ESP32 to my local computer.
5) Selected appropriate board and port locations.
6) Uploaded Program to ESP32 by compiling it.
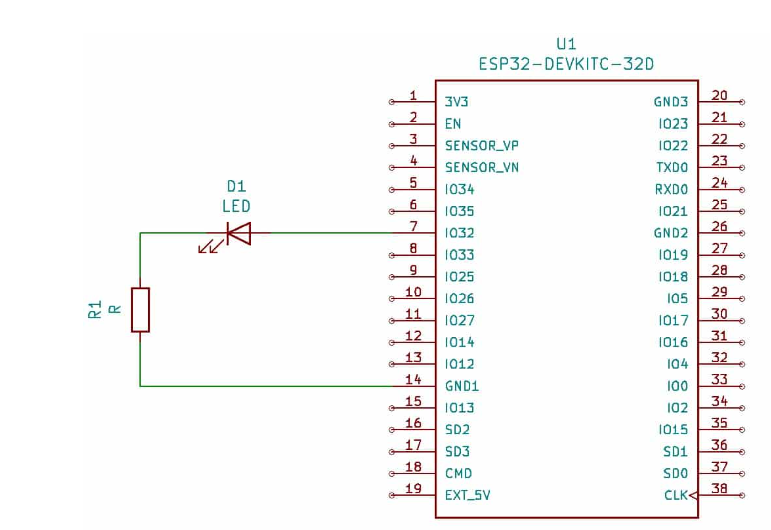
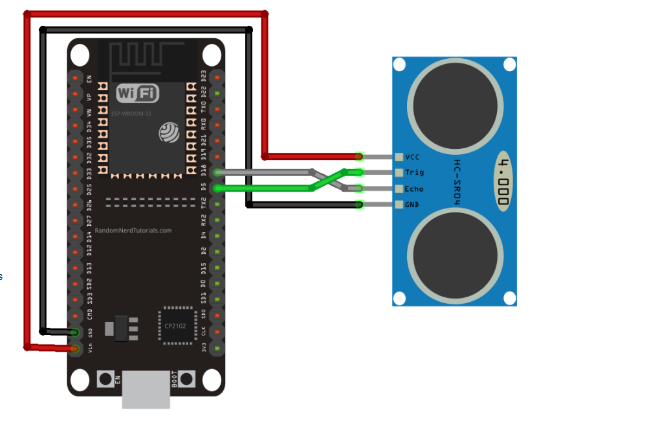
Wiring Diagram
Code
Video
Distance measurement using Ultrasonic sensor
The ultrasonic sensor generates ultrasonic pulses to calculate the distance or the depth of an object, here I have tried to calculate the depth of a respective object and show its exact distance using an ESP32 microcontroller.
Equipment used
ESP32, breadboard, Ultrasonic sensors, jumper cable & Micro USb Cable.
Methodology
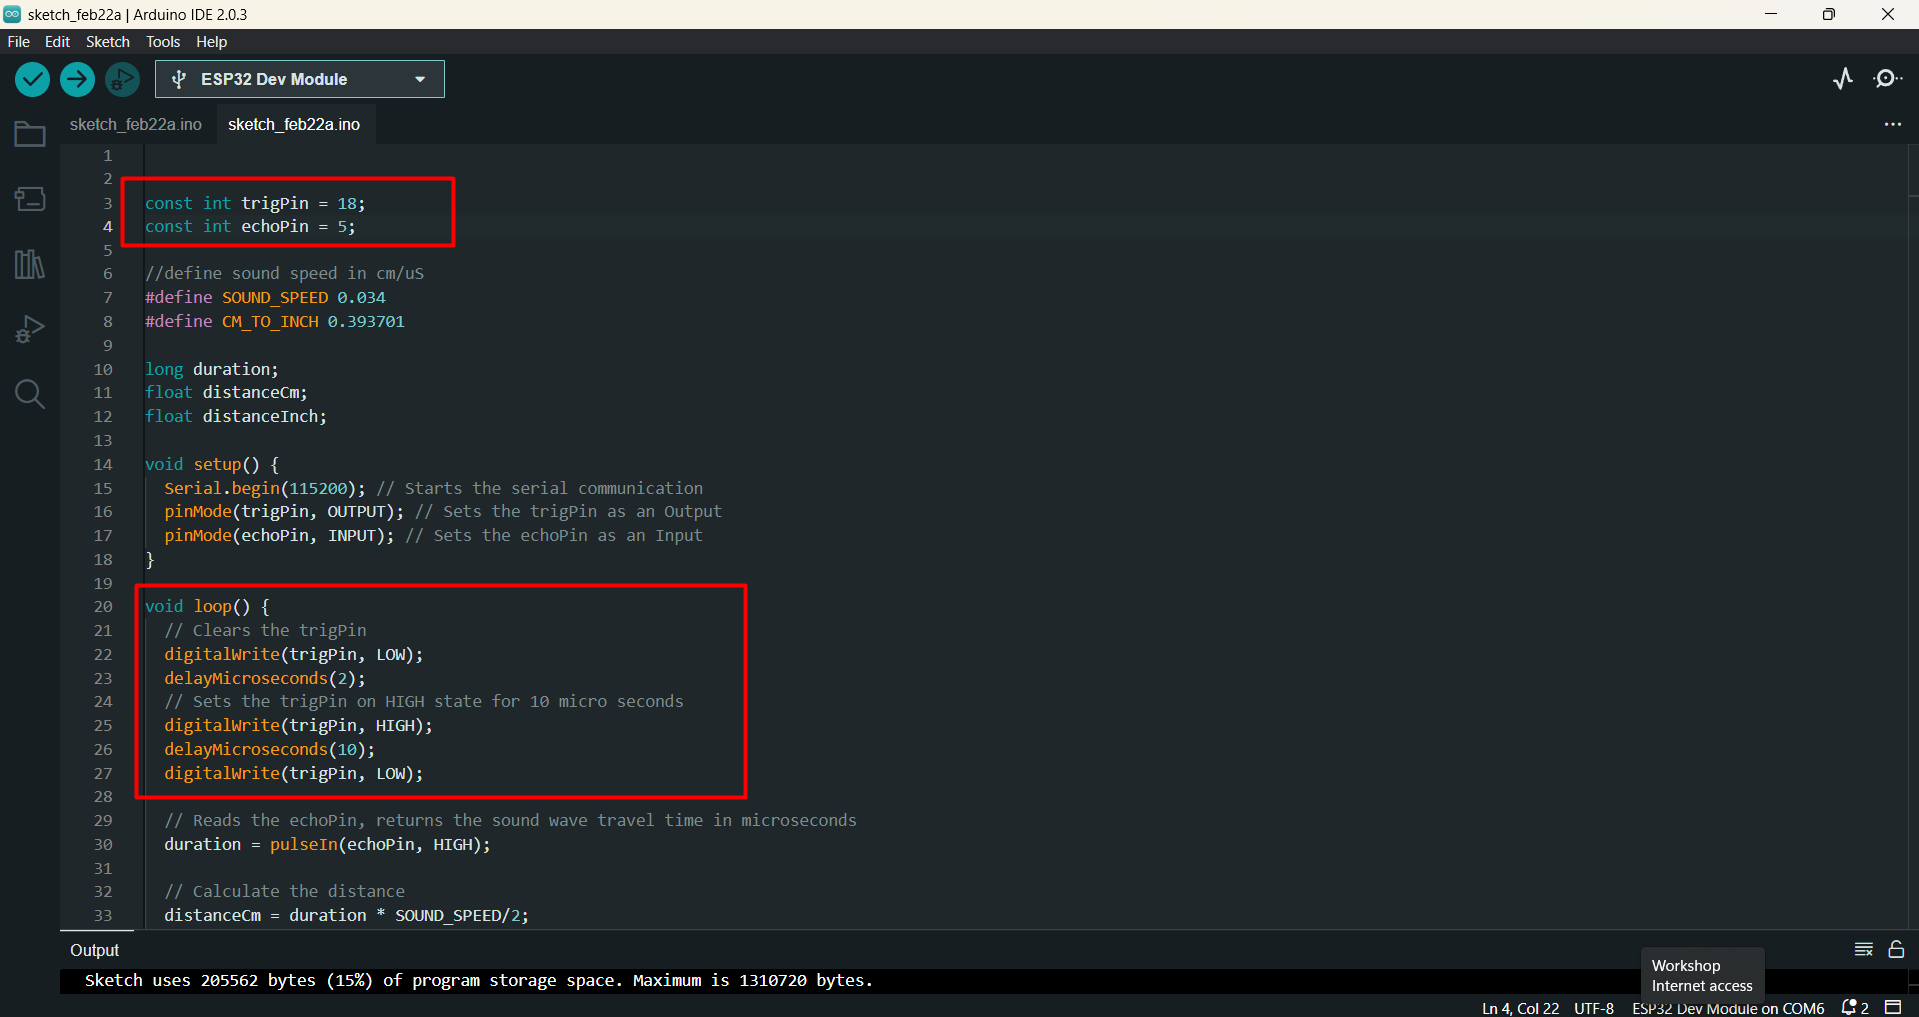
1) i Got a code for calculating distance using ultrasonic sensor and ESP32 from Random nerd Tutorials.
2) I Modified that program by changing i/o pin location.
3) Prepared ESp32 & Ultrasonic sensor and arrange then according to proram.
4) Connected ESP32 to my local computer.
5) Selected appropriate board and port locations.
6) Uploaded Program to ESP32 by compiling it.
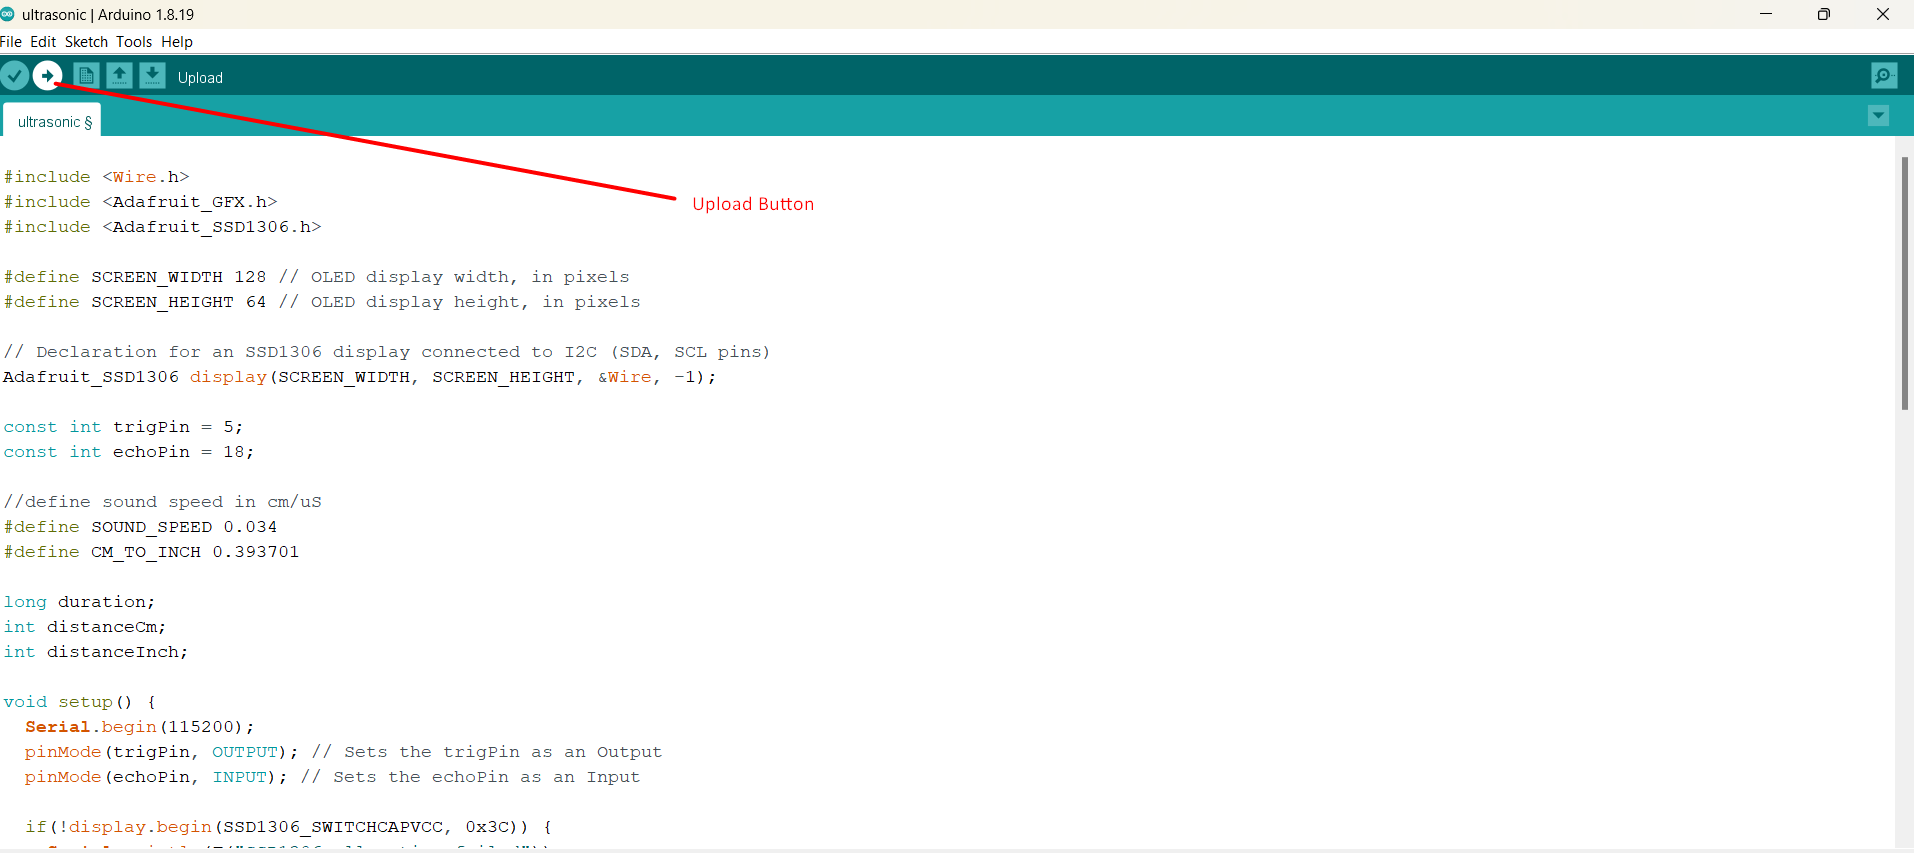
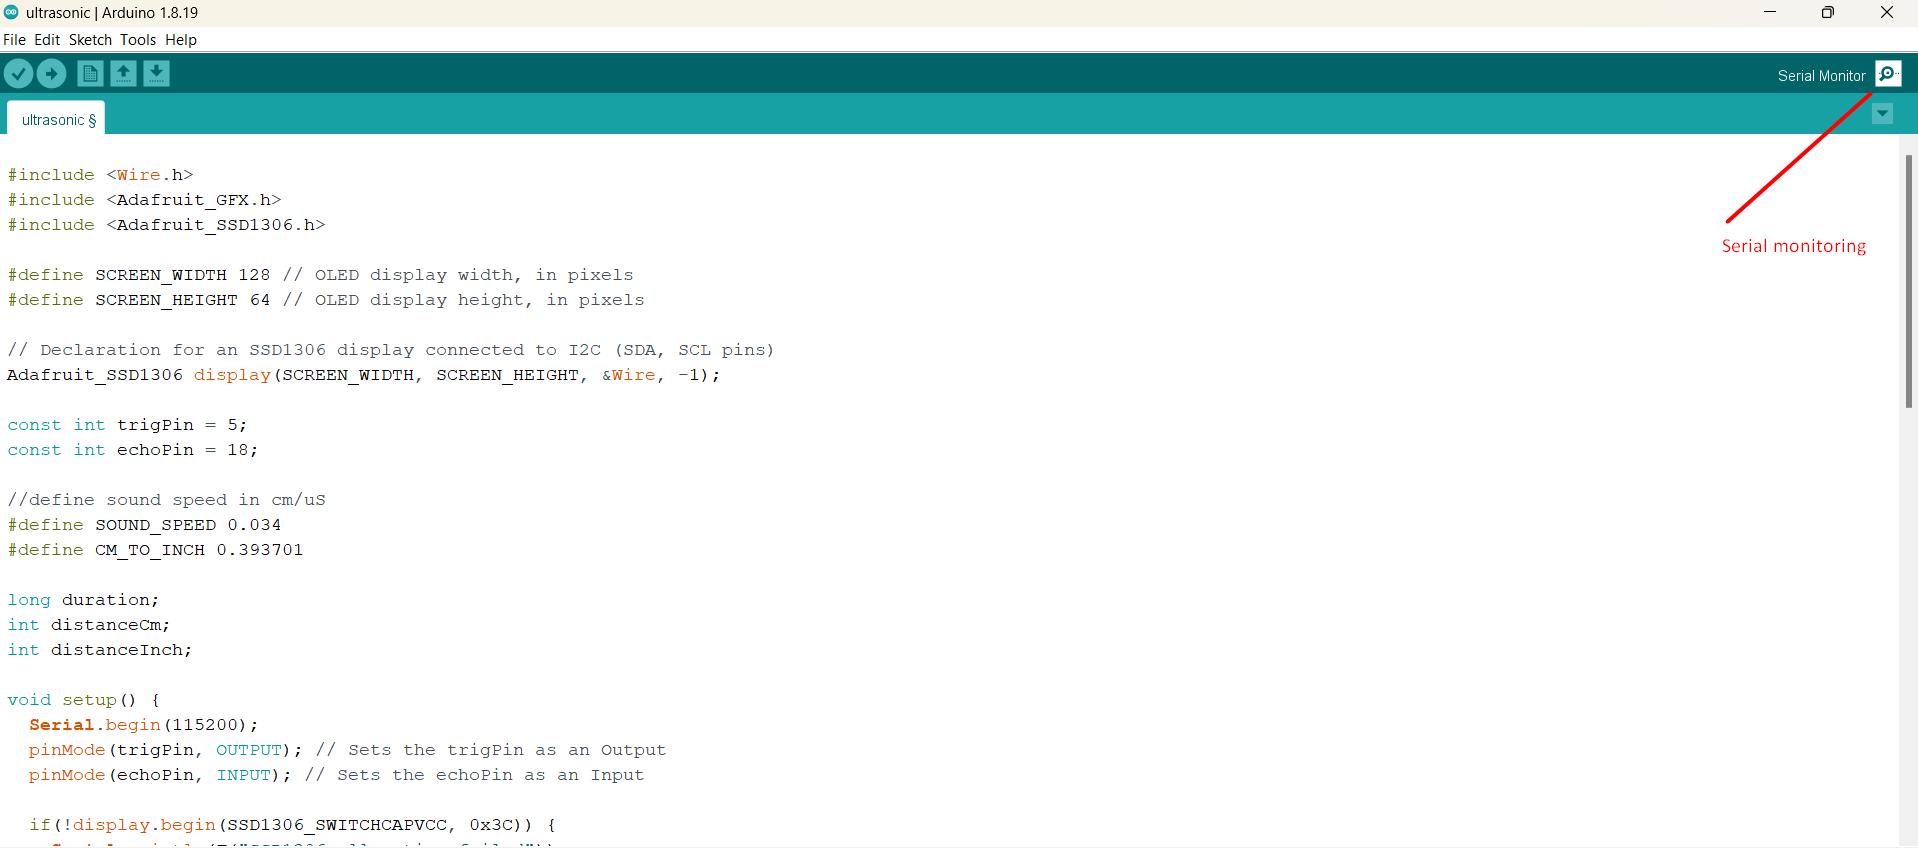
7) Arduino IDE has serial monitor that can actually help to monitor the outoup.
Wiring Diagram
Code
Video
Esp32 Programming with Micro-Python
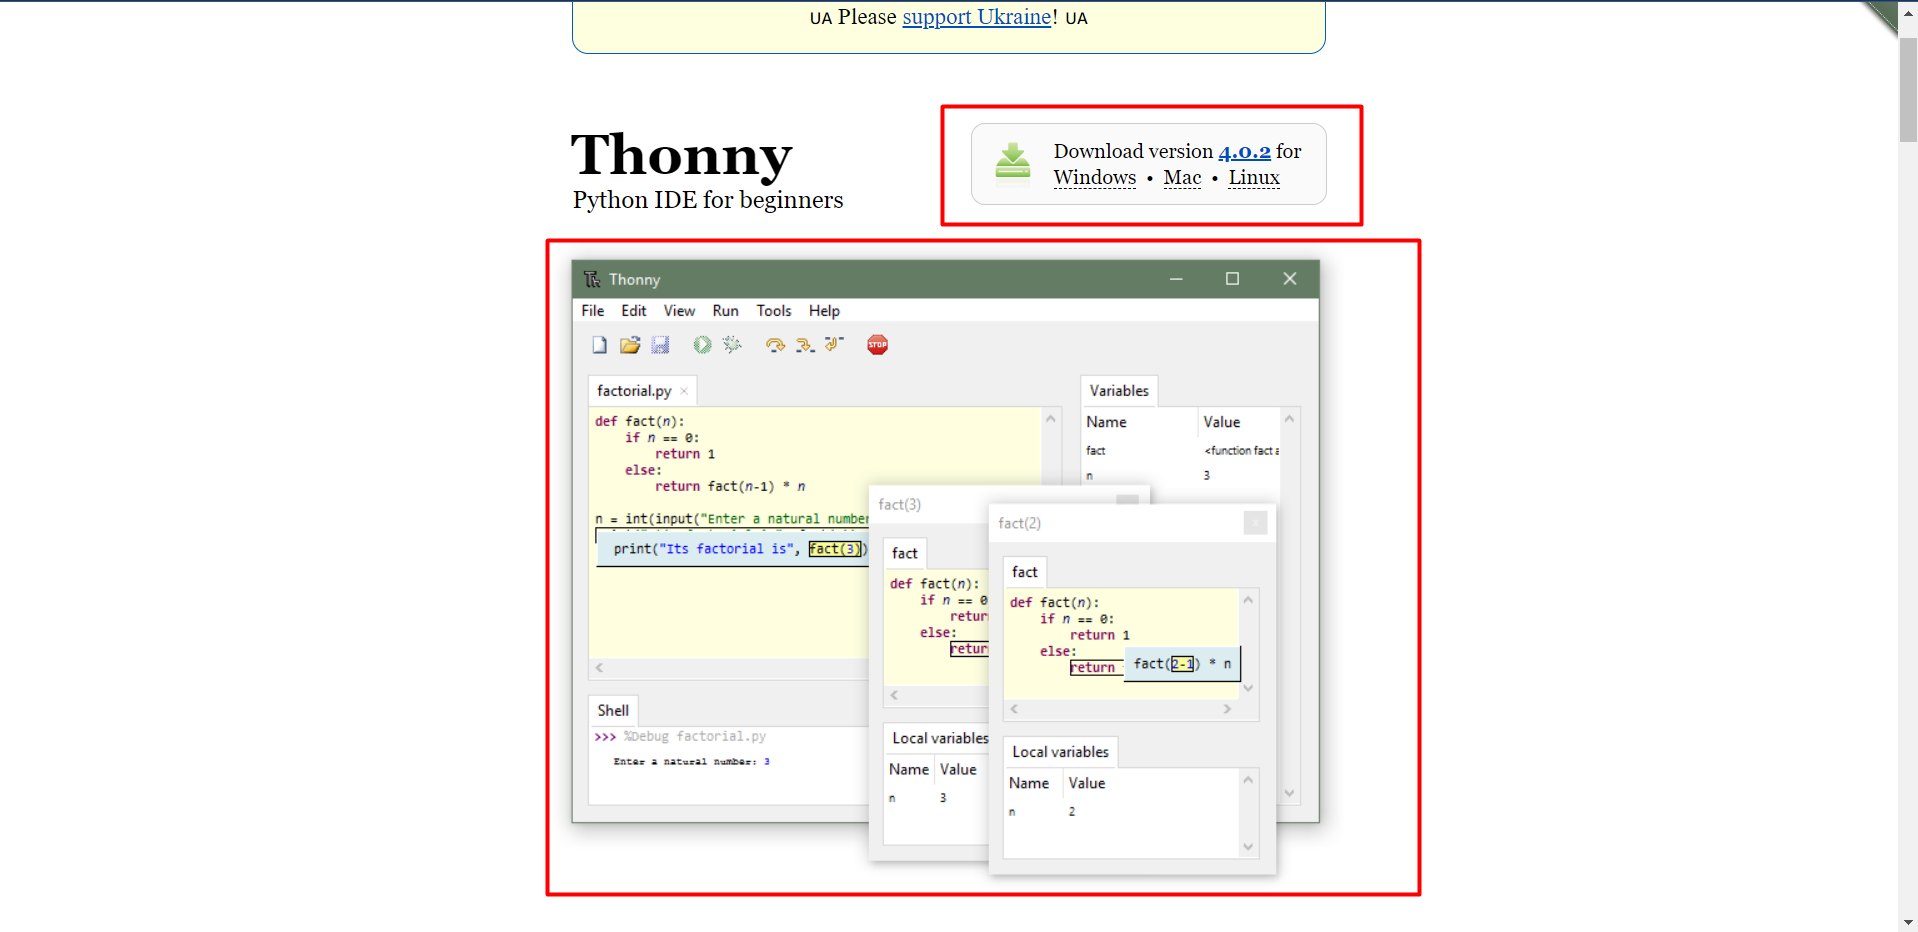
What is Micro-python
MicroPython is a Python 3 programming language re-implementation targeted for microcontrollers and embedded systems. MicroPython is very similar to regular Python. Apart from a few exceptions, the language features of Python are also available in MicroPython. The most significant difference between Python and MicroPython is that MicroPython was designed to work under constrained conditions.
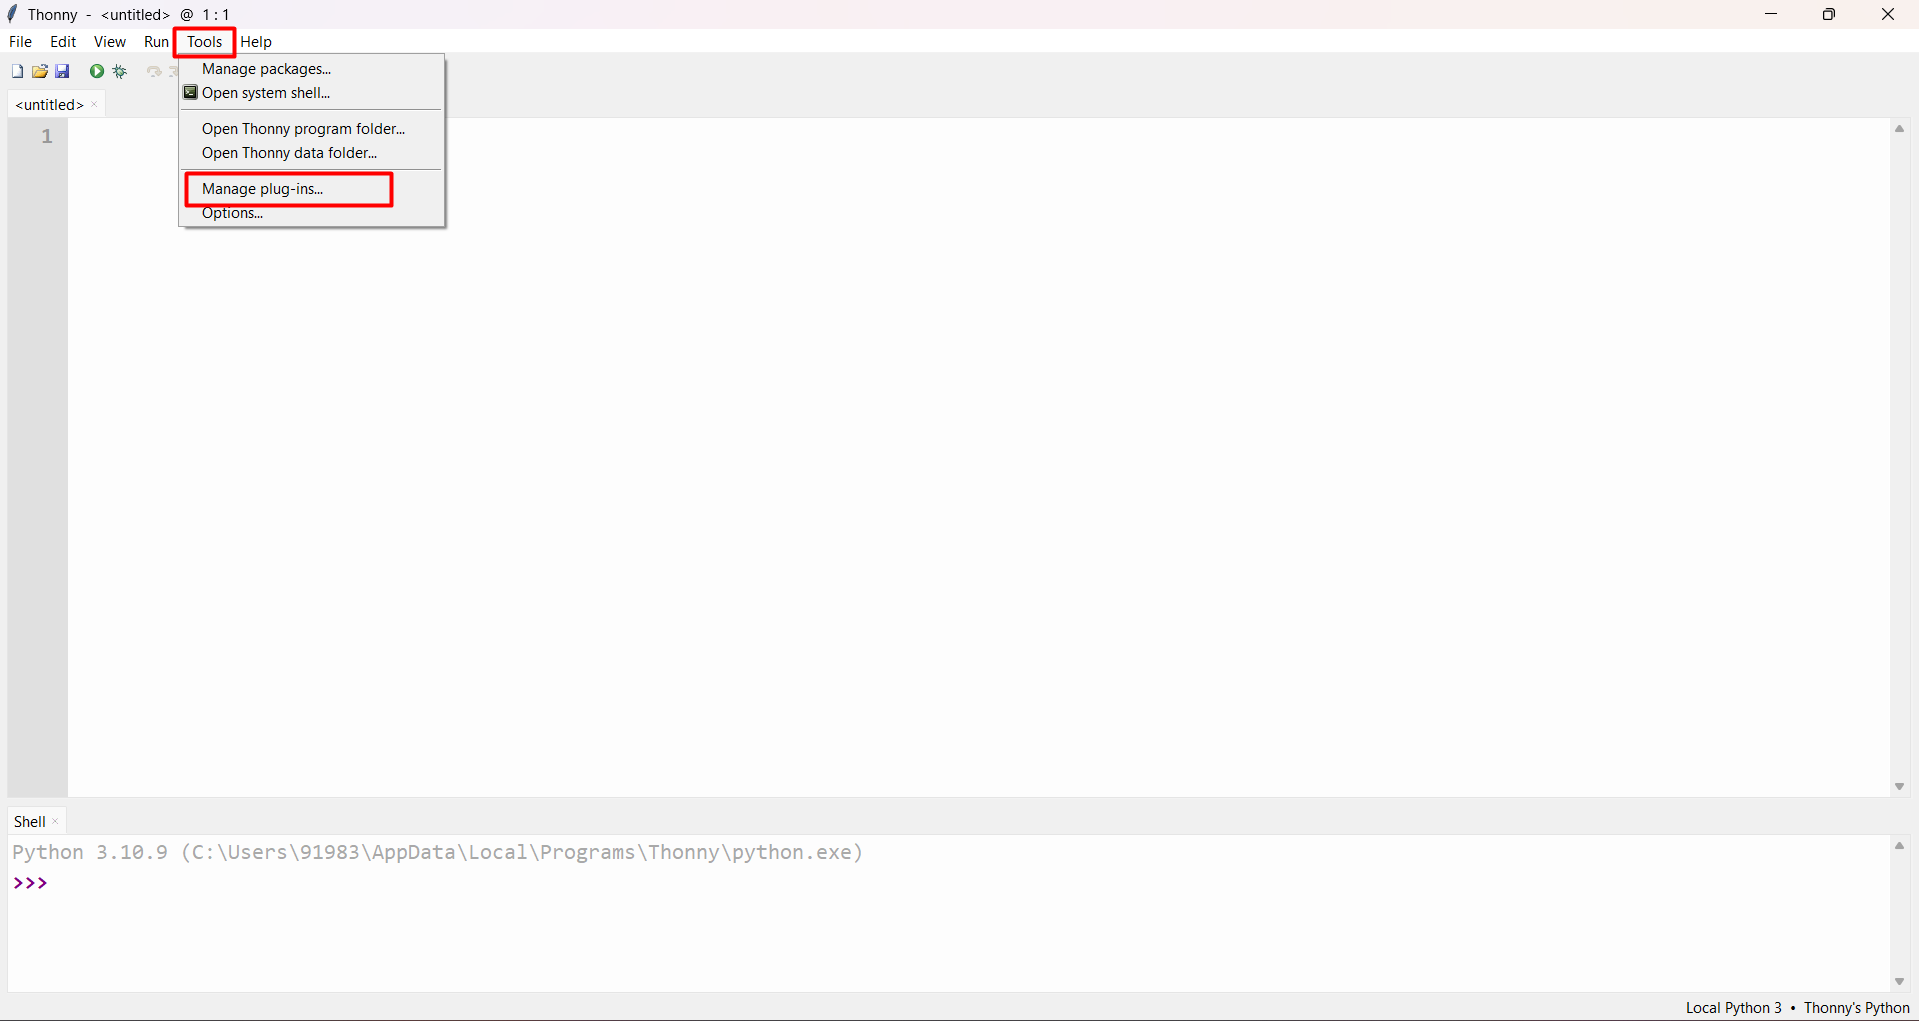
Installing Thonny
Installing thonny IDE for windows
Downloaded firmware require of thonny micropython.

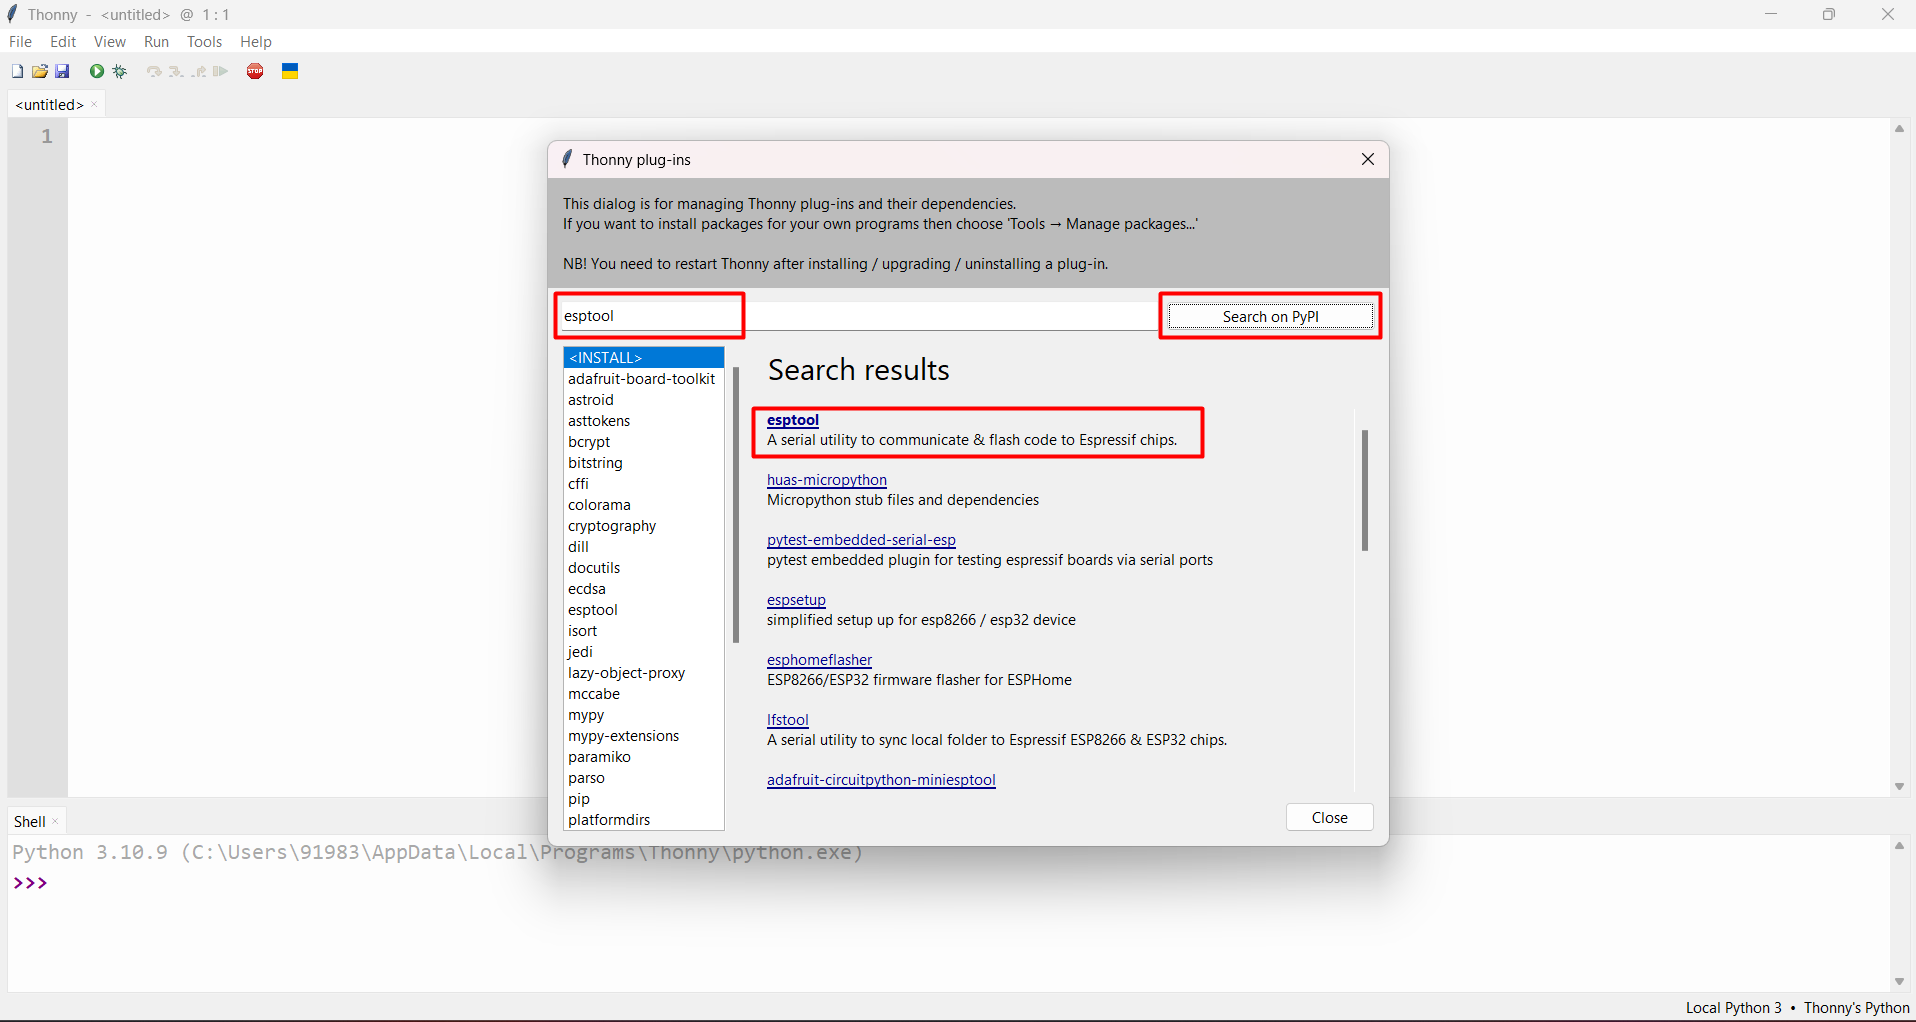
For installing firmware,follow below steps. click on tools> Manage Pluggins.
Search for esptool and click on first opention generated.
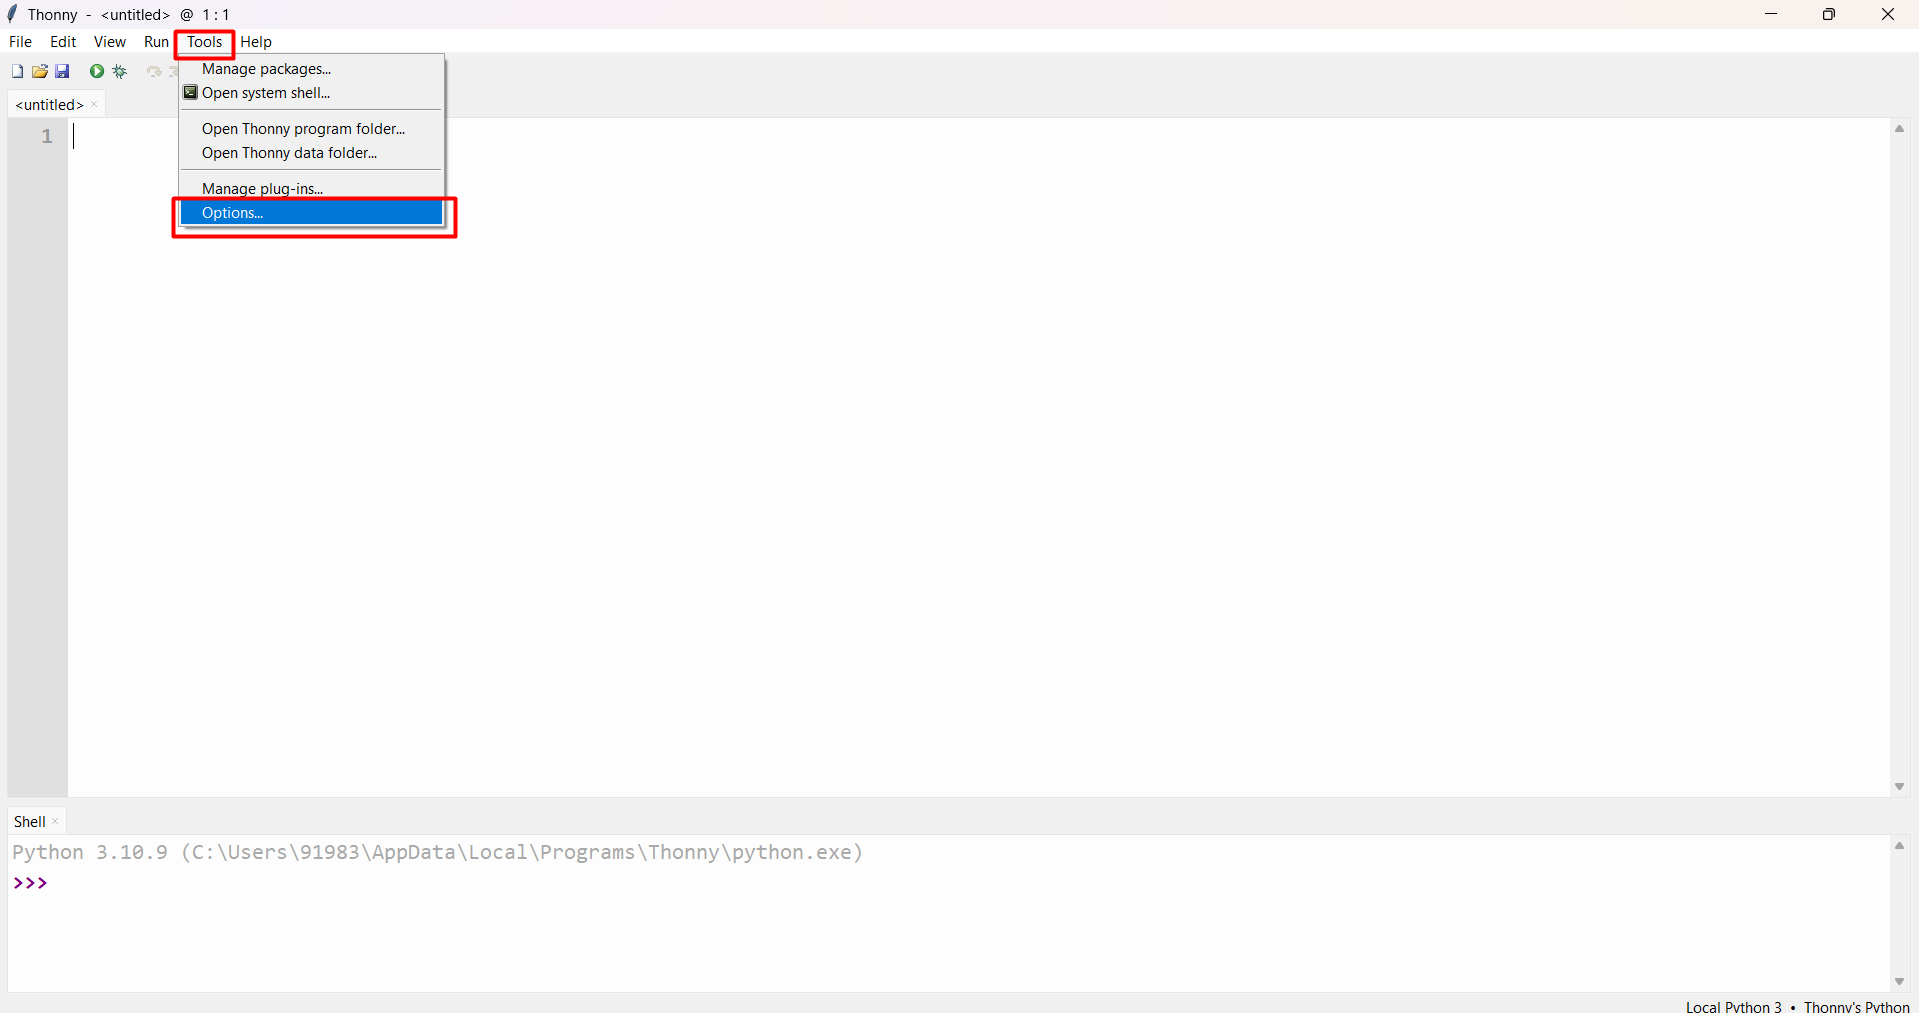
Then again click on tool> options.
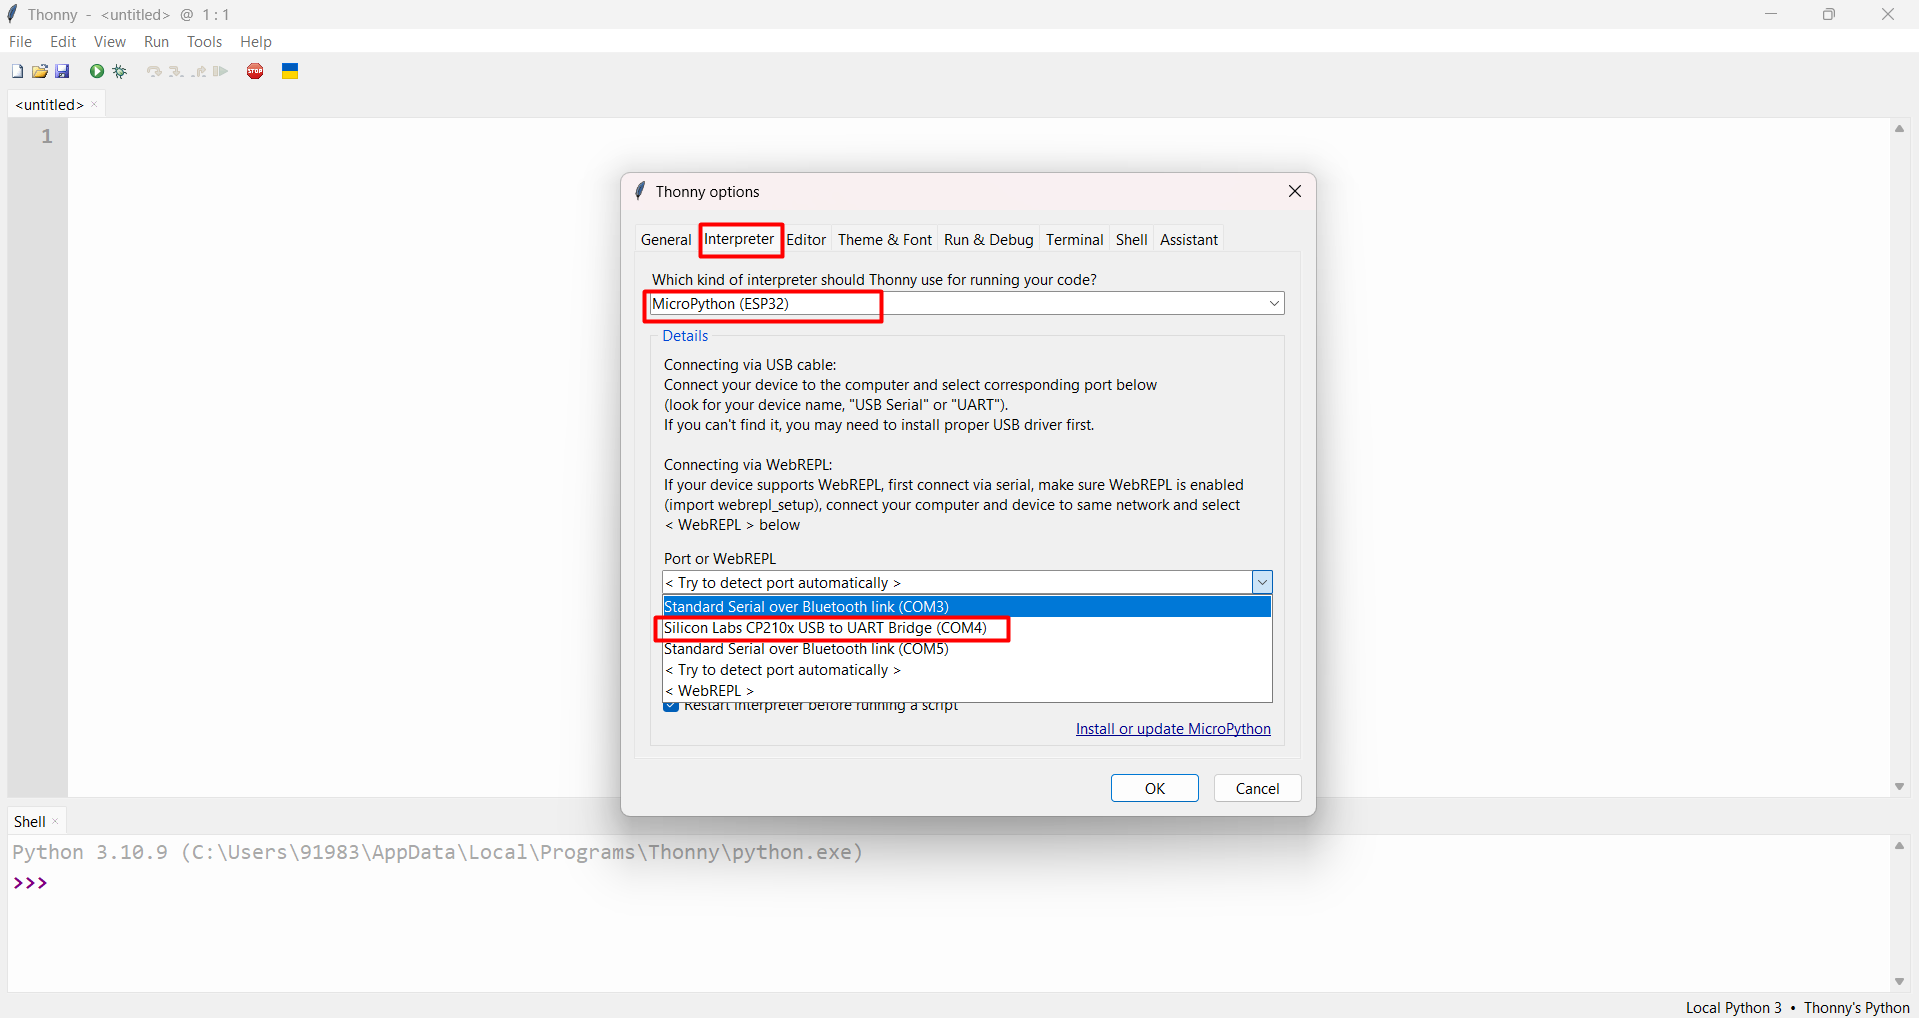
under option menu click on interpreter, and select esp32 and also select com.
after that select post and upload downloaded firmare file and start installing it.
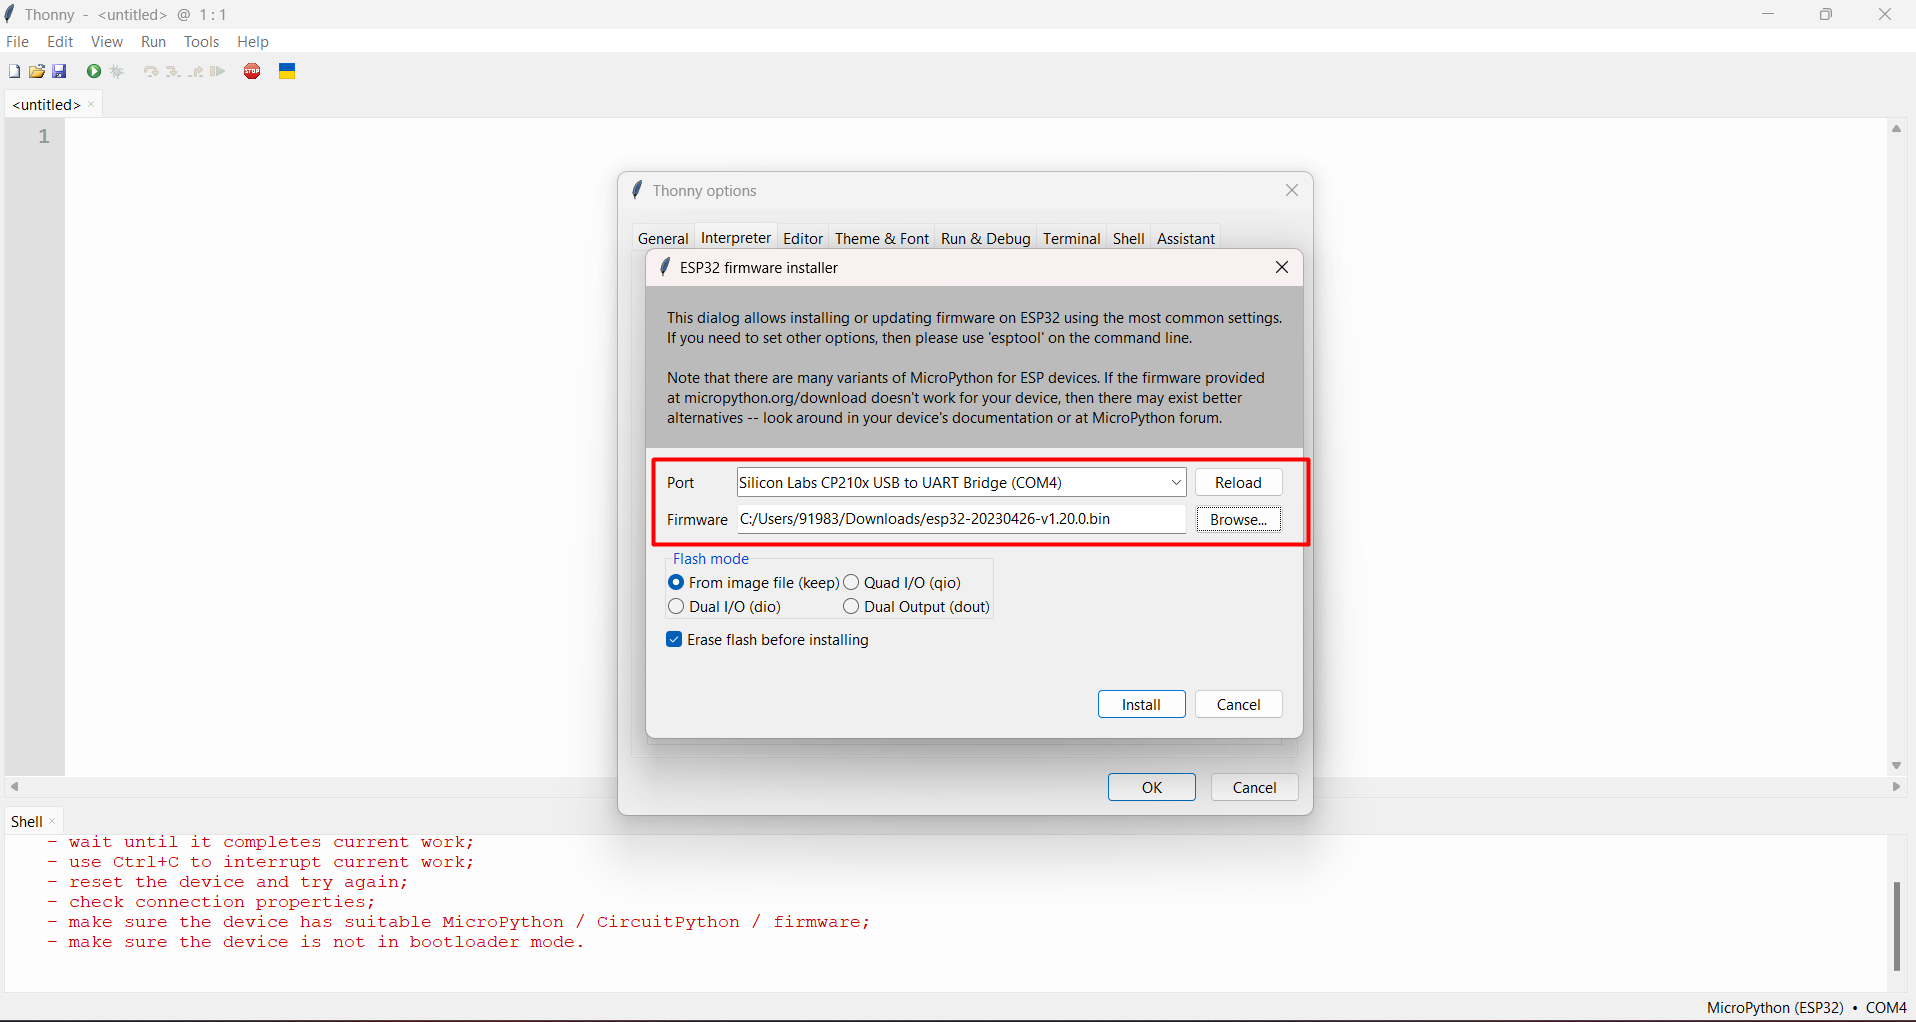
After sucessfully updating firmware, we can see esp32 is linked with ide.
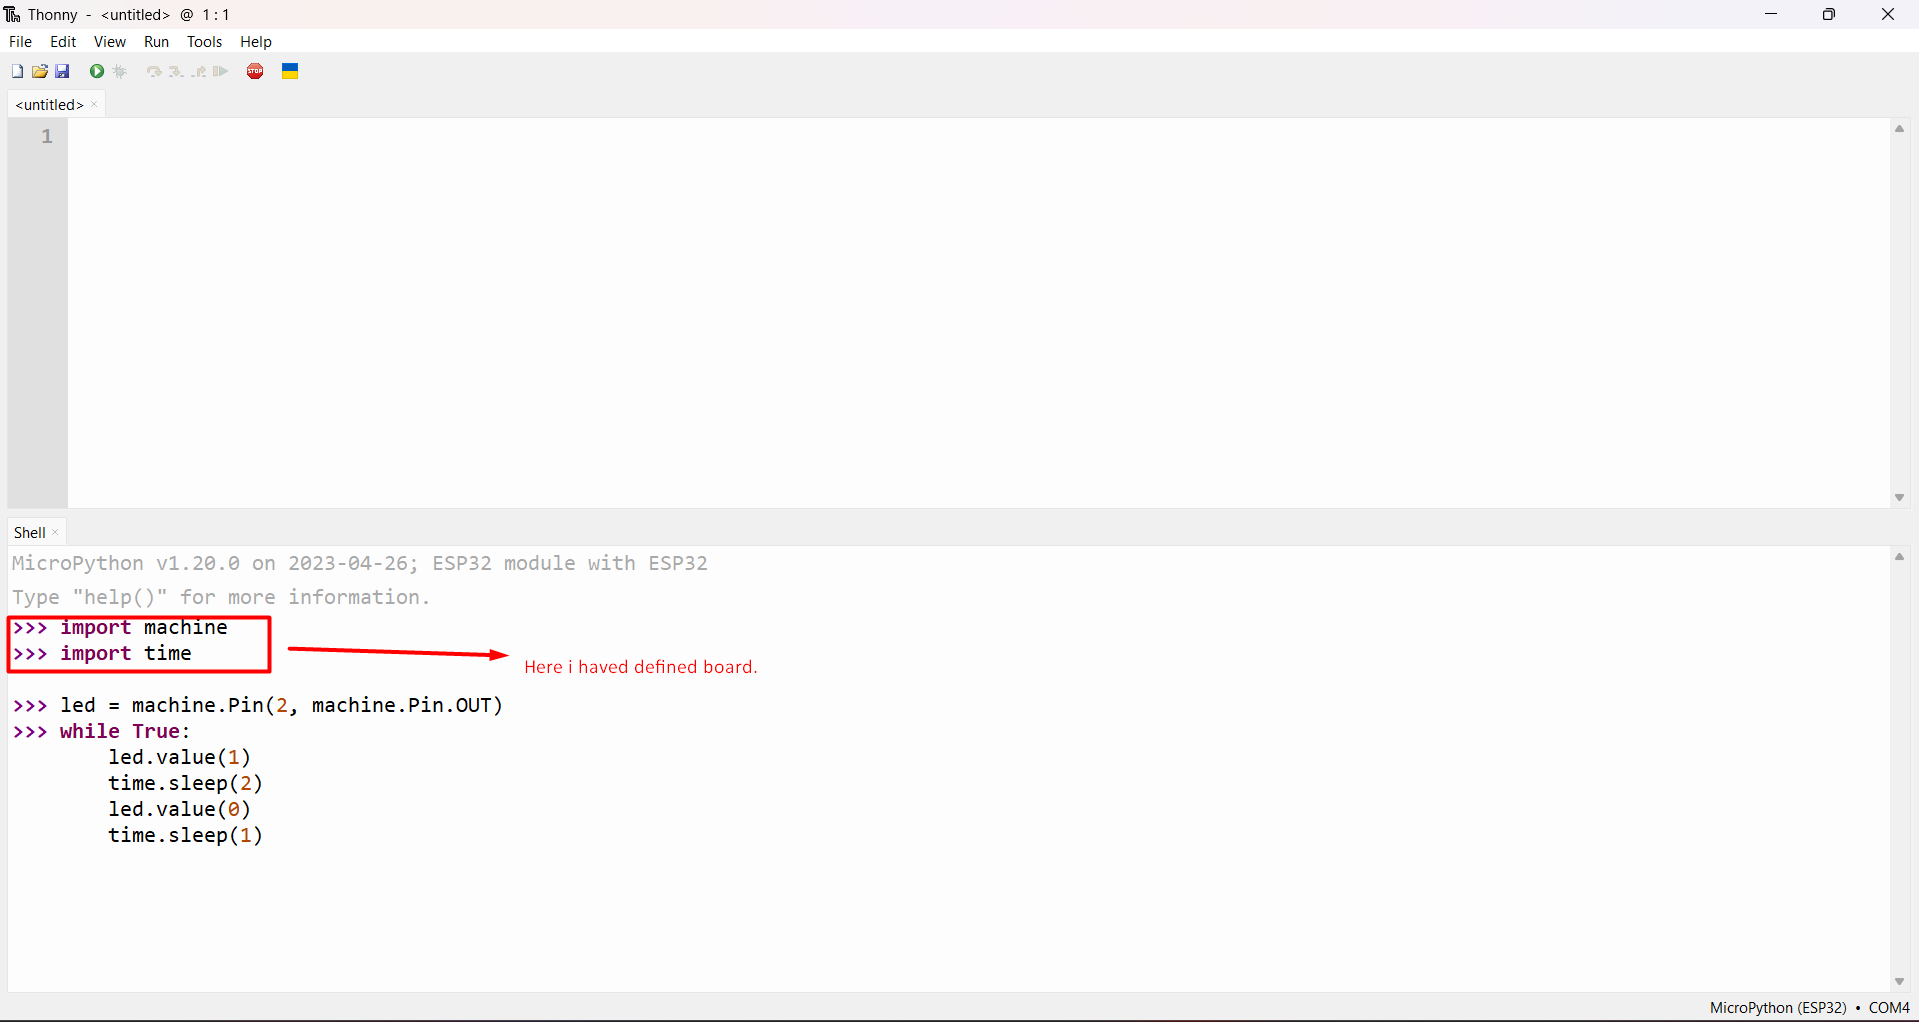
Programming - Micropython>
Sample code for built in Led blinking.
Video
Group Assignement
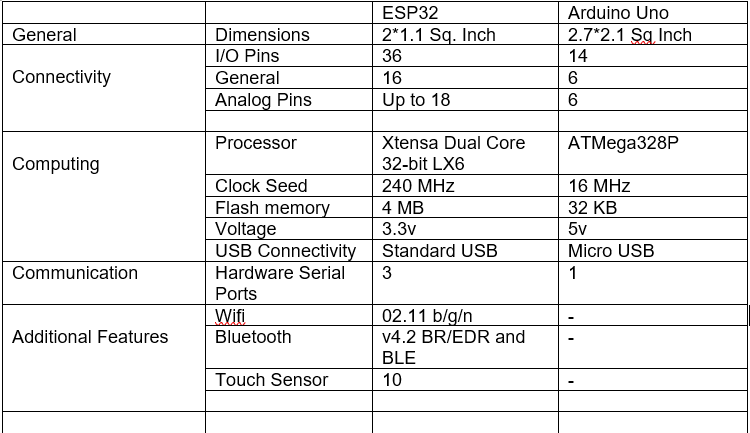
Comparison Between ESP32 & Arduino Uno Board.
Overview
This week we have learned different types of microcontrollers and their languages, for this week I mostly used ESP32 microcontroller.so here for the group assignment, we are going to make a comparative report for ESP32, Arduino Uno microcontroller
Methodology
Myself and my group members to decide to compare ESP32 with Arduino uno. so, for this, we distributed each microcontroller among us.
Our focus is to compare these microcontrollers to their architecture. Started reading Data sheets of different microcontrollers under study. After completing all-important research, we put all the data in tabular format.
Comparison Between ESP32 & Arduino Uno Board.
Learning of the week
What went well
Able to learn and use Arduino IdE.
Did learned basic of IDE, Adding different libaries, Board port selection.
Learned structure c++ for controlling and programming Microcontroller.
What went wrong
Faced diffuluties with Python, but i have learn and understood basic codes for python and used it for blinking of LED.