1.Embedded Programming
We used the Seeed microcontroller, along with three LED lights and resistors on the breadboard connected to the Arduino IDE.
Research
Useful links
SCode Example
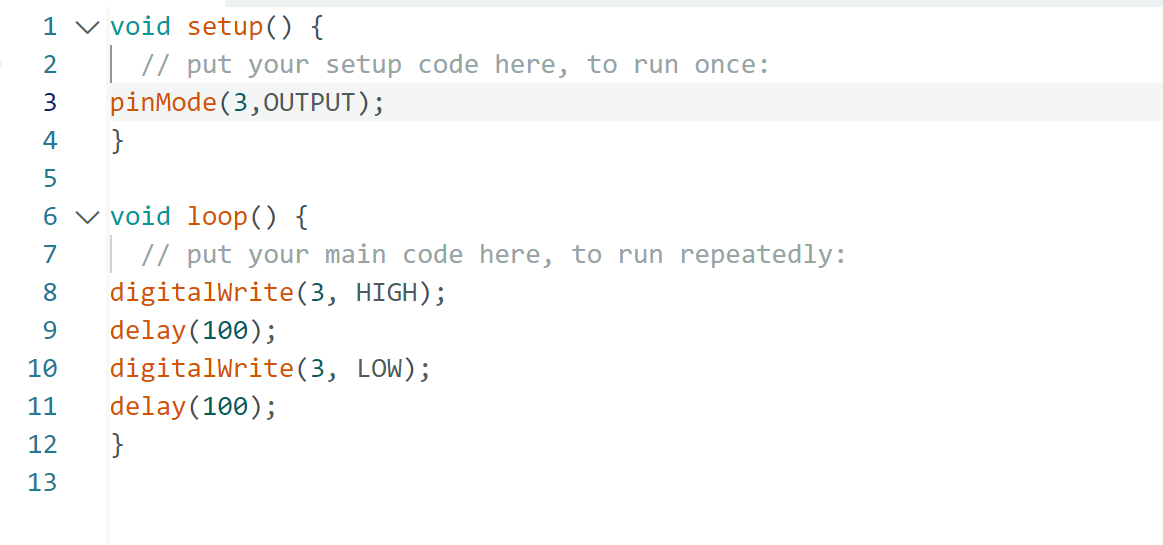
  // the setup function runs once when you press reset or power the board
  void setup() {
    // initialize digital pin LED_BUILTIN as an output.
    pinMode(LED_BUILTIN, OUTPUT);
  }

  // the loop function runs over and over again forever
  void loop() {
    digitalWrite(LED_BUILTIN, HIGH);   // turn the LED on (HIGH is the voltage level)
    delay(1000);                       // wait for a second
    digitalWrite(LED_BUILTIN, LOW);    // turn the LED off by making the voltage LOW
    delay(1000);                       // wait for a second
  }
connect seeed on ardunio
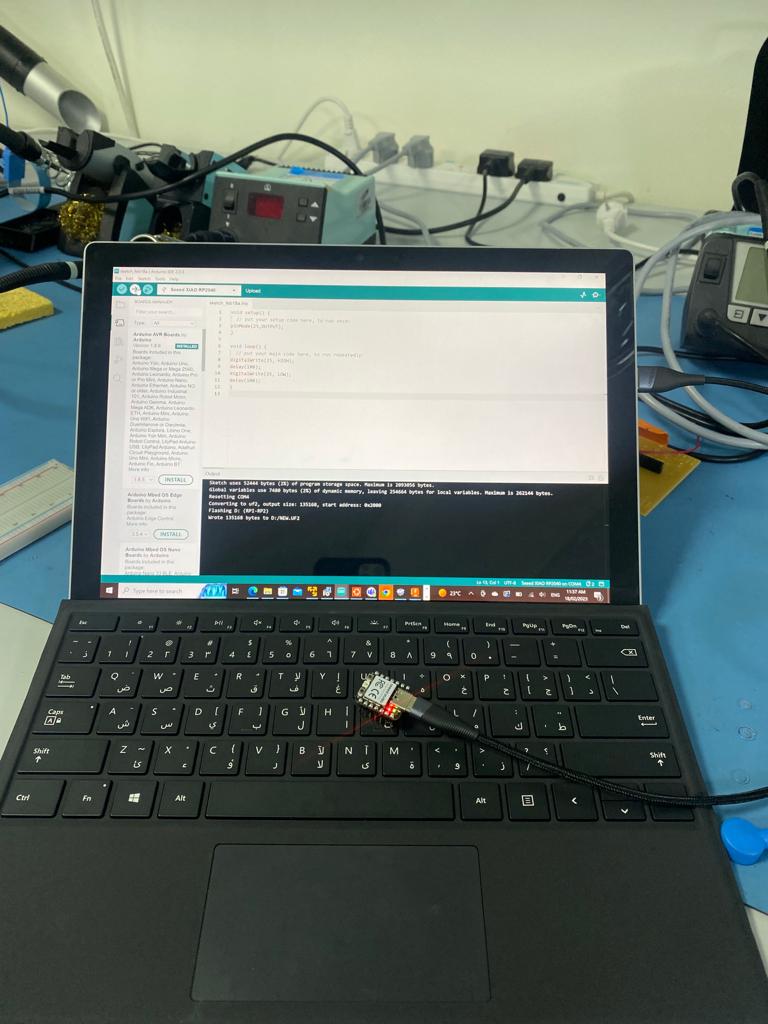
connect the seeed chip with the arduino
connect seeed on ardunio
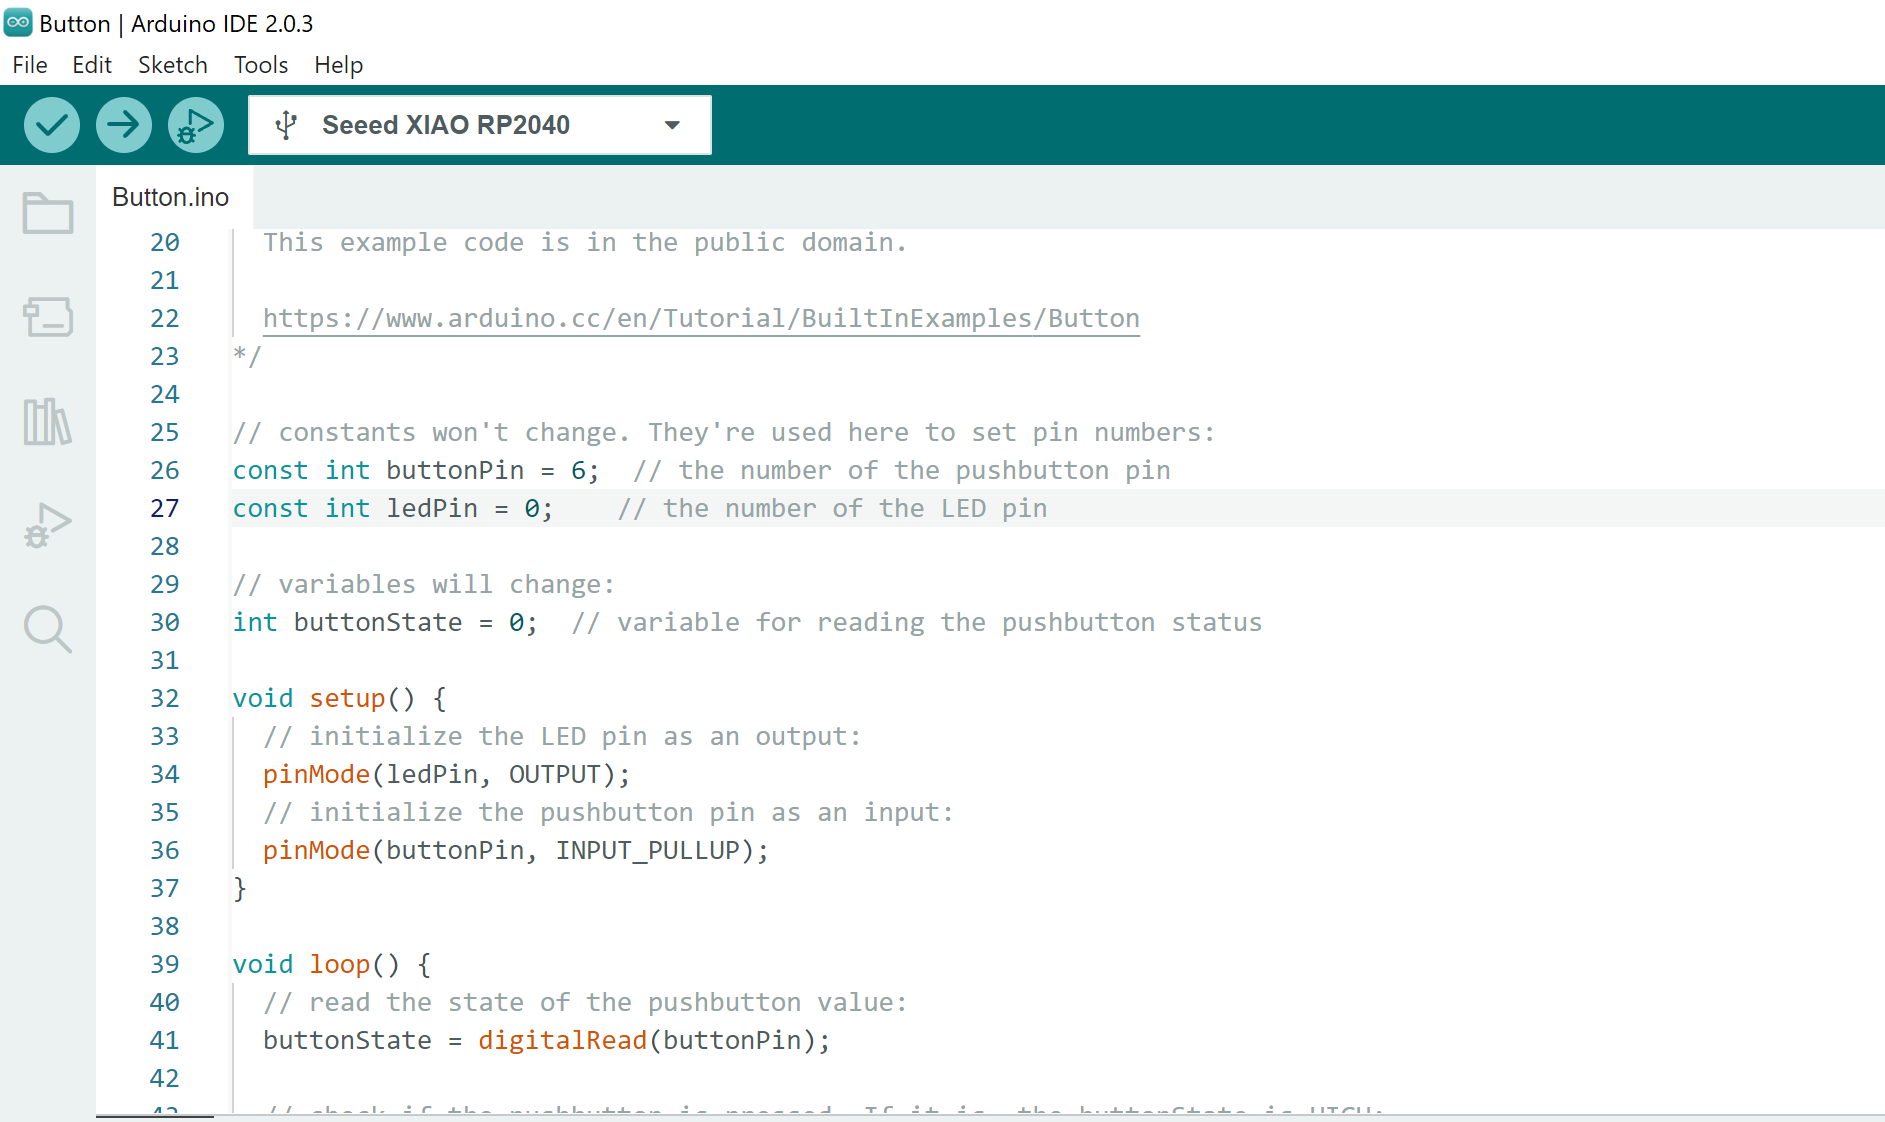
PinMode LED PIN output button_pin Input_PULLUP .
connect seeed on ardunio
green led light and resistor on the breadboad. we later on added a red, and blue light. Coded