To be familiar with GitLab.
Build my own website and learn some HTML.
Git.
Brackets.
To make sure that i am sharing my info in the right and easy way , and as Neil guide us to get an account in Gitlab and configure it with our computer by allowing it to share the files by the SSh-key
Initially, I downloaded Git for Mac onto my laptop. Git is a version control system (VCS) that I use to manage changes locally in my projects and folders as well as push & pull changes from remote repositories like Gitlab. I watched this tutorial to understand more about Git and GitLab, and it mentioned this term.
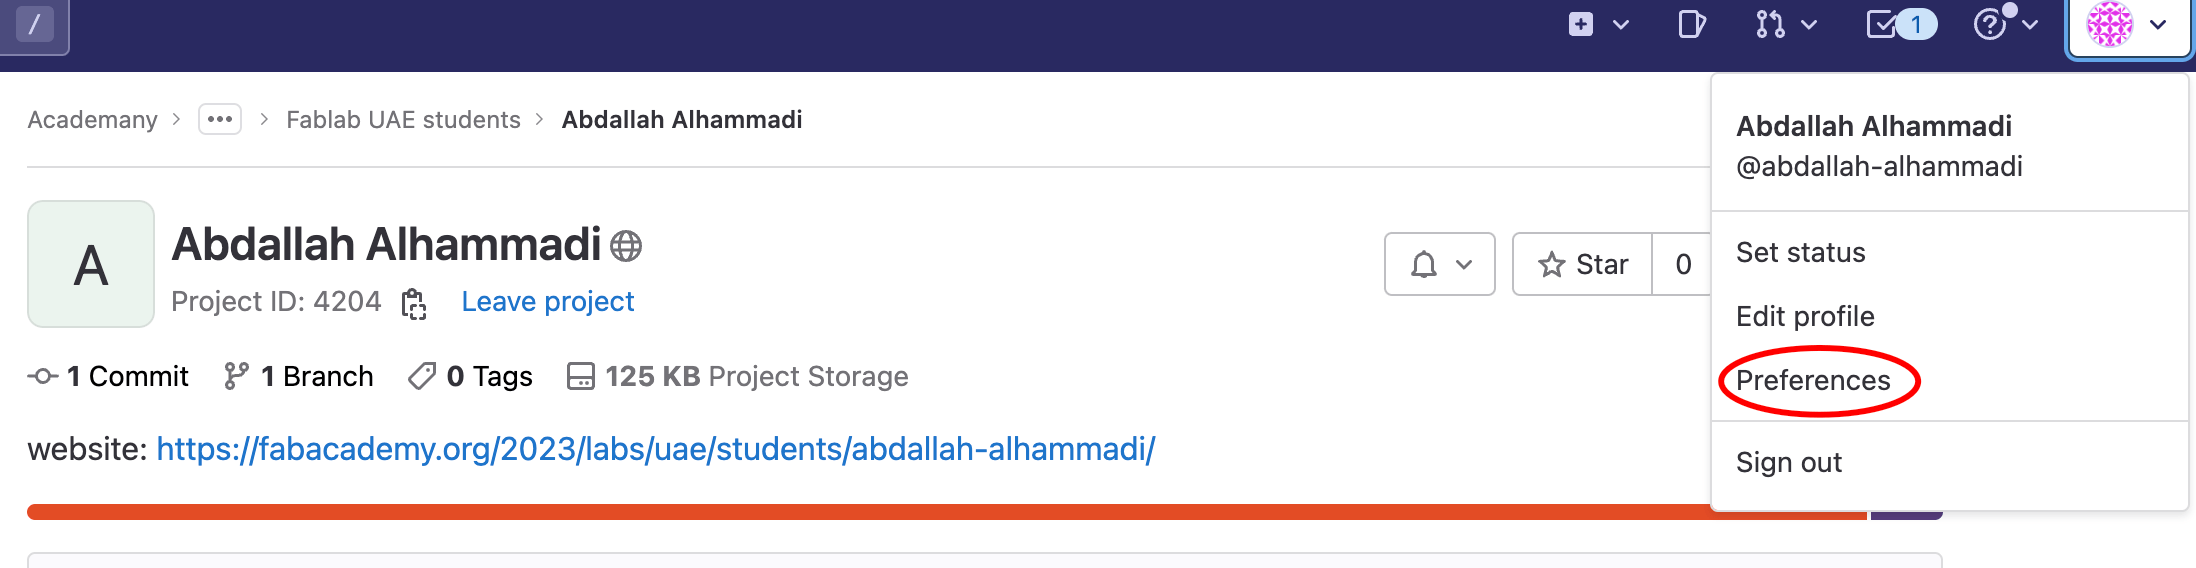
The next step is to create an account in Gitlab, its powerful tool to manage projects and sharing them. I was hoping to know about it before, I think it will be a useful tool to use it in university study.
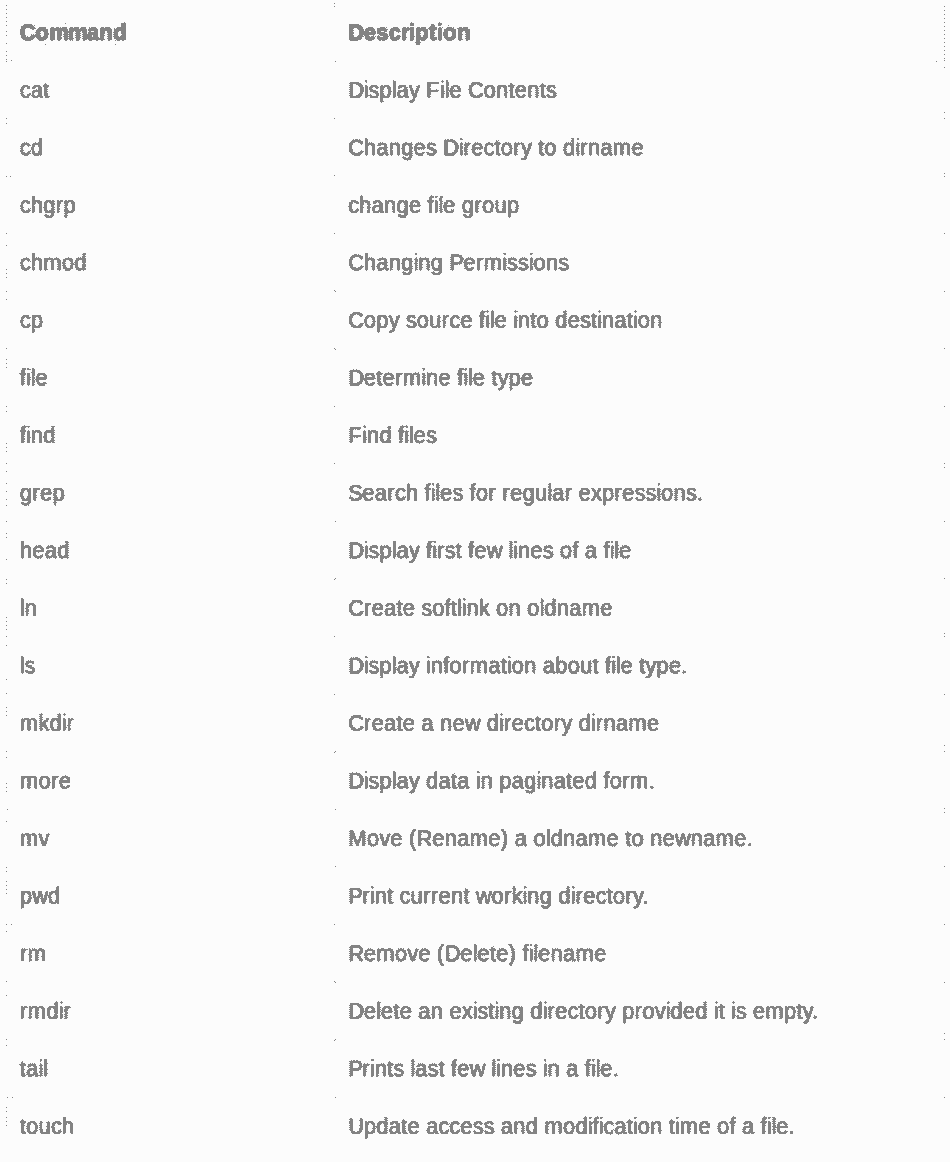
What is Bash? Bash is a command processor that typically runs in a text window where the user types commands that cause actions. Bash can also read and execute commands
Before using terminal I learn few bash commands
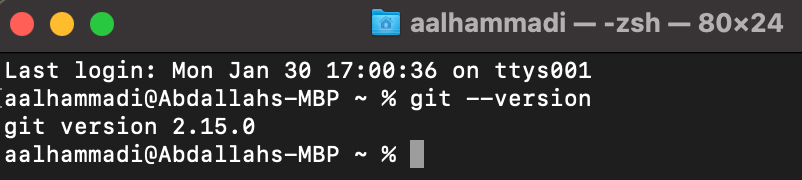
The first step in configuration Git in Mac operating system is to open the Terminal and type git --version to check if Git correctly installed by showing the number of the version. we need to do the configuration only once to connect my device with my account in Gitlab.
Enter Gitlab username and e-mail :


To make the connection between my laptop and Gitlab safe, the next step is to generate an ssh key pair. By doing this, I can avoid repeatedly entering my username and password.
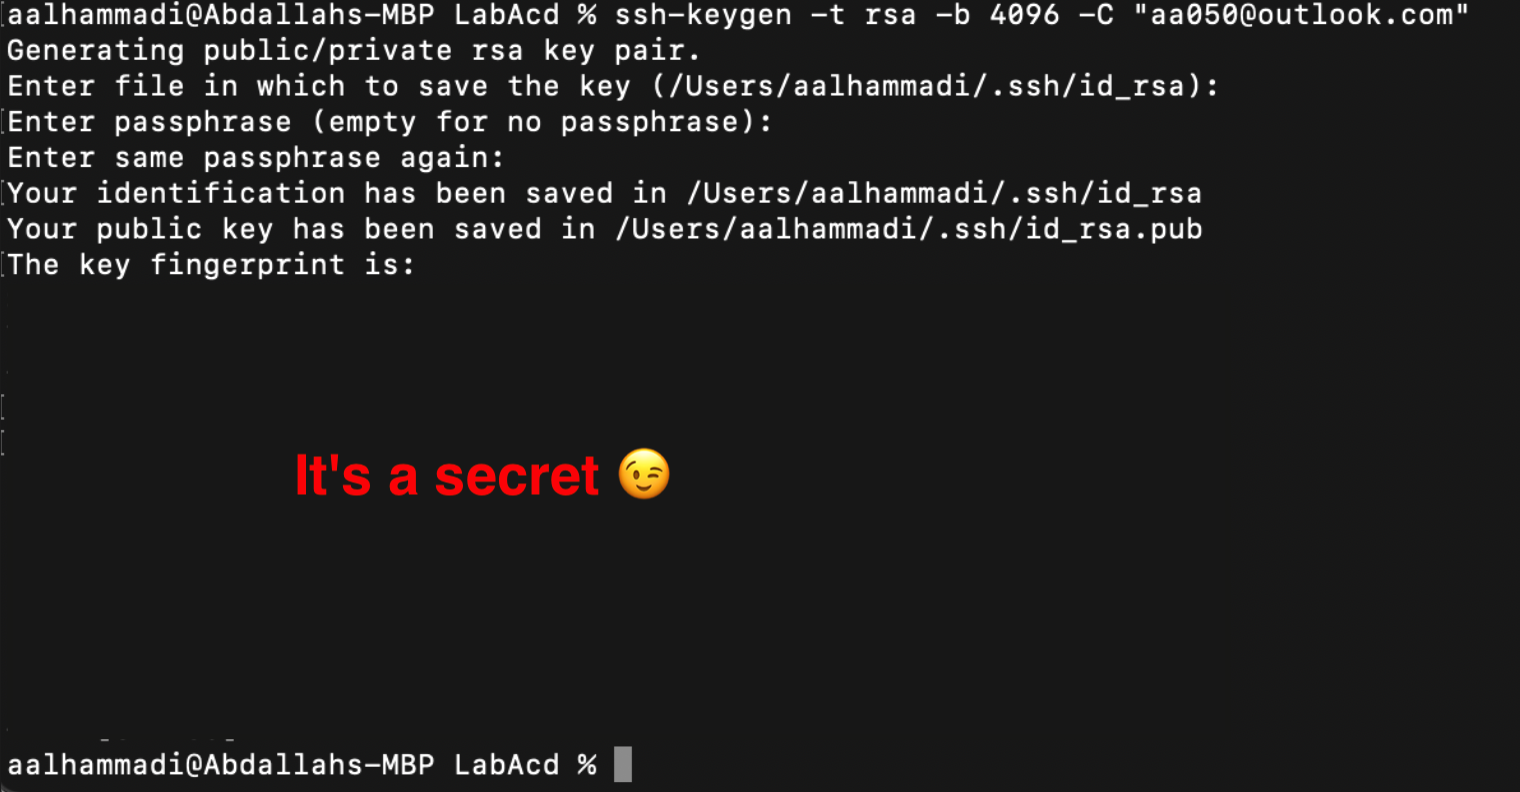
By typing this command ssh-keygen –t –b 4096 –c example@hotmail.com as shown the screenshot of key fingerprint generated only for my device.
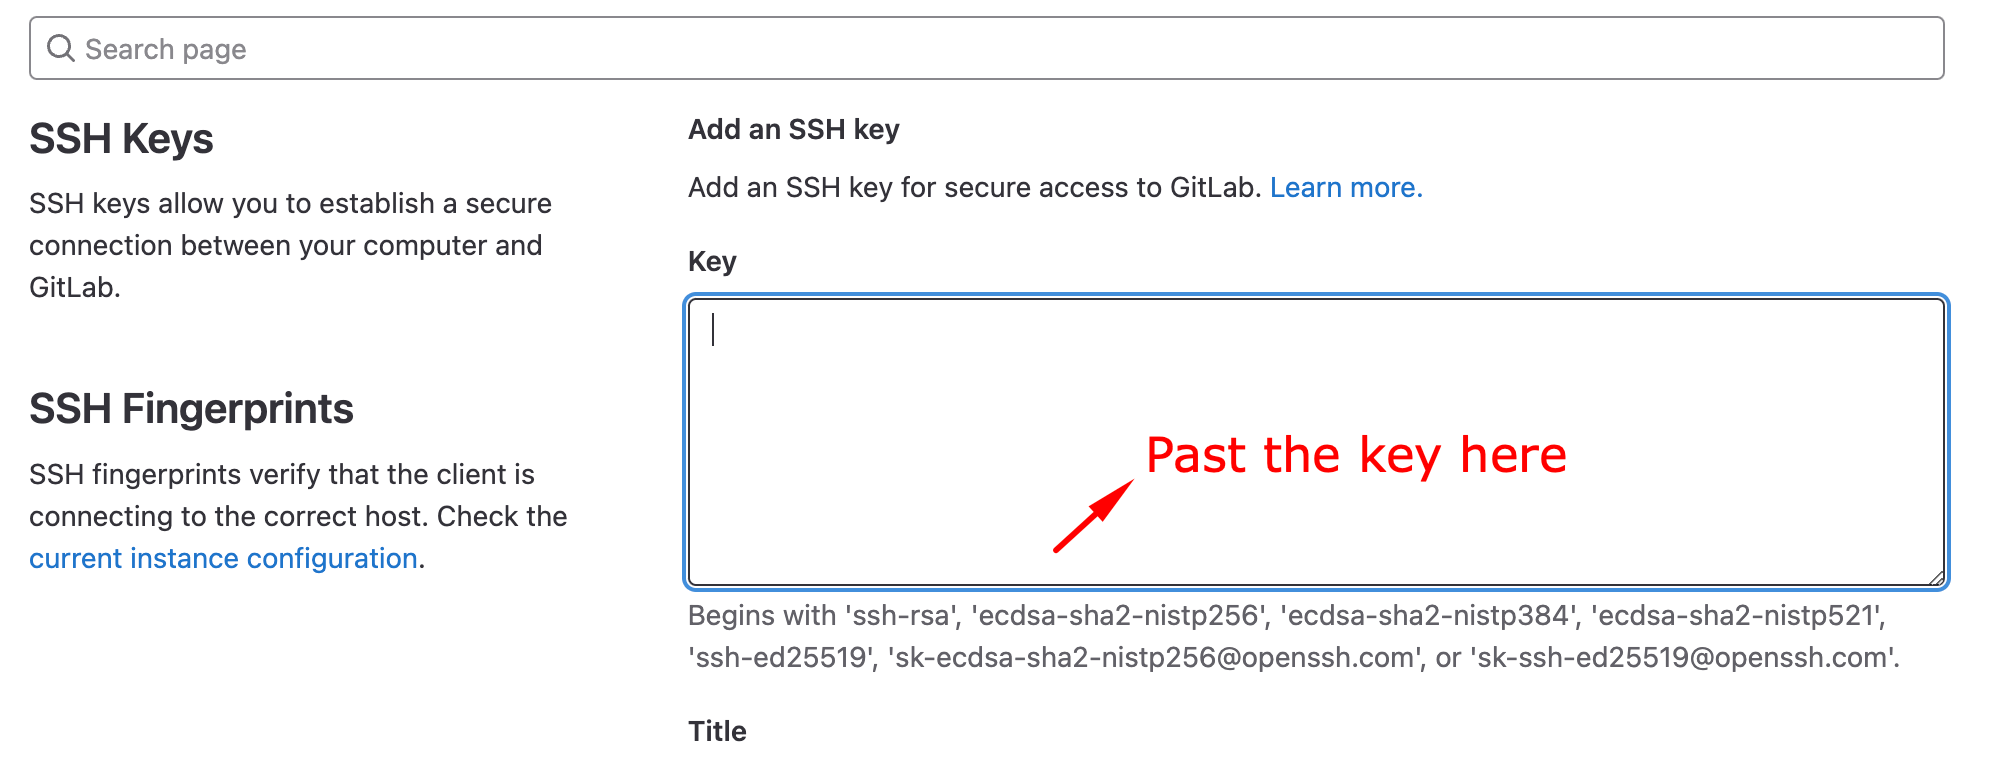
Then .ssh folder will generate, inside it there is file called id_rsa.pud we open it with text reader and copy all text or I used bash command (cat) to print it in the terminal then I copy it.

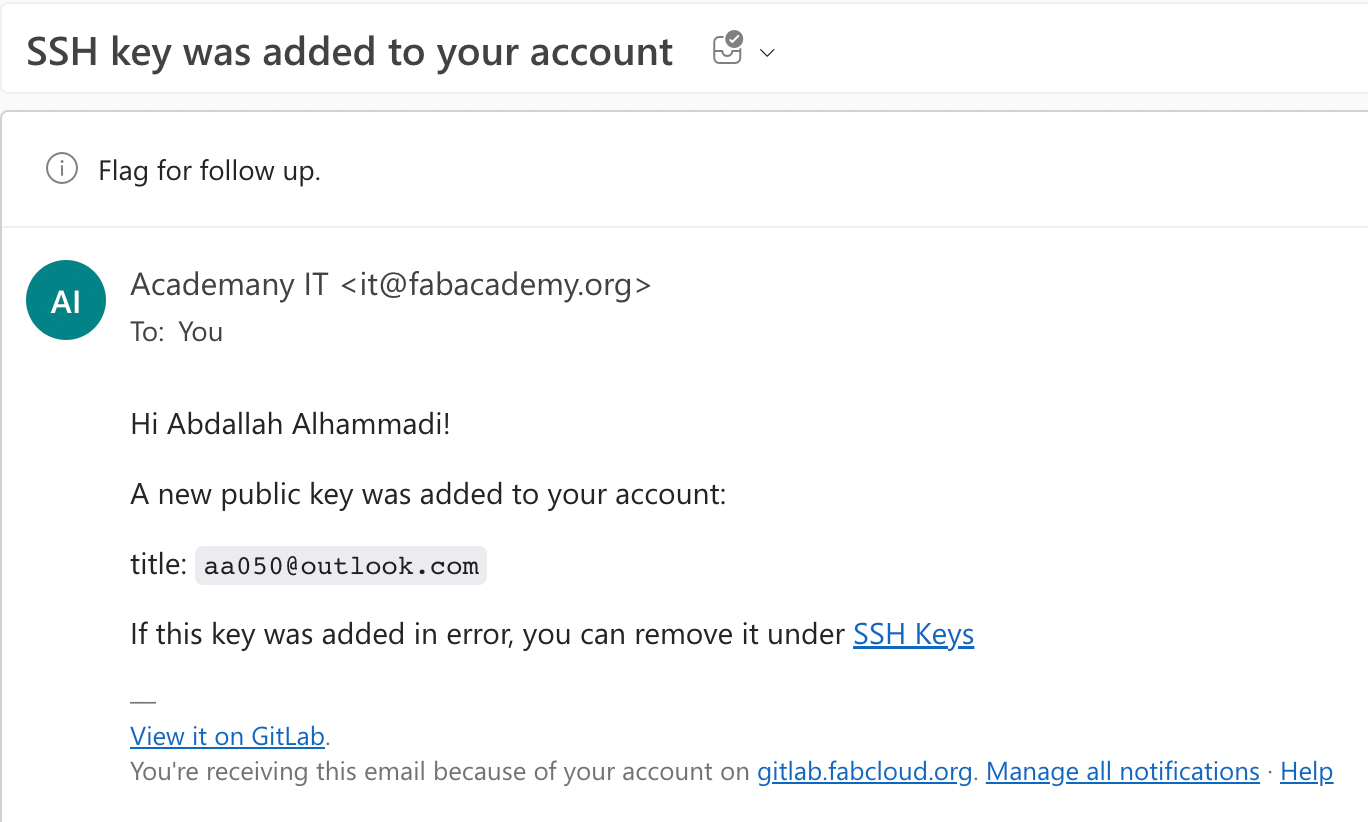
I did receive a confirmation email stating the key had been added to my account
How to clone and push the prioject to GIT LAB:
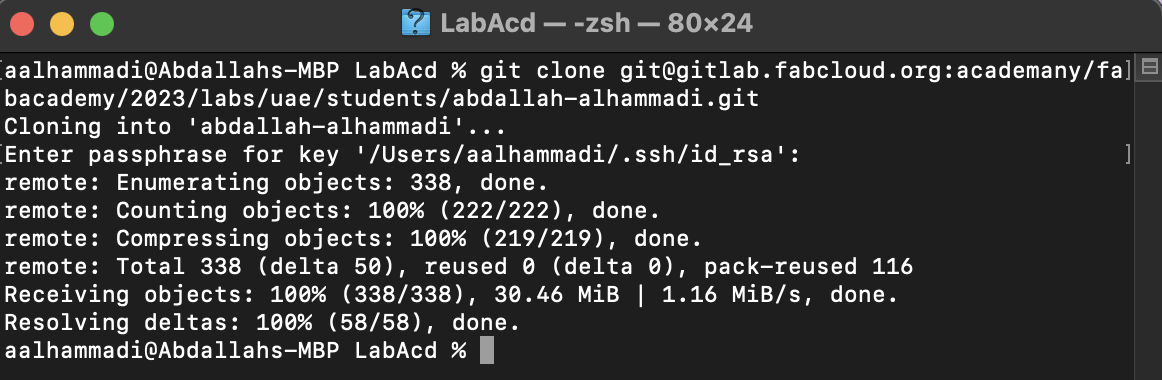
Transfer the files and folders from Gitlab to my device (locally) and the used command is:
```
git clone git@gitlab.fabcloud.org:academany/fabacademy/2023/labs/uae/students/abdallah-alhammadi.git
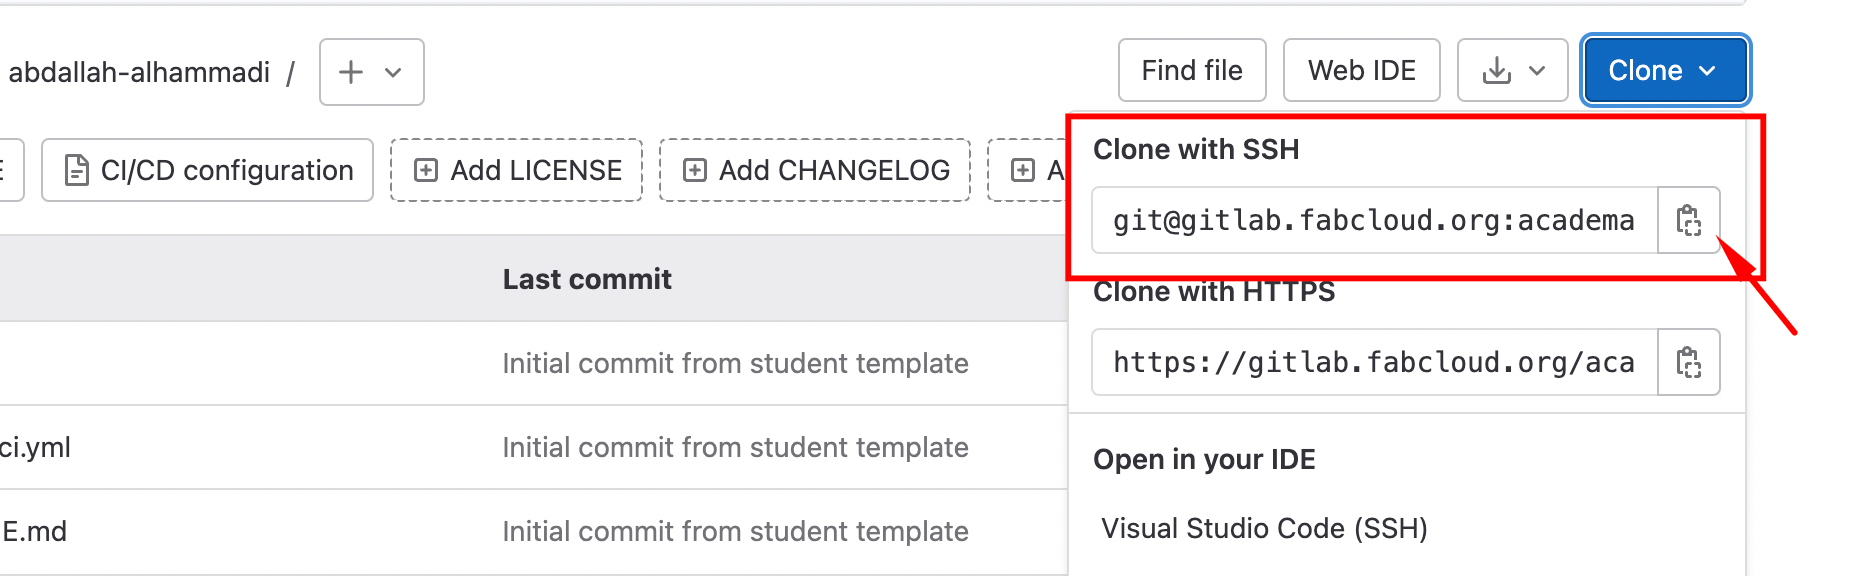
```The link used in the command above we can get it from Gitlab as shown in the screenshot below:
To update my repository on Gitlab whenever I make local changes to files or directories, I must type the commands below:
git add . // Add all new or modified files to the remote repository
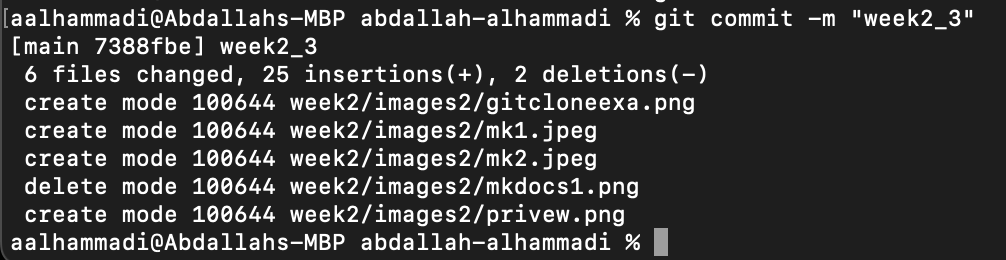
git commit –m " message " // Commit changes to head, each file commit described by a message
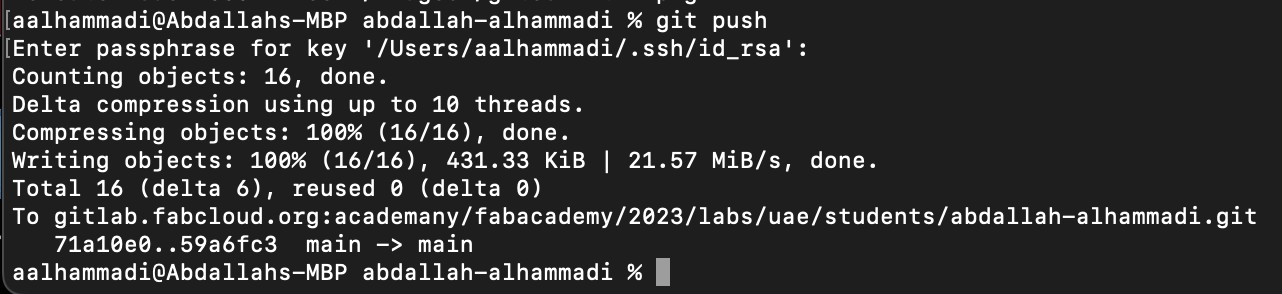
git push // Send changes to the master branch of your remote repositorygit clone : is clone or download the repository from gitLab
git add . : is to add all new or modified files to the repository

git commit –m " message " : Each file commit described by a message to have massage for each update
git push : is send changes to the master branch of your repository
Before entering any git commands, it's crucial to remember to use this command to choose the directory where the commands will be applied:cd file/folder "name" . As shown above I did enter desktop > LabAcd > abdallah-alhammadi folder, afterward I push the changes.

This was my first time using HTML to modify a website, so I utilized the free Jackson template from colorlib (Hypertext Markup Language). Its usage is for writing texts that are intended for web browsers. In order to make the necessary modifications to the website's code, I used the text editor Brackets. I enjoy using Brackets because it enables me to work in the code while simultaneously viewing changes made to the website's live preview and screen.
Screen shot of my work in Brackets :

I decided to work with normal (HTML) using "Brackets", that because I am used to (HTML) sinc High school.
I discover that I have to use python3 in terminal instead of python, that same with pip -> pip3
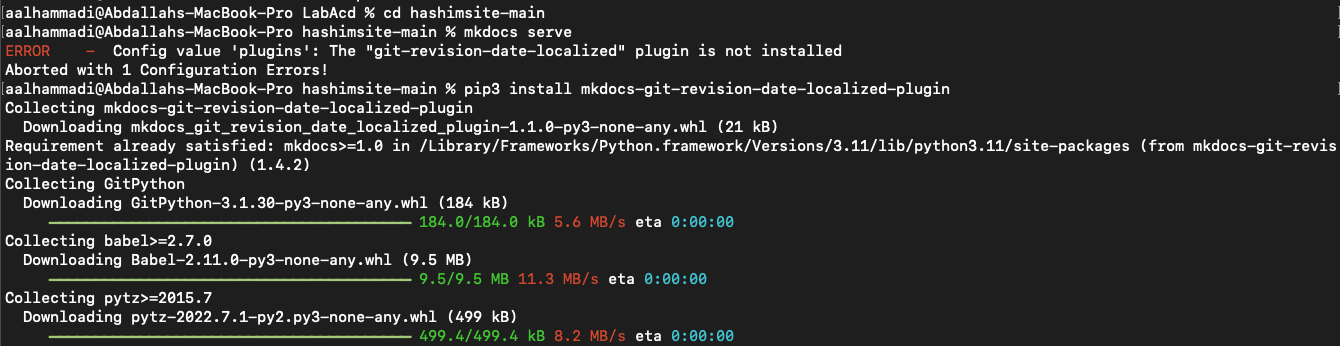
pip3 install
I learned to removed all the files related to the old push files using the below commands or we can just "git add . --> git commit -m "name" --> git push " and all the old files will be updated with the new files.
git rm -r " file_name.file_type"

git commit -m "Comments"

git push