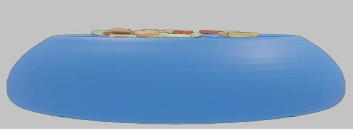
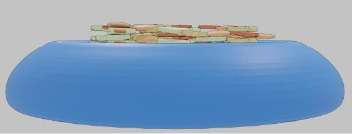
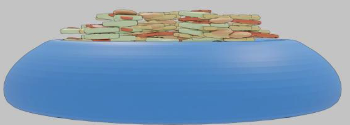
We're about to craft a graphical interface that reads the value from a potentiometer and switches an image based on the obtained value. As our ultimate project is an automatic cat feeder, the images will display a progression from an empty bowl to a full one.
For the programming, we'll be using Python and the Tkinter library. Initially, we'll leverage a foundational script provided by ChatGPT and then modify it to meet our specific needs.
The original prompt used for reference was: "I want to make a graphical interface in Python in which I have an image that changes depending on the value read by PySerial."
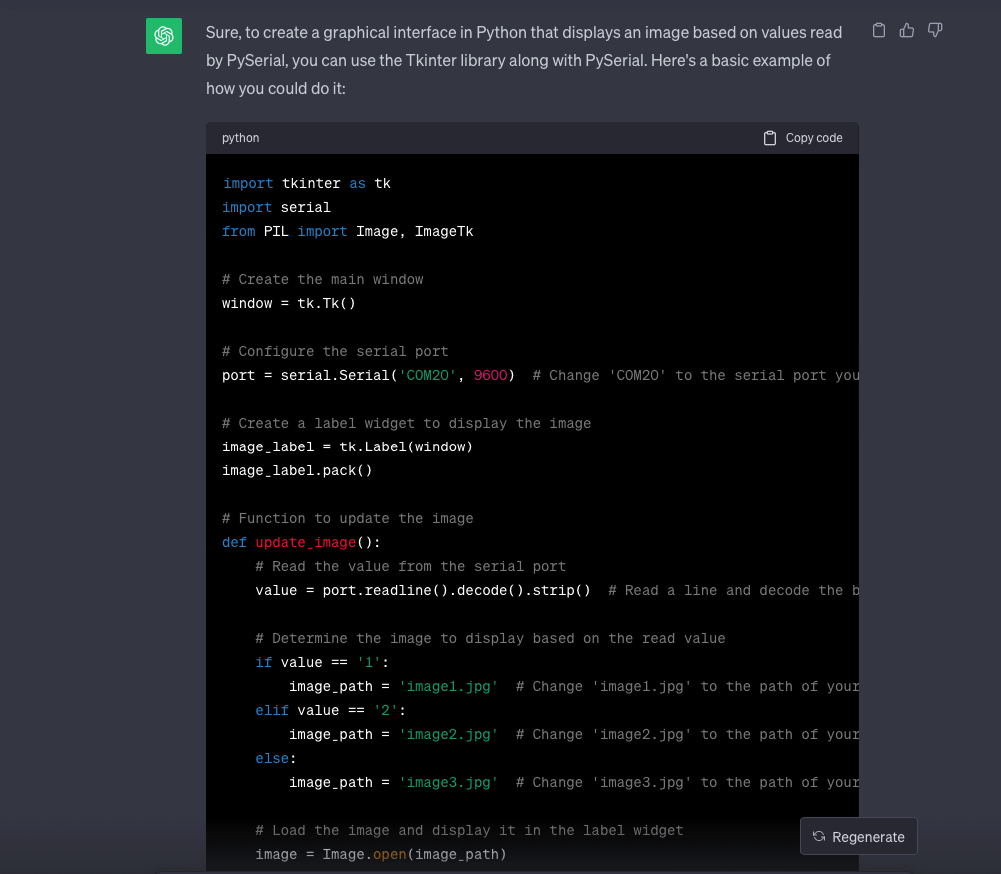
The result obtained was the following: Script 01 - Python GUI
import tkinter as tk
import serial
from PIL import Image, ImageTk

# Create the main window
window = tk.Tk()

# Configure the serial port
port = serial.Serial('COM20', 9600)  # Change 'COM1' to the serial port you are using

# Create a label widget to display the image
image_label = tk.Label(window)
image_label.pack()

# Function to update the image
def update_image():
    # Read the value from the serial port
    value = port.readline().decode().strip()  # Read a line and decode the bytes to string

    # Determine the image to display based on the read value
    if value == '1':
        image_path = 'image1.jpg'  # Change 'image1.jpg' to the path of your first image
    elif value == '2':
        image_path = 'image2.jpg'  # Change 'image2.jpg' to the path of your second image
    else:
        image_path = 'image3.jpg'  # Change 'image3.jpg' to the path of your third image

    # Load the image and display it in the label widget
    image = Image.open(image_path)
    image = image.resize((300, 300))  # Change the image size as needed
    image_tk = ImageTk.PhotoImage(image)
    image_label.configure(image=image_tk)
    image_label.image = image_tk  # Update the reference to the image to prevent it from being garbage collected

    # Schedule the next image update
    window.after(1000, update_image)  # Change the update interval as needed (in milliseconds)

# Start updating the image
update_image()

# Run the main graphical user interface loop
window.mainloop()
We will make a minor adjustment by adding one more option to the conditional statement, resulting in a total of four images displayed based on the obtained value. This change will allow us to represent different states in our automatic cat feeder project more effectively.
if valor == '1':
        ruta_imagen = 'imagen1.jpg'
    elif valor == '2':
        ruta_imagen = 'imagen2.jpg'
    elif valor == '3':
        ruta_imagen = 'imagen3.jpg'
    else:
        ruta_imagen = 'imagen0.jpg'
Additionally, the image refresh time was also changed to be 10 milliseconds and the image size was changed to (960,540)
The prompt used to inquire about the Arduino code needed to send a signal through the serial port was: "What would be the Arduino code to transmit data via the serial port?"

void setup() {
  Serial.begin(9600); // Initializes serial communication at 9600 baud rate
}

void loop() {
  int sensorValue = analogRead(A0); // Reads analog value from pin A0
  Serial.println(sensorValue); // Sends the sensor value via the serial port
  delay(1000); // Adds a 1-second delay
}
The result obtained was the following: - Script 02 - XIAO ESP32 Pyserial
void setup() {
  Serial.begin(9600);  // Sets the transmission speed of the serial port to 9600 baud
}

void loop() {
  int value = analogRead(A0);  // Reads the analog value from pin A0

  // Sends the value through the serial port as a string
  if (value < 512) {
    Serial.println('1');
  } else {
    Serial.println('2');
  }

  delay(1000);  // Waits for 1 second before the next reading
}
Here the result was quite simple, we make changes in the conditional since when using this module we have a 12-bit ADC, that is, the values go from 0 to 4095
if (valor <= 4095 && valor>=3072) {
Serial.println('3');
}
else if (valor < 3072 && valor>=2048) {
Serial.println('2');
}
else if (valor < 2048 && valor>=1024) {
Serial.println('1');
}
else {
Serial.println('0');
}
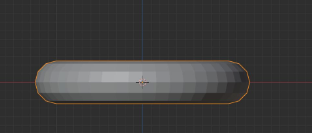
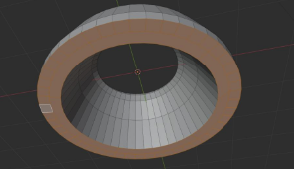
delay(100); The interface images were designed using Blender. Beginning with a basic shape called a torus, the creation of a pet bowl was achieved by utilizing the edit mode.
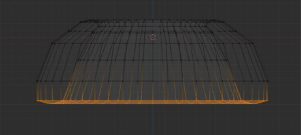
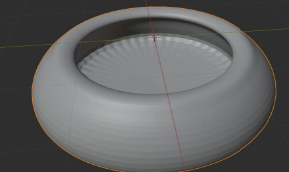
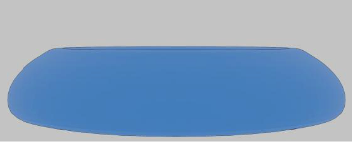
Basic shapes representing small cookies were also crafted. These shapes were then placed inside the bowl to generate the imagery
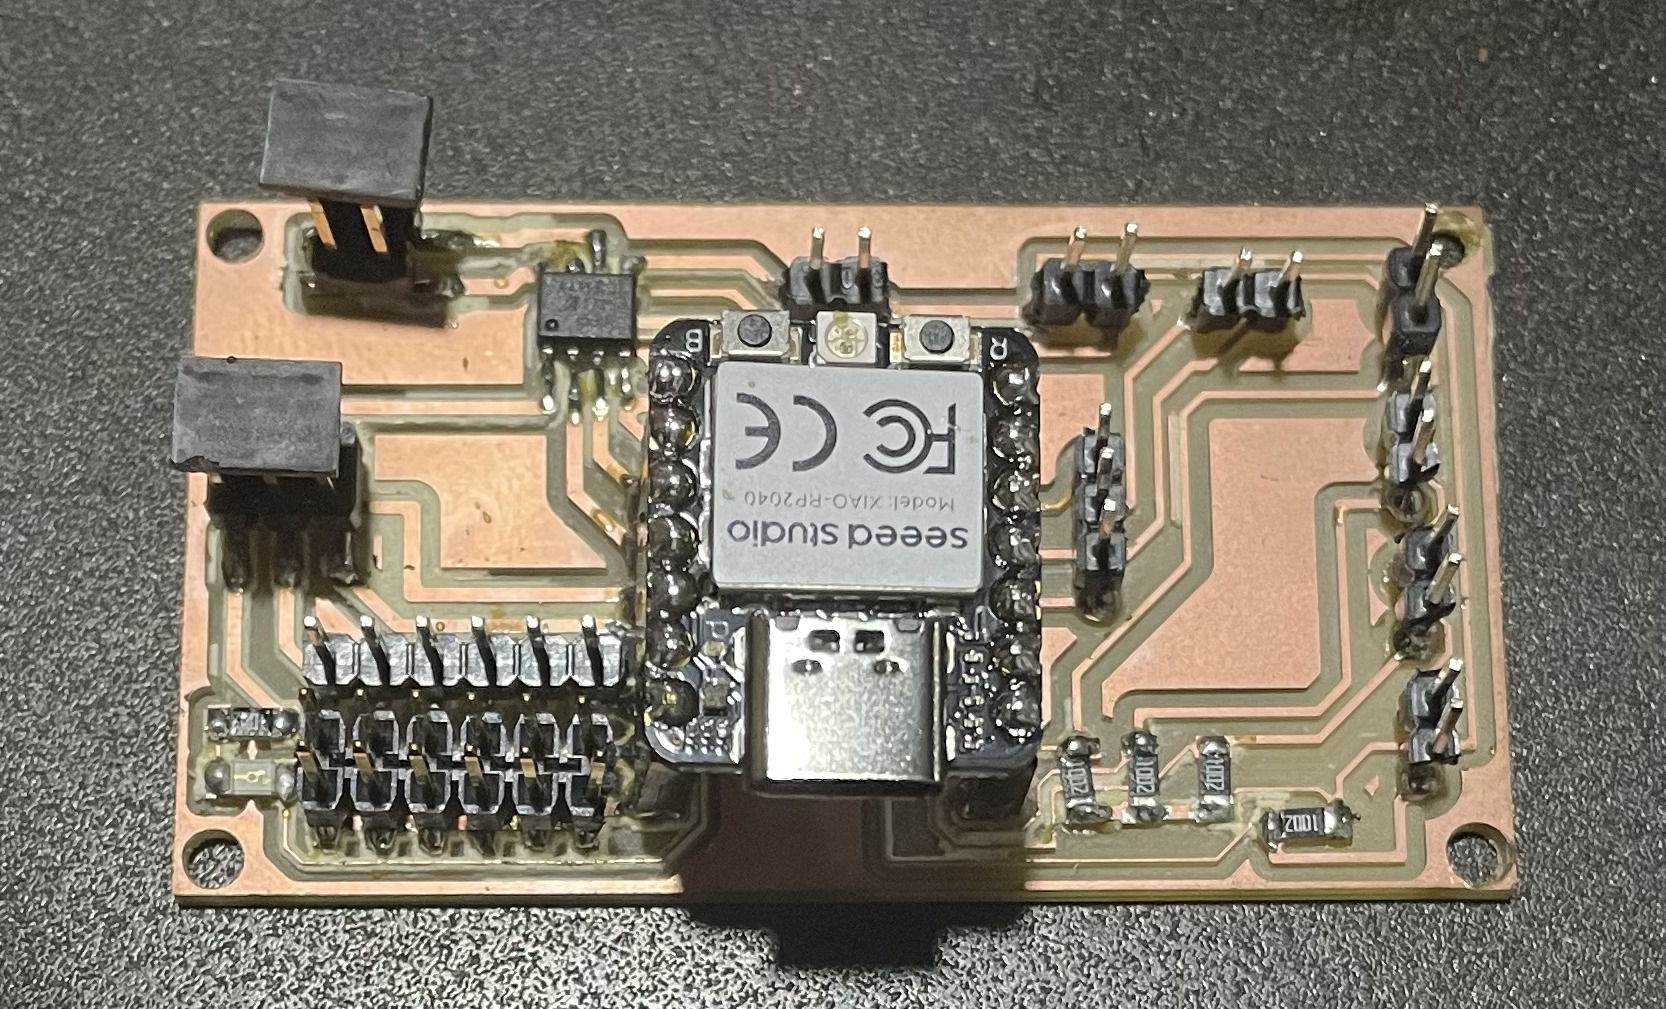
The Arduino code was uploaded to our XIAO ESP32, and the Python script was executed using the Geany IDE