Week 5: Group Assignment for 3D Scanning and Printing
- Test the design rules for our 3D printer: Ultimaker 2+
- Document our work on the group work page and reflect on individual page what you learned about the characteristics of your printer
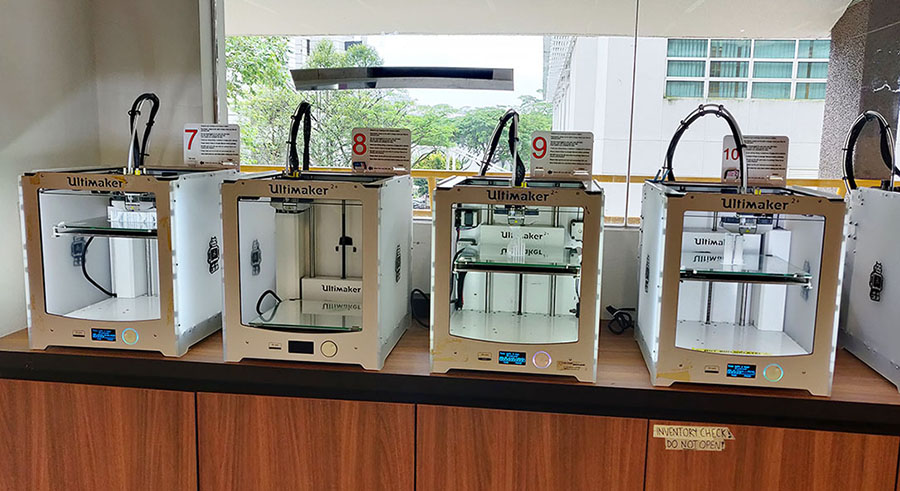
The 3D printer we use for testing
Ultimaker 2 Plus
Technical specifications:
- Modeling Technology: FDM (Fused Deposition Modeling)
- Printing Size: 250 x 250 x 1250mm
- Printing speed: 30 ~ 300mm/s
- Filament: PLA
- Nozzle Diameter: 0.4mm
- Build Plate Temp: 50 ~ 100 degree C
- Nozzle Temperature: 180 ~ 260 degree C
- Print surface: Heated glass build plate
- Weight: approximate 12 kg
Filament material
There are various filaments available in the market but for this week we try to get familiarize with PLA filament only for safety reason. Firstly, they are natural, non-toxic, and degradable over time. Their high printing success rate is suitable for beginners and our chosen 3D printer.
Slicing software: Cura Slicer
Slicing softwrae is needed to convert the model (usually STL format) to printer commands in g-code format.
Print out design rules tester for Ultimaker
We got all the design rules 3D models from FabAcademy.
General settings for our 3D printer -Layer Height (0.2mm), Wall Thickness (0.8mm), Top/Bottom thickness (0.4mm), Printing temperature (210C), Speed (60mm/s).
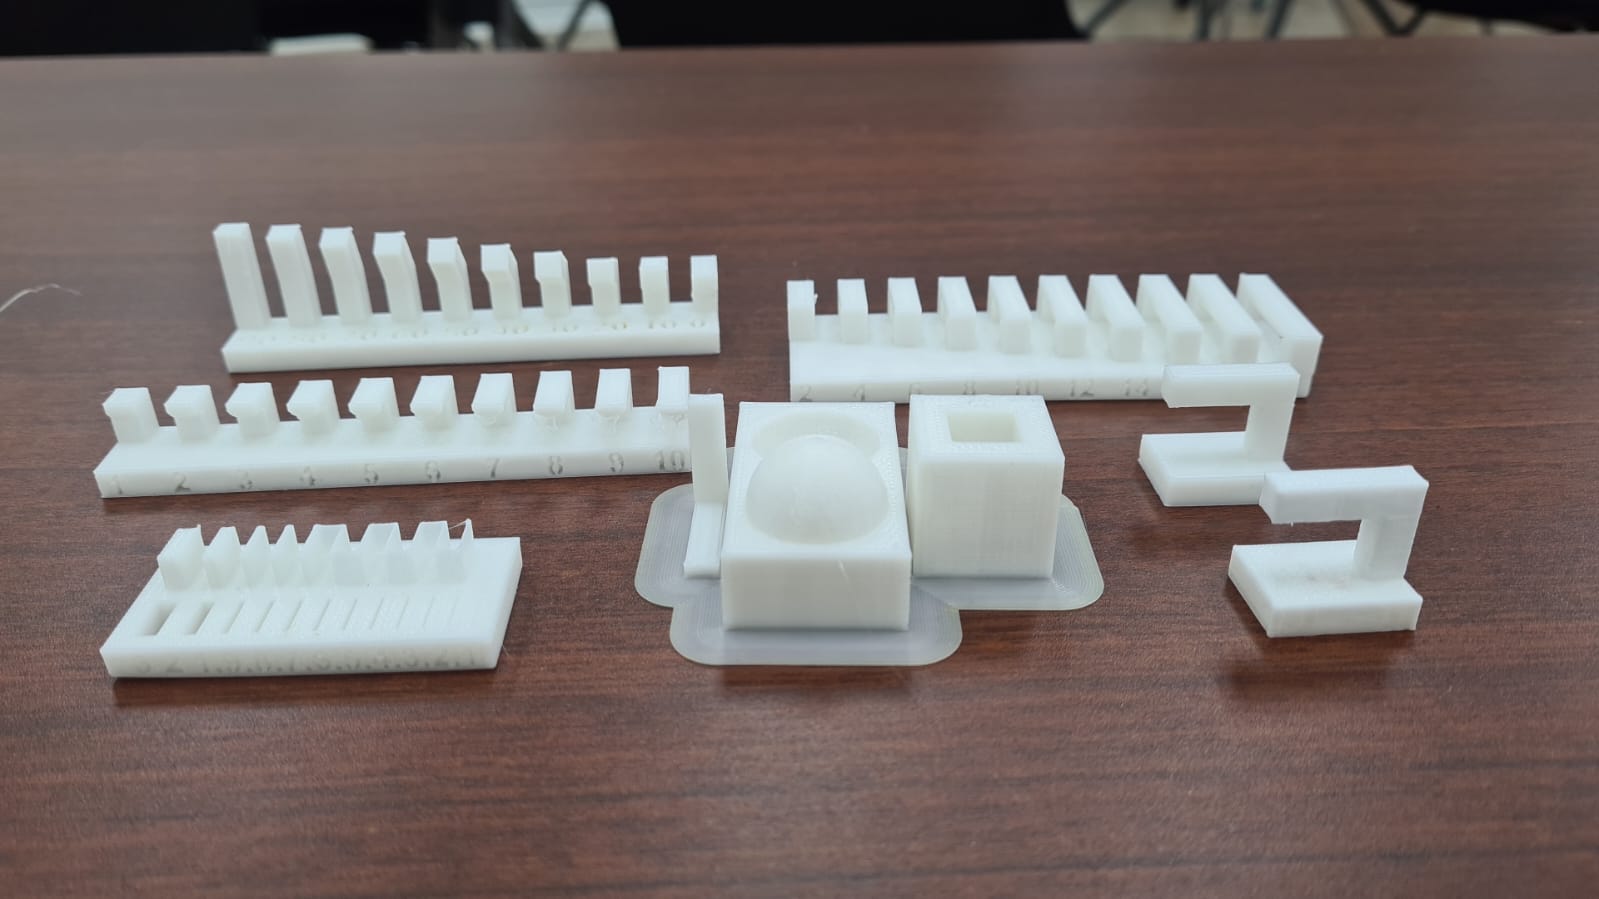
- Test 1: Overhang without support - angle less than 30 degree would be ideal
- Test 2: Clearance (surfaces that are too close at 0.1mm will stick together)
- Test 3: Bridging (less than 18mm is acceptable)
- Test 4: Wall thickness
- Test 5: Dimension (tolerance is about +/- 0.2mm)
- Test 6: Anisotropy
- Test 7: Surface finish
- Test 8: Infill test
The limitations of our 3D printer
- Overhang angle less than 30 degree would be ideal
- Clearance at 0.25mm is smooth
- Bridging less than 18mm
- Infill about 10 ~ 18%
- Tolerance is about +/- 0.2mm)
- Printing speed about 60mm/s
- Always take into consideration of speed and size limits in FDM technology
Making other testing
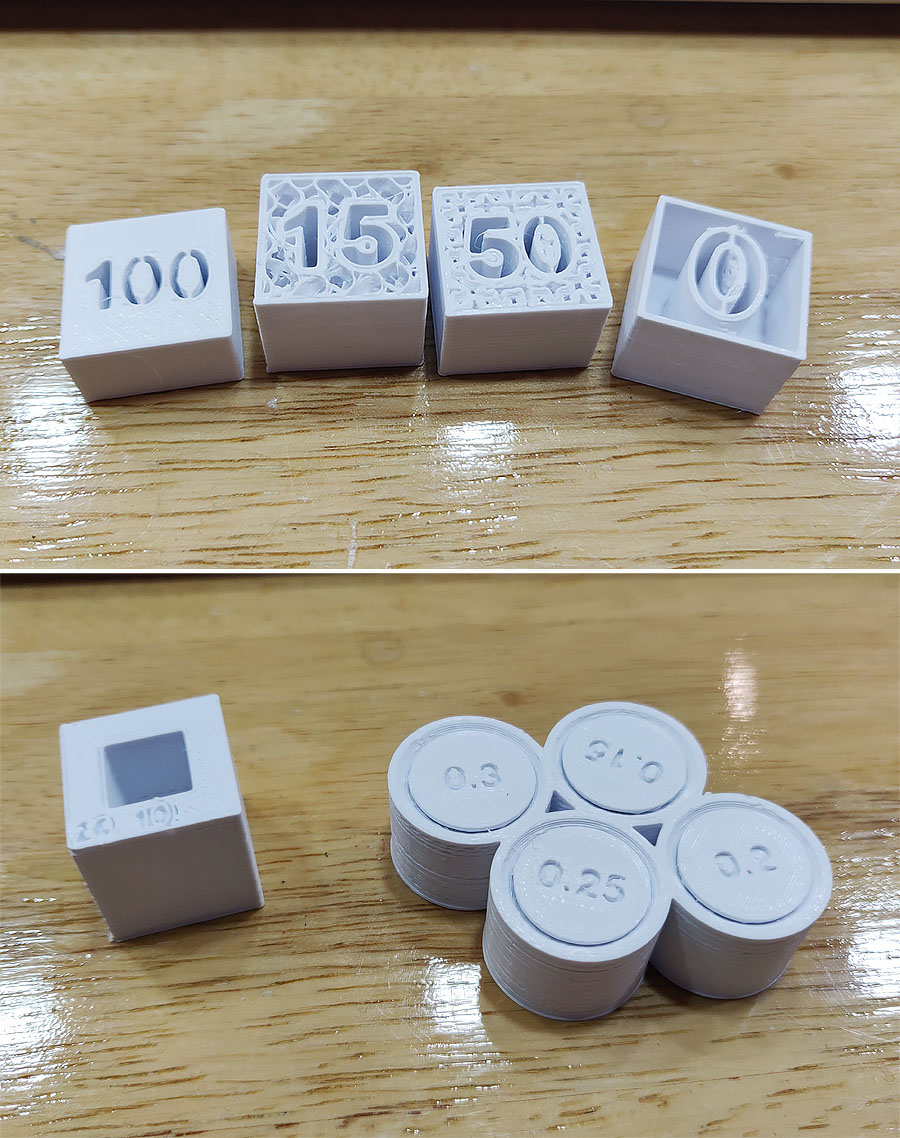
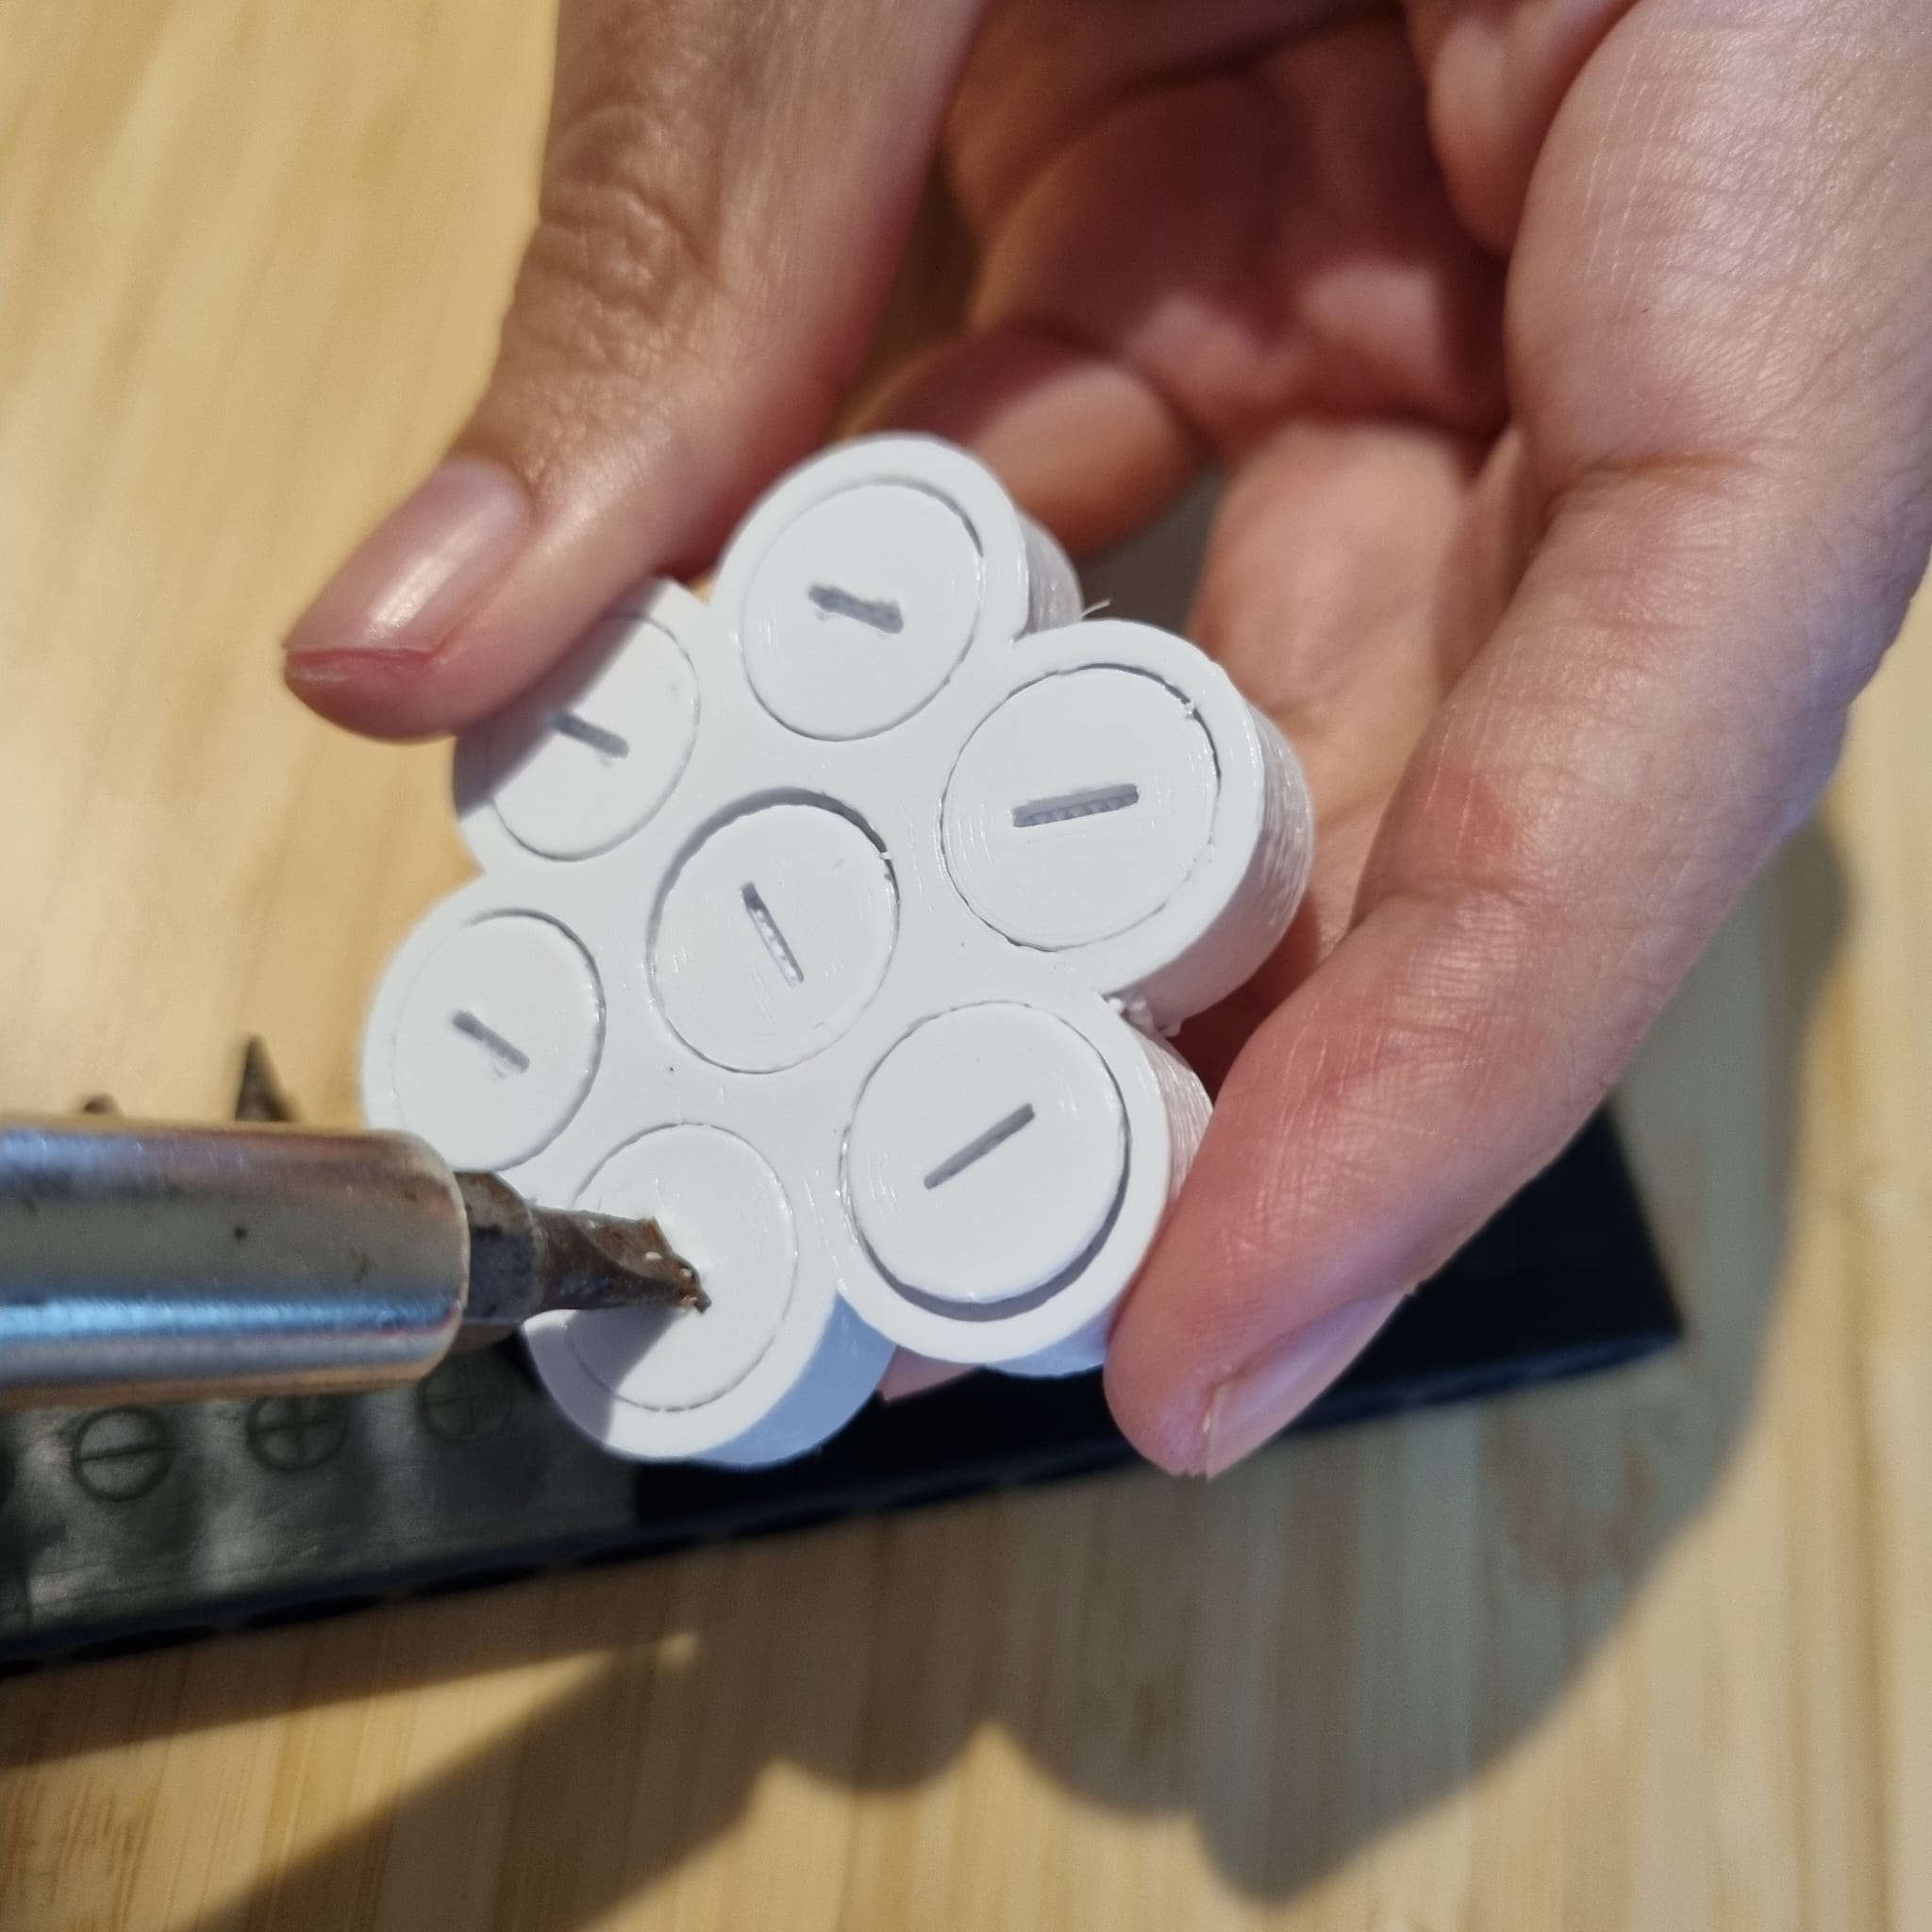
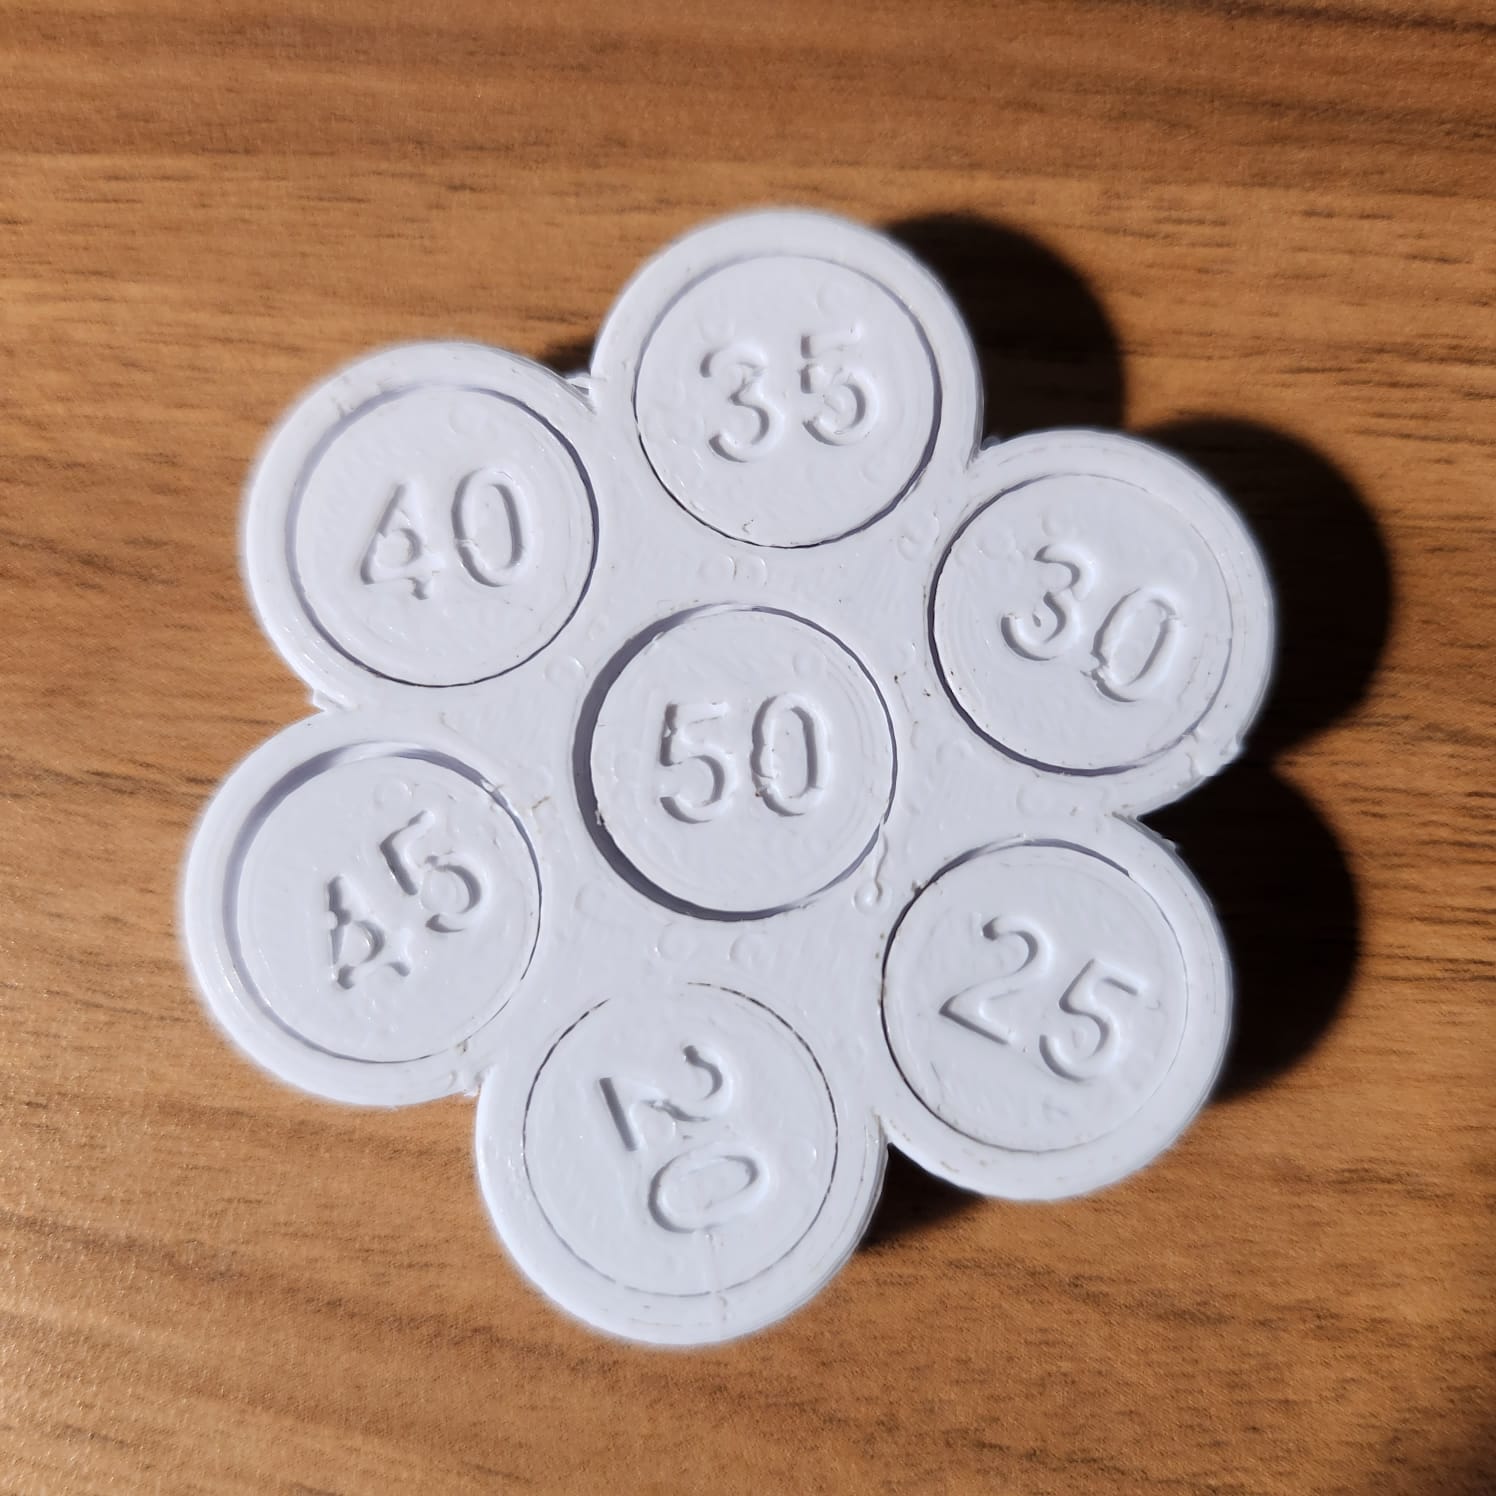
One important test to do is the Tolerance Gauge, when we design parts that have to interact between them this tolerance is important we have to take it into consideration at the design moment leaving a "space" or "tolerance" according to the design necessity, we download a test from ULTIMAKER THINGIVERSE. it is a spinning that inside the mechanism leaves a tolerance for the parts to spin. The spins have a slot to break the filaments that can be attaching them to the structure, so we just screw them to see if they loose.
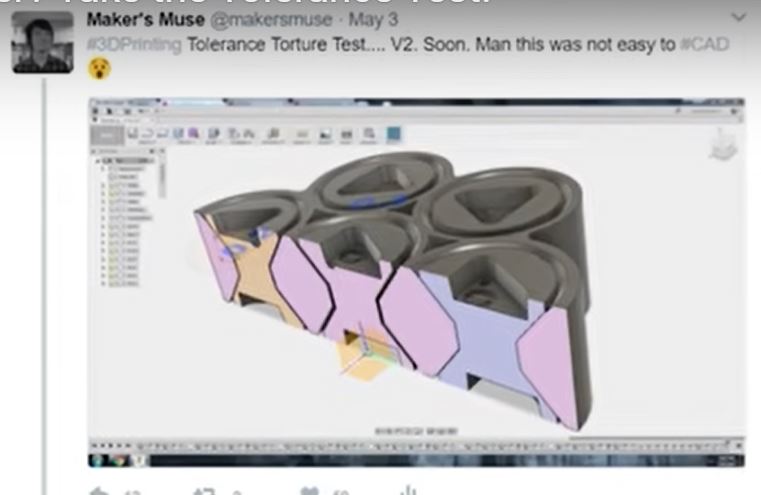
Image taken from a video tutorail, see link below
There are 7 spins that have a space tolerance of:
- 0.50 mm, the spin rotates freely and it comes loose from the printing.
- 0.45 mm, the spin rotates freely and it comes loose form the printing.
- 0.40 mm, the spin rotates and we have to break it from the the printing.
- 0.35 mm, the spin rotates and we have to break it from the the printing.
- 0.30 mm, the spin rotates and we have to break it from the the printing.
- 0.25 mm, the spin rotates and we have to break it from the the printing.
- 0.20 mm, it doesn't rotate and it is glued with the printing.
Our Printer has a quite good tolerance, only one spin got completely stuck into the structure, the tolerance 0.20mm, it not a surprise. But it is surprising the rest of them spin, form 0.40 to 0.30 we had to use a screw to release them from the structure, and form 0.45 to 0.50mm were loose from the printin but that means they were very loose.
We have to consider that the tolerance gauge depends on the printer but of the filament and setting too
|
|
Settings for printing:
- Profile: 0.1mm, as we wanted to be very accurate.
- Wall thickness: 0.8 mm which is the stadart for our 3D printers.
- Infill: 15% to give a good support.
- Speed: 80 mm/s, this is quite fast
- Support: We didnt it
- Built Plate adhesion: We didnt it
Although we can conclude it was very succesful as all the spins where loose, the final priting was a bit "dirty" it had a lot of fillaments hanging around, the letters where not very clean, perhaps this was due to the speed of the printing for a more detailed work it should set in a speed around 60 mm/s.
In this Youtube Video we can see how the test for Tolerance is done