WEEK11. Input Devices
This week was about the electornic input devices that might be implemented in a PCB and controlled by a mocrocontroller.The sensors can be analog or digital, according to the signal that they measure. In my case, I decided to implement new components in the glass hour PCB developed in the previous weeks.
Assignments
Individual assignment:- measure something: add a sensor to a microcontroller board that you have designed and read it.
The sensors
There exist a very big amount of possible input device to measure physical properties of the external environment, like as temperature, magnetic fields and pressure.
First of all, you have to pay attention on the voltage of the sensor and the voltage that each pin have. In case of different voltage between the pin and the sensor, you have to design a new PCB for the sensor with a regolator of voltage, in this case we talk about stand alone sensor.
In our case, the maximum voltage from an input device for the microcontroller XIAO-RP2040 is 3.3V.
The sensor can be devided in two macro-families: the analog and the digital one. The analog input sensor can be implemented only if the pin has the Analog-to-Digital Converter (ADC).
Instead the digital sensors can be implemented in a bigger number of pin of the microcontroller.
The former give measure in a continuous range and the microcontroller thanks to ADC is able to convert the signal in a discrete one, instead the latter generate a binary signal.
When an input sendor record a signal the microcontrolle have to convert in in a certain amount of voltage.
The command for Arduino UNO are:
Analogread() - to read an analog signal
Digitalread() - to read a binary signal
Implement the temperature sensor
For this week I decided to implement a stand alone temperature input sensor for my glass hour PCB.
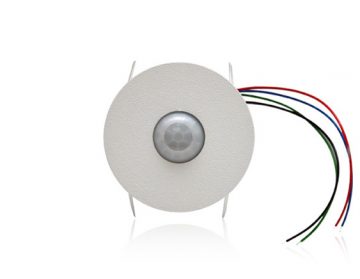
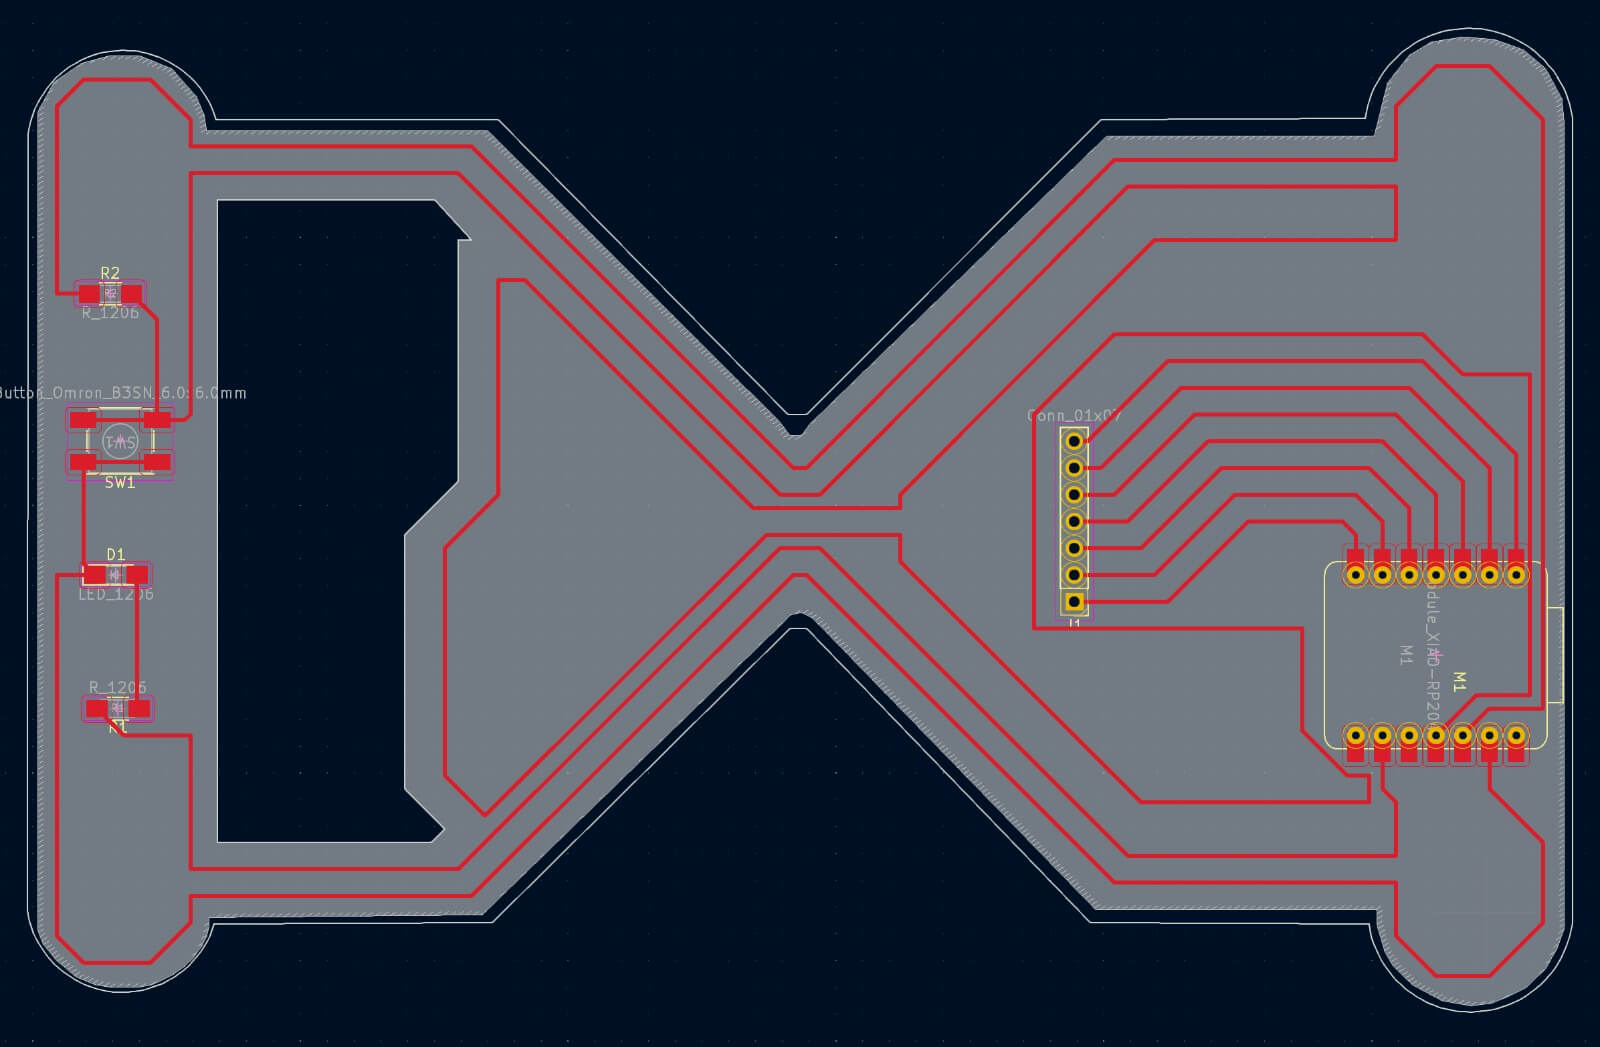
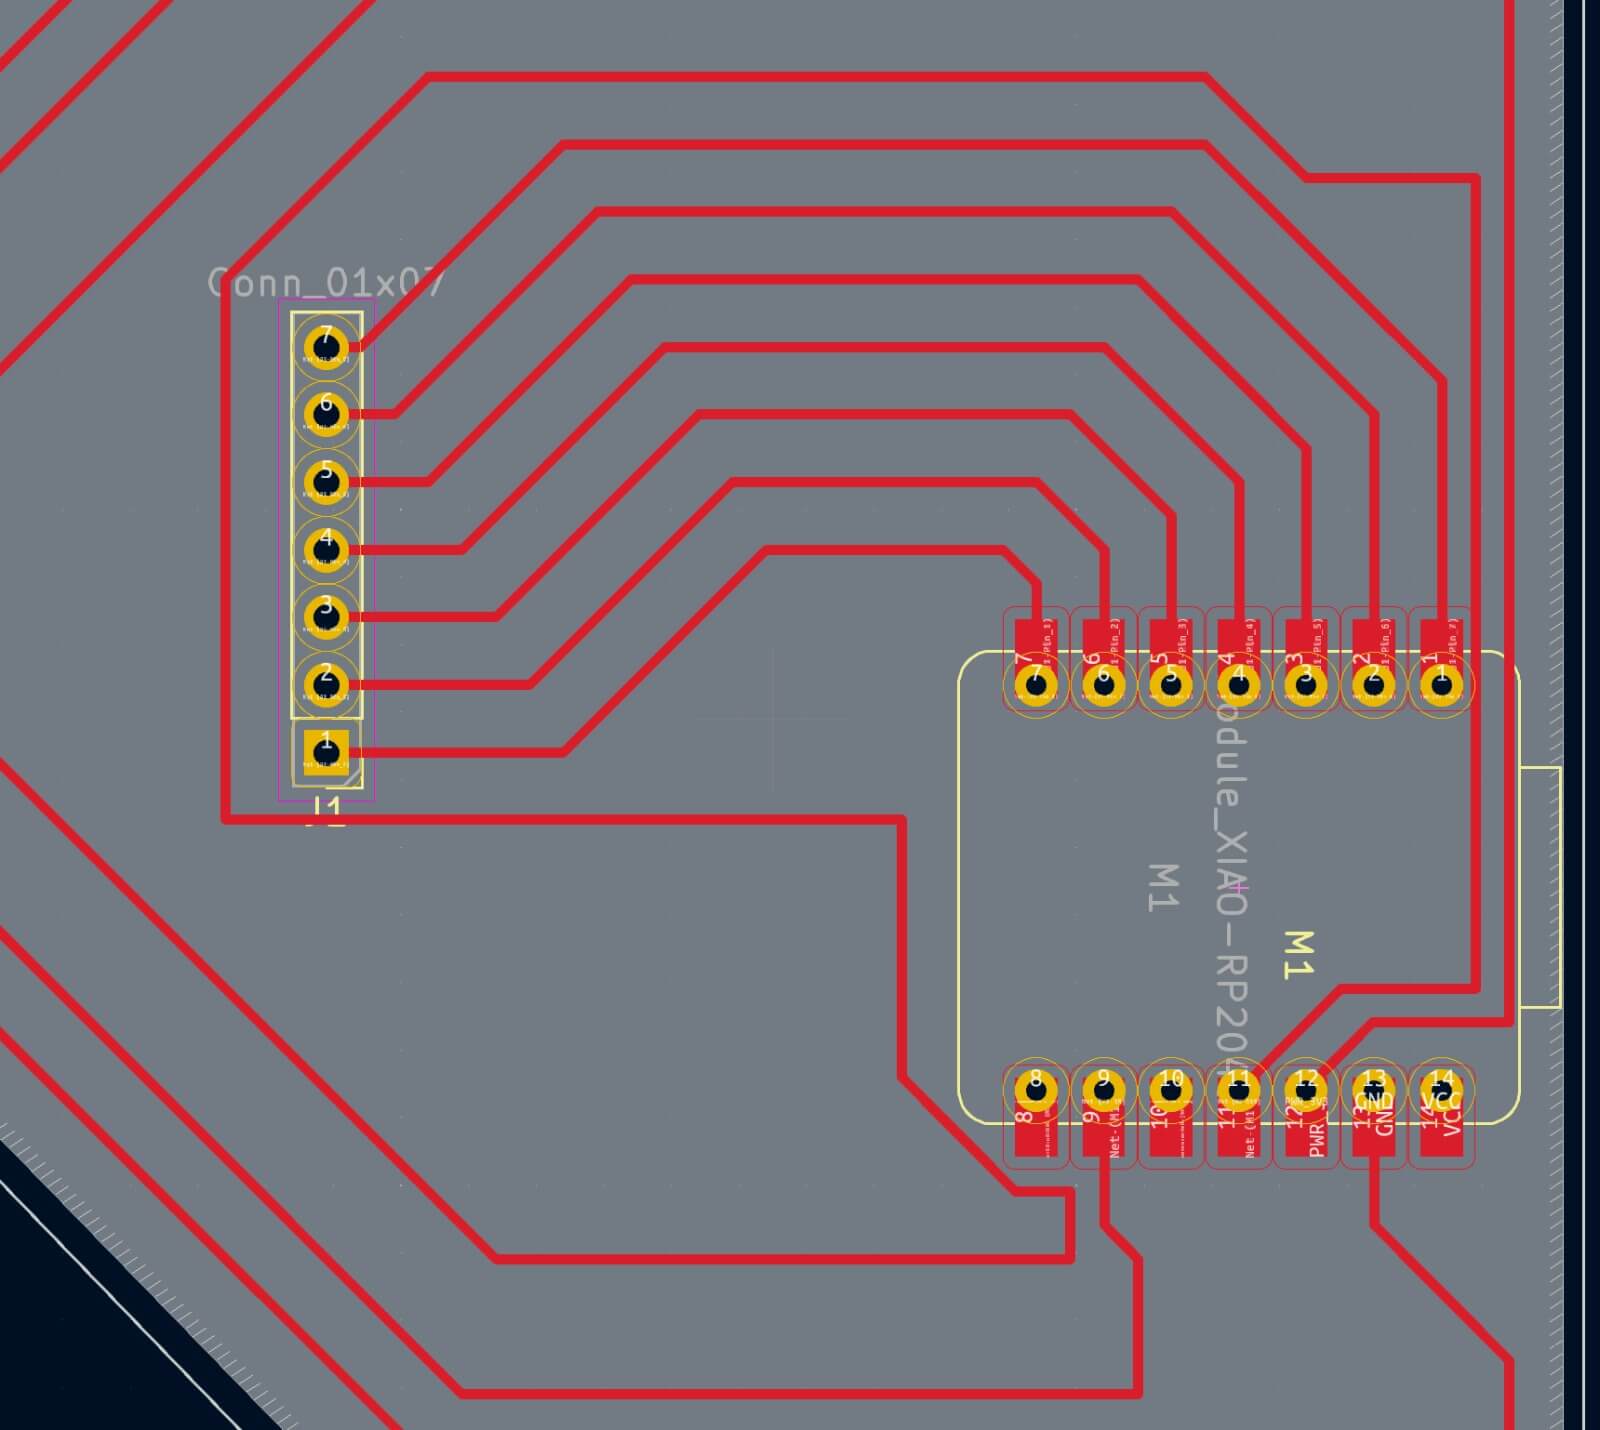
I started taking the glass hour Kicad work done in the previous weeks.
I reposted the picture of my PCB.
I checked how many and which kinds of pins my electronic temperature sensor needs.
According to the XIAO-RP2040 exposed pins, some of them have the ADC features, so, an analog sensor can be implemented.
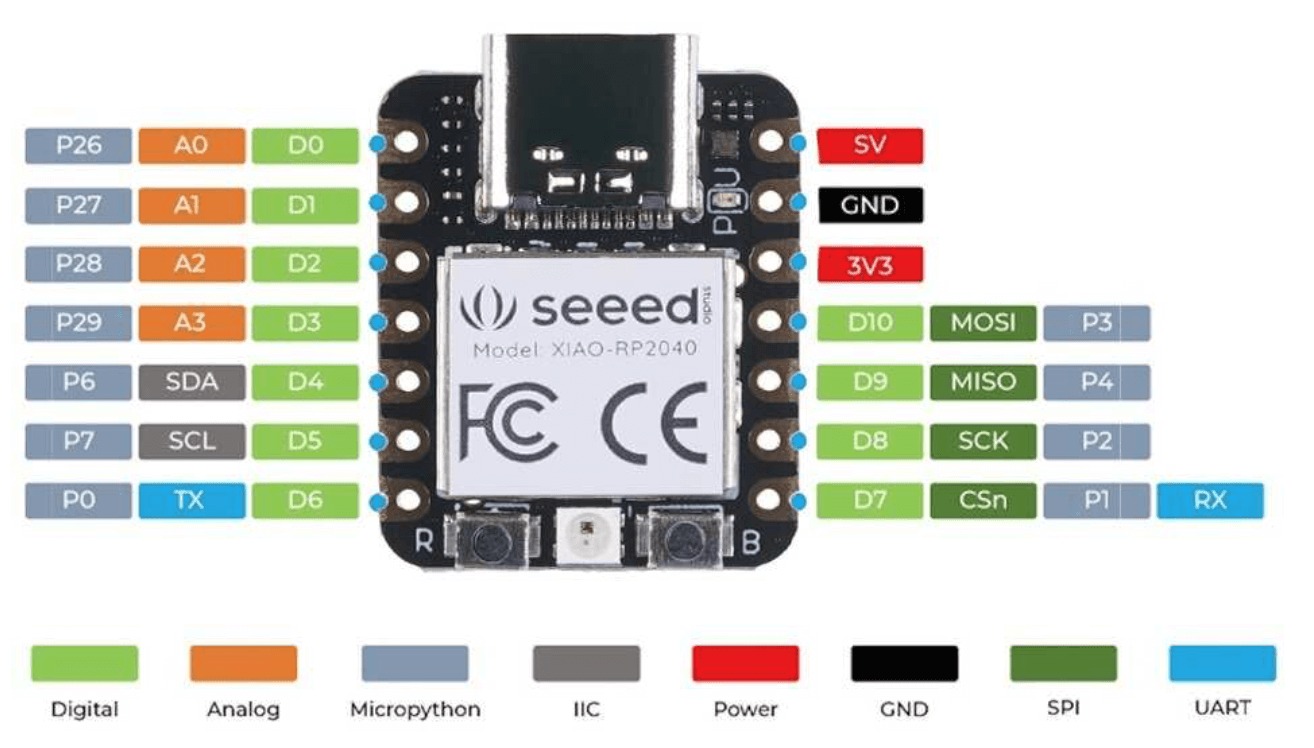
 Zooming on the exposed pins...
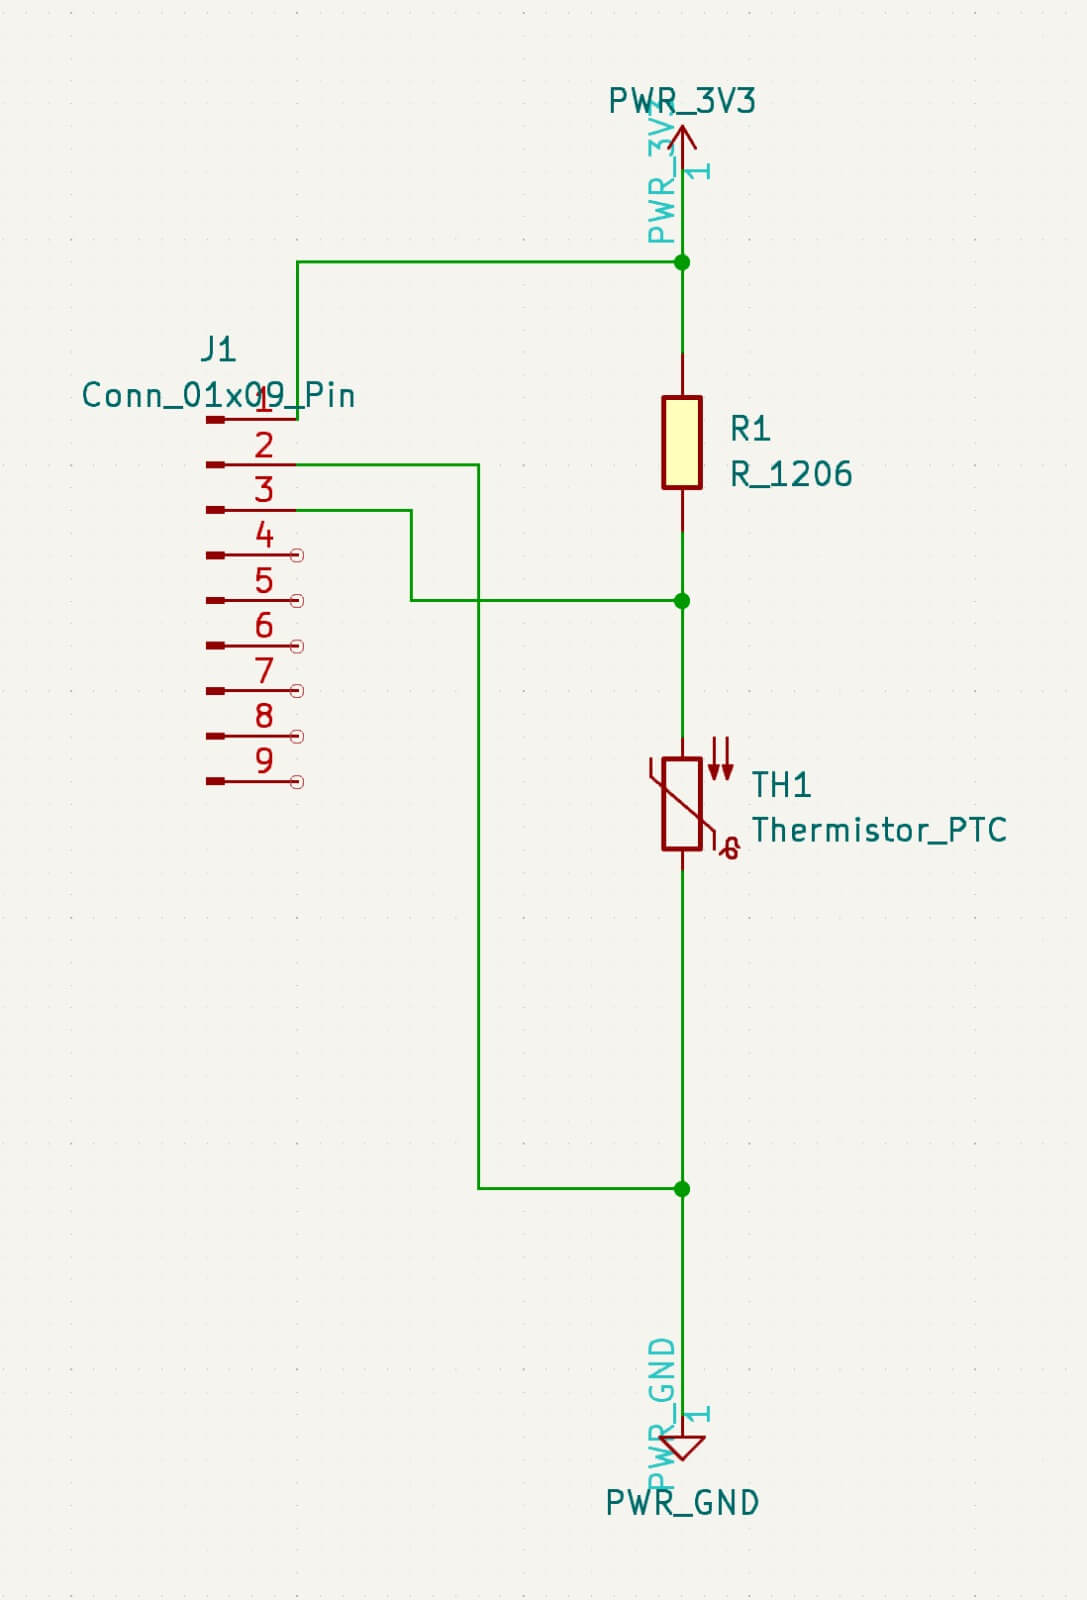
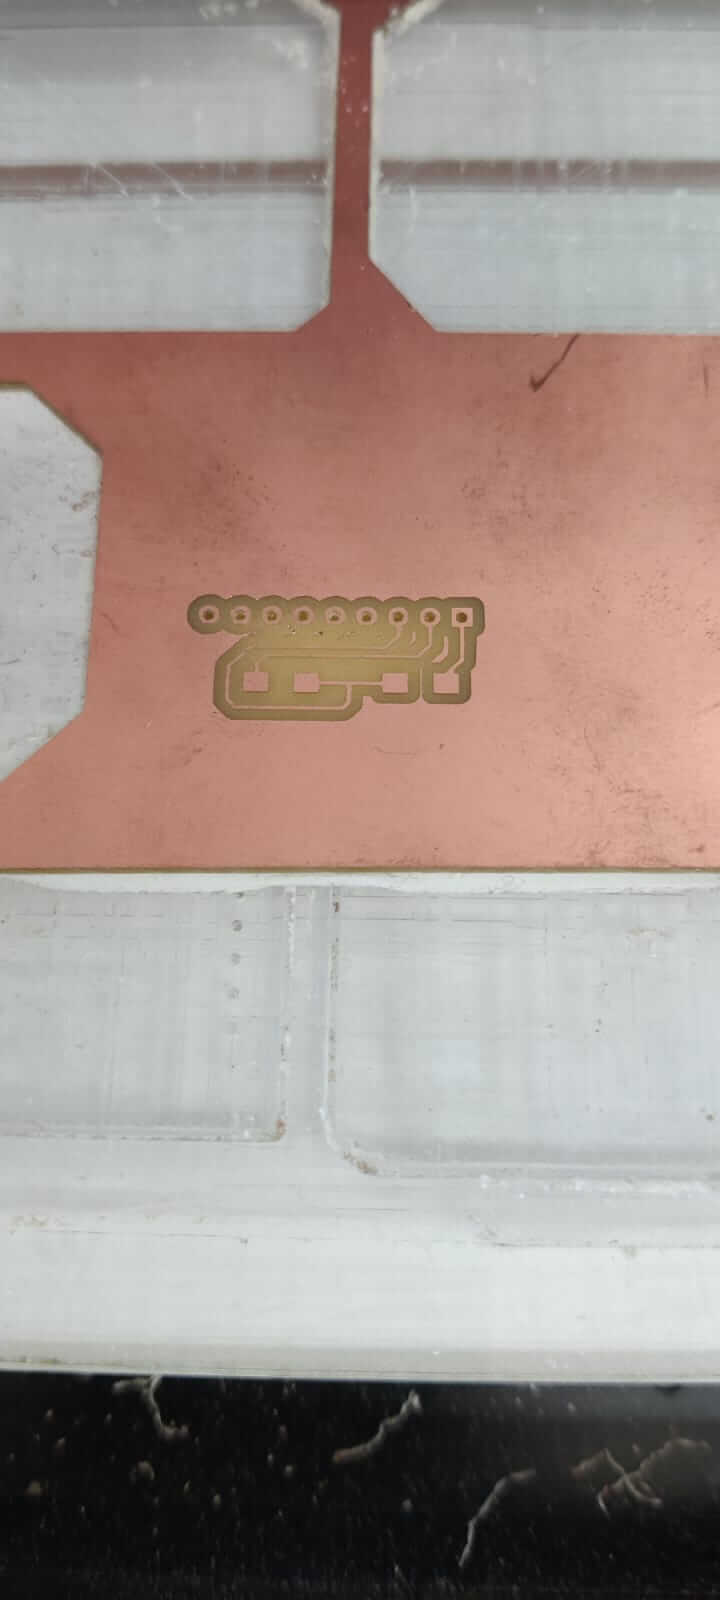
I started designing in KiCad the PCB for the thermistor.
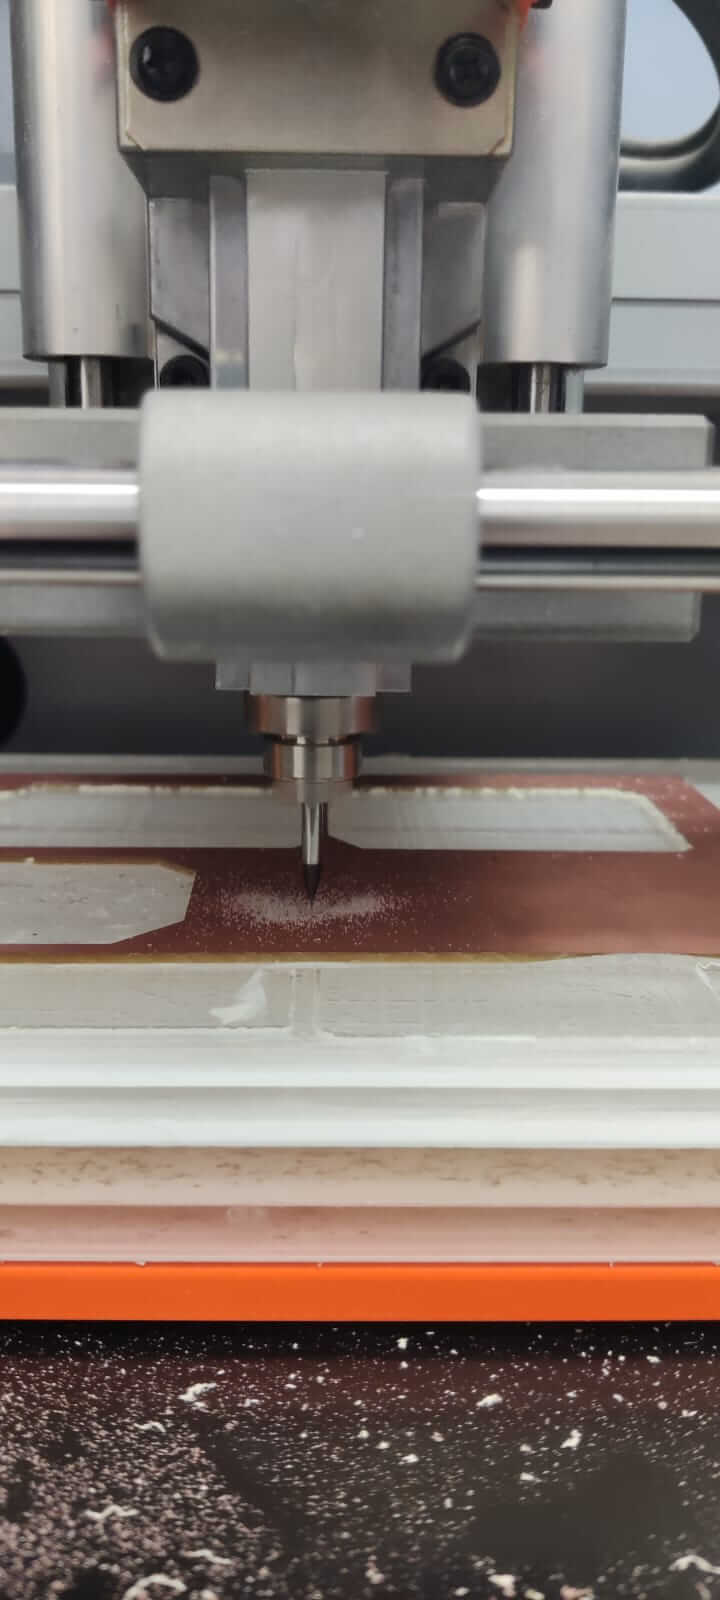
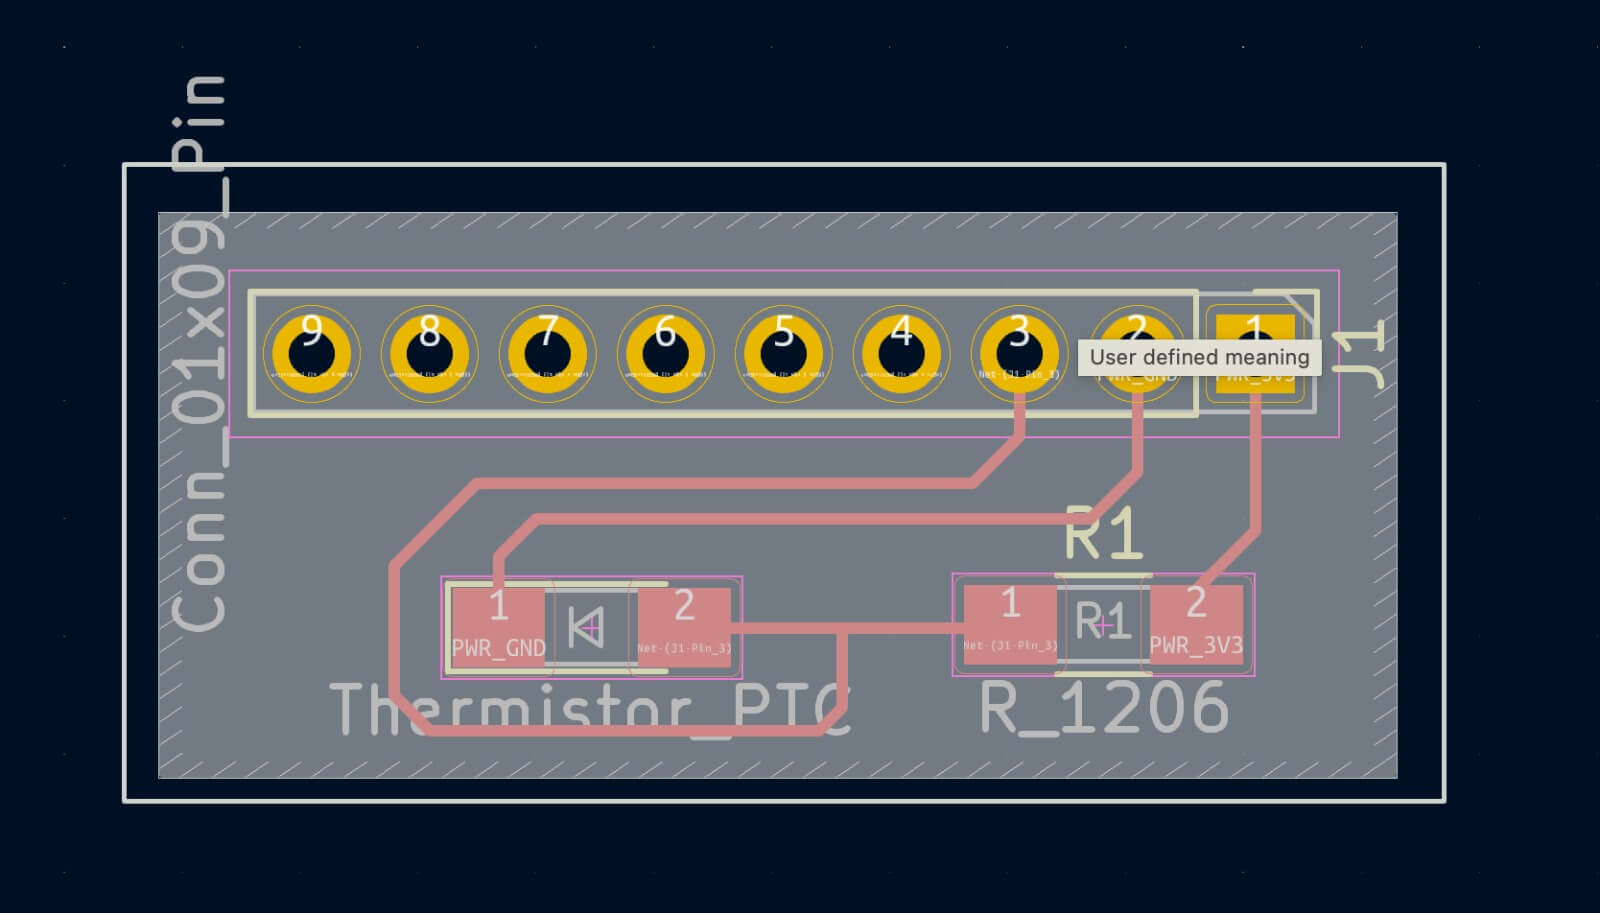 The whole PCB milling process is done, as in week06.
 All the PCB components are solder.
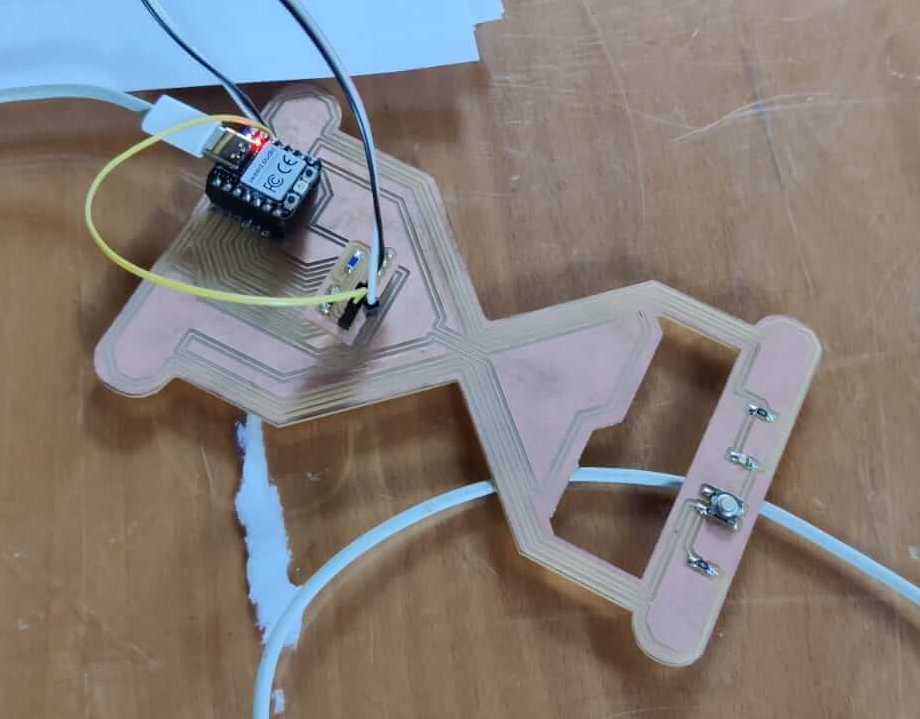
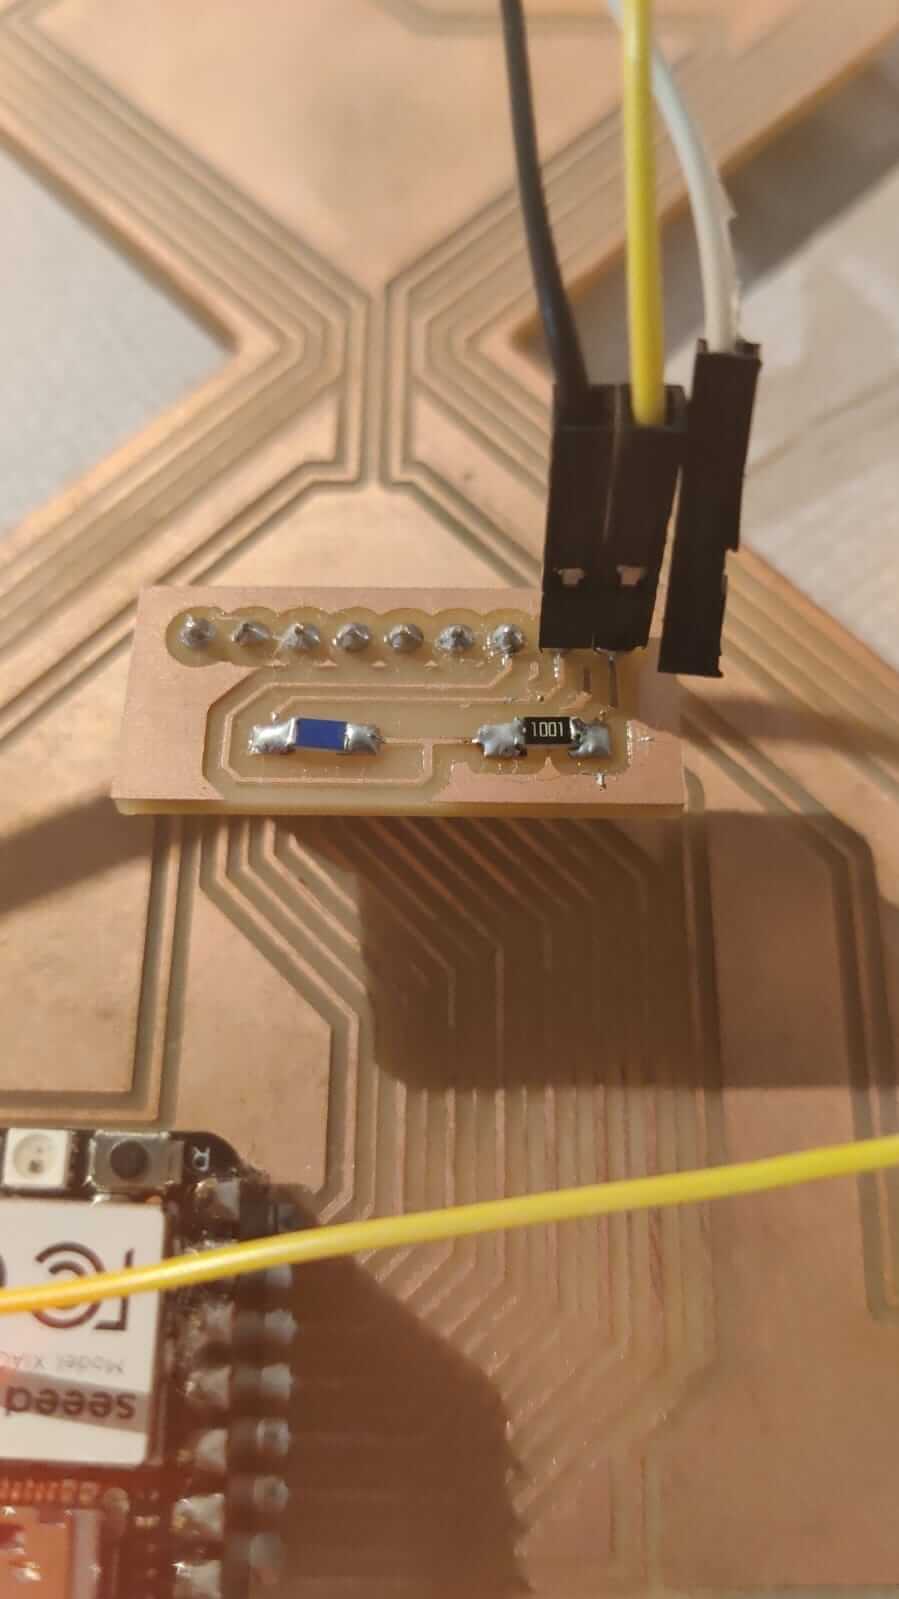
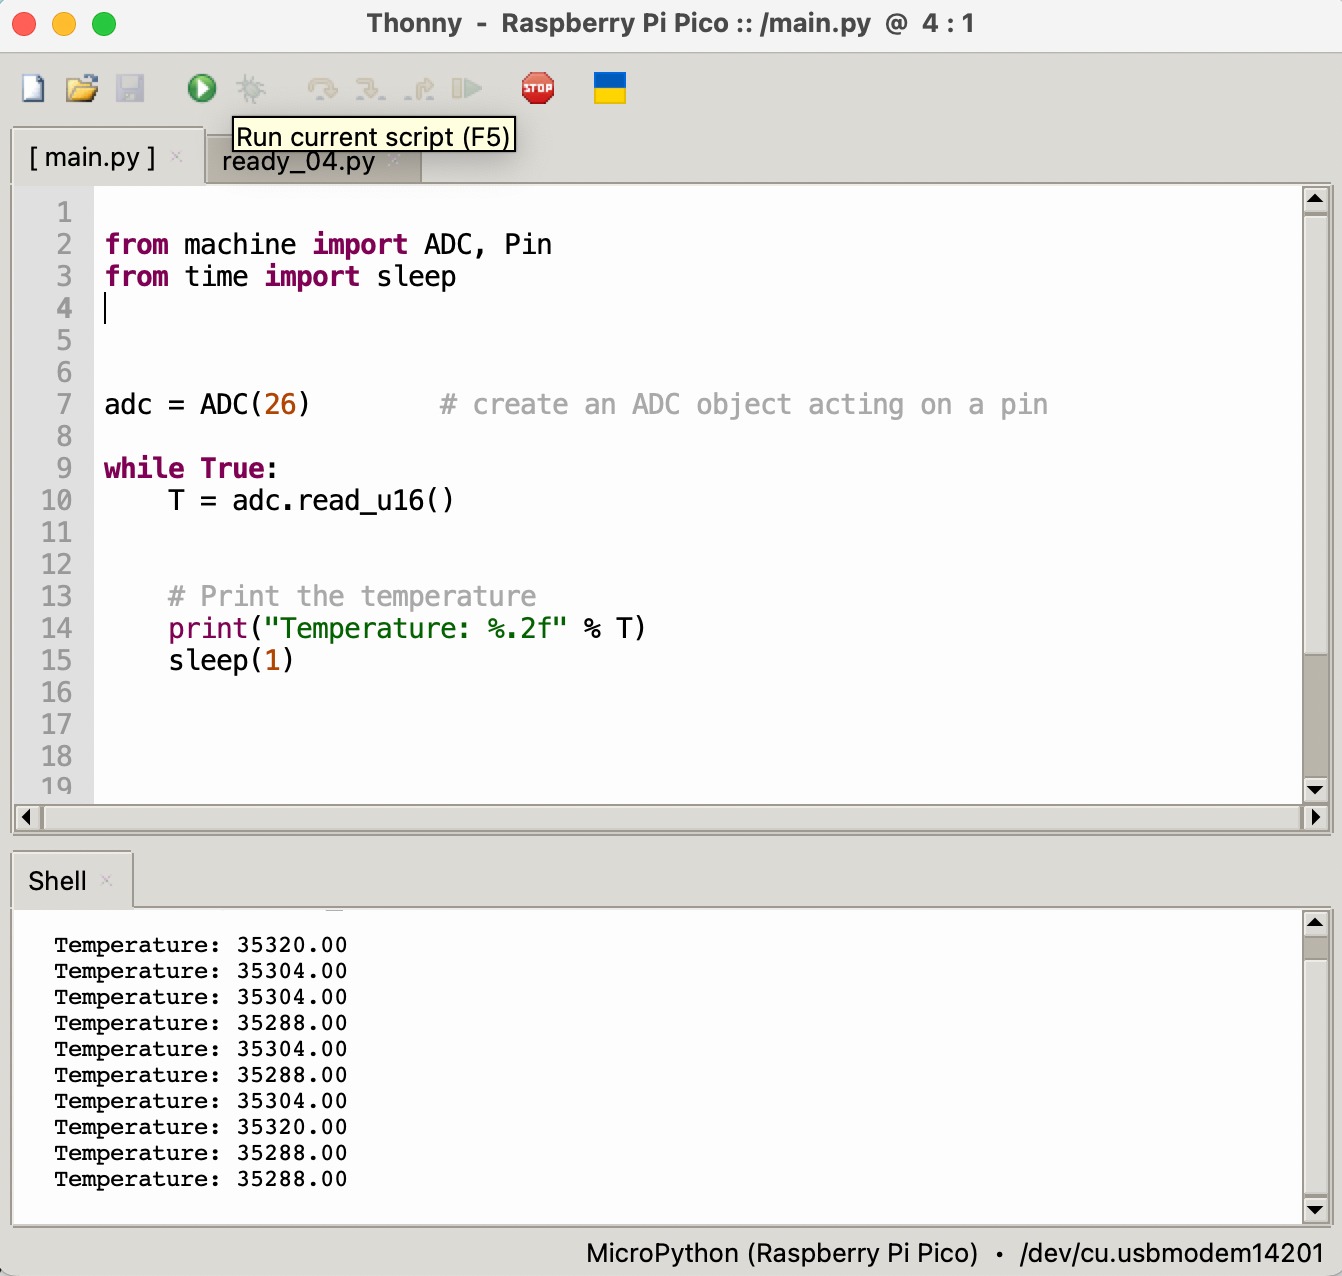
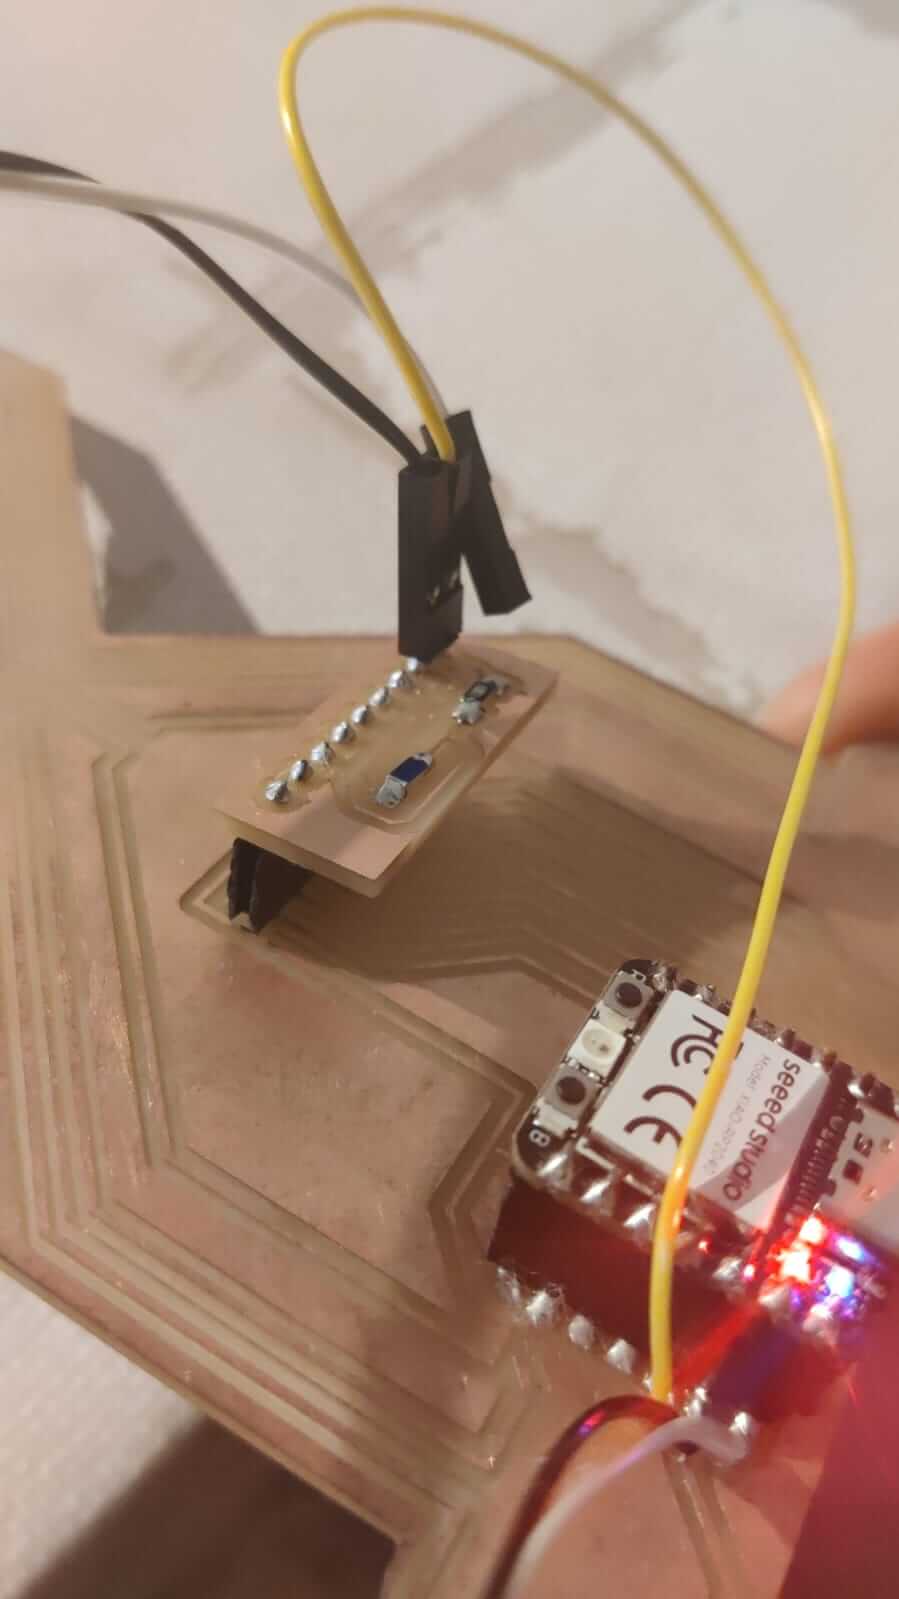 Finally the code to print the temperature is coded in Thonny.
