WEEK02. Computer-Aided Design
This week I've worked on the Computer Aided Design softwares, with particular focus on the parametric ones, due to the flexibility and customization that these allow.
Assignment
This week, the main focus was on creating 2D and 3D models of a potential final project using a combination of raster, vector, rendering, animation, and simulation techniques. Additionally, it is crucial to compress the images and videos to ensure the optimal weight of the website pages.2D Design
Raster-based: Procreate
Procreate is a one-time paid app for iPad Pro devices that utilizes the Apple pencil. It allows users to create high-quality drawings using various tools and features. In the sketch, the colors are used to enhance understanding and make the illustration easier to comprehend. The use of layers helps users organize their sketches, colors, and shades.
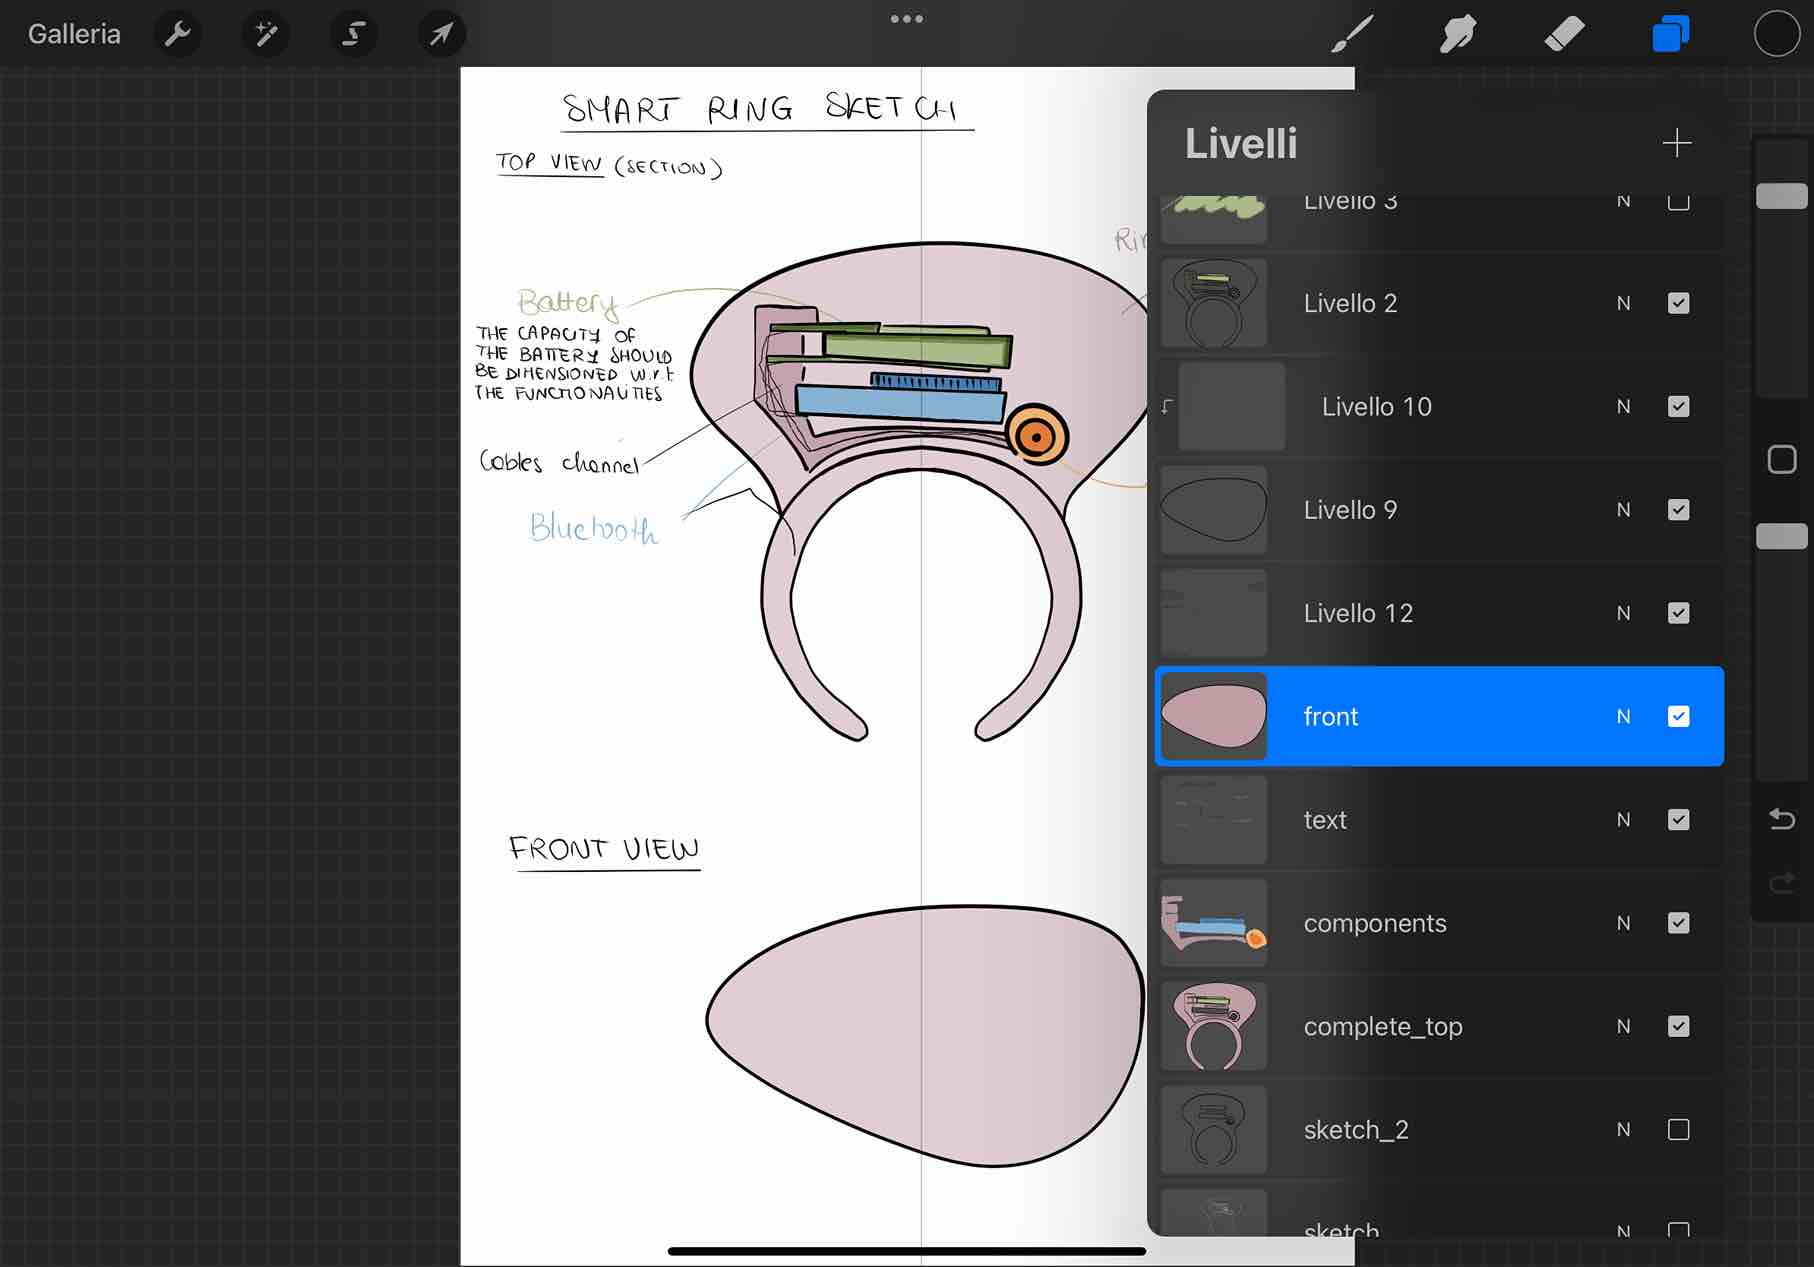
The video showcases the capabilities of Procreate and its intuitive interface, making it an excellent tool for digital artists and creatives.
Vector based
Illustrator
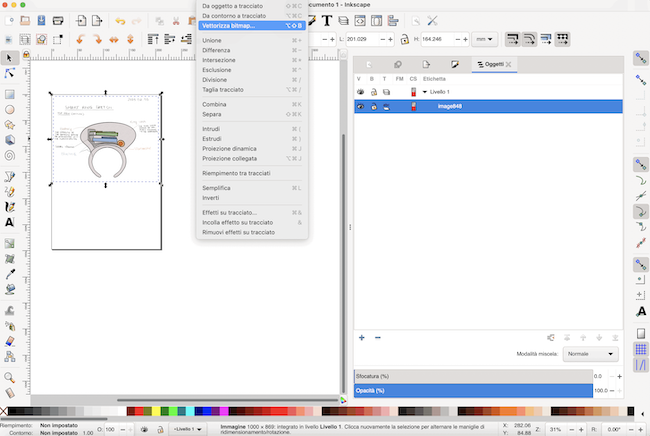
Illustrator is a vector-based design software used to create precise and scalable graphics such as logos, illustrations, icons, and others. It utilizes mathematical equations and geometric shapes and is popular among professional graphic designers due to its ease of editing and resizing without loss of quality.Is it possible also to use the open-source software Inkscape to vectorialize the drawing.
The file .png containing the drawing is imported and then using the function trace>vectorialize is transformed.
3D design
There has been a revolution in 3D modeling software: the parametric modeling.
Fusion 360
For the modeling of the 3D final project is mainly used Fusion 360. I set as much as possible parametric dimensions, in order to develop a flexible object, in term of dimension. The history timeline at the bottom of the interface is crucial in managing parametric modeling.
Fusion 360 is mainly used for modeling the 3D final project. Parametric dimensions are set as much as possible to create a flexible object in terms of dimension. The history timeline at the bottom of the interface is crucial in managing parametric modeling. If changes need to be made, it's necessary to go back in the history timeline, make modifications, and continue with the work. If some steps in the history timeline turn yellow or red, it's important to identify and resolve the problems to build a good parametric model.
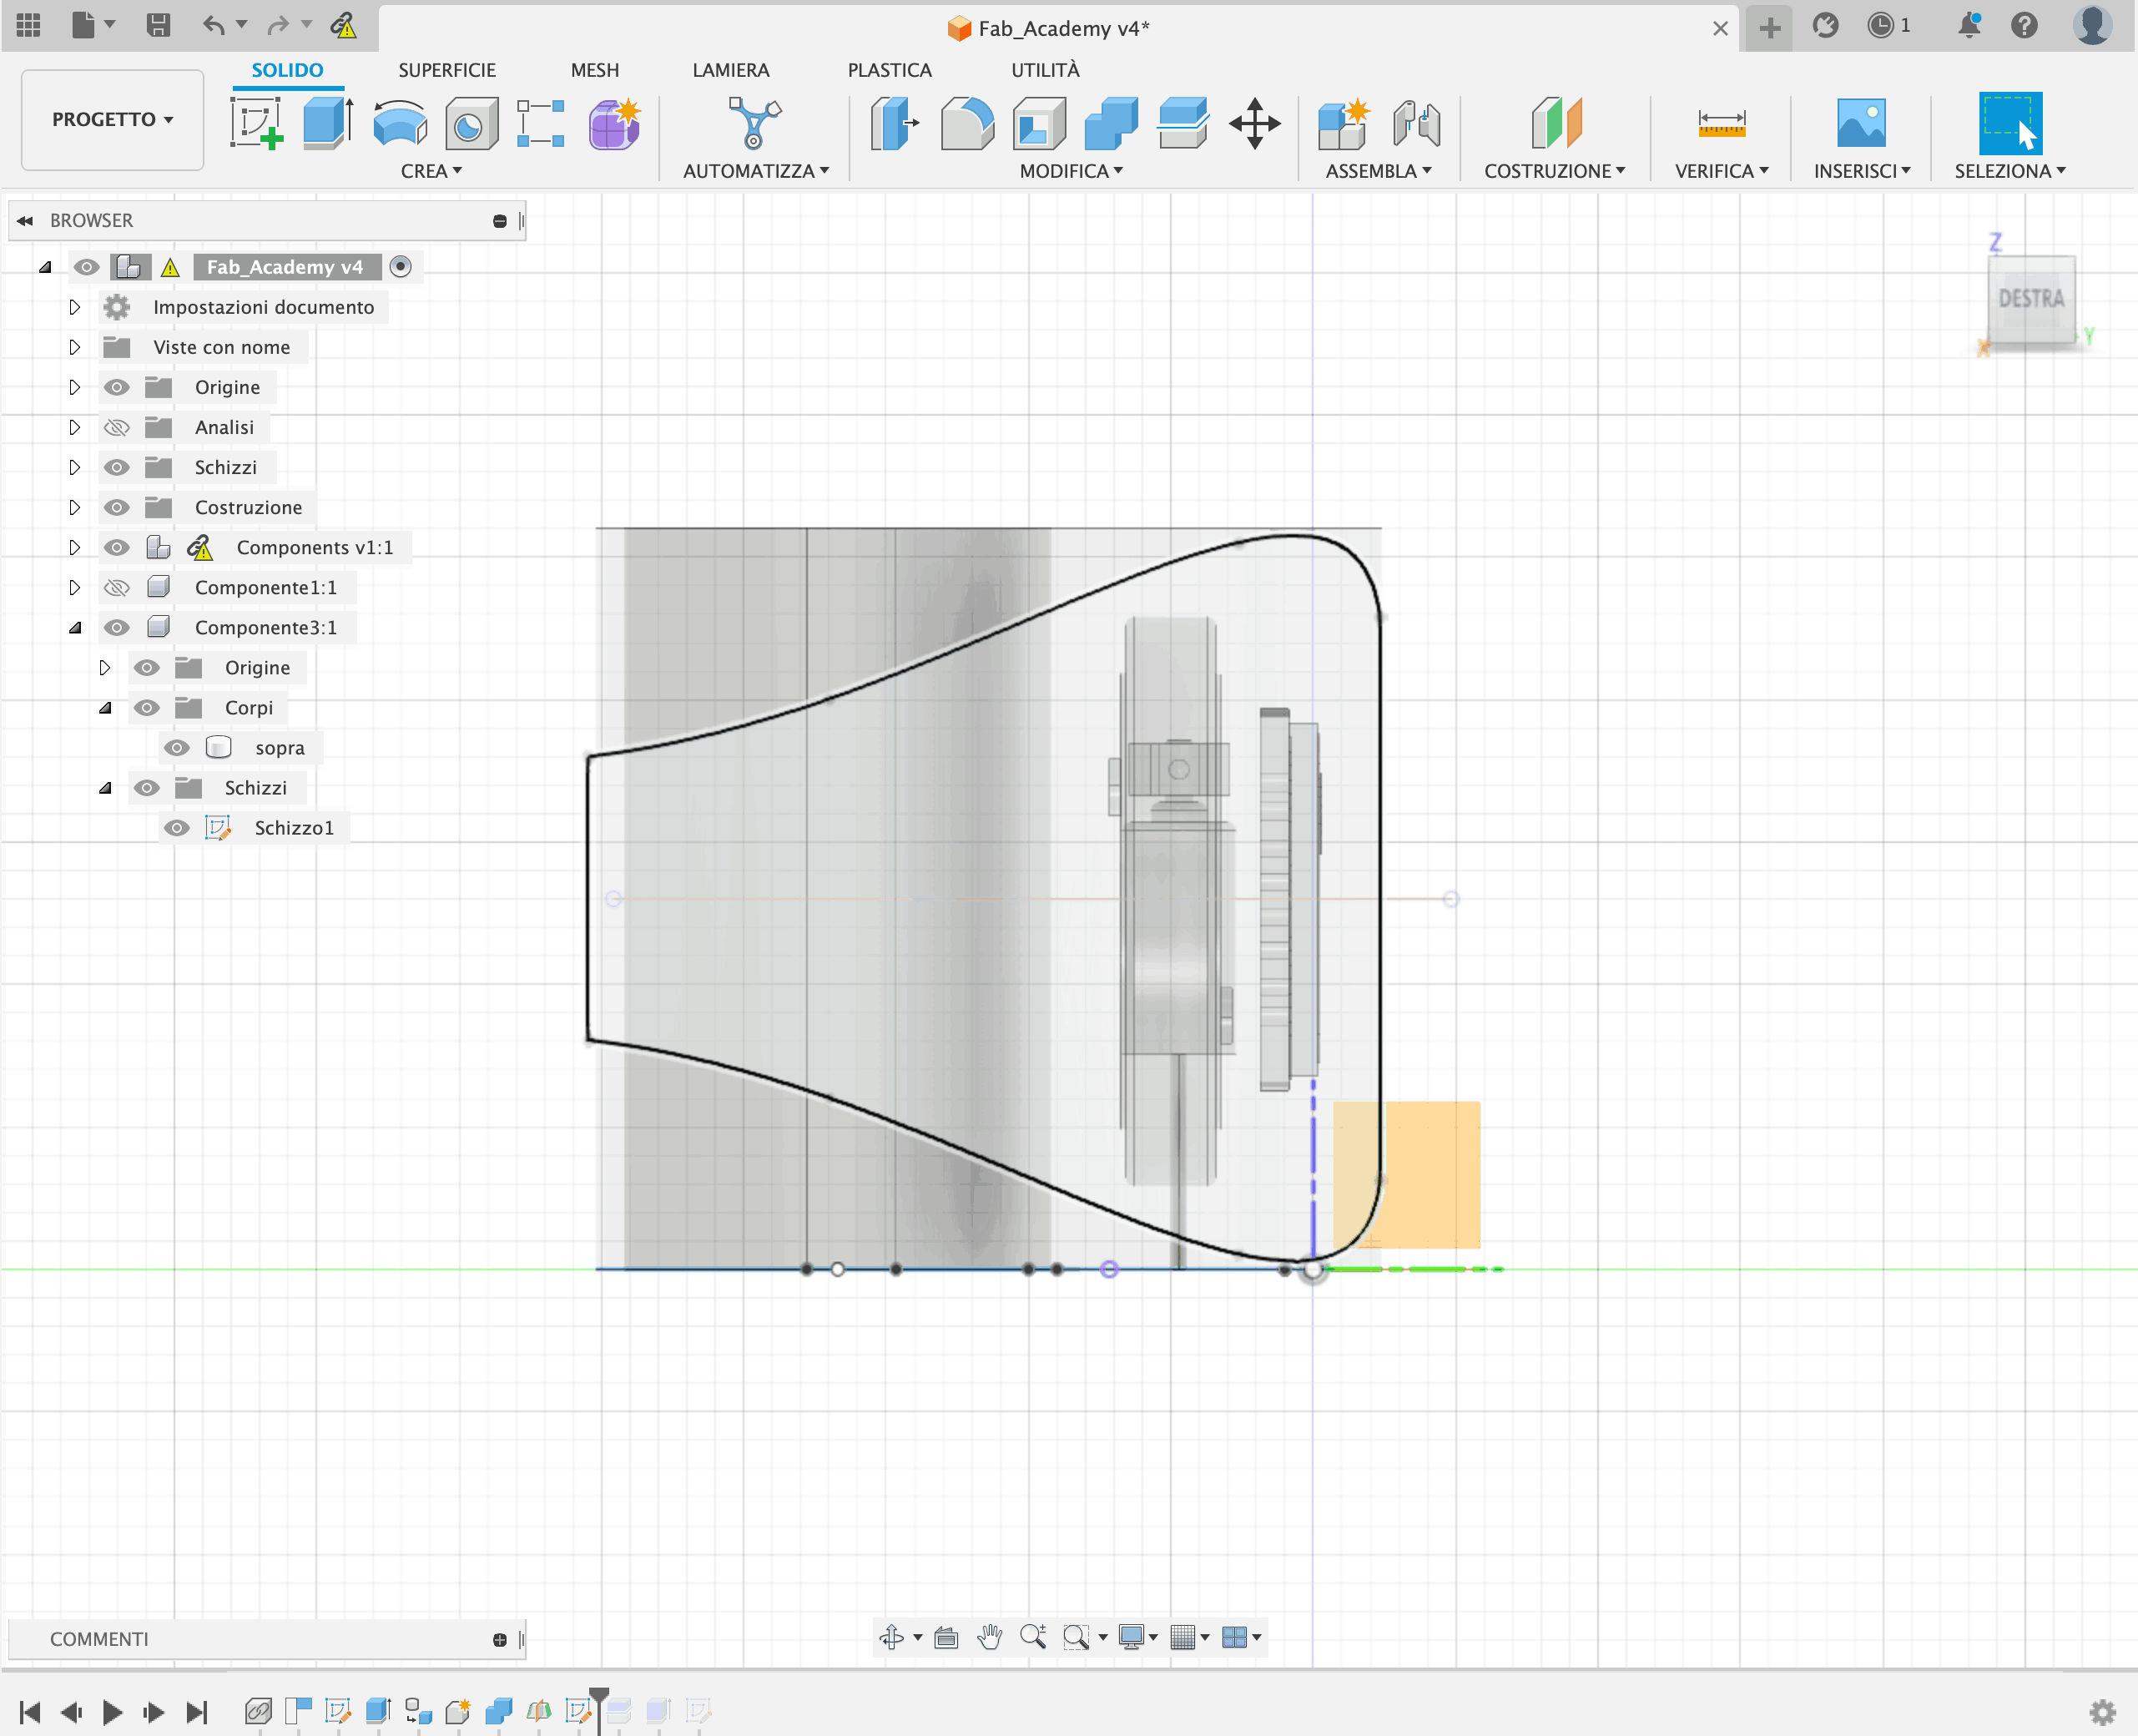
2D sketch: parameters and constraints
Components are imported into the project file and positioned correctly relative to the origin axis. Custom parameters are set first, then a sketch of the final project is created. During the creation of the different 2D shapes, the names of the different parameters are entered in the dimension box. For non-parametric dimensions, the desired dimension is set. Non-customizable dimensions are in parentheses. To display the dimensions of the different lines, the sketch dimensions are selected and shown on the sketch. In addition to parametric dimensions, it's important to set constraints on the sketch to maintain its shape when it's scaled in size.
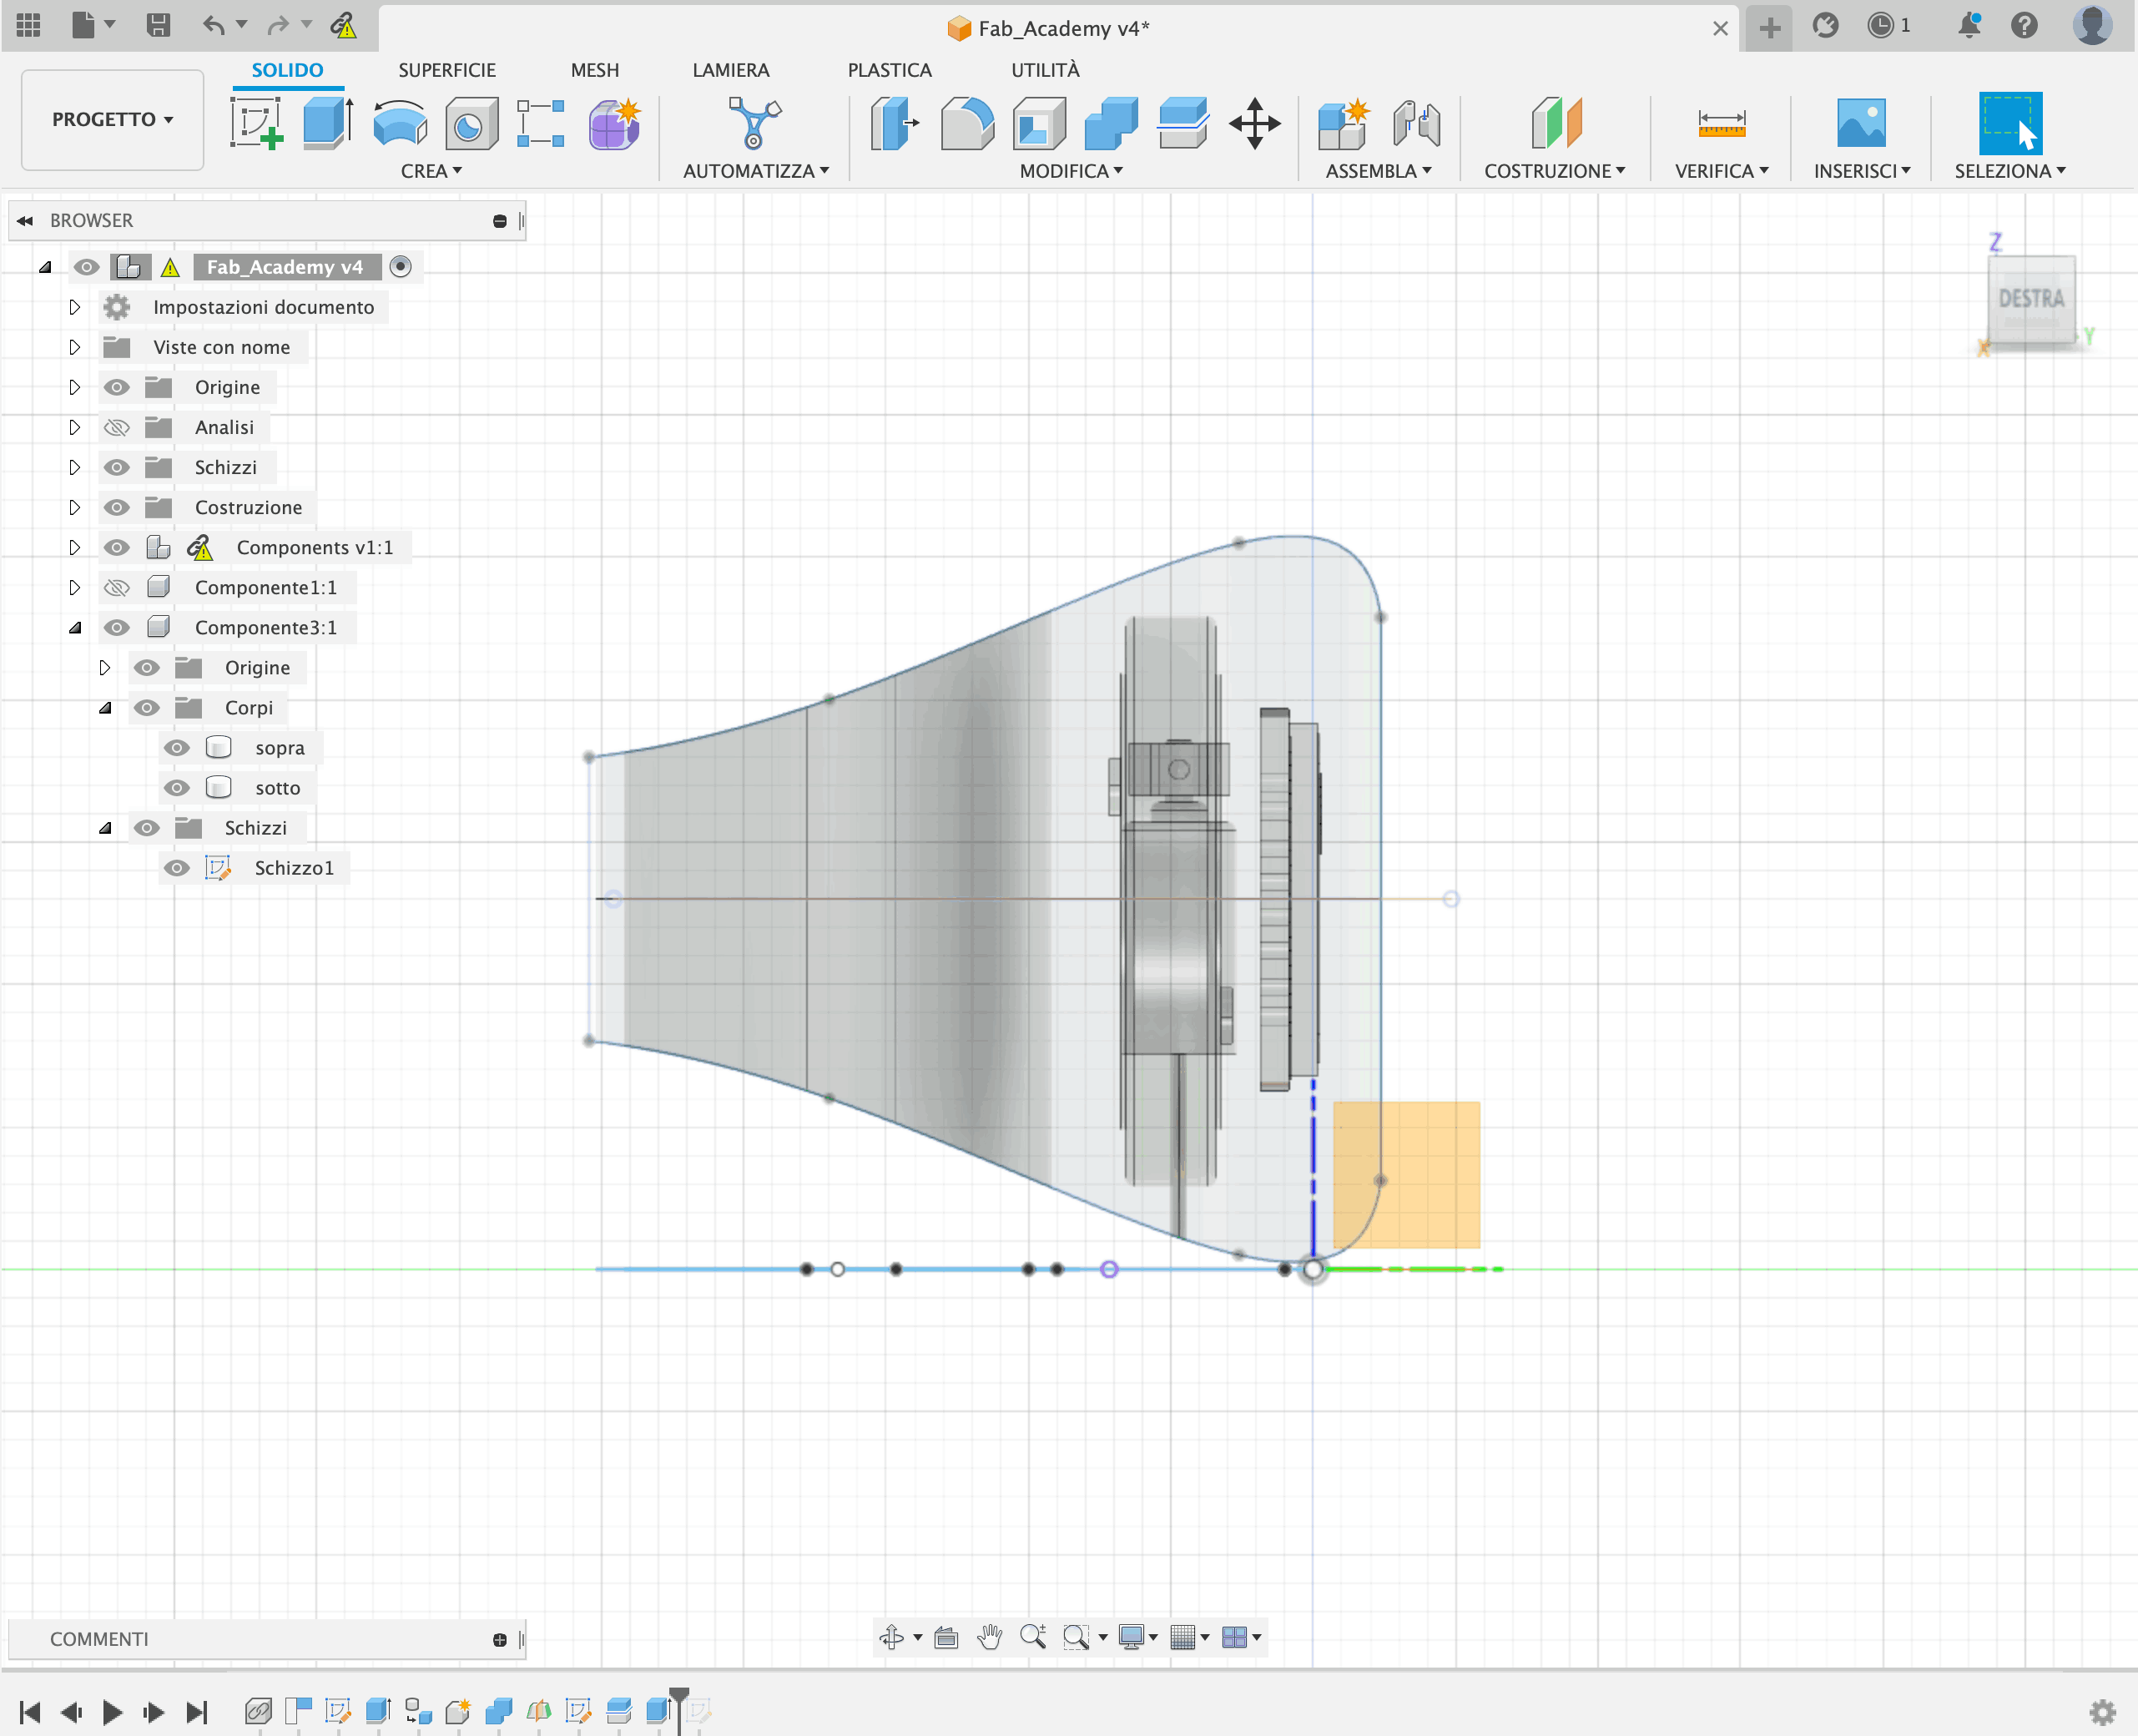
Extrusion and boolean difference
After the sketch phase, the 2D lines are extruded to create the 3D object. The case is then modeled using boolean operations between solids. In this case, the boolean difference between the case and the components, plus an offset to insert and remove the components, is used.
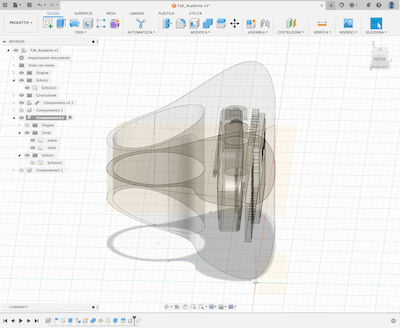 The ring case has space for electronic connection cables and is split in two along the middle horizontal plane.
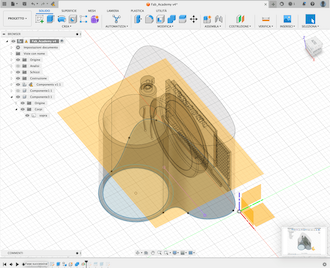
Offsetting
In a wearable device, it's important to consider water resistance from the beginning of the modeling process. An offset is created between the two middle parts, and snap fit cantilevers are used to keep the ring case in place.
Fillet
In order to create a good design shape, the last phase is the creation of fillet for the edges.
Rendering
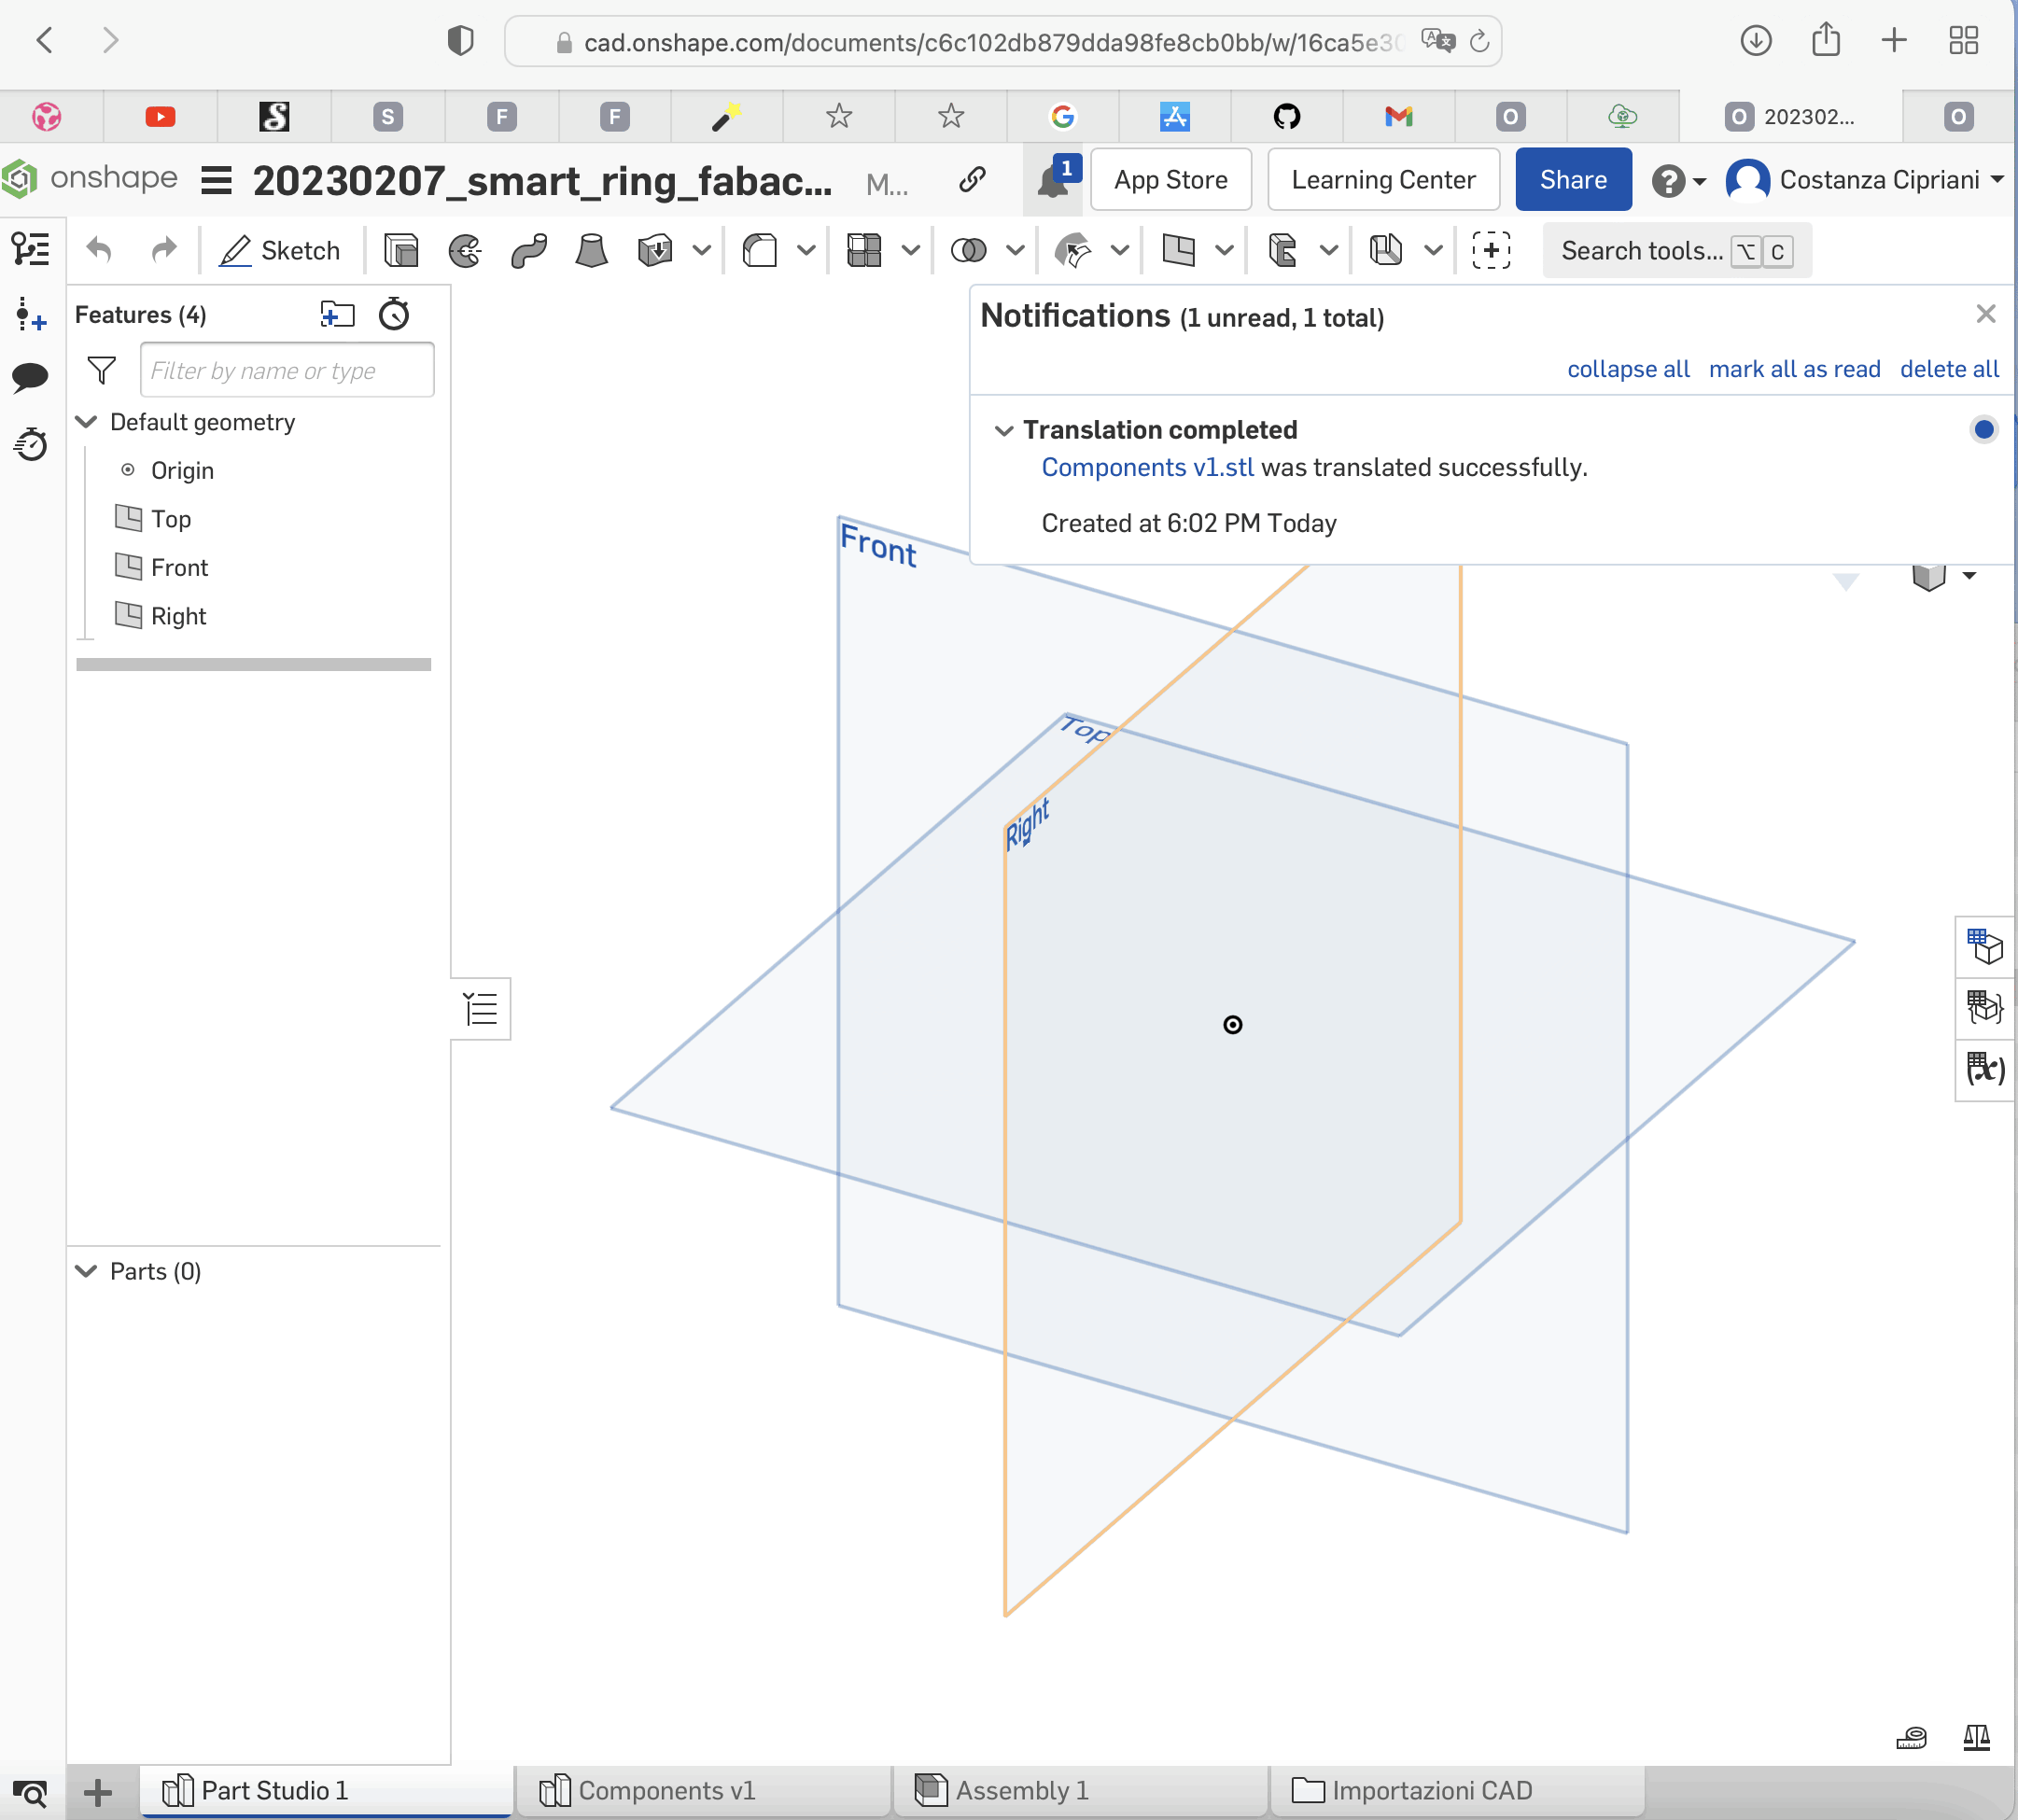
OnShape
Onshape is another powerful 3D modeling software that allows for collaborative design and real-time version control, making it an ideal choice for teams working on complex projects.
The .step file of the components is imported in the Onshape software.