Computer Aided design
Work to be done:
# Evaluate and select 2D and 3D software
# Demonstrate and describe processes used in modelling with 2D and 3D software
Defining Computer Aided design:
Computer-aided design, commonly abbreviated as CAD, refers to the use of computer software to assist in the creation, modification, analysis, or optimization of a design. This technology is often used in engineering, architecture, and product design to help designers and engineers create and modify designs more efficiently and accurately than traditional manual drafting methods.
2d software
Photoshop
Photoshop is a popular raster graphics editor developed and published by Adobe Inc. It is a software application used for editing and manipulating digital images, photographs, and other graphical elements.
Steps using and editing in Photoshop app
First of all you need to install Photoshop in your computer in order to use it ofline, here is the link to the photoshop app below.
- link to the photoshop website
- link to the blender website
- link to the solidworks website
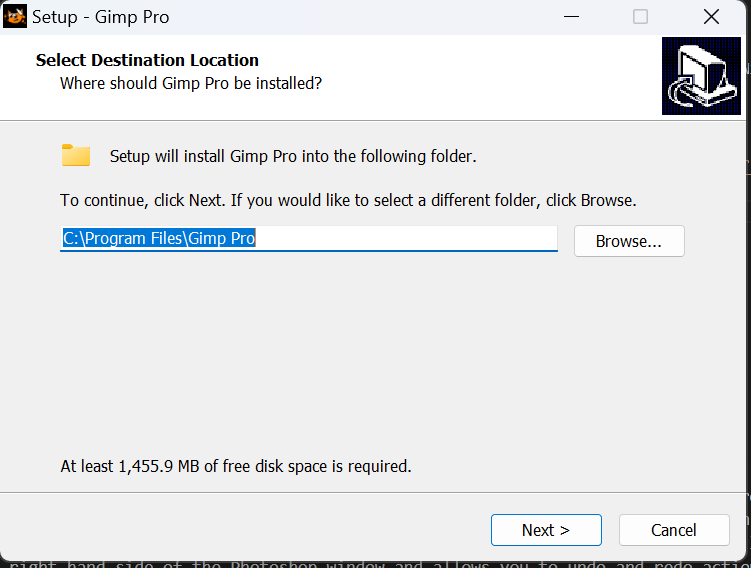
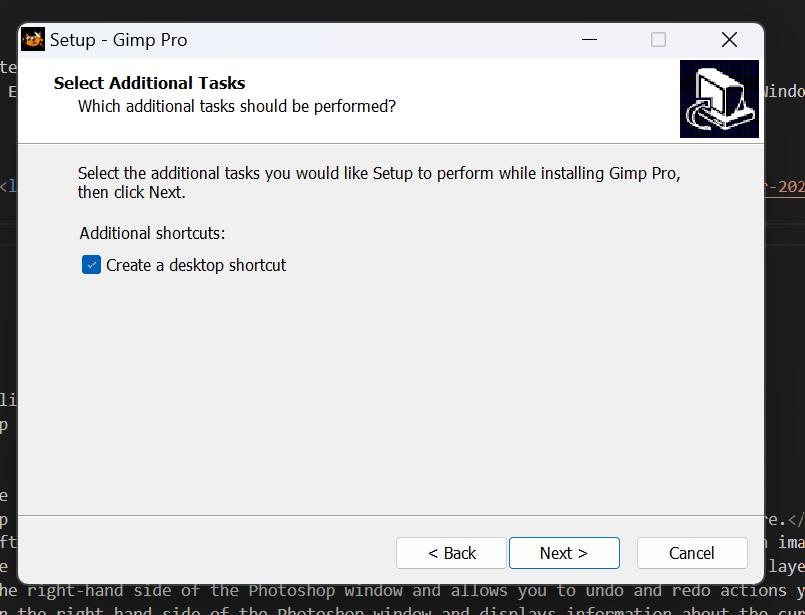
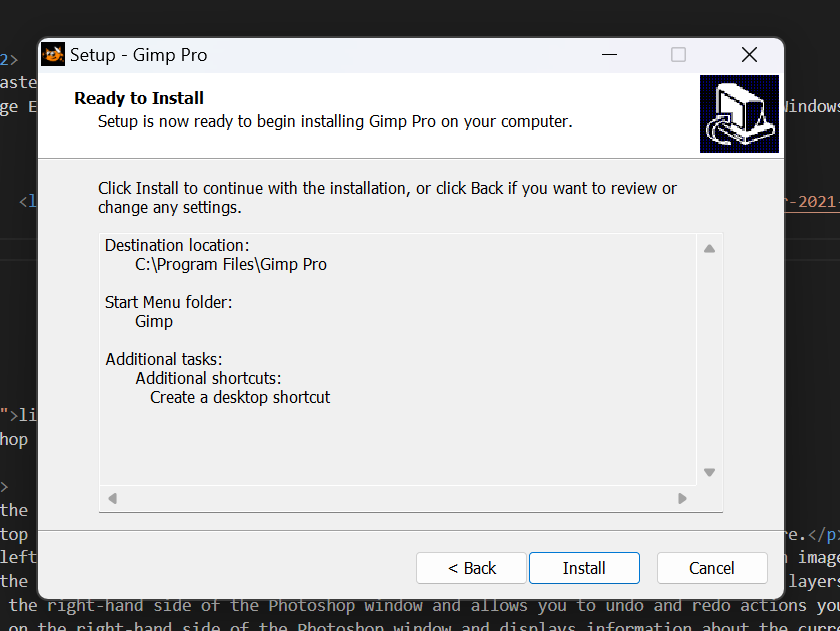
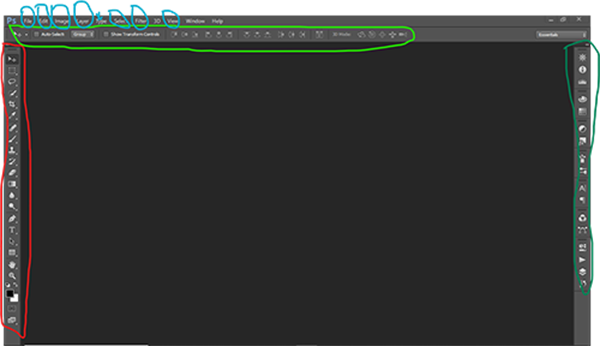
1.4 Screenshoot Of Lounching photoshop app

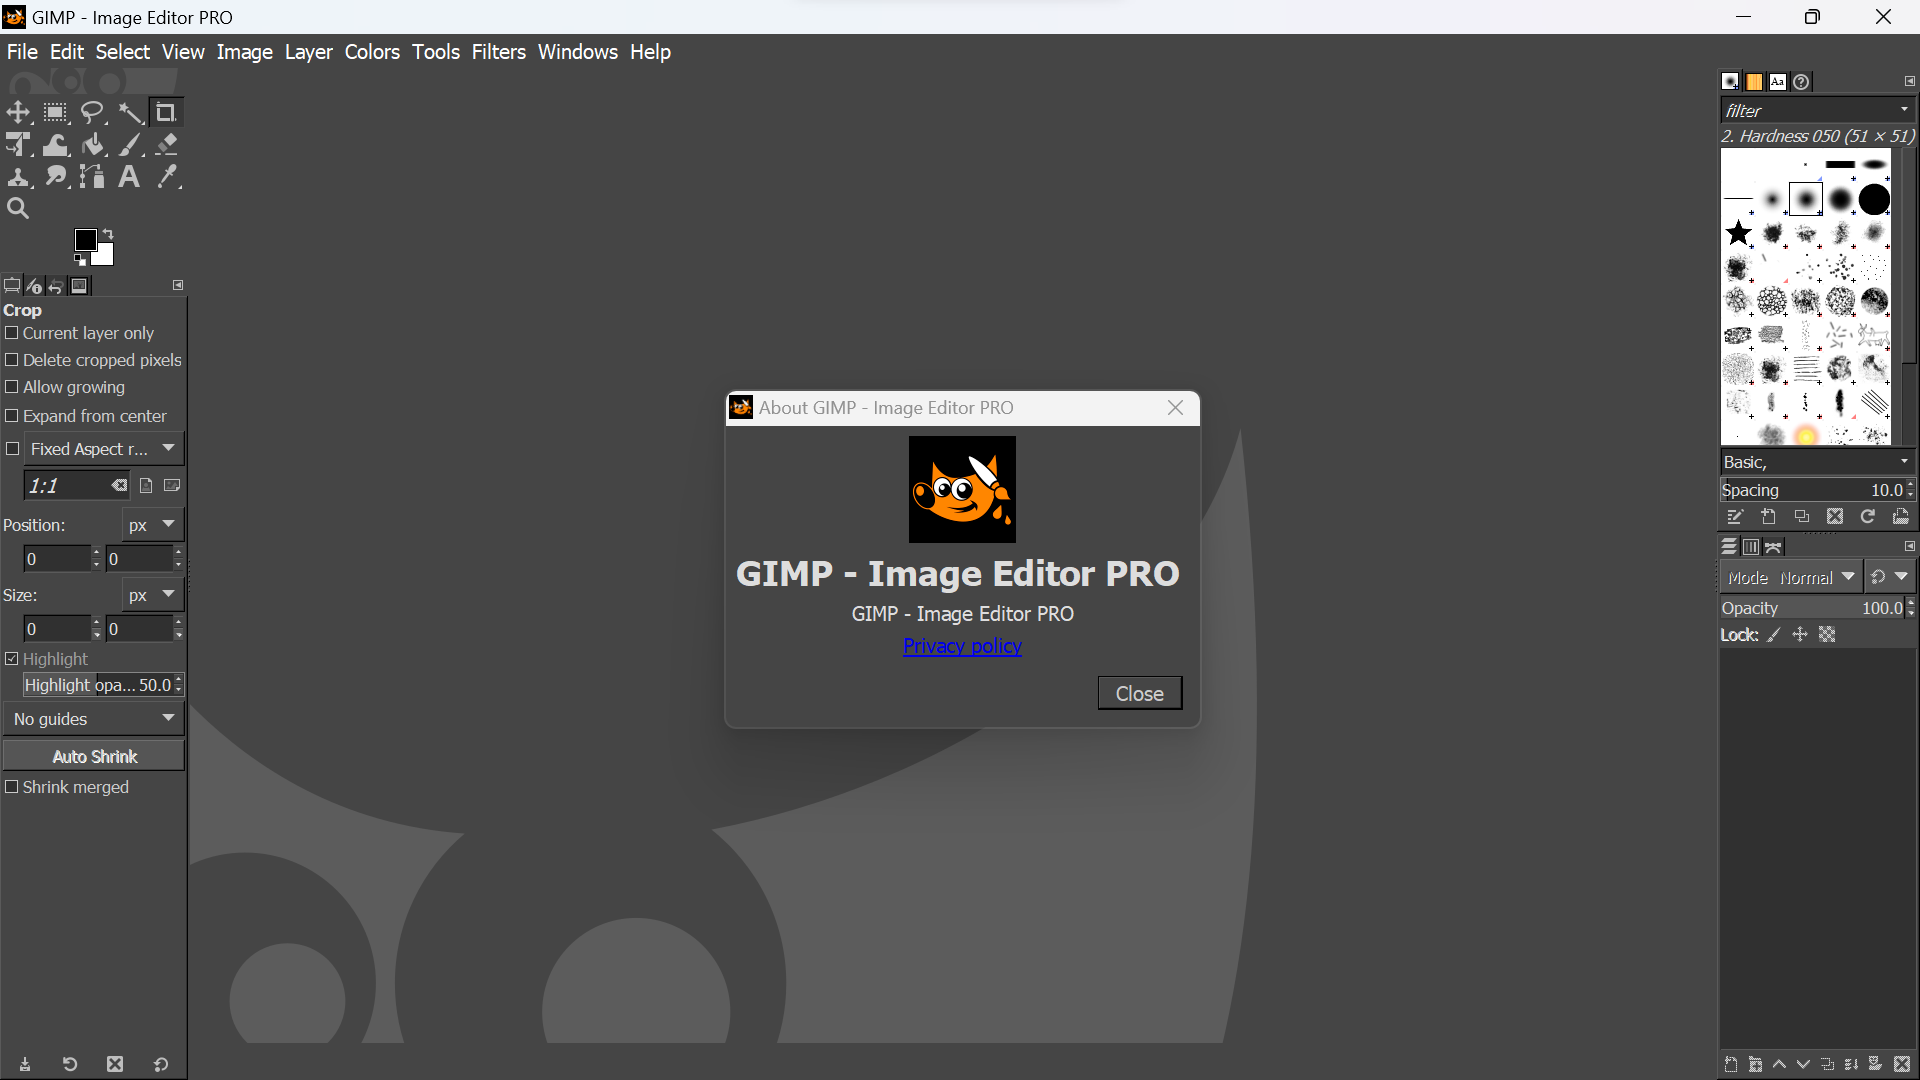
Here's a brief summary of some of the main parts of Photoshop:
1. Menu Bar: This is located at the top of the Photoshop window and contains all the menus and options for the software.
2. Tool Bar: This is located on the left-hand side of the Photoshop window and contains various tools for working with images, such as the selection tool, brush tool, and text tool.
3. Layers Panel: This is located on the right-hand side of the Photoshop window and allows you to manage and organize layers in your image.
4. History Panel: This is located on the right-hand side of the Photoshop window and allows you to undo and redo actions you've taken in your image.
5. Properties Panel: This is located on the right-hand side of the Photoshop window and displays information about the currently selected tool or layer.
6. Color Picker: This is a tool that allows you to select colors for your image.
7. Filters: Photoshop offers a wide range of filters that you can apply to your image to achieve different effects, such as blurring or sharpening
Editing images in photoshop
Steps of editing image in photoshop
1. Open the Image: Start by opening the image you want to edit in Photoshop. You can do this by clicking File > Open and selecting the image file
2. Make a Copy: It's always a good idea to make a copy of the original image before you start editing. This way, you can always go back to the original if you need to. You can do this by duplicating the layer containing the image.
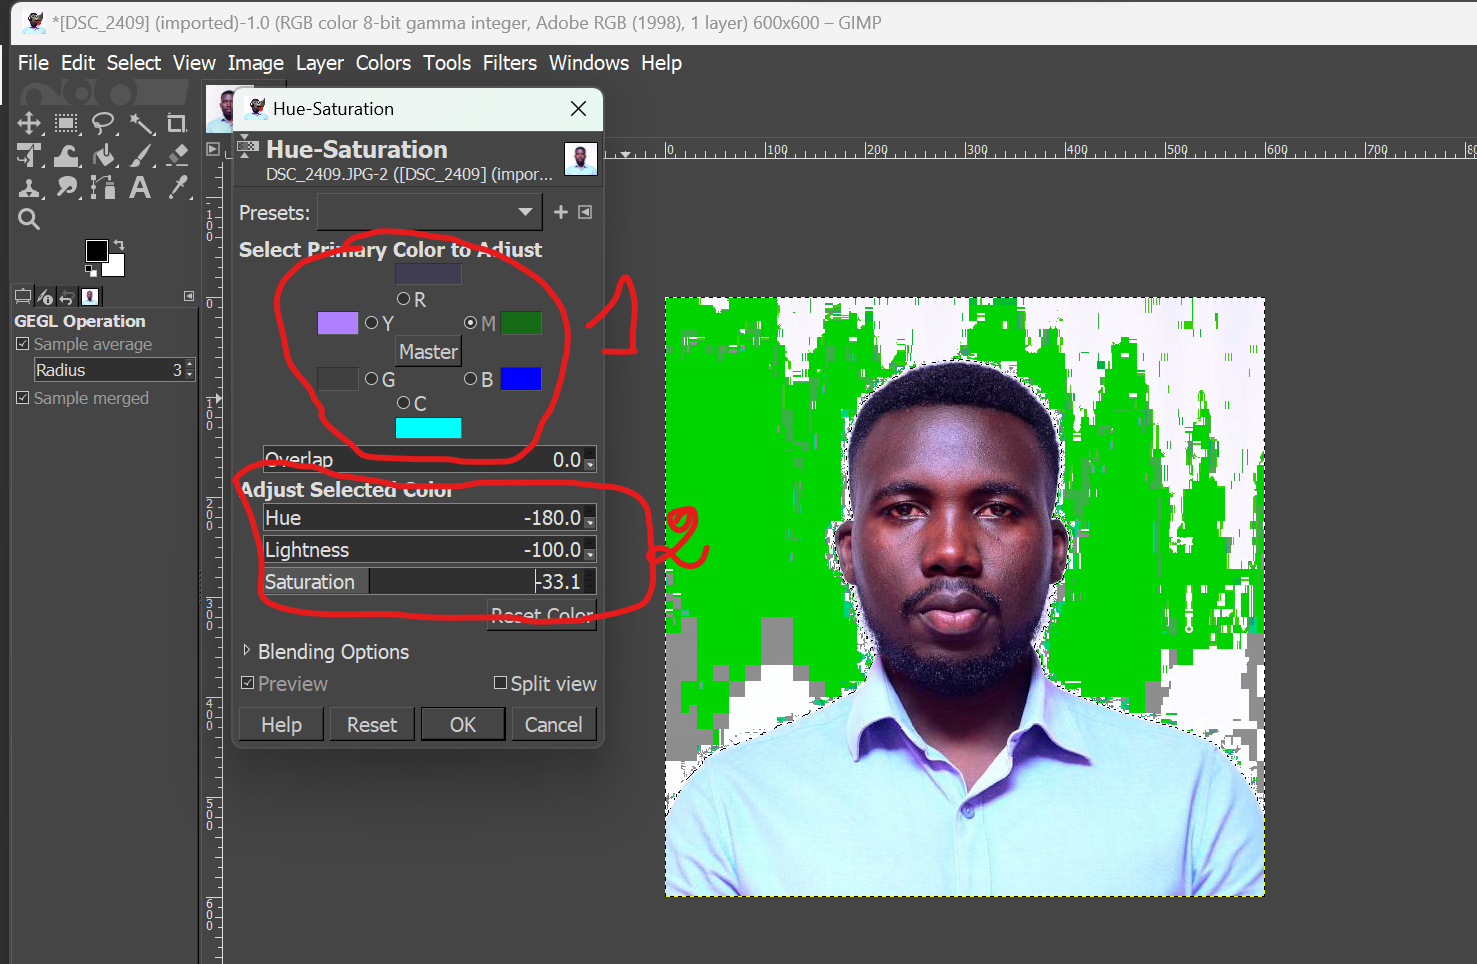
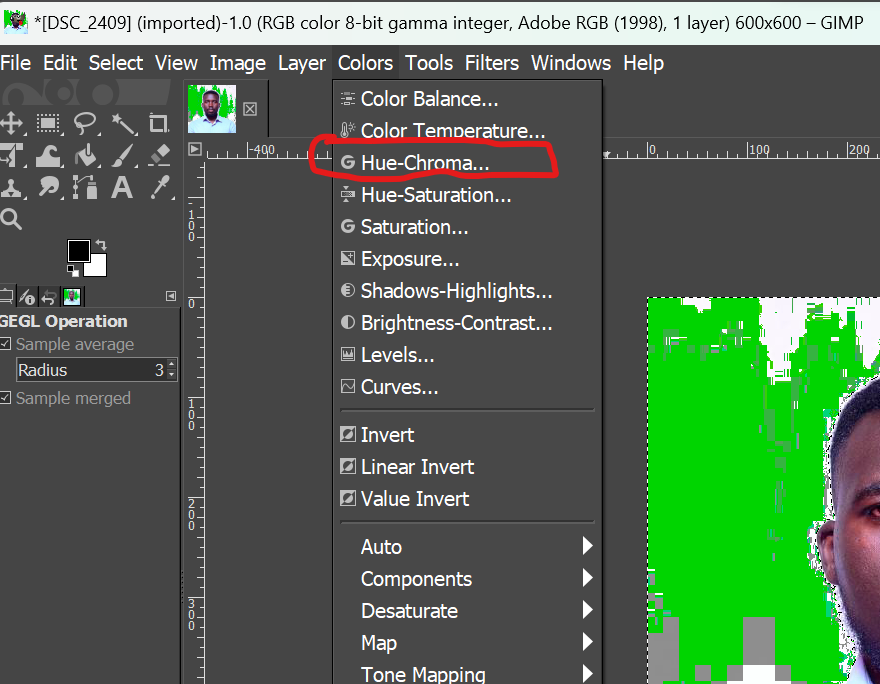
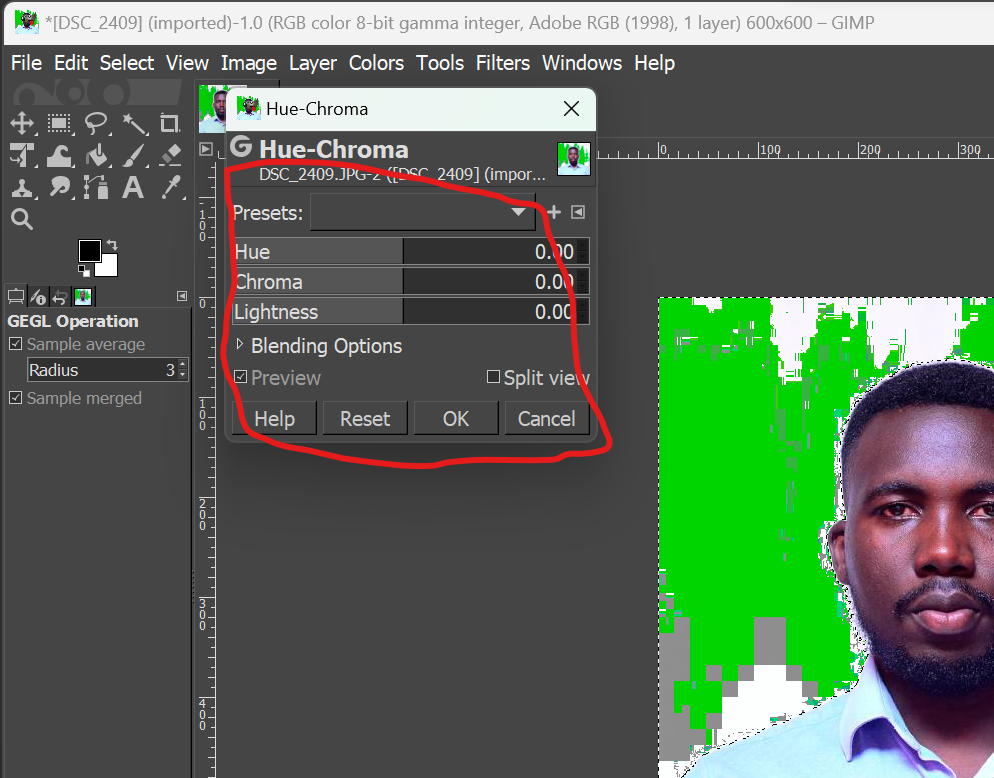
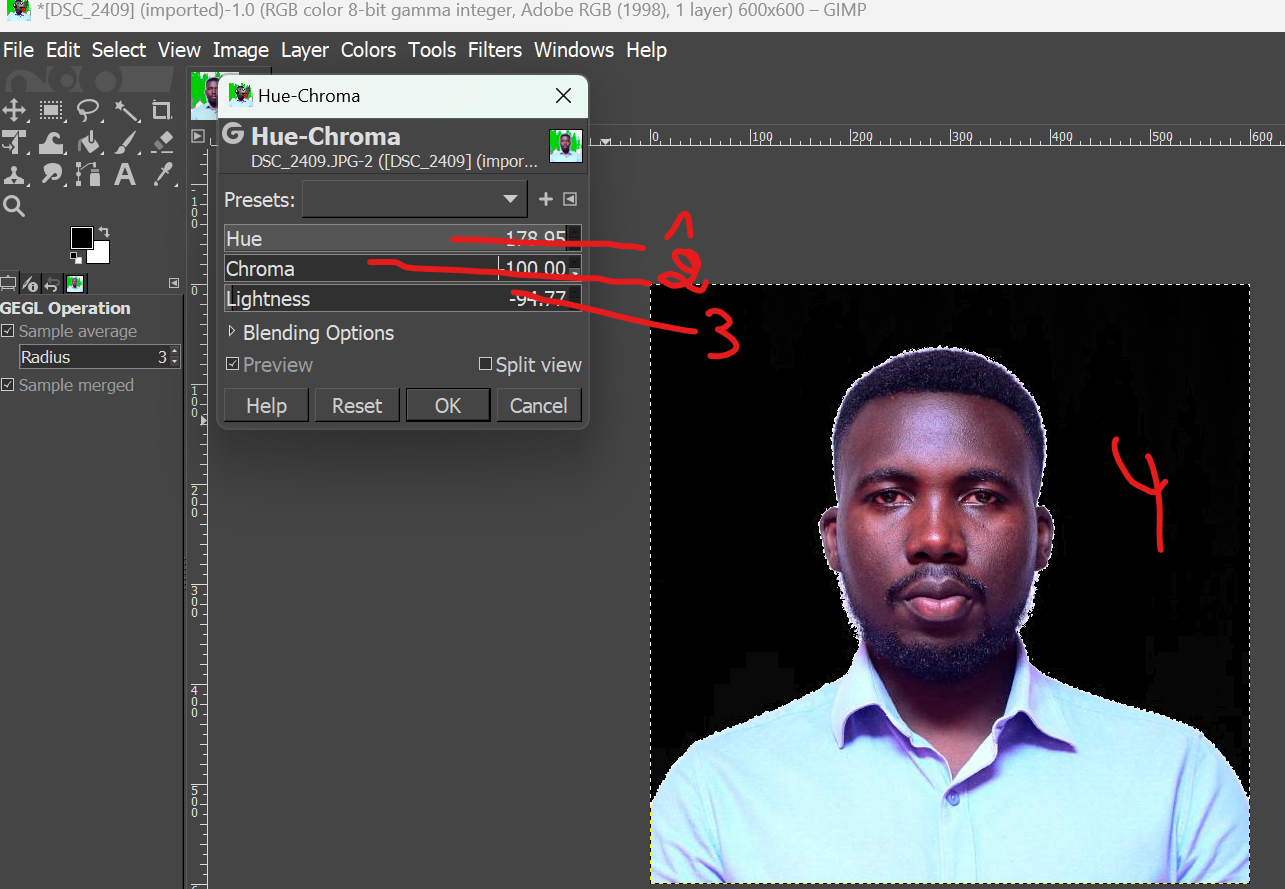
3. Make Adjustments: Use the adjustment tools in Photoshop to adjust the brightness, contrast, color balance, and other aspects of the image until you are satisfied with the results
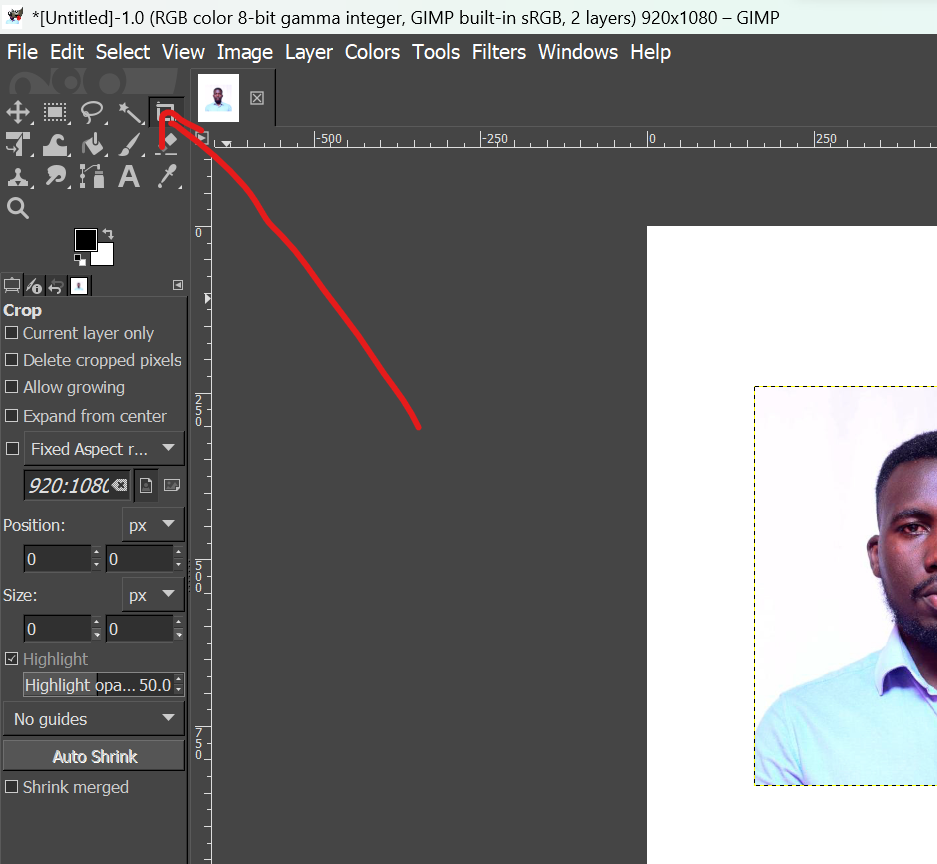
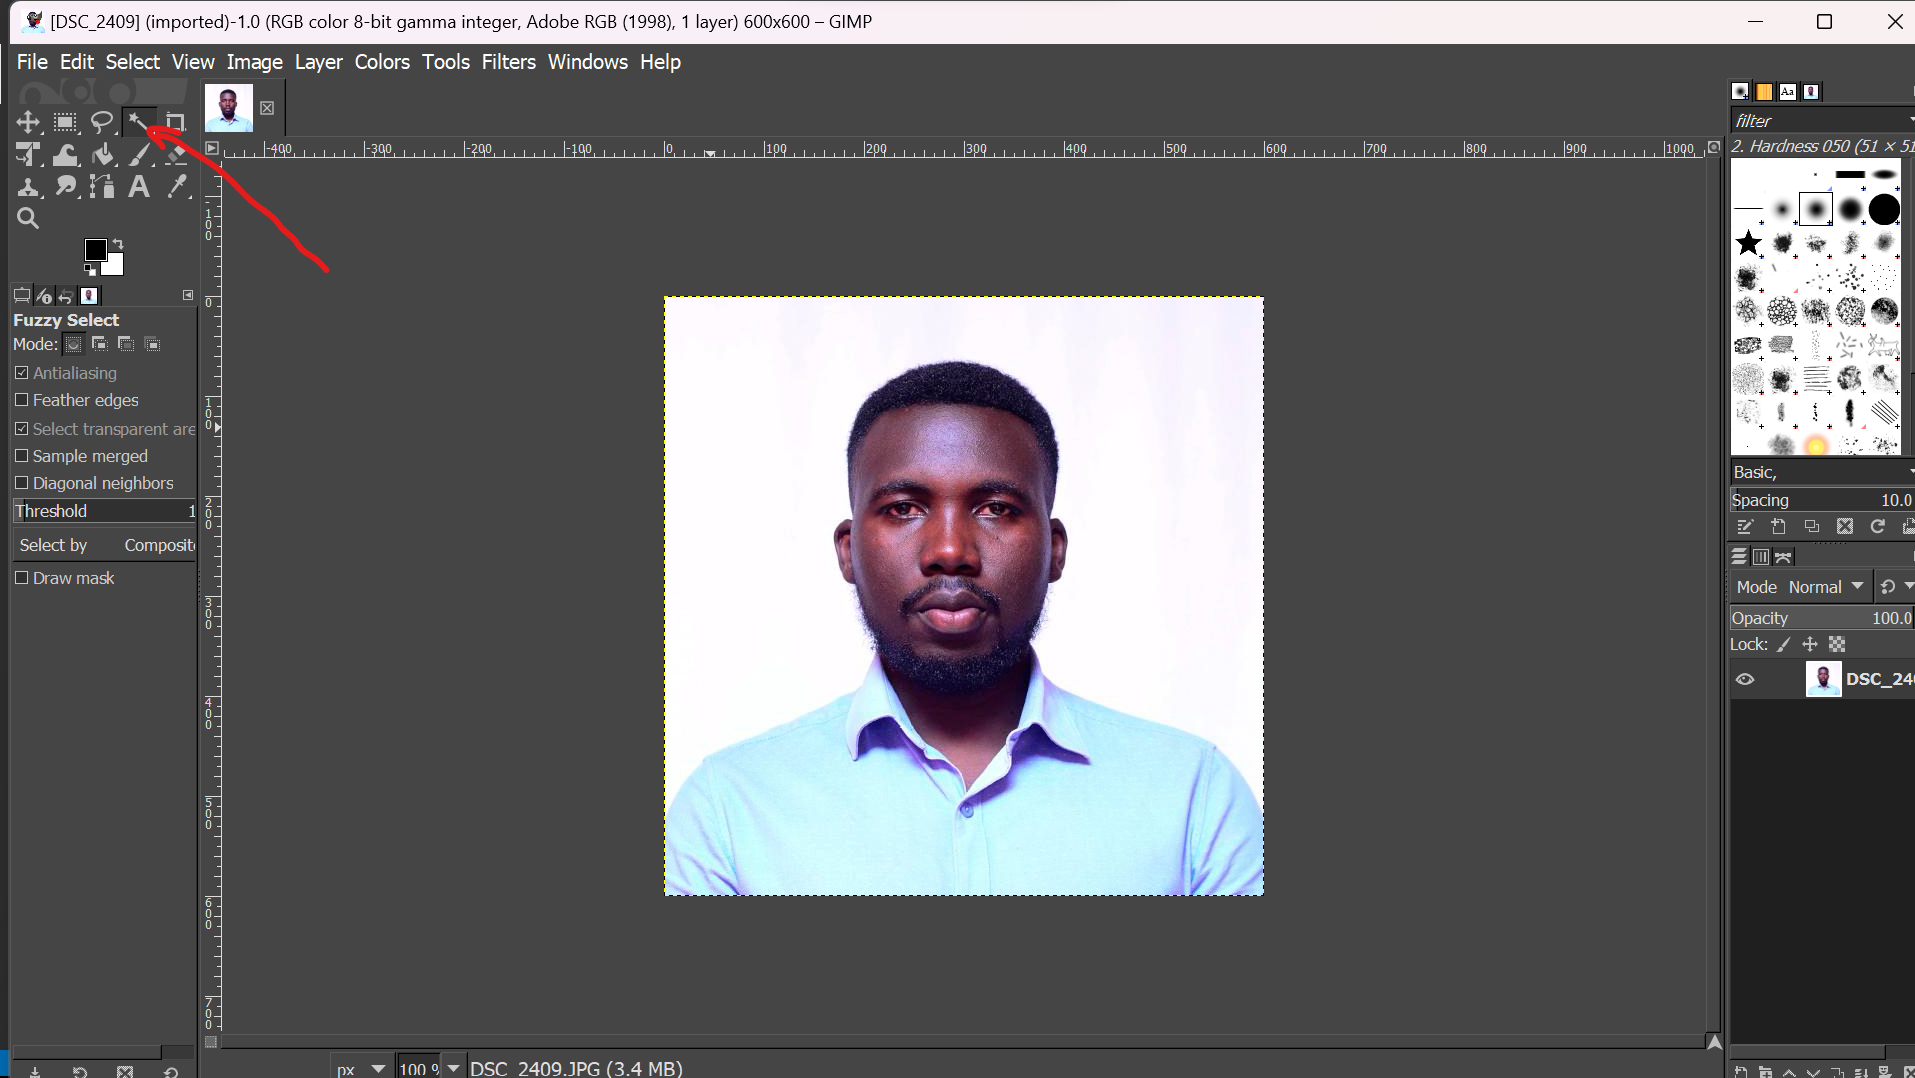
4. Use Selection Tools: Use selection tools to select specific parts of the image that you want to edit or apply effects to. You can use tools like the lasso tool, marquee tool, and magic wand tool to make selections.
5. Apply Effects: You can use Photoshop's various filters, such as blur or sharpen, to apply effects to the image. You can also add text, shapes, or other graphic elements to the image
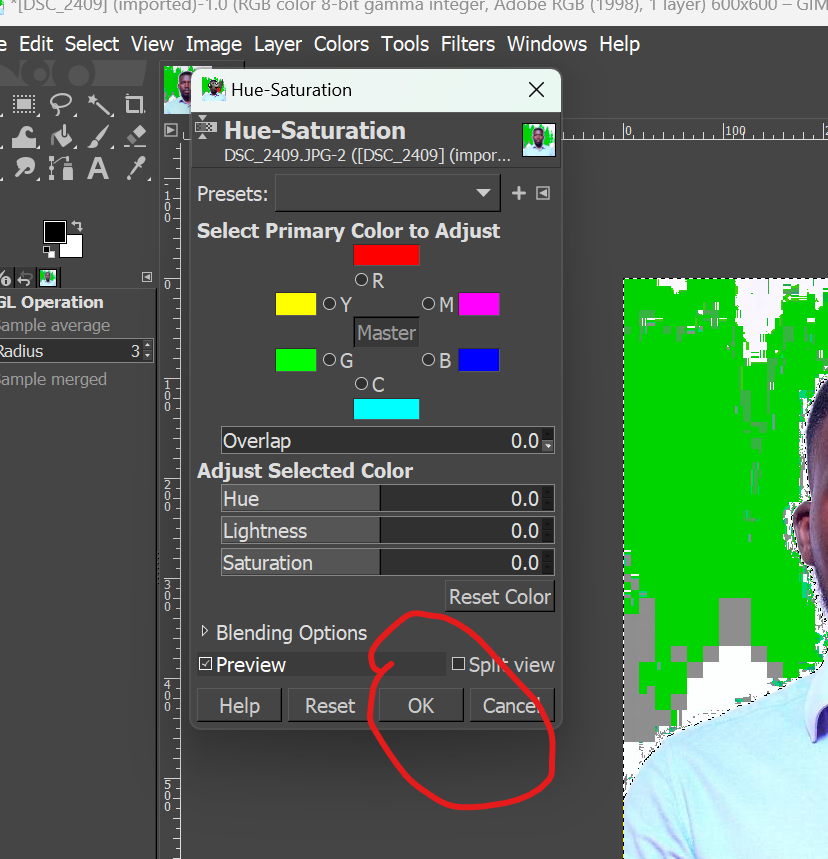
6. Save the Image: Once you are happy with your edits, save the edited image by clicking File > Save or File > Save As. You can choose the file format and quality settings as needed.
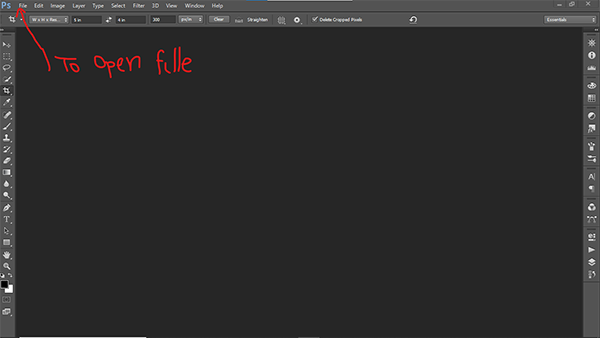
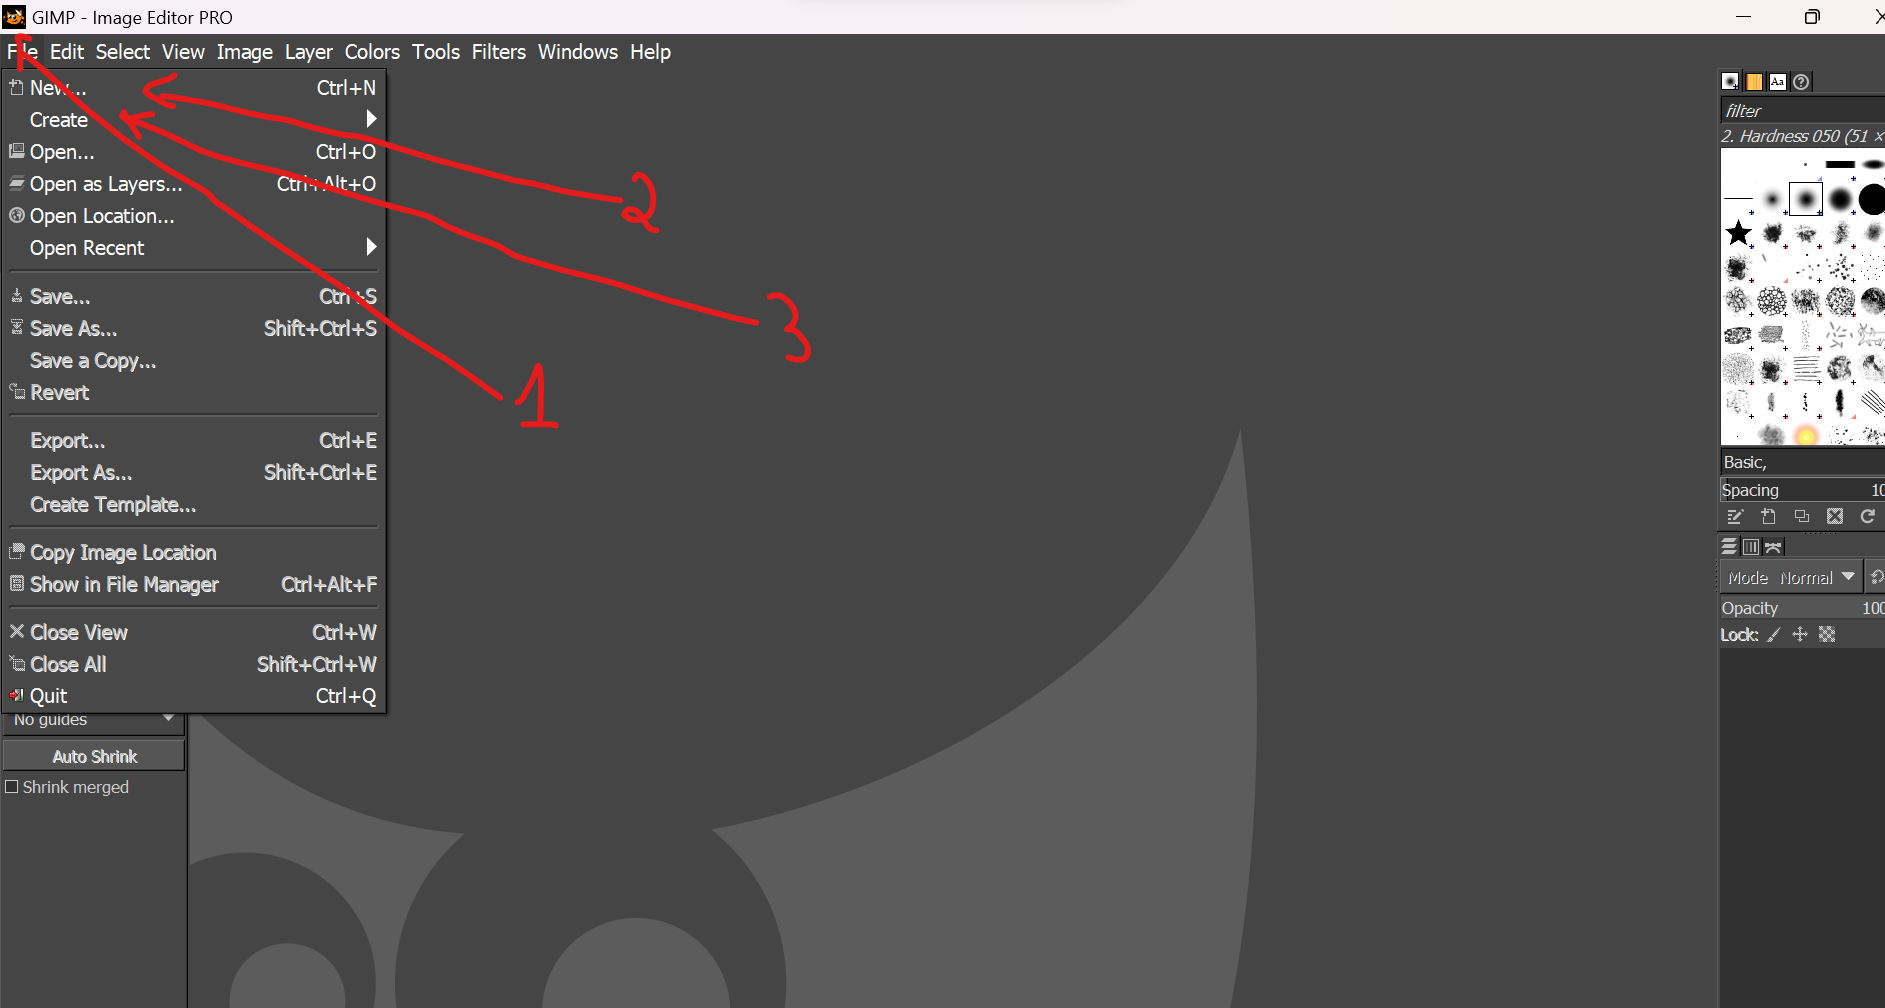
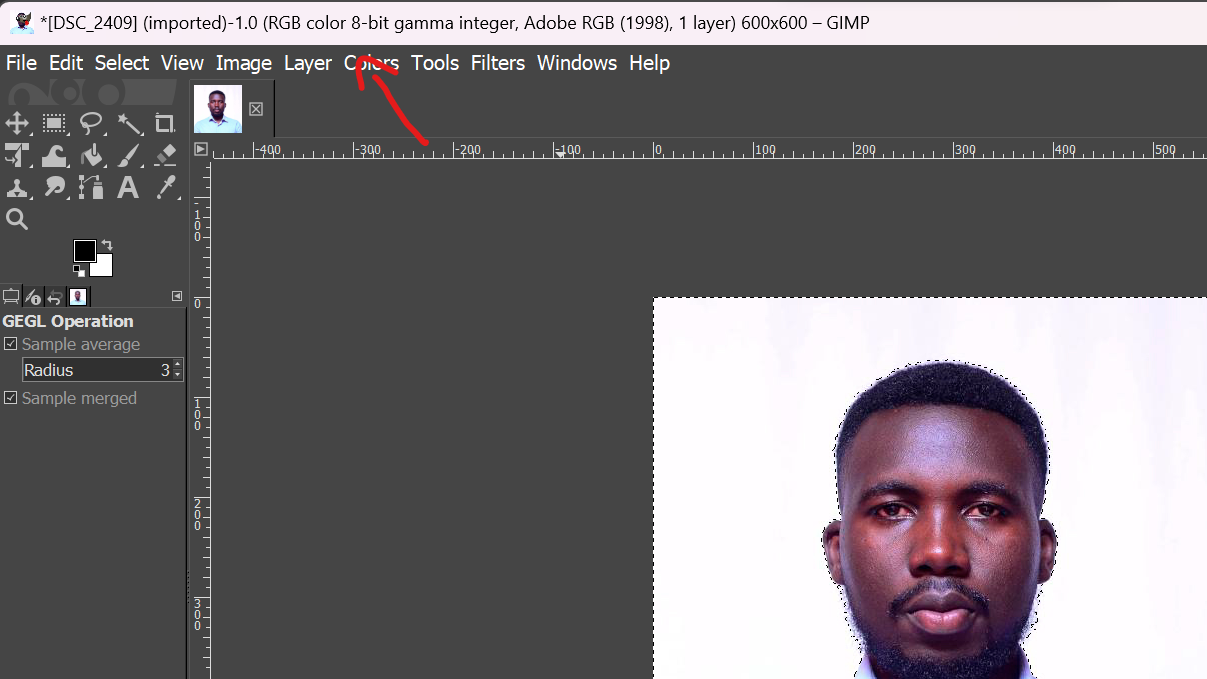
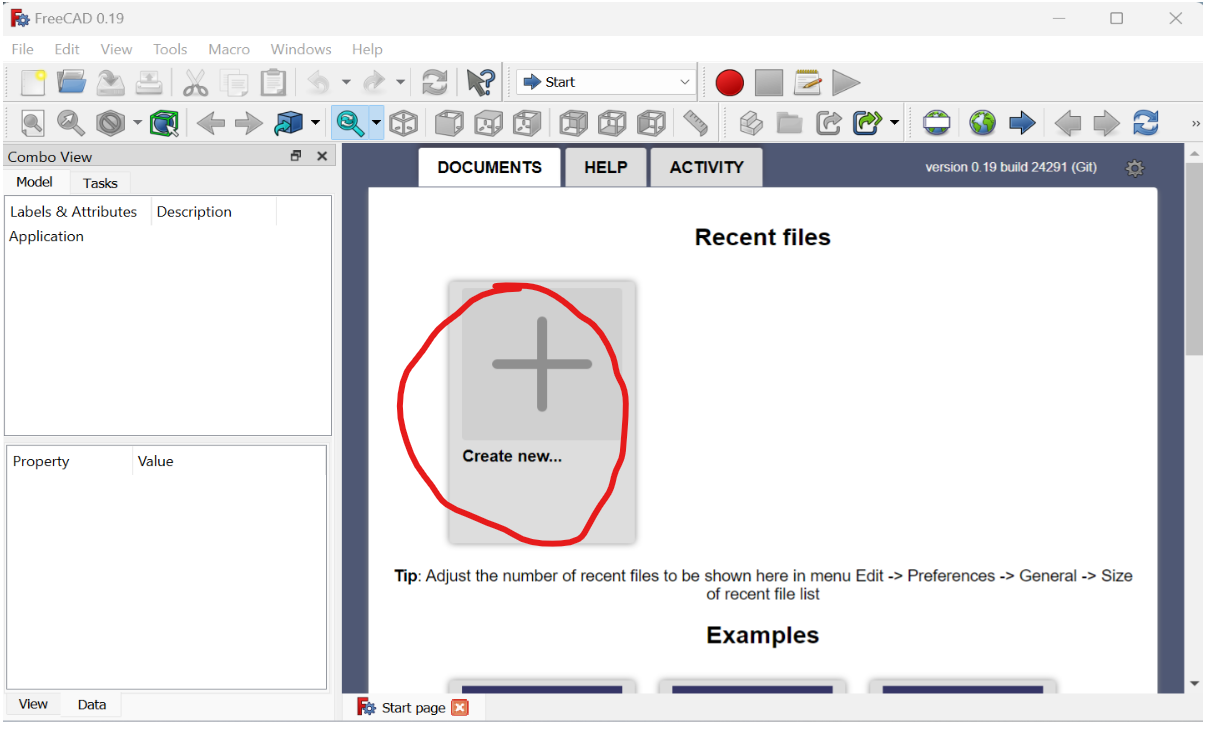
Here is when you are going to open your project you click on fille as shown on my Screenshoot
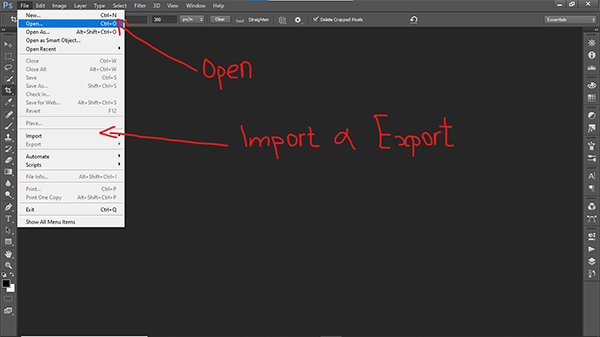
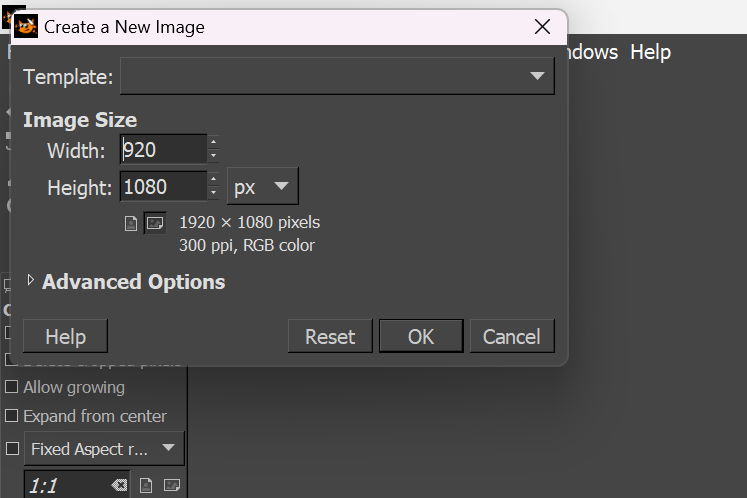
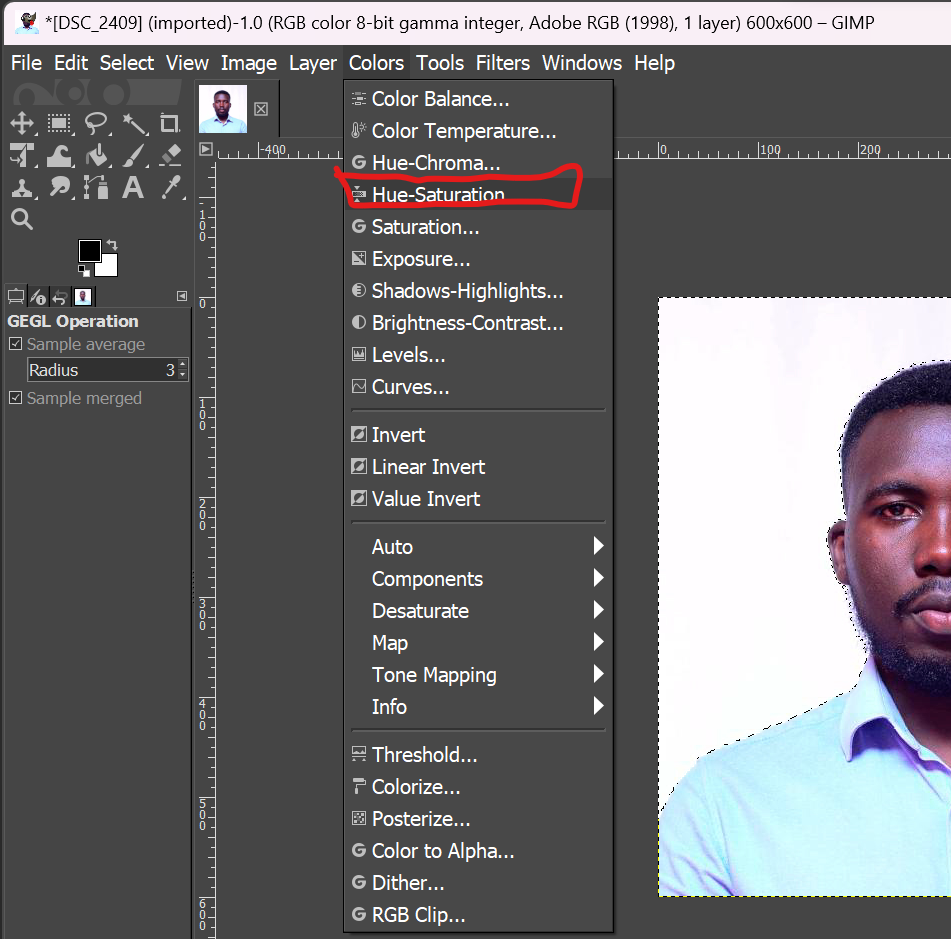
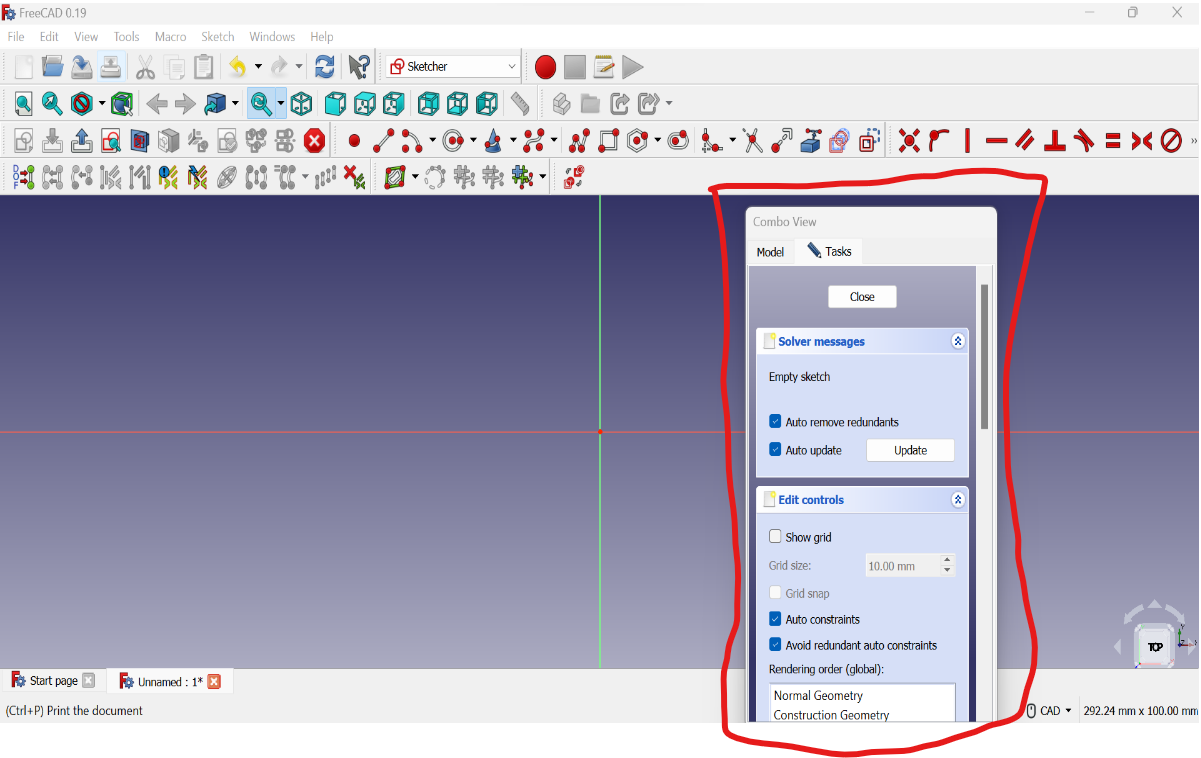
Here you select according to what you are going to do in work place
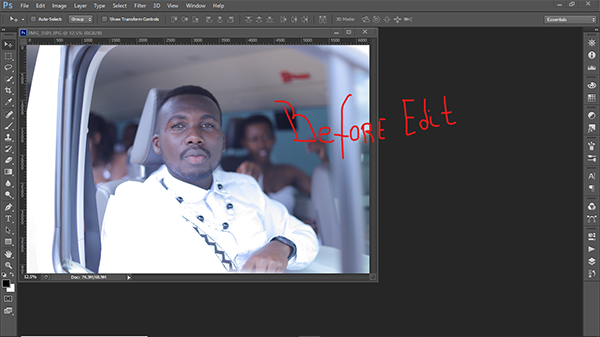
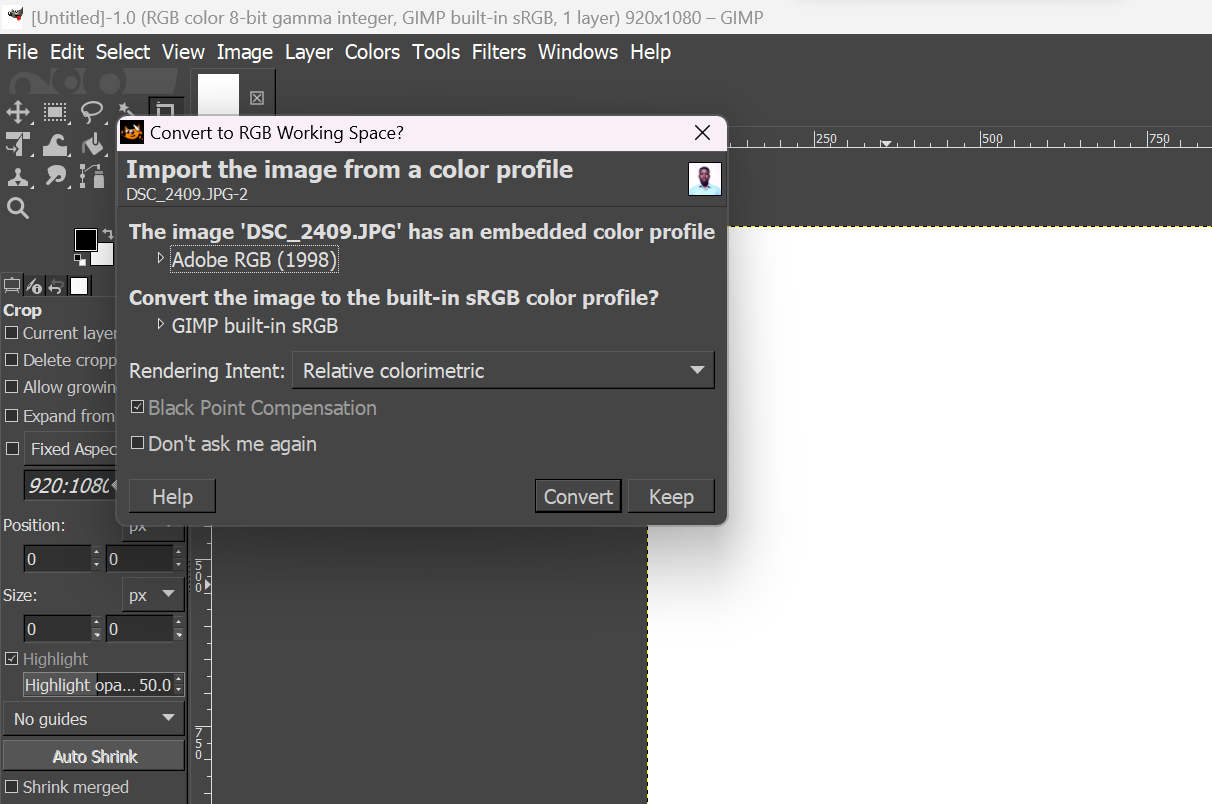
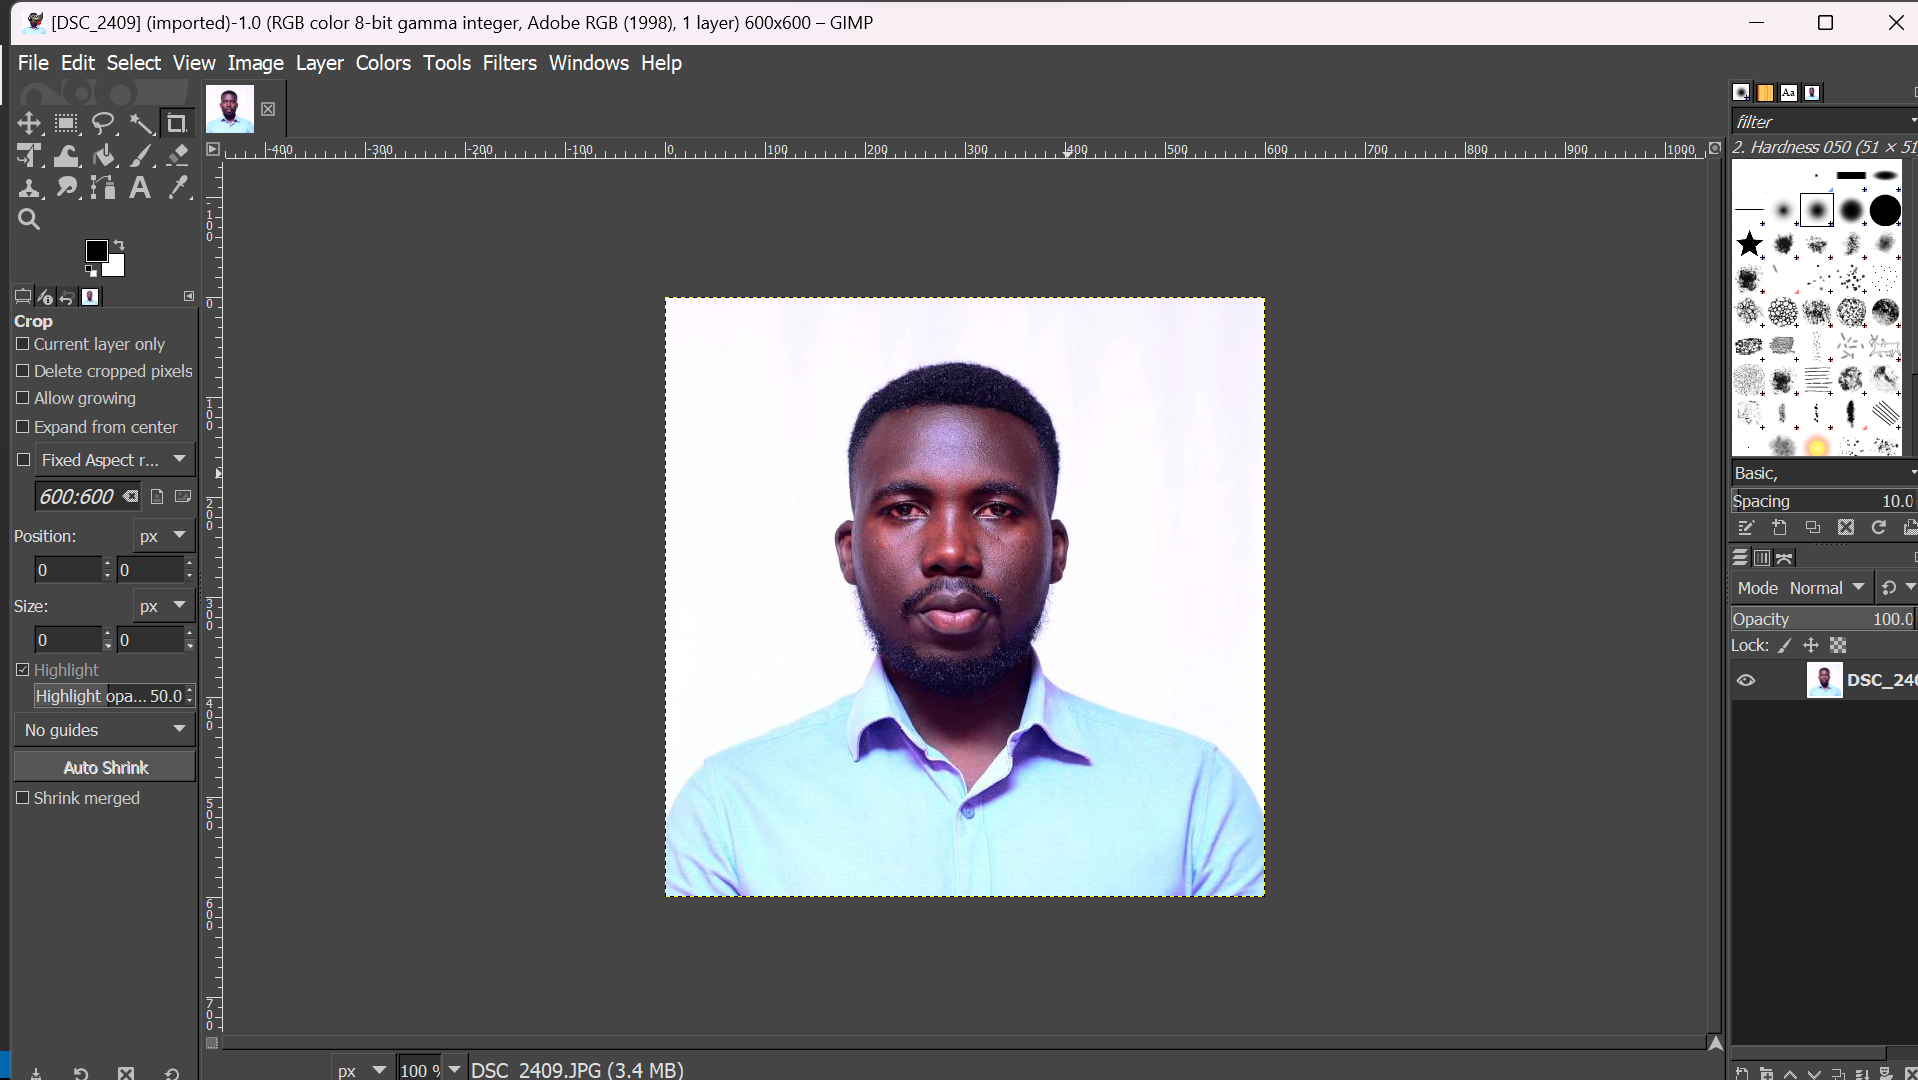
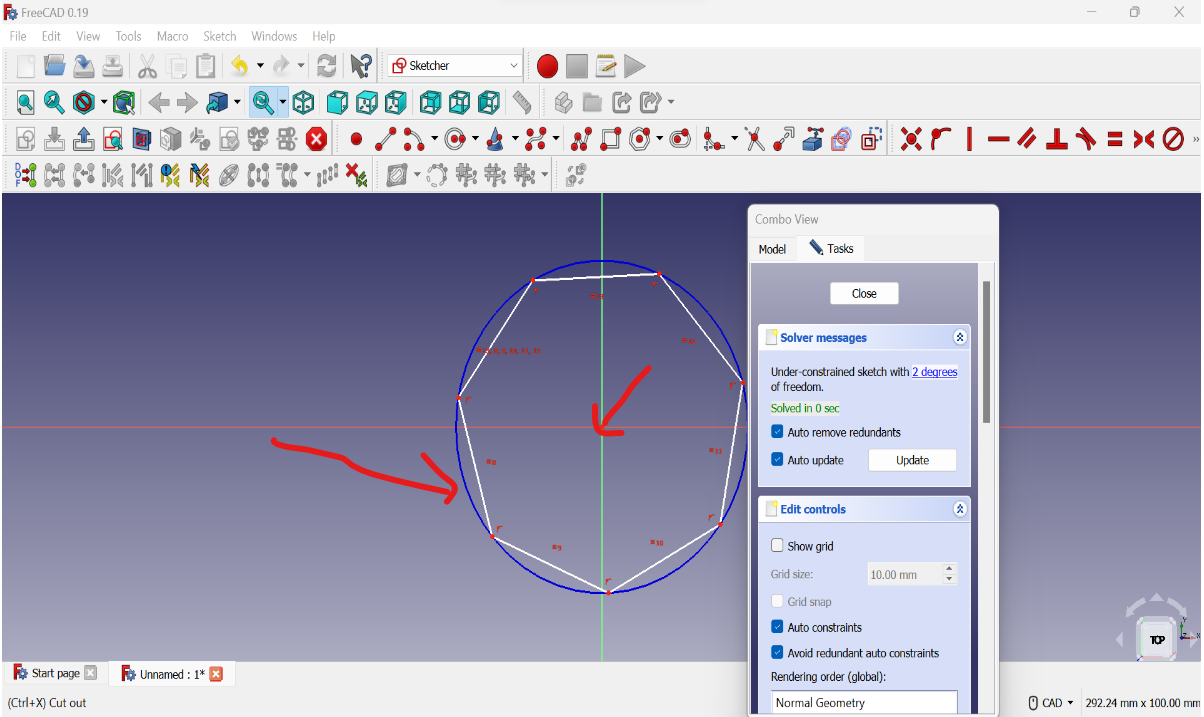
Here is before editing my image
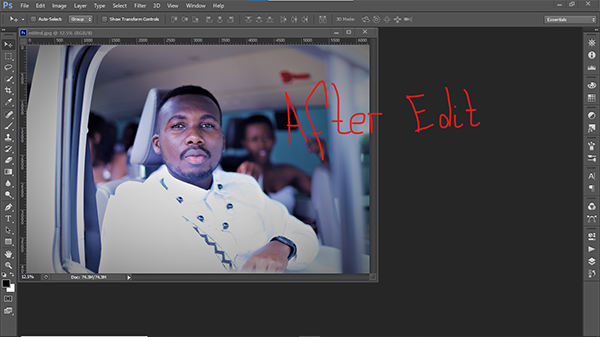
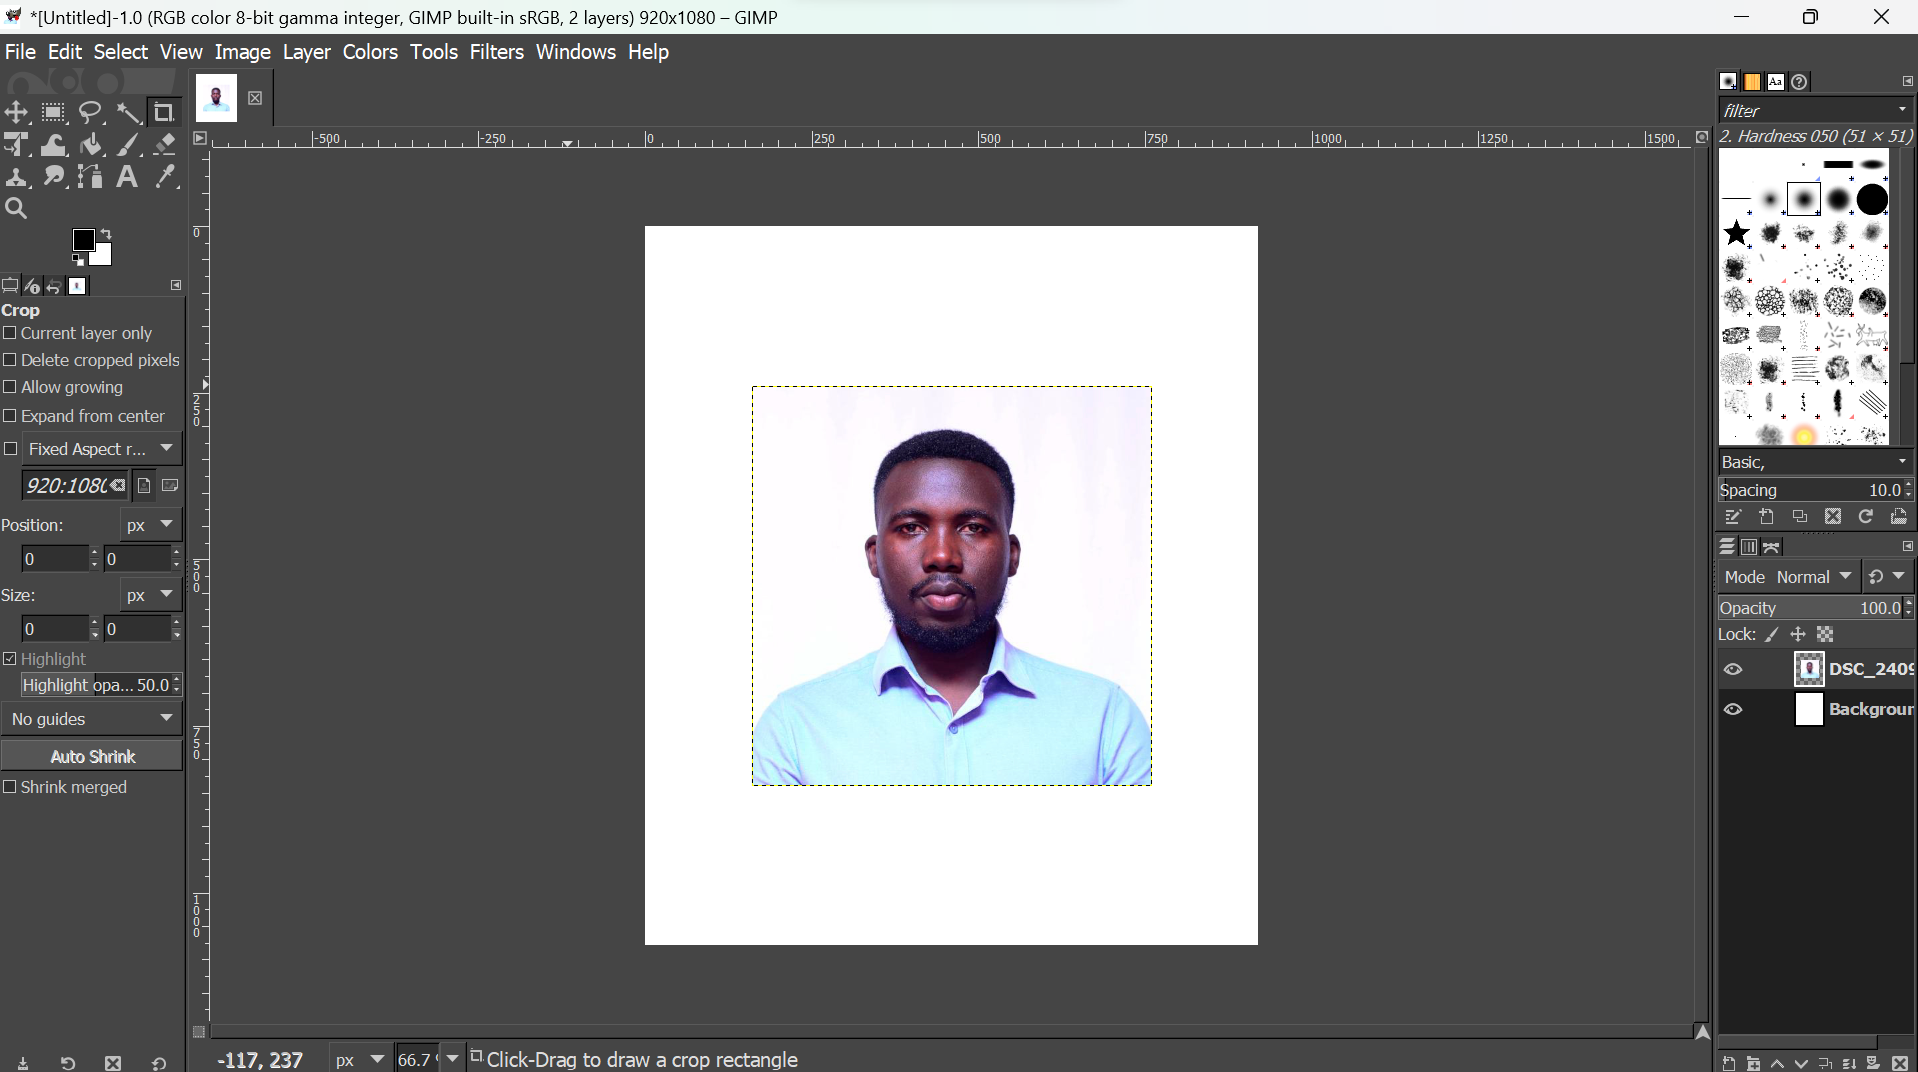
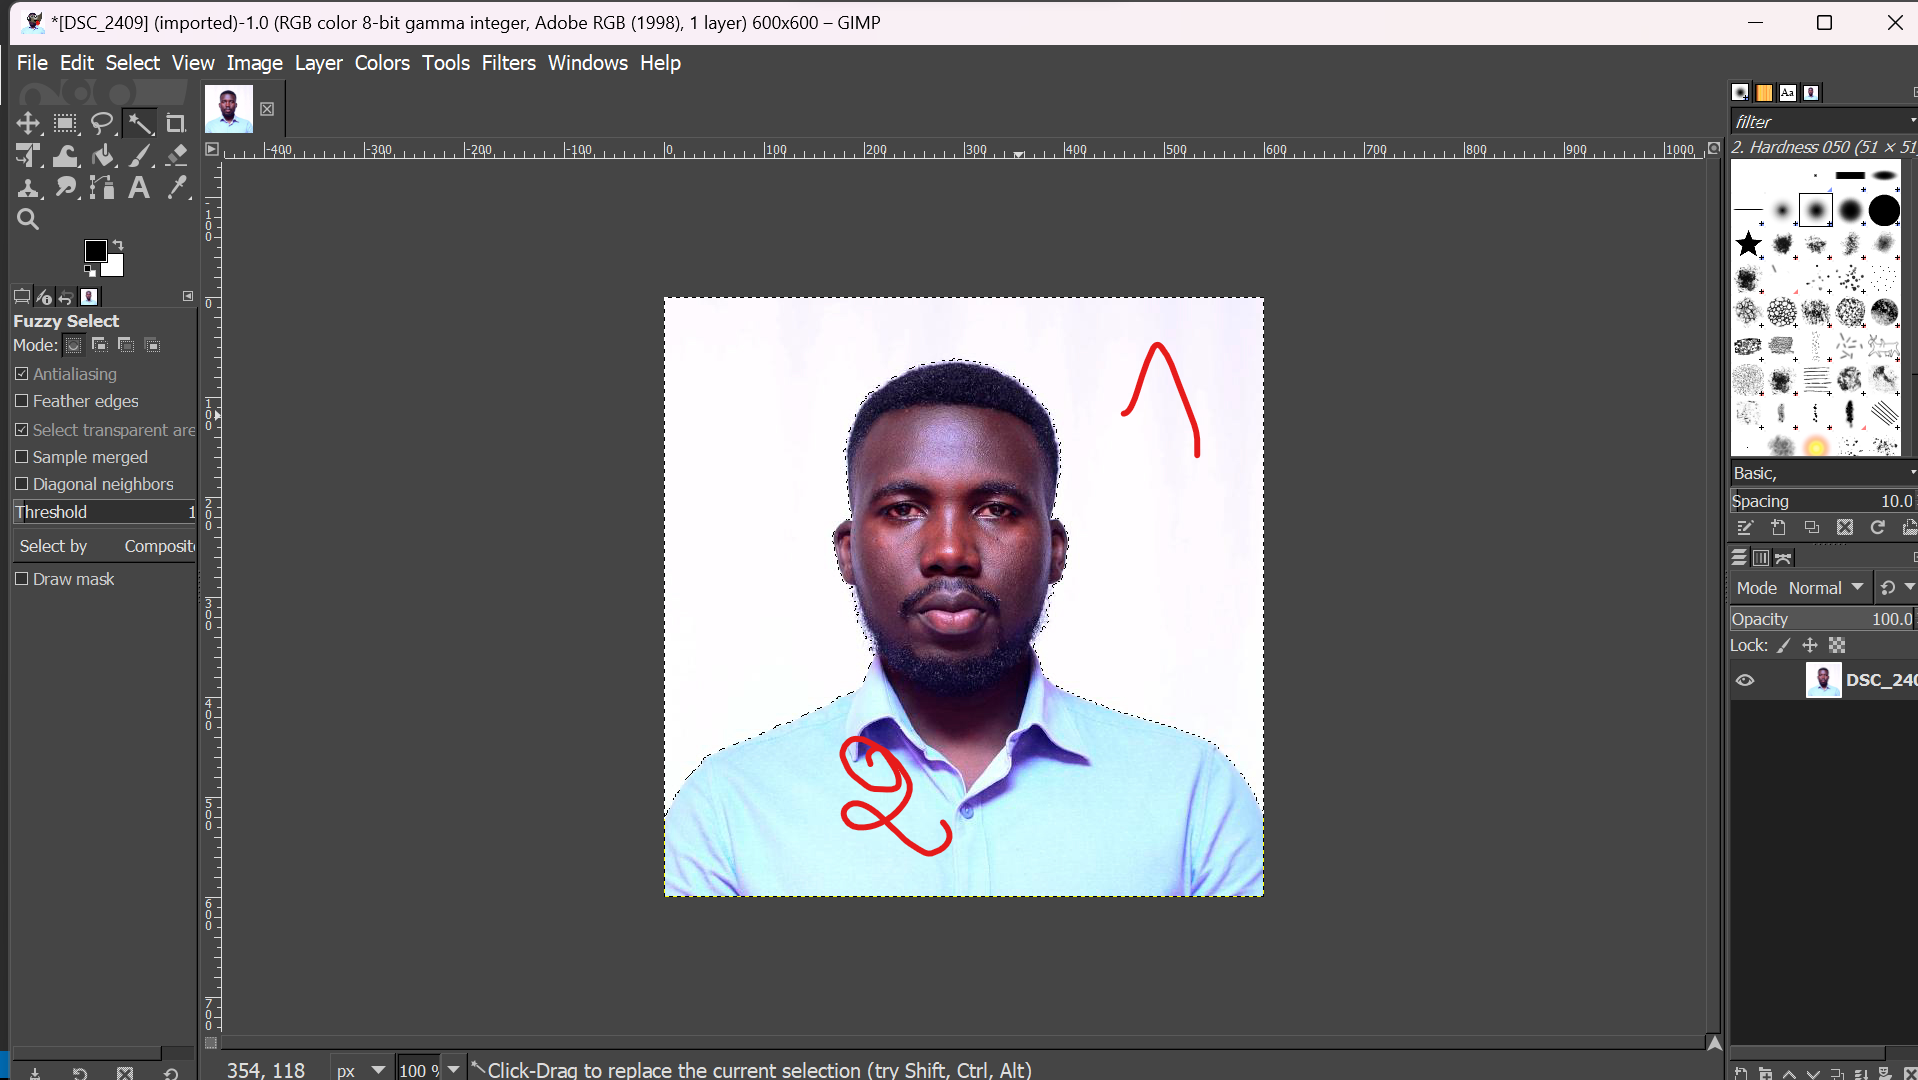
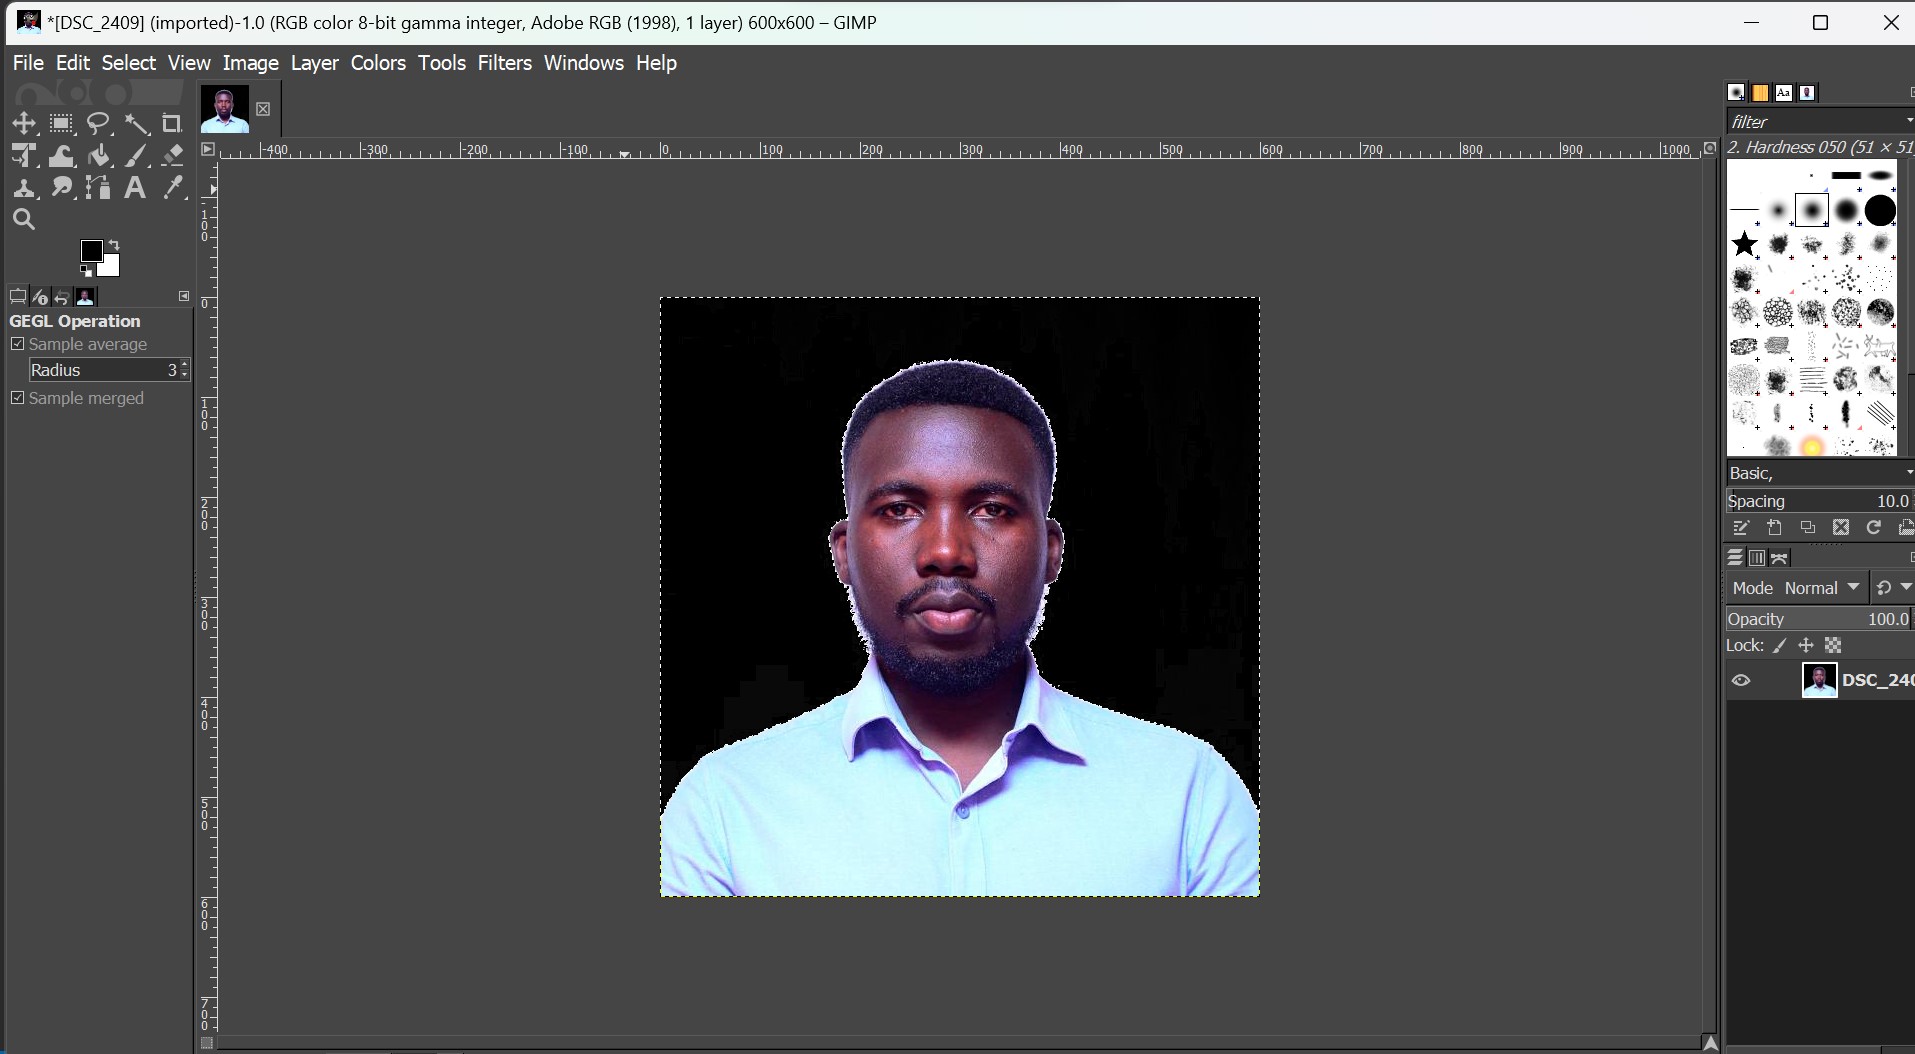
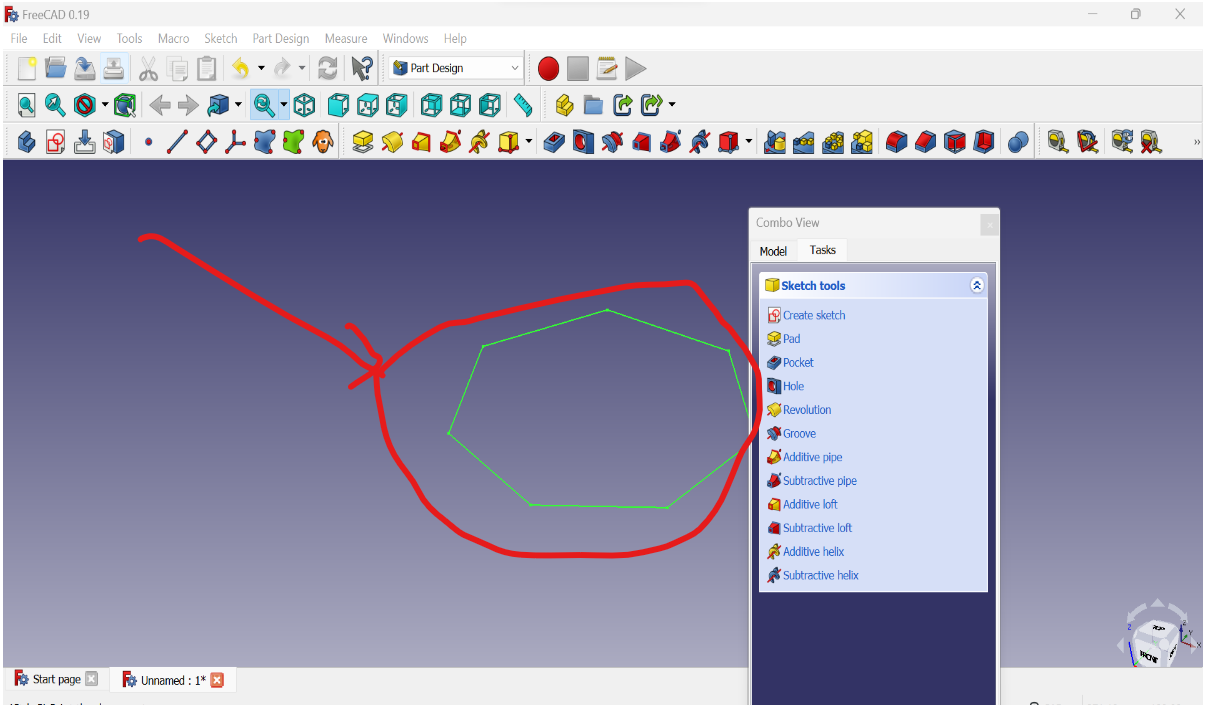
Here is after the edit now you can see there is deferent before and after editing my image
3D MODELING
DEFINITION OF 3D MODELING: 3D modeling is the process of creating a digital representation of a three-dimensional object or environment using specialized software. The resulting 3D model can be used in a wide range of applications, such as video games, movies, architecture, product design, and more.
Applications to be used in 3D editing
1. 3D modelling blender
2. 3D modeling with solidworks
3D modelling blender
Blender is a popular 3D modeling software that allows users to create and manipulate 3D objects and environments. In Blender, 3D modeling involves the creation of three-dimensional shapes and objects using various tools and techniques.
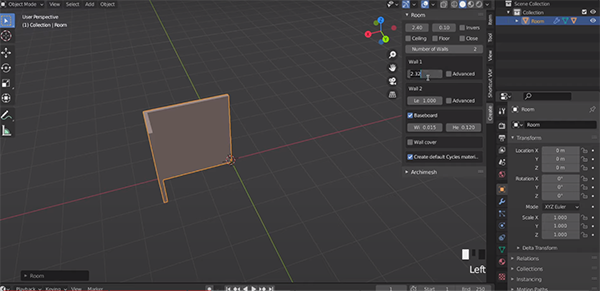
Here i was designing home in 3d using blender
As u can see am about to finish my work
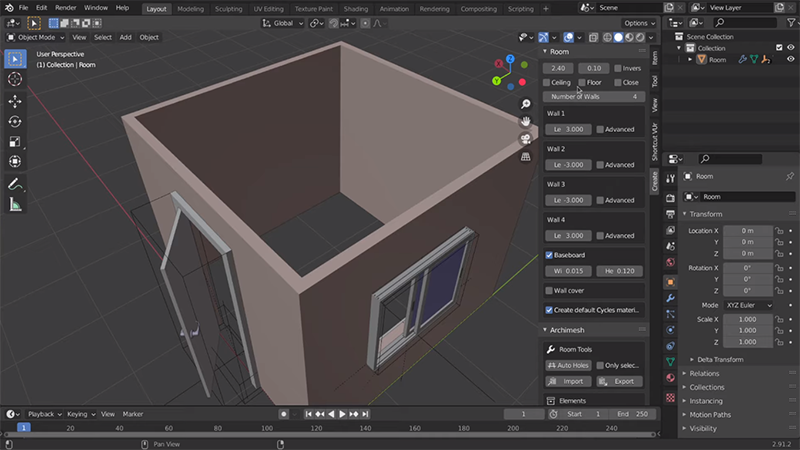
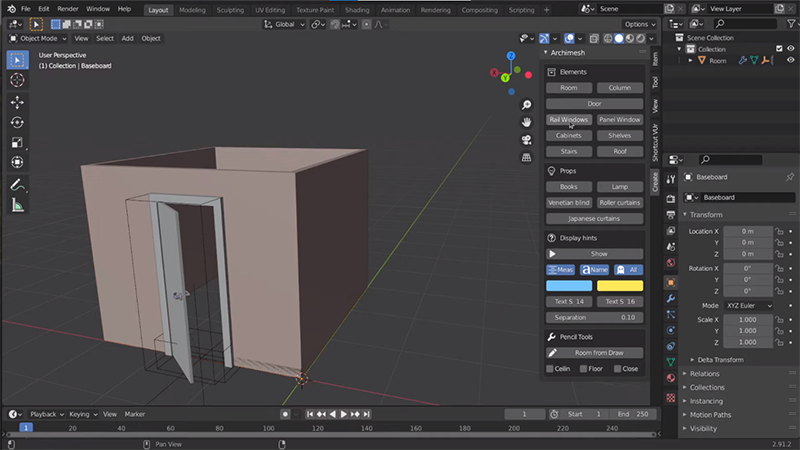
As u can see here my work is done, you can download blender app by using the link below
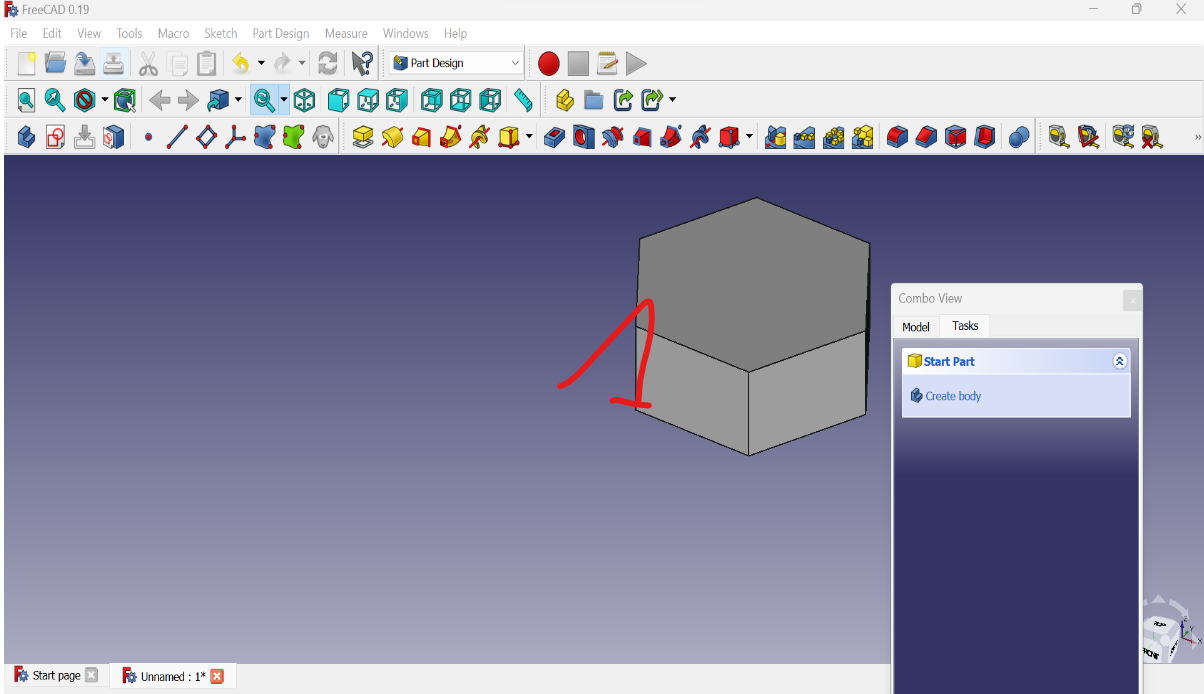
3D solidworks
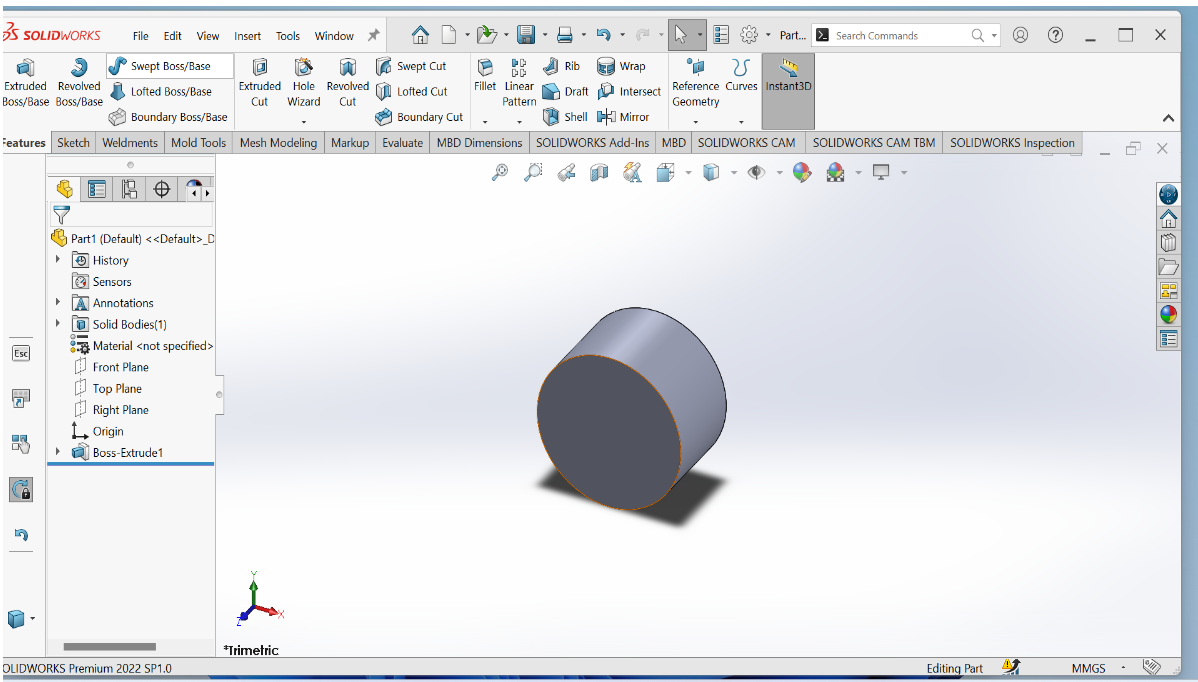
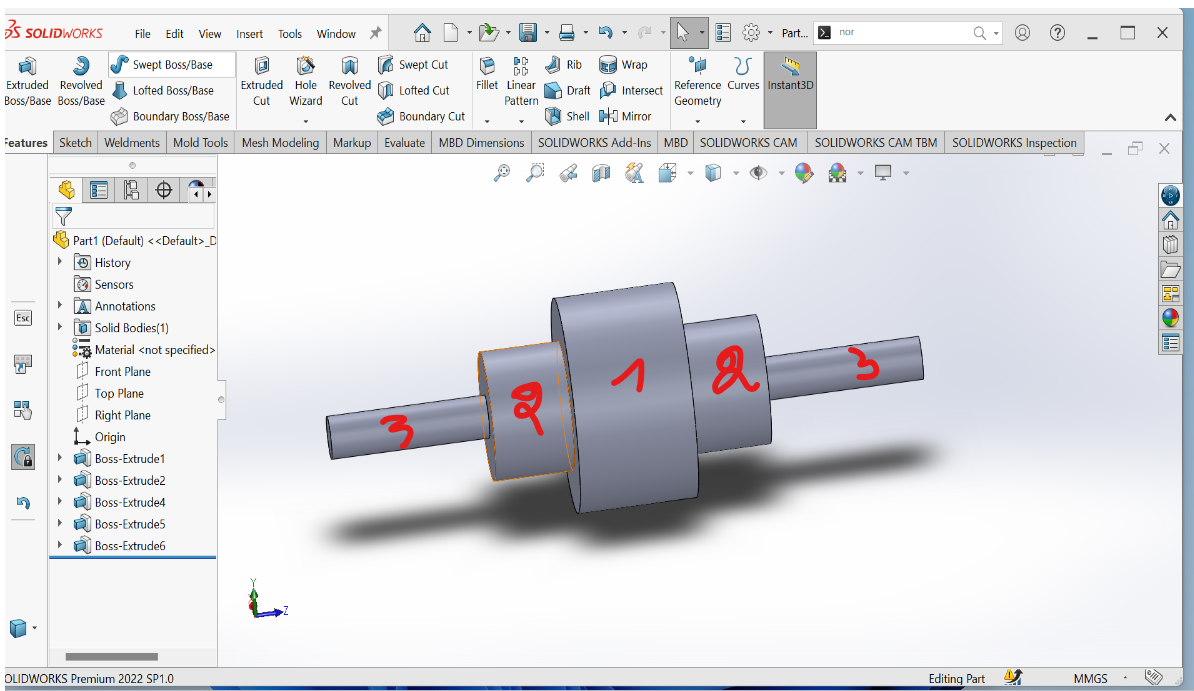
3D modelling blender Certainly! SolidWorks is another popular 3D modeling software that is widely used in the engineering and product design industries. In SolidWorks, 3D modeling involves the creation of three-dimensional solid parts or assemblies using a range of specialized tools and techniques.
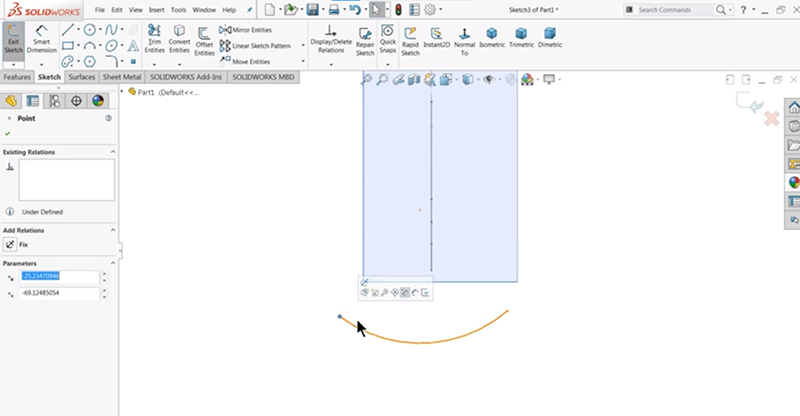
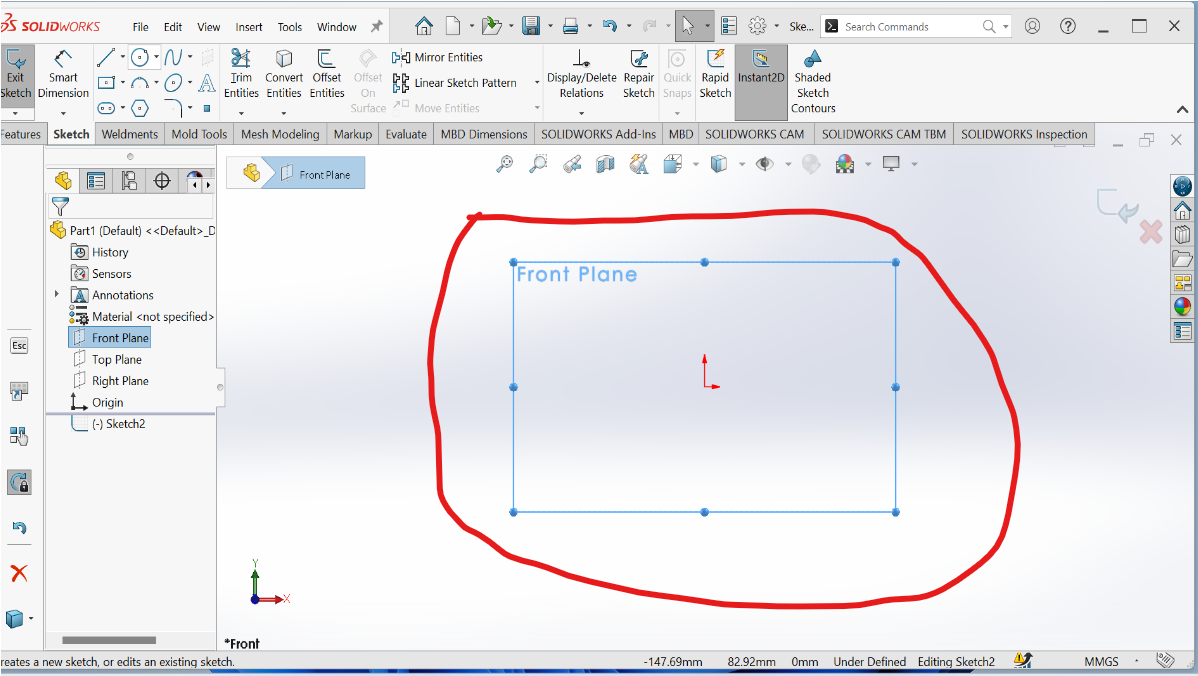
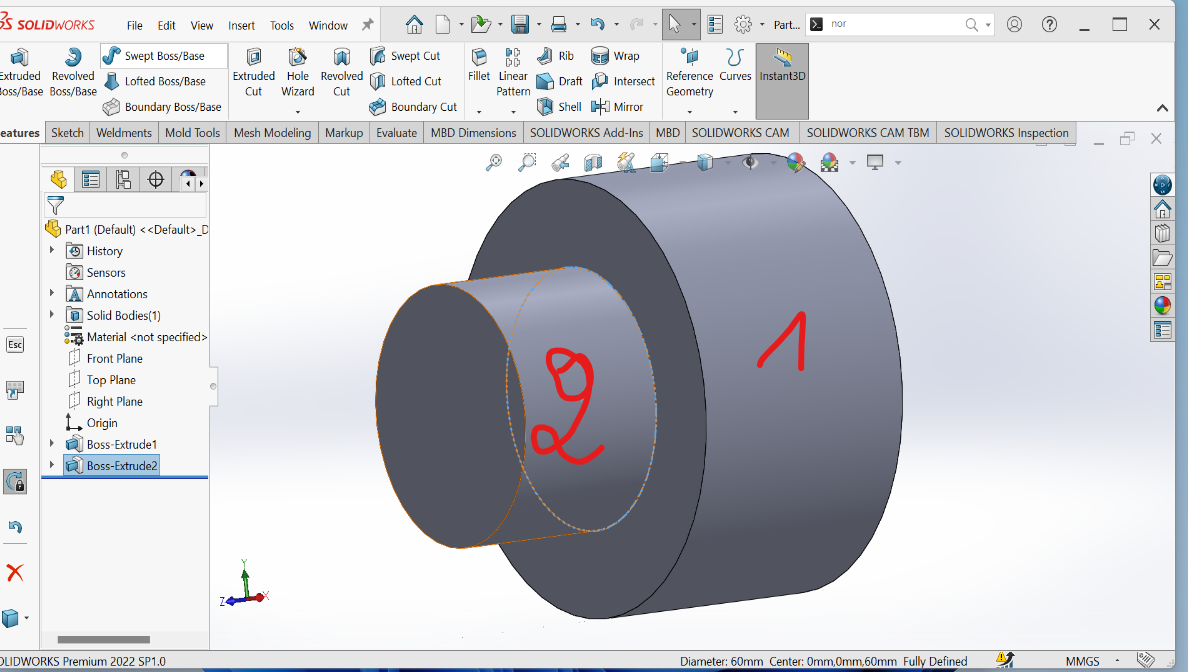
Here i was about to start my new design of spoon using solidworks app
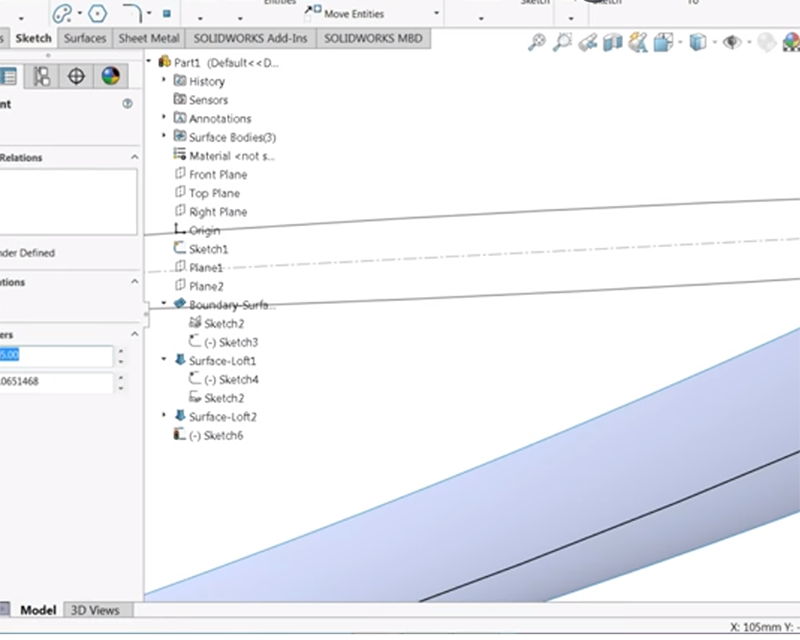
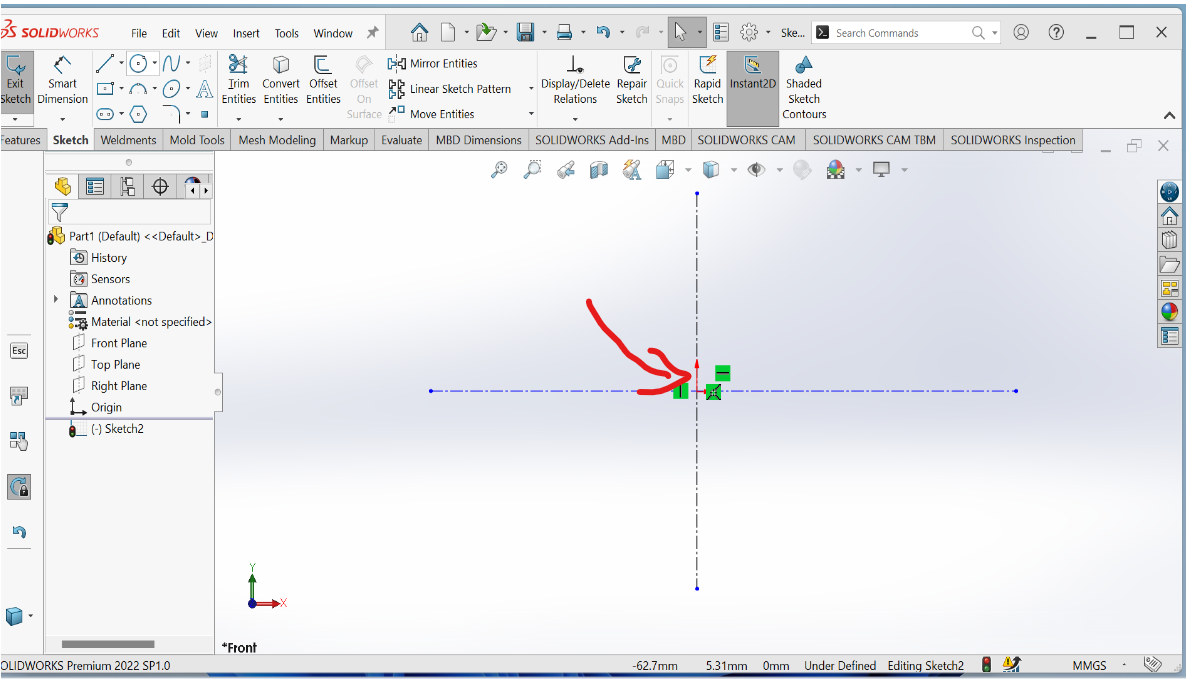
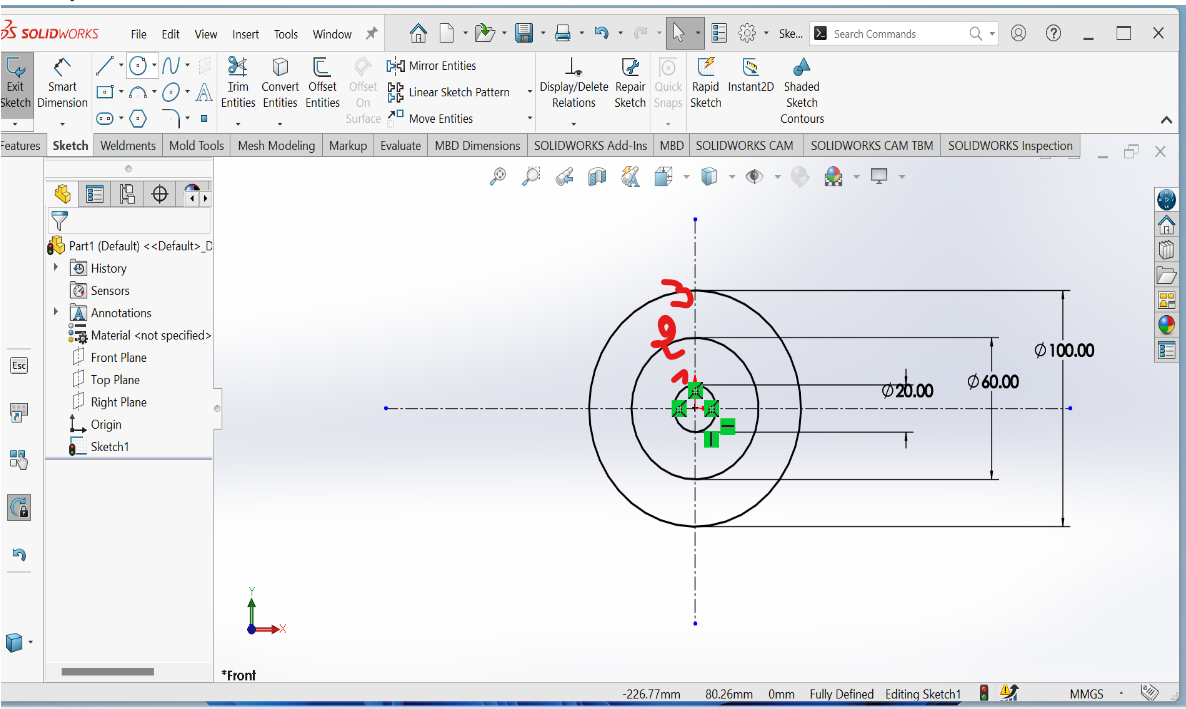
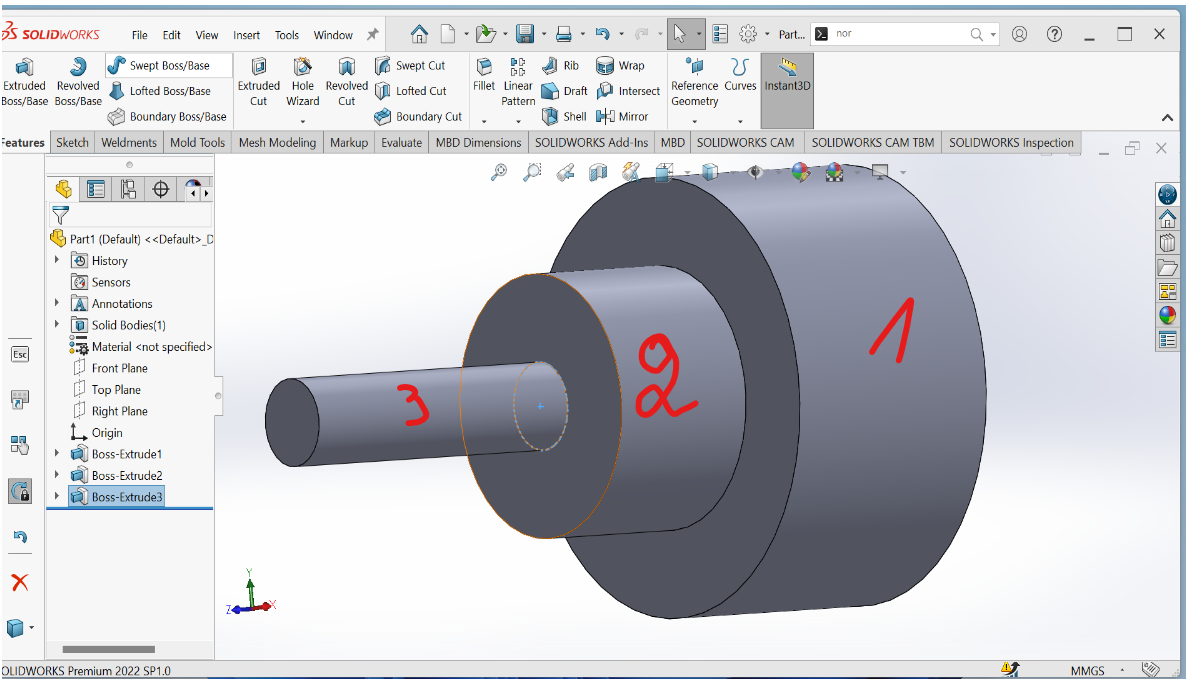
here am adding the sarface in order to give my design a good finish
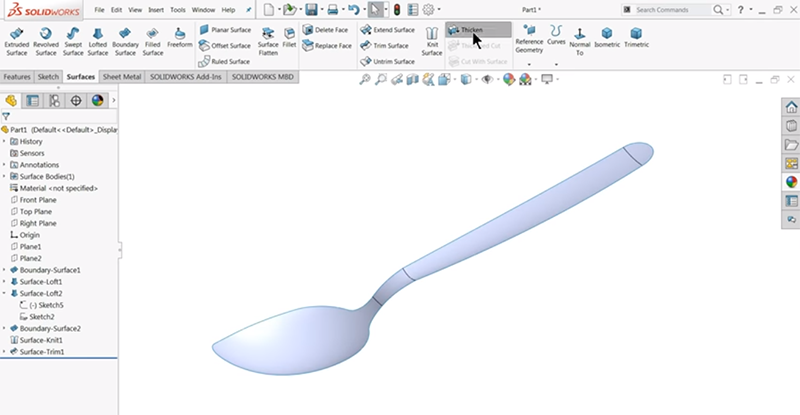
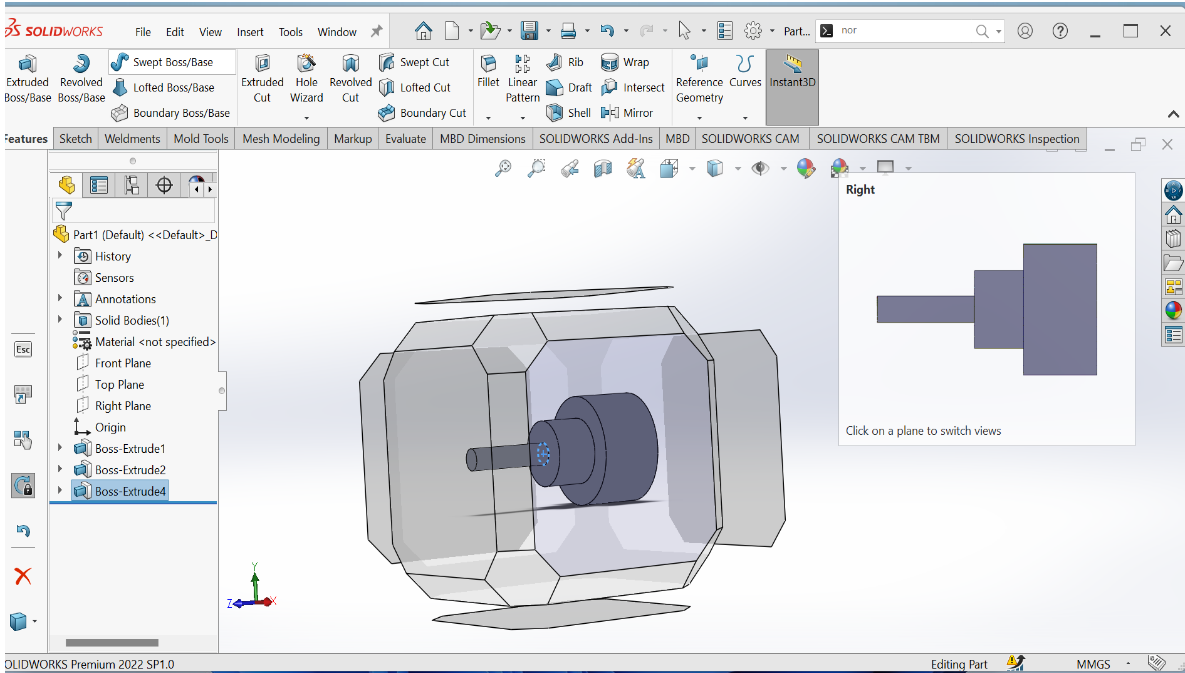
now as you see on the image shown my spoon is ready to printed. you can find downloading link of solidworks below