Embedded programming
Work to be done:
# browse through the data sheet for your microcontroller
# write program for a microcontroller development board to interact (with local input &/or output) and communicate (remotely).
# 1. extra credit: use different languages &/or development environments 2. extra credit: connect external components to the board
# group assignment: compare the performance and development workflows for other architectures
INTRODUTION ON EMBEDDED PROGRAMING:
Embedded programming refers to the process of writing software to control a device that is embedded within a larger system.
Embedded systems are typically designed to perform specific tasks, and the software that controls them must be highly efficient and reliable. Embedded programming often involves working with low-level programming languages such as C or assembly language, and programming for devices with limited resources such as memory, processing power, and energy consumption. Some common tasks in embedded programming include reading and writing to input/output (I/O) devices, managing interrupts, controlling timing, and handling errors. It is also important to consider issues such as power consumption, security, and real-time performance. Overall, embedded programming can be a challenging but rewarding field, as it involves designing and implementing software for systems that are critical to the functioning of many different types of products. .
Group assignement
MEANING OF DIFFERENT LAGUAGES IN EMBEDDED PROGRAMING
# When it comes to embedded programming, there are several programming languages that are commonly used, each with its own strengths and weaknesses. Some popular programming languages for embedded systems include:
1. C: C is perhaps the most widely used programming language for embedded systems due to its efficiency, portability, and low-level capabilities. It allows for direct memory access and low-level hardware control, making it well-suited for resource-constrained systems.
2. C++: C++ is an extension of C and provides additional features such as object-oriented programming, which makes it easier to write complex software with reusable components. However, it is generally less efficient than C and may not be suitable for systems with tight resource constraints.
3. Assembly: Assembly language is a low-level language that allows programmers to write instructions that are executed directly by the processor. It is highly efficient but also very time-consuming to write and maintain, making it best suited for small sections of code that require maximum performance.
4. Python: Python is a high-level programming language that is often used for rapid prototyping and development of embedded systems. It is easier to write and debug than low-level languages like C and Assembly, but may not be suitable for systems with tight resource constraints.
5. Java: Java is another high-level language that is sometimes used for embedded systems, particularly in situations where code portability and ease of development are more important than performance.
EXAMPLE OF DIFFERENT LAGUAGES IN EMBEDDED PROGRAMING
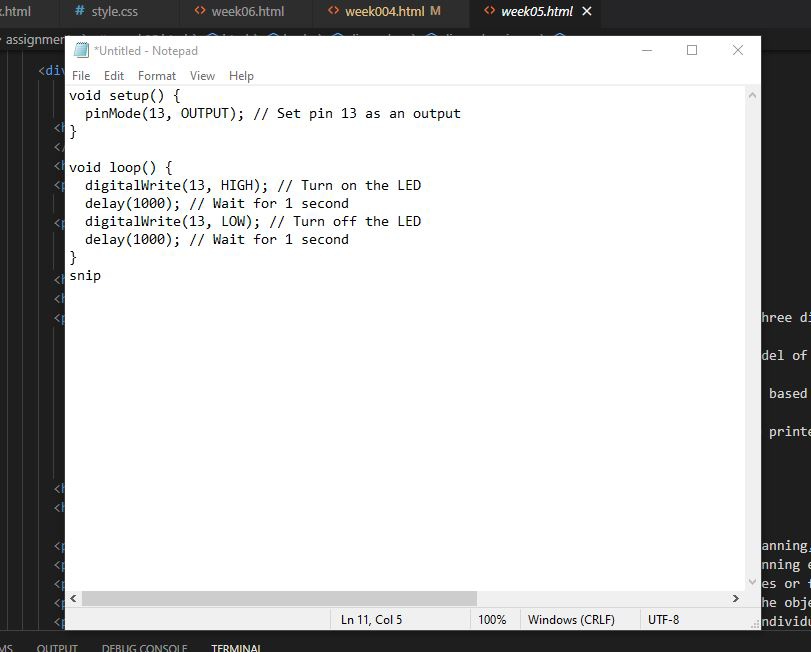
In the setup() function, we use the pinMode() function to set pin 13 as an output pin. In the loop() function, we use the digitalWrite() function to turn on and off the LED connected to pin 13. We also use the delay() function to wait for 1 second before toggling the LED state.
Program For a Microcontroller Development Board to Interact (with local input &/or output) And Communicate (remotely).
Steps Of How To Write a Program For a Microcontroller Development Board That can Interact With Local input/output and communicate remotely:
1.Choose a microcontroller development board that fits your needs, such as the Arduino or the Raspberry Pi. Make sure that the board has the necessary hardware interfaces to connect to your local input/output devices, such as sensors or actuators.
2.Choose a programming language that is compatible with the board, such as C, Python, or Arduino's simplified programming language.
3.Set up your development environment, which may include installing the necessary software, connecting the board to your computer, and configuring your programming environment.
4.Write your program code to interact with your local input/output devices. This code should read input from sensors, process the data, and output commands to actuators.
5.Once you have tested and verified your program's functionality with local input/output devices, add code to communicate with remote devices. This may include connecting to a remote server, sending and receiving data, and processing remote commands.
6.Test and debug your program to ensure that it is working as expected.
7.Deploy your program to the microcontroller development board, and ensure that it is running correctly.
8.Monitor the program and update it as necessary to address any issues or add new functionality.
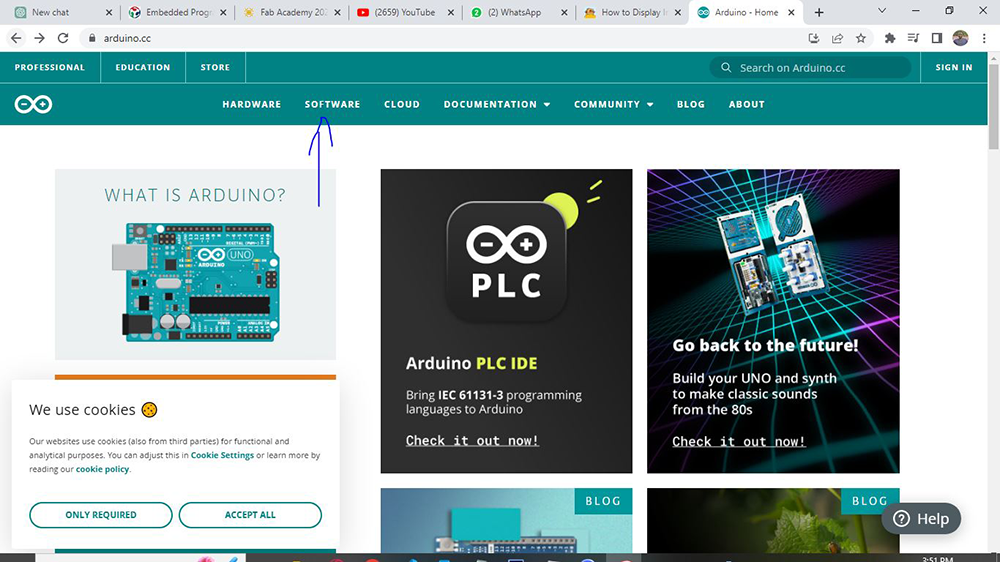
Here is steps of how to download Arduino app that will be used in embedded programing:
Go to browse and use the following link to download arduino:

After getting into the browsing given i click on software tab as shown in the following image
After clicking on the software tab i choised accouding to the type of my computer
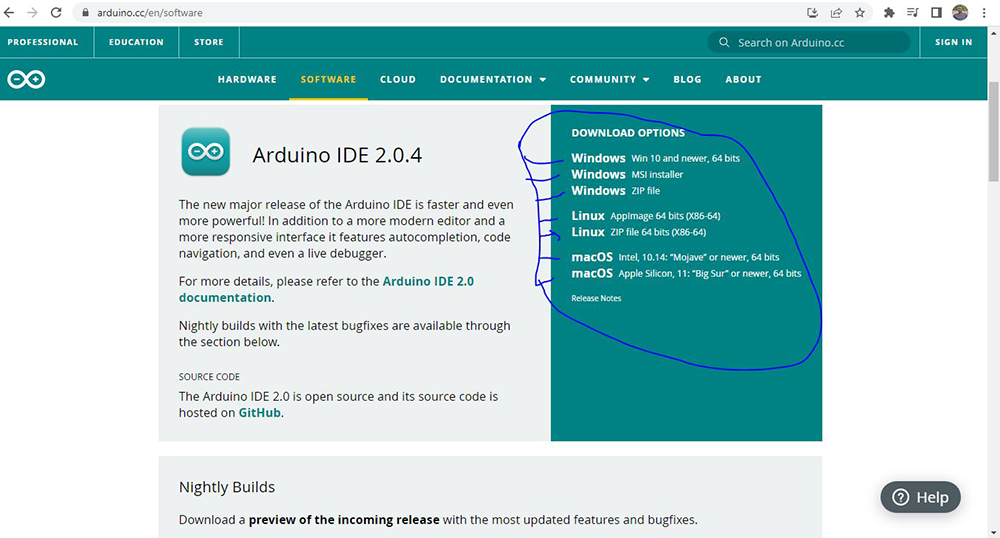
Then i click on download as shown bellow
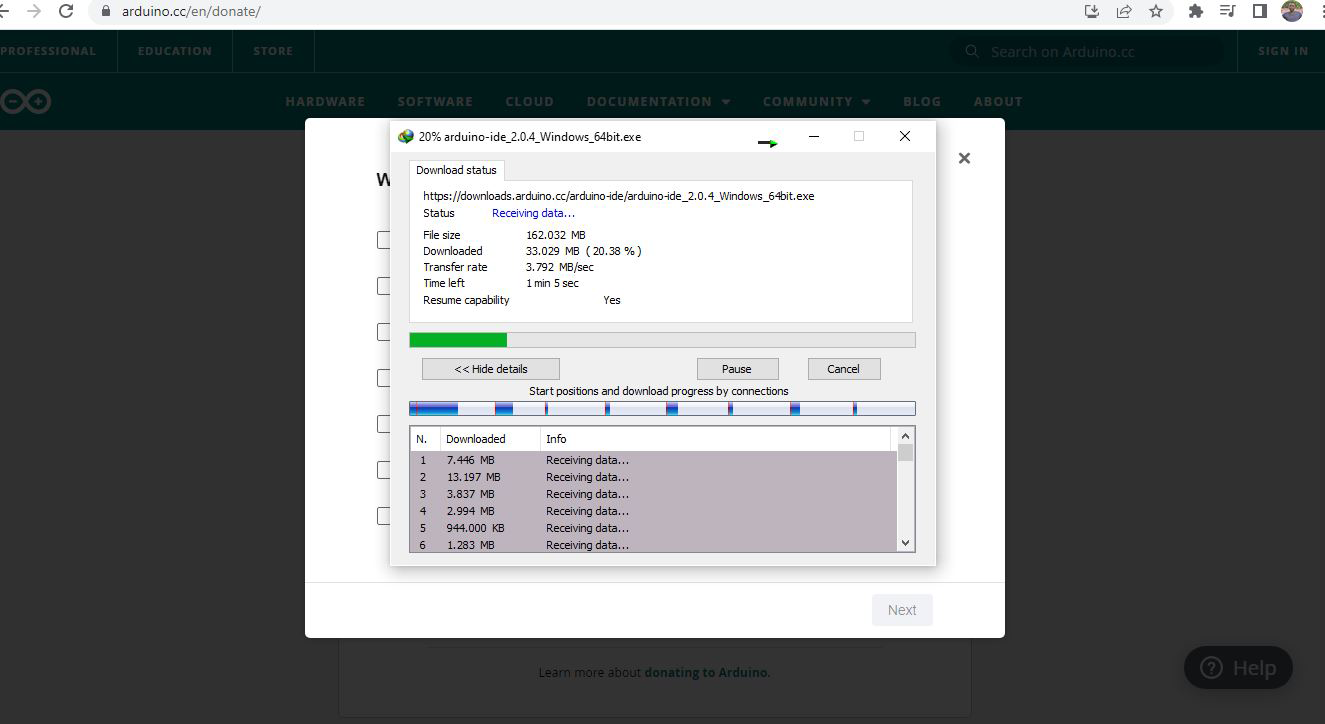
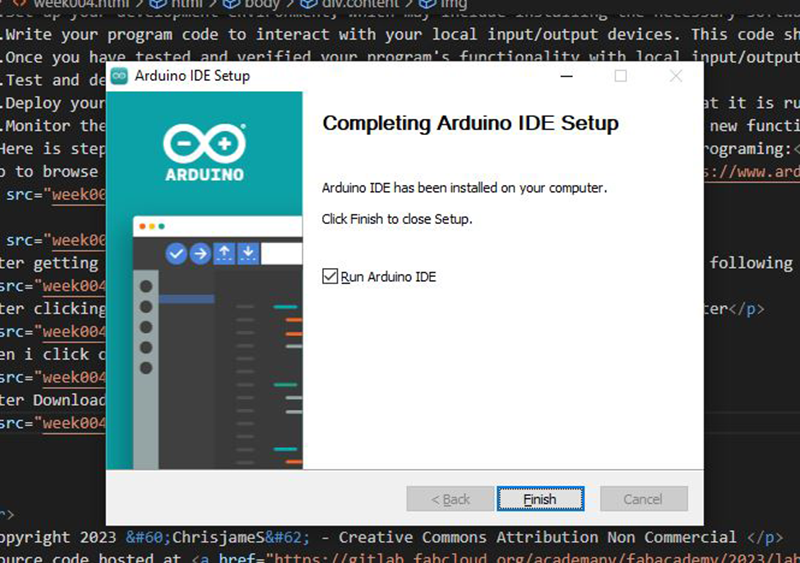
After Downloading the arduino app i stard installation process
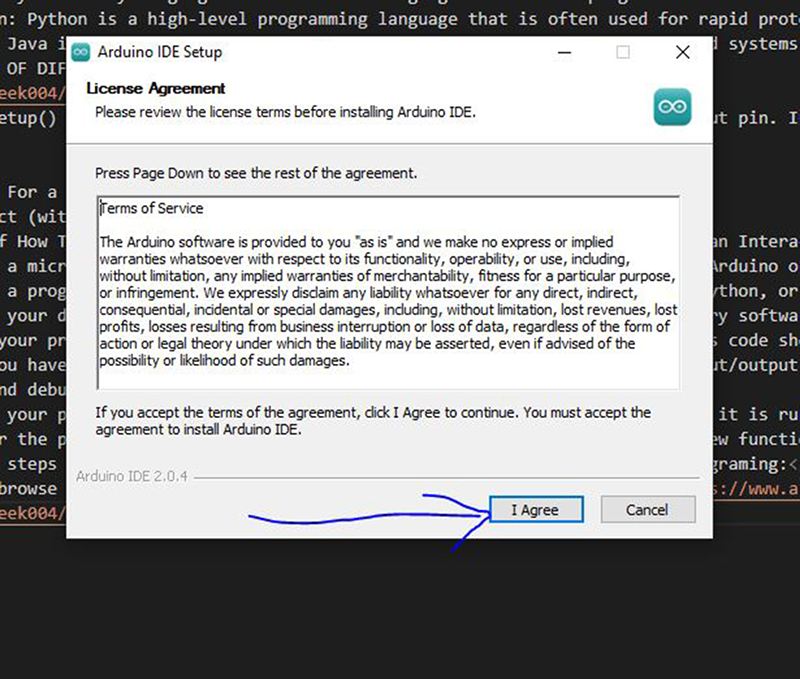
Afret installation i click finsh
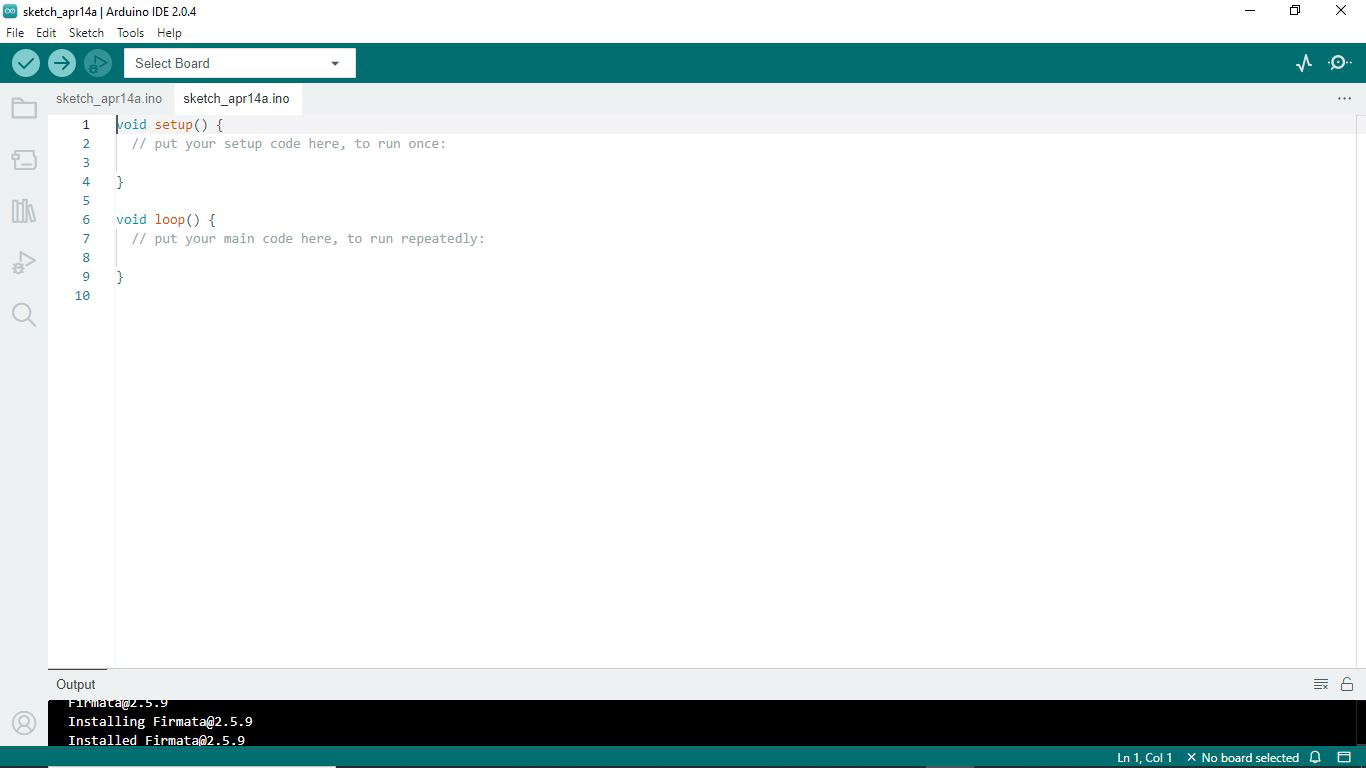
Here is how the arduino workplace look
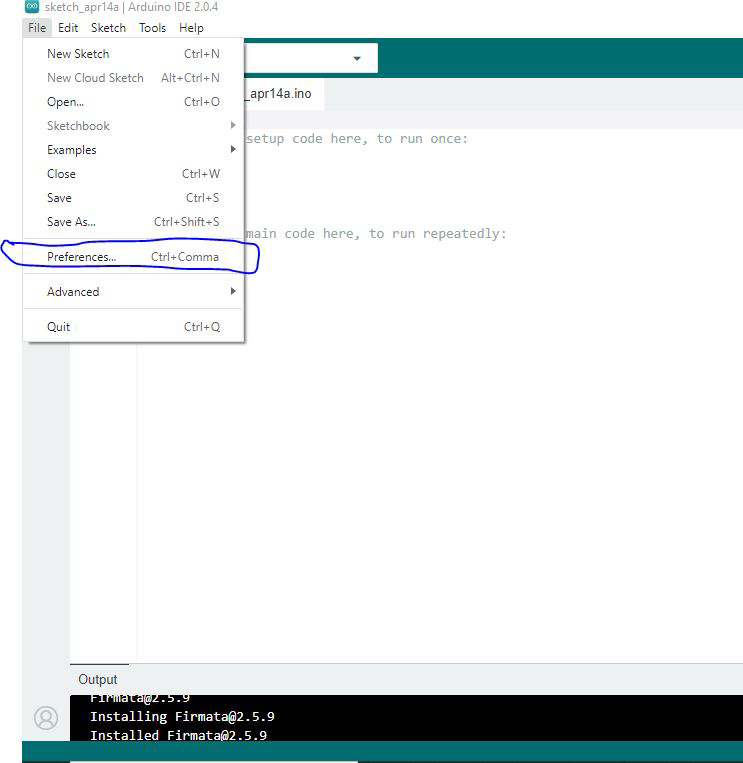
Here are steps of installing ESP32 Add-on in Arduino IDE:
1.Open the Arduino IDE on your computer.
2.Go to File > Preferences.
3.In the Preferences window, find the "Additional Boards Manager URLs" field, and paste the following URL in the field:
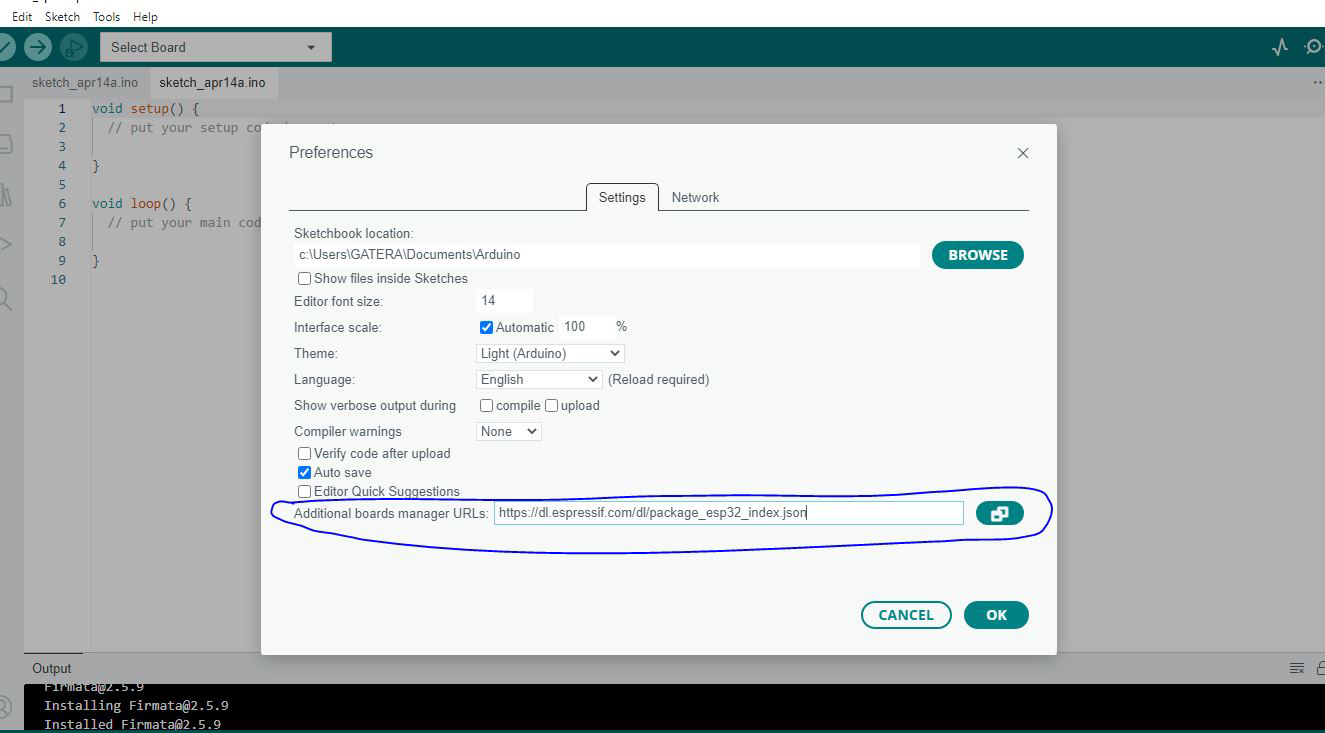
4.Click on the "OK" button to save the changes.
5.Now, go to Tools > Board > Boards Manager.
6.In the Boards Manager window, search for "esp32".
7.Click on the "esp32" result and then click the "Install" button.
8.Wait for the installation process to complete.
9.Once the installation is finished, go to Tools > Board and select your ESP32 board from the list.
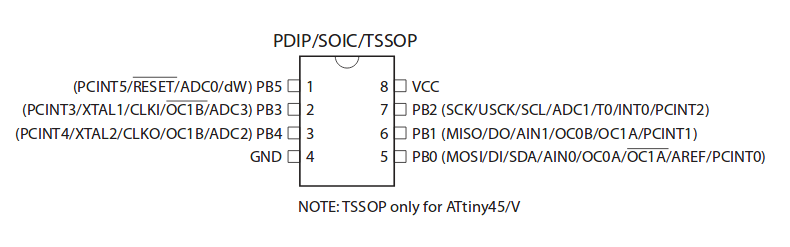
Here is what i learned on microcontroller datasheet
1.Device Specifications: Understand the specifications and capabilities of the microcontroller, such as its voltage range, clock speed, memory size, I/O capabilities, and available peripherals. This knowledge helps in determining if the microcontroller is suitable for your project requirements.
2.Pinout and Pin Functions: Familiarize yourself with the pinout diagram and the functions of each pin. This knowledge is crucial for proper wiring and interfacing with other components in your circuit.
3.Memory Architecture: Gain an understanding of the types and sizes of memory available on the microcontroller, such as program memory (flash or ROM), data memory (RAM), and EEPROM. This knowledge helps in managing program storage, data storage, and non-volatile memory requirements.
4.Electrical Characteristics: Pay attention to voltage supply ranges, current consumption, and operating temperature specifications. This knowledge ensures proper power supply design and prevents potential issues related to electrical performance.
5.Timing and Clocks: Understand the microcontroller's clocking options, timers, and timing requirements. This knowledge enables precise timing control and synchronization in your applications.
6.Programming and Development: Explore the programming options, programming interfaces, and development tools recommended by the manufacturer. This information helps in setting up the development environment and writing code for the microcontroller.
7.Application Notes and Examples: Take advantage of any application notes, design guidelines, and example code provided in the datasheet. These resources offer valuable insights, best practices, and practical implementation examples to assist you in developing applications with the microcontroller.
Pin configuration the image below shows the configuration of pins and same small summary
Pin Modes/Functions: Most microcontrollers allow you to configure pins for different modes or functions. For example, a pin can be set as a digital input, digital output, analog input, or specialized functions like UART, SPI, I2C, PWM, or interrupt pins. Refer to the microcontroller's datasheet and programming reference manual to identify the available pin modes and functions.
Direction: For digital pins, you can typically set the direction as input or output. An input pin is used to receive data or signals from external devices, while an output pin is used to drive data or signals to external devices.
Pull-up/Pull-down Resistors: Some microcontrollers have built-in pull-up or pull-down resistors that can be enabled or disabled for input pins. These resistors ensure a defined logic level when the pin is not actively driven.
Analog/Digital Selection: Microcontrollers with analog-to-digital converters (ADCs) often allow you to configure pins as either analog inputs or digital inputs/outputs. In analog input mode, the pin can measure continuous analog voltage levels, while in digital mode, the pin operates as a standard digital input or output.
Interrupts: Many microcontrollers offer interrupt capabilities on specific pins. You can configure these pins to trigger interrupts based on specific events, such as a change in logic level, rising or falling edge, or specific conditions like a timer overflow.
Output Drive Strength: Some microcontrollers provide options to adjust the output drive strength of pins. This allows you to control the current sinking or sourcing capability of output pins, which can be useful for driving external components or dealing with varying load conditions.
Pin Multiplexing/Multiple Functions: In some microcontrollers, pins may have multiple functions or alternative functions. This feature, often referred to as pin multiplexing, allows you to assign different functions to the same physical pin. You typically need to configure the microcontroller's registers to select the desired function for each pin.
Programming
Programming is the process of creating instructions or code that can be executed by a computer to perform specific tasks or solve problems. It involves writing, testing, and maintaining sets of instructions using programming languages.
Here are some key aspects of programming:
Programming Languages: Programming languages are used to write code that is understandable by both humans and computers. Examples of popular programming languages include Python, Java, C++, JavaScript, and many others. Each language has its own syntax and features, tailored for different purposes and domains.
Algorithms and Logic: Programming requires logical thinking and problem-solving skills. Before writing code, programmers analyze the problem at hand, design algorithms, and create a step-by-step plan to solve it. Algorithms are a set of instructions or rules for performing a specific task.
Syntax and Structure: Each programming language has its own syntax rules and structure. Programmers must adhere to these rules while writing code to ensure it is valid and can be understood by the computer. Syntax errors can prevent code from running correctly.
Variables and Data Types: Programming involves working with different types of data, such as numbers, text, and Boolean values. Variables are used to store and manipulate data during program execution. Programmers must understand data types, variable declaration, and how to manipulate data using operators.
Control Flow: Control flow refers to the order in which instructions are executed in a program. Programmers use control flow constructs such as conditionals (if-else statements), loops (for, while), and branching (switch statements) to control the execution path of the program based on specific conditions.
Functions and Modularization: Functions allow programmers to break down complex tasks into smaller, reusable blocks of code. Functions can accept inputs (parameters), perform operations, and return results. Modularization helps organize code and improves code reusability, readability, and maintainability.
Debugging and Troubleshooting: Programming involves debugging and troubleshooting to identify and fix errors or bugs in code. Debugging tools and techniques are used to track down issues, analyze program behavior, and ensure the code functions as intended.
Libraries and Frameworks: Programming languages often have libraries or frameworks that provide pre-built code and functionality to simplify development. These libraries offer ready-made solutions for common tasks, such as handling graphics, networking, database operations, or user interfaces.
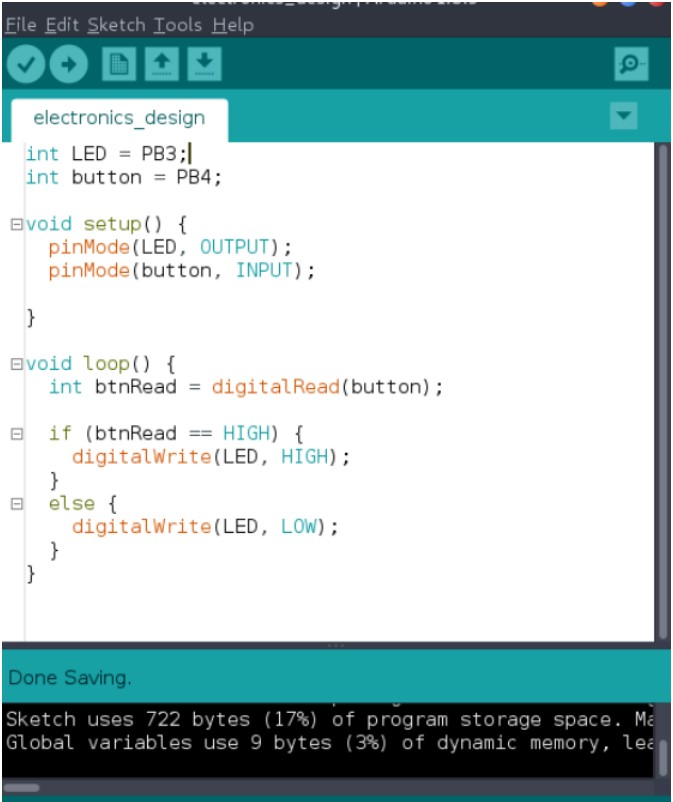
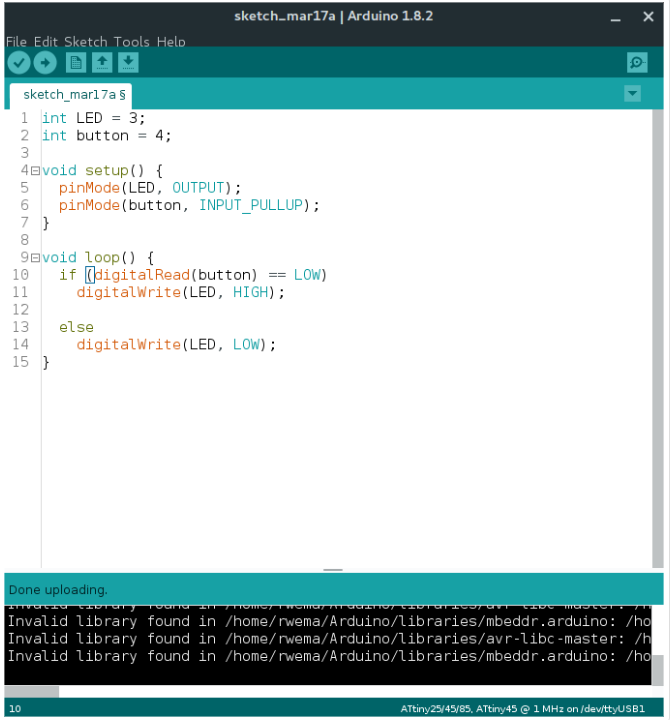
After Installing I was ready to start programming the board. In arduino I used its API to program the chip as shown below.
void setup(){ // Defining pin functionality pinMode(PB3, OUTPUT); pinMode(PB4, INPUT_PULLUP); } void loop(){ // Check if the button is pressed and turn ON the LED if (ditalRead(PB4) == LOW) digitalWrite(PB3, HIGH); else digitalWrite(PB3, LOW); }
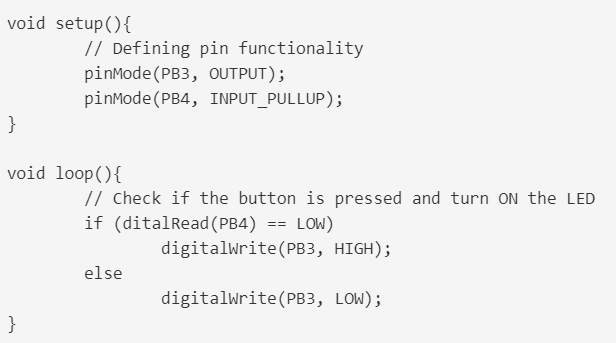
The intent of this program is for turning ON the LED when the push button is pressed.
AVR libc
I have also programed the chip using AVR libc only and VIM as text editor. when programming with AVR libc there is a big difference with arduino, because now you are able to manupulate registers directly. AVR libc occupies small space on the chip compared to arduino API as shown below.
>
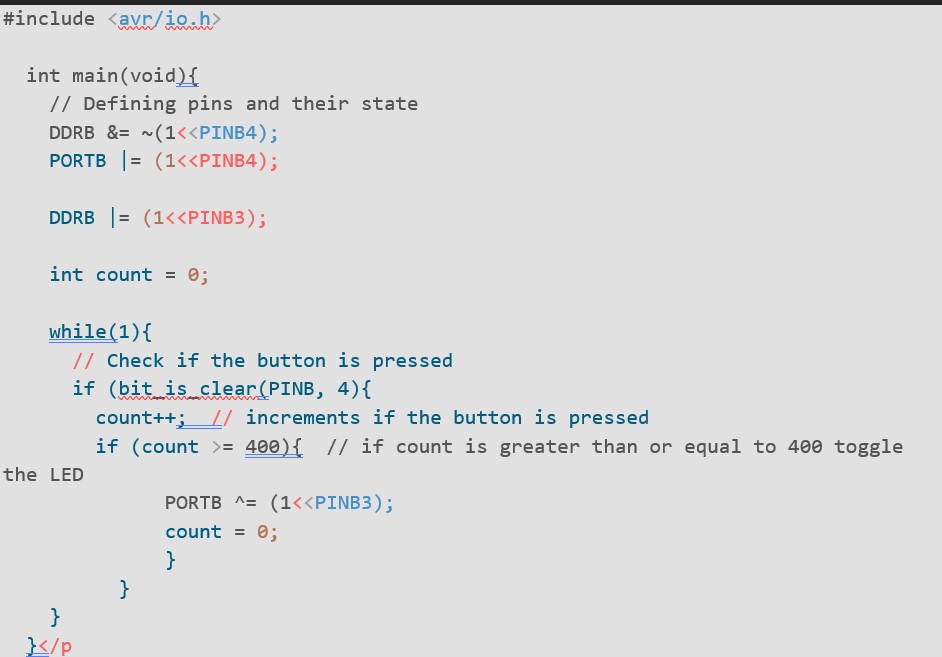
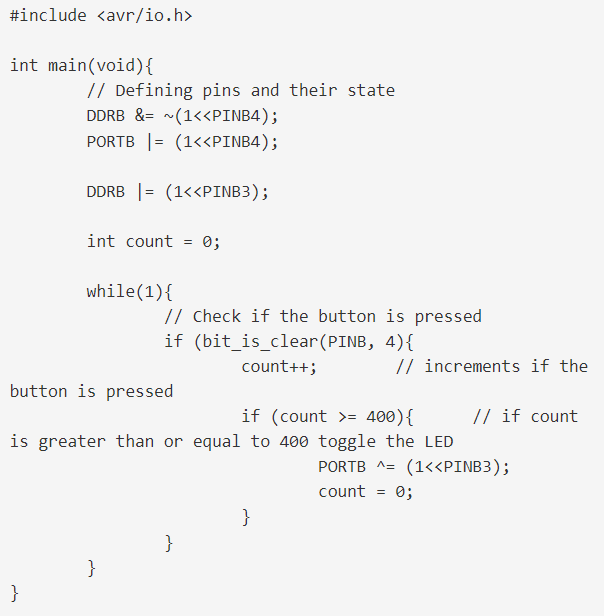
This program is for toggling the LED when the push button is pressed.