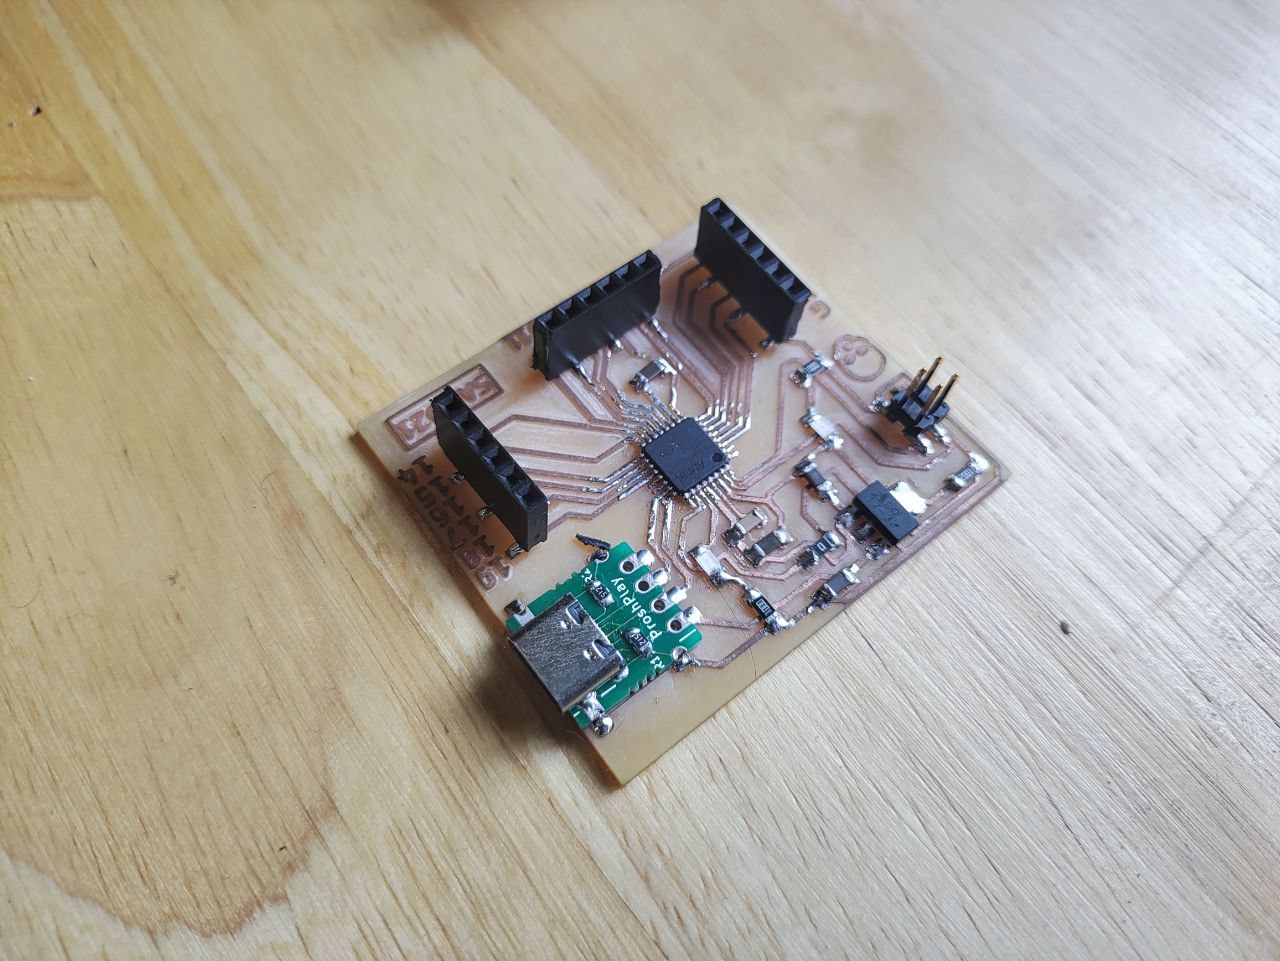
Skull D21
The project began as a side project to create a development board using SAM D21 Dev Board. It was also a method to reduce a bad image created during output devices week. The board I designed was a disaster; even though it did work, the traces of the SAMD21 were not good, and my designing was bad. In the process of bug fixing, I burned 2 SAM D21 microchips, and the micro USB used for serial and programming was also destroyed. I used 3 micro USBs for that purpose. So, the development board is a way to reduce my bad name in my own way.

For this dev board, I am focused on using SAM D21 microchip, which has 32 pinouts and is harder to manufacture in fab but still manufacturable due to its trace width. It's still doable and the biggest chip available in the lab, an ideal chip for a low-cost development board.

For this development board, I am using KiCad as a designing platform. I have no preferences when it comes to KiCad and Fusion, the only preference is the availability of libraries. For this design, I am using a Prosh Play breakout board for USB Type-C, designed by my mentor in electronics, Saheen Palayi. He was using KiCad and designed the library in KiCad, so I am going to use that in my design.

He designed the breakout board with people like me in mind because I had been using micro USB for a while, and every time it was a failure because the traces would break, or I have been burning the micro USB, so it was a pain. For this board, I am going to use this breakout board for the serial and programming.

After programming, I exported the file in the form of PNG and was ready to input into mods. I don't like adding my name on the board, so I decided to go with a skull for fun, and hence the name "Skull D21 Board." Well, the image started as fun and is going on. After post-processing, I was ready to mill.

After milling, I was ready to solder. The soldering was easy because I have learned to compensate for my past mistakes, and the Prosh Play breakout board was easy to solder compared to micro USB. And with that, I am ready to program the board. I burned the bootloader to the board, and for the moment of truth, I programmed the board using the micro USB, and it was working. My development board was ready.
Further programming using the board will be done shortly, or let's say further improvements will be updated shortly.
